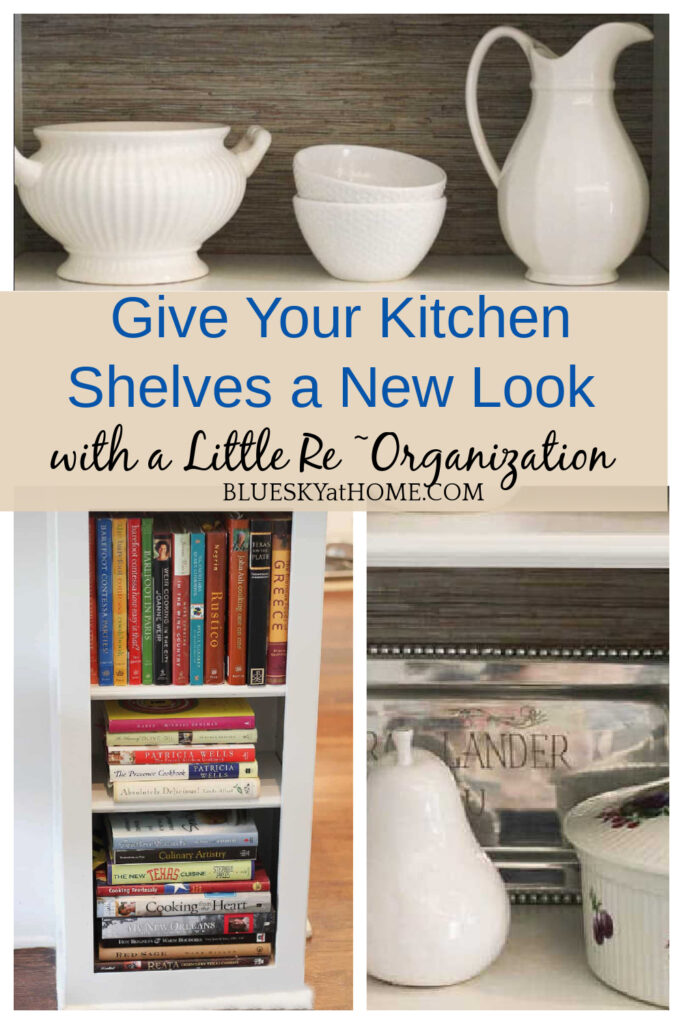
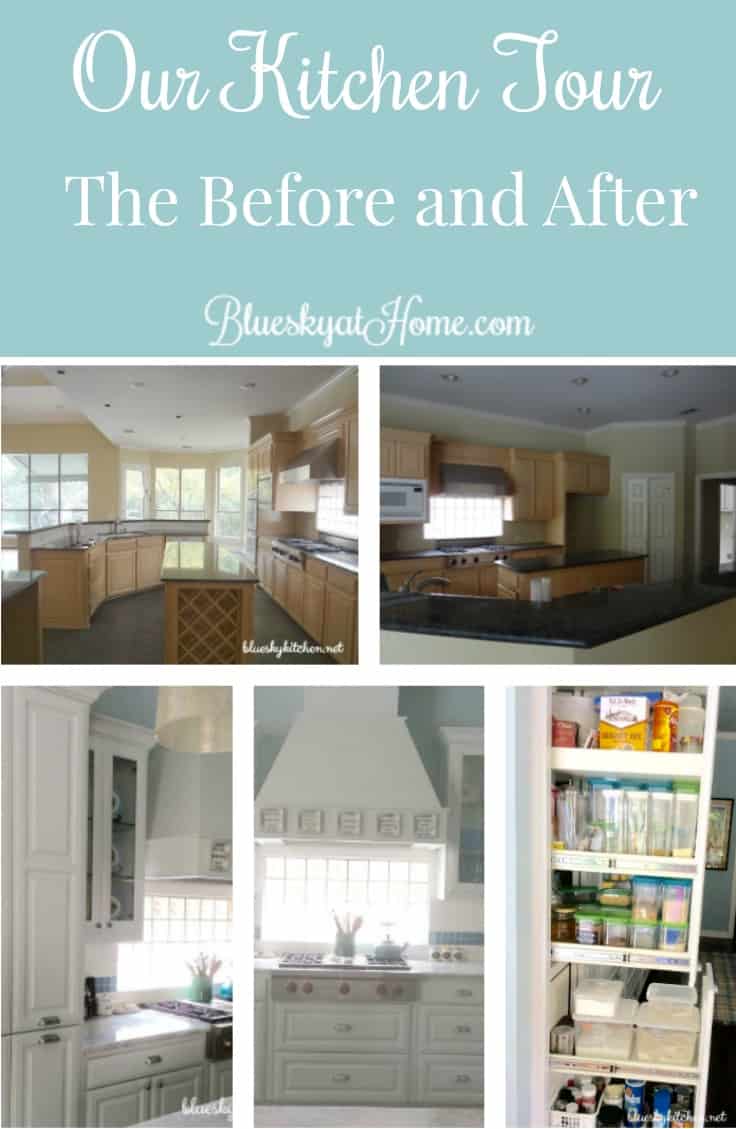
How to Give Your Kitchen Shelves a New Look
Whether you have open shelves or glass~front cabinets, these areas are prime display spaces in your kitchen. Would you like some ideas for how to give your kitchen shelves a new look?
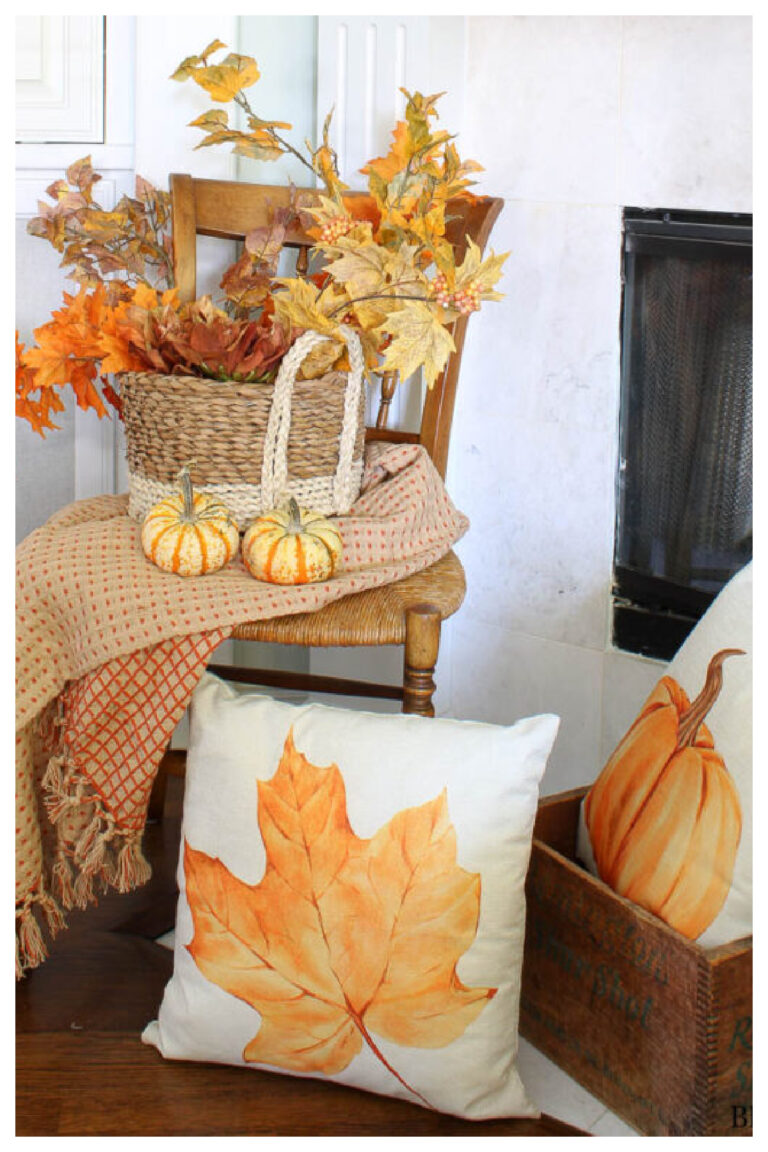
With spring just around the proverbial corner (or at least we hope so, in spite of what that rascally groundhog says), I am feeling antsy to redo, reorganize and redecorate. And, you don’t have to spend a penny. How about you?
I know we still have to get through February and March (and the lion and the lamb) before April arrives in all her beautiful springtime glory. So while I can’t plant flowers yet, I can tackle some indoor updating that has been on my to~do list.
Right now, I am actually decluttering and organizing my kitchen drawers. I’m waiting on a few more containers that I’ve ordered.
Since kitchen shelves are so important for both storage and display, I thought I would share how I gave our kitchen shelves a new look.
The best thing about this kitchen shelf reorganization? I didn’t spend a dime. Reusing and restyling with items you already have is the smart way to simplify your life.
Are you ready to see how to give your kitchen shelves a new look? Let me show you my spring redo.

In the past, I’ve shared reorganizing my office and from the comments, you all really liked that. Wish you had been here to help!
I know friends who don’t like the task of organizing a space, but I don’t know anyone who doesn’t like their spaces being neat and orderly. And pretty.
This brings me to my kitchen shelves. The bookshelf spaces in my kitchen and butler’s pantry have needed an update. So here we go ~ how to give your kitchen shelves a new look.
GIVE YOUR KITCHEN SHELVES A NEW LOOK
Just so I am being clear, I am not talking about kitchen cabinets. I’m referring to built~in bookshelves or display space.
I have four spots in my kitchen and one in our butler’s pantry. Probably more than most kitchens.
MY KITCHEN COOKBOOK CHALLENGE
Here’s my challenge: I’ve always loved cookbooks. I have cookbooks, a lot of cookbooks. Maybe a couple hundred. And I probably have another hundred about cooking and other books about cooking and people who cook (I think I have 5 books just on Julia Child.)
I bought the majority of the cookbooks when I worked in the culinary cooking school at Sur La Table.
Many of our instructors were cookbook authors on book tours to give cooking classes and sell books. We had teachers who were on PBS and ones from other states and other countries. As a lead assistant, I had the privilege of prepping for and assisting them during their classes.
The discount assistants received on books from these visiting instructors was amazing, so I bought dozens and dozens of books. They are all signed ~ to me, with a personal message that makes them very special.
Friends over the years have given me cookbooks they thought I would like. And I’ve bought many on our travels. So every available inch of these five bookshelves was filled with cookbooks. It was getting a little overwhelming and I was itching for some breathing room to display some of my favorite flea market finds.
KITCHEN BOOKSHELVES ~ BEFORE
Let’s start with the bookshelf in the butler’s pantry. It’s just inside our back door and if I swivel around in my office chair, this is what I see.
It’s jammed-packed. Since this bookshelf is kind of out of the way, I’m going to leave it strictly for books, but straighten it up and rearrange it for better use of the space.
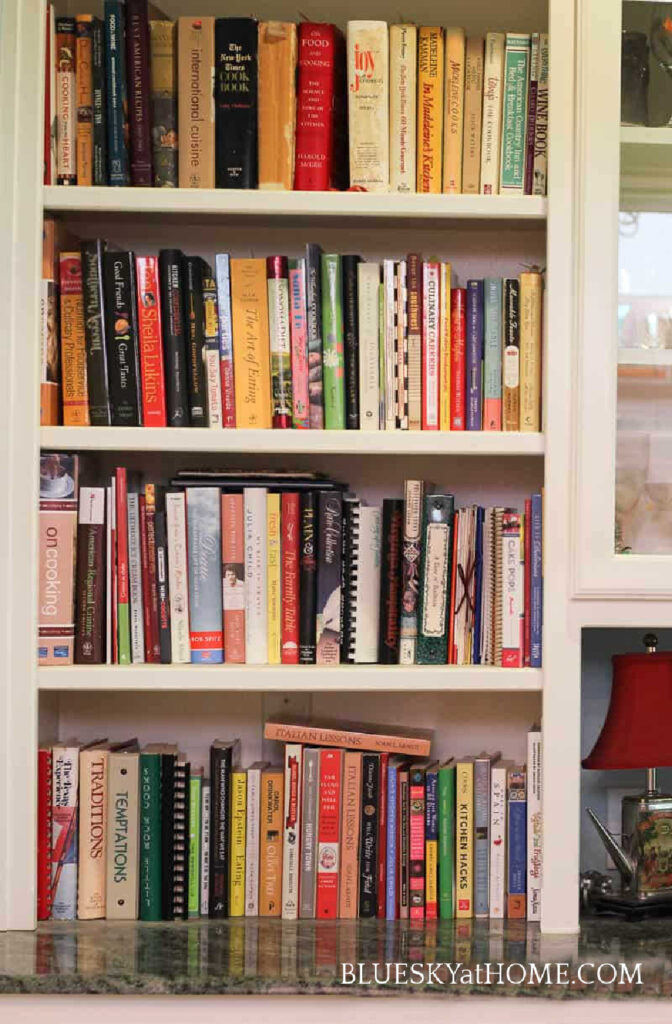
As you walk into our kitchen, the most visible bookshelf is on your left. This is where I want to add more display space and drastically reduce the number of cookbooks. That one poor silver bowl is the only decorative item. You can barely see that the back of the shelves is papered in a pretty grasscloth.
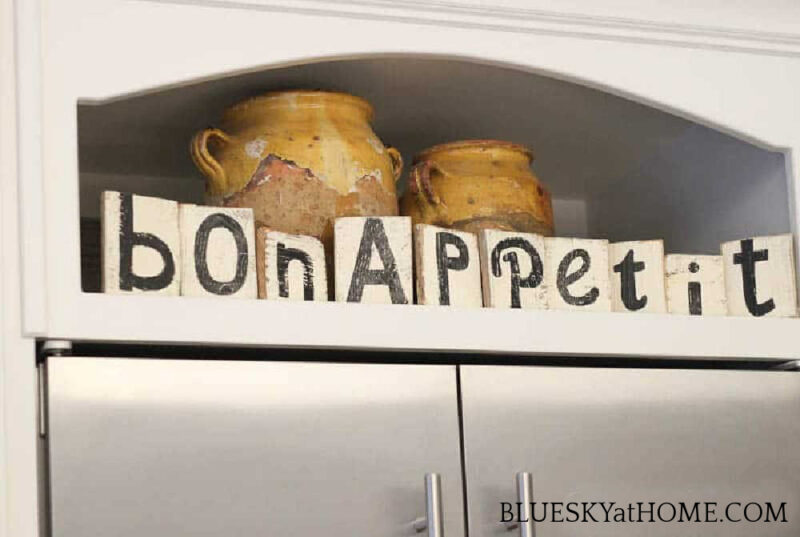
To the right, above the refrigerator is this very deep and wide, but short display area. I have our two confit pots and the wooden letters I bought at a flea market. Grasscloth covers the back of this shelf, too, but it’s so deep you can’t see it. I’ve never liked that this shelf seems like a cavern.
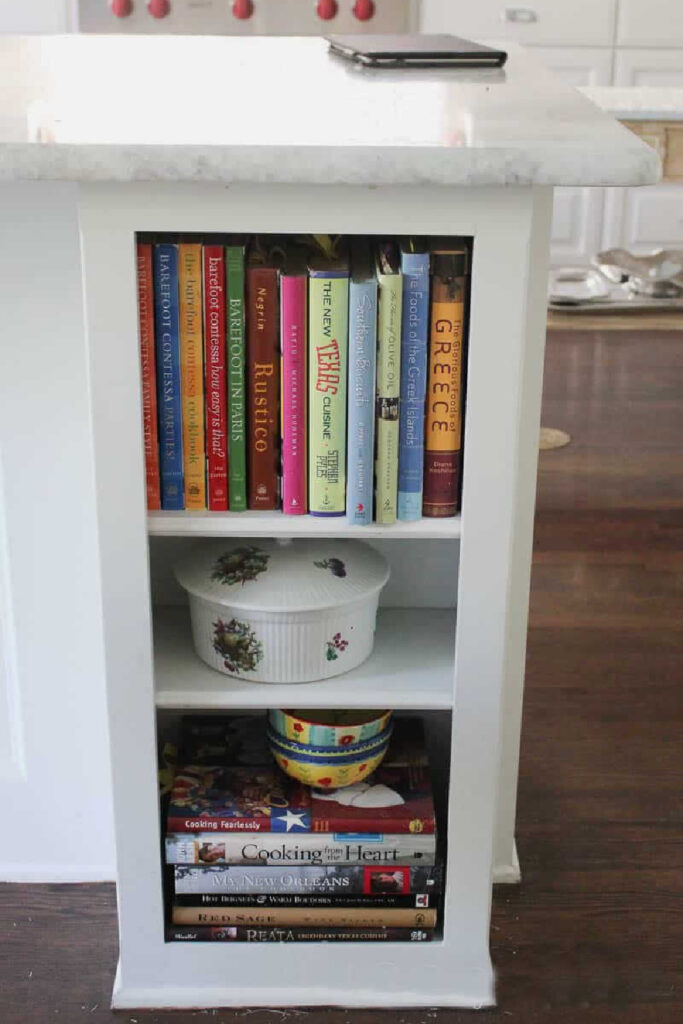
Our kitchen island is huge in a curved shape and we had to find a way to give it support at each end.
I had cut out a picture in a magazine (This was at the end of 2012 and I have never heard of Pinterest; magazines were my resource.) of this idea and our contractor thought it was a good one. I loved that I would have extra shelf space.
The only drawback is that Layla (our Lab) has knocked off the bowls twice with her tail. I love the French~style casserole and I’m always worried she is going to hit it with her tail and break it.
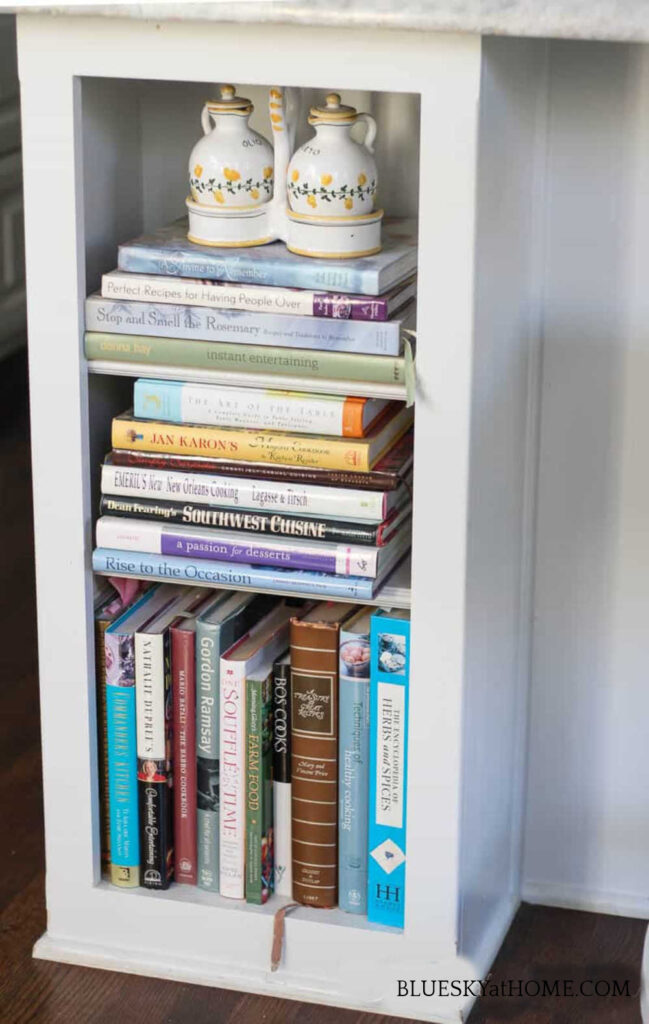
Here’s the shelf at the other end. We bought the oil and vinegar cruet in Florence in 2006. I’ve never actually put anything in it.
THE PLAN: GIVE MY KITCHEN SHELVES A NEW LOOK
The first thing I did was to empty the shelves and clean the dust. I don’t think I had done this since we moved in almost seven years ago. (Bad me!)
TIP: Clearing off the bookshelves does two things:
- You can dust the shelves
- You can see the space more clearly.
KITCHEN SHELVES ~ AFTER
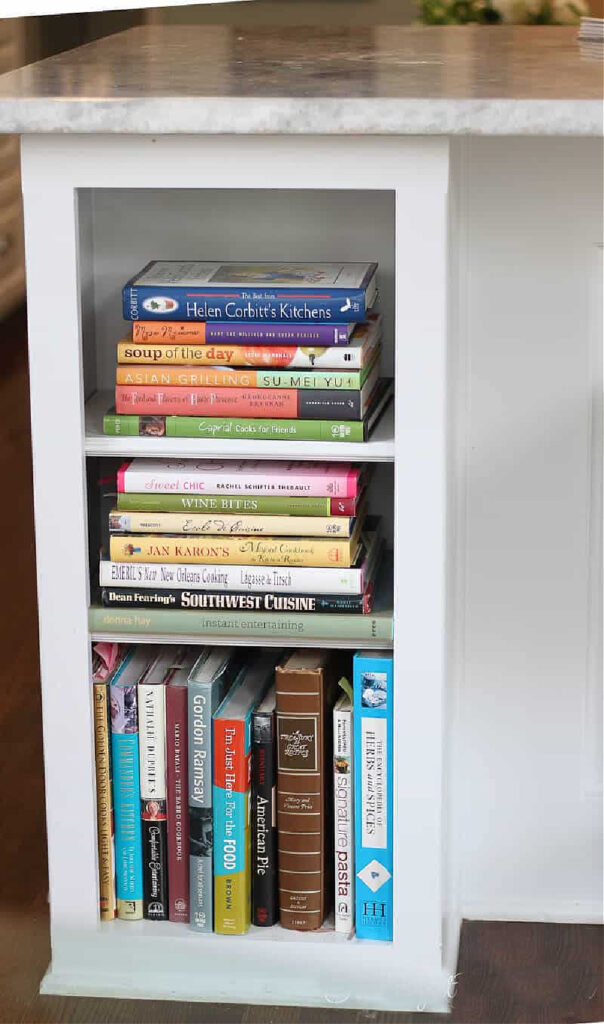
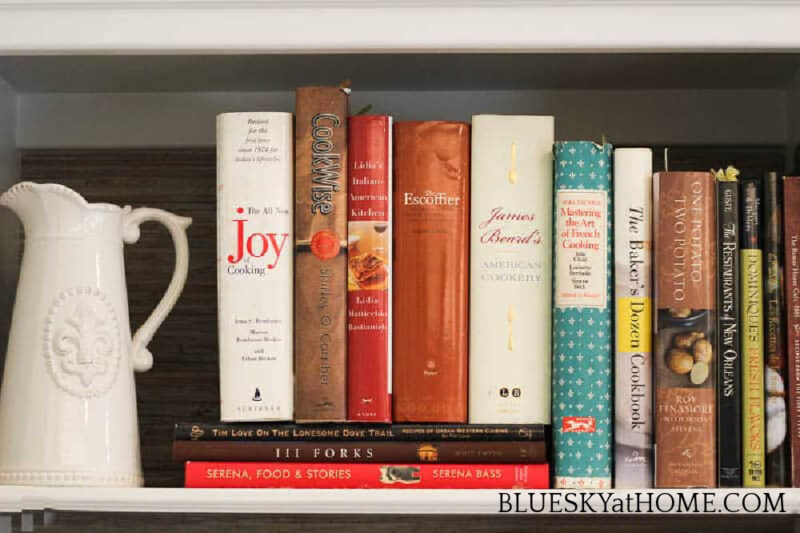
I decided to use the two shelves under the island strictly as cookbook display. I pulled books that I used the most from the other shelves since these shelves have easy access. Arranging books for size (both height and width), I tried different combinations until I had ones that fit the space and looked nicely displayed. This shelf gained 10 more books and I think it looks neat and colorful.
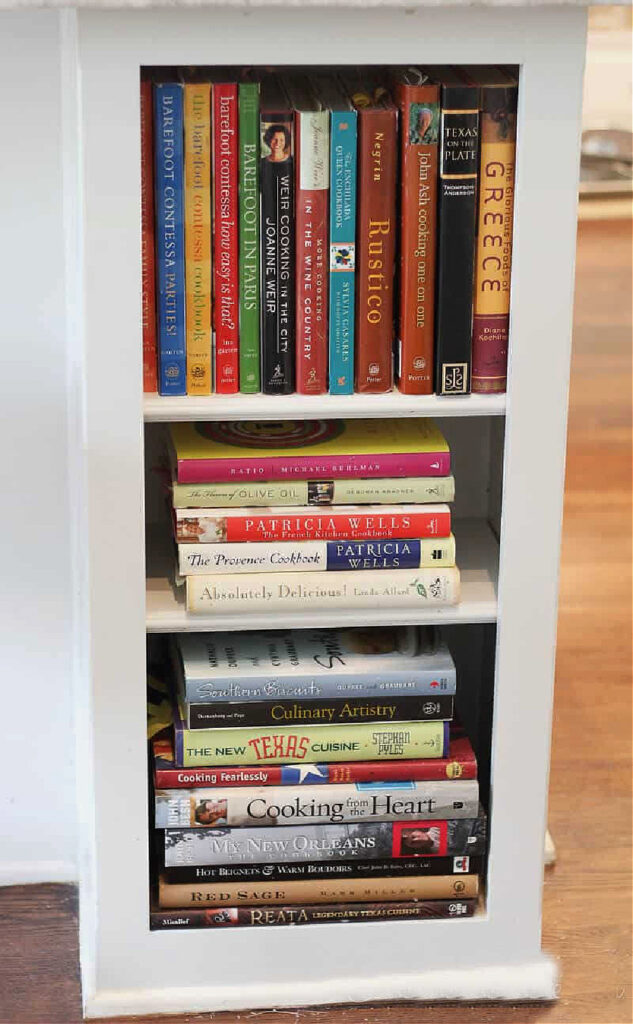
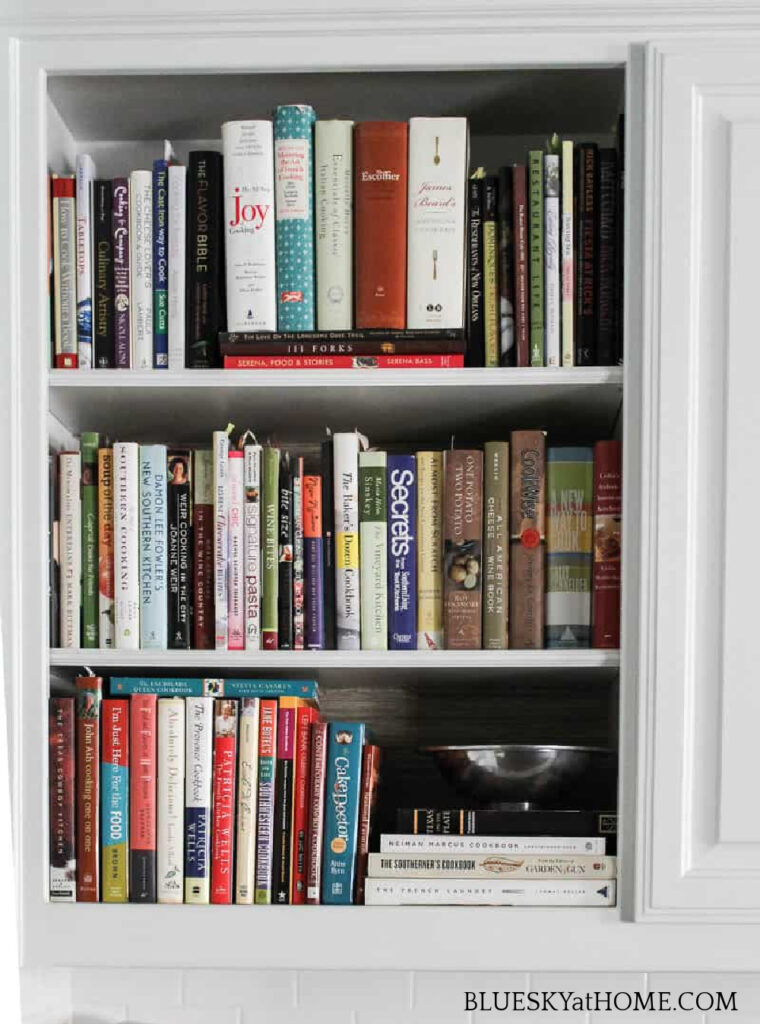
The other bookshelf also gained a few more books, but still has a neat, clean look.
To work on the shelf above the refrigerator, I had to bring in a ladder from the garage.
I removed the confit pots and the B-O-N-A-P-P-E-T-I-T letters above the refrigerator. You would not believe the layer of dust back there.
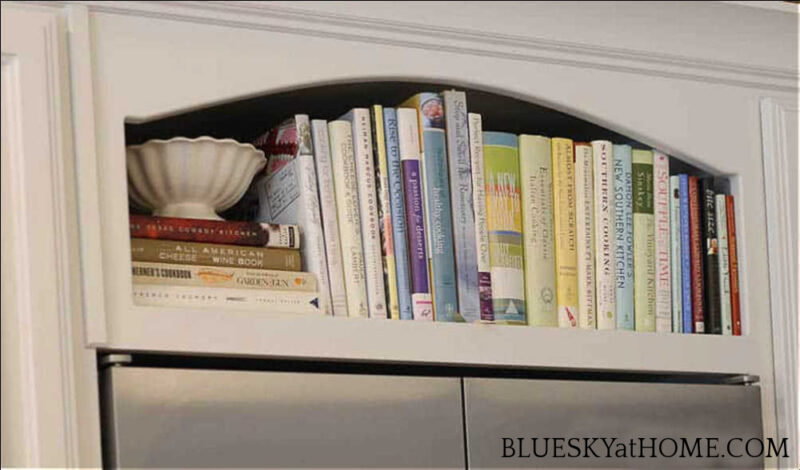
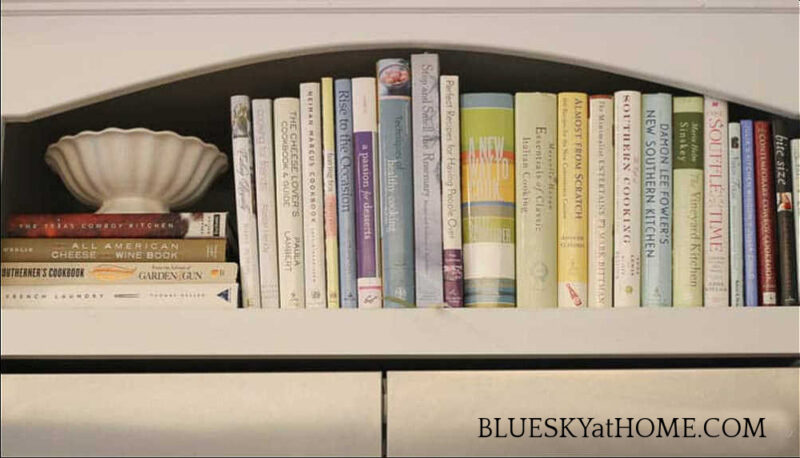
That gave me quite a bit of space to fill in. I wanted to hide the “cavern” look of the shelf so I decided to fill it completely with cookbooks. I picked ones for the available height and for how the spines would look. I mostly chose spines with white, light blue, and light green bindings.
I think it turned out quite well. And I even had space for a small white flea market dish.
My goal for the remaining bookshelf in the kitchen was to clear at least two shelves strictly for display. With all the books that I removed, I had just enough space.
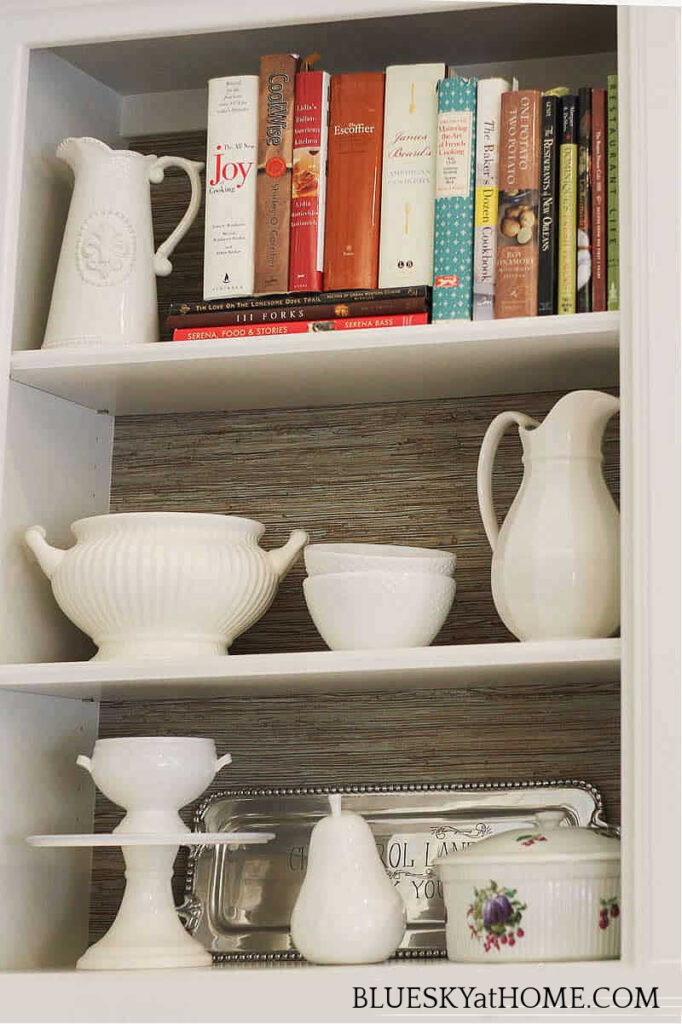
TOP SHELF ~ I left some cookbooks that I love. I can reach them with a step stool. I was even able to use one of my white ceramic pitchers on the top shelf.
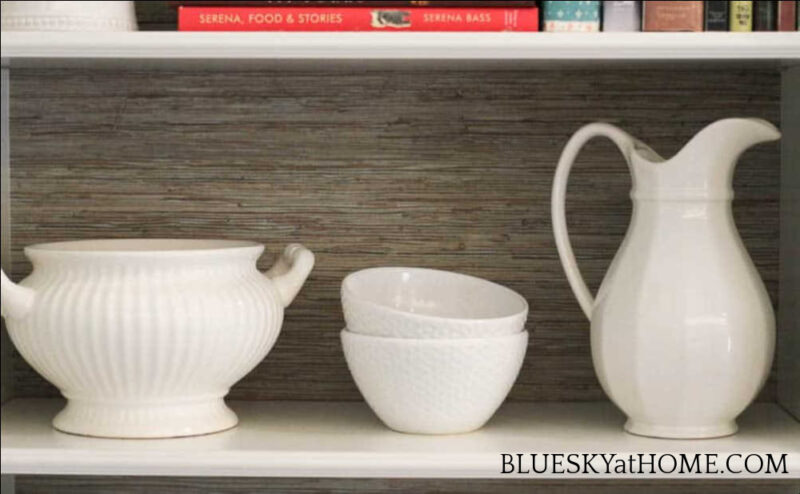
MIDDLE SHELF ~ I can finally display more of the flea market white ceramic dishes that I’ve collected.
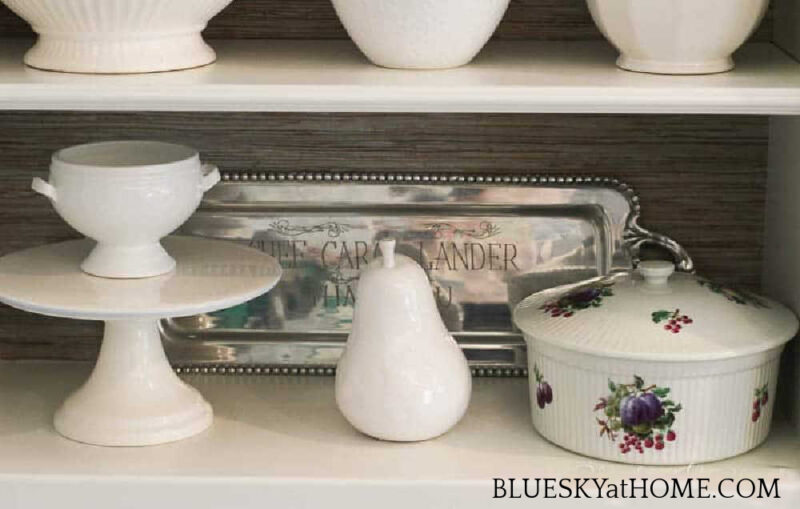
BOTTOM SHELF ~ I was able to include that pretty French casserole. I found the cake stand a few years ago in Atlanta. The small bowl and ceramic pear are local finds.
In the back of the shelf, I put a silver tray given to me a few years ago by a lovely group of ladies that I taught cooking classes to each month. It provides a bit of shine and reflection.
Here’s how the whole bookshelf turned out. I love having the display space and that now the grasscloth is visible.
Much better, don’t you think?
The bookshelf in the butler’s pantry, which is original to the house, just needed some straightening up and rearranging.
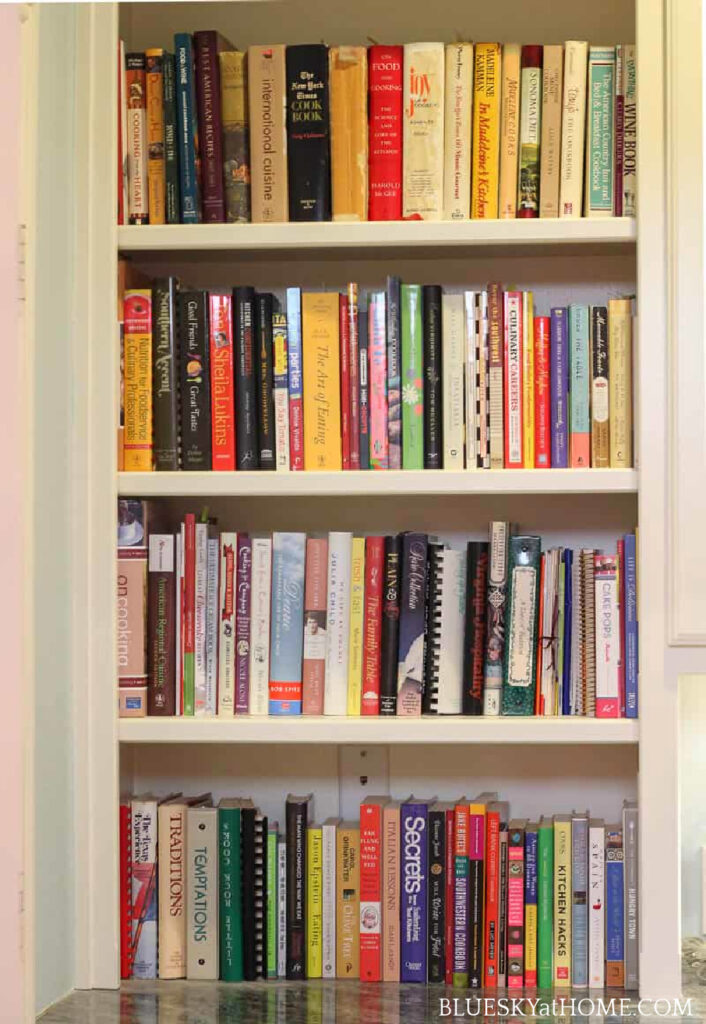
Can you find the classic cookbook that I have two copies of? Let me know if you see it. They are on two different shelves.
I started this kitchen shelf update one afternoon and finished it the next morning. In total maybe 3 hours. And the only piece of equipment I needed was our ladder to arrange the shelf above the refrigerator.
If you need a little inspiration to give your kitchen shelves a new look, all I can recommend is to just do it. All it takes is time ~ and maybe a ladder.


I, too, had no problem spotting the Joy of Cooking as it is my standby. I was so disappointed when I bought mine in ’73 as it did not have my mother’s banana bread recipe in it! Hers was WWII vintage and included instructions for beating the yellow coloring into oleo to make it look like butter! I love your new look; I love giving a room a shakeup. When I was married to a man who was laid off in the wintertime, cabin fever would hit in Feb. with NO extra money to spend on decor. I put up clean curtains, rearranged furniture, put the bedroom pictures in the living room and vice versa! Those were the days! I STILL do the same thing!
Kathy A, it’s amazing how resourceful we can be when we have to. It definitely gives more satisfaction. Good for you.
Again I am amazed at how simply and effectively you explain things. Thanks for this one. I have been struggling with it for years.
Davin, I’m so happy that you like my style and explanations. I think it’s the teacher in me.
Wow! I’v never seen so many cookbooks…how neat! I love how you displayed special dishes and pieces amongst them. Looks beautiful!
We have 2 copies of the Joy of Cooking as well! Your shelves look fabulous and it didn’t cost you a dime. I like that:) Thanks for sharing at Vintage Charm! xo Kathleen |Our Hopeful Home
You have an amazing cook book collection. They look fabulous the way you have styled them. Thanks so much for linking up to Keep In Touch.
Katie
Let’s Add Sprinkles
Thanks Katie. I am lucky to have collected such a great number of cookbooks over the years.
Wow! What a cookbook collection! I know they are your treasures. I have shelves on both sides of the fireplace in the living room that I would love to paint the backs to match the wall color. I see that being done like your grass cloth. Those shelves are narrow and deep.
Thanks for the inspiration.
Nancy, I love the idea of painting the back of the bookshelves. I wrote a post last week about bookshelf inspiration. There was one example of painted bookshelves. You might check it out. https://blueskyathome.com/6-inspirational-ideas-for-new-bookshelves/
I found the cookbook you have 2 copies of, the Joy of Cooking!! Your shelves are so beautiful! I love cookbooks also!
Lisa
Lisa, you are so right. I forgot that we had 2 copies. One is a 1974 edition and the other is an update. Thanks so much for visiting and reading and commenting.