How to Paint a New Table for a Custom Look
You’ve bought a new table. It’s the perfect size and shape. But it needs something to give it a special and unique look. Do you realize that you can paint it? Here is how to paint a new table for a custom look.
Painting an old piece of furniture is commonplace. We all do it. but have you ever considered making over a brand new piece of furniture?
This furniture piece could be a dining room table, a coffee table or a kitchen table. It could be a nightstand or a side table.
In my case, our new table is an accent table for the living room. Let me show you how easy it was to give this small table a custom look with paint.

Searching for a New Table in the Living Room
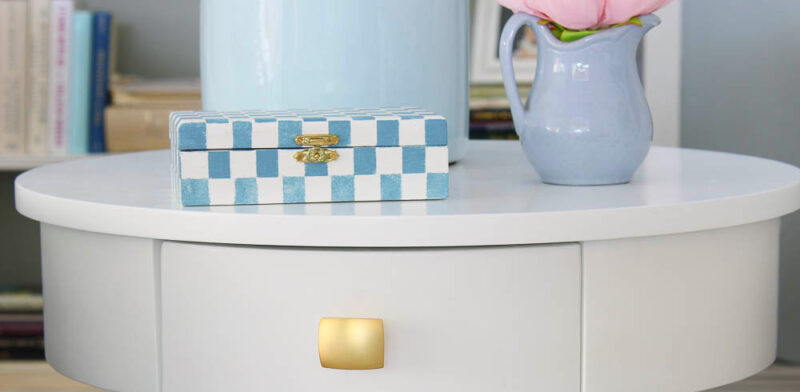
I recently shared a small painted DIY box I made for our new side table. Now I want to share how I painted that table for a fresh new look.
Imagine – you’ve finally found the right table for your space. It’s the right size, shape and style. The color may even be “almost” perfect.
That was my situation when I finally found a new side table for our living room.
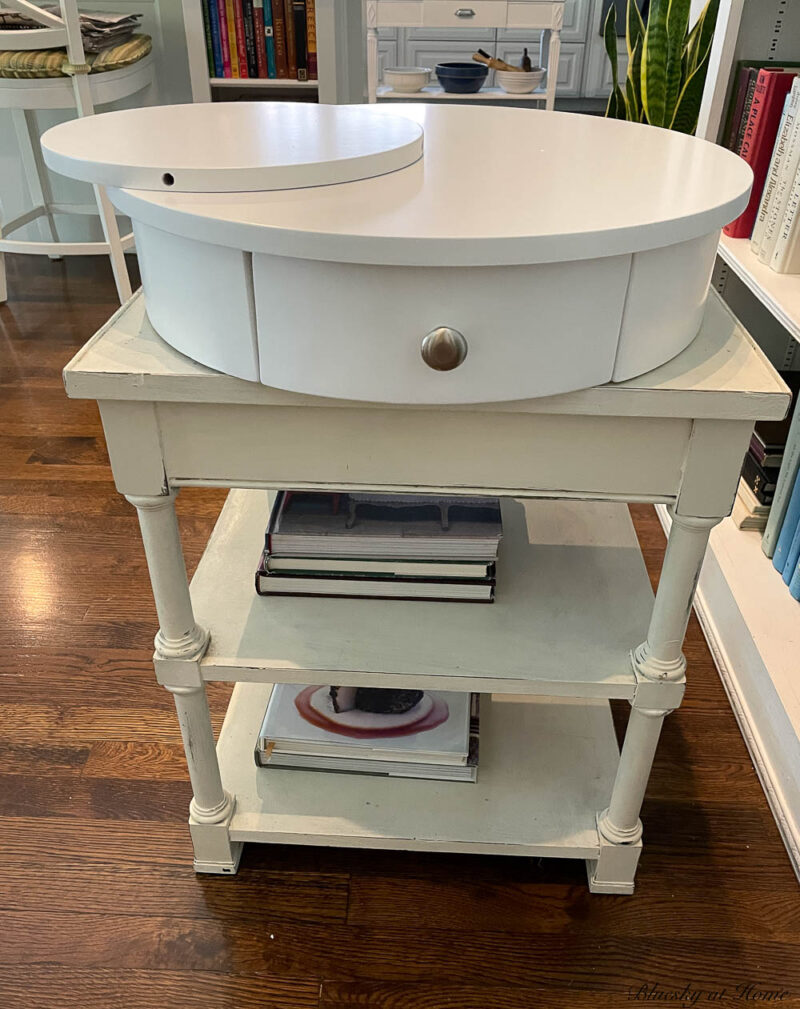
When our new swivel tables for our living room arrived, we used an existing square table that I had painted several years ago. The table had a shelf below and a drawer for remotes.
The problem was that the table had a heavy look that didn’t seem right for our updated living room style. Also, I thought that a round table would work much better with the swivel chairs.
The table needed to be between 22 and 24 inches in diameter and 20 – 22 inches tall. Ideally, it would also have a lower shelf and a drawer.
So the search began. Ideally, I wanted to find an old table to refinish and update. For weeks, I stopped at every estate sale sign I saw. I searched consignment stores, our NextDoor app and Facebook Marketplace.
I finally resigned myself to the fact that I would have to buy a brand-new table.
Then I looked at every retail store in my area. Nada.
After a few weeks, I had not found a single table even worth considering. Discouragement set in.
Finally, I realized that I would have to look online for a new table.
Finding My Perfect Table
After another week of searching, I found several possibilities on Wayfair. I made a favorites list and revisited them several times. Sweet Shark chimed in. (Which means he basically told me to pick the one I liked best. Good man.)
Here are the possibilities that I found. Remember my requirements?
- round shape
- has a lower shelf
- has a drawer
- 20 – 22 inches tall and 22 – 24 inches round
- natural finish or white
Which one did I pick?
Here’s the winner:
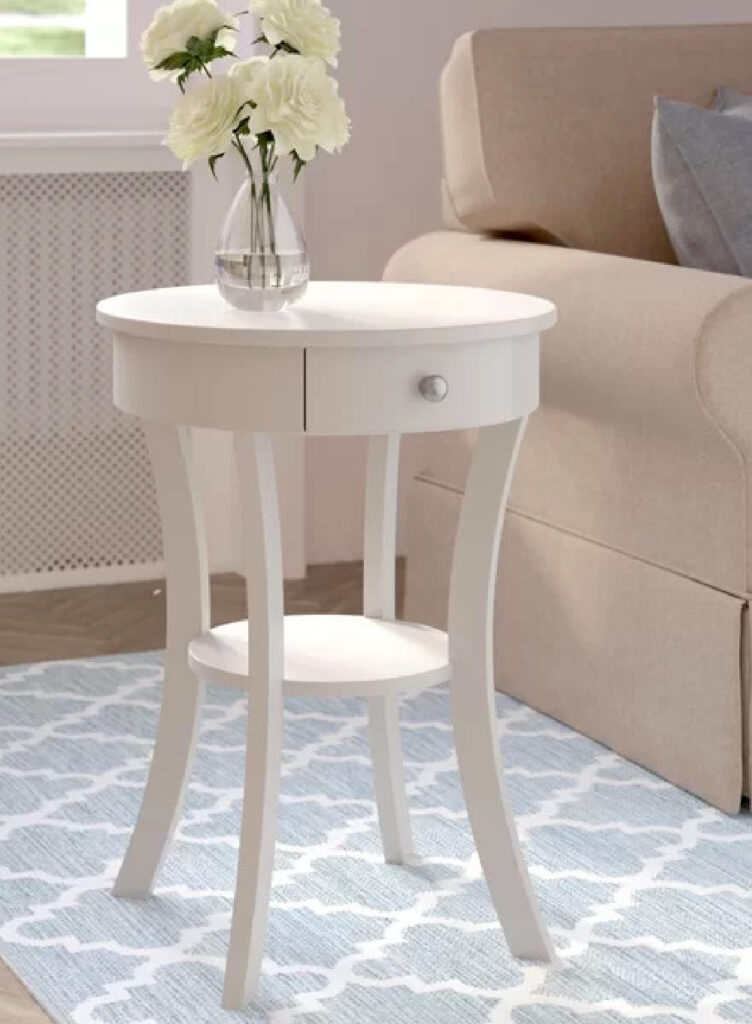
I loved the light feel, the shape of the legs, the size, the shelf, and the drawer.
Why Did I Paint a Brand New Table?
Why did I pick this one? It fulfilled all my requirements, the price was right, and I loved the curved legs and the classic look with a modern twist.
I loved the white finish but I thought it was a little blah.
In all honesty, painting the table wasn’t my original idea.
Several weeks ago, my neighbor Dale came down to look at our new furniture and give me ideas about the arrangement. Dale knows her design stuff – she was an executive at Peacock Alley for years and now does space planning for clients. I’m glad I’m her neighbor and friend.
She is the one who suggested switching the placement of the sofa and chairs and getting rid of the sofa table. Making those changes made all the difference in how the room looks and functions.
I was still hoping to find an old table to repaint and that’s when Dale suggested painting the table two colors for a more interesting look.
The table I chose was perfectly suited for painting. I could leave the top white and paint the legs and lower shelf.
Can you guess what color that would be?
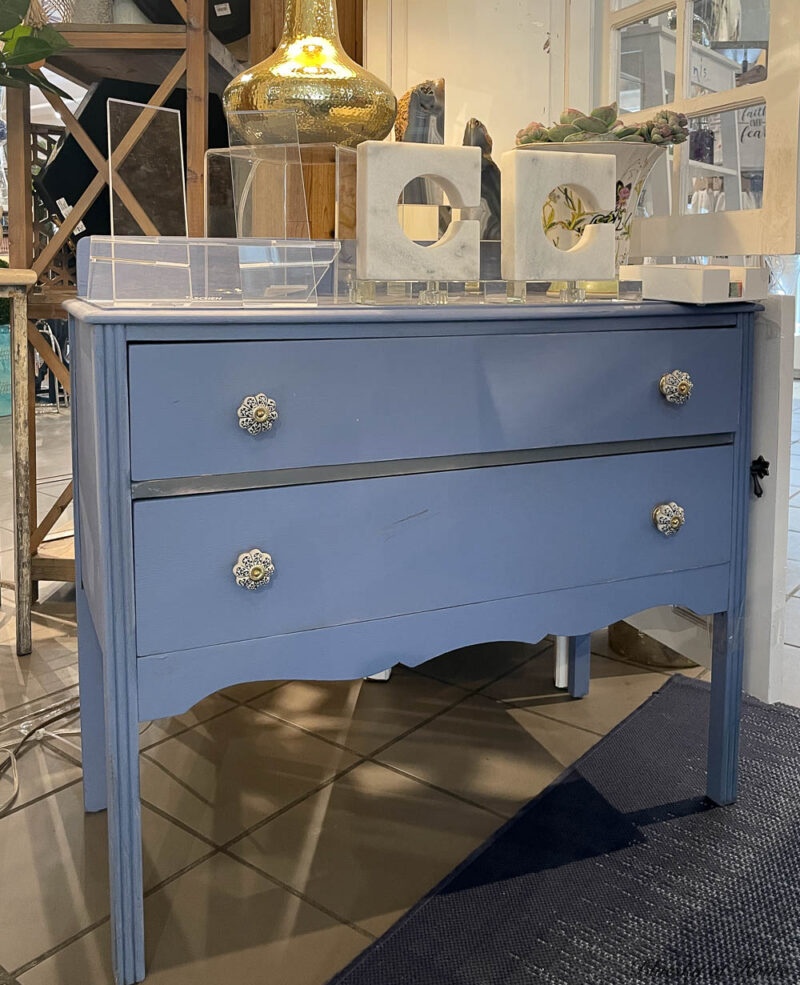
Blue, of course.
I saw this dresser at one of my favorite local stores, Jackson’s Pottery. The blue color was exactly what I was looking for.
Choosing Paint for the New Table
While we were waiting for the table to arrive, I had to choose the paint type and color.
I didn’t want a chalk paint look.
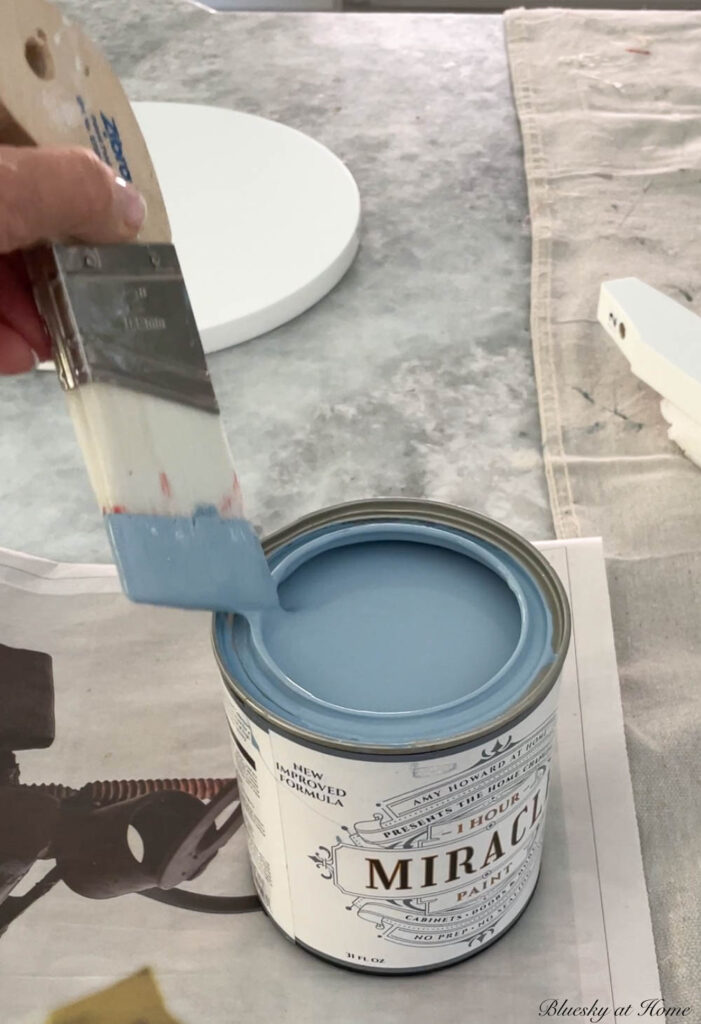
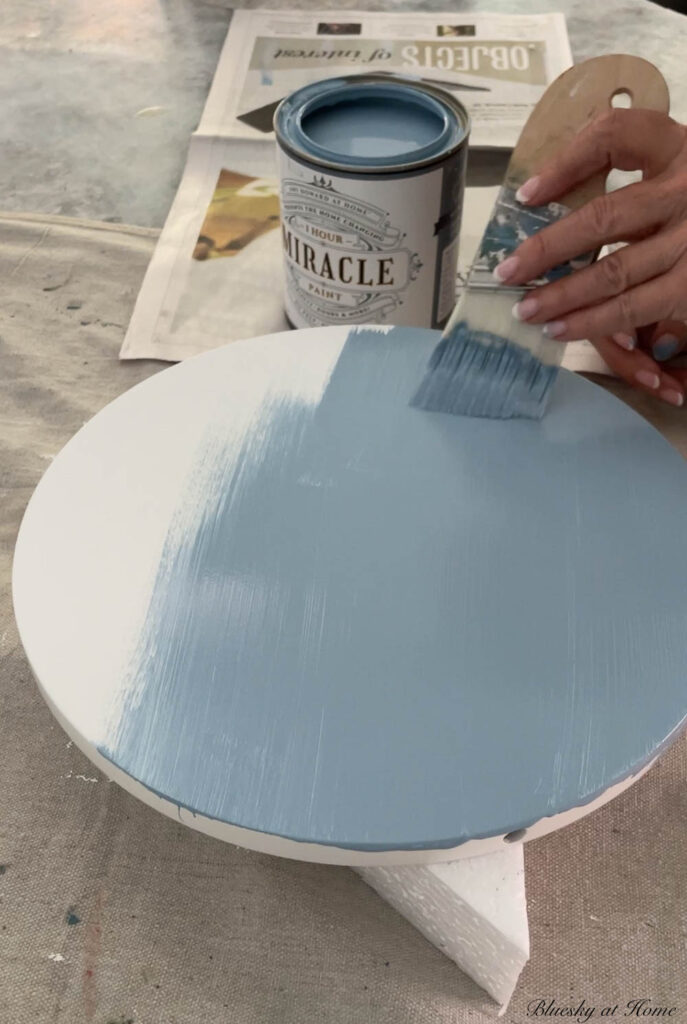
Amy Howard at Home had recently released a new paint formula several months ago called One Hour Miracle Paint. It is basically a water-based enamel that produces a smooth finish that is durable with a slight shine.
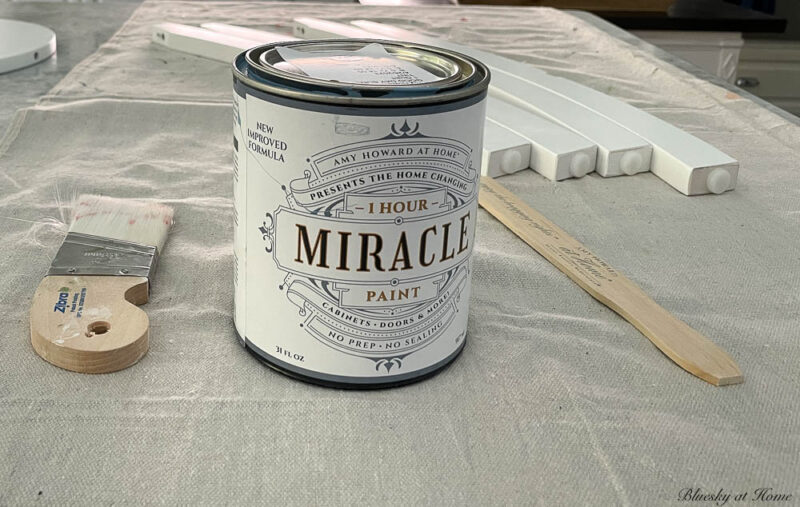
“One Hour Miracle Paint transforms furniture, cabinetry, front doors, and floors with a durable and beautiful eggshell finish. No prepping, sanding, priming, stripping, or sealing is necessary. You can use it indoors or outdoors with a built-in primer and sealer.”
I was dying to try this paint and thought now was the perfect opportunity. All I had to do was select the right color. Miracle Paint comes in the same colors as One Step Paint, which has a matte finish.
Miracle Paint is available in a few dozen beautiful colors and a wide range of blues. I didn’t want too light or too dark, but something with a fresh look.
I found the perfect color in one called Good Day Sunshine.
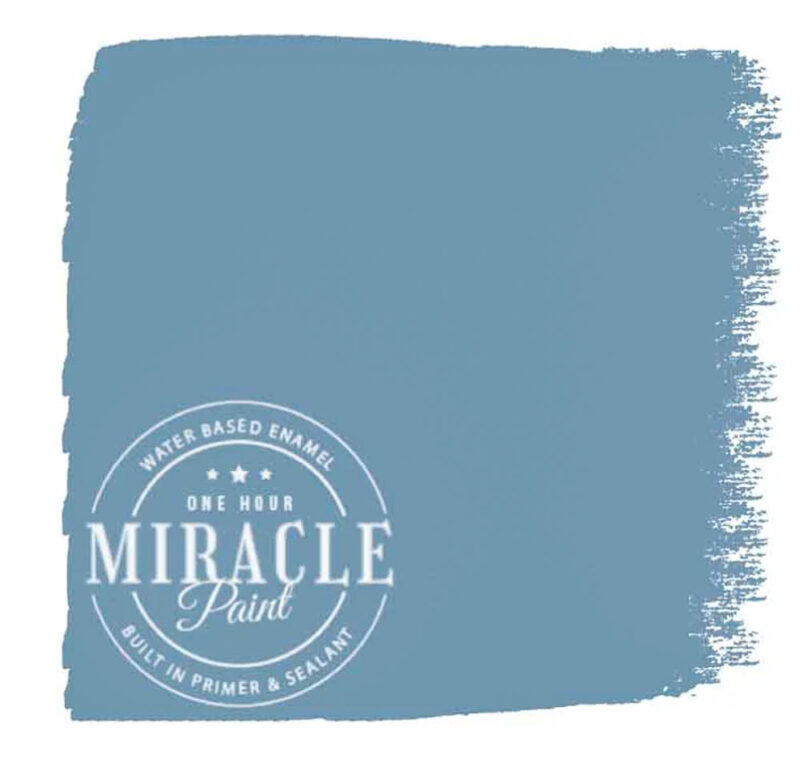
All Miracle Paint comes in 32-ounce cans, and some neutral colors come in sample 4-ounce jars.
Did you notice that Miracle Paint doesn’t require sanding, priming, stripping or sealing? My kind of paint. It is also a water-based paint so clean-up is simple with a little dish soap and water.
Let the painting begin!
Other Supplies You Will Need
- a drop cloth to cover your workspace and protect your piece of furniture
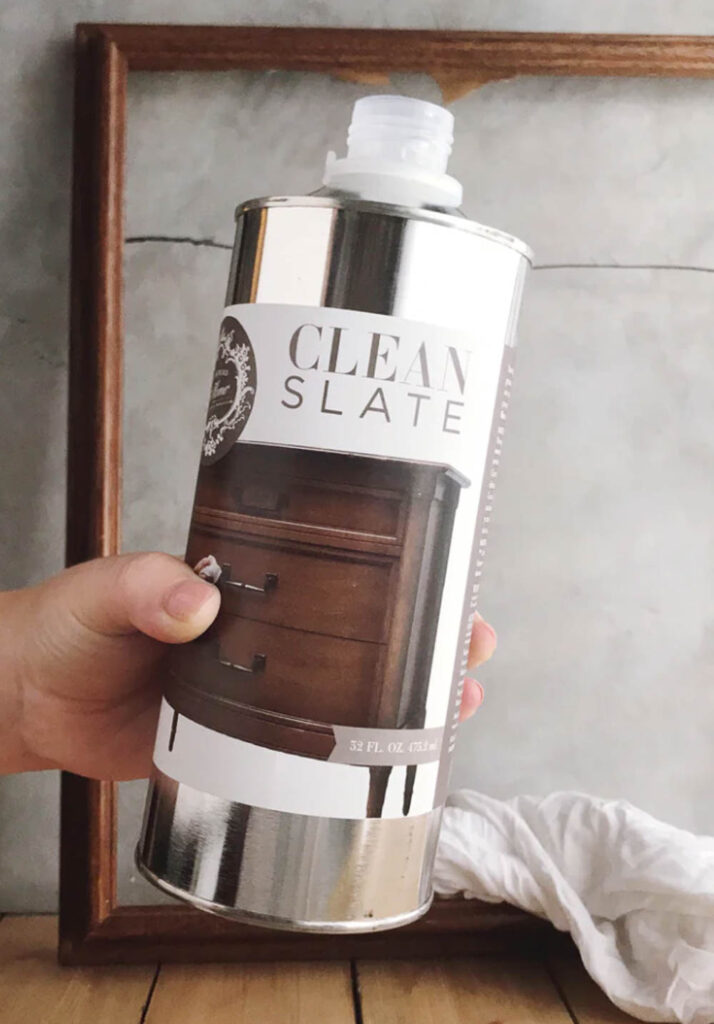
- if applicable, use a cleaner to remove dirt, grime, liquid furniture polishes or degreasers. I highly recommend Clean Slate from Amy Howard at Home. I’ve used it to clean my kitchen cabinets and wood furniture.
- if applicable, a clean rag to clean the furniture
- good synthetic paintbrush – I love this Zibra brush; it’s so comfortable to use.


Painting the New Table
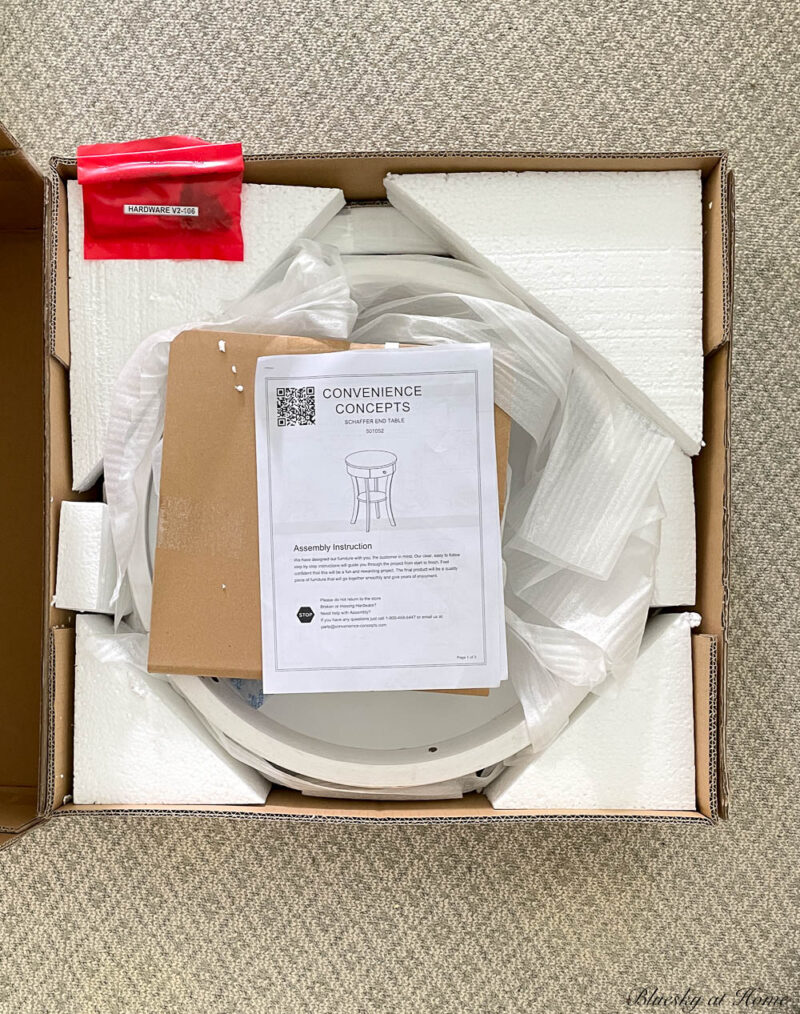
It was exciting the day our table arrived.
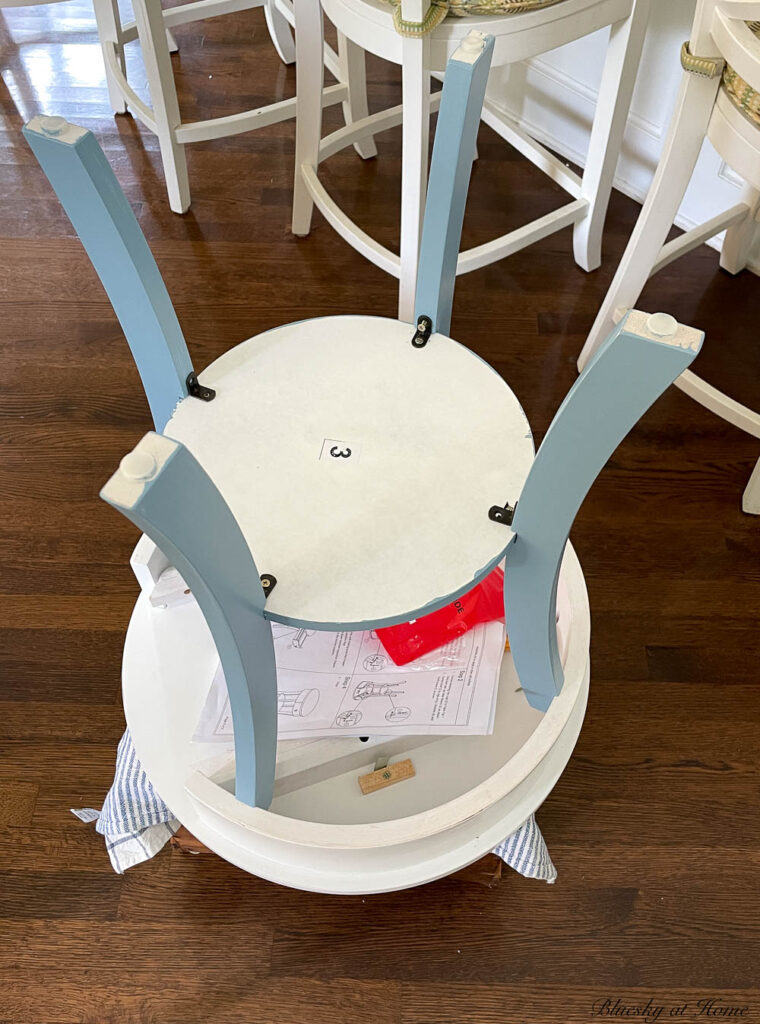
The table did require assembly, which was actually a good thing since I would be painting parts of it.
If you are painting old furniture or a piece that is already assembled, you may need painter’s tape. You should also remove any hardware.
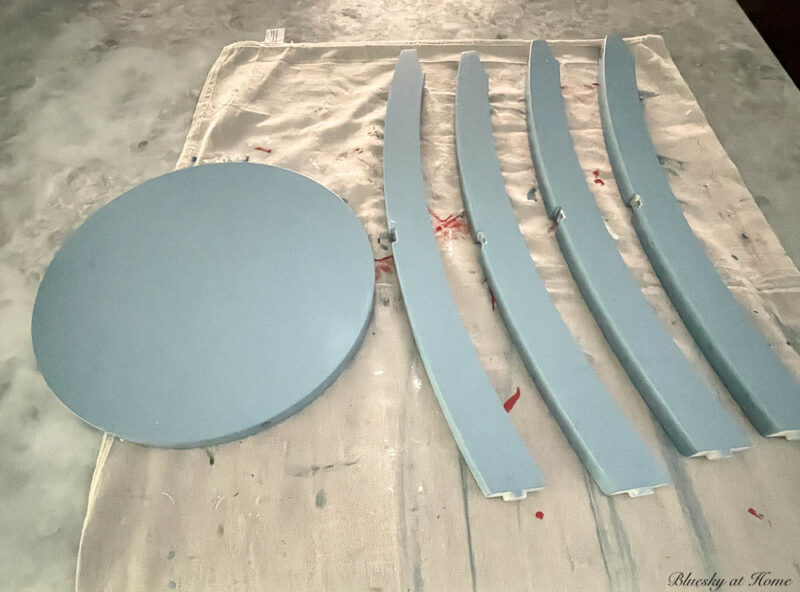
For the first step, we removed all the parts and laid them out on the drop cloth on the kitchen counter (my painting surface). We could see that the table had a very smooth finish.
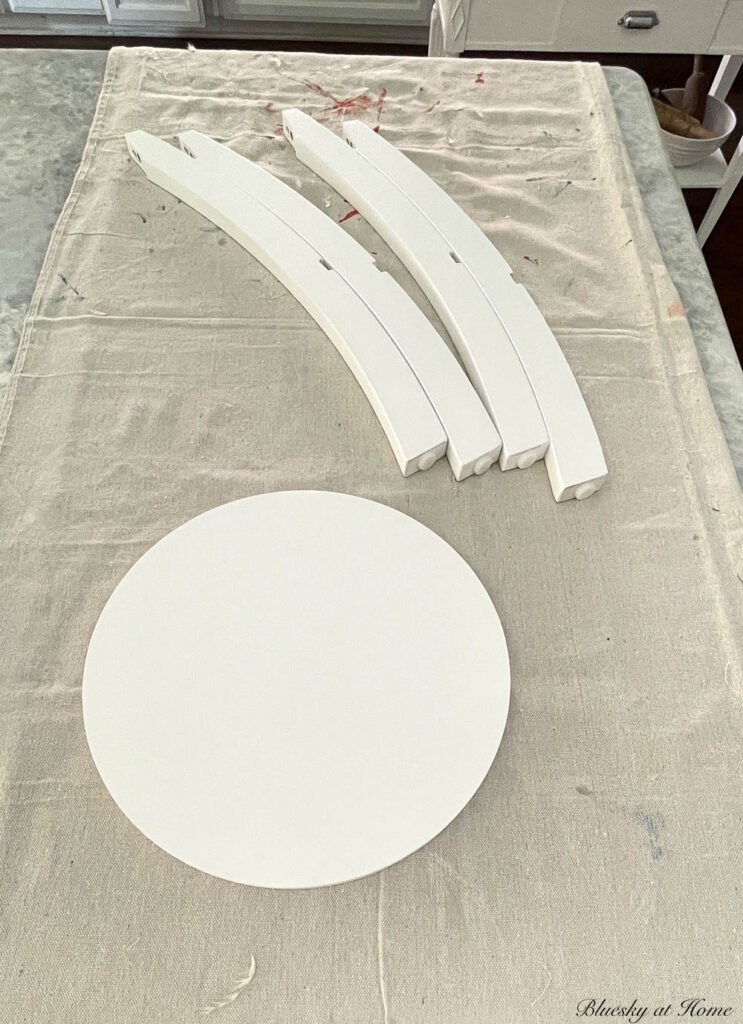
Since I would not be painting the table top we set it aside. It is sitting on the table that we are replacing. You can also see the difference in the shades of white.
Miracle Paint requires a good stir, not shaking it, before painting.

Here’s the Zibra brush that I mentioned earlier.
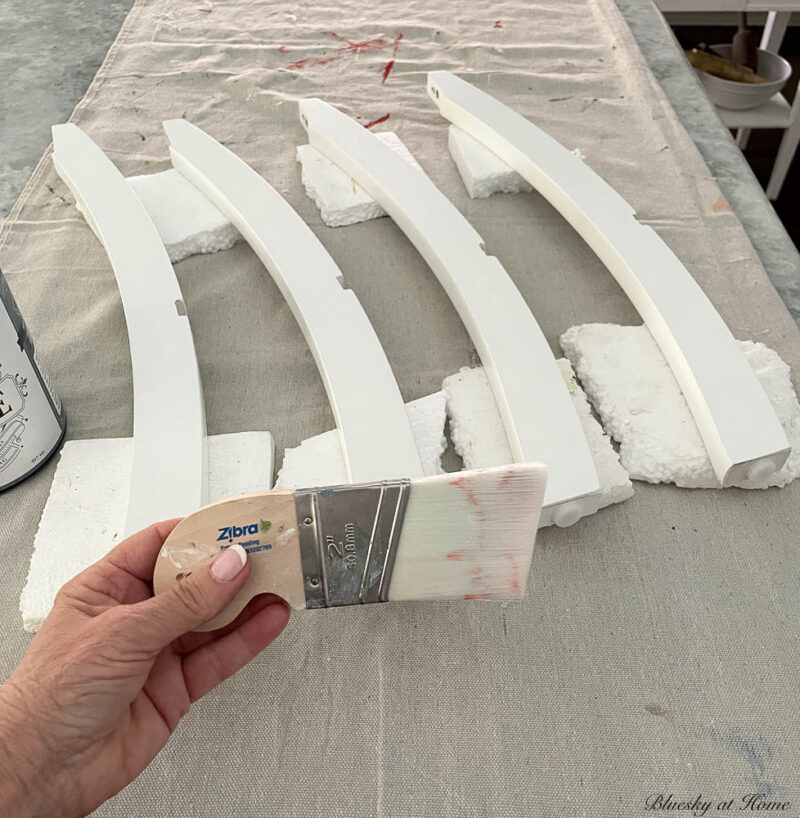
I decided to paint the legs first. I found some pieces of styrofoam in the garage to set the legs on. Normally, I wouldn’t recommend using styrofoam but I was very careful not to get paint on it.
I know that there are many types of paint you can use to paint furniture, depending on the look you want. I was amazed at how smoothly this paint went on. The coverage was also very good.
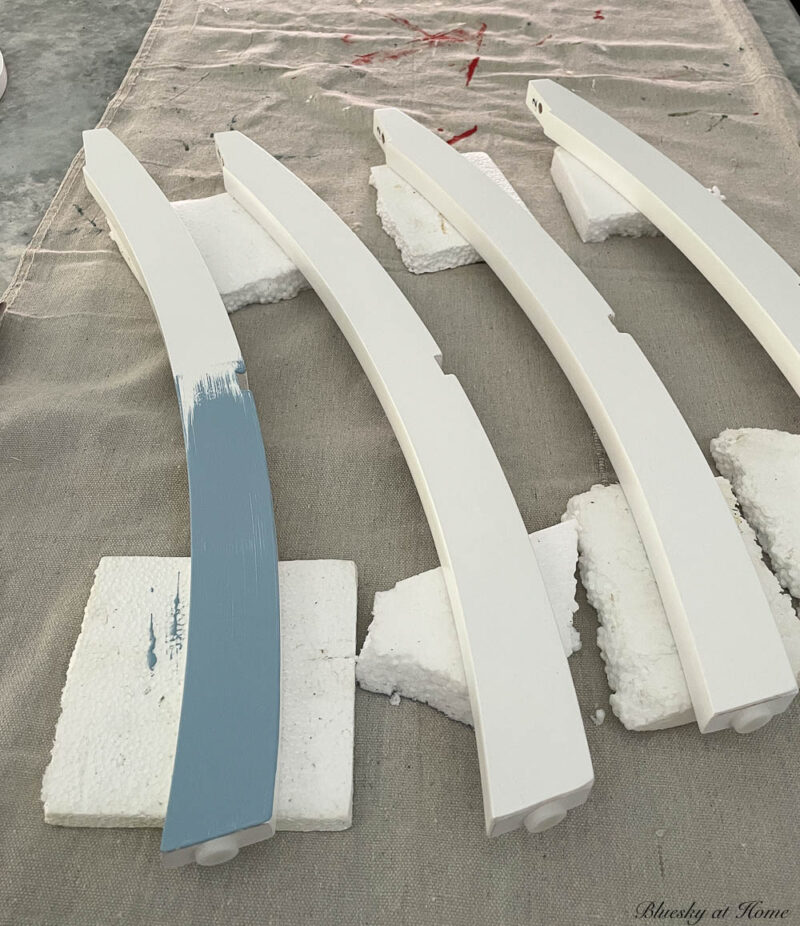
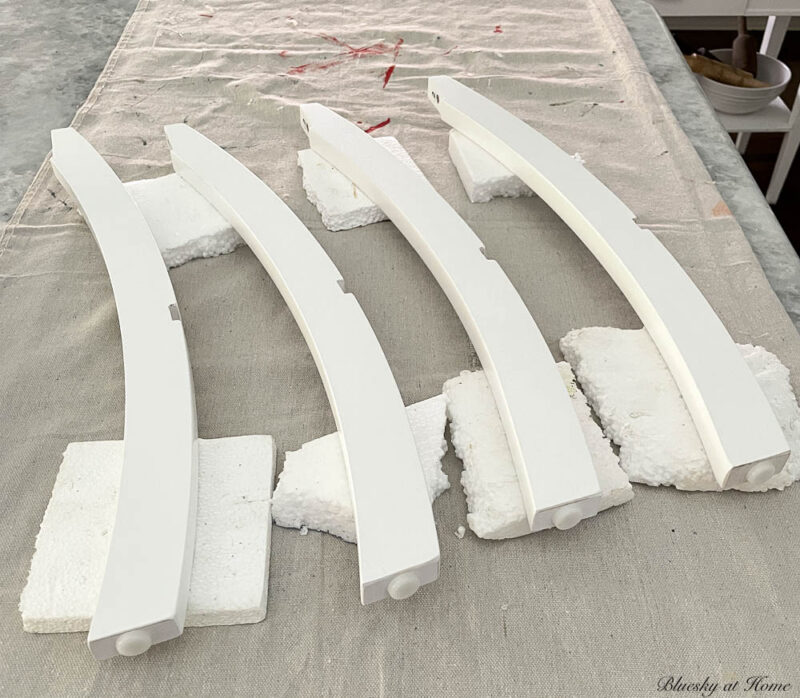
I painted all the legs on two sides – the wide side and the narrow side. Then I let them dry.
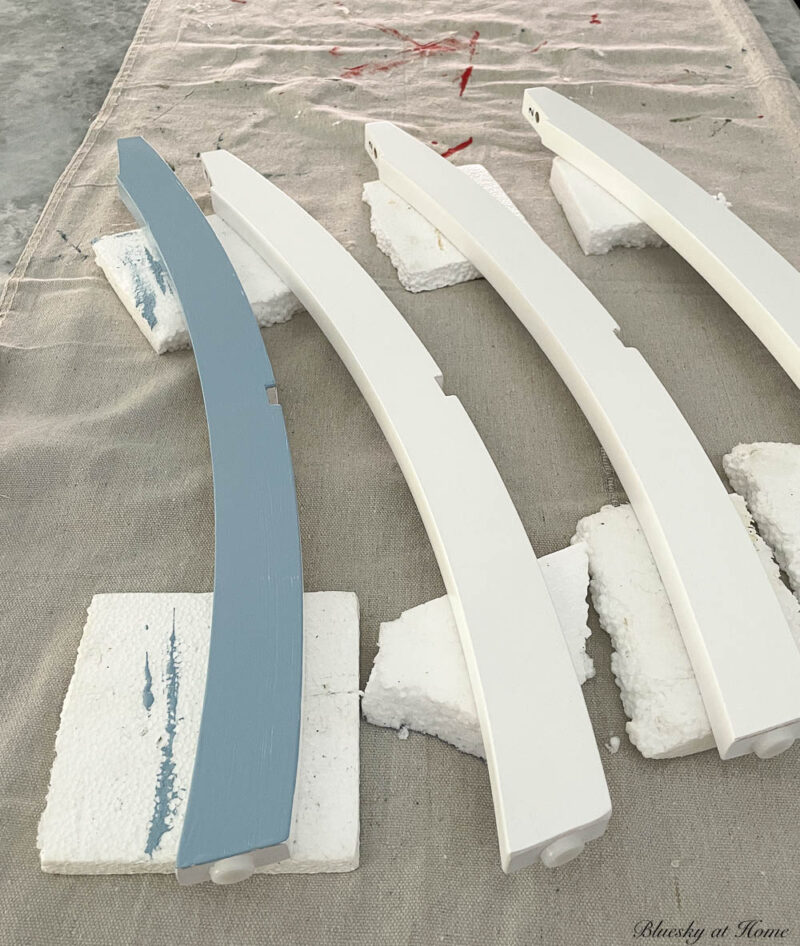
Next, I turned the legs over and painted the other sides.
The lower shelf only needed to be painted on the top and sides. I painted it while the first coat of paint dried on the legs.
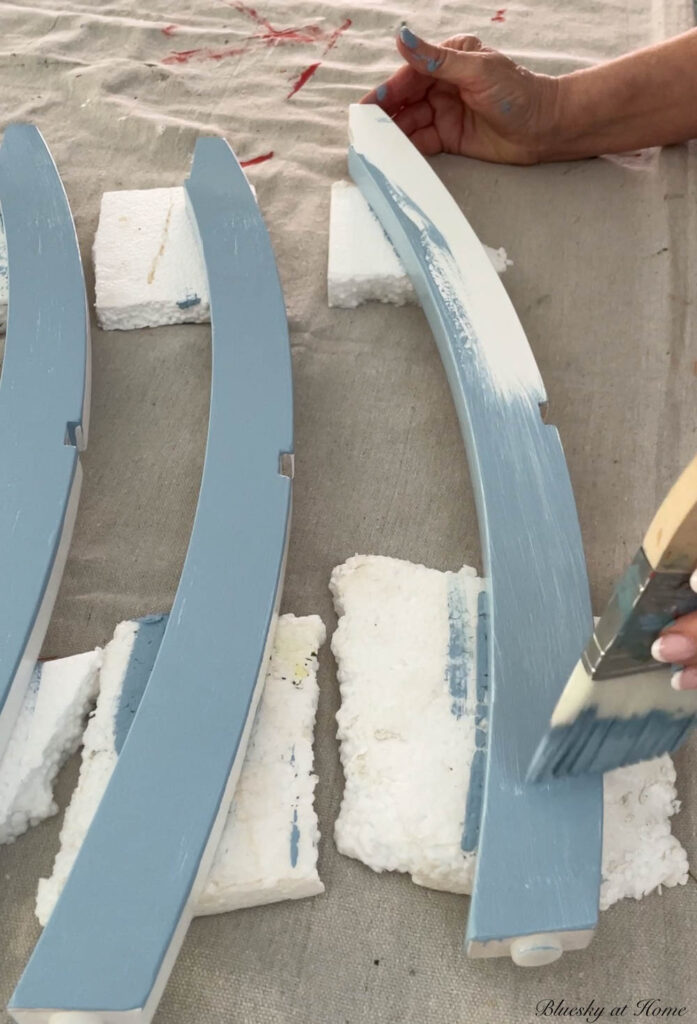
As usual, the first coat of paint acts as a base and the second coat adds depth and more coverage.
Another thing I liked about the paint was the lack of brush strokes.
When all the pieces of the table had been painted with two coats, I let them dry overnight for “extra insurance”. Since no sealing or waxing is required with this paint, that part of the project was done.
For the first time using this new paint, I couldn’t be more pleased with the color, the ease of painting, and the coverage. It also took very little paint to get full coverage.
I know everyone has their favorite furniture paint. However, if you are looking for a first-class paint for furniture or cabinets, I encourage you to try One Hour Miracle Paint. It really is one of the best furniture paints I’ve ever used.
Since you don’t need to do any prep work, like sanding or priming, or sealing your piece of furniture, you save time and money.
I can’t wait to use it on another piece of furniture.
Assembling the Table
The next day Sweet Shark and I assembled the table. All the screws and tools were provided, so it didn’t take too long to finish the assembly.
The Finishing Touch
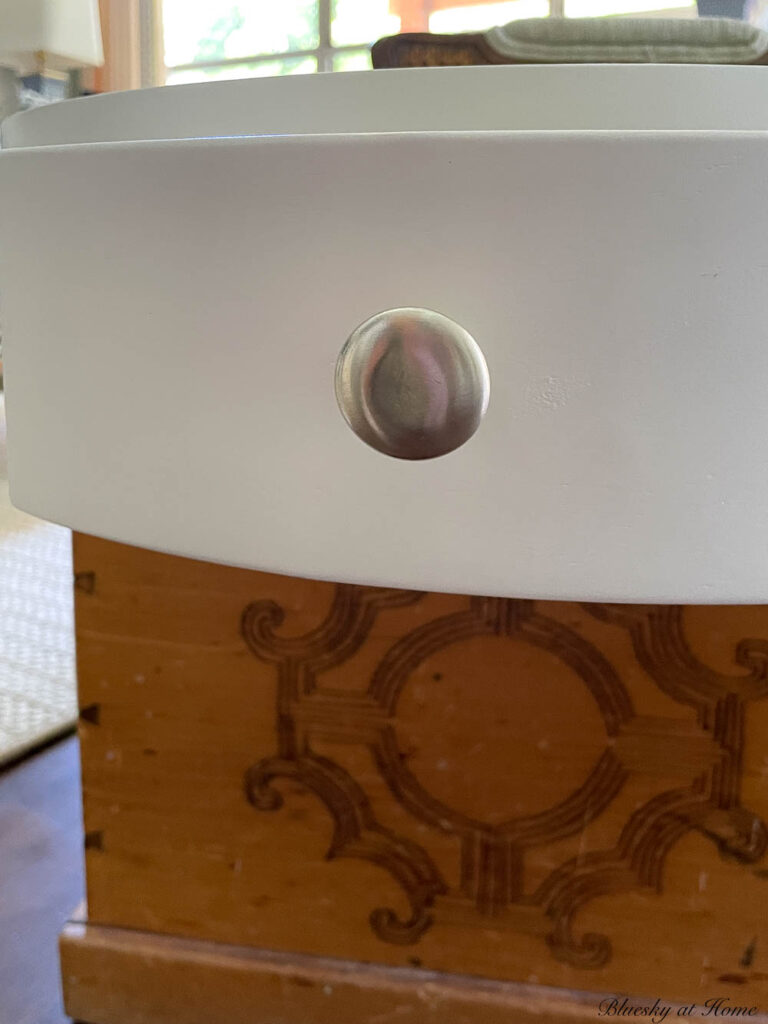
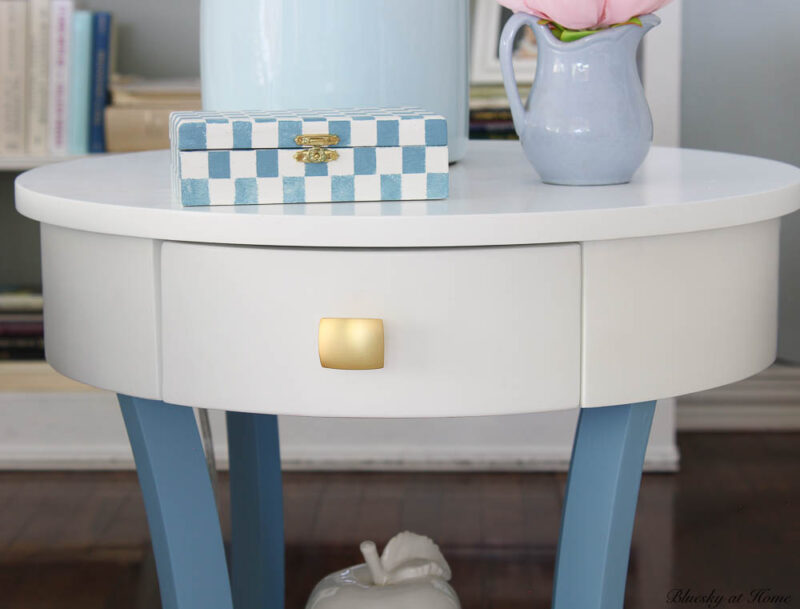
Nothing gives a piece of furniture a new custom look more than new hardware.
The table came with a small round brushed chrome knob. I wanted something more modern and in a gold metallic finish.
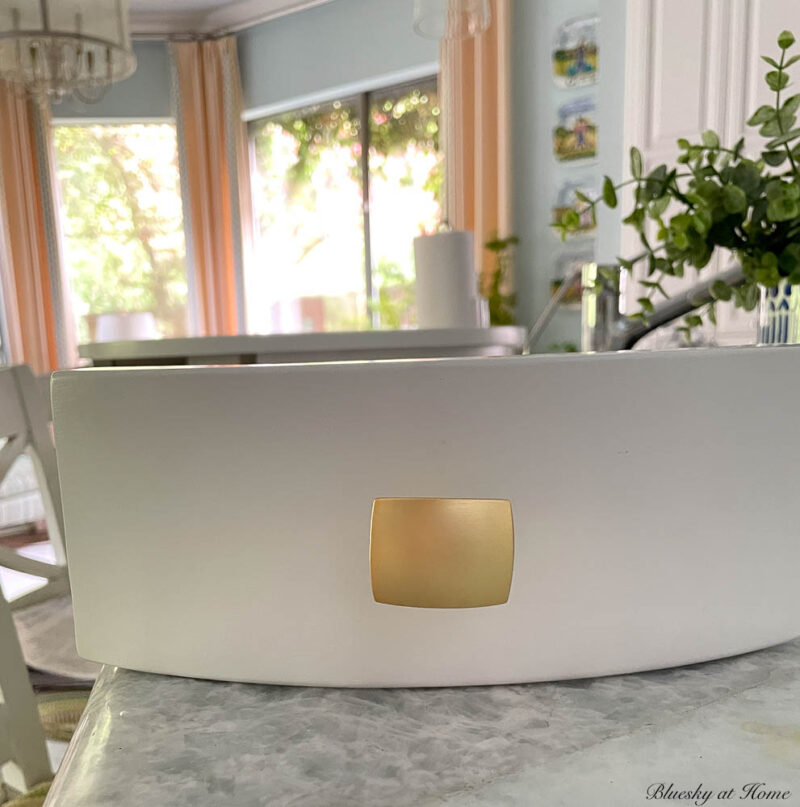
I found exactly the right knob at Lowe’s. A couple of years ago, I actually bought this same knob to update a dresser in one of our guest rooms. Here is another square gold knob that would be a good choice.
The final step was to screw in the new knob.
Now, we were ready to place the newly painted table in the living room.
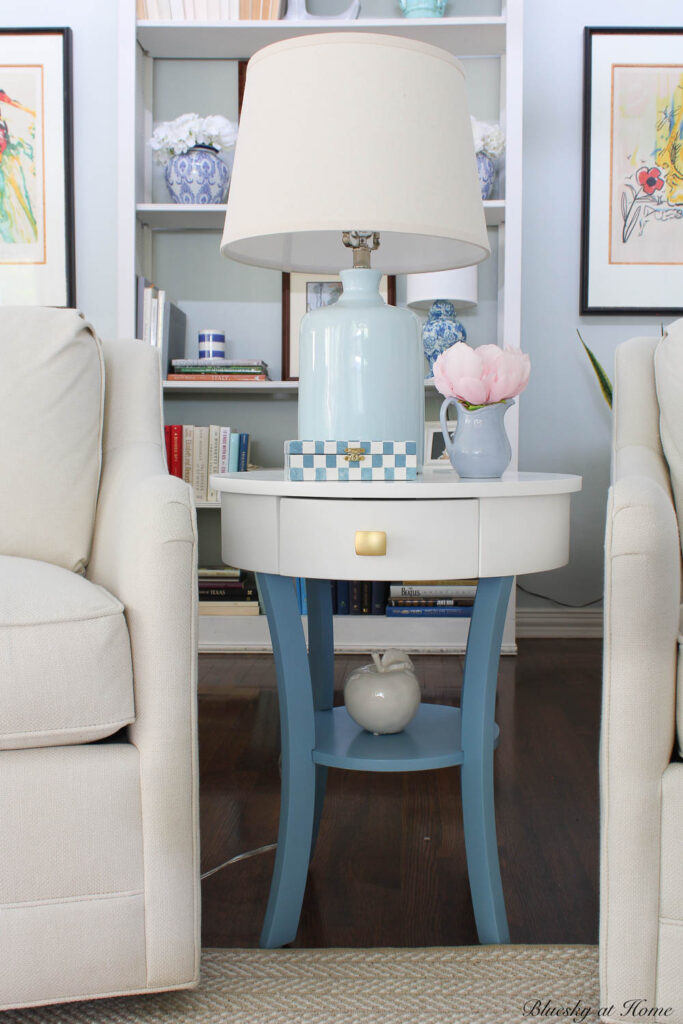
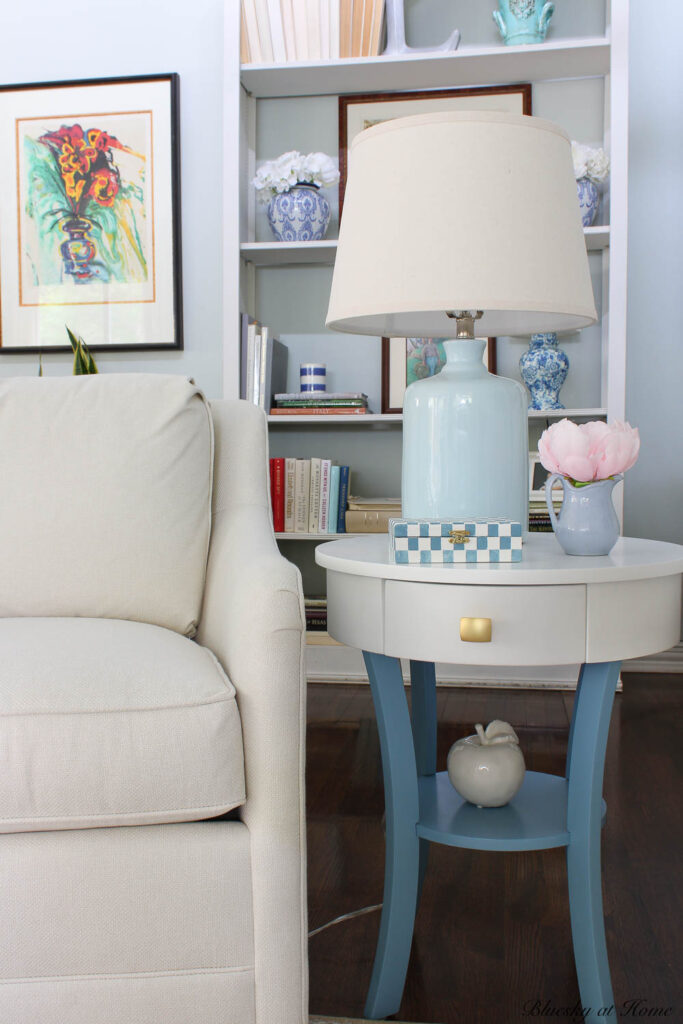
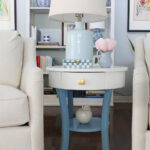
New Painted Table in the Living Room
We love how it looks in our living room. The size is just right, and I love the round shape between the swivel chairs.
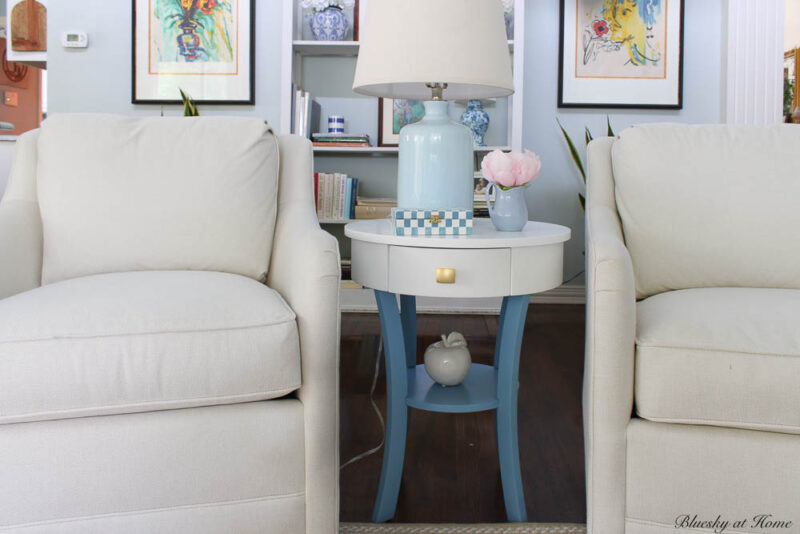
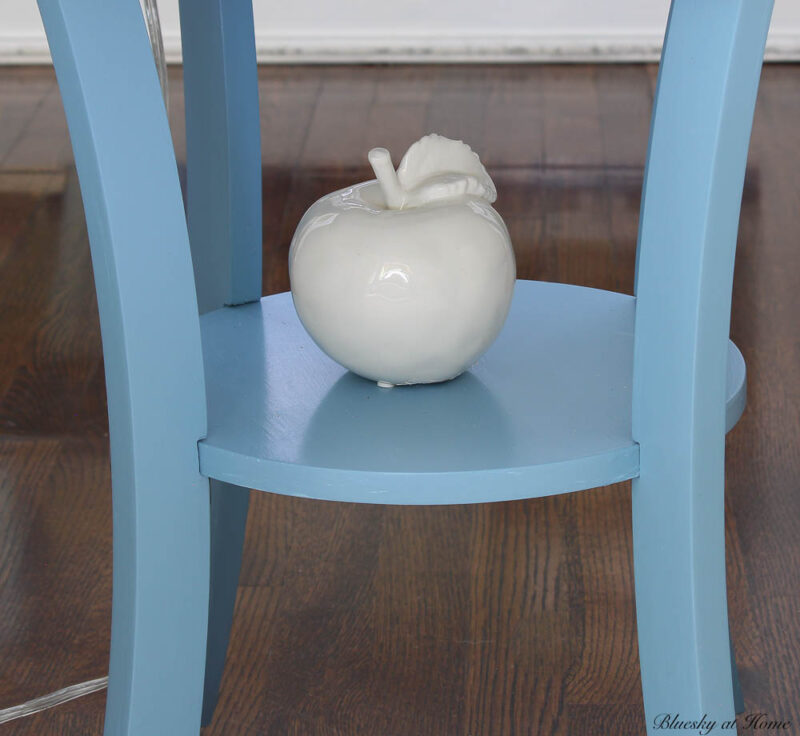
The lower shelf provides a small place for a decorative item. The drawer gives a place for remote controls.
I like that the blue color breaks up the white chairs and the white table top.
I love the gold drawer knob which goes so well with our other tables and the gold metallic of our lamps (You’ll have to wait for the living room reveal to see that.
The best part? The two-toned color scheme gives the table a more custom look than being only white.
The moral of this how-to-paint a new table project is that you can absolutely paint a new piece of furniture. That gives you more options in your home decor choices.
I hope you’ll be inspired to give your furniture a custom look with paint.
Here is another of my favorite table makeover projects – this time with an old table.
Don’t forget to PIN this project to your Pinterest Paint or DIY project boards. Check out my Pinterest Board, Paint Projects.


What as perfect transformation! Glad you finally found a side table thatworks for you. I often think that just may be the most difficult piece of furniture to find that fits all one’s requirements. Have a good weekend.
Thank you for sharing your beautiful table makeover at the Senior Salon Pit Stop link party last week. I’m delighted to be featuring it at the party tomorrow and pinning too.
Hugs,
Maria
WOW, love the white and blue on your table. Well done. Thank you from your SSPS Team for sharing your links with us at #265 SSPS Linky. Please check back weekly to see if featured on the blog post or by any co-hosts