How to Make the Prettiest Little Valentine’s Day Cookies
Valentine’s Day isn’t just for sweethearts. Your best friend can be your Valentine, your kids, grandkids, or anyone who is special to you. Since it’s officially Valentine’s season, I have to show you how to make the prettiest little Valentine’s Day cookies.
You know that commercial that tells you not to give your Valentine flowers (because they will die) or chocolate (because she’ll get fat), but a big teddy bear? I say NO, NO, NO! I want flowers and sweets. Jewelry is nice too.
After several years of making reservations and dealing with fixed dining times, Sweet Shark and I celebrate Valentine’s Day at home. It’s more romantic and cozy.
It’s quieter and far less expensive. We can dance in the kitchen, but we can still get dressed up, make dinner together and not drive or even take Uber. We like it so much better.
Although I don’t often make cookies, I love these pretty little Valentine’s cookies. Sweet Shark loves to snack on them.

What kid or grown-up doesn’t like a cookie? Especially on Valentine’s Day. This easy-to-make cookie is not only pretty but not too sweet.
I first made these cookies a few years ago. They have always been a big hit. I make them often and make custom adjustments for the occasion.
Every Sunday, our church has cookie bags for visitors. It’s a service I enjoy participating in. Usually, when it’s my Sunday for cookies, I usually make chocolate chip cookies.
One year, my “sign-up Sunday happened to be the week of Valentine’s Day. I wanted to bake something special for the upcoming holiday. These little Valentine’s cookies were perfect.
I decided to make the sugar cookie recipe and use it to make a special cookie for the month of romance.
some of Our FavoriteS
More Dessert Recipes
Prettiest Little Cookies for Valentine’s Day
I found this recipe in our local paper. The columnist shared her best friend’s grandmother’s recipe for “Best Sugar Cookies Ever”.
This cookie recipe is easy and follows a standard cookie recipe procedure.
So grab a cup of coffee, cocoa, or iced tea and let me show you how to make the prettiest little Valentine’s cookies.
Making the Cookie Dough
Step 1 – Gather and measure all your ingredients.
Step 2 – Sift your dry ingredients: all-purpose flour, baking powder, and salt. This is my favorite sifter. It’s easy on your wrist and does a great job of sifting the flour.
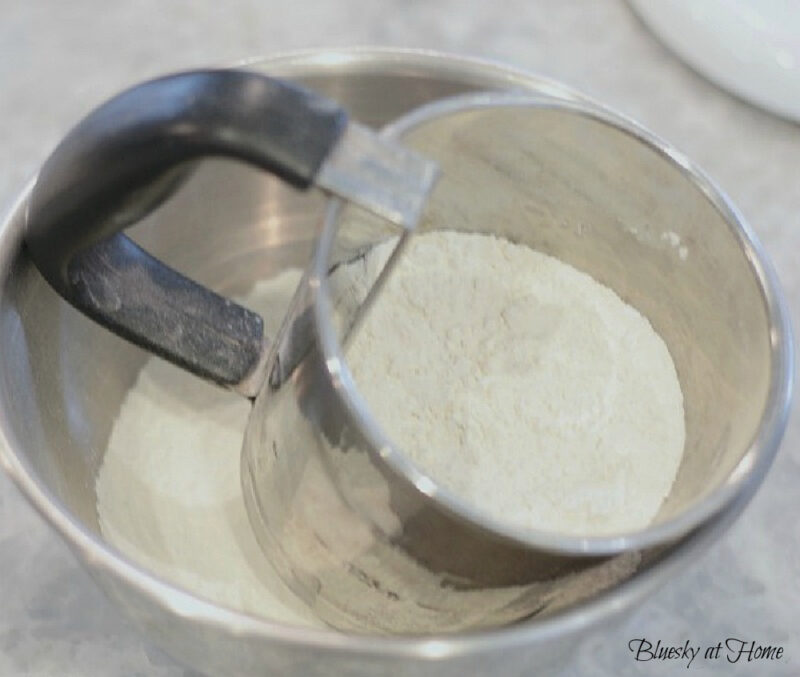
TIP: Never wash a sifter. You don’t want to take a chance of any water getting in the metal. Thoroughly sift out all the flour and then wipe it out with a paper towel.
Step 4 – Cream your softened butter and sugar in a stand mixer. As always, I use my Kitchen Aid Mixer. Be sure your butter has softened first.
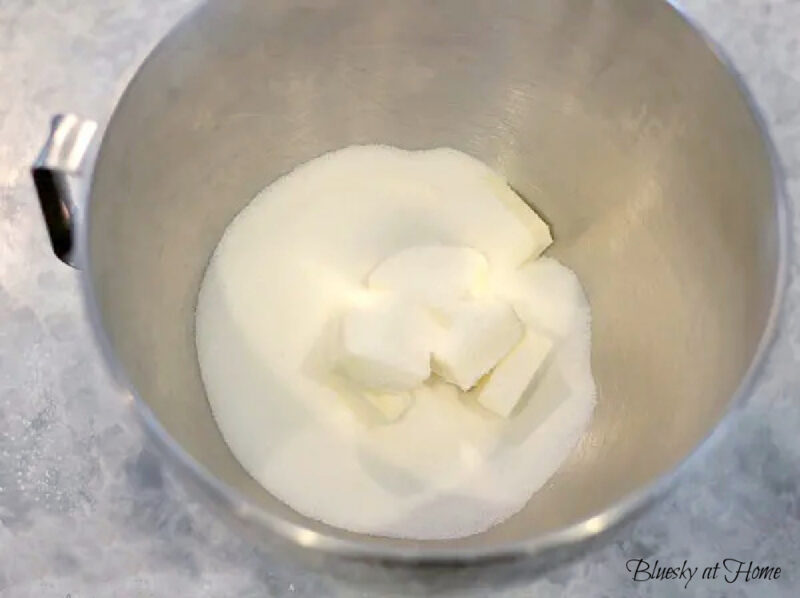
Step 5 – Add 1 whole egg and the vanilla extract.
Step 6 – Add your sifted flour, baking powder, and salt.
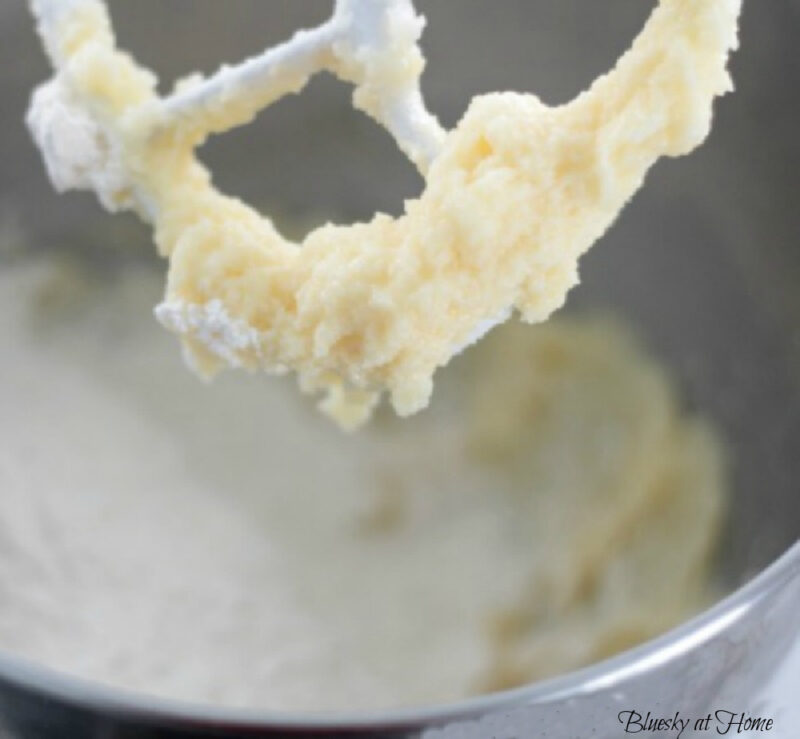
Step 7 – Beat on low speed until the dough is fully blended.
Step 8 – Gather the dough on a large piece of plastic wrap and form a flattened disk. Refrigerate for at least 1 hour and up to 12 hours.
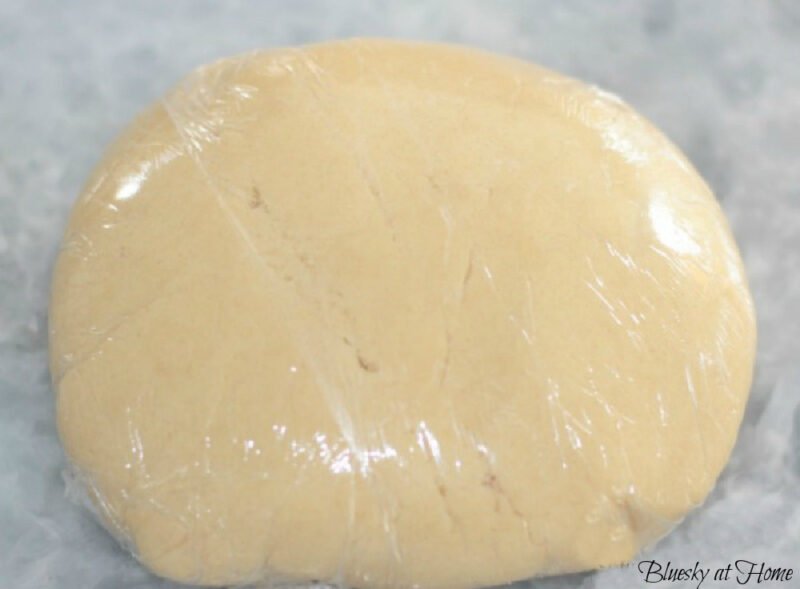
Step 9 – On a floured counter, roll out the dough to 1/4-inch thickness with a rolling pin (This one is cool – you can adjust the thickness of your dough). I cut the dough into two pieces to make the first batch of cookies.
TIP: Rewrap the remaining half and put it back in the fridge until you are ready to make the second batch.
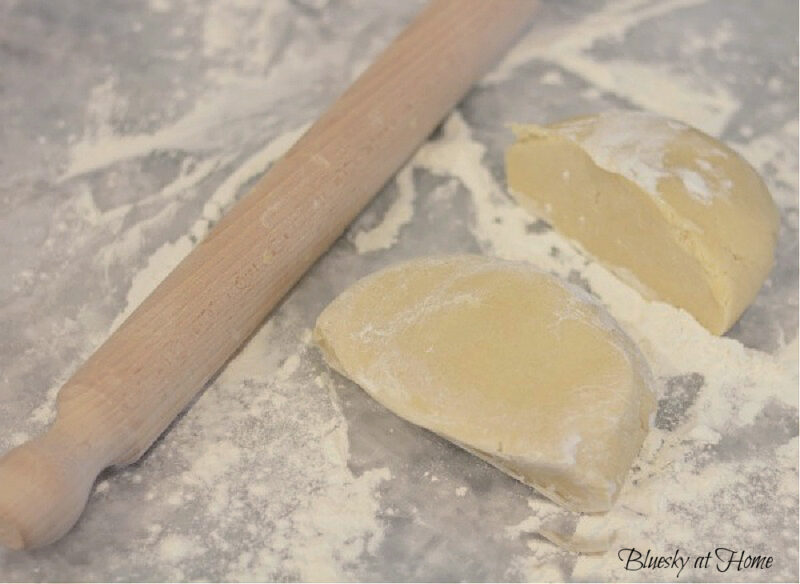
Fortunately, I already had two sizes of heart-shaped cookie cutters for the cookies. I used the smaller one, 2 1/4 inches across.

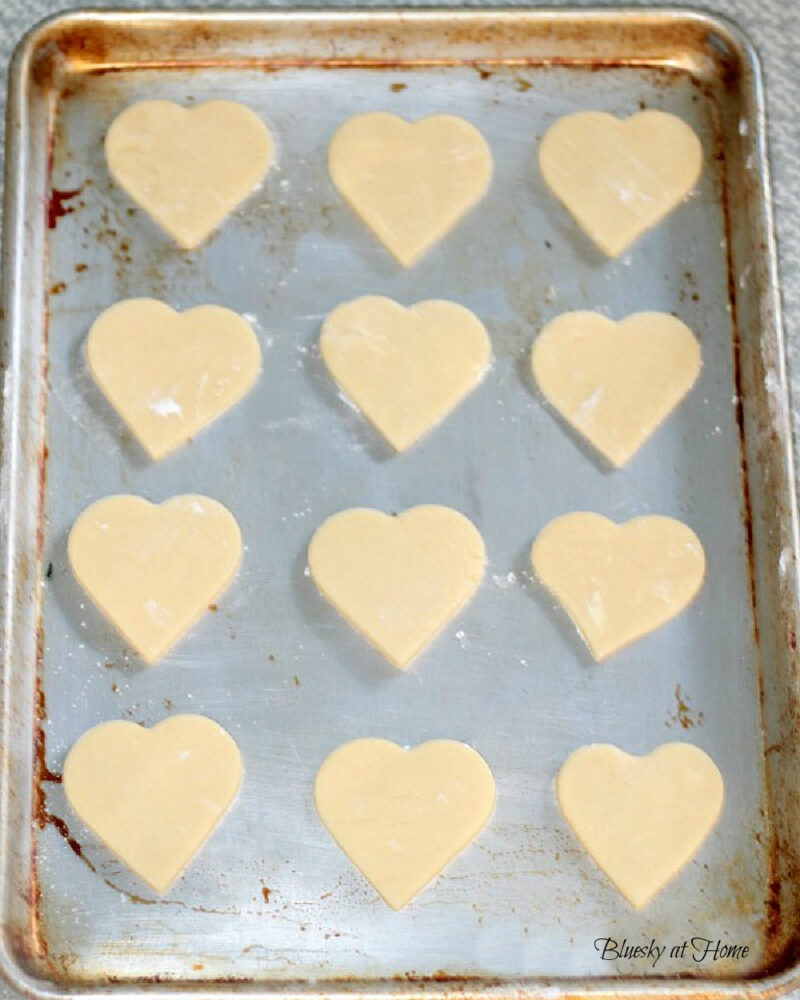
Step 10 – Cut out the cookies and place them on an ungreased half-sheet pan. Bake for 10 minutes, cool, and place on a cooling rack. I got 29 cookies.
NOTE: You can use a piece of parchment paper or a Silpat, if you like.
Making the Icing
Step 1 – For the icing, mix the confectioner’s sugar, milk, and vanilla extract in a small bowl. Whisk or stir until thoroughly blended.
TIP: Sift your confectioner’s sugar before making the icing. You don’t want to have any lumps in your icing.
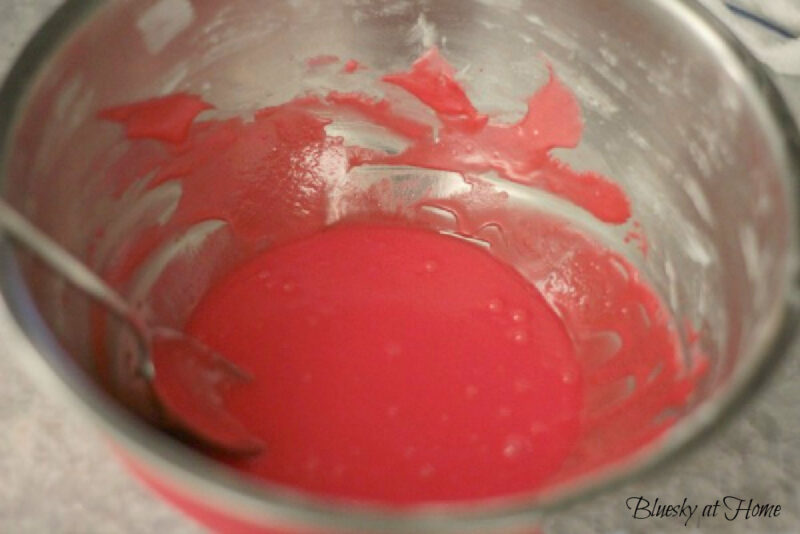
Step 2 – Add enough red food coloring to get the color you want in a small mixing bowl.
TIP: Add the food coloring in small drops so you best control the intensity of the color.

Decorating the Valentine’s Cookies
There are two ways to decorate the Valentine’s Day cookies and apply the icing to the cookies:
- You can use a small (12-inch) piping bag with a small plain tip.
- I like to use a small spoon to drizzle on the icing. Then you can use the back of the spoon to smooth the icing on the cooking.
Here are my finished, iced Valentine’s cookies. Let the icing “set” for several hours – I let mine sit overnight.

Then I put a couple of the Valentine’s Day cookies in the cellophane gift bags and tied them with the blue ribbon that is provided for the bakers.
NOTE: When I gave these cookie bags to friends or used them as party favors, I used red curly ribbon.

Of course, I had to save several for Sweet Shark. You’ll love how simple this cookie is to make.
You could also add one of these Valentine’s cookies to a plate of other desserts, such as these Raspberry Chocolate Parfaits.
Here is another favorite homemade cookie – Cinnamon Roll Cookie – to take a look at.
Kitchen Tools to Make the Cookies

The Valentine’s Day Cookie Recipe

Valentine’s Day Cookies
Equipment
- medium mixing bowl
- spoon
- measuring cups
- measuring spoons
Ingredients
- 2 cups all~purpose flour
- 1 teaspoon baking powder
- ¼ teaspoon salt
- ½ cup unsalted butter softened
- 1 egg room temperature
- 1 teaspoon vanilla extract
Instructions
- In a small bowl, sift together the flour, baking powder and salt. Set aside.
- In the large bowl of an electric mixer, cream together the butter and sugar.
- Add the egg and vanilla extract and mix well.
- Turn the mixer to low and slowly add the dry ingredients to the sugar mixture. Mix until a stiff dough forms.
- Transfer the cookie dough to plastic wrap and tightly secure. Refrigerate for at least 1 hour, up to 12 hours.
- Preheat the oven to 350 F. Remove the dough from the refrigerator and roll out on a lightly floured surface to 1/4-inch thickness.
- Cut with cookie cutters of your choice and gently place the cookies on ungreased baking sheets.
- Bake the cookies for 8 to 10 minutes, or until very light gold in color. Allow to cool for 1 minute on the cookie sheet, then transfer to a wire rack to cool completely before icing.
- Old-Fashioned Confectioner's Icing: Stir together 1 ¼ cups sifted confectioner's sugar, 2 tablespoons whole milk, and 1 teaspoon vanilla extract. Adjust consistency by adding sugar by the tablespoon to thicken or by adding milk by the teaspoon to thin. Divide the icing into several bowls for making multiple colors. Use food coloring to tint the icing to the desired color. Icing can be refrigerated for up to 3 days. Bring to room temperature before spreading on cookies.
Would you like to see how to use this cookie recipe for a Shamrock Cookie for St. Patrick’s Day?
Looking for more great dessert recipes? Check out my Pinterest Board, Delicious Dessert Recipes.
Don’t you think these are the prettiest little Valentine’s Day cookies? The cookies are very good, crispy, and just a little sweet. This will be my go-to recipe for making decorative cookies for any occasion. I bet they will become yours, too. Don’t forget to PIN this recipe.







Great and easy looking enough to whip up a batch.
I visited you via County Road 407: Farmhouse Friday 332
My links: 56+57. I hope you will join us M-S SeniorSalonPitStop. You will find it under BLOGGING
Hi Carol
Pinned!
I love a sugar cookie. I love what your church does with the cookies too!
xo laura
How much sugar do you use in the recipe?
OMG, Muriel, I can’t believe I left out the sugar amount!! I am so sorry. I am out of town until next Tuesday. I will look at my hard copy as soon as I get home and update the recipe. Thank you so much for bringing this to my attention.
Thanks, Carol, for this recipe! I am going to make these cookies on the weekend. I always enjoy your delicious recipes that you share! Have a great week!
Delish!
I’m not a baker either but I may try these. How long do I refrigerate the dough?
Jennifer, even non-bakers can make these cookies. You want to refrigerate the dough at least 1 hour and up to 24 hours. The dough will be very firm when you take it out of the fridge. Give it a few minutes to soften. Let me know how they turn out.