How to Make a Bright Painted Easter Banner
It’s been a whirlwind 2 weeks of Easter decorations, Easter tablescapes and Easter decor. From bunnies to signs to place settings, it seems we all love to create and decorate for this special holiday. Not one to let a DIY opportunity pass them by, I created a bright painted Easter banner that you can make quicker than you can say hippity hop.
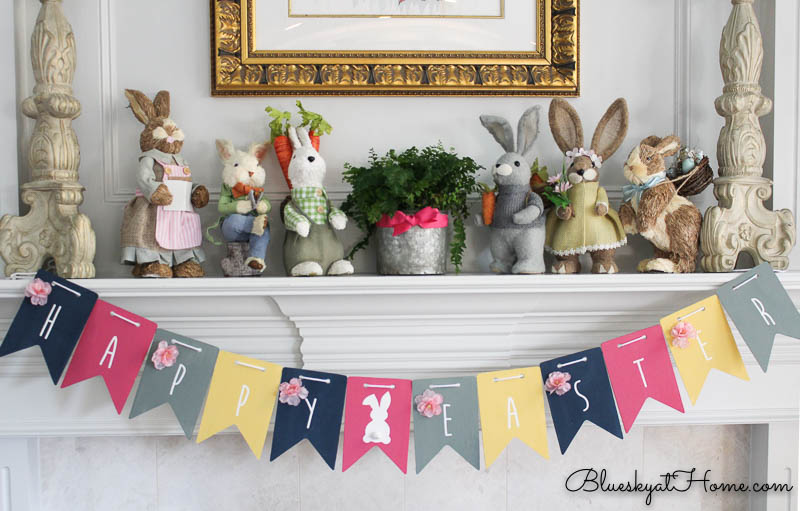
I love creating banners for different holidays, primarily for our mantle. Our fireplace is very large, all white and the focal point of our living room. So banners, especially bright ones, are an effective way to showcase a holiday theme.
Banners can be made of paper, fabric, or wood. For this year, I made this bright painted Easter banner with wood, paint, stencils and ChalkArt. Some faux flowers provided a pretty touch of springtime.

How to Make a Bright Painted Easter Banner
In case you missed it, I just shared an easy DIY Easter decoration as part of the monthly Ten on the 10th under $10 with 10 or more other blogger friends. We pick a theme and make a project under $10. It’s a great challenge that yields wonderful results. Some of my favorite DIY projects have come from this challenge.
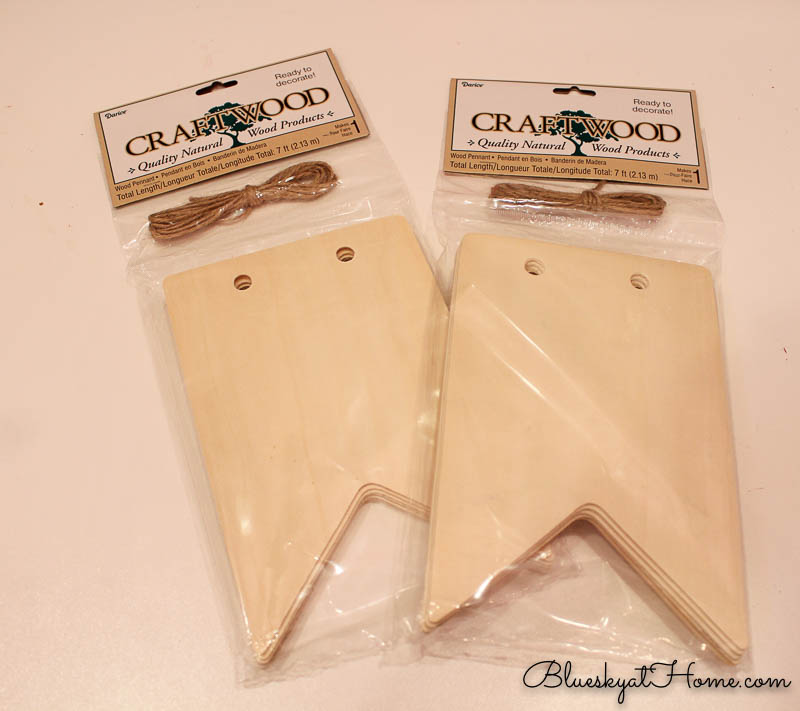
As is often the case, my DIY projects sometimes happen when I see something at the craft store that starts the creative juices flowing ~ my #randomactsofDIY. In this case, it was a package of wood pendants at Joann. And they were on sale! I knew instantly that I would make a bright painted Easter banner for our mantle.
Supplies for the Bright Painted Easter Banner
I have a weakness for wood things: signs, beads, tags, boxes, dowels. I have even have a basket in my office for all things wood.
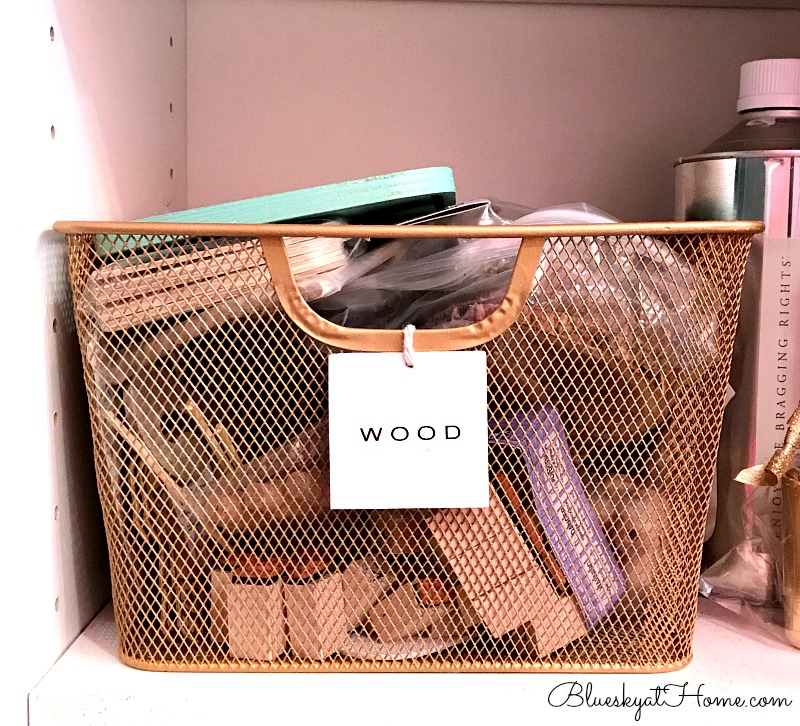
Well, obviously, the wood pendants were the most important supply for this project. I like to walk the aisles at Joann for inspiration. This particular day, all the wood products were 50% off. I was not going to walk away from that aisle without something in my cart.
These pendants are made by Craftwood. The package that I bought contained 7 pendants and, as I said, was on sale for buy 1, get 1 50% off, so I bought 2. (This package online contains 5 pendants.) Don’t ask me why, but the 5~and 7~pack are the same price $4.99. According to the packaging, each package makes a banner 7 feet long.
Then I needed:
- paint for the pendants
- stencil
- paint for the stencil
- cord or twine to connect the pendants
- embellishment
I had everything on the list, except cording.
Painting the Bright Painted Easter Banner
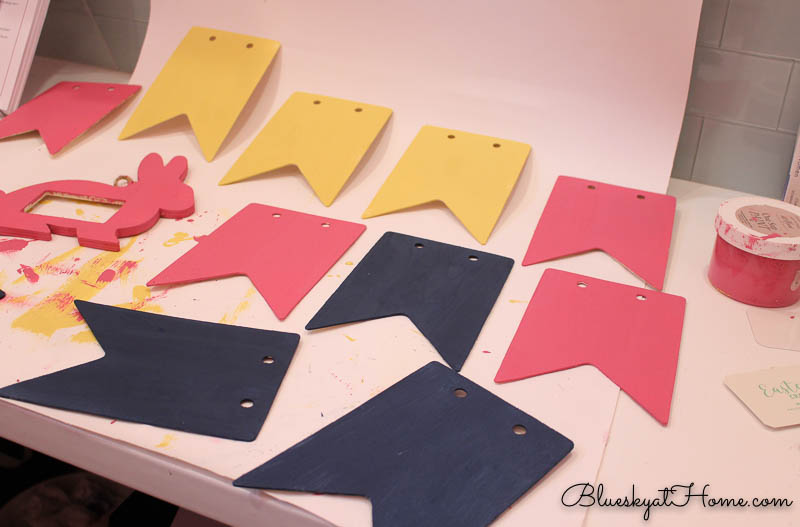
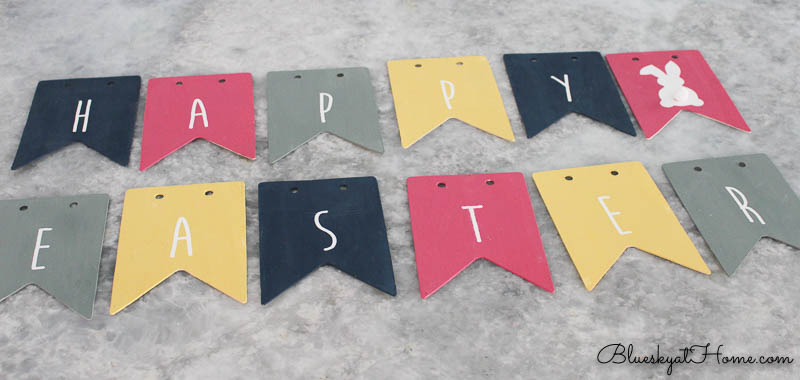
The first step is deciding what to say on your Easter banner. The obvious choice was “HAPPY EASTER” which required 10 pendants. I also decided to put a non~word pendant between the 2 words.
Now I was ready to paint. I could have purchased some new paint, but I decided to stick with the idea of under $10 and use what I had on hand. I picked out 4 colors of paint from my Rescue Restore collection: bright pink (I used this one in my Ten on the 10th project.), blue, yellow, and a soft sage green. (Yes, I know that one isn’t very bright, but it fit with the other colors.)
Paint Colors:
- bright pink ~ One Step Paint in Drama Queen from Amy Howard at Home(I on’t think this particular color is still available.)
- blue ~ Rescue Restore paint in Summer Nights from A Maker’s Studio; I love this beautiful midnight blue color
- yellow ~ Rescue Restore paint in HighFalutin from A Maker’s Studio; a soft, Dijon mustard color
- green ~ Rescue Restore paint in Hissy Fit from A Maker’s Studio, super pretty sage green
Obviously, you can use any brand or colors that you want for your painted banner. It takes so little paint, that this is a great opportunity to use what you already have. For DIY projects, the 7 ounce jar of Rescue Restore will go a long way.
Then I gathered my wood pendants, the paints and paint brushes. If the edges of your pendants are a little rough, you could lightly sand them, but I didn’t.
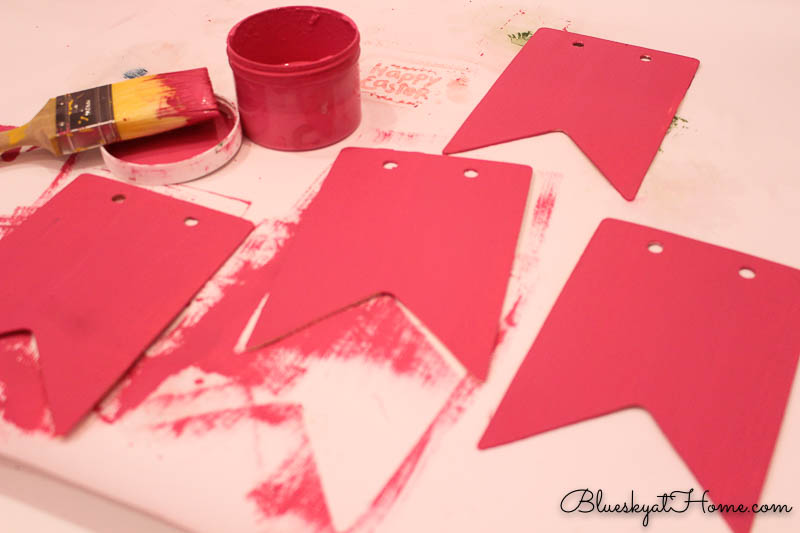
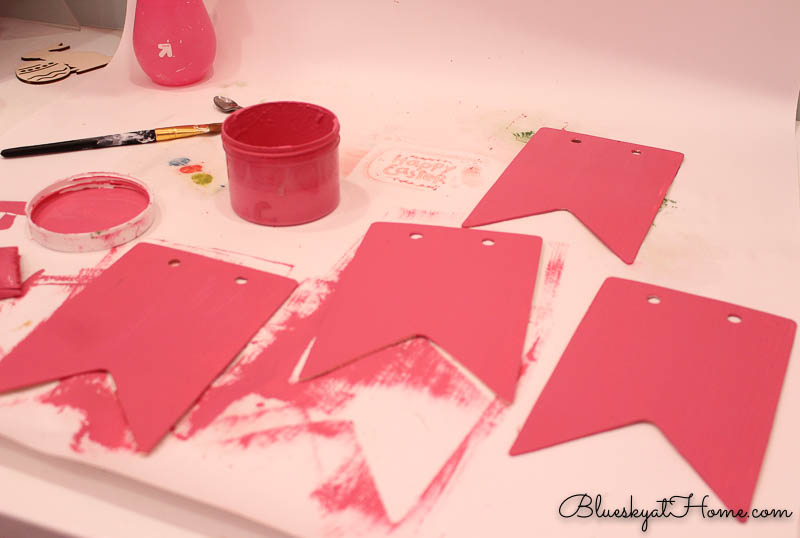
I had 14 pendants and 4 colors, so I painted 3 of each color, with 2 extras.
Stenciling the Brightly Painted Pendants
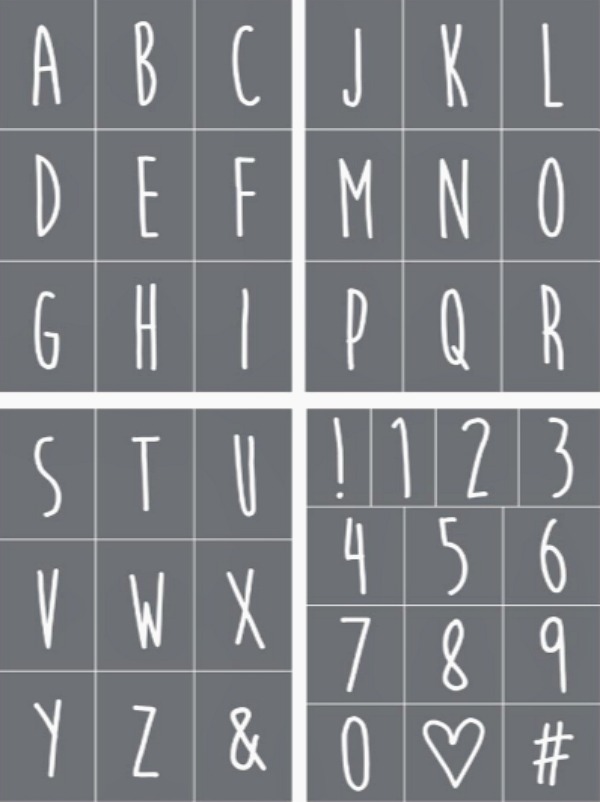
Now the fun really starts. I love stenciling with the tri~mesh stencils from A Maker’s Studio. No lie, no foolin’, no kidding. They are wonderful. Since I wanted the letters simple and as large as possible on the pendants, I chose our Alphabet 1 stencil. This packet contains 4 different sheets of stencils.
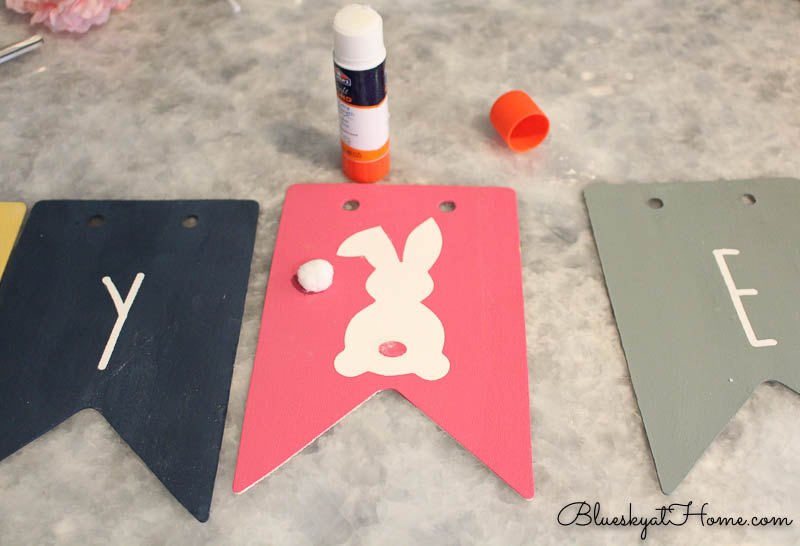
I laid out the pendants in the order I wanted, with a pink one between my 2 words. It was basically blue, pink, green, yellow. I painted all 14 pendants, but I only needed 12.
Next, I used ChalkArt in Peace & Joy to make the stencils, centering each letter on the pendant.
Sorry, I was so into stenciling that I forgot to take pictures, but here are some tips for using stencils and here is a project to help you see the process.
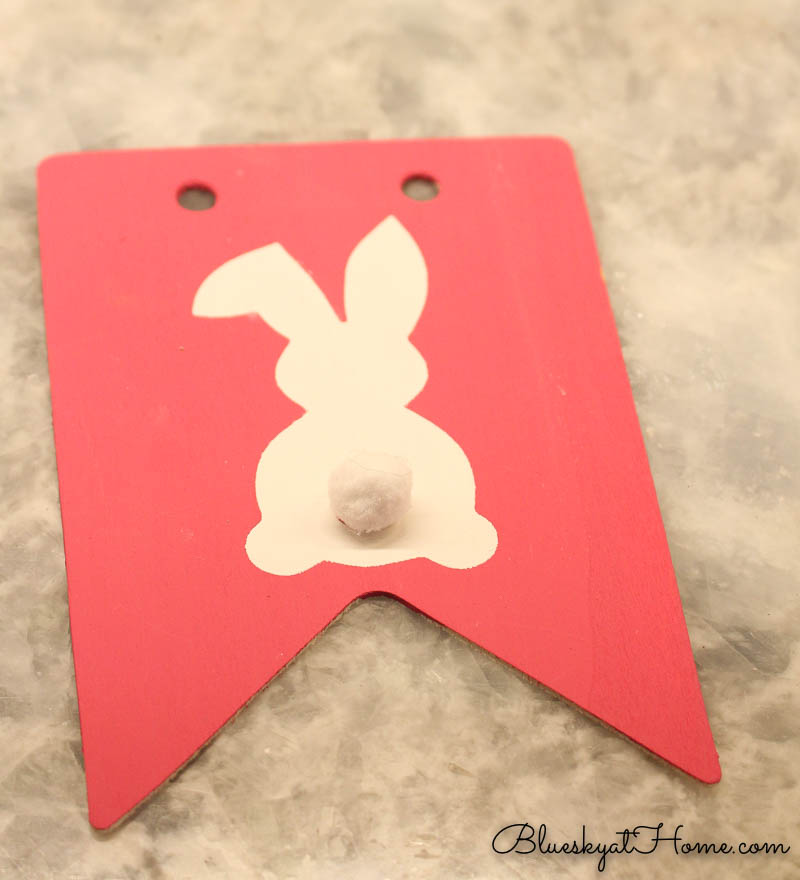
For the pink pendant between the 2 words, I stenciled a bunny from our Hippity Hoppity stencil packet. (Sorry, this one is sold out.) I used another pom~pom from leftover trim to make a tail. You can see a few places where I got a speck of white ChalkArt. I just wiped it off with a damp paper towel.
Here is the banner all finished ~ except . . .
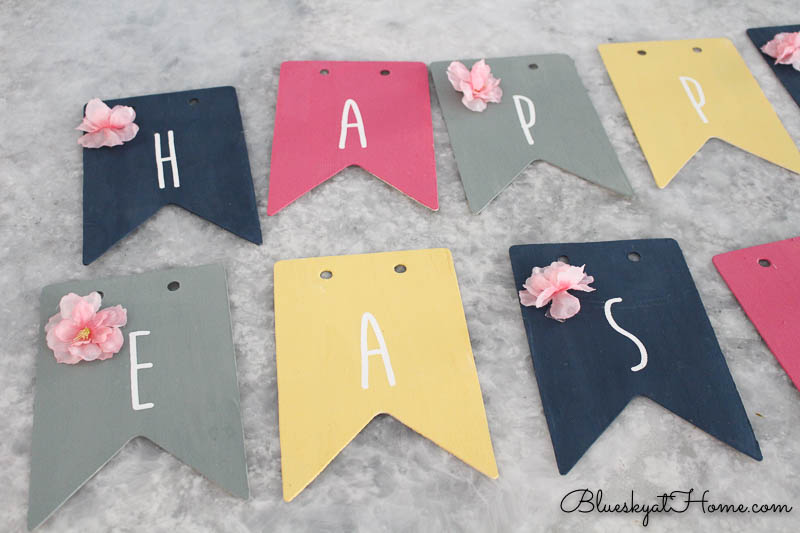
The banner needed a little flowery touch so I attached some cherry blossom faux flowers ~ leftover from earlier projects to every other pendant ~ using the 3M double~sided sticky tape. That way I could remove the flowers in the future and use a different embellishment.
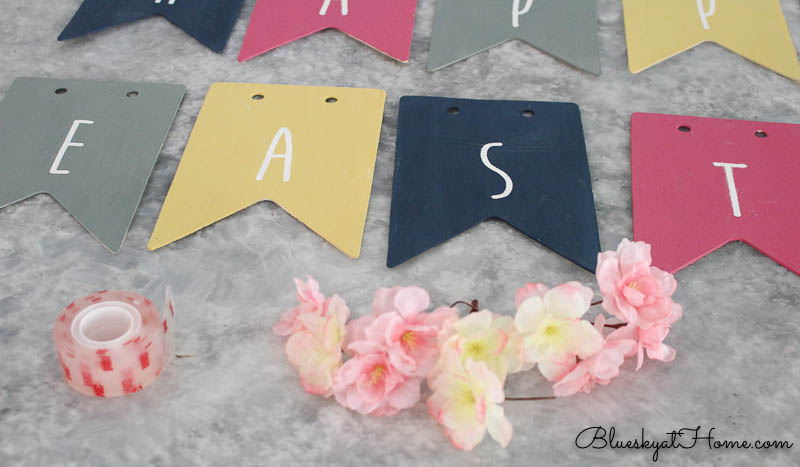
The banner is now complete ~ except for the cording to hang it. The pendants come with twine, but I wanted something more substantial and white. I bought 3 yards @ $1.49 a yard. I weaved the cord, starting at the back on the pendant, so the cord would show on the front of the banner. The white cord gave some contrast on the brightly painted banner.
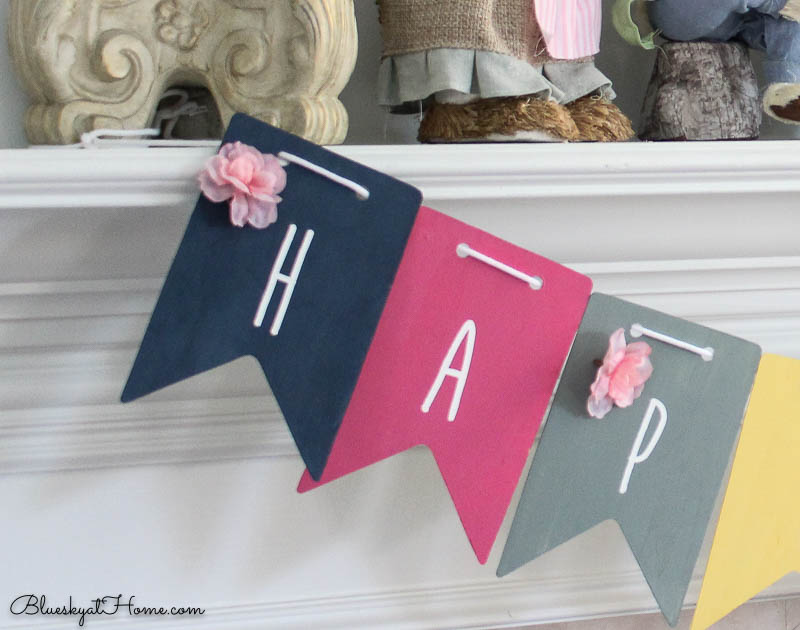
Sweet Shark helped me hang the banner on the mantle. We tie the cord to the bases of our tall candlesticks, which are heavy.
I love this banner; I think it’s one of my favorites. The cost was $7.48 for the 2 packages of pendants and $5.97 for the 3 yards of cording. Here are a couple of other banners that I’ve made.
How to Make a Banner with Burlap
How to Make a DIY Wood and Burlap Fall Banner
Have a wonderful weekend. I hope you have a beautiful Palm Sunday. Do something creative and celebrate your awesomeness.

This turned out so cute, I just love the colors! Those wooden pieces were just perfect to paint and I’m sure they’re a lot more durable than paper. I love the font you used, too… reminds me of Rae Dunn, which I love so much!
Carrie
curlycraftymom.com
Carrie, thanks so much. The Alphabet 1 font does look like Rae Dunn!The wood is easy to paint, will last and isn’t too heavy to hang.
Your banner is so cute and I love that Peter Cottontail has a cottontail. 🙂 You are very creative Carol. TFS and have a blessed weekend.
Thank you Clearissa. You always have the nicest comments.