How to Hang Mirrors without Losing Your Mind
Just in case you didn’t see our dining room makeover or missed the One Room Challenge last year, we had a problem with the mirrors we ordered for the room. And when they finally arrived, we had an issue with how to hang mirrors without losing our minds.
Deadlines. Good thing or bad? They can keep you on track. They can give you a goal to work toward. Deadlines can give you the incentive to complete tasks that you’ve put aside.
Parties, house guests, and construction are my 3 best deadline incentives. You will finally clean the windows, clean out the guest bathroom, or finish the makeover of your dining room for the One Room Challenge.
It’s pretty easy to hang a picture with one hook, but when you have a picture, a piece of decorative art or, in this case, a mirror with two hooks, it can be a little hard to get it perfectly positioned and level.
Sweet Shark hates that kind of hanger. Getting the hooks perfectly level and in the right spot on the wall is not easy. This task has led to some rather, shall I say, heated discussions (Think tangled Christmas lights in National Lampoon Christmas.) That’s why it was important to me to figure out how to hang mirrors without having a meltdown.
Easy Way to Hang Mirrors without Losing Your Mind
To give you some history, I found the perfect mirrors for our dining room on Wayfair. Delivery was scheduled a week before the big reveal day. That morning I received an email that they were on backorder. My wonderful account person Zoey advised me to cancel the order and reorder when they became available.
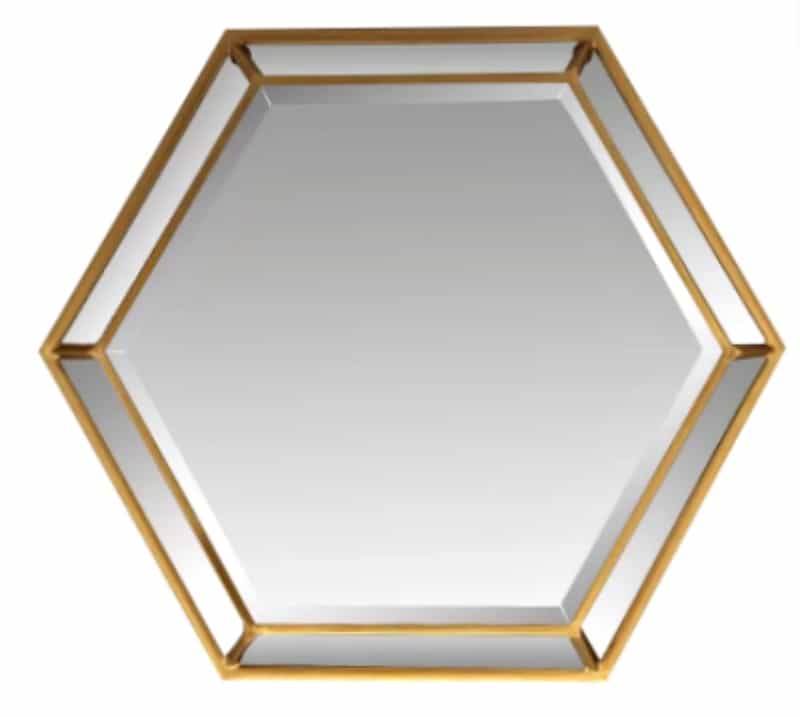
In a panic, I purchased “fill-in”, temporary mirrors at Bed, Bath and Beyond. They were similar to the originals in size and shape and had the gold metallic finish I wanted. With only 1 hook, they were easy to hang. Our deadline was met and the big reveal went off without a hitch.
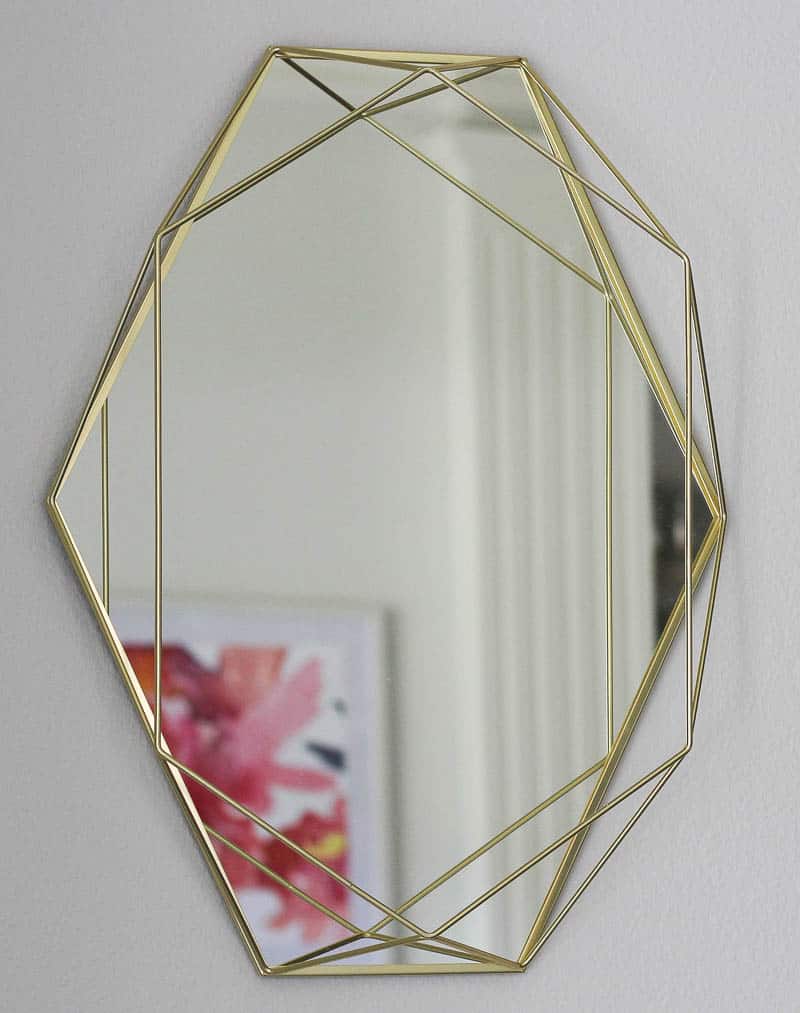
Then we reordered our original mirrors. One arrived instead of 2. I called Wayfair and they were wonderful and immediately ordered a second one which came a week later. (This has never happened to you, right?)
In the meantime, I opened the first box to finally see the much-anticipated mirror in real life. I loved it; it was perfect, the right size, shape and finish. Now I just had to wait for mirror number two.
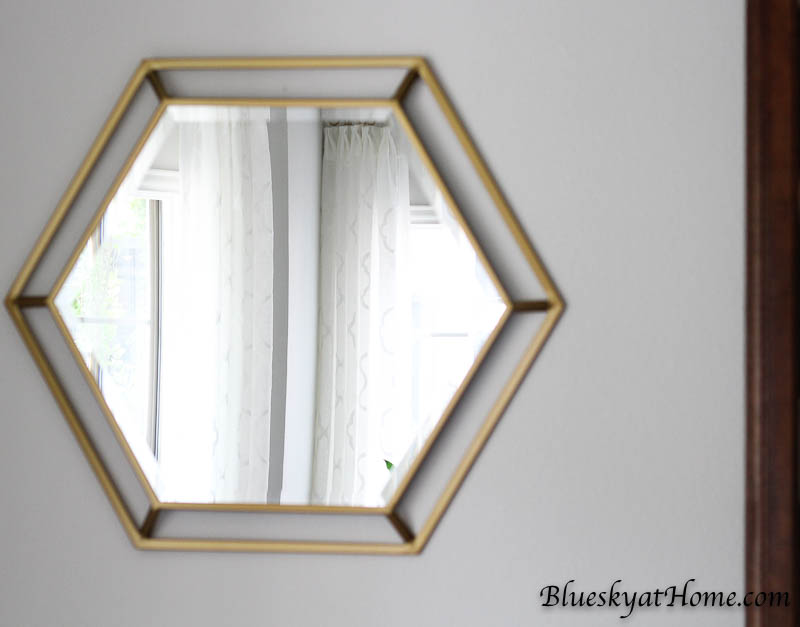
Let me show you our new mirrors and how we easily hung them. When the first of the new mirrors arrived, we discovered that you could hang the mirrors, which have six sides, two different ways: with a point on top or a flat side across the top. We liked the flat side on top.
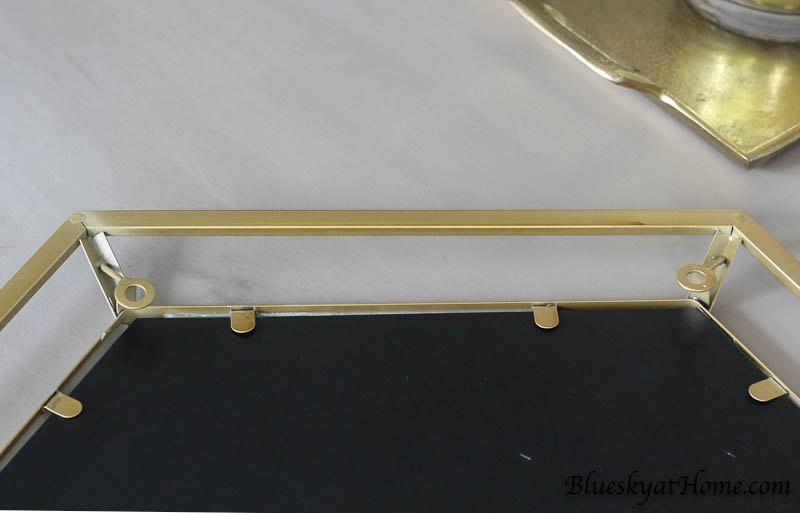
Positioning the flat side on top required using the two holes on the back of the mirror. Getting the two holes level and spaced correctly is the hard part of hanging this type of project.
I was determined to make this project as easy as possible and put on my thinking cap. I reached back in memory to some other posts I’ve seen about hanging mirrors on walls without losing your mind or calling 911. Here’s what I came up with.
Measuring Height and Width
This is the easy part of hanging anything on a wall. How much space do you have horizontally?
We measured the distance between the outer sides of our vassilier and the side walls. Then we divided that number in half and marked the center on the wall with a pencil.
Then you have to decide the height of your mirror from the floor. Holding the mirror on the wall, we determined where we wanted the top of the mirror to be and marked that with a pencil.
We aligned those two marks to determine where on the wall the mirror would be centered. We drew a line where the top of the mirror should be and then measured the distance between the top of the mirrors and the actual hanger holes on the back of the mirrors, about 3 inches.
The Hard Part – Getting the Mirror Straight
This is the hard part – the tangled Christmas light scenario. Determining the exact distance between the 2 hangers on the back of the mirrors.
Here’s my “think outside the box” brilliant idea. Use painter’s tape. Another painter’s tape hack. Watch closely because you do not want to miss this. I should charge for this idea.
I grabbed my roll of Frog Tape from my office and placed a strip on the back of the mirror across the 2 hangers, making sure that the Frog Tape was straight.
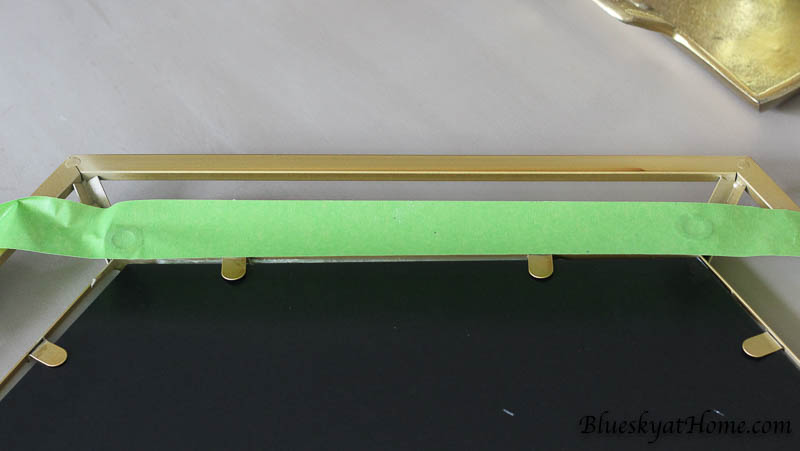
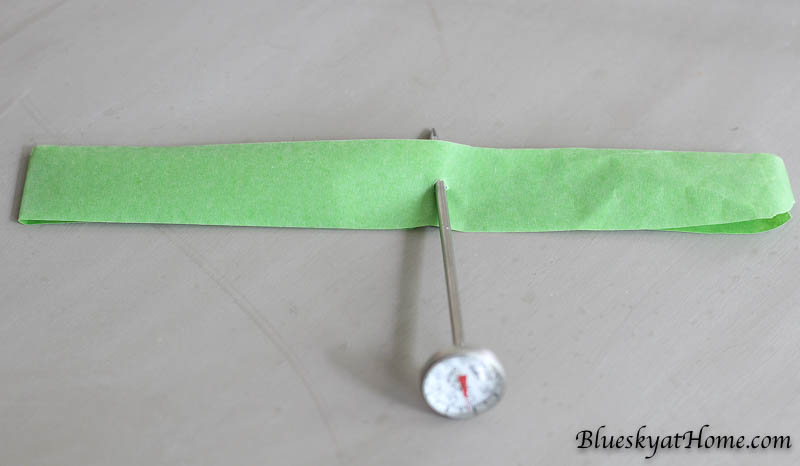
Before removing the Frog Tape from the back of the mirror, I poked a hole in the center of the hanger circles, using my instant-read thermometer, but a big nail would work too.
I cut the Frog Tape with several inches on each side of the holes. Then I removed it from the mirror. I folded the Frog Tape in half with the sticky side on the outside and matched up the holes.
NOTE: If you have identical, multiple pieces to hang, you only have to make your Frog Tape strip once.
The horizontal pencil mark is where the top of the mirror should be. With the correct space between the hangers, now we centered the strip of Frog Tape on the wall, aligning it with the mark we made where the center horizontal and vertical lines aligned.
It’s 3 inches below the top of the mirror, the distance between the top of the mirror and the hangers. We used a level to make sure that the Frog Tape was level.
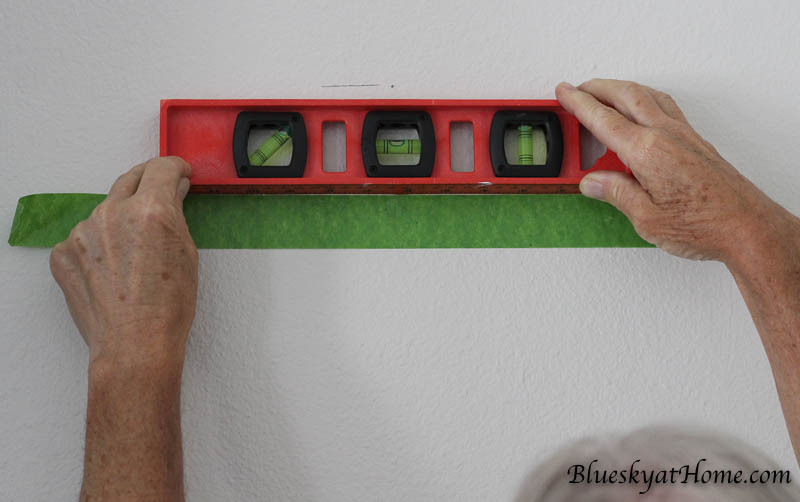
Once the Frog Tape was level, I marked through the holes where to place our nails.
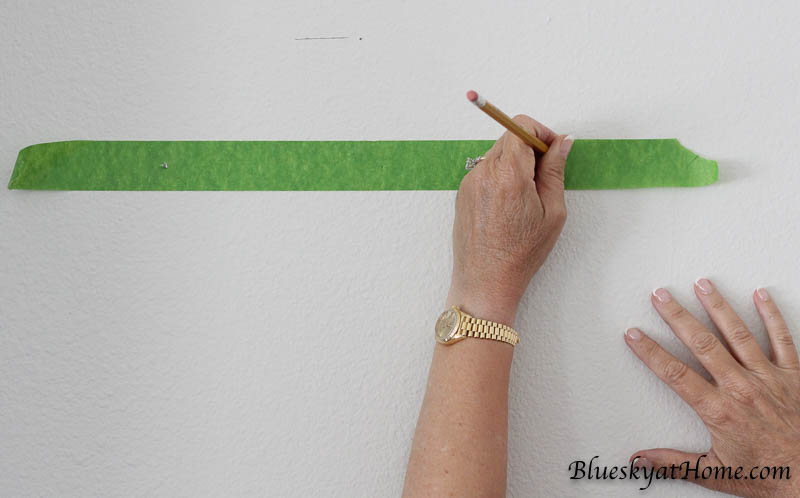
Then Sweet Shark nailed in nails with a large head where I had made my pencil marks.
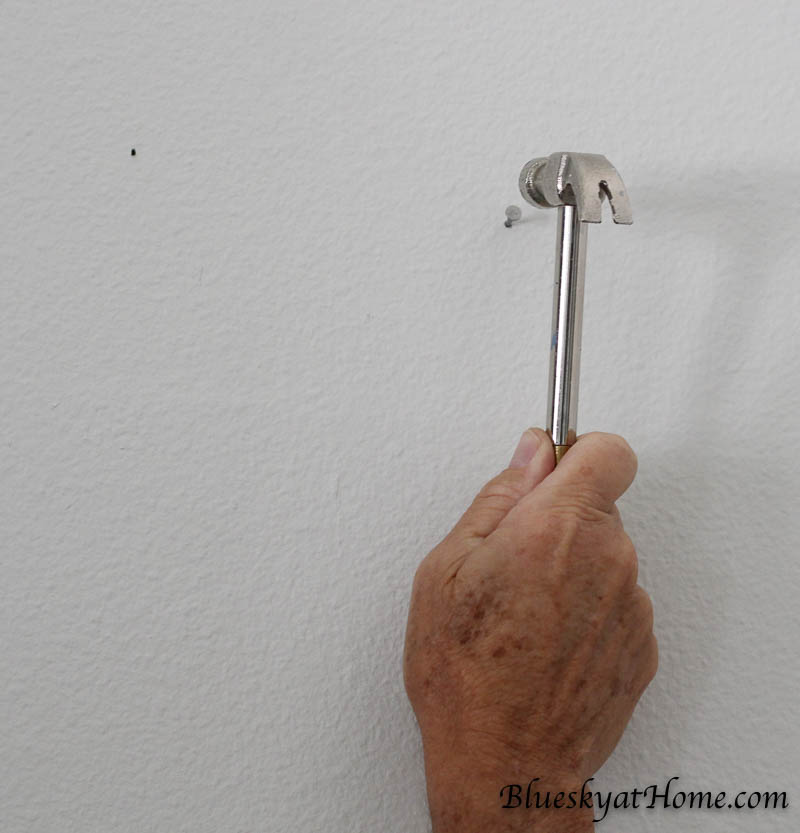
Now we had to keep our fingers crossed that my brilliant idea to use Frog Tape to make a template was indeed a brilliant idea. Sweet Shark hung one side . . . .
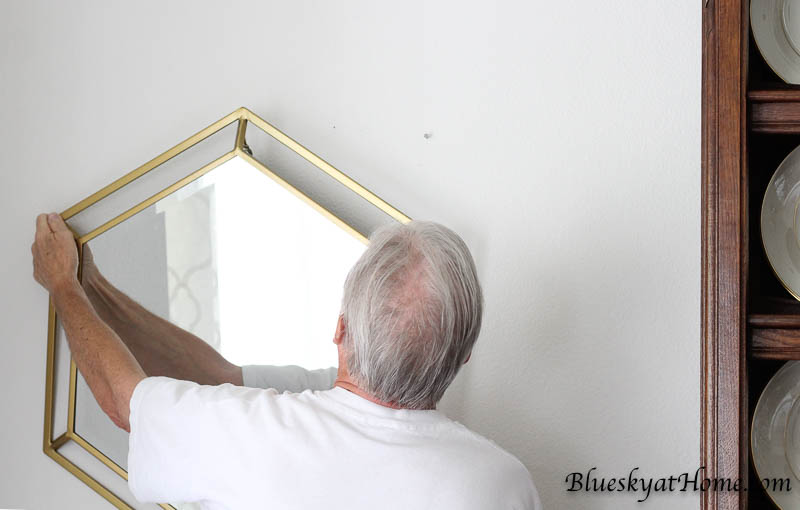
And then the other. Here’s where you hold your breath that the hole on the mirror will fit right over the nail in the wall.
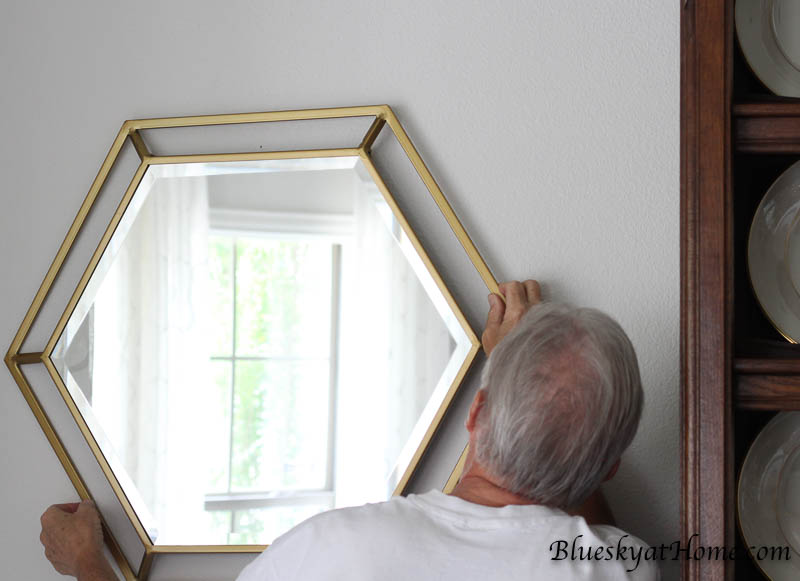
It fit on the nail like a glove. It looked good, but the only way to tell for sure is to use a level.
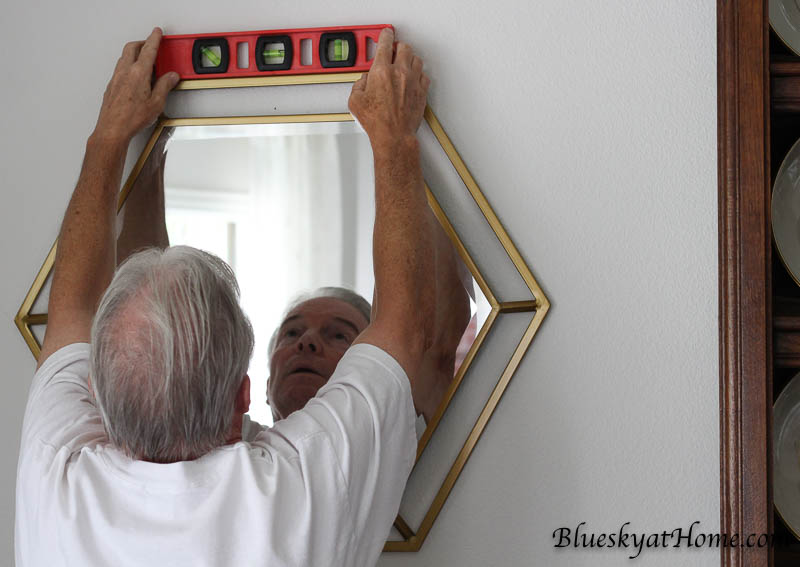
The grin on Sweet Shark’s face told me that the mirror was placed correctly, was level and my idea worked. One mirror down and one to go. We repeated the steps and hung the second mirror. Again it was easy and precise.
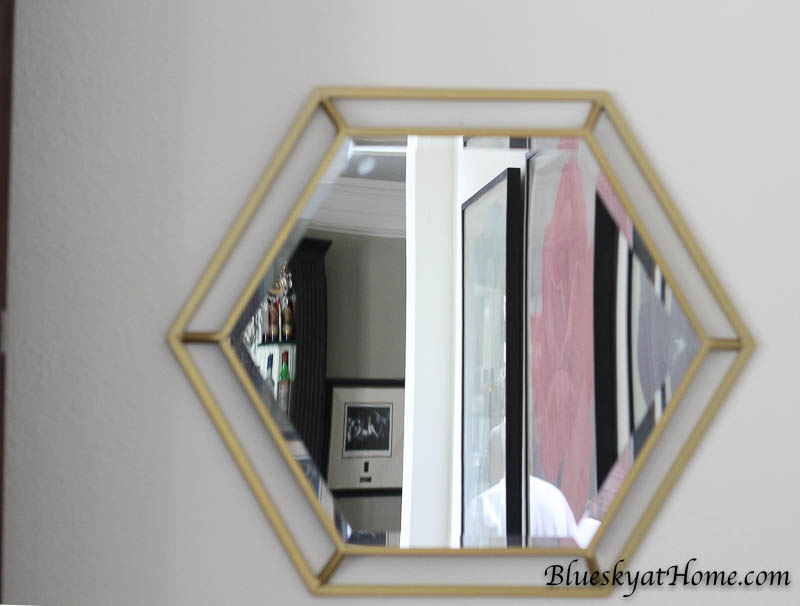
I should tell you that Sweet Shark was amazed at my ingenuity. I knew he was skeptical about my little idea to use the Frog Tape. My stature as a capable DIYer went up considerably in his eyes. (I patted myself on the back and gave myself a fist pump.)
Hanging those two mirrors took a total of less than 10 minutes and was done with no drama, tears or frustration. I won’t be hesitant to buy art or mirrors or anything that needs to be hung on the wall with two hooks any more. I’ve conquered the 2-hook challenge.
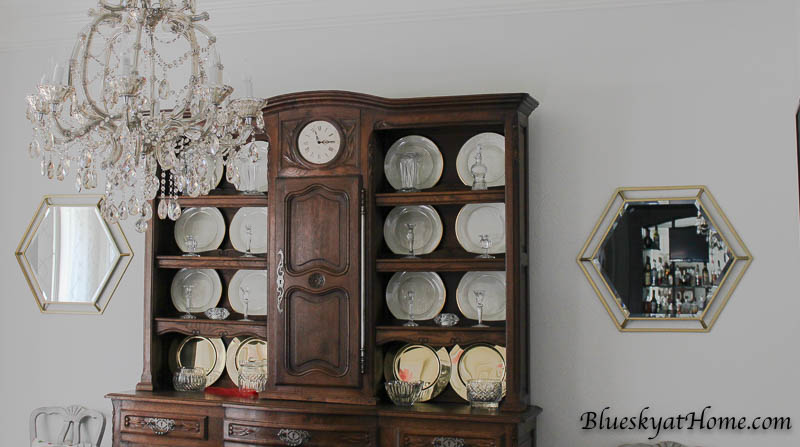
And just so you know, this wasn’t a sponsored post for Frog Tape, but I wish it were. If you need to hang some mirrors with 2 hooks, you can order some Frog Tape quickly (that is an affiliate link). I don’t know what made me think of using it, but I’m glad I did. And now you can too.
Be sure to keep this method of hanging two-hanger decorative objects. PIN it to have this process handy.
Happy Hanging.





What a great hack! I’m so with you on the trauma/angst of hanging things. You’re right — you should charge for this:) Pinned! Thanks for sharing at Vintage Charm! xo Kathleen
Worked like a charm!
I have made so many holes in the walls of our new house! I wish I knew this little trick a few months ago. Definitely keeping for future use…because I’m never finished making holes. 😉
We have too. I wasn’t joking about frustration!
My only experience with Frog tape was using it when I painted stripes on my dining room wall. Thanks for this helpful hint! Love your new mirror.
I love finding more than one use for products!