
How to Decoupage a Tissue Box Cover
Wondering how to decoupage a tissue box cover? It’s one of the easiest DIY projects you can tackle, and the result looks like something straight out of a designer boutique. With a plain wooden tissue box cover, a sheet of pretty decoupage paper, and about an hour of hands-on time, you can turn one of the most ordinary items in your home into a custom accessory that perfectly matches your decor.
This project is actually a redo of an earlier tissue box project. A few years ago, I painted a plain tissue box cover. It was ready for an updated look that fit my color palette and pattern style.
For this project, I chose a blue-and-white chinoiserie decoupage paper, which you know is my signature look here at Bluesky at Home. But the beauty of this technique: it works with any pattern you love. Florals, toile, botanical prints, even wrapping paper can work. Once you learn the basic decoupage method, you’ll be eyeing every plain surface in your house.
In this guide, I’ll walk you through the exact supplies you need, how to prep your wood surface, the step-by-step decoupage process, and my best tips for getting a smooth, bubble-free finish. Let’s get started.

This tissue box cover decoupage project is part of this month’s Creative Craft Blog Hop, hosted by Sara of Birdz of a Feather. You’ll have the opportunity to see a variety of projects from different bloggers.
This post contains affiliate links to products used to create this project. If you should order any item from this site, I may receive compensation, but you do not pay a penny more. Your purchase is greatly appreciated as it helps support the continued publication of this site.
What Surfaces Can You Use to Decoupage?
The beauty of the decoupage medium is that just about any surface can be used:
- wood
- glass
- clay
- paper
- acrylic
- ceramic
- plastic
- tiles
- terra cotta
I have used almost all of these surfaces, but for this project, the wood tissue box cover was my choice.
Supplies for the Tissue Box Cover Deoupage
Although each decoupage project is slightly different, one of the great things about decoupage is that you need only a limited number of supplies. Many of them are tools you will already have on hand. Others can be used multiple times.
Here are the supplies I used for the tissue box cover, with generic items marked with an asterisk.
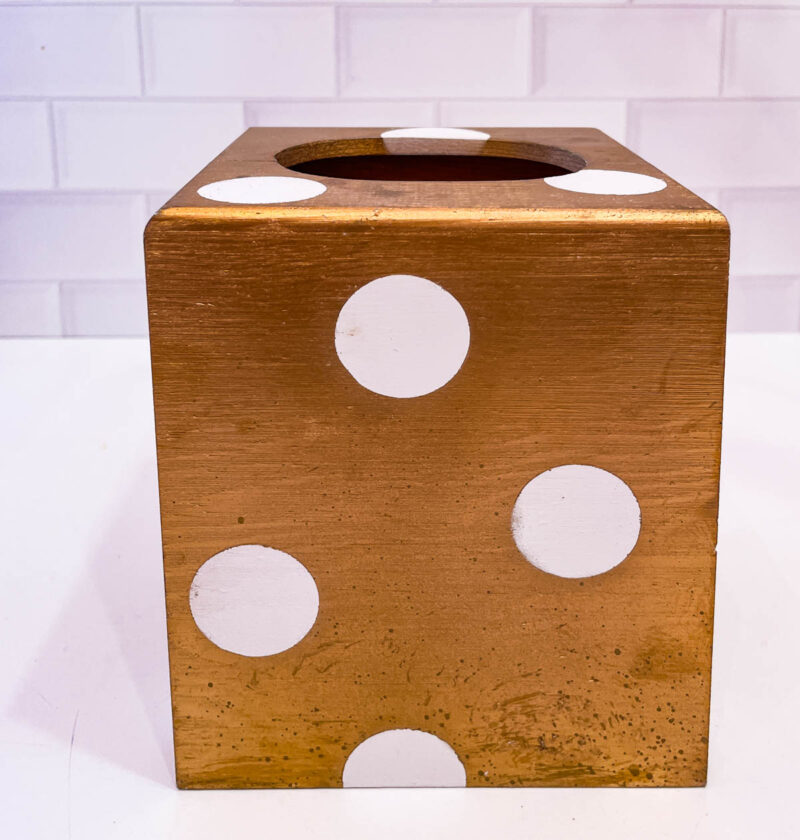
- raw wood tissue box cover, or one to update – I used a tissue box cover I painted several years ago. It was ready for a new look. It has been in my office, but I wanted to use it in our kitchen.
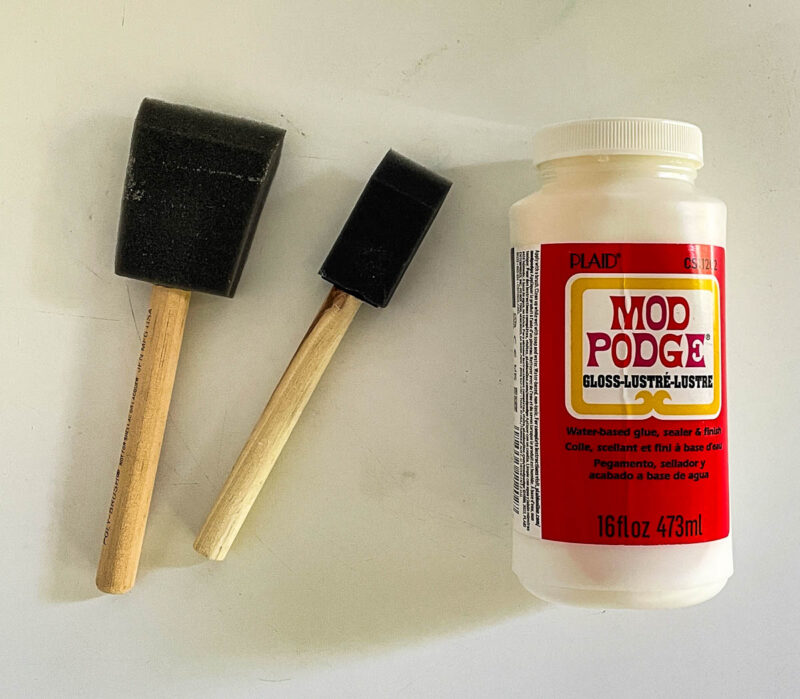
- Mod Podge* in Gloss or Matte – this is your essential decoupage ingredient. I used Gloss for this project. An 8-ounce jar of Mod Podge will give enough for many projects.
- A sponge brush* or Mod Podge Brush* – I usually reuse the Mod Podge brushes, but throw away the sponge brushes
- Paper Napkins* or Decoupage Paper* – paper napkins are the most common paper used in decoupage. I’ve read more recently and decided to try decoupage paper.
- Craft scissors* for cutting the paper. You can tear decoupage paper, but sometimes, as in this project, cutting is the best choice.
- Wax paper* or craft paper* to cover your work surface
- Sandpaper* – sometimes used to prep your surface or trim paper edges.
- Paint, either acrylic or chalk paint* – to provide a base for the decoupage
- Paint brush*
NOTE: I also found papier-mache tissue boxes that can work for decoupage. They might not be as sturdy, but they are worth a try.
NOTE: The tissue box that I linked above is closest to the one I decoupaged (which I’ve had for years). It also comes in a pack of two.
Prepping the Surface of the Tissue Box
Whether you use an unpainted tissue box or a painted one, it will need some sanding. It’s important to have a smooth surface to apply your paper to.
TIP: Be sure to cover your work surface.
Step 1 – Since the white polka-dots were thicker than the gold paint, I needed to smooth them down using sandpaper
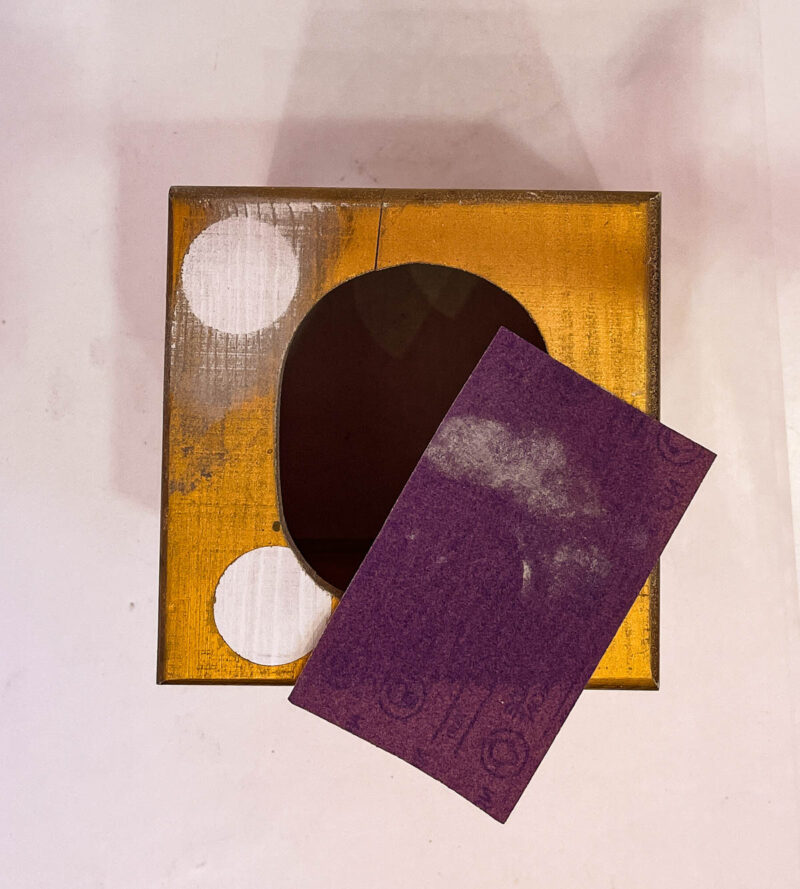
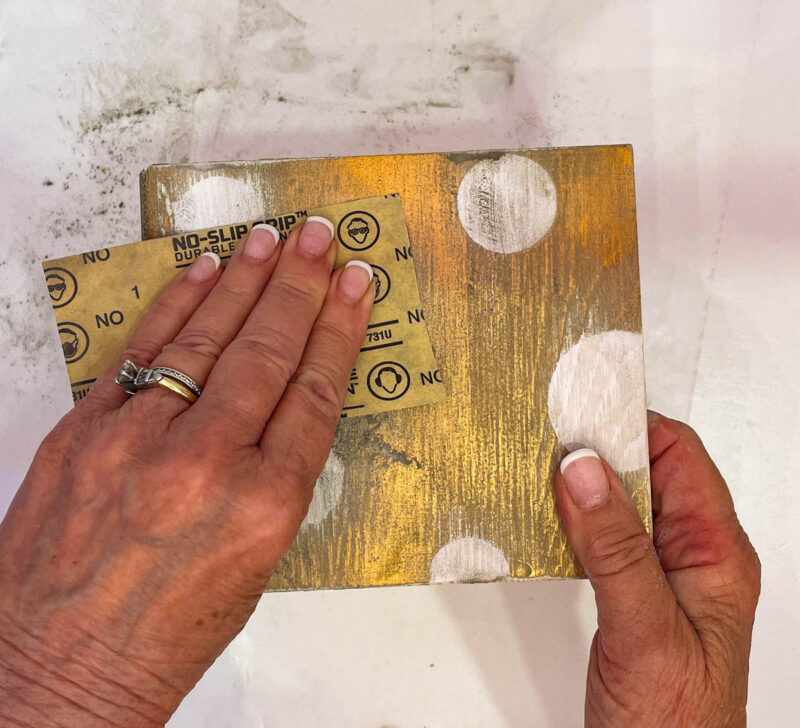
You can see how much “paint dust” was created by the sanding.
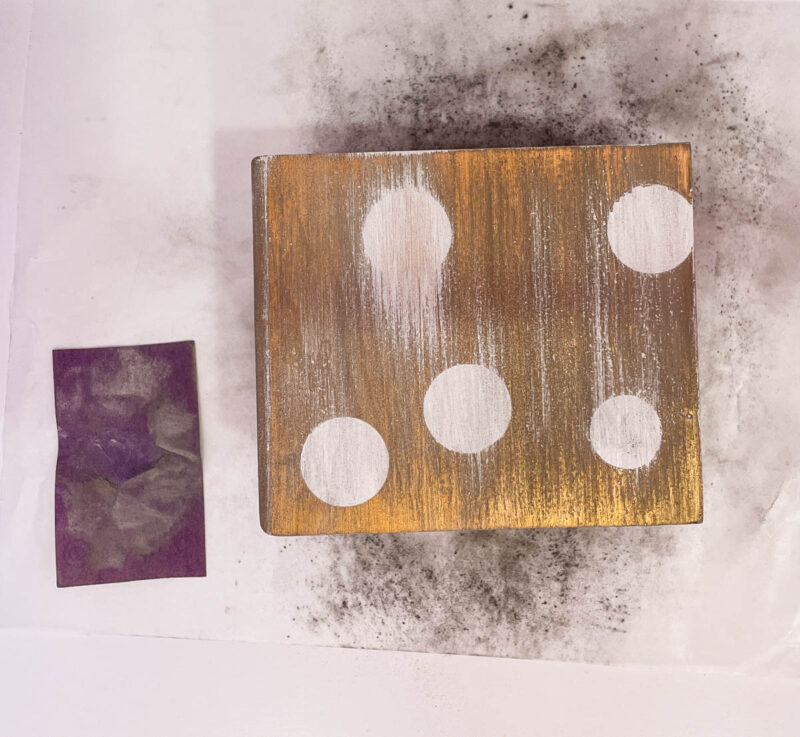
Step 2 – Use a paper towel or an old rag to wipe the surface clean.
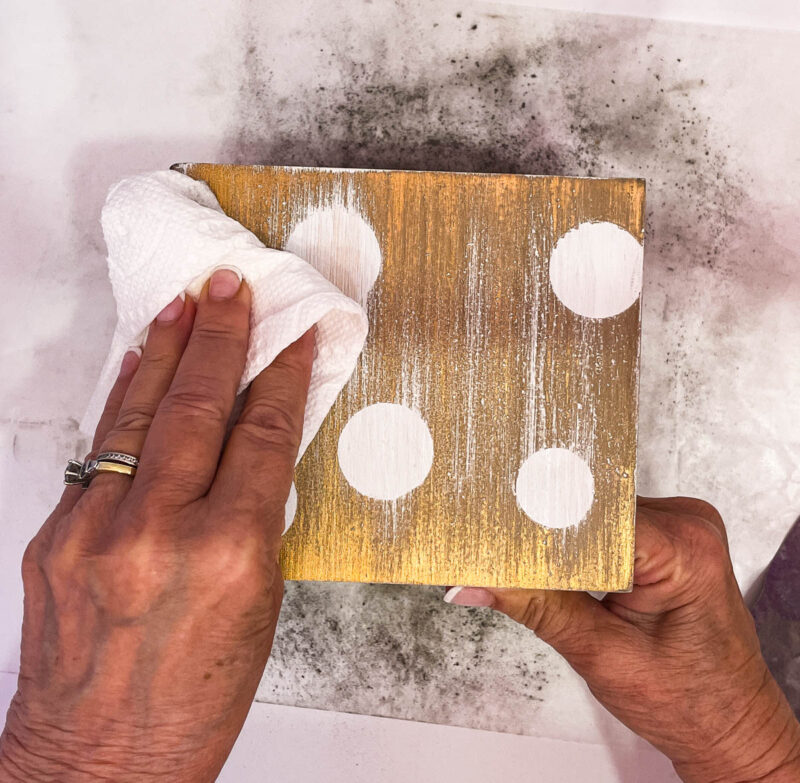
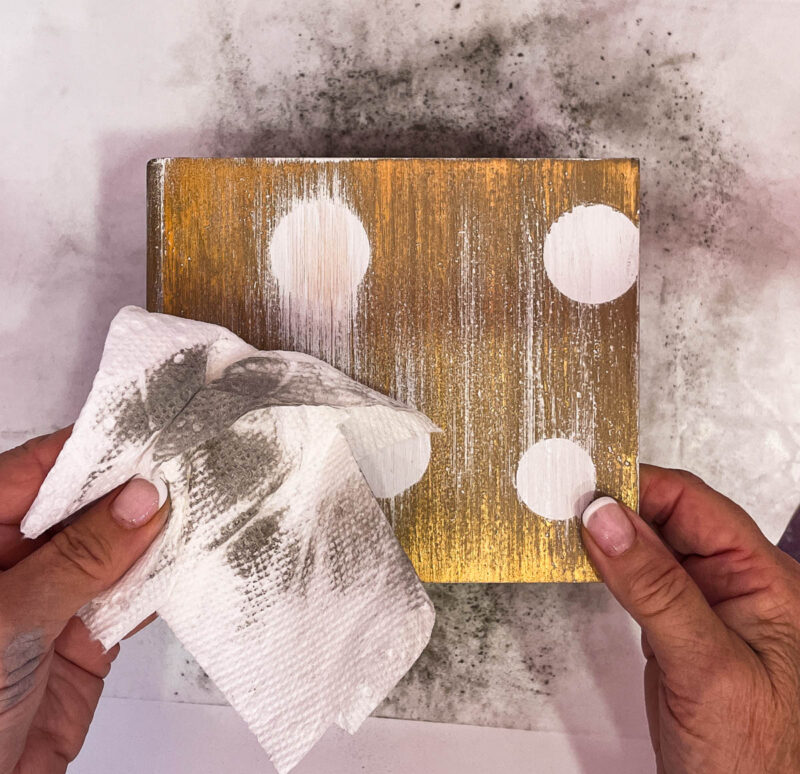
Discard the “paint dust” and the work surface cover.
Step 3 – Paint the Tissue Box Cover – once the box is sanded and wiped smooth, you will need to paint the box. Pick a color that will give the best background for your napkin design and color.
For my box, I used a white acrylic paint that I had on hand.
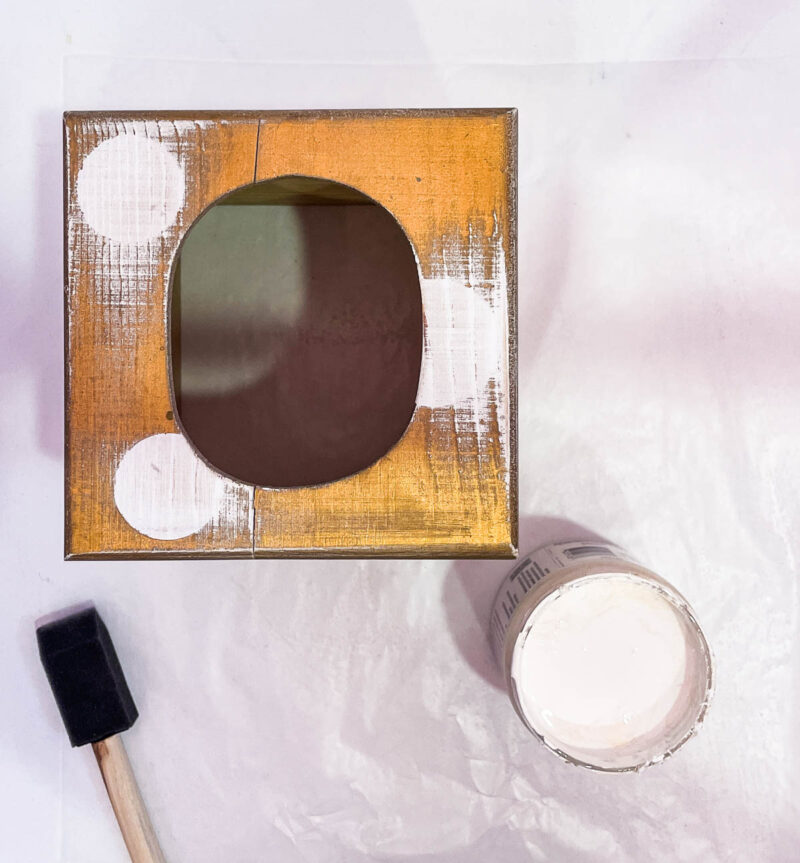
Depending on your surface, apply one or two coats. I could tell that I would need two coats.
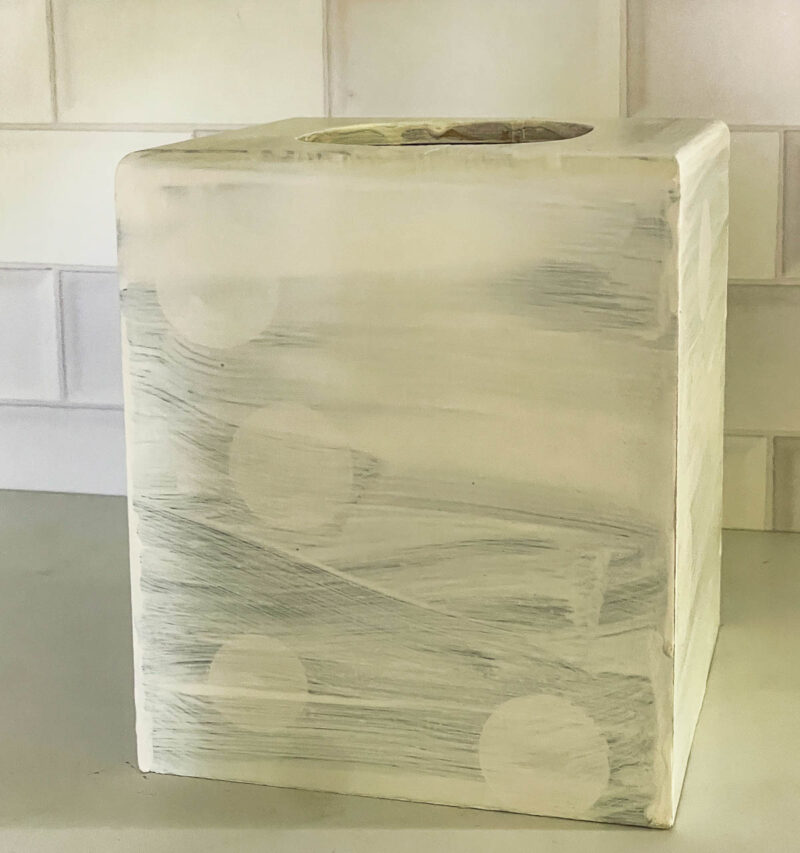
Allow the paint to completely dry.
Step-by-Step Decoupage Process
Now the real fun begins.
Step 1 – Choose Your Napkin or Decoupage Paper. I knew that I wanted a blue color palette and a chinoiserie-style pattern. Since I wanted to try decoupage paper, I found this option.
This package contained 50 pieces in five different patterns. Each piece is 6.4 inches square when folded and 13 inches when unfolded.
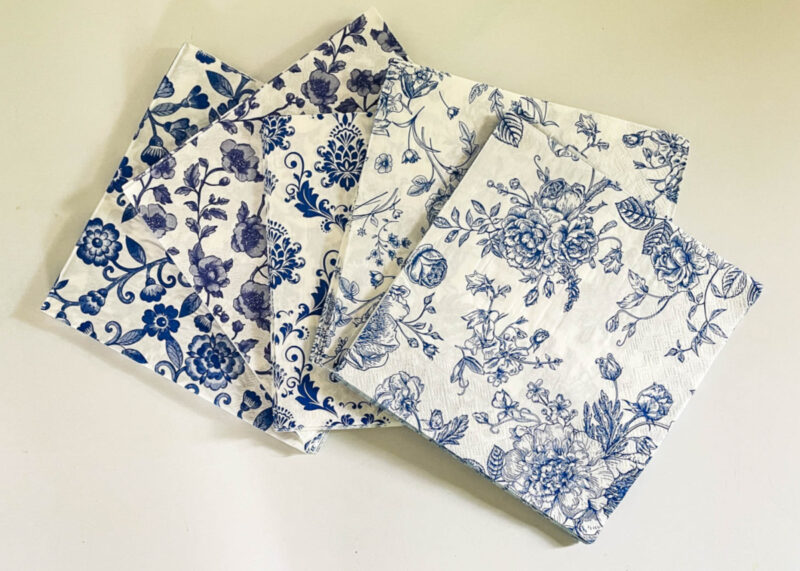
Which design did I choose? This design most resembled chinoiserie and the color was close to the accent tiles on our kitchen backsplash.
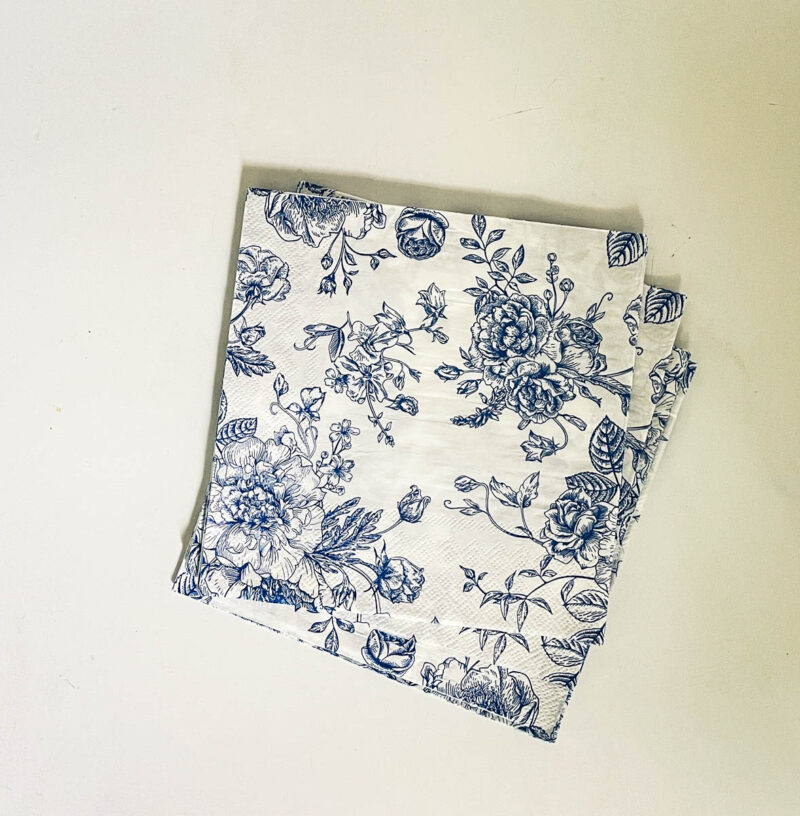
As soon as I unfolded the paper, I could tell that it felt thicker and stronger than regular paper napkins. I really liked the design.
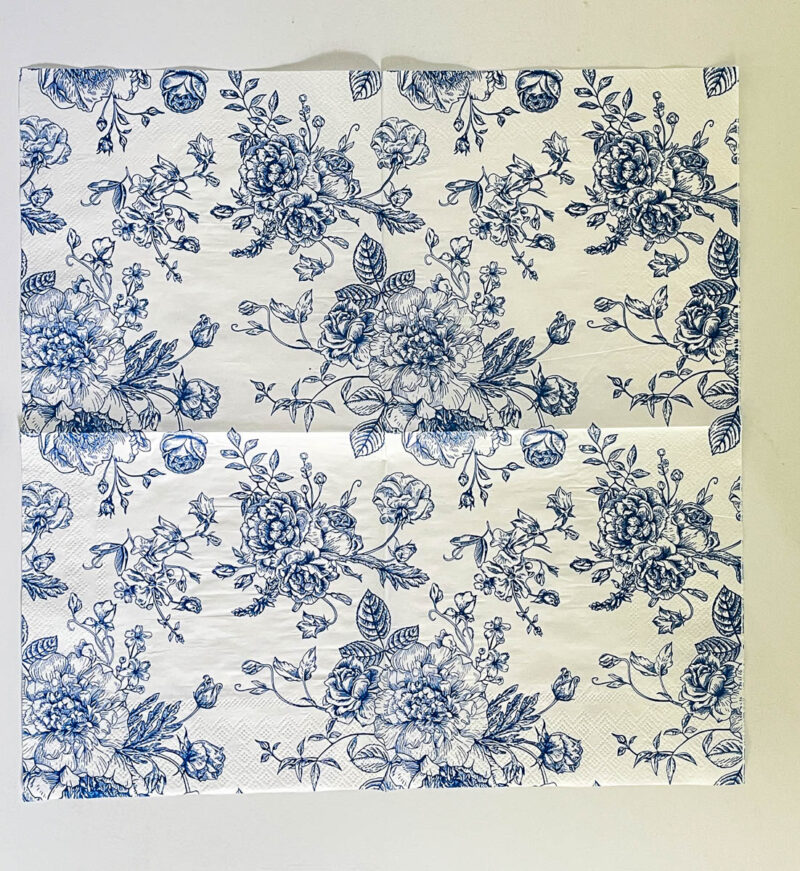
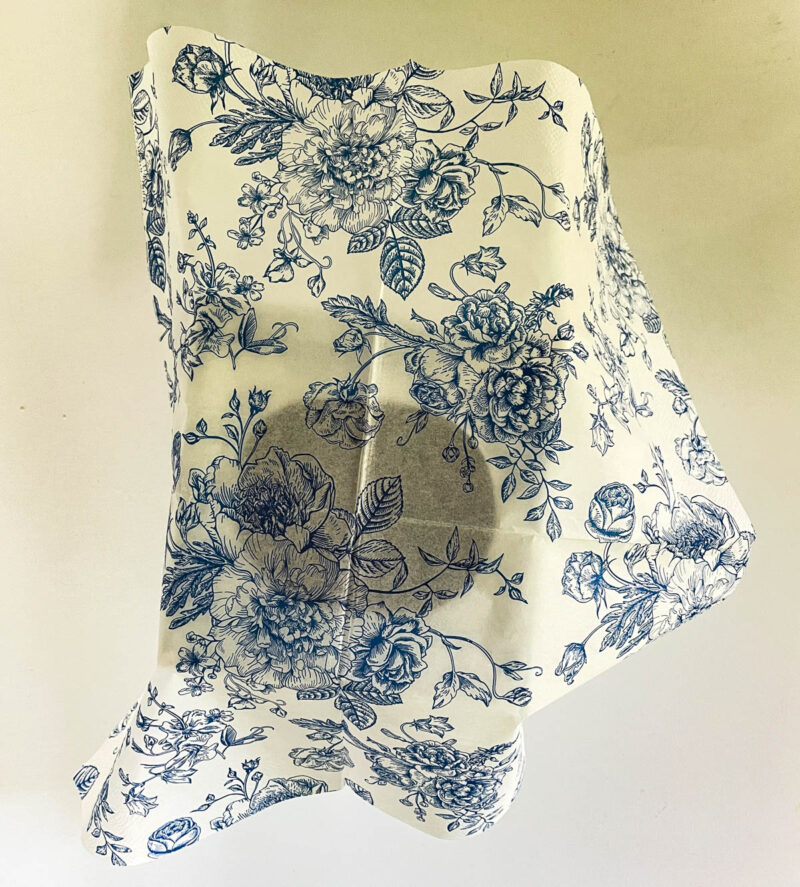
Step 2 – Separate the two layers of paper. Just like paper napkins, decoupage paper has a second layer that must be removed. Just pull the two layers apart at a corner and gently separate them. You can discard the back layer.
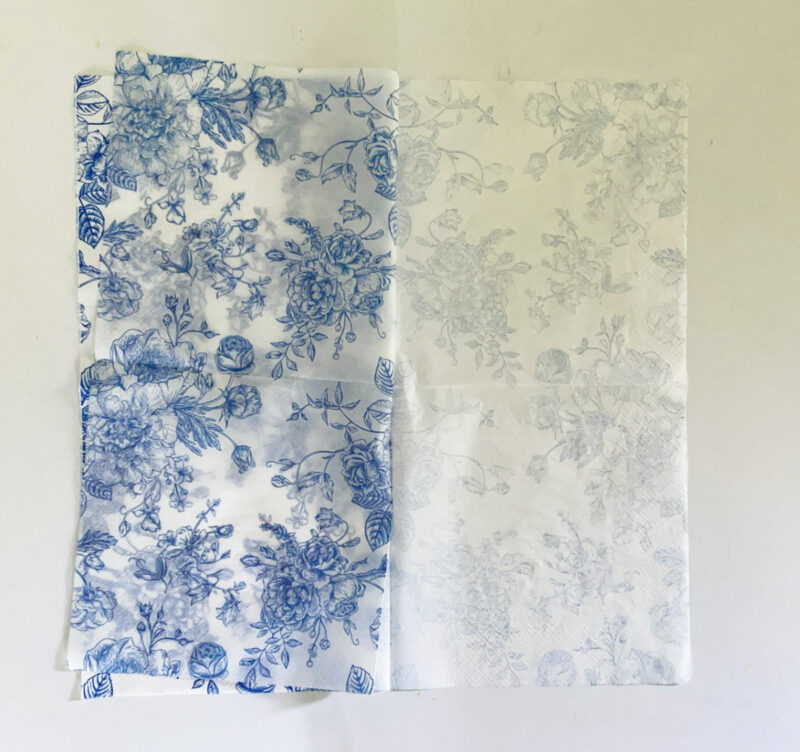
Sept 3 – Before applying your Mod Podge, decide which way to best apply the decoupage paper. Since I would be applying it in large pieces, I wanted to make the best use of all the paper.
First, I tried it from the top of the box. I could tell that wouldn’t be the best way since the sides with only come down the sides halfway.
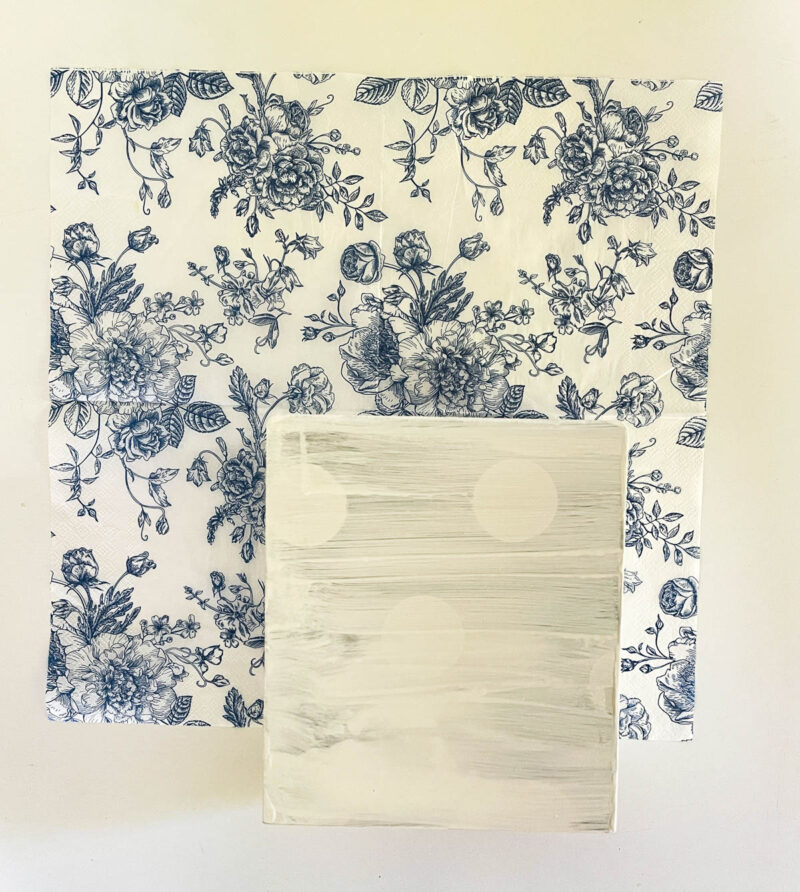
Next, I laid the box sideways on top of the decoupage paper. I know it looks like the paper and the box aren’t lined up, but they are. This approach would allow me to have two flat sides to apply the paper, plus the top, all in one piece.
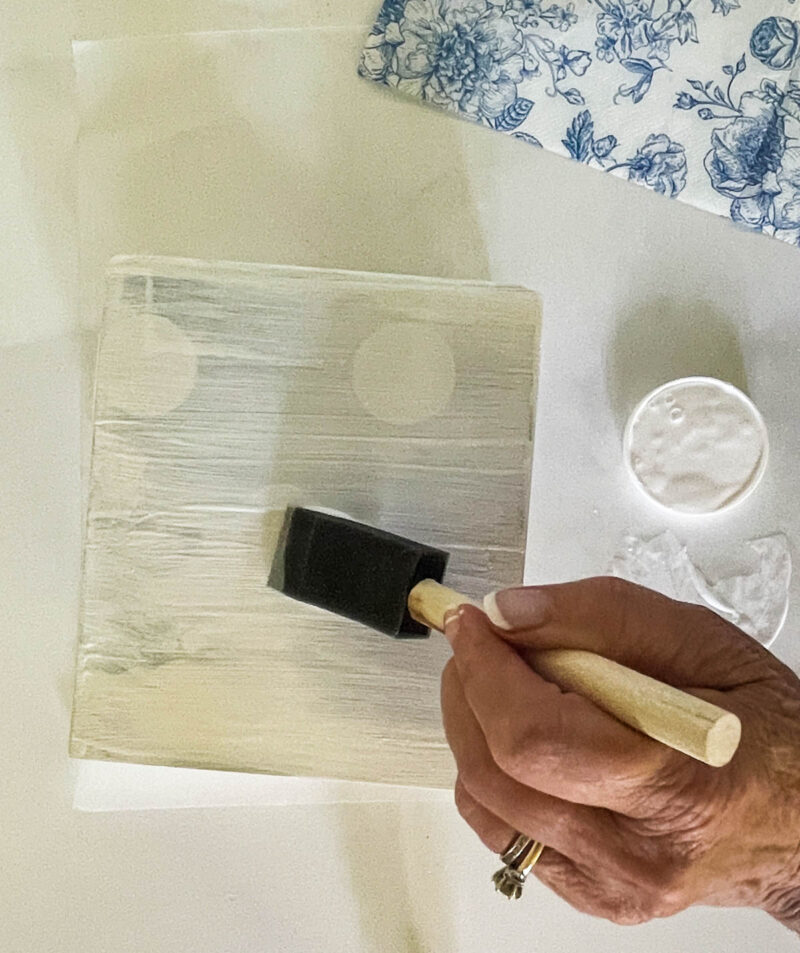
Step 4 – Apply a thin layer of Mod Podge to one side of the tissue box. I used the lid of the jar as a container for the Mod Podge.
Step 5 – For the sides, carefully lay the paper on top, lining up the edges at the bottom and along the sides of the box, and smoothing the paper over the box.
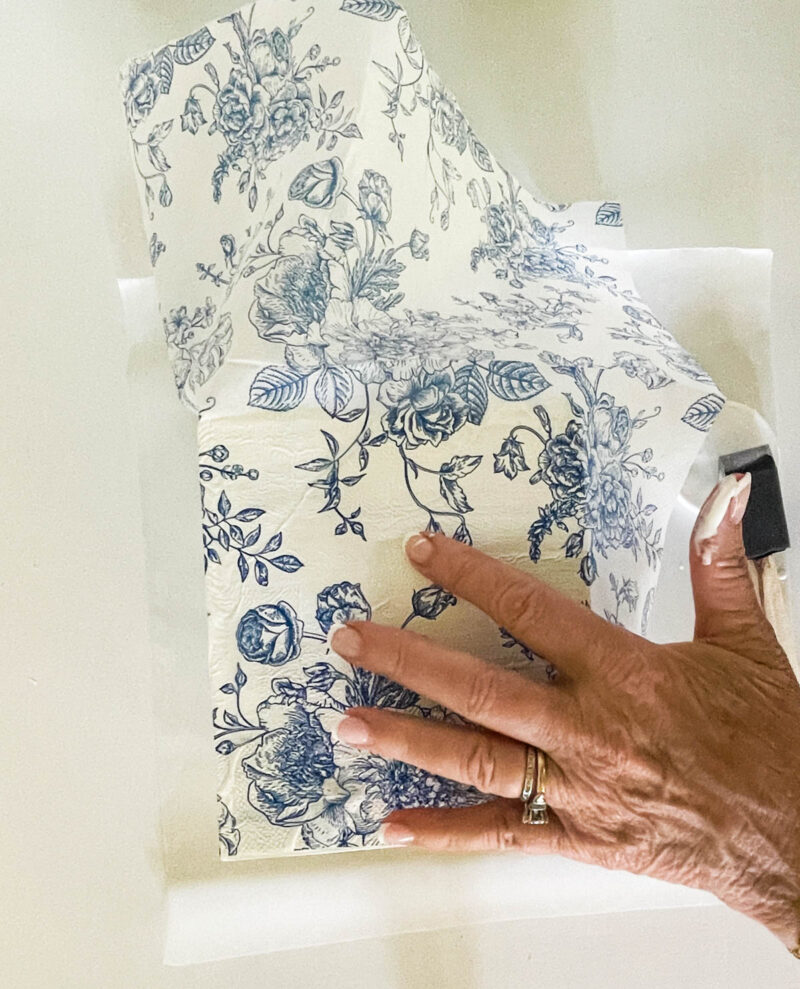
Repeat on the adjoining side. This way, I was able to easily cover two sides of the tissue box.
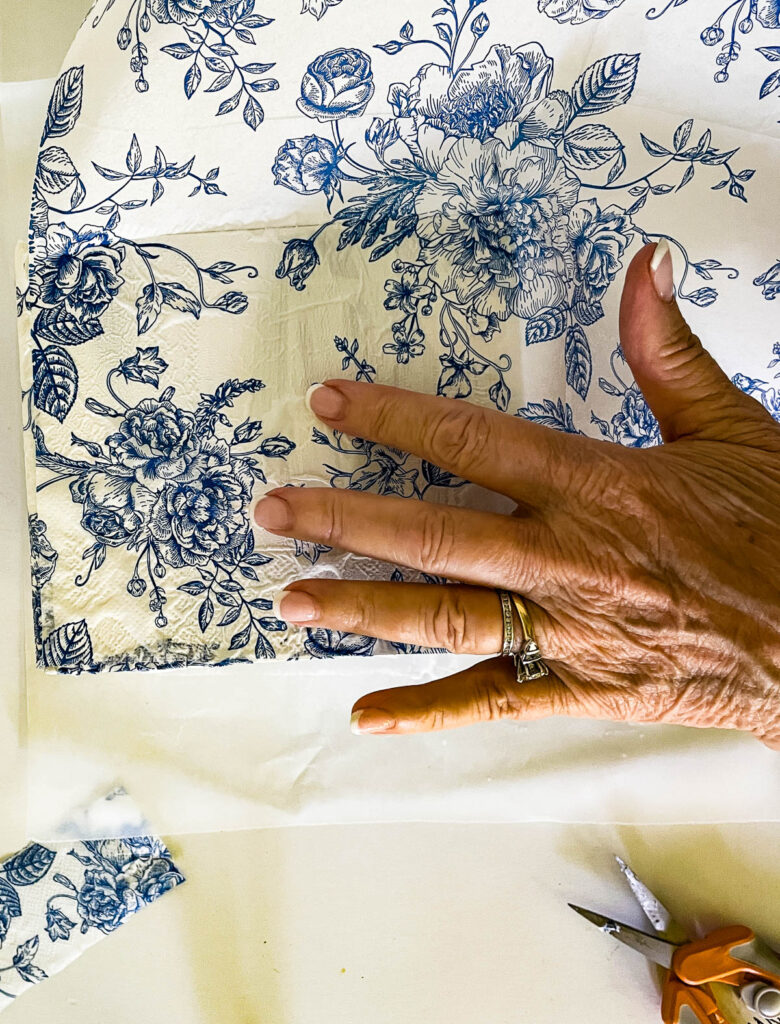
Step 6 – Then I folded over another section of the paper onto the top of the tissue box to make sure it fit.
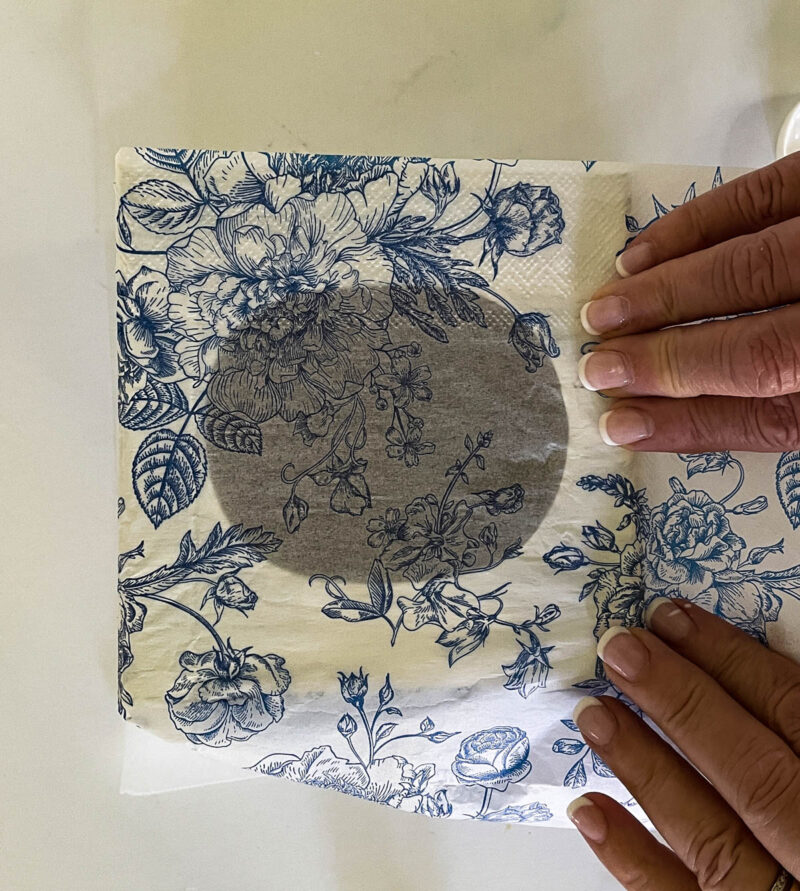
Step 7 – Next, I cut slits in the open area with my craft scissors to fold back the excess paper.
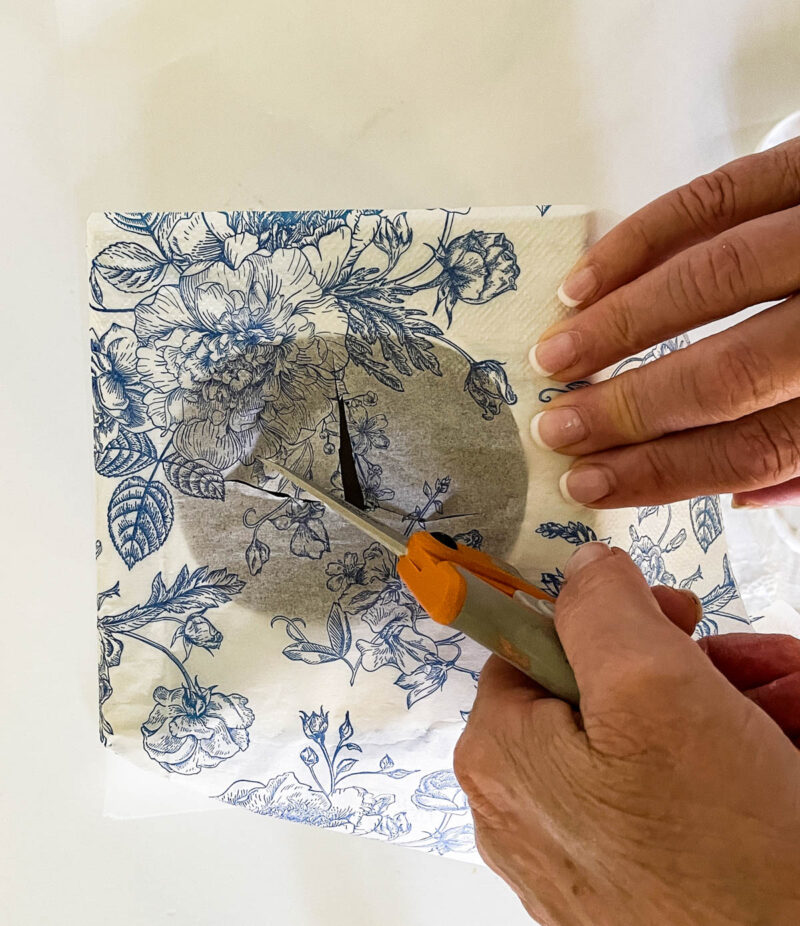
Step 8 – I folded the paper back and applied Mod Podge to the top of the tissue box.
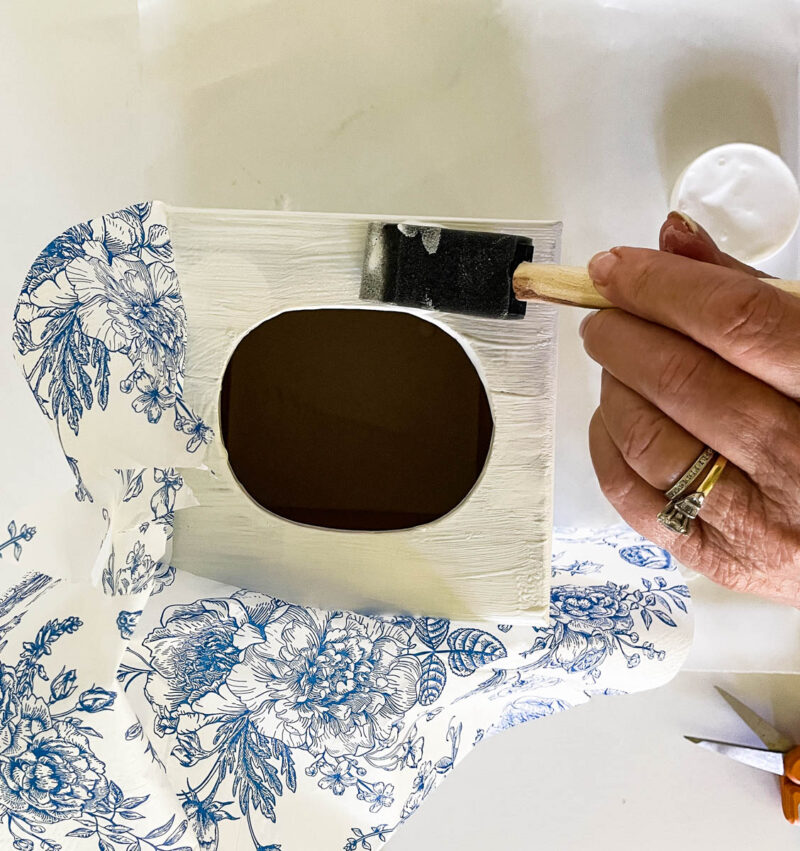
Step 9 – Once I smoothed the paper over the top of the tissue box, I could cut off the remaining excess paper and fold it over the edge of the opening.
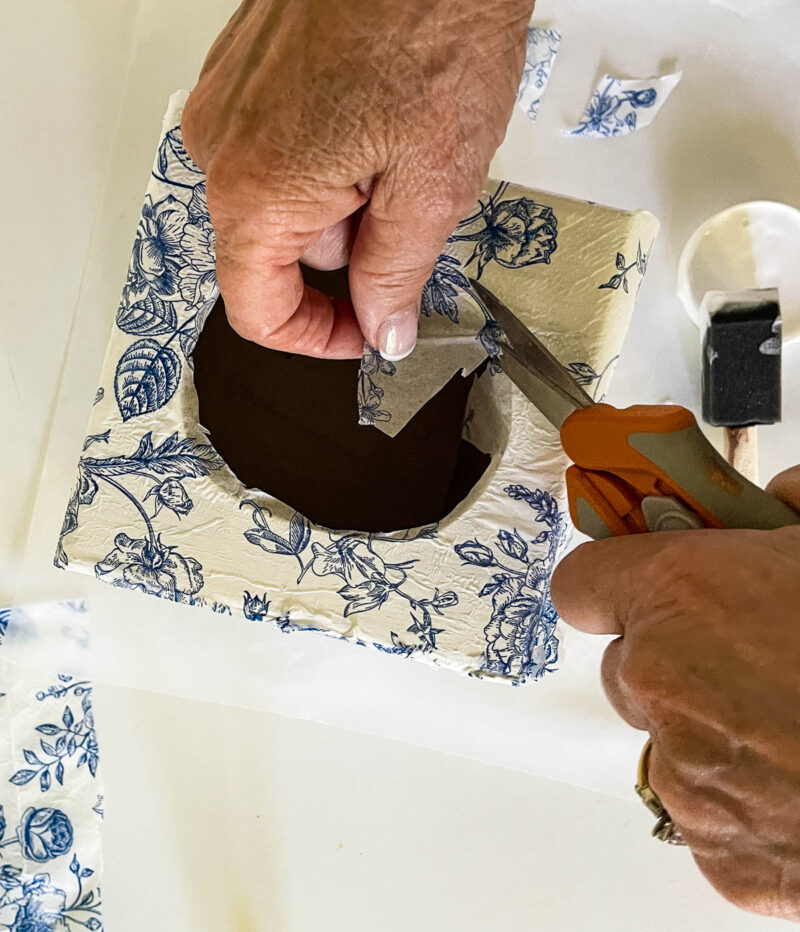
TIP: For a smooth surface, apply thin layers of Mod Podge.
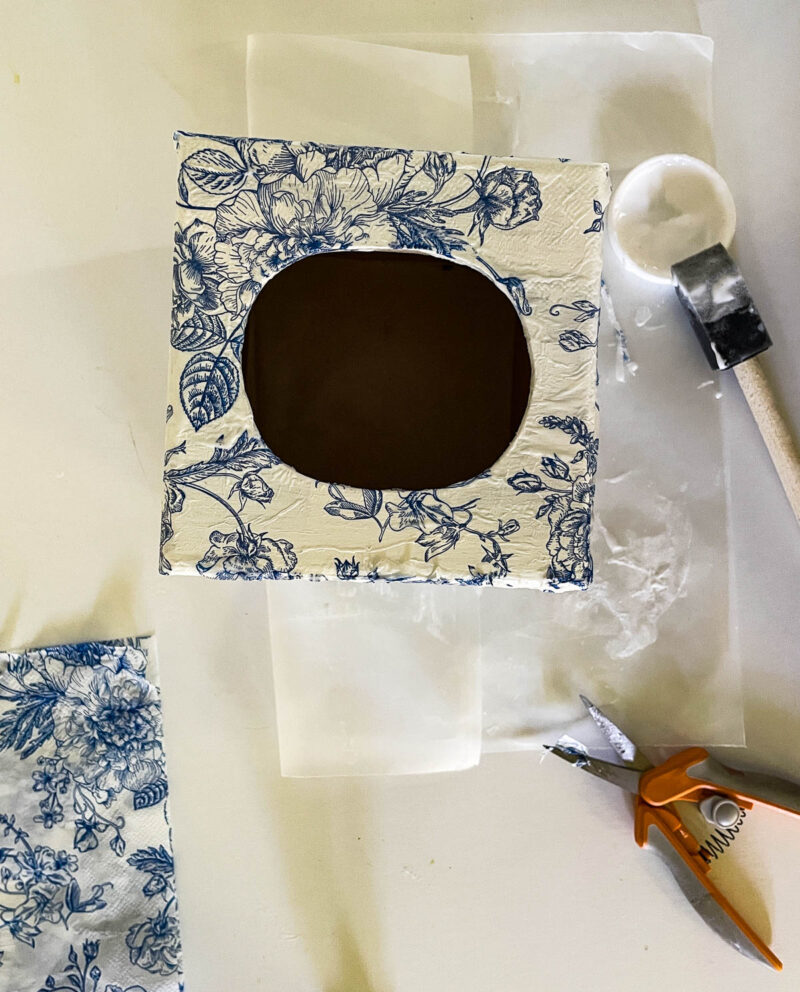
Step 10 – Using another piece of decoupage paper, I cut it in half. Using one half, I applied it to the other two sides of the tissue box.
TIP: Keep all extra pieces of decoupage paper for other projects.
Step 11 – Let the tissue box dry for at least 30 minutes, or until no tackiness remains.
Step 12 – The final step is to add at least two coats of Mod Podge on the entire tissue box to seal it. For this, I put on latex gloves. This made smoothing down the paper and rubbing out wrinkles easier. And my fingers didn’t get Mod Podge on them. Make sure the Mod Podge is completely dry before adding another layer.
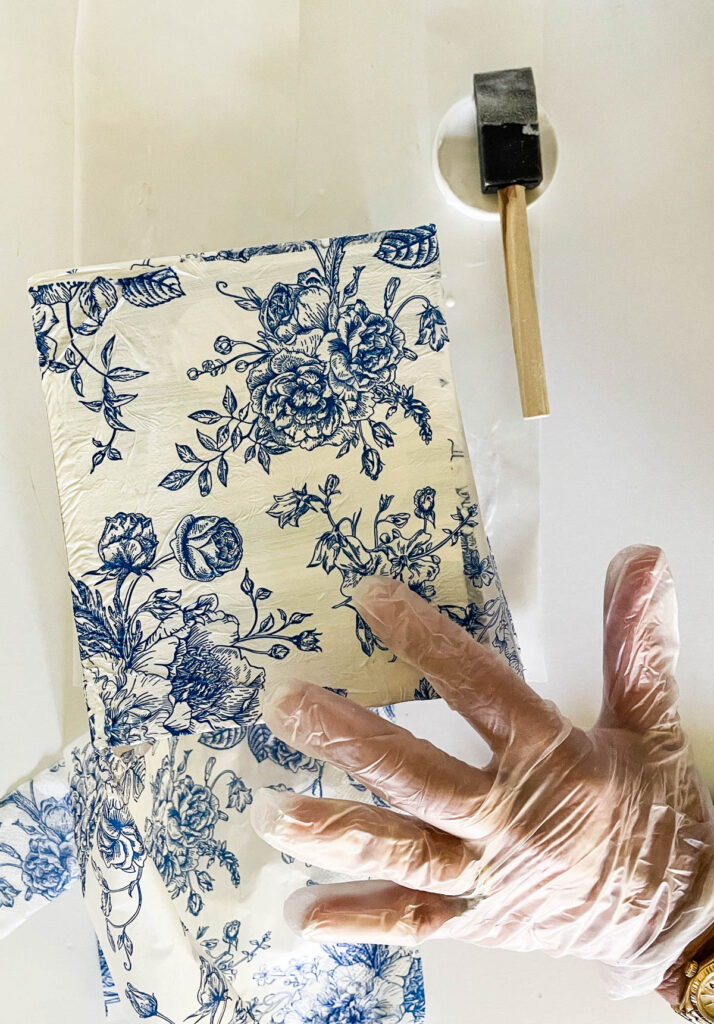
Allow the tissue box to dry overnight.
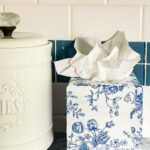
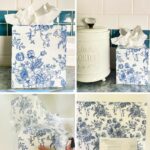
The Finished Decoupaged Tissue Box Cover
The next morning, the tissue box looked great. Many of the wrinkles had smoothed out as the Mod Podge dried.
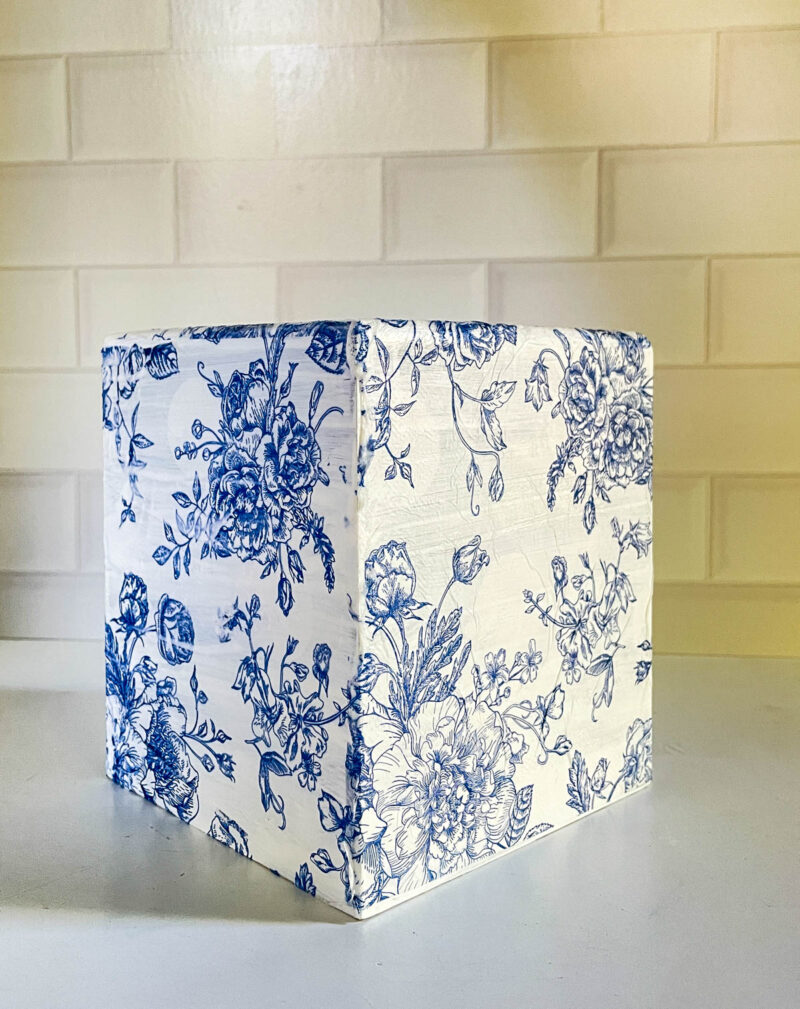
I placed a box of tissues inside and set it on our kitchen counter for easy access.
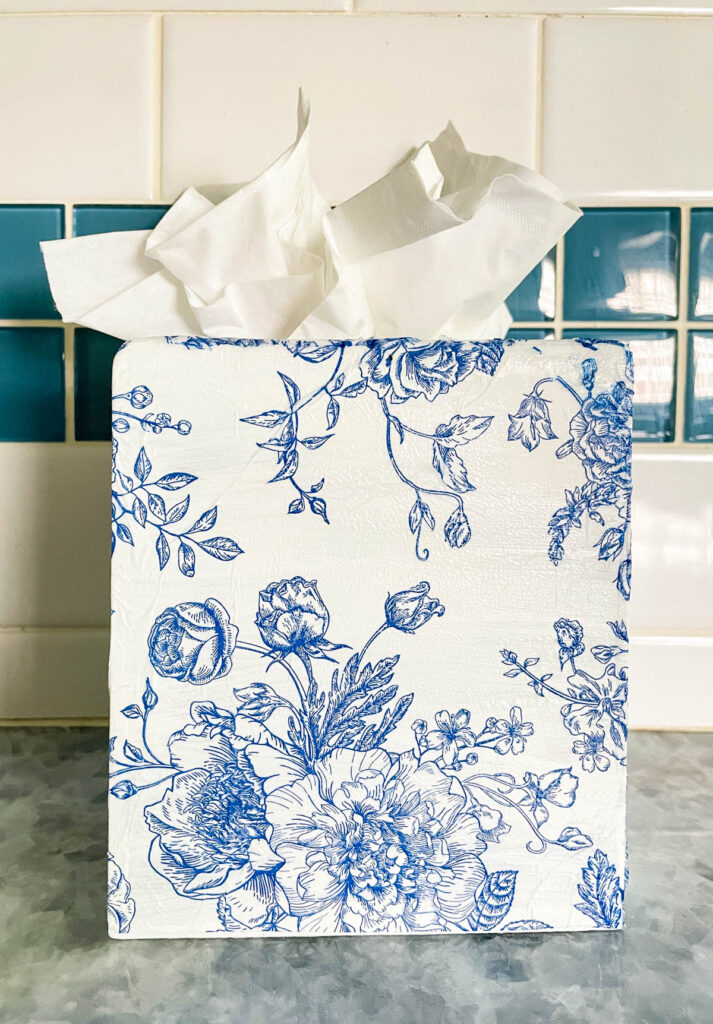
My housekeeper always makes this tissue flower, so I did, too.
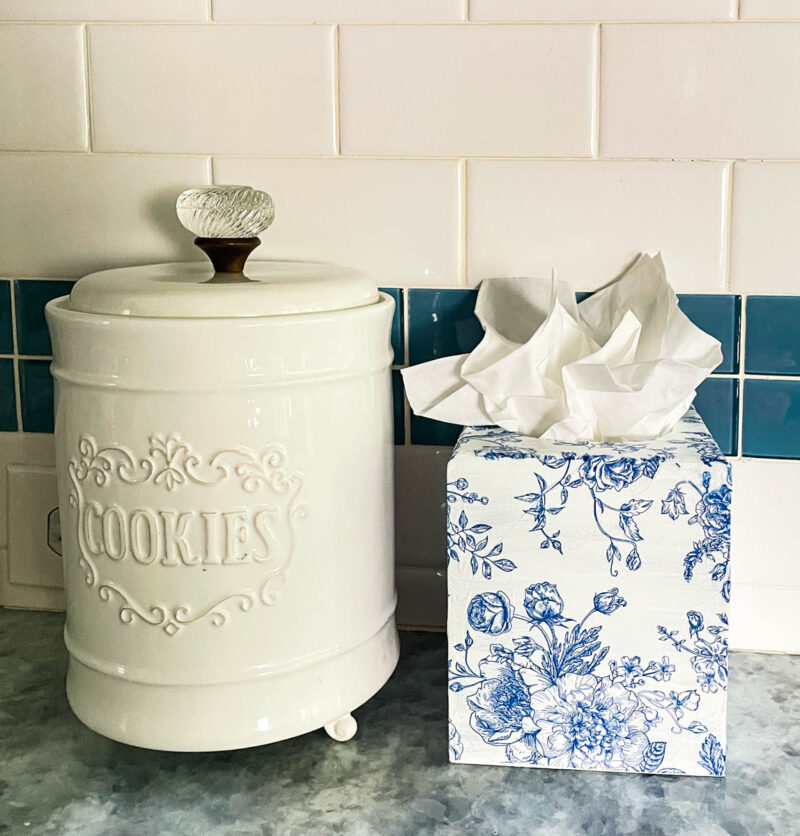
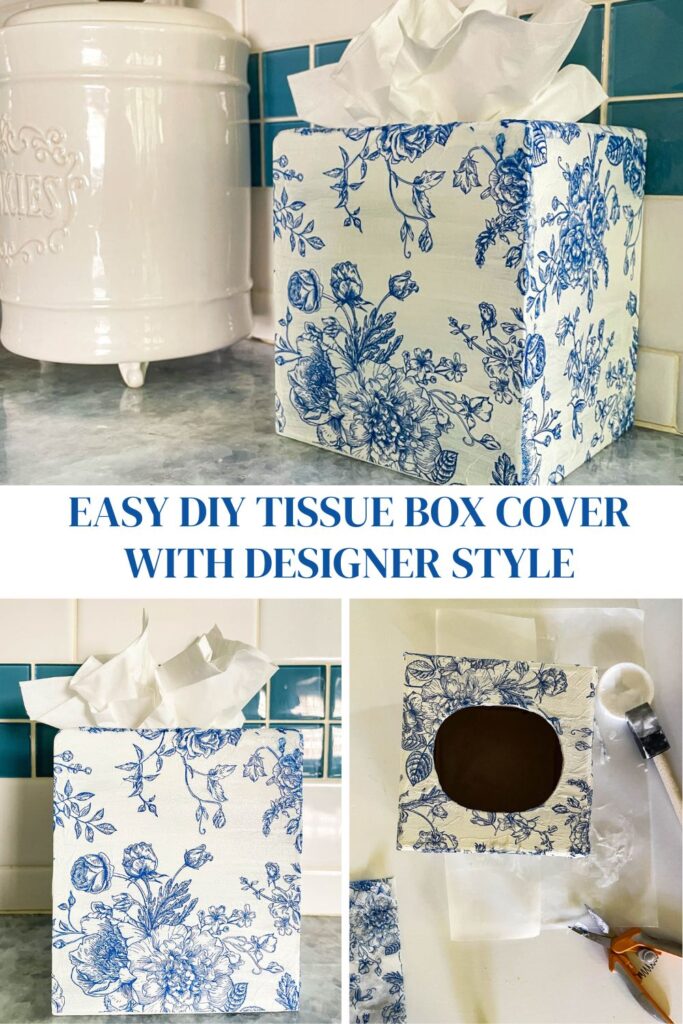
I have allergies, so I have tissue boxes all over our house. I counted six. This decoupage tissue box cover features my favorite blue-and-white color palette and the floral patterns I love.
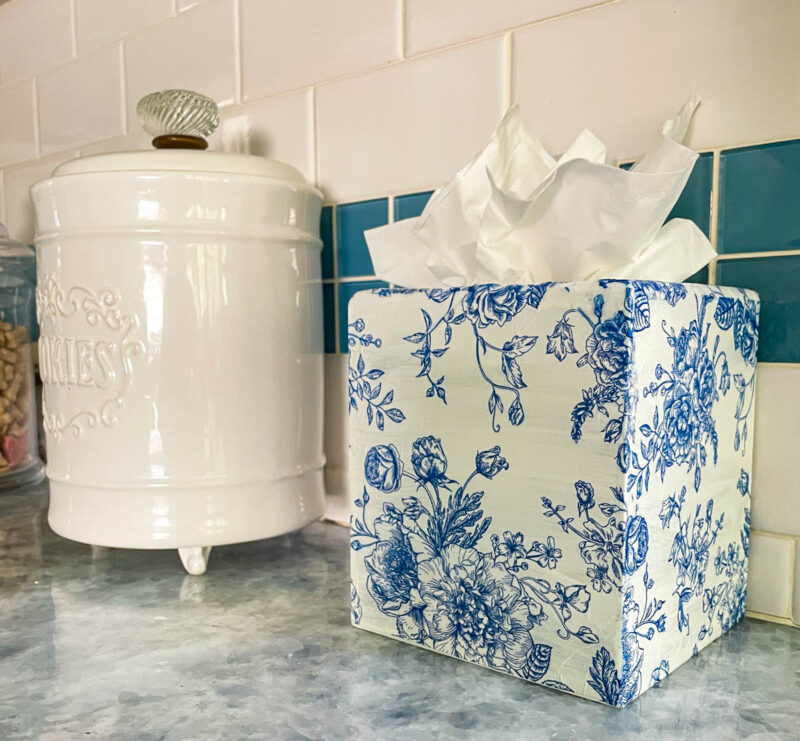
What I Learned from this Project
We all want smooth surfaces on our decoupage pieces.
Decoupage paper was definitely easier to apply and smooth down than regular paper napkins. The thicker texture reduced the risk of tearing your napkin paper during application. I recommend using the gloves from the beginning to keep your fingers from sticking.
Tearing your paper into smaller pieces probably makes for fewer wrinkles. But if you want to retain as much of your project’s design as possible, using large pieces is a must.
I’ve heard of some other ways to decrease wrinkles (using a heat gun and parchment paper) that I want to try.
Would I use decoupage paper again? Absolutely. I already have ideas for the other designs that came in the same package.
Would I use regular paper napkins again? Absolutely. Sometimes, the colors and design are the most important elements of a decoupage project. I also have a huge stash of napkins.
Recently, I used drawer liner paper for a decoupage project. The nice thing about that material is that it doesn’t have to be sealed.
Remember that what makes this tissue box cover (or any project) uniquely yours is the paper color and design you choose.
Other Favorite Decoupage Projects
I have so many decopage projects that I want to share:
Your Questions Answered
Decoupage paper is ideal because it’s stronger, flexible, and designed to adhere smoothly without wrinkling. Napkins, rice paper, and even quality wrapping paper also work. Thinner papers conform to corners and edges more easily than heavy scrapbook paper.
Yes. Lightly sand the surface to remove any rough spots, wipe away the dust, and apply a base coat of paint if your paper is semi-transparent. A clean, smooth surface is the key to a professional-looking finish.
Mod Podge is the gold standard for decoupage projects. It acts as both the adhesive and the sealer. A matte finish gives a soft, designer look, while gloss adds shine and extra durability.
Work in small sections, smooth the paper from the center outward with your fingers or a brayer, and use a thin, even layer of Mod Podge. If a bubble appears, gently lift the paper and smooth it again while the glue is still wet.
Yes. Apply two to three top coats of Mod Podge, letting each layer dry completely. Sealing protects the paper from moisture and everyday handling, which matters for an item you’ll touch daily.
I hope you liked this project and are inspired to try decoupage paper and make a simple tissue-cover box, or another project that uses the decoupage technique. Please PIN this project to your favorite Pinterest Boards to look back at and share with others.
Here are some Pinterest Boards for more inspiration: Decoupage Projects and DIY Accessories for the Home
Now, please take a look at the other project in this month’s Creative Craft blog hop, beginning with Gail of Purple Hues and Me and her pretty hydrangea project. The list of all the crafts is below.



Bluesky at Home – How to Decoupage a Tissue Box Cover
Purple Hues and Me – Decorative Toilet Paper Hydrangeas DIY
My Thrift Store Addiction – Gathered from the Garden Botanical Lanterns
Modern Monticello – Tiny Harry Potter Book Charms Christmas Ornaments
Birdz of a Feather – Japanese Ceramic Repair – Faux Kintsugi



Carol, you always find the prettiest napkins and your tissue box cover looks lovely!
Cecilia – My Thrift Store Addiction
Thanks so much, Cecilia. I guess I’m becoming napkin obsessed or decoupaged obsessed. Such fun projects and lots of bang for the buck.
Beautiful, Carol! I have two plain white tissue box covers that could use a little pizzazz. I also have a drawer full of napkins. I think I need to take your tutorial and get busy.
Kim, you’ll love this project. Easy, and it makes such a difference. I love seeing my new one in the kitchen.
Love how your tissue box turned out, Carol! It looks awesome! I enjoy decoupaging, too, and often use plastic wrap or parchment paper to remove the wrinkles before the napkins or decoupage paper dries.