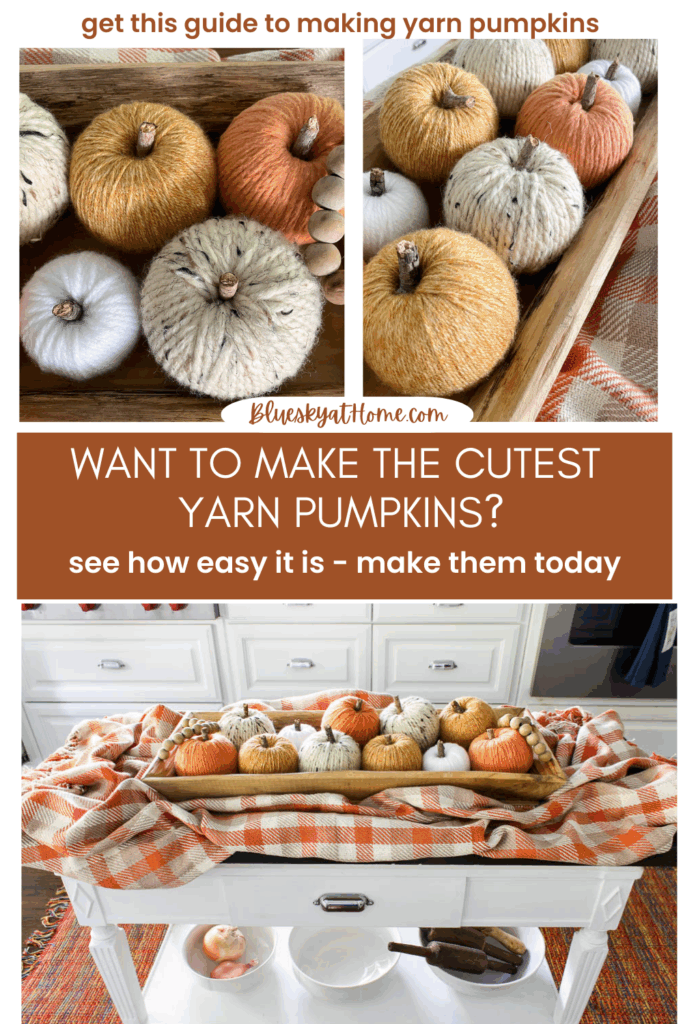
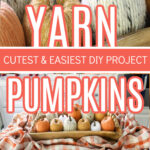
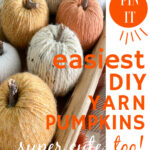
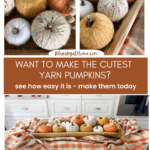
Easiest Way to Make Yarn Pumpkins for Seasonal Decor
We are at the beginning of the fall season. Think it’s too early to create some cute decorations for your home? Not at all. What if I could show you the easiest way to make yarn pumpkins for seasonal decor? I can.
Not only are these yarn pumpkins incredibly cute, but they’re also super easy to make, even for beginners.
No complicated techniques or hard-to-find materials here. In just a short amount of time, you can whip up a whole bunch of these delightful yarn pumpkins to sprinkle around your home, creating a warm and inviting atmosphere perfect for the season.
Whether you’re a seasoned DIY pro or a crafty newbie, I’m here to guide you through the process, step by step. Let’s get started making these adorable yarn pumpkins that will instantly elevate your fall decor game!

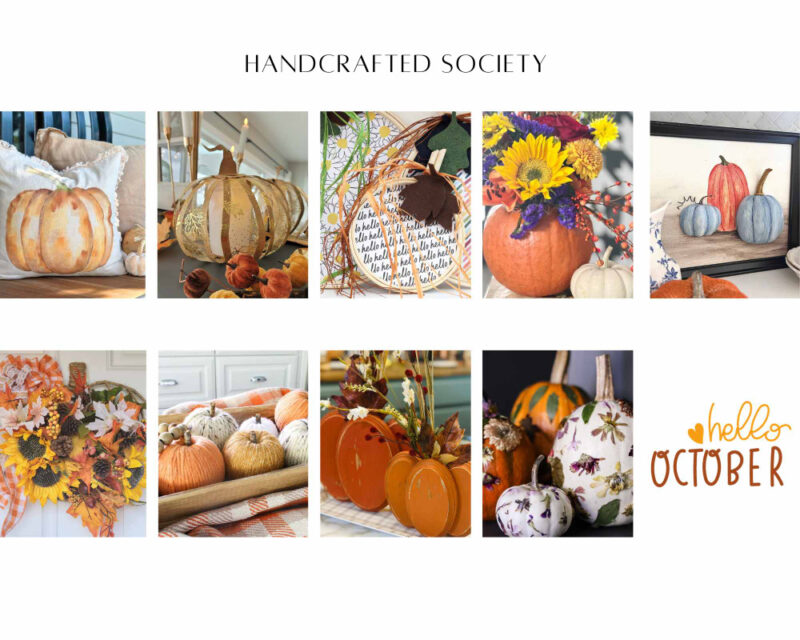
I’m thrilled today to be part of the Handmade Society Monthly post. Thank you to the ladies for inviting me to participate this month. Wendy of WM Design House is at the helm this month and chose pumpkins as the theme.
This was the perfect project for me. I started making these easy DIY yarn pumpkins a few weeks ago. It’s an easy project to do while watching TV (the new seasons of Virgin River, The Morning Show, and Cowboy games.)
Where to Use Yarn Pumpkins in Your Home Decor
Yarn pumpkins are incredibly versatile and can be used in a variety of places to spruce up your home decor for the fall season.
Here are 10 ways to use these little yarn pumpkins in your home decor:
- Table Centerpieces: Place a cluster of yarn pumpkins in the center of your dining table or coffee table. Mix and match different colors and sizes to create an eye-catching focal point that welcomes guests and sets the autumn mood.
- Mantel Display: Arrange your yarn pumpkins on your fireplace mantel. They’ll add a cozy touch and complement the warm, rustic vibes of the fall season. Consider mixing in some autumn leaves or twinkling string lights for extra flair.
- Front Porch Welcome: If your front porch or patio is covered and safe from the elements, greet visitors with a charming fall display of your yarn pumpkins. Pair them with hay bales, potted mums, and other autumn decorations to create an inviting entryway.
- Wreath Embellishments: Upgrade your fall wreaths by attaching yarn pumpkins as accents. You can hot glue them to a grapevine, straw or styrofoam wreath form, creating a unique and eye-catching statement piece. Fill in and surround the pumpkins with fall leaves, pinecones, acorns, and other seasonal elements. Hang this on your front door for a warm and welcoming entrance.
- Seasonal Garland: String your yarn pumpkins together to make a festive garland. Hang it along your staircase railing, on your mantel, or across your windows to add a touch of autumn charm throughout your home.
- Dining Table Settings: Place a small yarn pumpkin at each place setting during your fall gatherings or Thanksgiving dinner. They’ll serve as adorable place cards that your guests can take home as keepsakes.
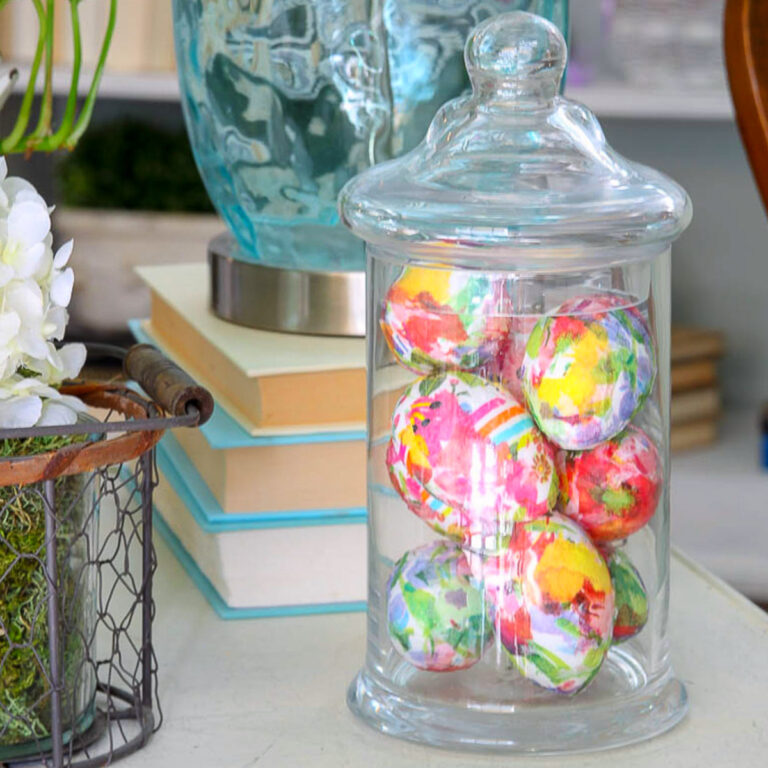
- Floating in Vases: Fill clear glass vases with yarn pumpkins to create captivating fall decor. You can add some autumn foliage or fairy lights to complete the look. These vases can be placed on side tables, bookshelves, or as a centerpiece on your dining table.
- Hanging Decor: Thread some twine through your yarn pumpkins and hang them from hooks, light fixtures, or ceiling beams. This whimsical touch will add a pop of color and a dash of fall spirit to your living spaces.
- Tray and Basket: Pile several yarn pumpkins in a wood tray or a woven basket. Mix up the colors and the size of the yarn pumpkins.
- Napkin Rings: For a subtle touch of fall during mealtime, fashion your yarn pumpkins into napkin rings. They’ll add charming details to your table settings without overwhelming the decor.
With these creative ideas, you can make the most of your DIY yarn pumpkins and infuse your home with the cozy, inviting atmosphere of fall. So, get crafting and watch your space transform into a warm and welcoming autumn haven!
Check out this easy pumpkin project – How to Make DIY Fabric-Covered Pumpkins.
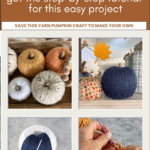
Supplies for Your Easy Yarn Pumpkins
All you’ll need for these yarn pumpkins are a few simple supplies that you may already have on hand for your DIY fall decor. If not you can get these craft supplies at your local craft store or online.
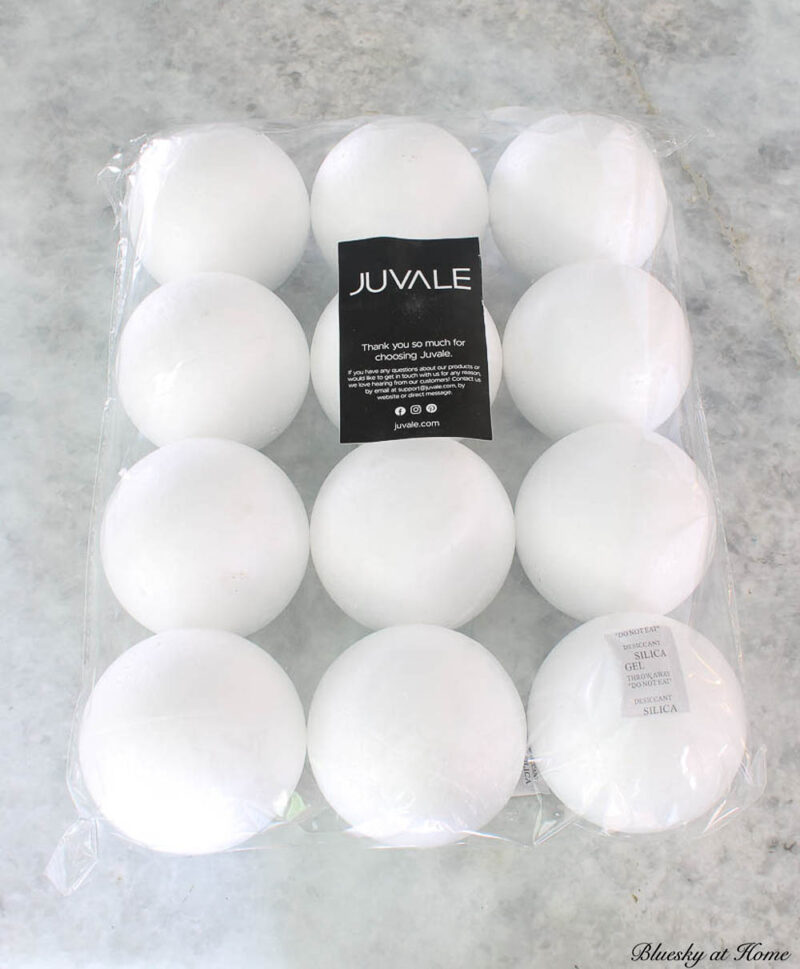
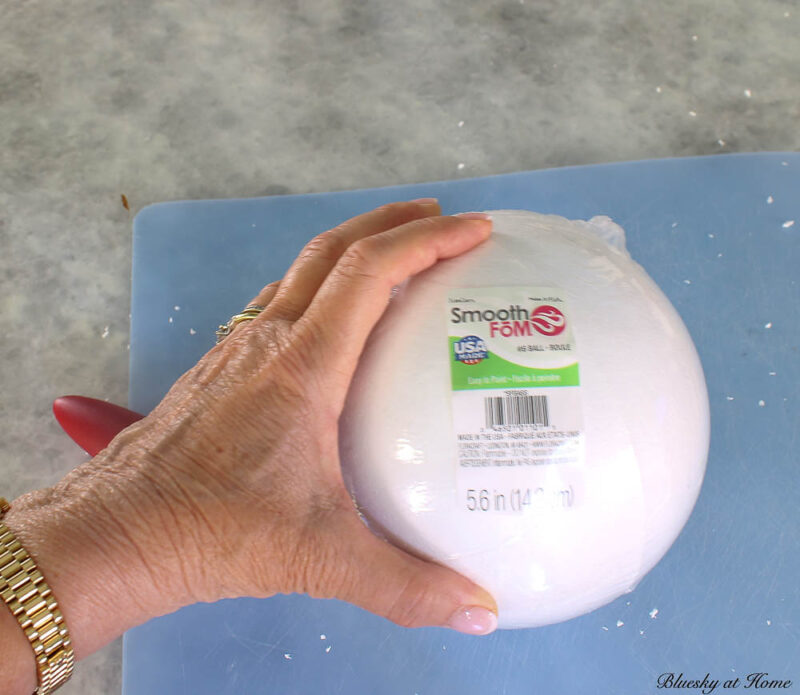
- styrofoam balls in the size of your choice.
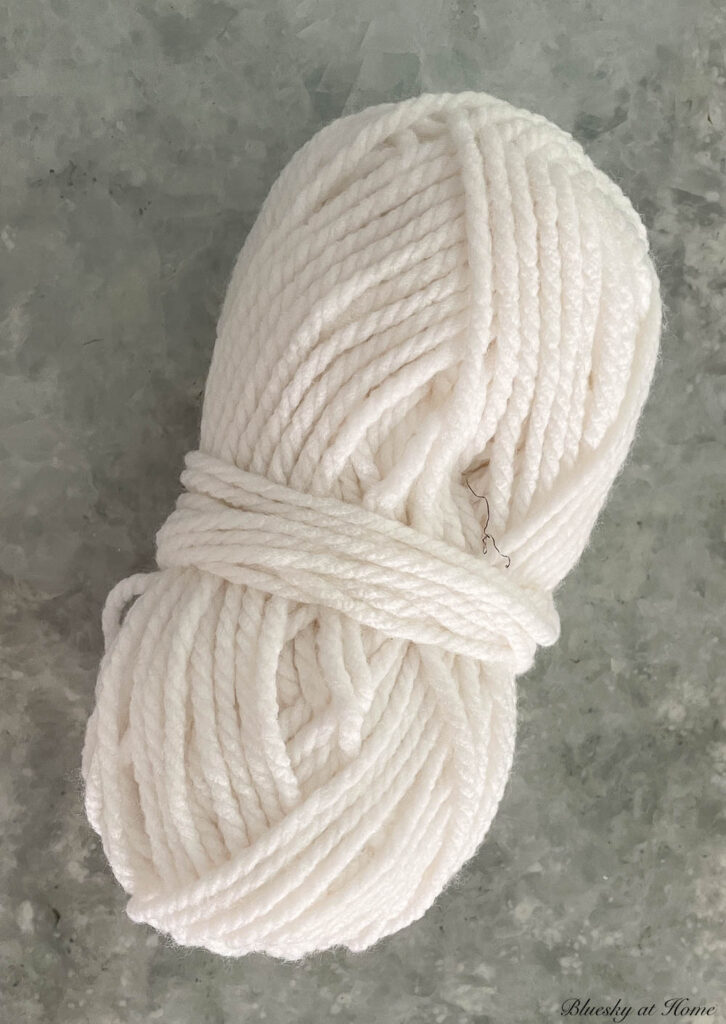
- yarn in your favorite fall colors. The yarn can be thinner yarn or thick yarn, but not too chunky. The yarn for these pumpkins couldn’t be too thick.
- a large yarn needle – bought this set of large needles online. I used the large purple ones. They worked great.

- sewing scissors
- large serrated knife – I used my bread knife
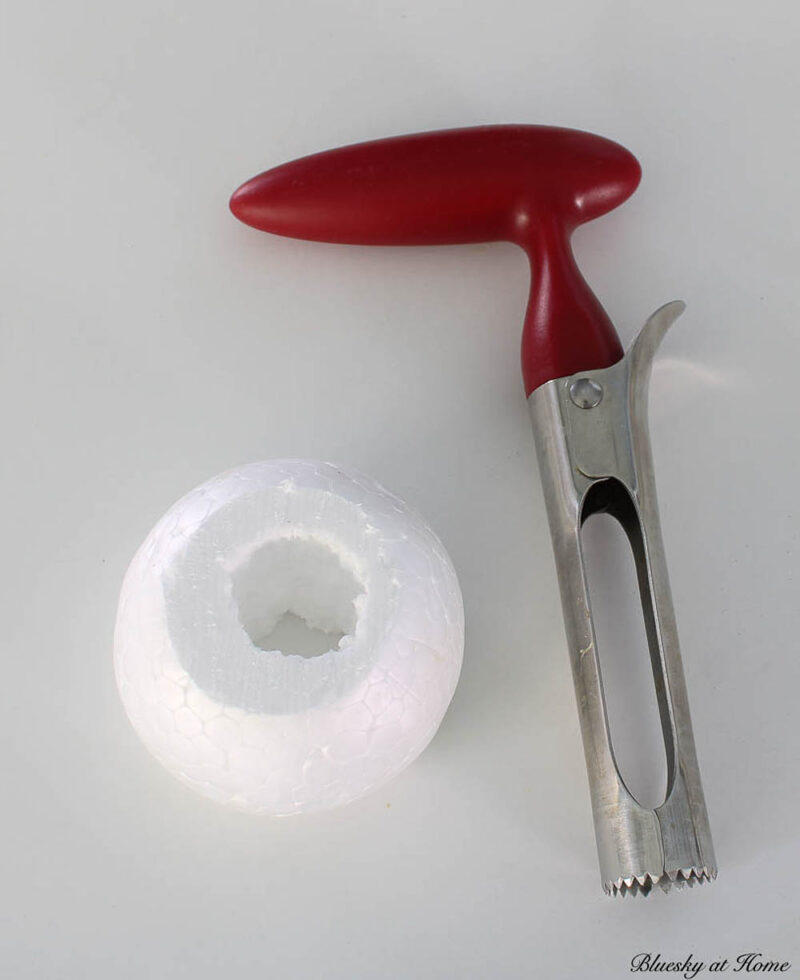
- apple corer – trust me on this
- electric knife for larger pumpkins – again, trust me
- small twigs cut into 1 1/2 – 2-inch lengths for your pumpkin stems
My Yarn Pumpkin Choices
- I used three sizes of styrofoam balls- 3 inches, 4 inches, 5 1/2 inches. I already had two 3-inch styrofoam balls. I used those to test out the process of making the yarn pumpkins.
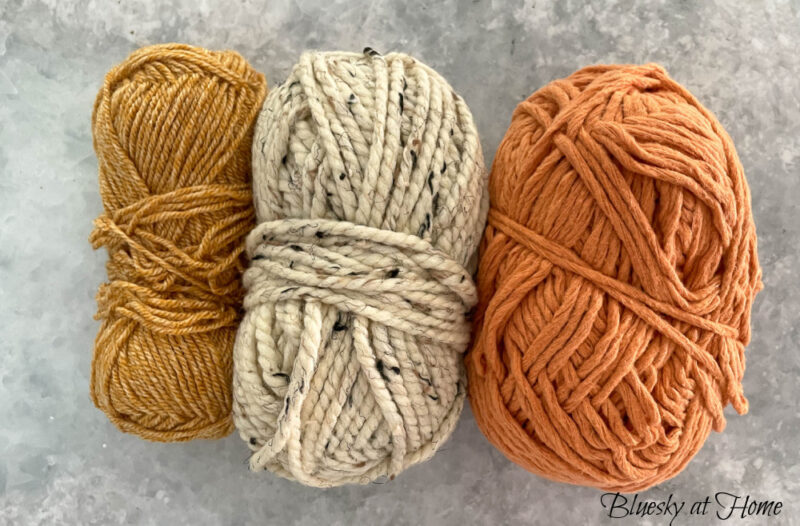
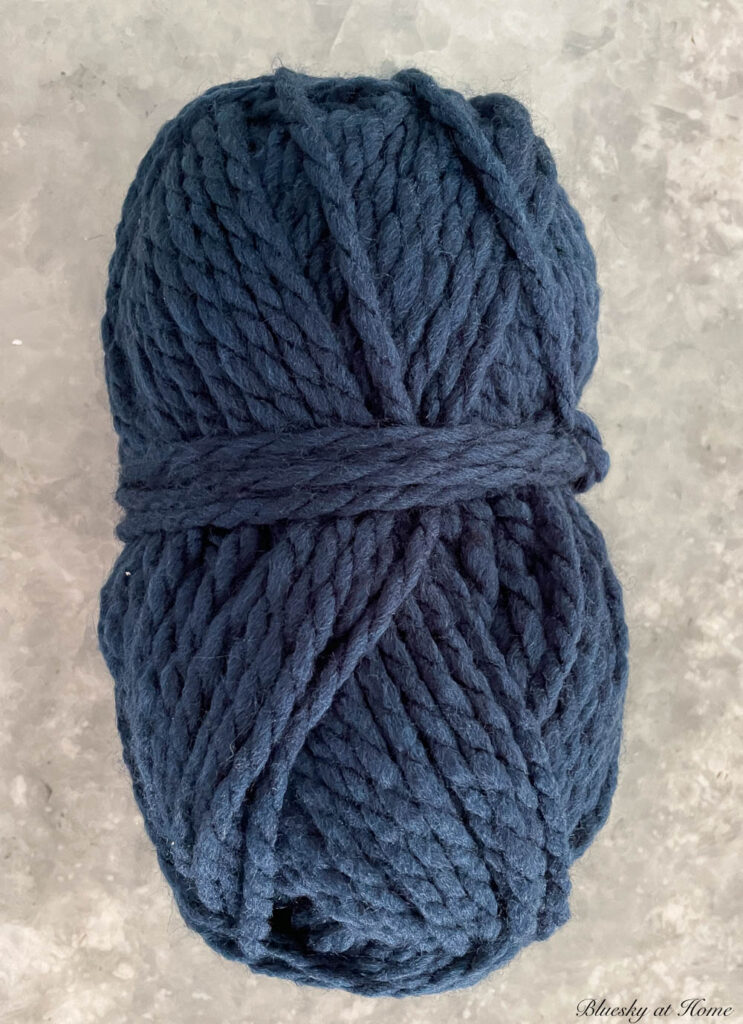
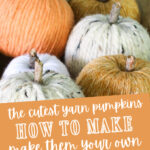
- I used white yarn for my “test” yarn pumpkins. Then I bought three colors – muted gold, muted orange yarn, and an oatmeal color with dark grey bits. Later I added a navy blue yarn for a larger pumpkin.
Making Your Yarn Pumpkins
Last year I made pumpkins using yarn and some using rope and twine. I still love those pumpkins for cozy fall decor. They are part of our fall entry as we speak.
But I have to say, these are the cutest yarn pumpkins and they don’t involve a hot glue gun. They are such an easy craft and relaxing to make.
How many pumpkins you make is up to you, depending on how you want to display the pumpkins.
How much yarn you use depends on the size of the styrofoam balls and the thickness of the yarn.
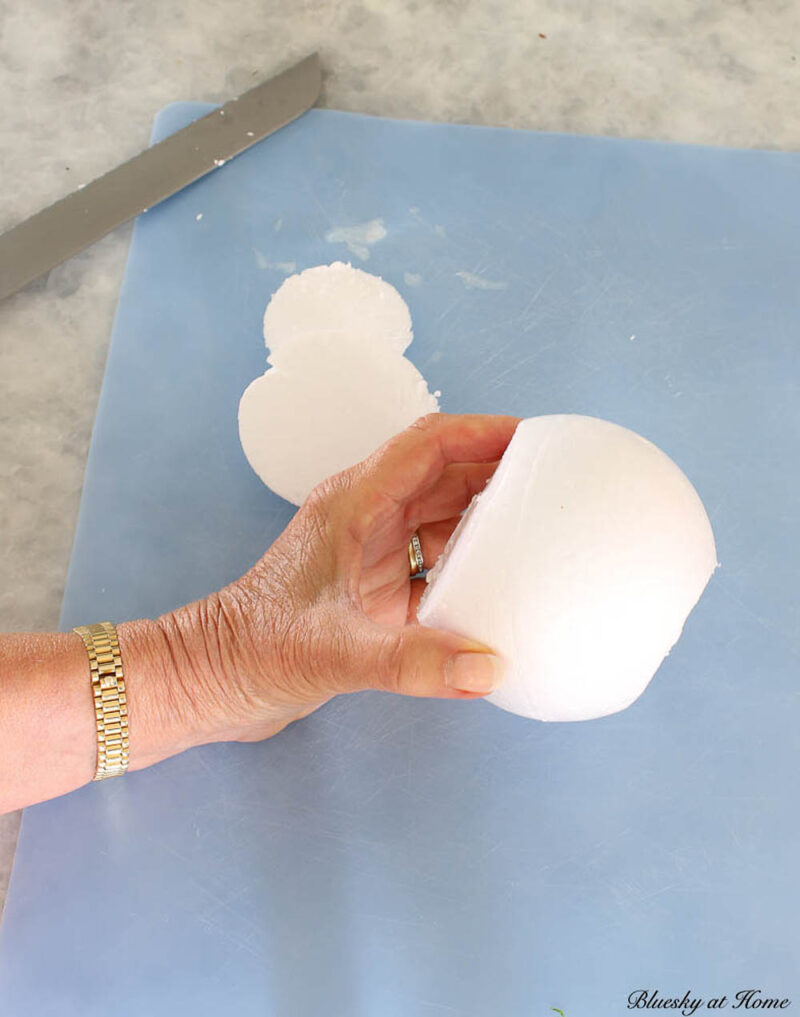
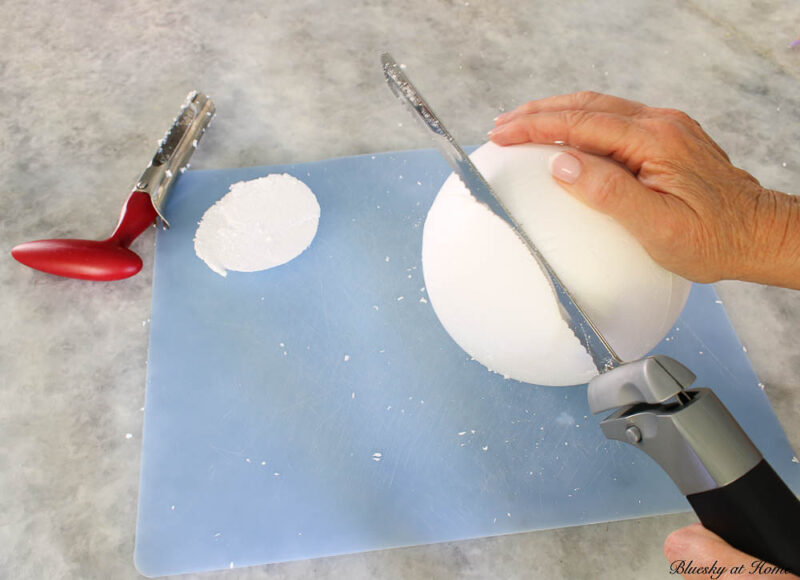
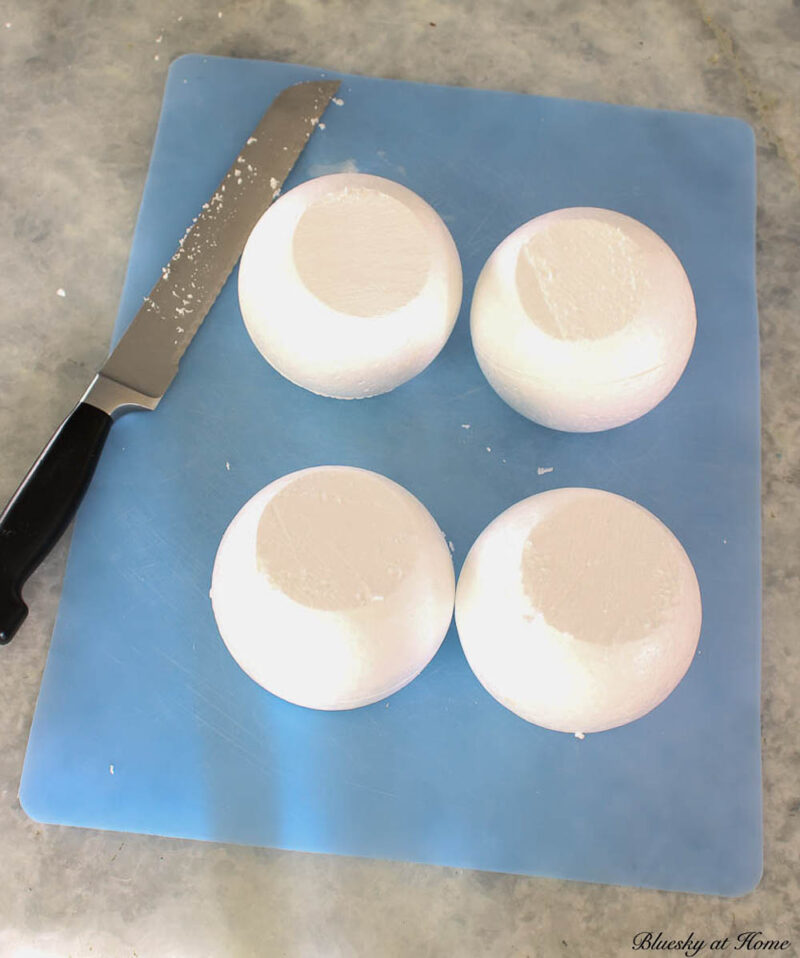
Step 1 – Cutting Your Styrofoam Pumpkins
To give the round styrofoam balls a more pumpkin shape, you cut off the ends of the balls – the north and south poles. We’ll start calling the ball the pumpkin.
On a cutting mat, cut off a small piece of the top of the pumpkin with your serrated knife. Cut off a larger piece off the bottom of the pumpkin. It should be flat on your surface.
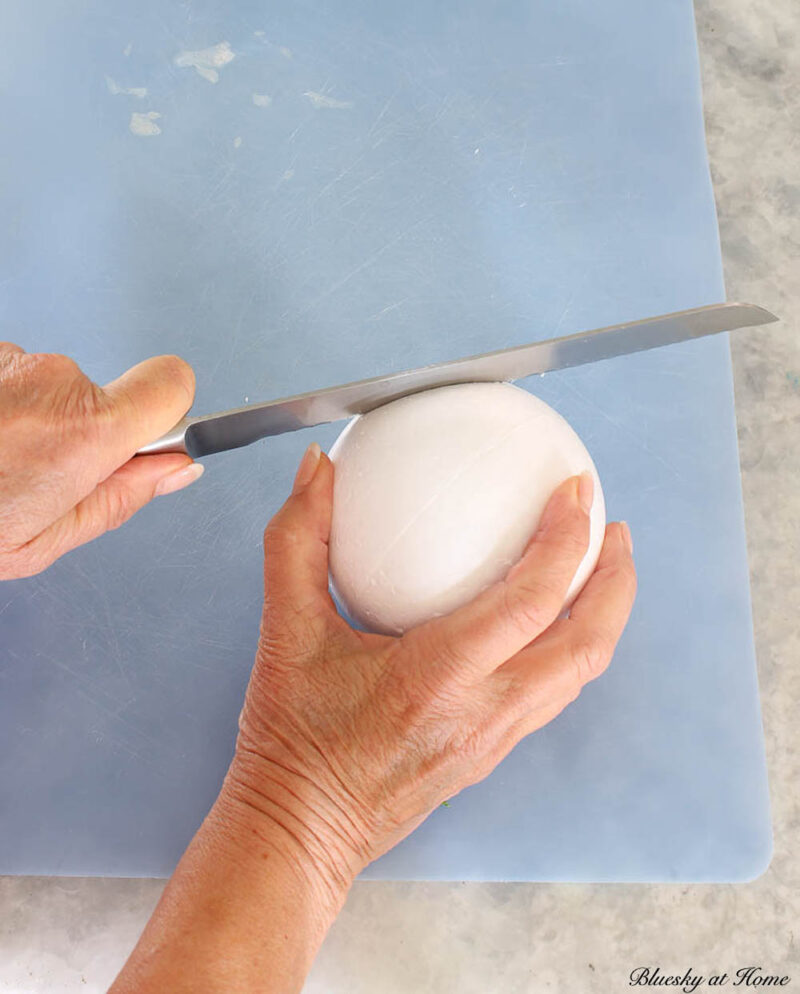
For my larger 5 1/2-inch pumpkin, the serrated knife wasn’t strong enough. I used my electric knife and it worked like a charm. I told you to trust me.
Step 2 – Making Your Hole
For these faux pumpkins, you have to make a hole going through the center of the entire pumpkin. This way you can wrap yarn through the center of the pumpkin and wrap it around the outside of the pumpkin.
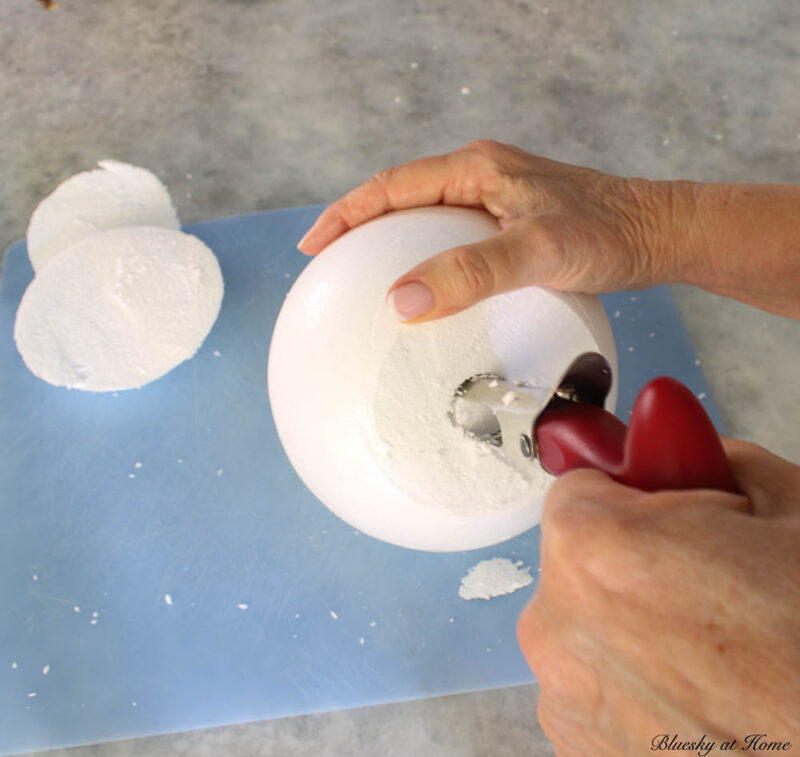
This is where the apple corer comes in. It works great to make a hole through the center of the pumpkin. Place the corer on the top of the pumpkin and press hard straight down and twist.
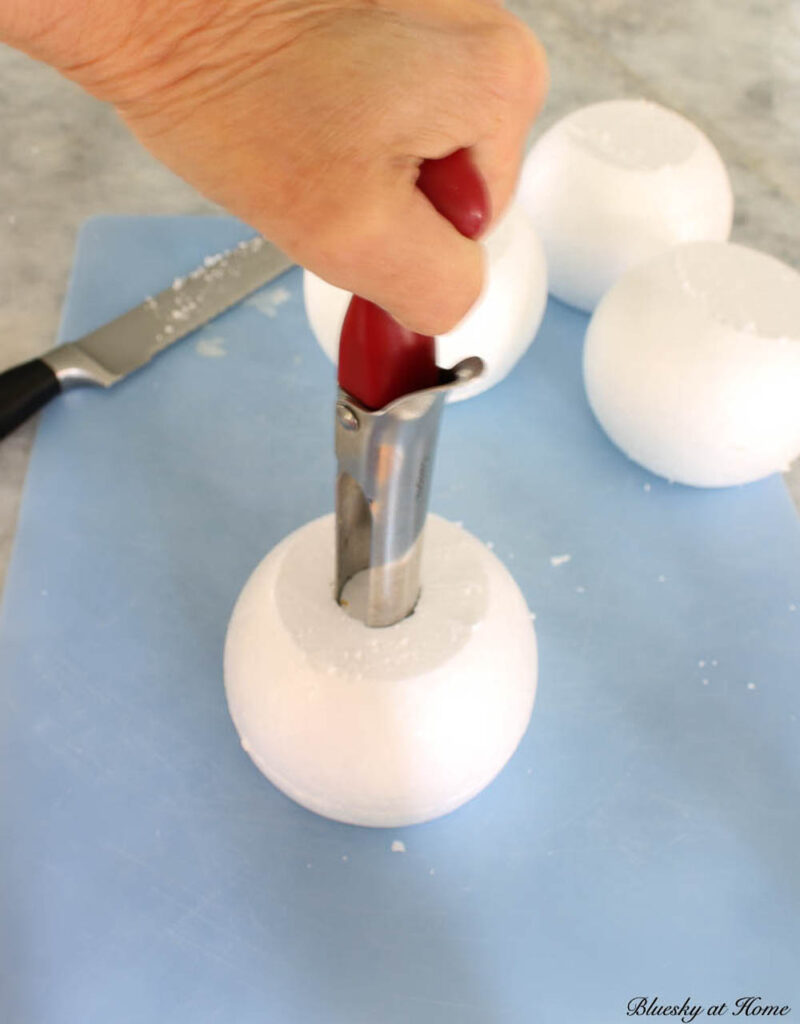
Then pull the corer back out of the hole. Just like an apple, the center of the pumpkin will be in the corer.
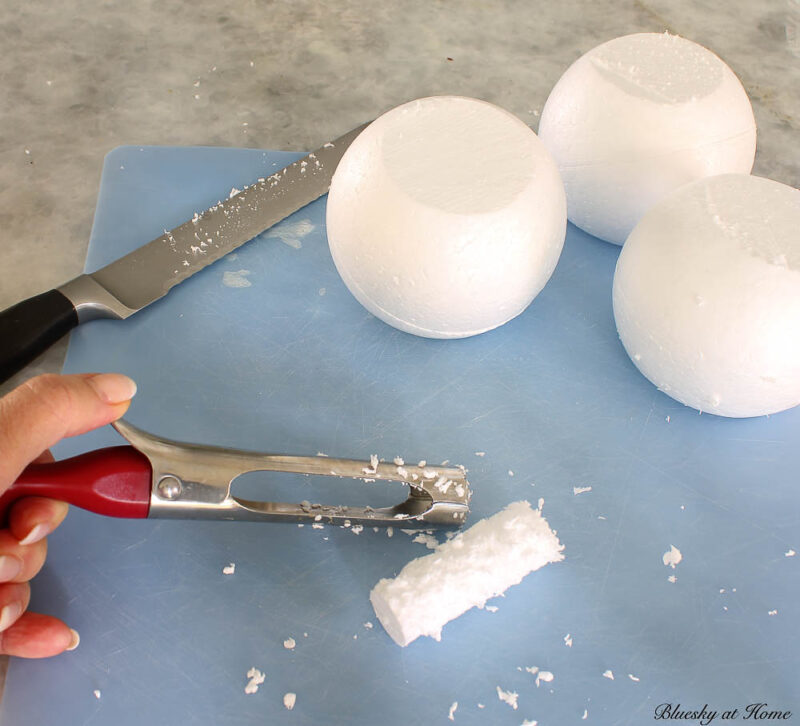
Easy peasy. Throw the ends and core of the styrofoam away. The hole through the center is almost 1 inch in diameter.
This apple corer is great because it opens and you can easily remove the apple core or styrofoam core.
For the larger pumpkin, I went in from both top and bottom to “carve” out the center of the pumpkin.
NOTE: I ran my knife and the apple corer under water to remove the little pieces of styrofoam. If you want your hole to be bigger, you can use a long skinny carving knife to remove more of the styrofoam.
Step 3 – Wrapping the Yarn
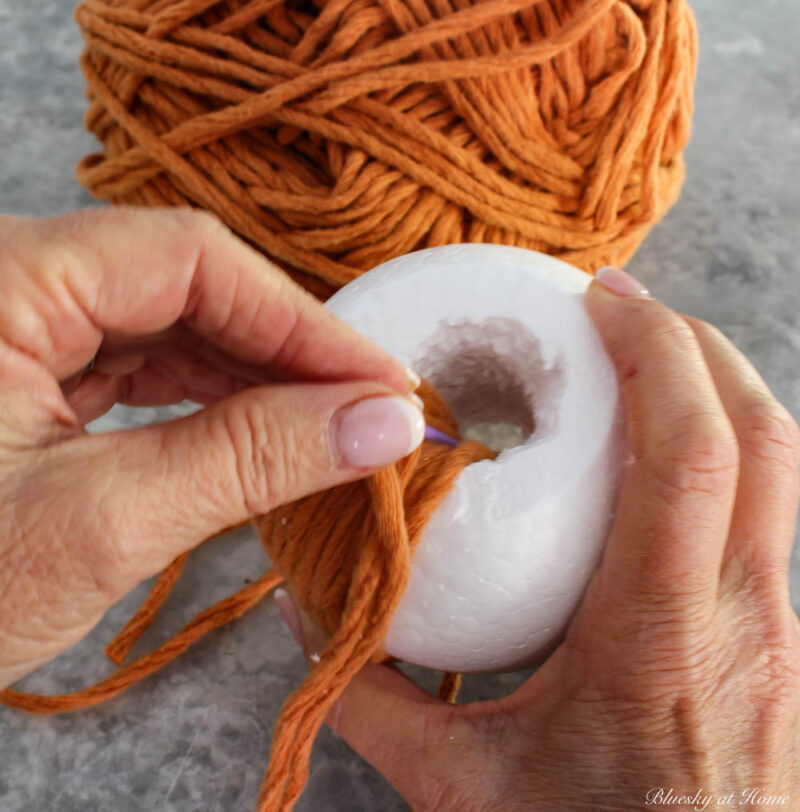
Thread the large yarn needle through the end of yarn. Unwound quite a bit of yarn. I think I had about two feet+ of yarn. Do not cut off the yarn from the skein.
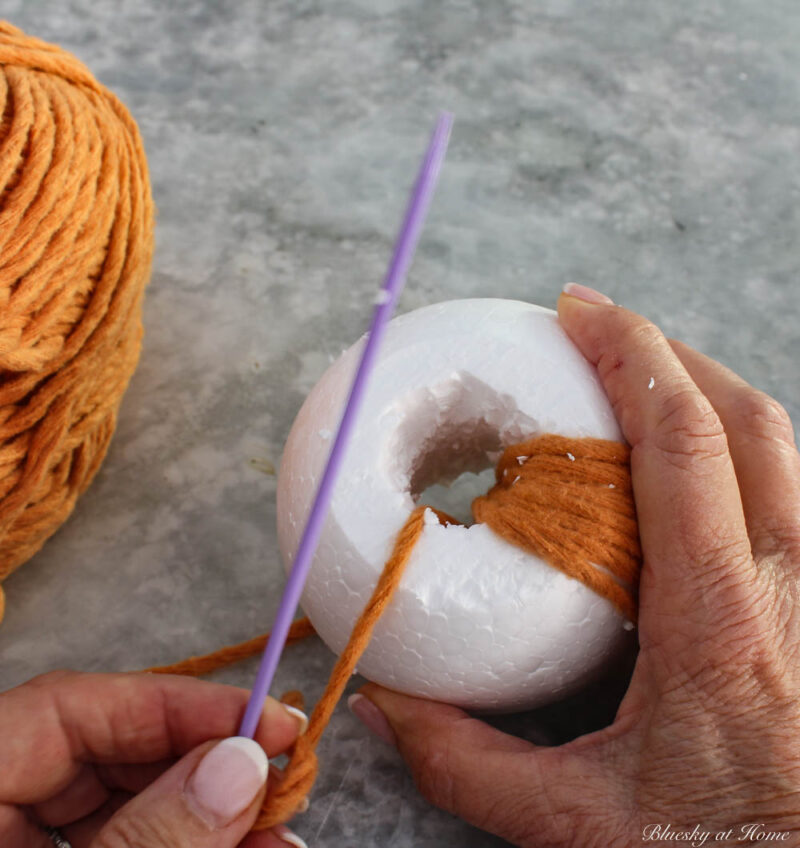
Holding the pumpkin in one hand, use the needle to pull all the yarn up through the hole in the center of the pumpkin. Hold the end of the yarn with your finger.

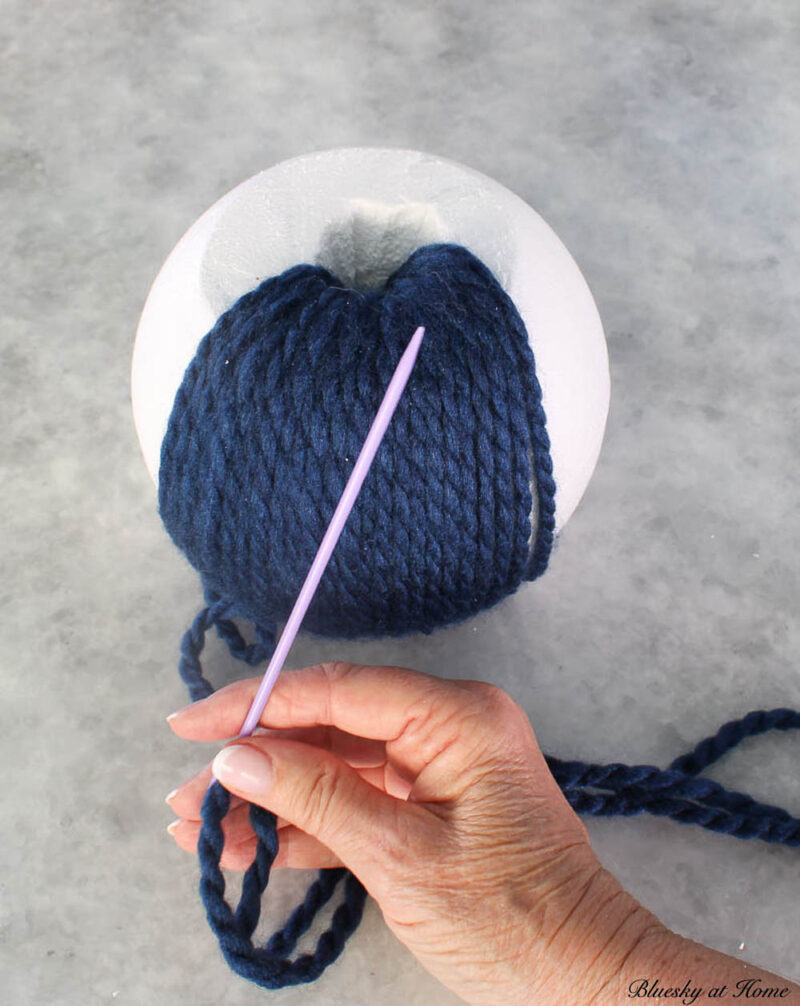
Wrap the yarn around the outside of the pumpkin and pull the yarn up through the hole in the center again. You will repeat this motion until you have wrapped all the yarn around the pumpkin. As you go, make sure that the strand of yarn is tight, pushing the yarn strands close together. The white styrofoam shouldn’t show through. If necessary, you can overlayer the yarn.
When you get to the end of the yarn, push the needle back into the center of the pumpkin under the yarn. This step will secure the yarn without knotting the yarn.
Now, at the other end of the yarn still attached to the skein, unwound a few feet of yarn. Cut off the yarn from the skein and put the end of the needle.
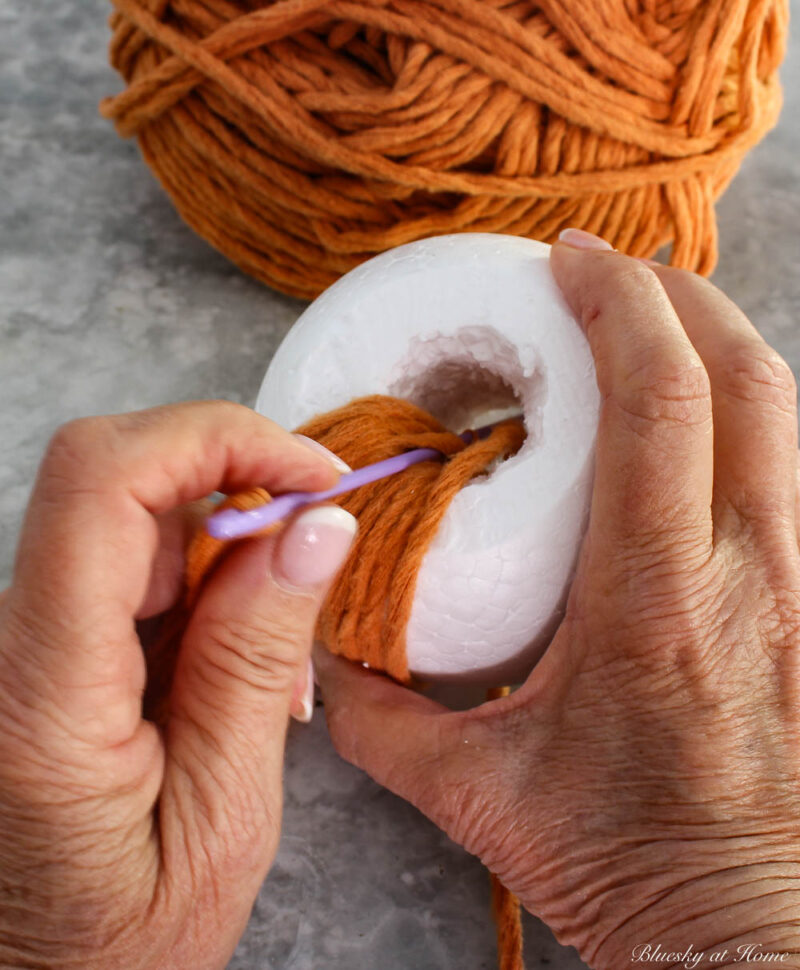
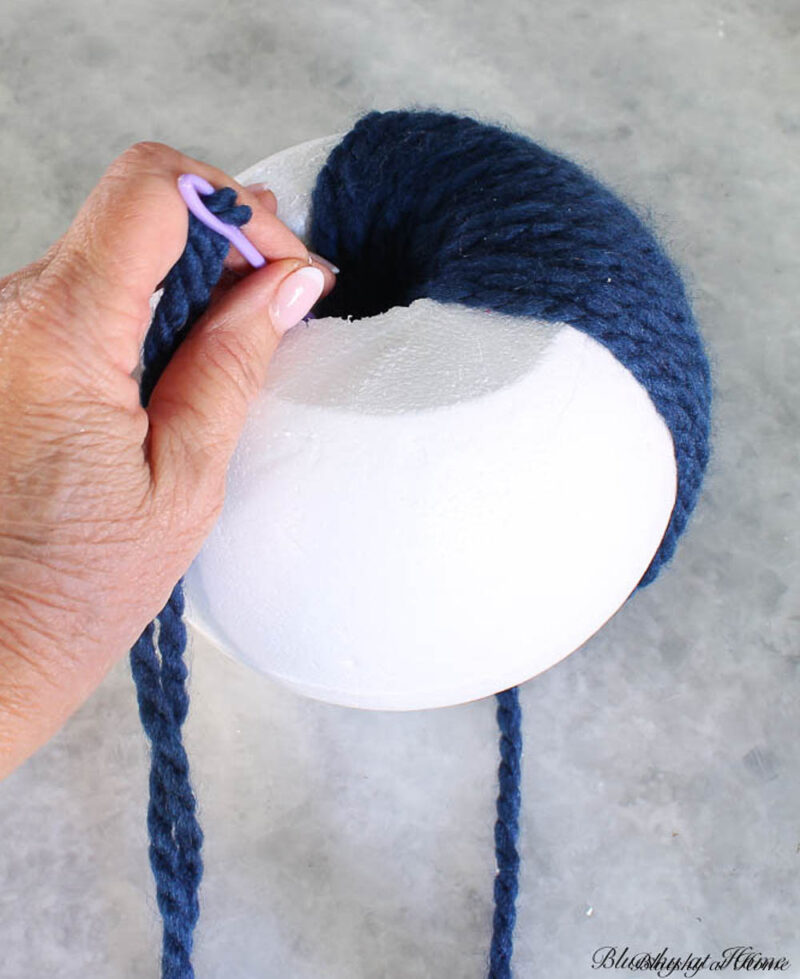
Now start wrapping the yarn through the center hole of the pumpkin as you did before.
Repeat this process until the pumpkin is completely covered with yarn and no white shows through the yarn.
The hole gets smaller as you thread the yarn through the hole. When you get to the end of the threaded yarn, put it through the yarn inside the hole and clip off any excess.
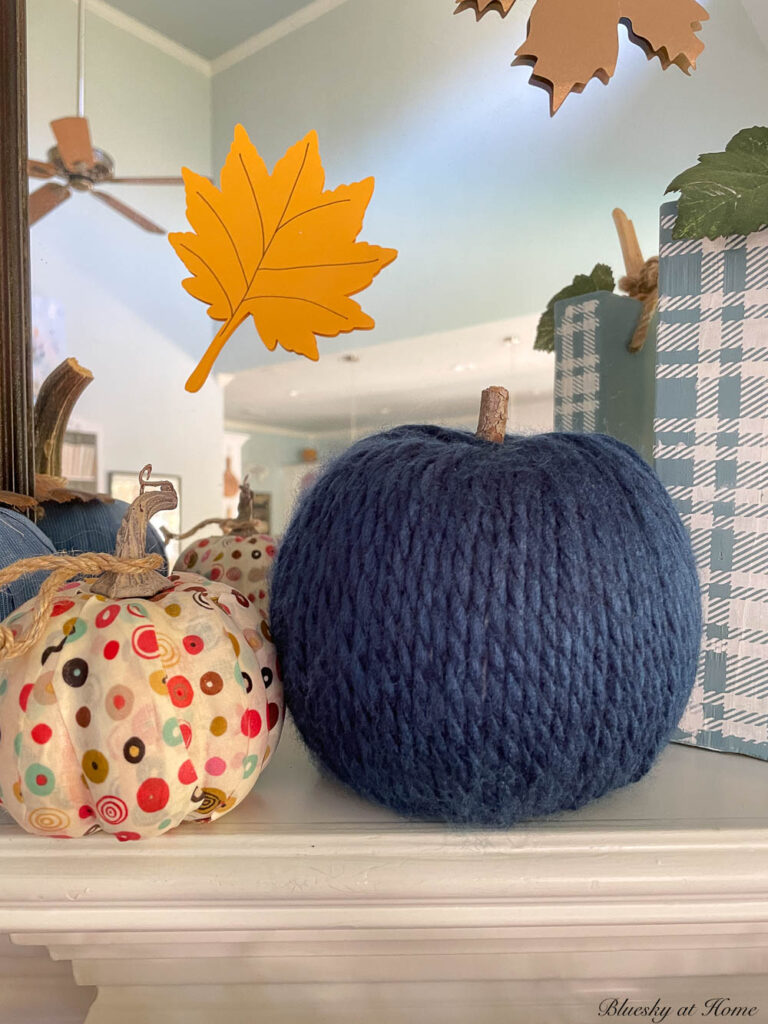
Step 4 – Adding the Pumpkin Stems
All you have to do is push your piece of twig into the top of the pumpkin. You do not have to glue it. The yarn on the inside of the pumpkin holds the stem tightly.

I made a total of twelve pumpkins: 4 orange, 3 gold, 3 oatmeal, and 2 white pumpkins. Plus the one navy pumpkin that I used on our fall fireplace mantel. I still have more styrofoam balls to use to make more yarn pumpkins.
Here is another DIY pumpkin decorated with yarn.
Displaying Your Yarn Pumpkins
Now that you have finished the yarn-wrapped pumpkins, it’s time to display them. (See all the suggestions above.)
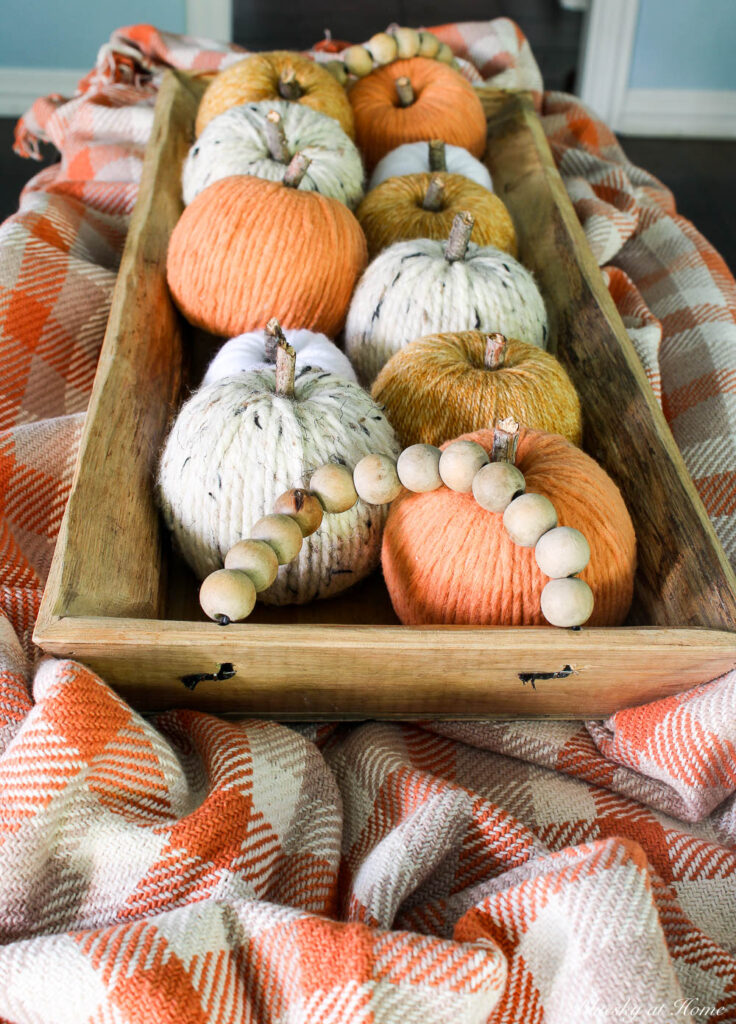
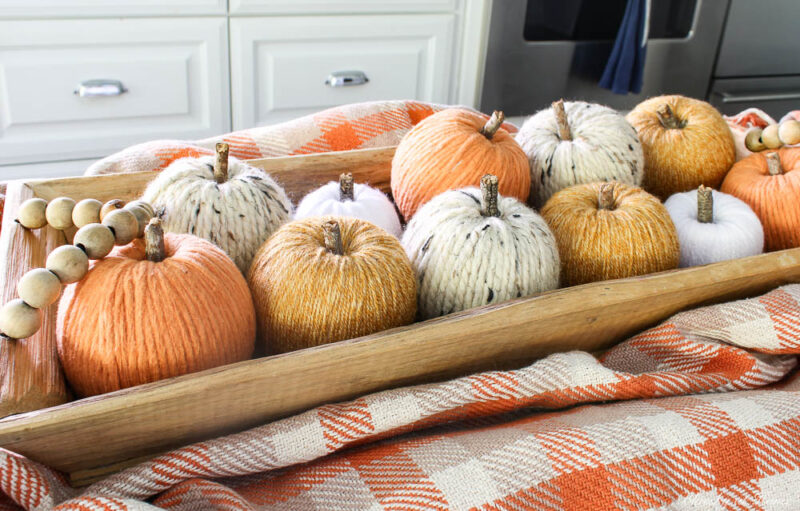
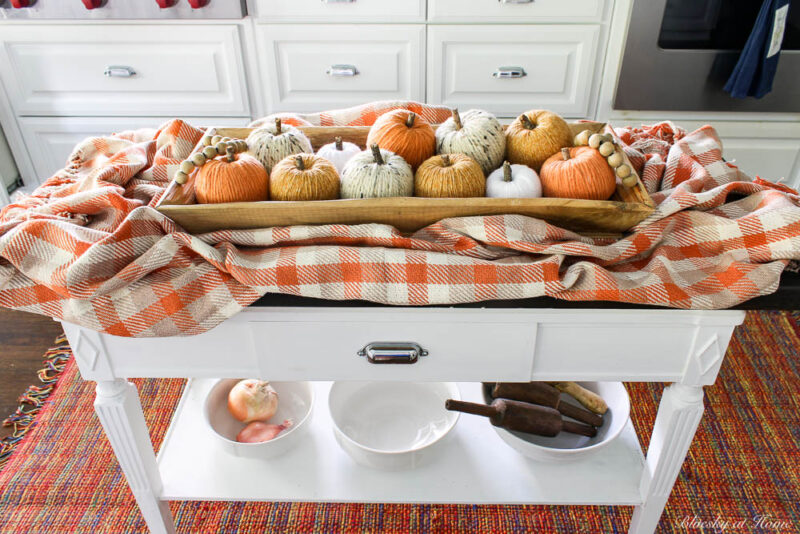
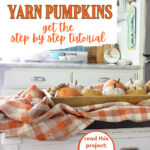
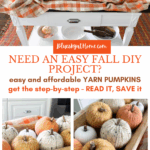
I knew that I wanted to use my yarn pumpkins in my wood tray on our small console table in the kitchen.
First, we brought in our custom-made fall cotton rag rug. We had it made in New Orleans several years ago. I love bringing it out for the fall season. We also have one for spring and summer and one for Christmas.
Then I covered our console table (I remade this table from an old console table that belonged to Sweet Shark’s mom.) with a favorite orange and white checked throw. This adds more color and softness to the table. It gives the kitchen a cozy feel to contrast with the hard surfaces.

I arranged the pumpkins to fill the wood tray, not letting two pumpkins of the same color touch.
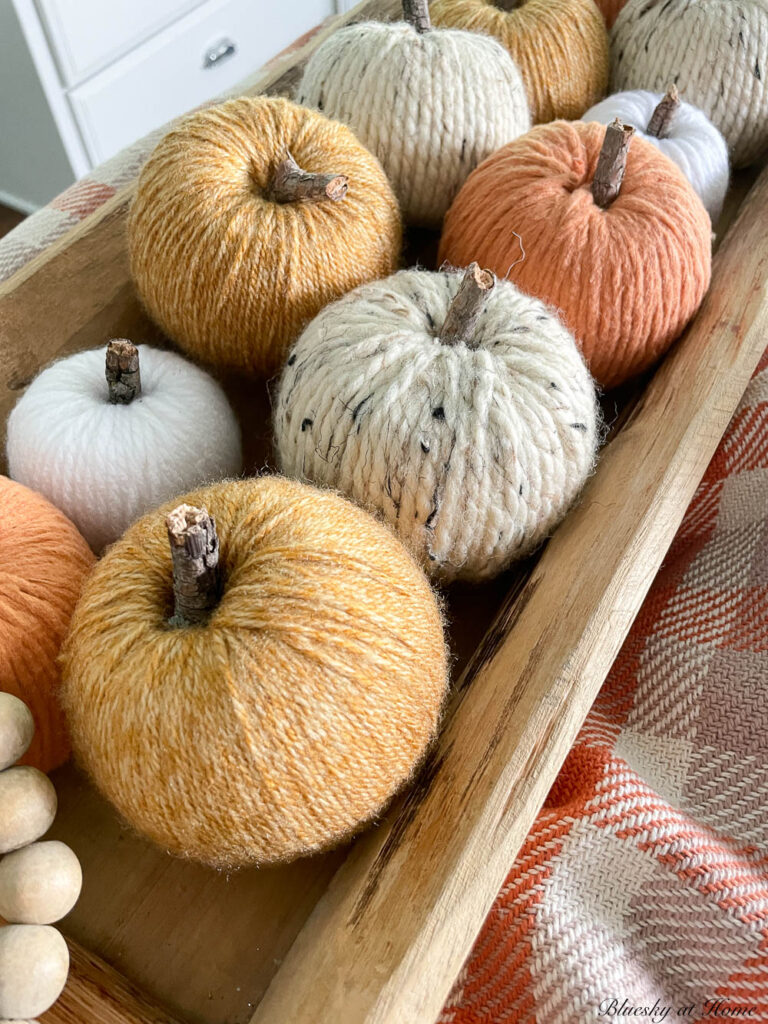
The tray and pumpkins look interesting from every angle. And I don’t have to worry about the pumpkins rotting on my tray.
I loved making these little yarn pumpkins and I loved how they turned out. I plan to use the rest of the styrofoam balls and the yarn that I have to make more of the cute yarn pumpkins.
I love how the table and pumpkin vignette look from the living room.

I hope you enjoyed this project and will try making yarn pumpkins yourself. Imagine your yarn pumpkins in different colors and sizes.

Supplies You’ll Need


Ready for more handmade pumpkins? You have to see what the ladies of the Handmade Society have created. Be sure to visit each one, starting with my sweet Texas friend, Michelle of Thistle Key Lane.
I hope that you will PIN our DIY projects. You can find more inspiration at my Pinterest Boards Fall DIY Ideas and Fall Home Decor.


Carol,
These pumpkins are just the cutest. I love your easy instructions and I’m sharing a link tomorrow on DRA.
These are just too cute to pass up for a feature on Farmhouse Friday! Love the colors, sizes, and how you styled them. Thank you for linking up. Pinned again!
Adorable.
These are so beautiful!
Adorable DIY yarn pumpkins. I love how they look together in the wooden tray.
Happy Fall,
Kippi
Carol, these are the cutest little pumpkins! and I love your trick
of using the electric knife. Brilliant.
Carol, this is such a sweet project. I love how you use multiple colors and the foam balls. Styling them in your dough bowl was the perfect way to complete this look.
So happy to have you, Susan.
That is so clever using the foam balls! I’ve done it with old foam pumpkins but this is a better idea!
Such a clever project, Carol! I love all of the different yarn colors that you used. And the pumpkins look beautiful in your dough bowl! Thanks for joining us this month!
So glad to have you with us this month! Your dough bowl filled with all your pumpkins in those yummy colors is absolutely delightful.
Such a cute project Carol! I can’t believe I’ve never tried to make yarn pumpkins. Excellent tutorial and I’m pinning to make some!
Carol I absolutely love this project! They are so adorable and I love how you styled them too! I will definitely be making this project this fall!
These are so sweet Carol! I love your color scheme too! Beautiful!