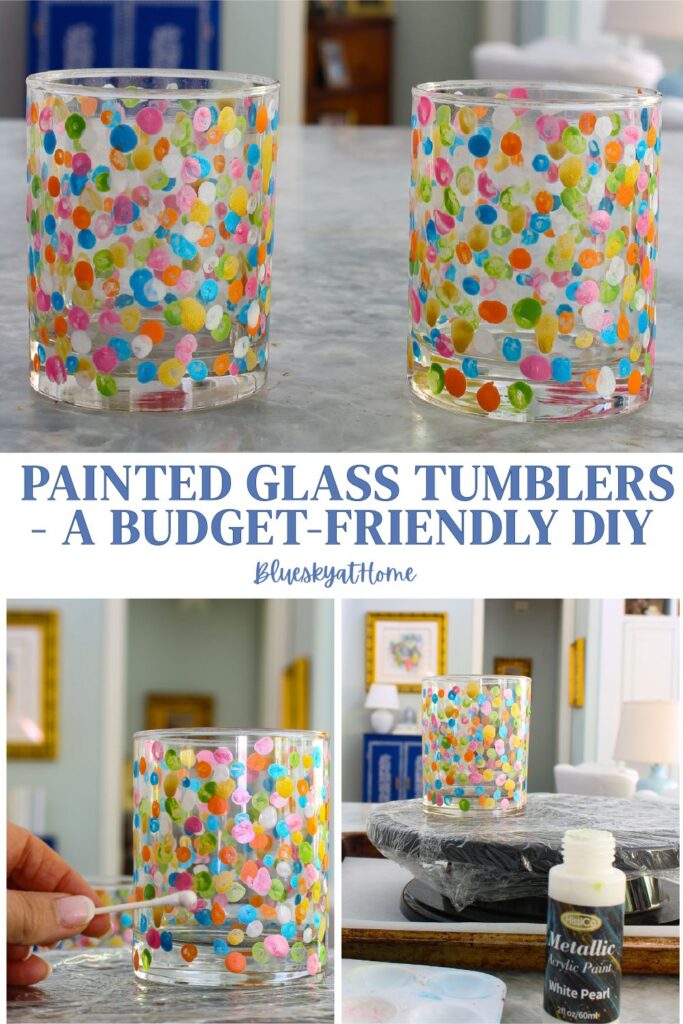
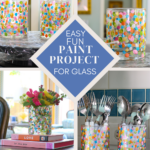
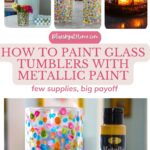
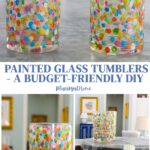
How to Paint Glass Tumblers with Metallic Paint
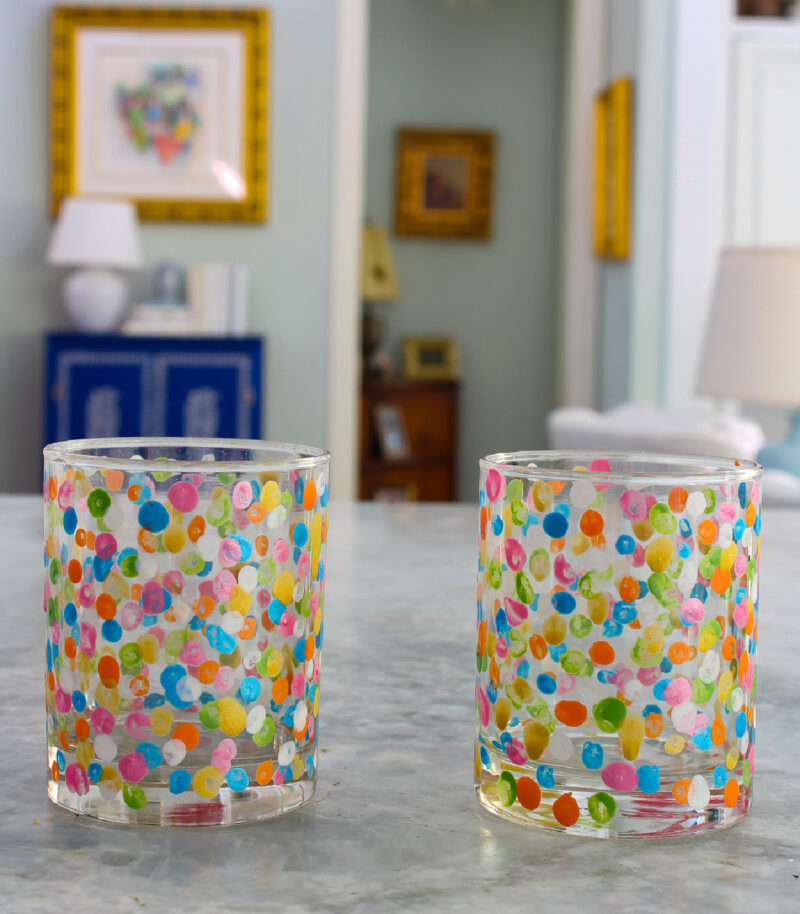
I love to teach easy projects, and today I’m sharing one of my favorites – how to paint glass tumblers with metallic paint. Starting with two plain glass tumblers, you can transform them into shimmery, colorful decor pieces you’ll find uses for all over your home.
The beauty of painting glasses is the unlimited ways to customize them. No two crafters will choose the same colors or designs, which makes this project both personal and fun.
This is an inexpensive craft, too. You can use any glass from the dollar store, your own kitchen cabinets, or your craft stash – as you’ll see, glasses can be recycled from other uses. And if you’ve never painted glass before, I promise your first try will be a success.

6 Reasons for Decorating Glasses with Paint
Why should you decorate glass tumblers with paint? I’ve already said it’s easy and inexpensive. Here are other reasons that this particular DIY project is one to consider:
- Personalized Gifts: Hand-painted glass tumblers make unique, personalized gifts that show thought and effort. They can be customized with names, dates, or special designs tailored to the recipient’s taste. Wouldn’t it be fun to make a set of glasses for a friend in her favorite colors?
- Creative Outlet: This project offers a fun way to express creativity. It allows you to experiment with different colors, patterns, and techniques, enhancing your artistic skills.
- Home Decor Accessories: Painted glass tumblers can add a personal touch to home decor. They can be designed to match existing themes or color schemes, making them versatile decorative pieces.
- Eco-Friendly Upcycling: Repurposing plain glass tumblers into decorative items is an eco-friendly way to upcycle and reduce waste. It gives new life to items that might otherwise be discarded or piled up in the back of your cabinets.
- Cost-Effective Customization: Creating custom-designed glassware at home is more affordable than purchasing pre-made decorative glassware. This makes it an economical way to enjoy your own handmade items.
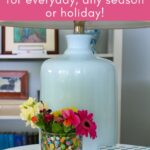
- Versatility. These painted glass tumblers can add color and pattern throughout the year. Choose soft pastels for spring, jewel tones for fall, red and green for Christmas, or pink and red for Valentine’s Day. The same simple technique works all year long.
Supplies Needed for Decorating Glasses with Paint
This post contains affiliate links to products used to create this project. If you should order any item from this site, I may receive compensation, but you do not pay a penny more. Your purchase is greatly appreciated as it helps support the continued publication of this site.
There are just a few supplies that you need to make this particular type of decorative glass tumbler. Some supplies are optional.
- *Plain Glass Tumblers: Clear glass tumblers in any shape or size. Wine glasses, bowls, or plates can be used with this glass-painting method. Even a wine bottle or jar works well. I’ve used wine glasses from Dollar Tree and reused glasses found at garage sales and estate sales. Plain florist glasses are great recycling options. Wine bottles and liqueur bottles are also great choices. See below for the glass tumblers I used.

The supplies with an asterisk are the only ones needed for my decorated painted glass tumblers.
- *Paint: You can use glass paint, acrylic enamel, metallic acrylic paint, ceramic paint, or chalk paint. I don’t think there is one best paint for this project. It takes so little paint to complete this project that it’s the perfect time to use leftover paint.
- *Paint Applicator: You can use paint brushes in different materials and in different sizes for detailed work and larger areas.
- Painter’s Tape: Optional. If your design requires straight lines, then painter’s tape can create clean lines and patterns. I like this skinny painter’s tape for small craft projects.
- Stencil: Optional. To create specific designs or patterns.
- Rubbing Alcohol: For cleaning the glass surface before painting. You can also run the glass through the dishwasher, which is my preferred method.
- Cotton Balls or Cloth: To apply rubbing alcohol.
- *Paint Palette or Paper Plate: For mixing and holding paint.
- Disposable Gloves: Optional. To keep hands clean while painting.
- *Paper Towels: For cleaning brushes and any spills. You can also use a folded paper towel to hold your paint.
- Sealant: Optional. Clear sealant to protect the paint and make it dishwasher safe. I would use Mod Podge brand.
- Oven: For curing the paint if the paint instructions require baking.
NOTE: For my glass tumblers, I used glasses that previously held candles. In fact, we have 5 glass tumblers that had been candles, most of them gifts. Once the candles were completely used up, I placed the glasses in the freezer for a few hours. This way you can “pop out” any residual wax. Then we put the glasses in the dishwasher, which cleans them completely.
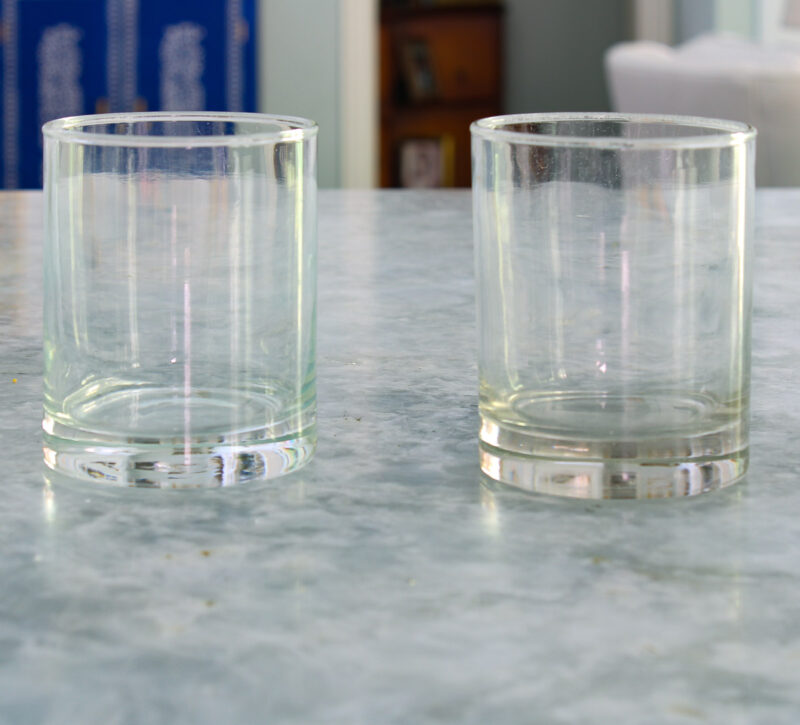
We have used these glass tumblers as juice glasses. I used them because they were handy, and we didn’t need them all as drinking glasses.
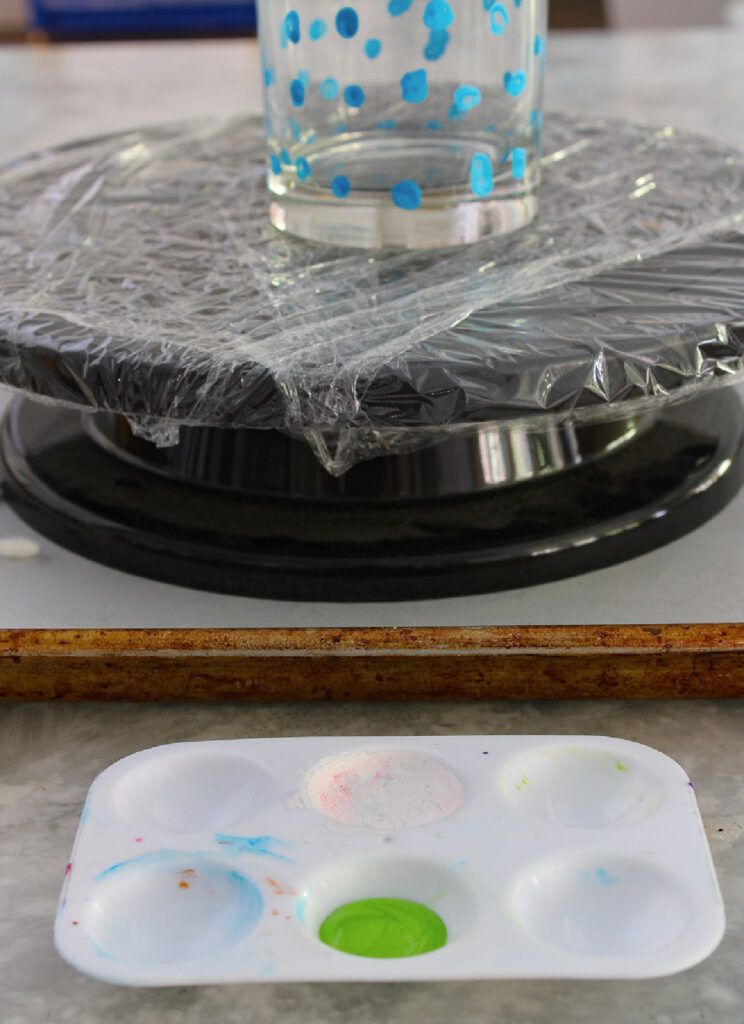
One more supply that I have to recommend: a plastic lazy Susan. This is my best solution for turning and painting objects without touching or smudging your painted creation. My kids gave me this one, along with a portable TV for my kitchen shelf, years ago. The TV is long gone, but the plastic turntable is wonderful for DIY projects.
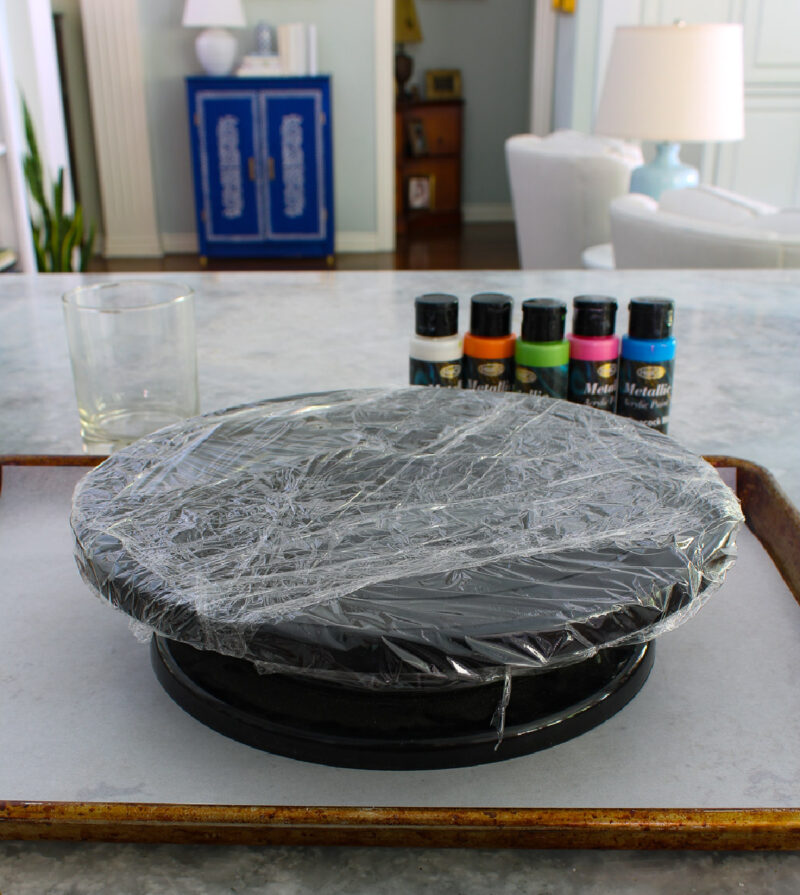
I cover the turntable with plastic wrap to keep it clean.
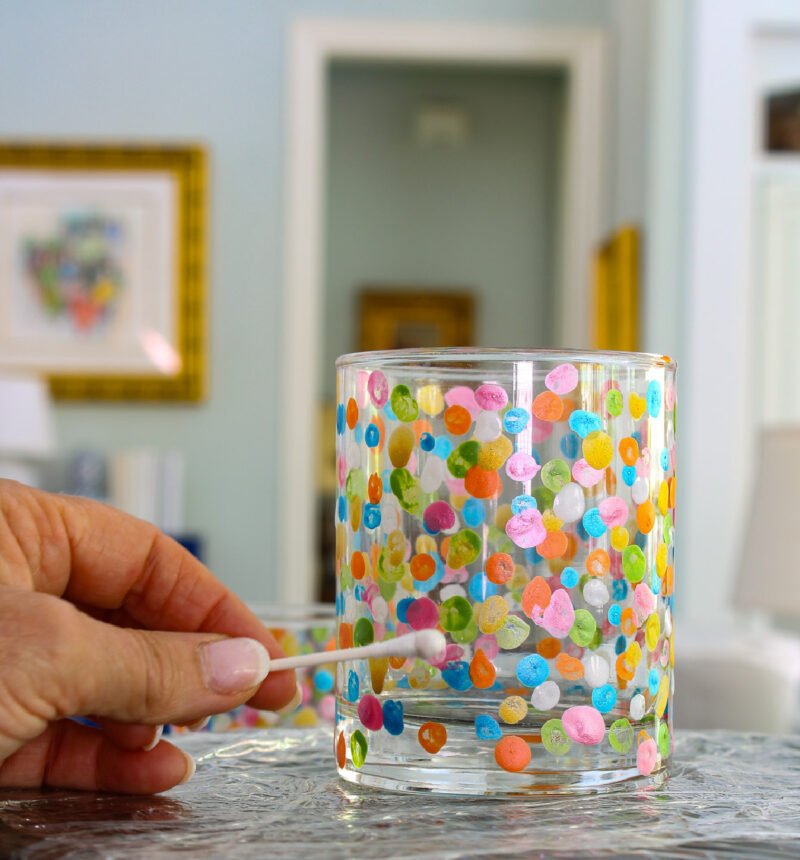
What type of paint applicator did I use? Q-tips! I’ve used Q-tips in other DIY projects. They are great for cleaning up smudges.

Previous Glass Paint Projects
This is not my first glass painting project. I’ve made ones with stencils and freehand ones. I’ve made my own hand-painted wine glasses that added to my tablescape decor. Wine glass painting is a great way to add a seasonal touch to holidays and your table settings.
- How to Paint Glass with Ceramic Paint
- Springtime Green and White Tablescape
- How to Decorate Dollar Tree Glass Candles with Paint
Steps to Complete the Project
Making basically what we can call glass art takes a few basic steps.
Prepare Your Workspace
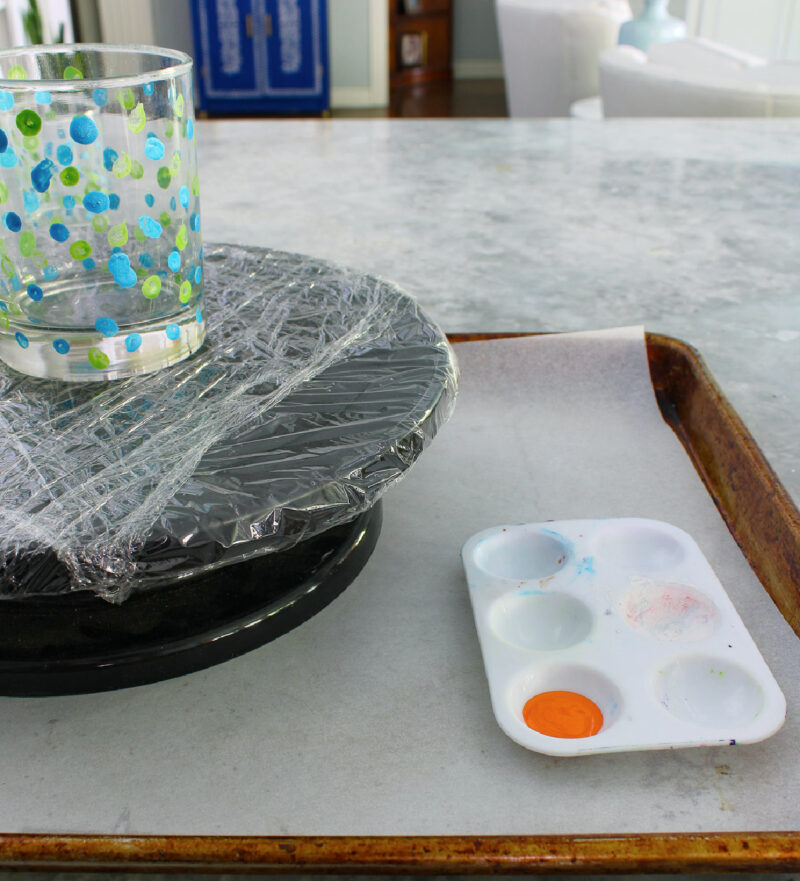
- Lay down newspaper or a dropcloth to protect your work surface. I placed a sheet of parchment paper in a sheet pan with the turn table on top. This way I could move the entire set up around without touching the glasses.
- Gather all your supplies
Clean the Glass Tumblers
- Use rubbing alcohol and a cotton ball or cloth to thoroughly clean the surface of the glass tumblers. This removes any oils or residues that could prevent the paint from adhering properly.Let the tumblers dry completely.
- As I said, I clean my glasses in the dishwasher.
Choose Your Paint and the Colors
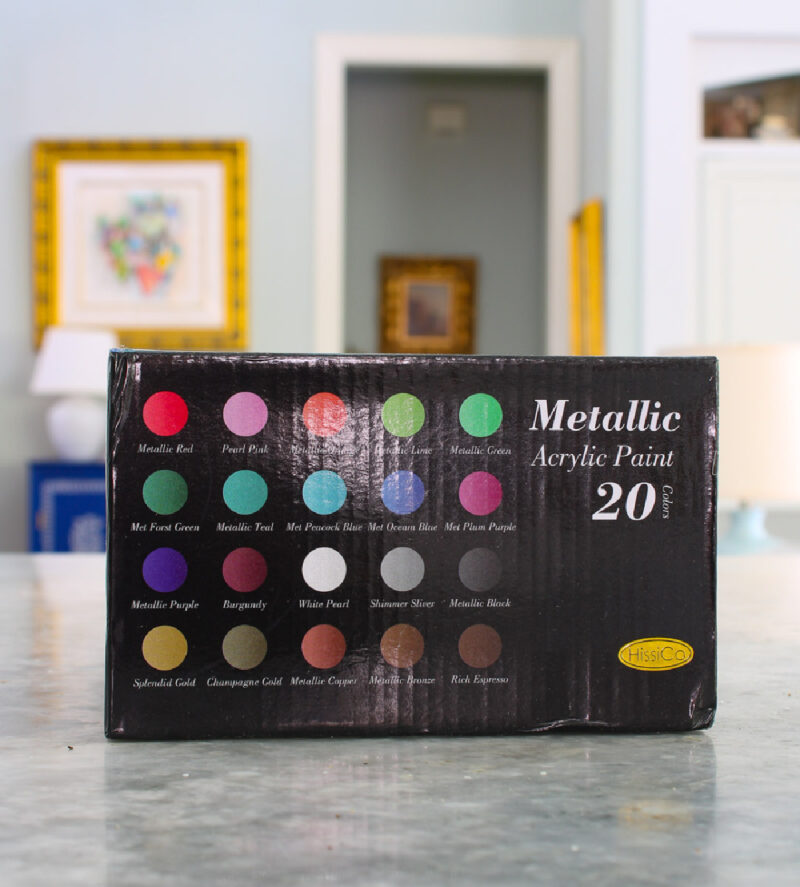
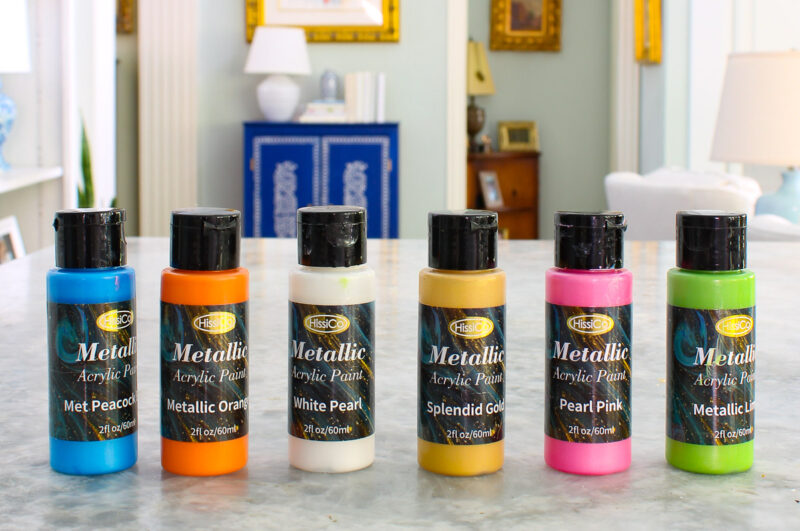
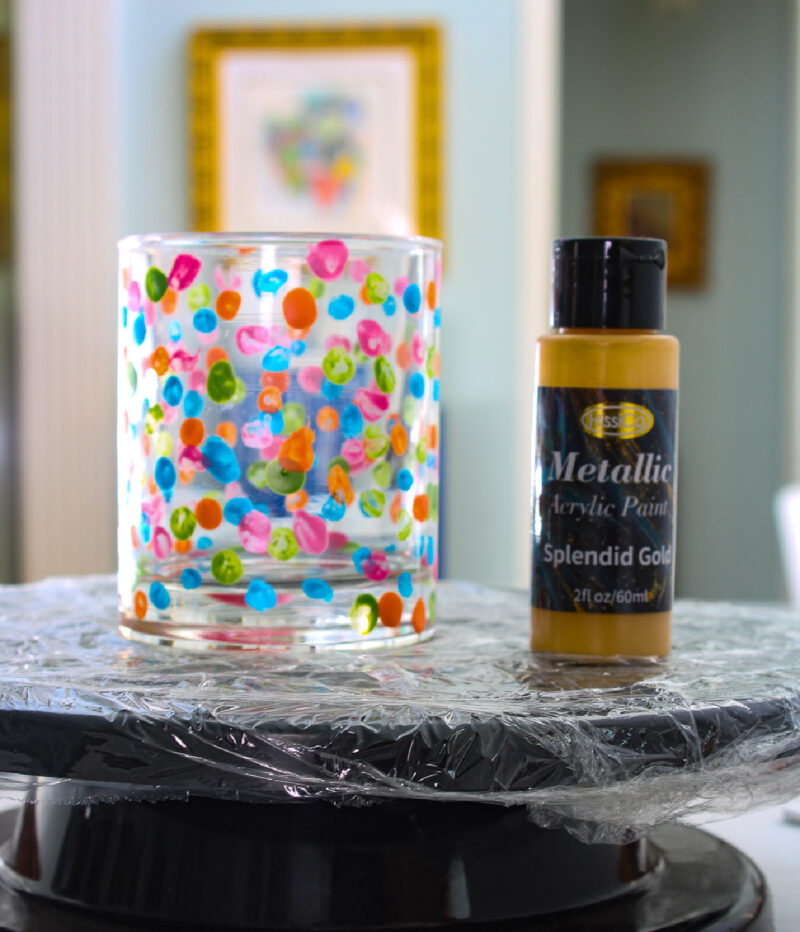
I used the Metallic Acrylic Paints I used for ornaments at Christmas. I love this metallic paint for its shimmery finish and its ease of use. I chose 6 vivid, summery colors.
- blue
- green
- orange
- pink
- yellow/gold
- white
Plan Your Design
You can sketch it out on paper first if it is an intricate design.
NOTE: The design I am sharing is a free-hand design with no need for pre-planning. It is basically a polka dot pattern that is applied randomly.
Paint the Tumblers
- Pour small amounts of paint onto a palette, paper plate or folded paper towel.
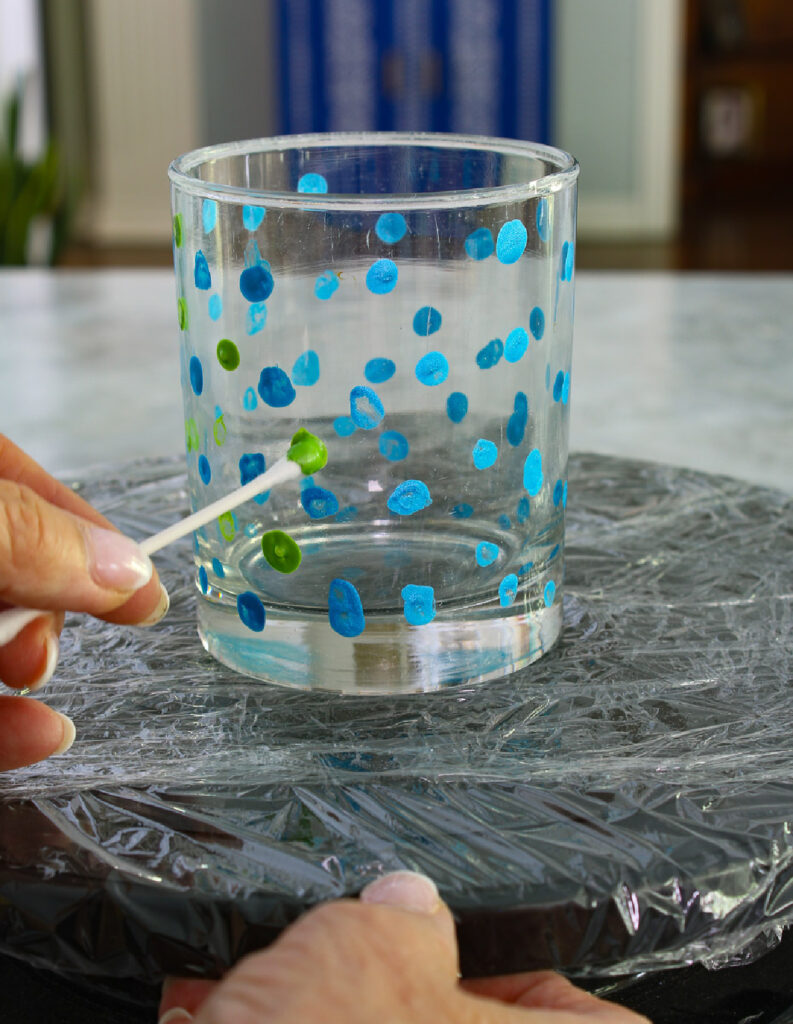
- Using your applicator – Q-tips, start painting your design onto the glass.
- If using multiple colors, allow each layer to dry before applying the next to prevent smudging.
I started with the blue color. I poured a small amount of paint into the plastic palette. Actually, it was way too much paint. With every paint color, I poured in less paint.
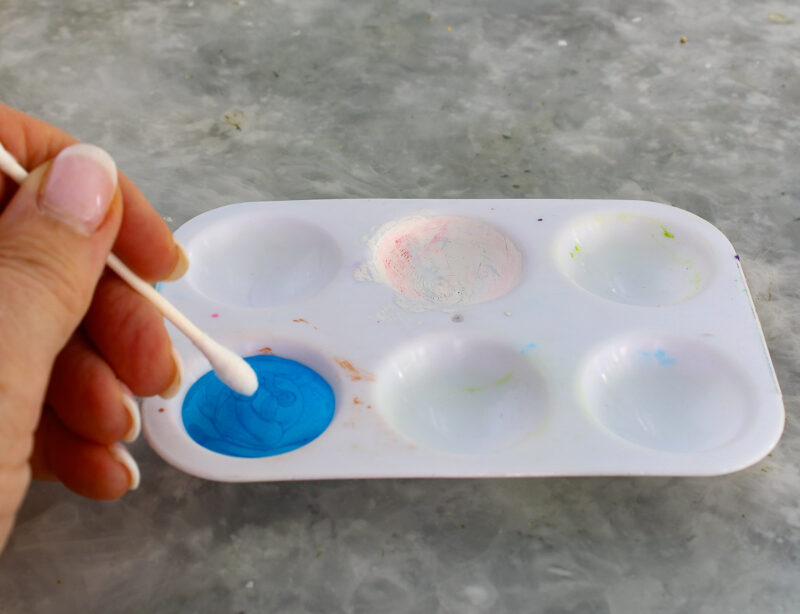
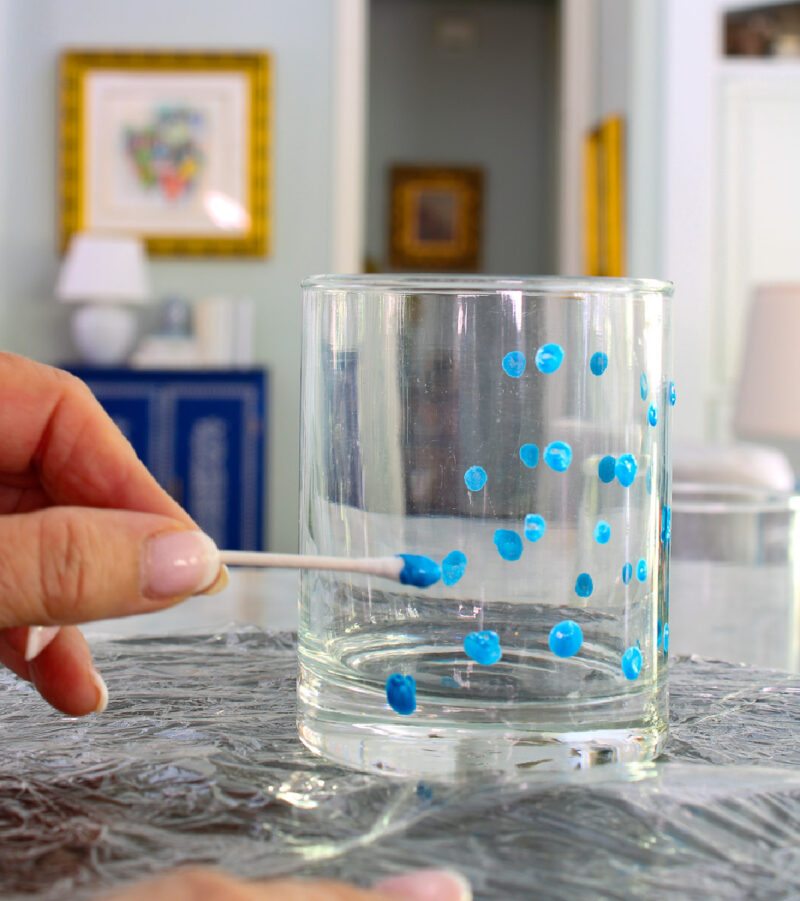
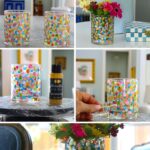
Using the Q-tip as the applicator, I placed a small dot of paint randomly around the glass.
You can use the tip of the Q-tip or the side. I found that a good dollop of paint on the tip gave me the best dot.
It’s fine if some dots are round and some are oval.
Then I added the paint in order of green, orange, pink, yellow/gold, and white.
Painting was easy to do by turning the turntable. You don’t have to touch your glass.
As you add another color of paint, just fill in empty spaces. The more color you add, the better the design looks.
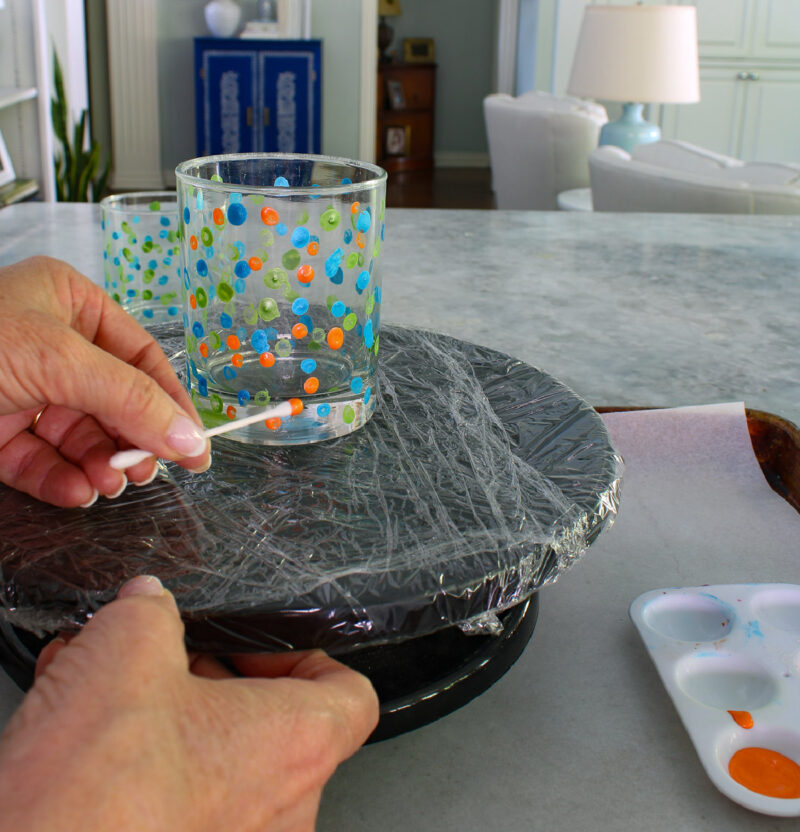
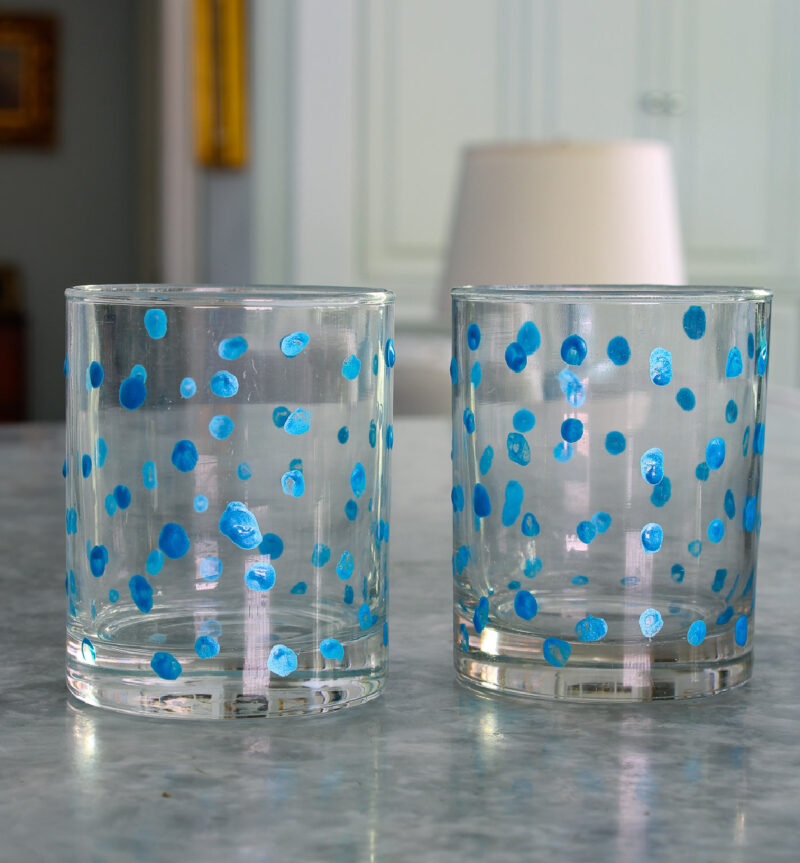
By your fourth color, you can start overlapping the paint dots.
It’s OK if the dots are of different sizes or densities.
White paint was the final color and gave some pop to the glasses.

Don’t overthink this project. It isn’t meant to be perfect.
After each color addition, discard the Q-tip and start the next color with a new one.
I washed out each paint color from the palette before adding the next color.
Let the Paint Dry:
Allow the painted tumblers to dry according to the paint manufacturer’s instructions. This can take several hours to overnight. I let the metallic paint I used dry for about one hour. In between, I worked on other projects.
Cure the Paint (if required):
- Some glass paints need to be baked to set permanently. Follow the instructions if you are using glass paint or ceramic paint. Typically, this involves placing the tumblers in a cool oven, heating to a specific temperature, baking for a set time, and then cooling completely in the oven. I have used ceramic paint that needed to baked and another that did not need to be baked. I didn’t bake this paint.
Apply Sealant
- If you want to make the tumblers more durable and dishwasher safe, apply a clear sealant over the painted areas after the paint has dried and cured. Follow the sealant instructions for application and drying times. I haven’t used any sealant on this project – yet. If I do, I will use ModPodge in a gloss finish.
By following these steps, you’ll have beautifully decorated glass tumblers that are both functional and stylish. Enjoy your creative project!
Uses for Decorated Glass Tumblers in the Home
This is such an easy project that has so many practical uses. Here are some:
- Drinking Glasses: The primary use remains as drinkware, adding a personalized touch to everyday beverages.
- Votive Candle Holders*: Painted glass tumblers can serve as decorative holders for votive candles, creating a warm, inviting ambiance.
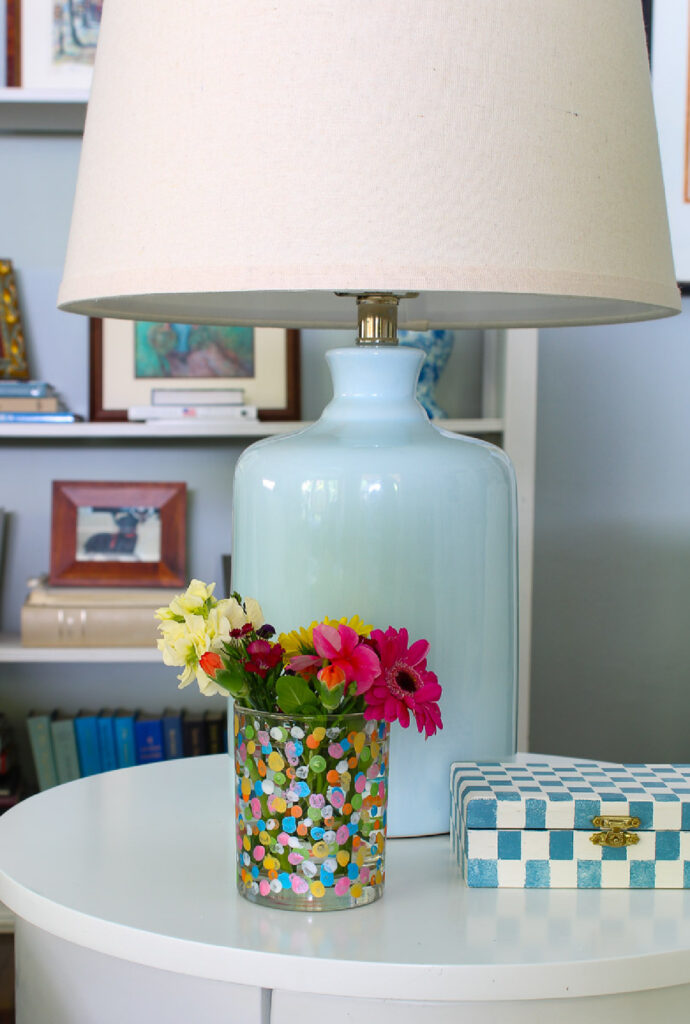
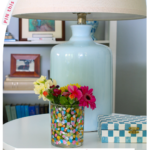
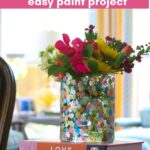
- Flower Vases*: Smaller painted tumblers can serve as charming vases for small floral arrangements, perfect for adding a touch of nature to any room.
- Bathroom Organizers: These tumblers can be used to hold toothbrushes, makeup brushes, cotton balls or other bathroom essentials, keeping counters tidy and stylish.
- Desk Organizers: They can hold pens, pencils, and other office supplies, helping to keep workspaces organized and aesthetically pleasing.
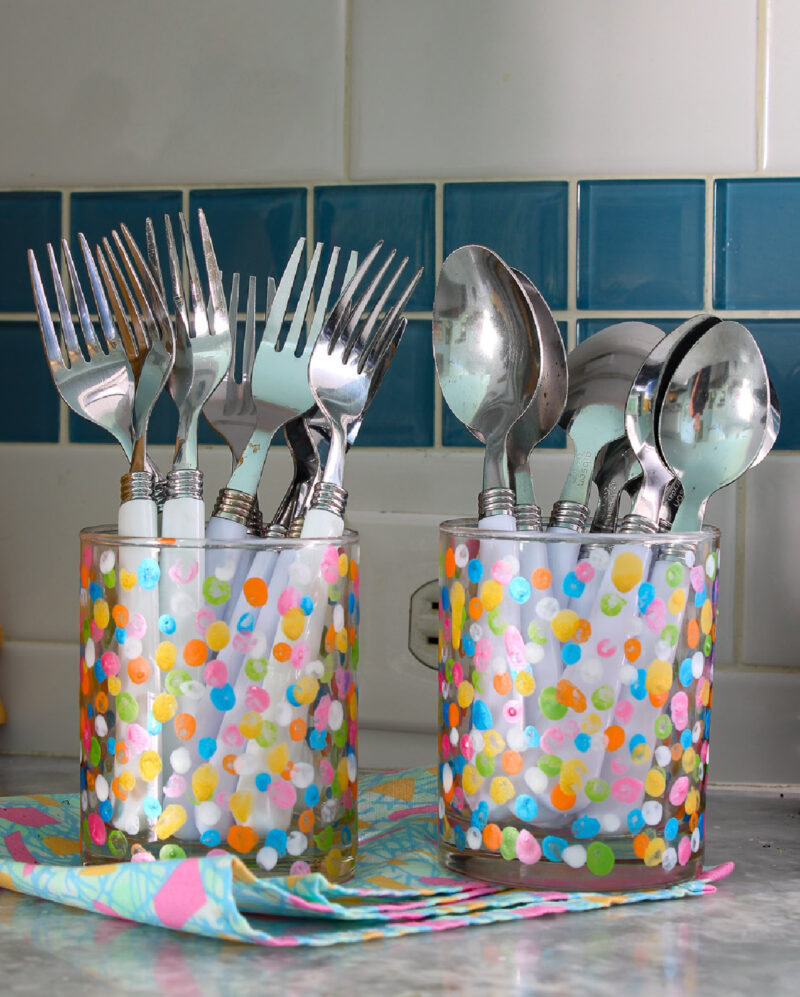
- Kitchen Utensil Holders*: They can be used to store and display kitchen utensils like spoons, spatulas, and whisks, making them easily accessible while cooking.
- Party Décor: Painted tumblers can be used as part of party table settings, holding straws, napkins, or cutlery, enhancing the overall theme of the event.
- Storage Containers: They can serve as stylish storage solutions for small items like buttons, sewing supplies, or craft materials.
- Holiday Decorations: Painted glass can be tailored for specific holidays (e.g., Halloween, Christmas) and used as part of seasonal decorations.
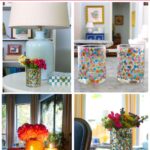
How I Used These Decorated Glass Tumblers with Paint
First, I used the tumblers to hold utensils. This would be especially nice for a buffet, picnic or party. You could use the painted glasses for straws and napkins.
Then I used them as small vases with fresh flowers. I placed them on two of our side tables. The flowers mimic the colors of the painted glass.

Finally, I placed floating candles in the glass tumblers. I think this will be a pretty use for outdoors this summer.

Frequently Asked Questions about Painting Glass
What kind of paint works best on glass tumblers? Acrylic paint works well on glass, but for a more polished, decorative finish, metallic acrylic paint is an excellent choice. It goes on smoothly, dries quickly, and gives your tumblers a shimmery, professional look. It’s my favorite.
Can I use any glass tumbler for this project? Yes, that’s one of the best things about this project. Dollar store glasses, tumblers from your kitchen cabinets, or glasses you’ve been meaning to recycle all work beautifully. Wine bottles, jars, bottles – anything you like.
Does painted glass need to be sealed? It depends on the paint and how you plan to use the finished piece. For decorative tumblers, a clear sealant adds durability. If you’re using glass paint that requires baking, follow the manufacturer’s instructions for the most lasting results. If you plan to use the painted tumblers as drinking glasses, definitely seal them with dishwasher sealant.
Are painted glass tumblers dishwasher safe? Generally, hand washing is recommended to preserve the painted design, especially if no sealant has been applied.
How long does it take to paint glass tumblers? The actual painting goes quickly – this is not a lengthy project. Drying time varies by paint, but most metallic acrylics dry within an hour.
This DIY project not only provides a creative and satisfying crafting experience but also results in versatile, practical items you can use in your home.
My Advice for This Project
- Search your home for a few plain glass containers.
- Search your paint supplies for several colors that reflect your style and aesthetic. If you don’t have anything, try my favorite metallic paints.
- Follow the preparation and paint steps above.
- Display your pretty decorated glasses in one of the ways I’ve suggested.
- Enjoy your decorated glasses!
Don’t forget how to decorate glass with this paint project. Save it to your favorite Pinterest Board. You can check out more DIY projects on one of these Pinterest boards: DIY Projects and Paint Projects,


I absolutely love these! So many possibilities. Featuring when my link party opens.
Such a clever and pretty idea, Carol. And I love that you can do it in any color palette you want! Pinned, and I’m happy to be featuring you at TTA this week!
Thanks so much for the feature, Julie.
Using simple materials, I think anyone could accomplish this lovely project. The result is great looking. Thanks for sharing with us at Create-it Link Party.
Hi Janet, I’m so glad you like the glass painting project. So useful and easy.