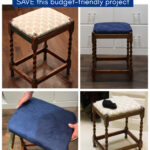
How to Update a Vintage Stool in One Day: Step-by-Step Guide
Have you ever found a vintage stool at a thrift store and wondered what to do with it? Could you make it useful and breathe new life into it? Here is how to update a vintage stool in one day. This step-by-step guide shares all the information you need for this simple project.
Vintage stools are everywhere – tucked away in estate sales, lined up at thrift stores, hidden in garage sales, and maybe sitting forgotten in your basement or attic.
These humble pieces of furniture are often overlooked or dismissed as too simple or too worn to attract attention. But here’s what most people don’t realize: vintage stools are design goldmines waiting to be discovered.
Today, I’ll show you exactly how to transform a vintage stool into a stunning piece that looks like it came from an expensive boutique – all in just one day.
Actually, there are two updates to this vintage stool – the first, many years ago, and the second, just last week.
Why Update a Vintage Stool?

Most vintage stools can be found for under $20, sometimes as little as $10-15 at garage sales. Even more unique pieces rarely cost more than what you’d pay for a basic new stool at a big box store.
The difference? Your vintage find has personality, quality construction, and the potential to become a true conversation piece. If I moved our vintage stool from the closest to the living room, I’m sure it would get rave reviews.
Thank you to Rachel of The Antiqued Journey and MaryJo of Masterpieces of My Life for asking me to join them on this month’s Thrifted Goodies, Volume 36.

Rachel is sharing her finds on a thrifty shopping spree. You can also check out her social channels:
Facebook
Instagram
Pinterest
LTK Shop
MaryJo is sharing a fun project using vintage cookie tins. You can also find MaryJo here:
Now I can’t wait to share my thrifted treasure and updated vintage stool with you.
This post contains affiliate links to products used to create this project. If you should order any item from this site, I may receive compensation, but you do not pay a penny more. Your purchase is greatly appreciated as it helps support the continued publication of this site.
The Treasure Hunt: Finding Your Perfect Vintage Stool
The best part about vintage stool hunting?
They’re incredibly abundant and affordable. You’ll find them in every style imaginable – from simple farmhouse three-legged milking stools to elegant mid-century modern pieces with sleek lines. Industrial metal stools from old factories, painted kitchen stools from the 1950s, and rustic wooden stools that once lived in barns – each one tells its own story.
They can serve as footrests, like an ottoman. They can serve as side tables. Put two together and you have made a bench or a coffee table. Use them in the bathroom to hold towels or a candle – the possibilities are endless.
Looking for a plant stand that brings height and interest to your living room? You’ve found your solution.
Want a unique nightstand that adds character to your bedroom? A stool fits the bill.
The beauty of vintage stools lies in their versatility. Need extra seating for unexpected guests? A vintage stool works perfectly.
When you update a vintage stool, you’re not just creating a piece of furniture – you’re preserving a bit of history while making it relevant for modern living.
Unlike modern furniture that’s mass-produced and lacks character, an old wooden stool comes with built-in charm and solid construction that’s hard to find today. They were made to last, often featuring real wood and sturdy joinery that puts today’s particleboard furniture to shame.
The Story Behind Our Vintage Stool
I never imagined that this nondescript, dirty piece of furniture would become a beloved and practical addition to our home.
This is a little engine that could story – because this old stool got not one, but two updates. I’ll show you both.
A long time ago I bought Sweet Shark this sweetest little stool at an antique mall.
He needed something to sit on in our closet to put on his shoes and socks.
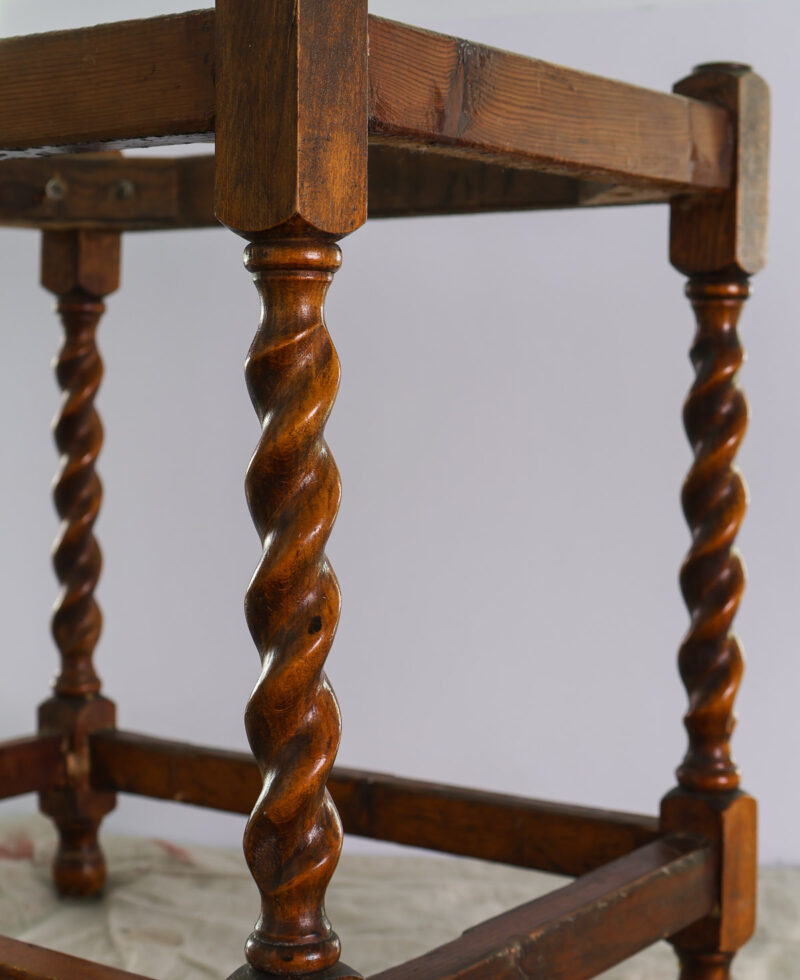
He wasn’t particular, but I was. I wanted something with character and age and charm. I wish I had a picture of the original stool. It was small, made of wood, stained a rich brown with turned legs. The seat was made of a rattan, woven, wicker webbing – I’m not sure exactly -that wrapped around the frame of the wood.
When I found the stool, he loved it. He used it for 15 years.
But a few years after we moved in our current home, he couldn’t use it anymore. That sweet little vintage stool lost its mojo and couldn’t hold up its end of the bargain. Or, rather it couldn’t hold up Sweet Shark anymore. (FYI, that man has hardly gained an ounce in the 28 years I’ve known him, so that wasn’t the issue.)
The webbing on the seat had started to unravel and come apart. The stool became very wobbly.
We considered looking for a new stool. But this little vintage stool didn’t want to call it quits. So here’s the story of how to repurpose a vintage stool and take it from wobbly to wow.
We searched for a few weeks for a replacement. Finally, after a couple of weeks, he said again (for the 1,000th time) that the old stool was still the perfect stool – if it were just sturdy again and the seat wasn’t sagging. We both loved the look of the old stool. So what to do?
I’ve shown you some other repurposing projects we have done: our dining room table, a vintage hutch update, and even patio furniture.
The Solution to the Stool Dilemma – First Repurposing
Why can’t we just fix the vintage stool? Could we remove the old sagging webbing seat and replace it with a solid fabric seat?
We removed the old webbing, which left some rough place in the wood seat frame.
I had a furniture refinisher/repairman who had fixed so many pieces for us in the past. I called him, told him what I needed fixed, and the next day he came over to pick up the stool.
Unfortunately, I forgot to take a picture of the stool – my before. Here is what the stool looked like when Jose brought it back.
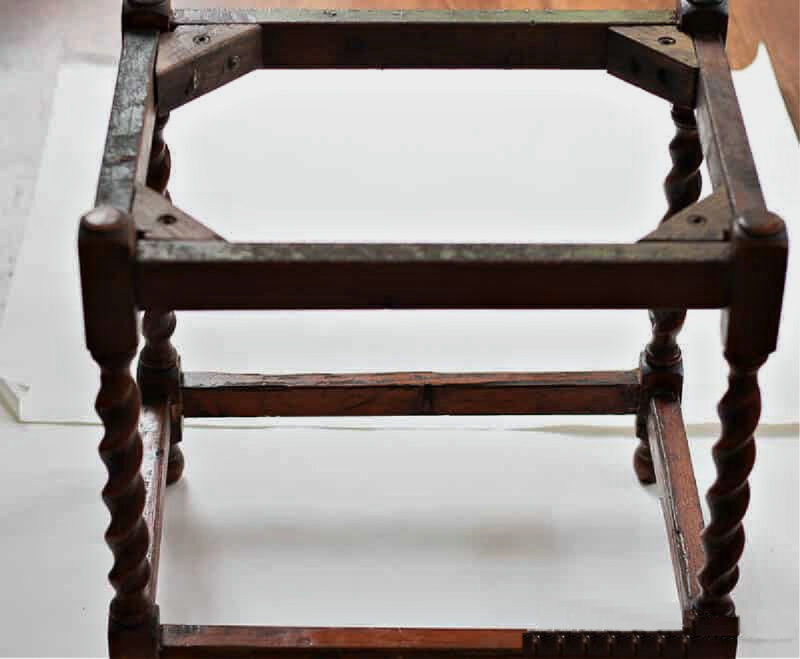
You can’t tell, but it is now perfectly sturdy with no webbing. He added corner pieces to make it structurally sound. He also stained the top side pieces, where the webbing wrapped around, to match the rest of the stool.
Now it was up to Sweet Shark and me to finish the update to the stool and make it usable again.
First Step – The Seat for the Vintage Stool
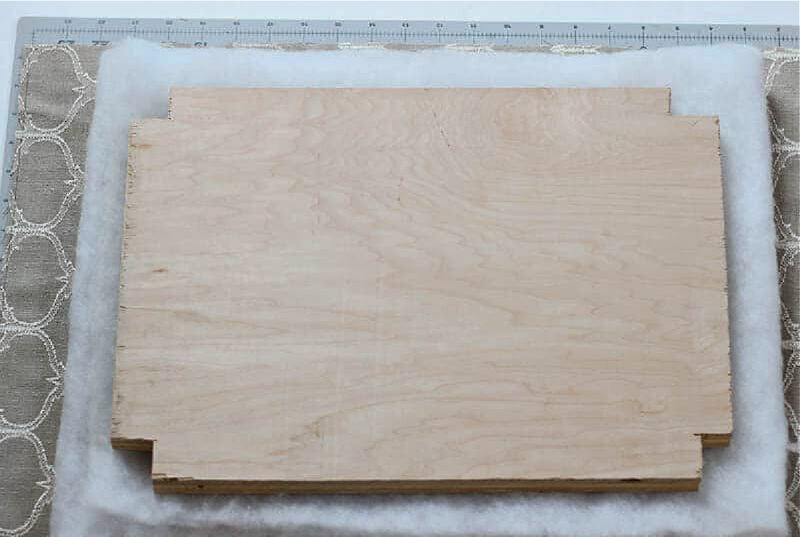
Now it was up to Sweet Shark and me to finish the seat. First, we cut a piece of wood from our leftover stash to fit on the top of the stool. It was 12 1/2 inches X 17 1/2 inches. We notched out corners to fit around the top of the legs.
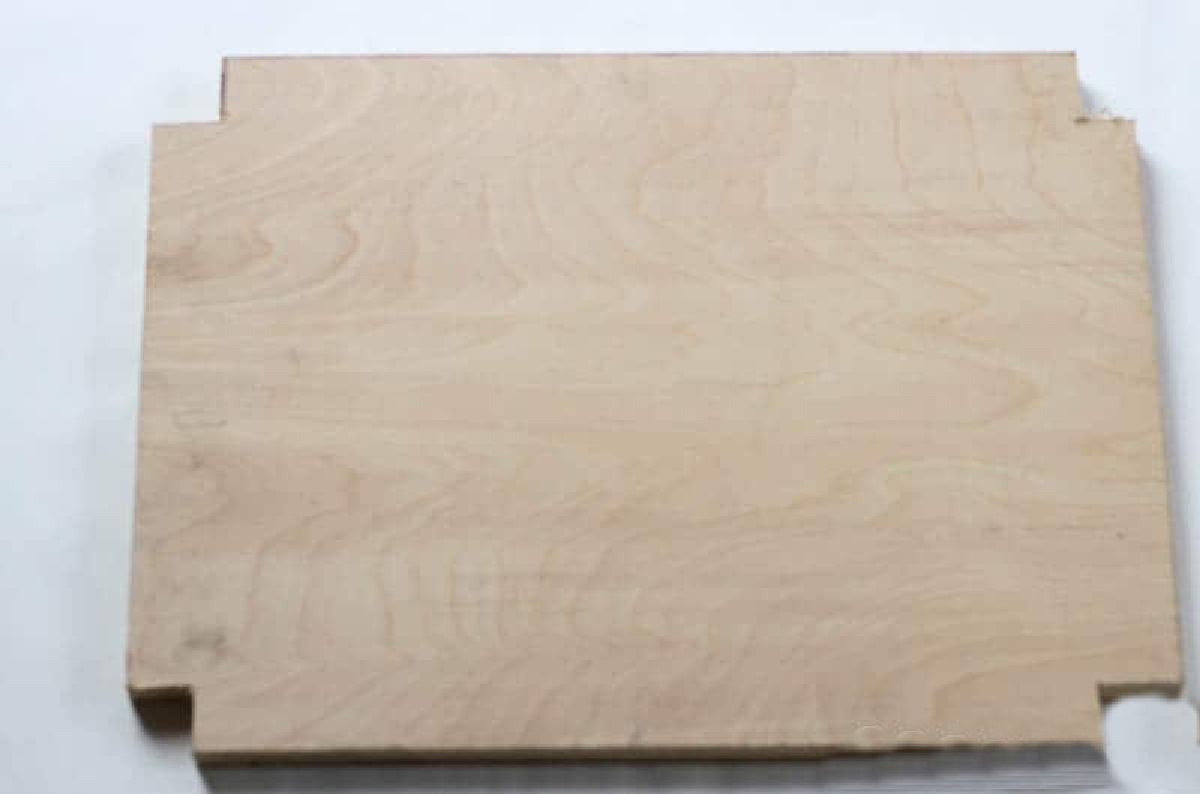
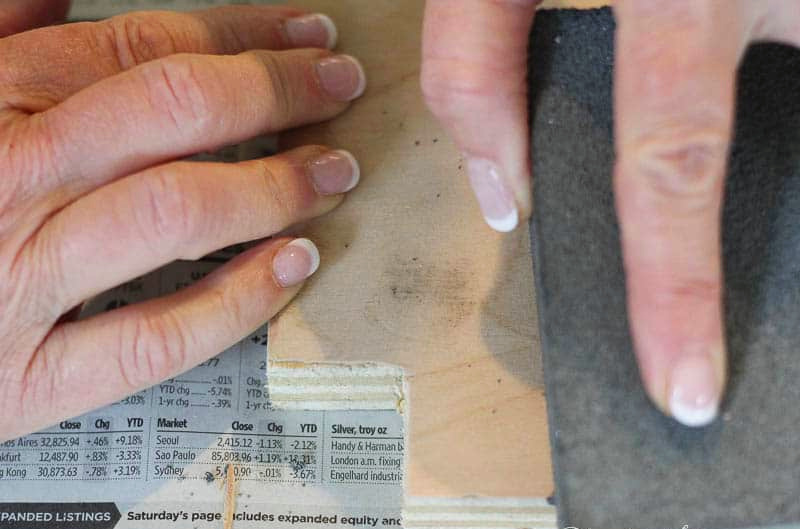
I sanded the rough edges of the seat.
Second Step – Choosing Fabric
I had several pieces of fabric on hand that I thought would be good choices. I let Sweet Shark pick the one he wanted. After all, this is his stool.
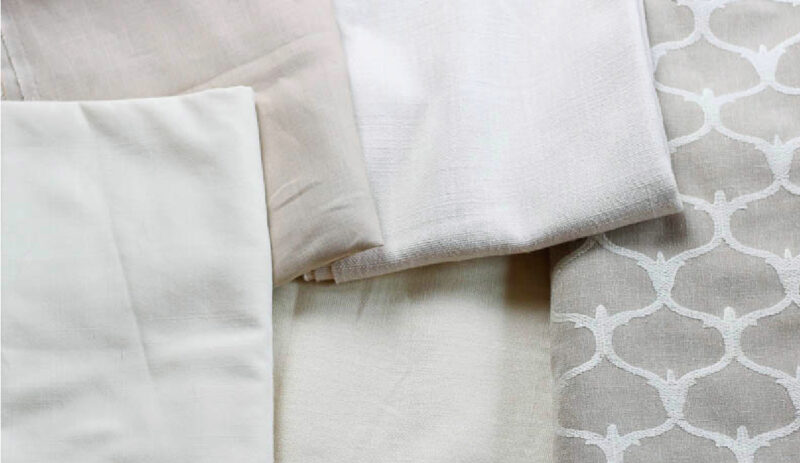
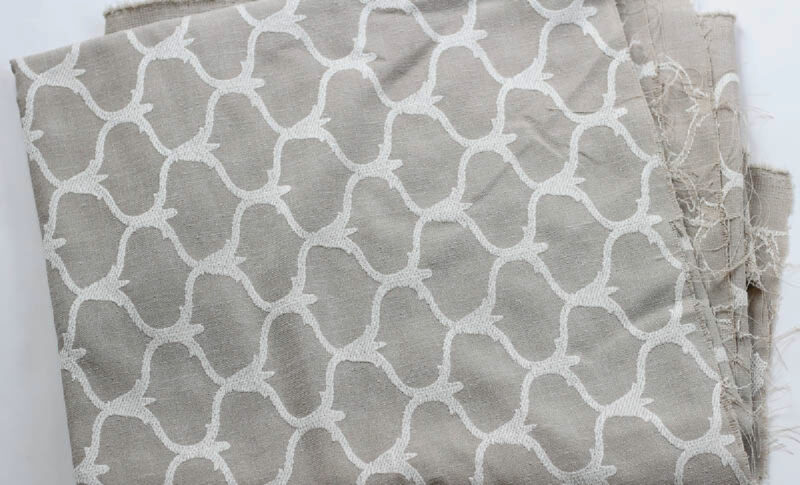
Here’s the one he picked. I think he made a good choice. This was regularly $80/yard fabric that I found on the remnant table at one of my favorite fabric sources in town. All remnants are $5.00 a yard, so if I see something I like I grab it.
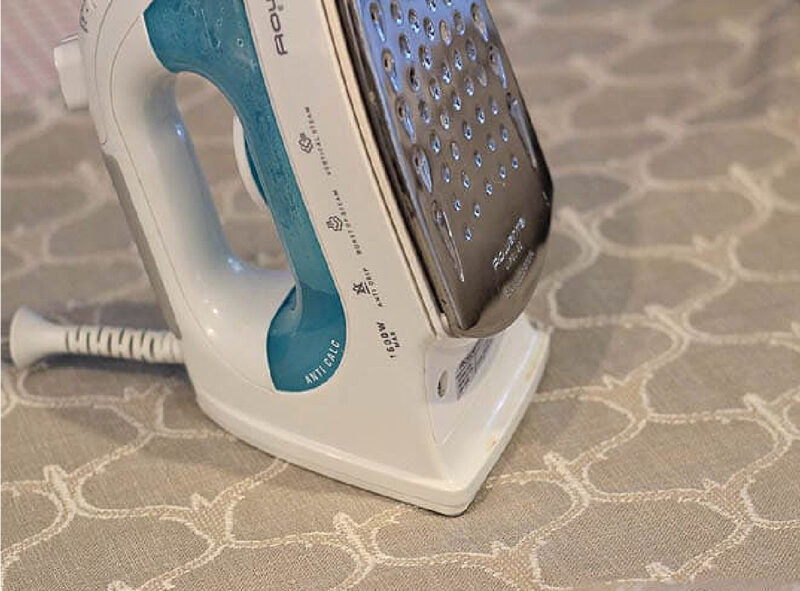
Next, I ironed a section and then measured the size I needed for the seat. I added 5 inches to the length and width.
Third Step – Adding Batting
Then I cut three layers of batting to fit over the top and down the sides of the wood seat. (This batting was the very thin kind.) since it needed to be comfortable to sit on. Now we were ready to attach the batting and the fabric to the wood seat.
Supplies for the Stool Seat
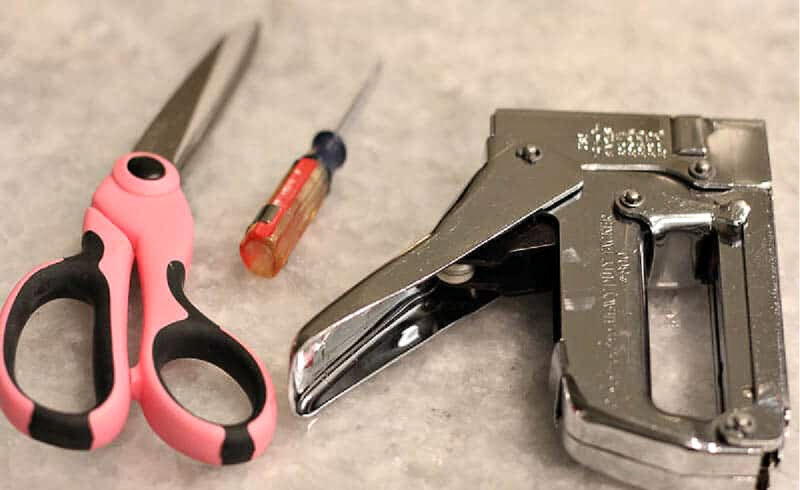
You will need a heavy-duty staple gun for this job. It’s also good to have pliers or a screwdriver in case you have to pull out staples and redo them. Sweet Shark also used a hammer to hammer in staples that didn’t go in flat. He has had this staple gun for about 30 years.
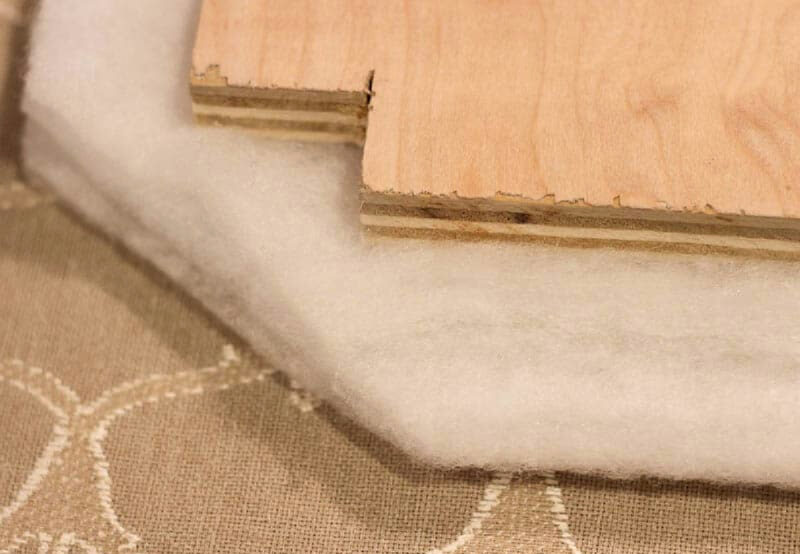
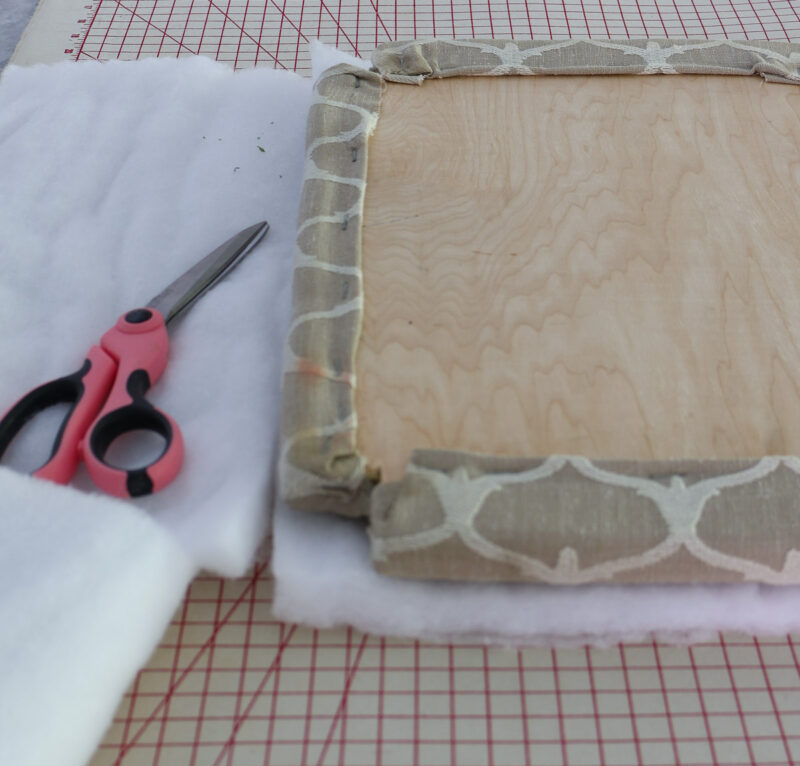
I actually trimmed off some of the batting before we started. And I cut the batting at the corners on the diagonal to remove the excess.
Fourth Step – Adding Fabric to the Seat
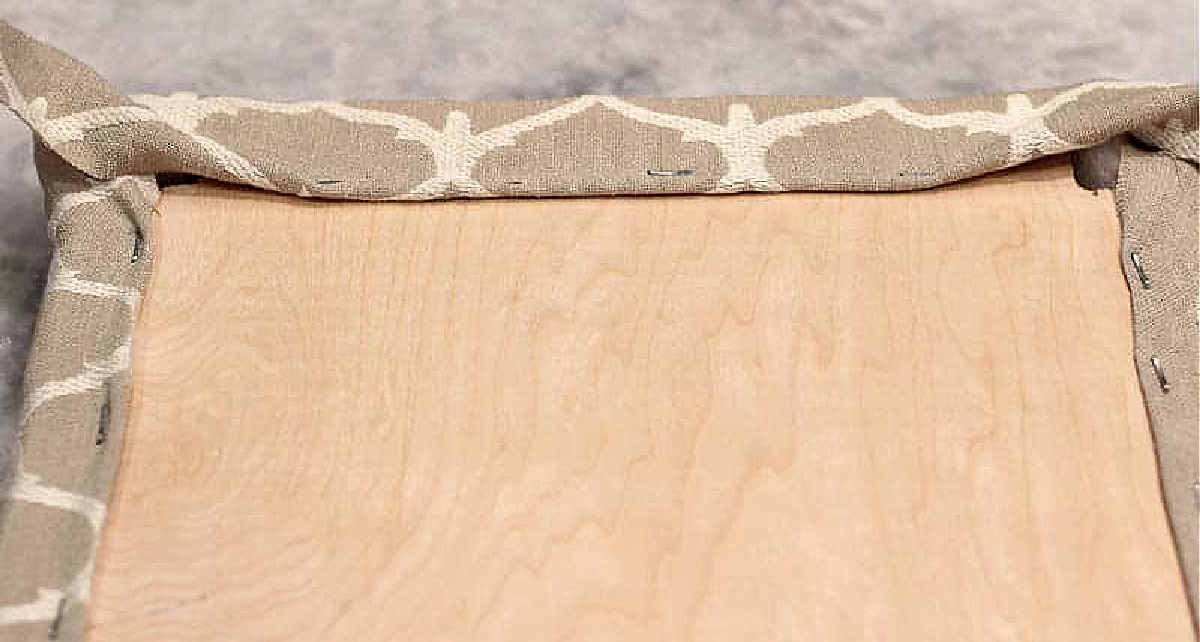
Then I turned under the fabric as we started to staple. We started in the center of one long side and then did the other side, pulling the fabric a bit to make sure it was tight.
Next, we did the same with the short side. We continued stapling in both directions until we were almost to the corners.
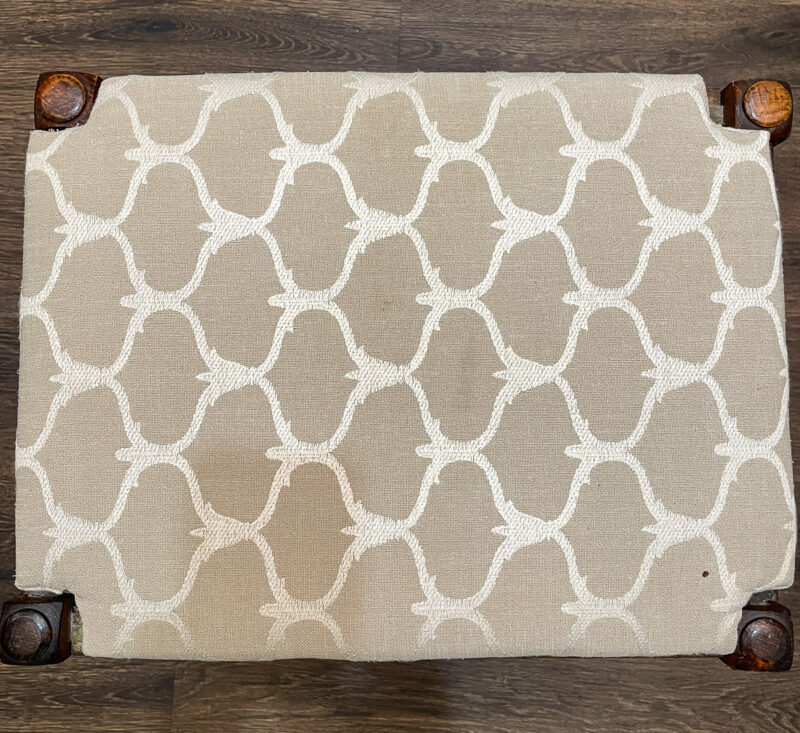
I have to admit that figuring out the notched corners was a bit of a challenge. We cut, stretched and stapled until the corners were finished with a right angle.
I cut away excess fabric as needed. I’m sure a professional upholsterer would know the correct way to finish the corners, but as long as the corner had a clean look from the top, we were happy with the result. It wasn’t necessary to attach the seat to the stool as it is firmly wedged between the four corners.
Our First Vintage Stool Reveal
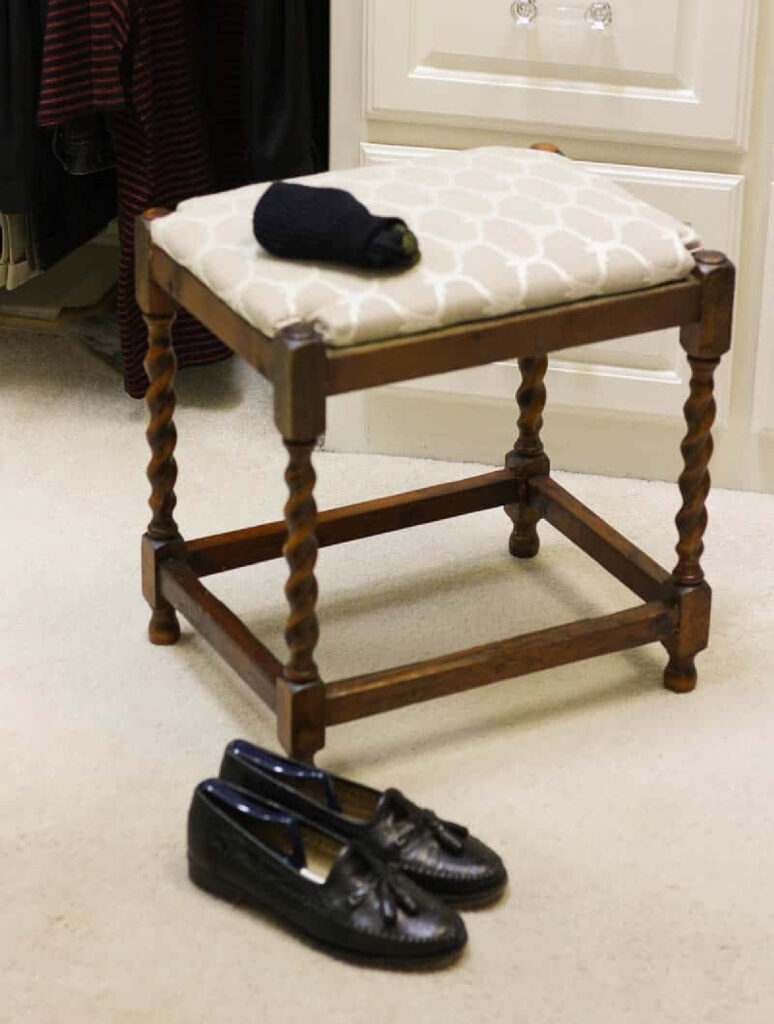
Here’s how our vintage stool looked after its first update, ready for Sweet Shark to put on his shoes and socks.
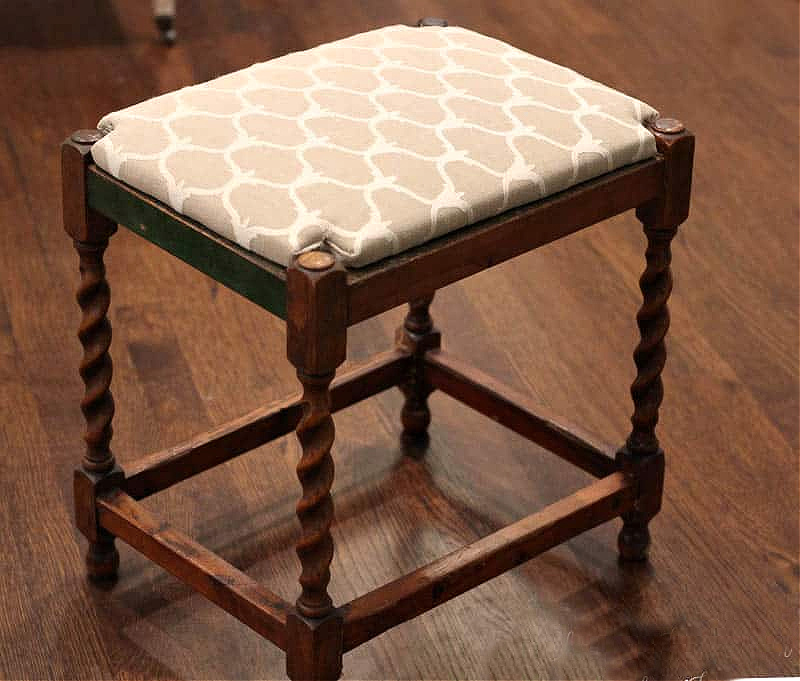
He had to try it out and declared it perfect.
I’m so happy that we didn’t buy something new. Since our only expense was labor to have the stool repaired (under $100.00), we didn’t spend nearly as much as a new one would cost.
We have the satisfaction of repurposing a favorite piece that met all Sweet Shark’s needs – right size, right height, lightweight and now prettier than it was before.
The updated stool has served us well, and it is still sturdy to sit on.
NOTE: I intended to make cording to go around the edges of the seat for a more finished look, but that never happened.
NOTE: If these images look different, it’s because they were taken several years ago.
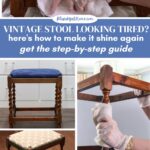
Updated Vintage Stool – The Second Time Around
We have been in our present home over twelve years. We just completed remodeling our master closet. I thought it was also time to give our little stool an update.
This update to the vintage stool went much faster. Not a full day as the first time, but less than two hours.
We planned to reuse the fabric-covered wood seat as a base for the new fabric. It was starting to look a little dingy.
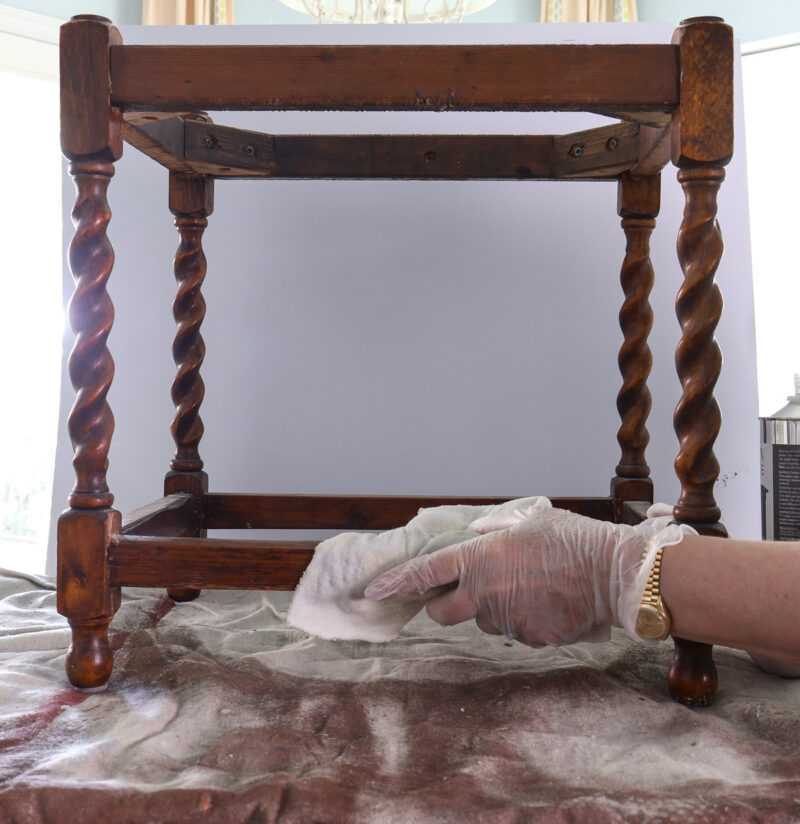
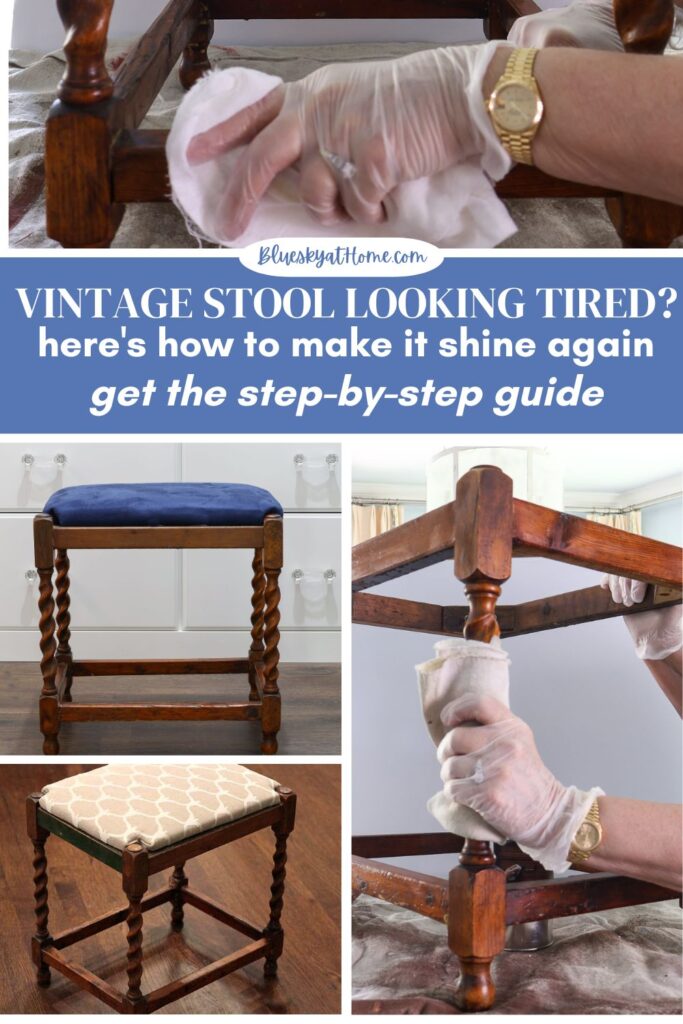
First Step – Cleaning the Wood Stool Base
After so many years, I realized that the base of the stool needed a serious cleaning.
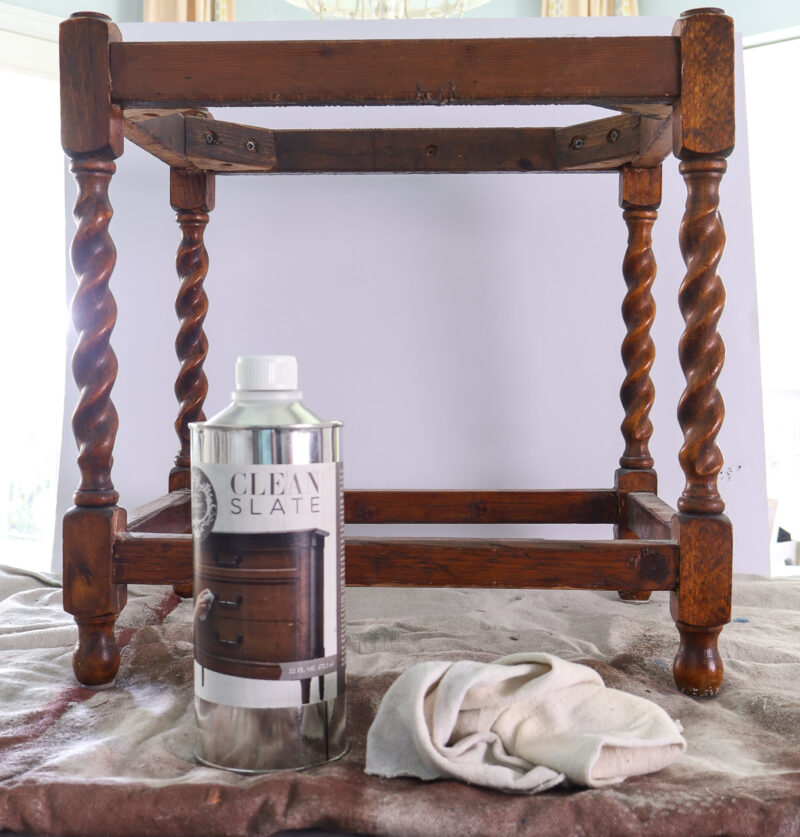
I always use Clean Slate by Amy Howard at Home to clean furniture that needs to be re-stained or painted. It gets rid of built-up oils, grime, and dust.
It’s easy to apply with a rag. I like to wear gloves to keep my hands clean.
This task took about 10 minutes.
Second Step – Waxing the Wood Base
At first, I thought I might need to restain the base. It looked so good after the cleaning that I decided it just needed a wax to protect the wood, add shine, and create a patina.
In my supplies, I had just enough Mind Your Own Beeswax by Amy Howard at Home to use on the stool.
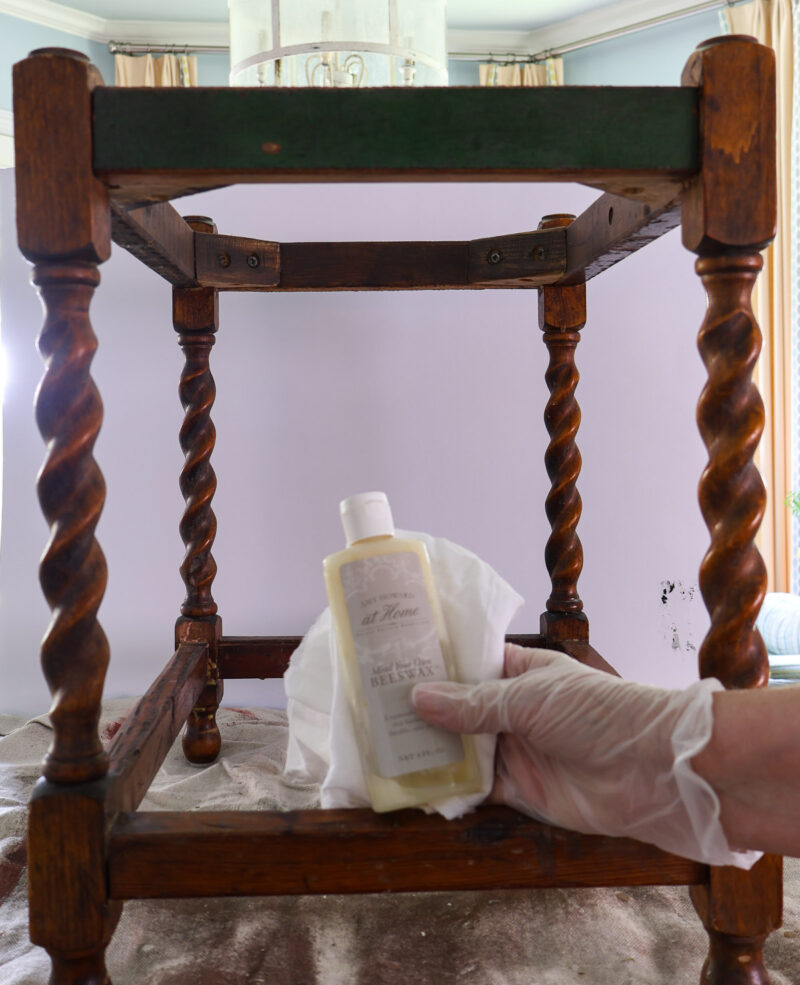
I love this wax. It has the consistency of softened butter and goes on so easily. Just squeeze it onto a clean rag.
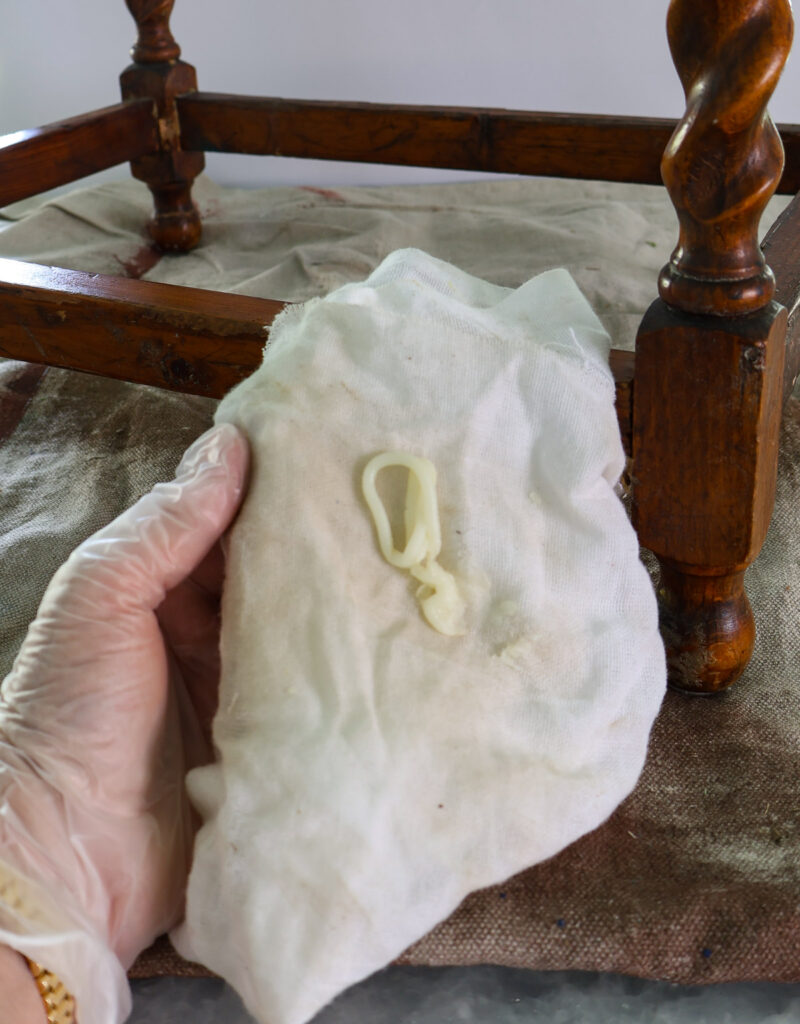
Then rub it into the wood until you see some shine.
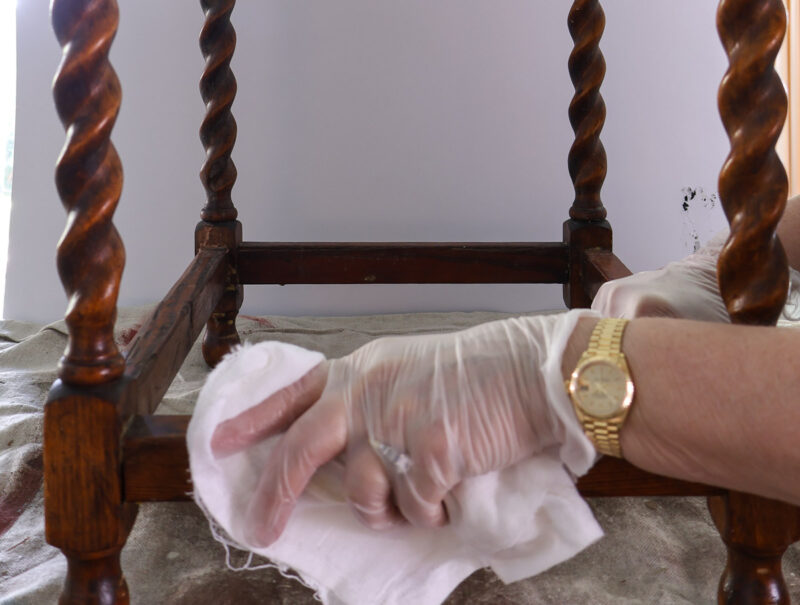
The stool began to look fresh and shiny.
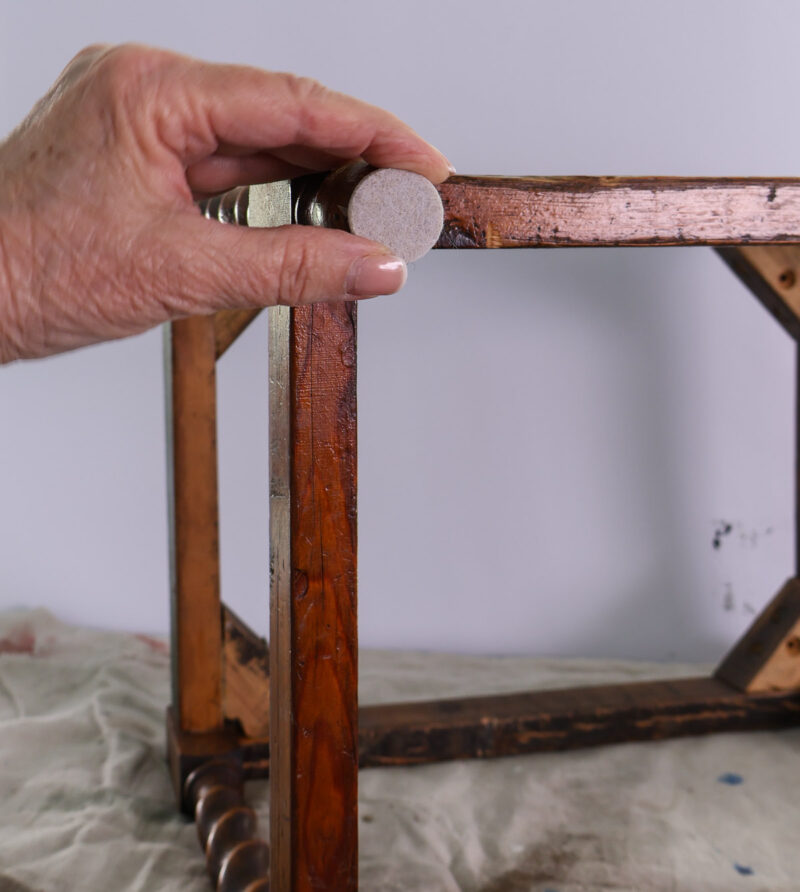
I also reapplied furniture pads to protect the legs of the stool and the hardwood floors in our closet.
At this point, the wood will feel a little tacky. The wax needs to set for 30-60 minutes before buffing it. This was the time to work on the new seat.
Third Step – Choosing Fabric
Once again, I searched through my fabric stash for some options. Instead of a taupe or beige palette, I wanted more color, preferably blue.
I found four pieces that would work.
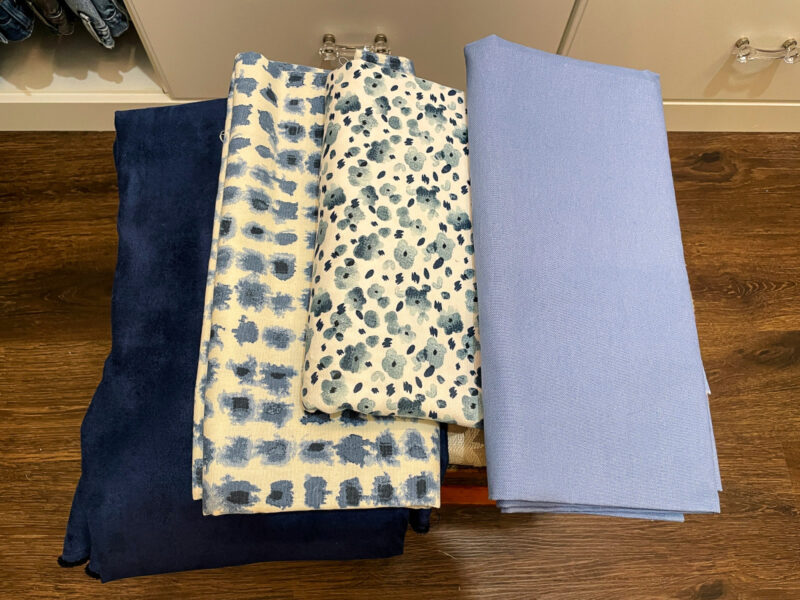
We eliminated them one by one.
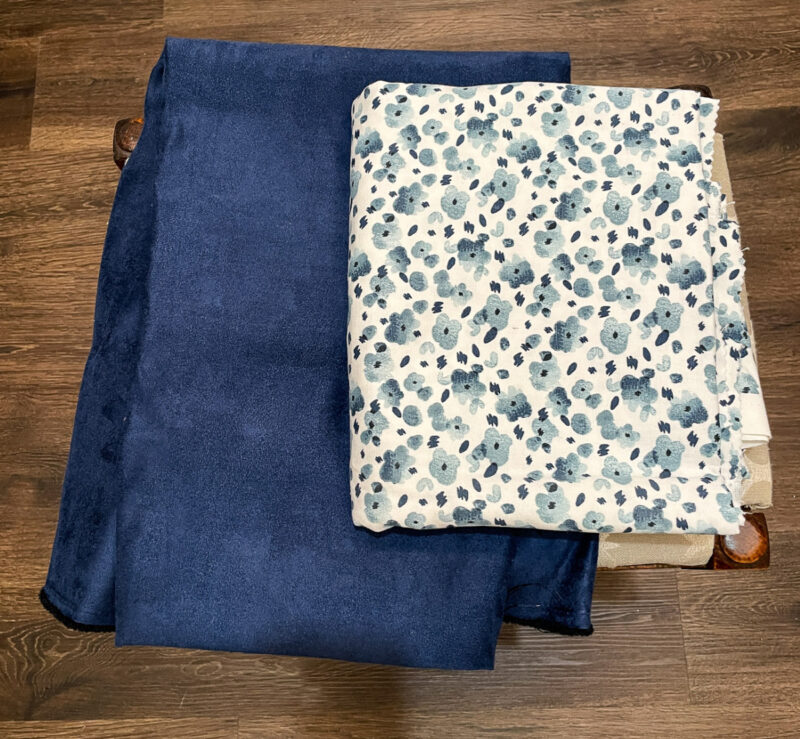
We agreed on the final choice – a rich navy blue polyester velvet. This is another piece of fabric for a while and dont’ remember where I bought it.
Fourth Step – Ironing, Measuring and Cutting the Fabric
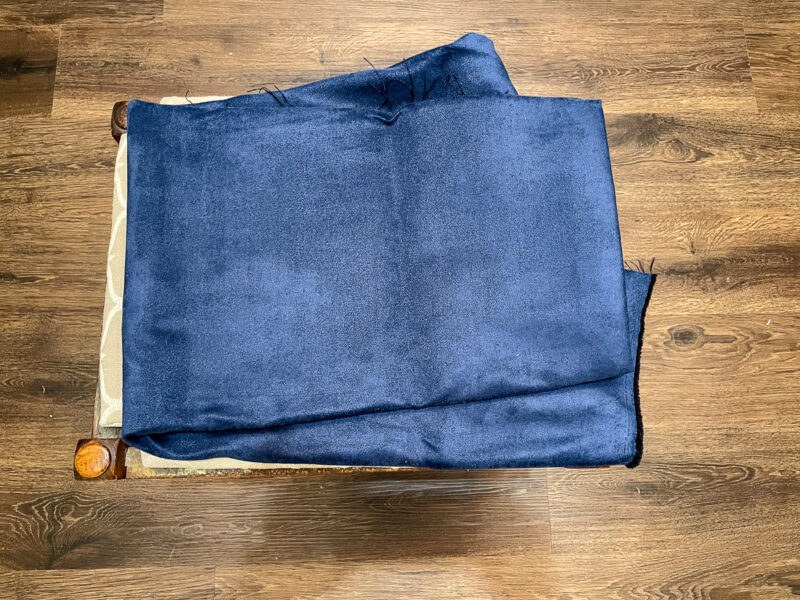
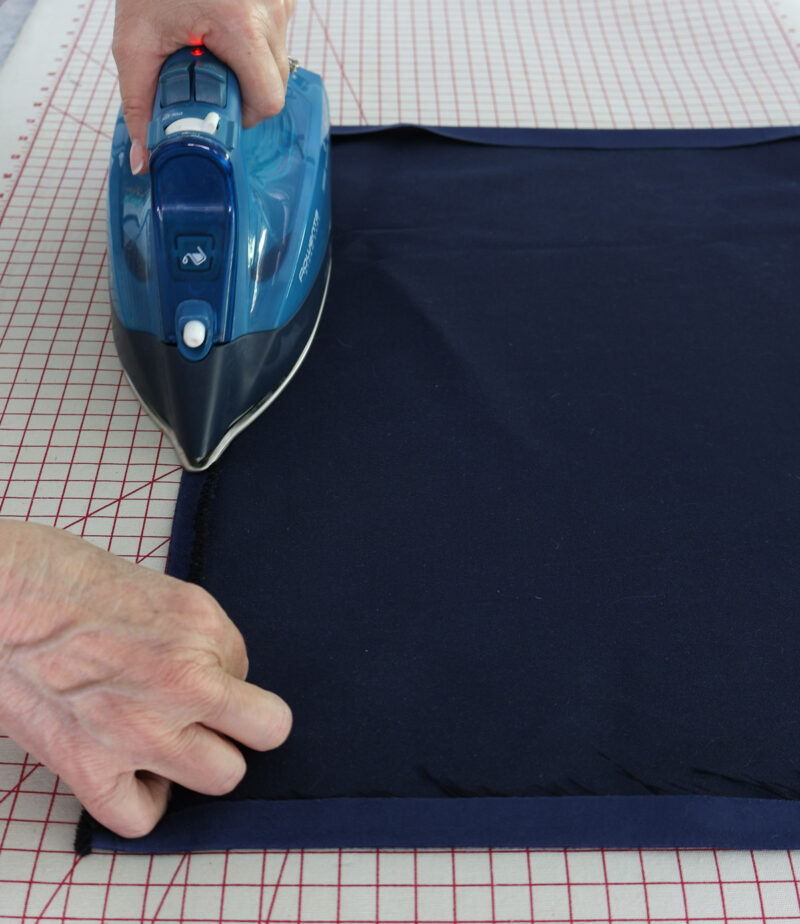
First I ironed the navy fabric.
Then I measured the fabric by placing the old seat on the new navy fabric. I measured around it.
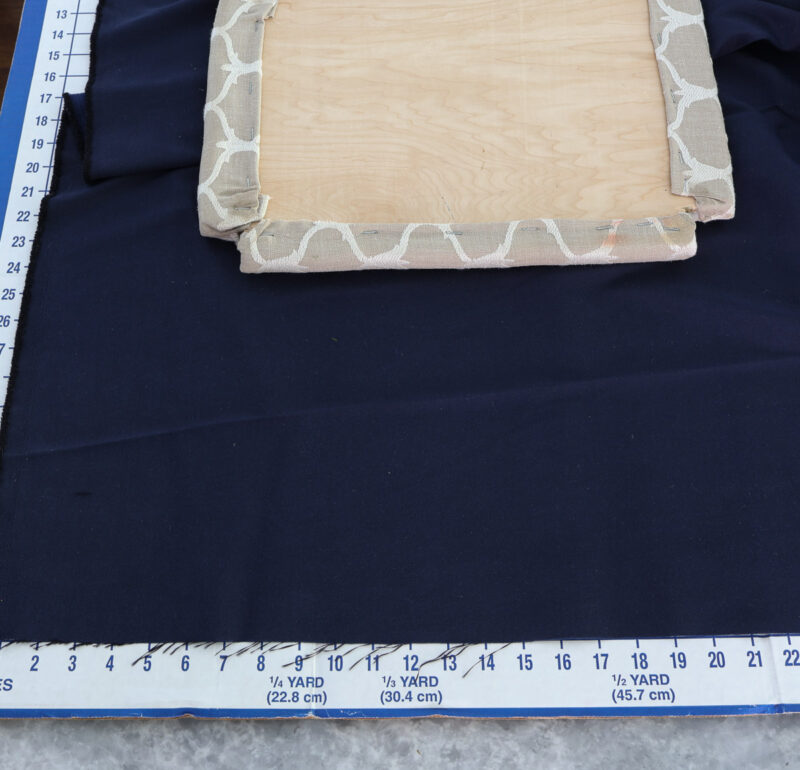

Once again, I measured the seat, side and allowance for the backing on the seat.
I used my cardboard sewing mat to help me measure the length and width I needed. I clipped the measurement with scissors.
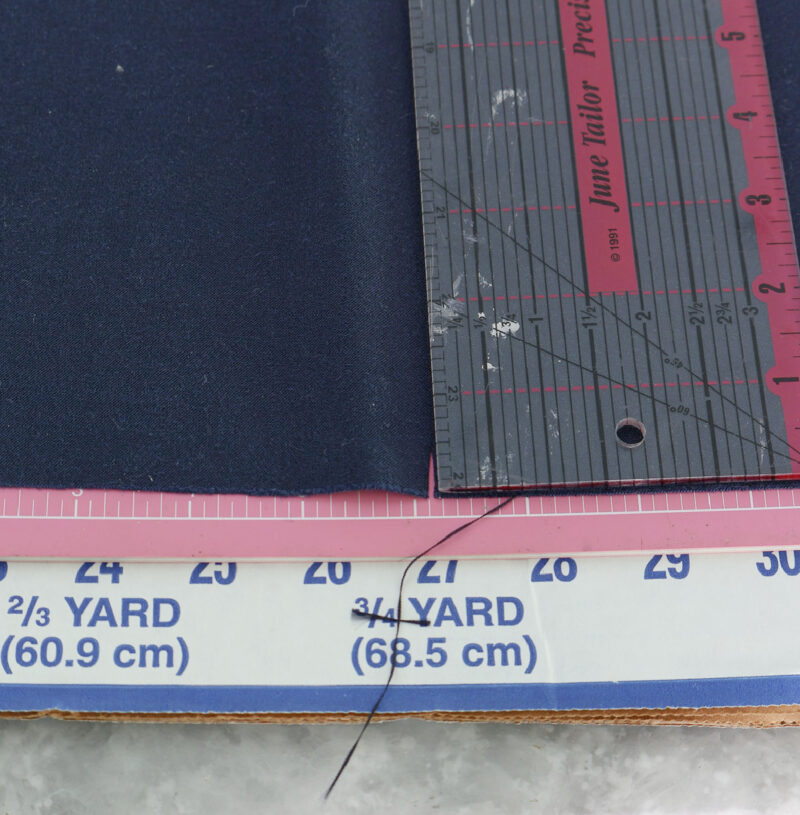
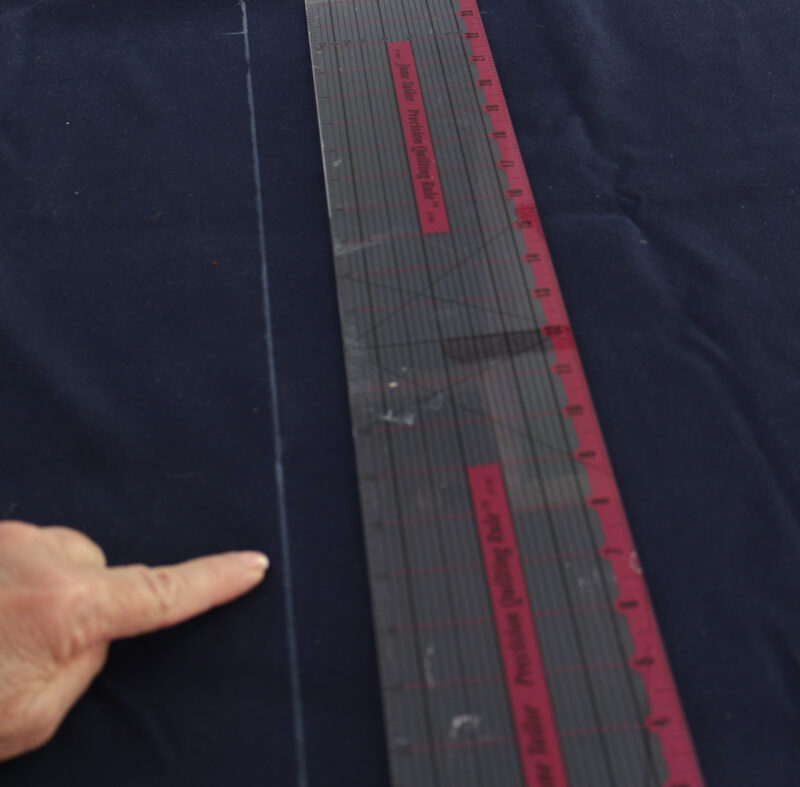
Using my long plastic sewing ruler and a white chalk marker, I drew where to cut the fabric.
Once my piece was cut, I folded over and ironed the edges that will be folded over and stapled to the back of the wood seat.
Fifth Step – Staple the Batting and Fabric to the Wood Seat
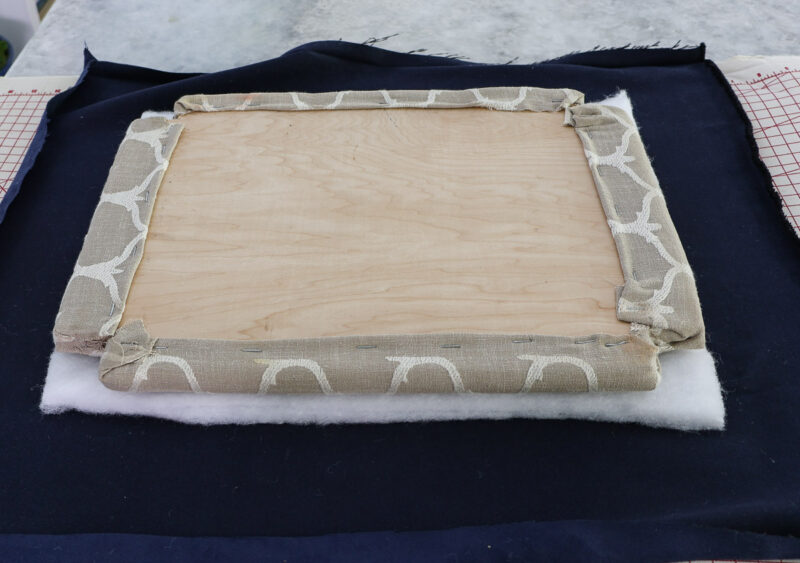
I placed the original wood seat on top of the batting. This batting is thicker than the original batting of years ago. I cut the batting around the seat.
Next, I set the wood seat and the batting on top of the navy fabric.
Using our staple gun, Sweet Shark (I need his help for this step.) and I attached the fabric over the original fabric. Be sure to pull the fabric tightly from side to side.
TIP: Always start in the middle of a side and work out to almost the end of the side.
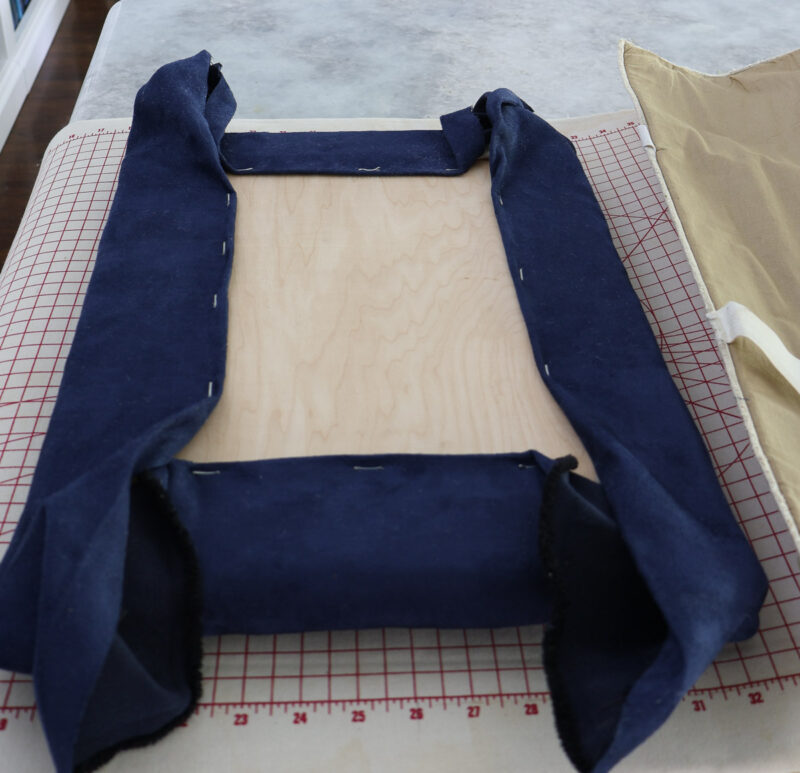
Oops, we forgot to cut off the corner pieces, so we had to go back and do that now.
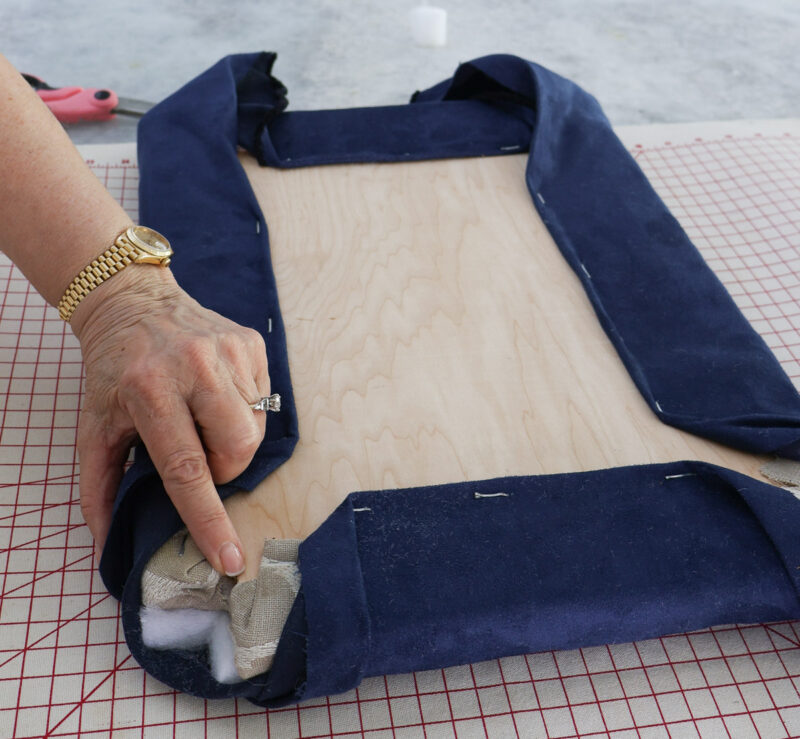
Now, we clipped off the excess fabric at the corners, pulling the fabric tightly. See the corners of the original seat above.
Sixth Step – Polishing the Wax on the Vintage Stool Seat
While I assembled the seat for the stool, the Beeswax dried to a smooth finish on the stool.
Using a clean rag, polish and rub all the surfaces on the stool. You can rub in all directions over the wood of the stool. The shine came out and the stool looked brand new.
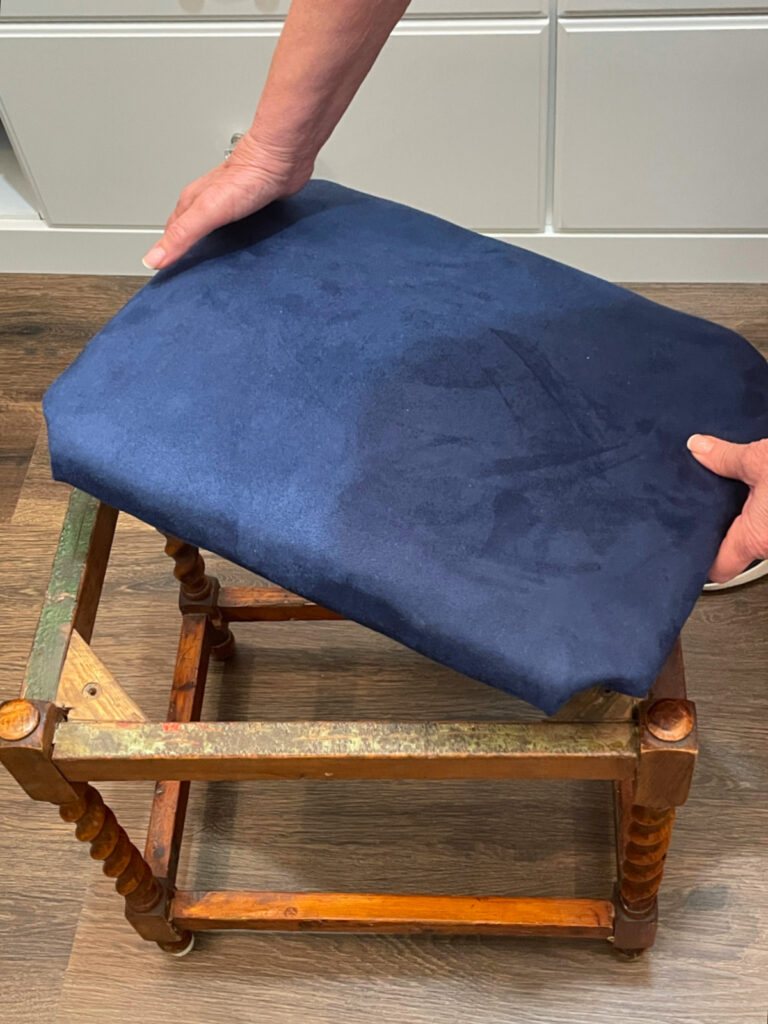
Seventh Step – Combining the Seat and the Stool
Now it was so easy to set the fabric-covered seat on the vintage wood base. Remember, we didn’t have to use screws or nails to attach the seat to the base.
Using the Vintage Stool in the Closet
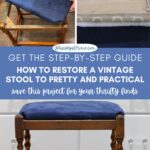
Now we have our favorite vintage stool in our new closet where we will use it everyday.
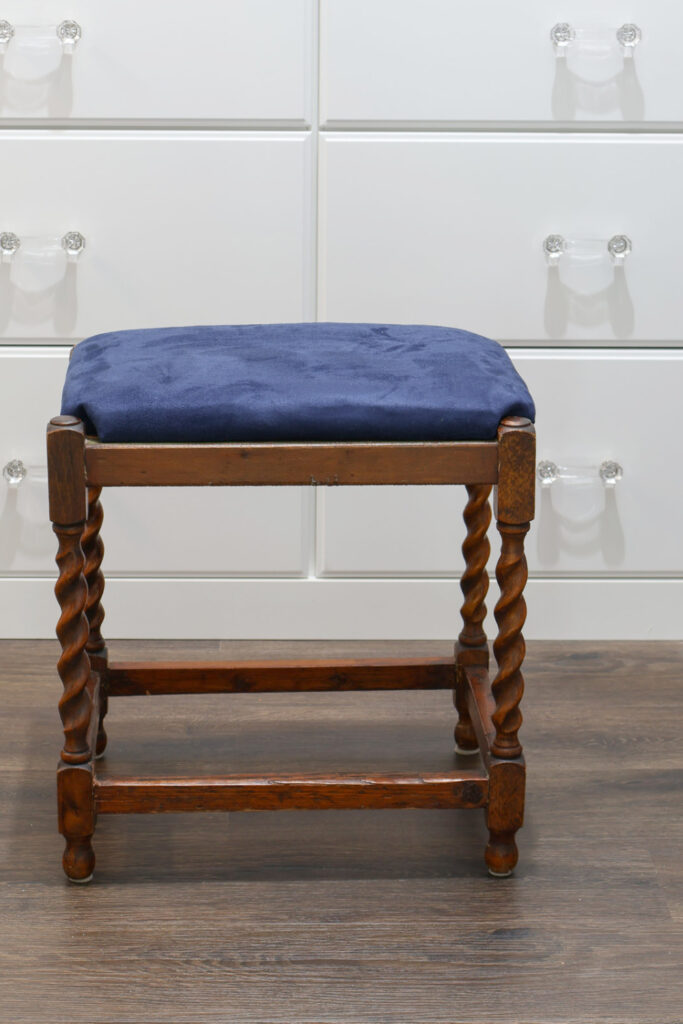
What do you think of how our vintage stool turned out? It took a total of 1 hour and 45 minutes from beginning to end. What a quick and easy turn around!
I urge you not to pass by any type or style of stool that you might find at the next estate sale, thrift store, or garage sale you visit. They have so many uses in your home.
You can paint restain a stool, add new fabric, even decoupage them.
I hope you will save this project and PIN it to your favorite Boards. Check out these Boards: DIY Projects and Flea Market Style.
Thanks again to Rachel and MaryJo for having me join them on this month’s


love this carol! pinned !
Great tutorial, Carol! Featuring this tomorrow on Farmhouse Friday. Thank you for linking up. Now to find an adorable stool with twisted legs! I love it! pinned
Thank you so much, Cindy. I appreciate the feature.
Such a darling stool!! LOVE the wood detailing and the blue seat cover. Looks so updated and chic! Thanks for joining us this month!!
Thank you Rachel, it’s one of the most practical vintage pieces I’ve ever bought and used.
The stool looks great Carol. Both glow ups gave the stool wonderful make overs. Thanks for the great directions. I love an old stool full of character. XO- MaryJo
Thank you, MaryJo. The stool was ready for an update and we love the resh new look.