How to Make the Easiest No-Sew Pillow
If the thought of sewing a pillow by yourself sends needles up your spine, I want to show you how to make the easiest no-sew pillow. This is the easiest pillow project ever.
Have you ever woken up in the middle of the night with an awesome idea? It’s like the best idea you’ve ever thought of. You plan it out step by step in your mind, praying you don’t forget you even thought of it when you wake up. And then you wake up and darn if you didn’t forget it. Well, lucky for me and lucky for you, this time I didn’t forget. It was still crystal clear. I’ll show you that you can make the easiest no-sew pillow.
We all agree that pillows are one of the best accessories ever. One of the easiest ways to get the pillow you need is to sew it yourself, which I’ve done many times. But what if you don’t sew or have a sewing machine?
Sometimes, you just can’t find the right color, size or pattern you need for a pillow. Finding the perfect fabric and making pillows yourself isn’t hard at all. What if you don’t have a sewing machine or sewing anything more than a button on or mending a hem is your level of sewing skills? No fear, anyone can make this pillow, I promise. This is when knowing how to make the easiest no-sew pillow comes to the rescue.

How to Make the Easiest No-Sew Pillow
You can spend a lot of money at a high-end interior design store on pillows. These pillows will be made of fabulous embellished fabric, have beautiful trim, are always zippered, and are down~filled for extra softness. You can buy more affordable pillows at big box home stores with less expensive fabric, maybe some piping, still zippered and down or poly~filled. Either way, pillows provide color, pattern, texture, and comfort to our spaces.
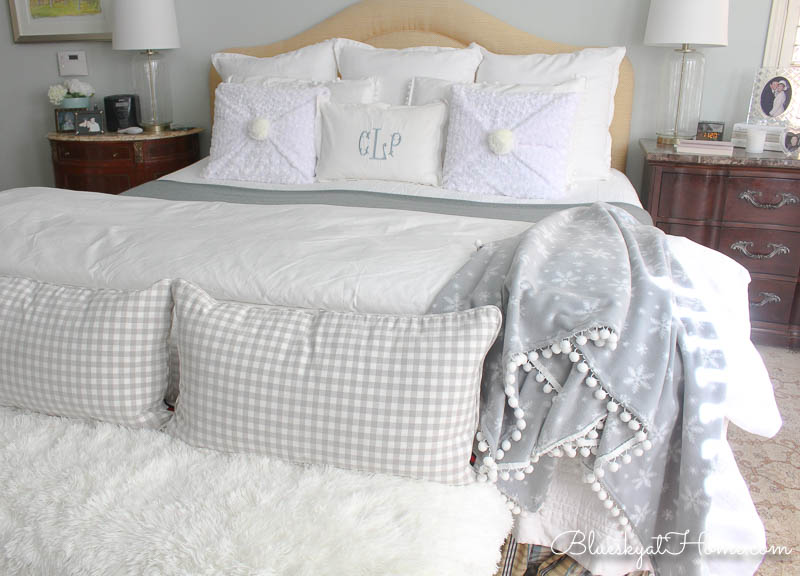
When I was creating winter decor for our bedroom, I wanted to add layering for our bed with a coverlet, duvet, throw, and lots of pillows. I needed just one more set of pillows and they had to be in white.
First, I checked my stash of fabric and found I didn’t have any white fabric. To be honest, it was really cold outside and I wasn’t in the mood to go shopping. Then I remembered that I did have a piece of white fabric.
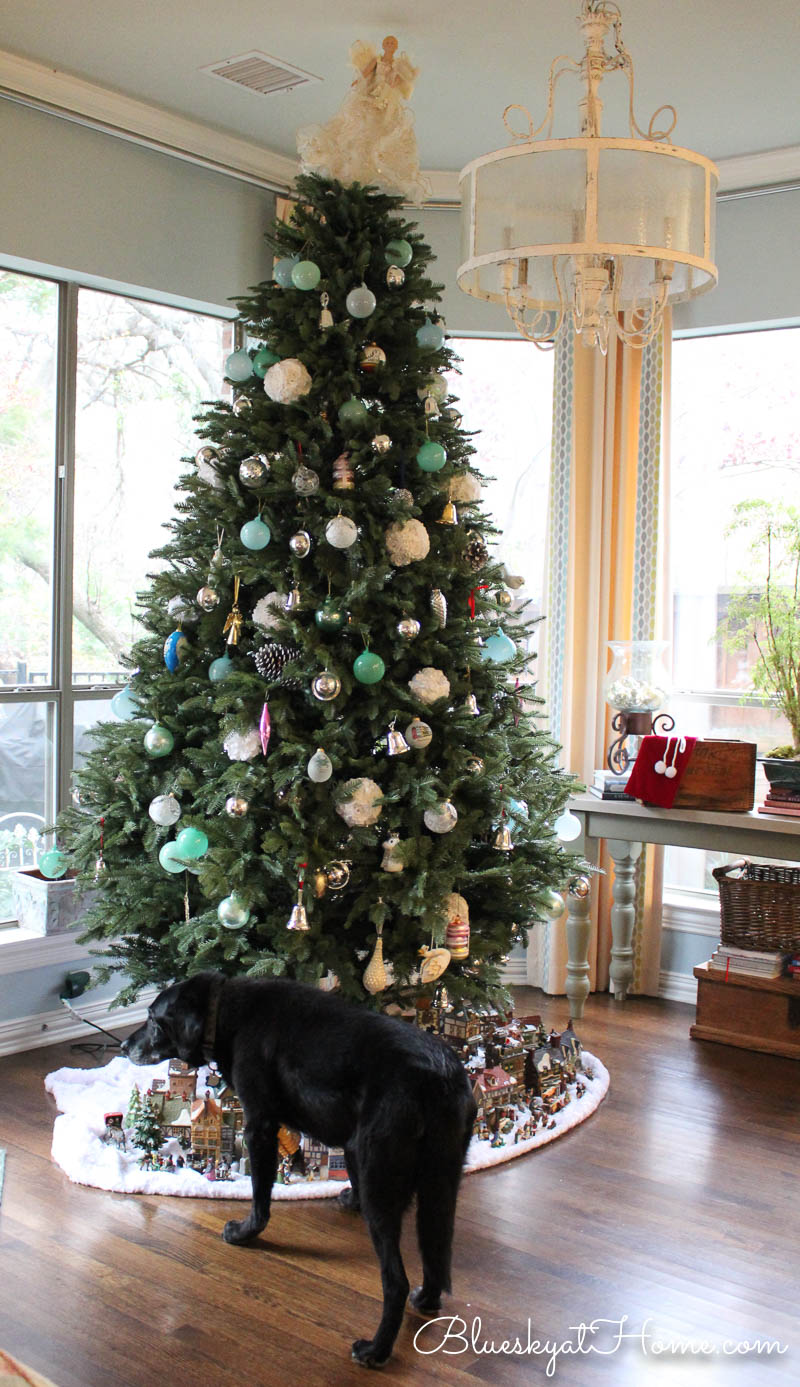
Here’s the back story: when I decided to place our Dicken’s Village under the Christmas tree, I wanted a fluffy, snowy look to the tree skirt. I found the right fabric at Joann and bought 4 yards. The fabric was $20 for the piece. I just laid it down around the tree and folded the edges under. Instant tree skirt.
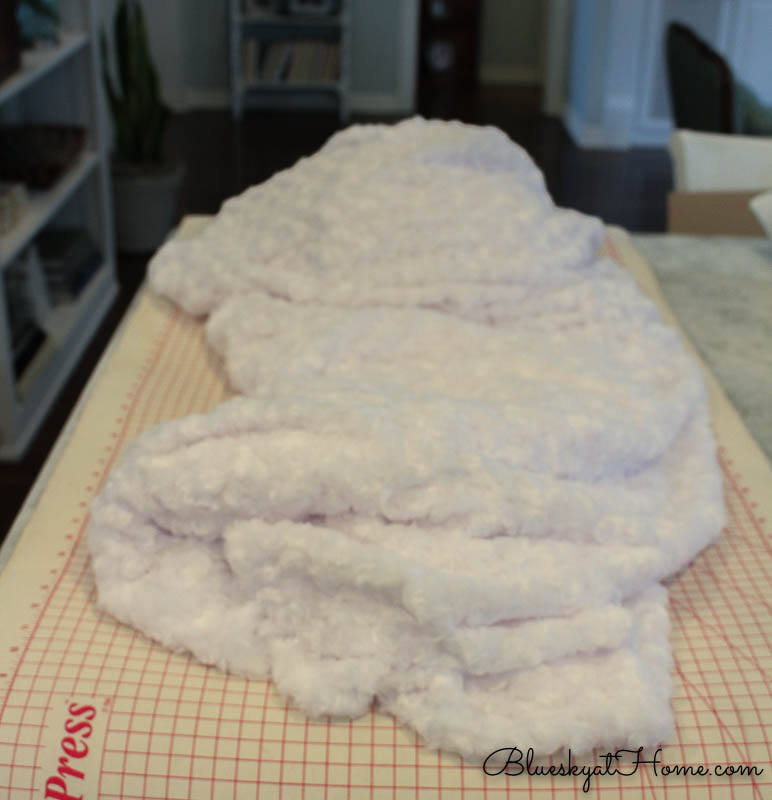
After Christmas, I folded up the fabric and stored it with my fabric stash. Fast forward to “I want some more pillows, but I don’t want to go shopping.” Knowing I had plenty of yardage for 2 pillows and loving the soft texture of that fabric, I thought why not use it in our master bedroom.
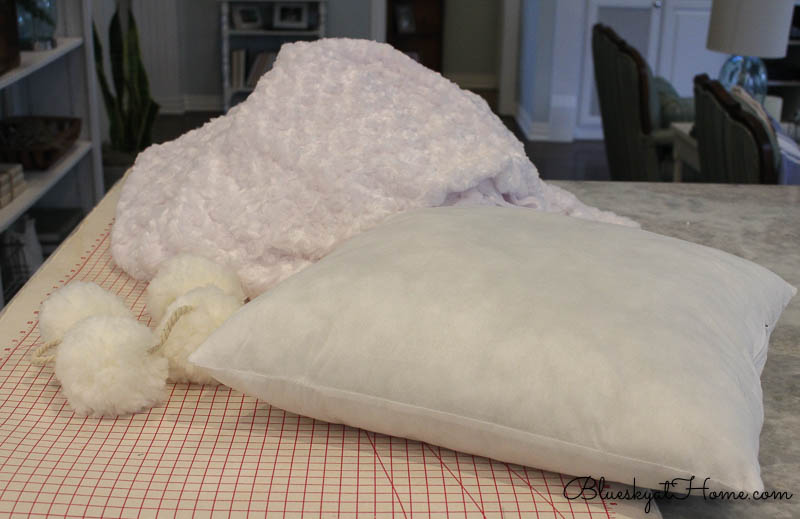
I knew that I had 2 18~inch pillow forms. Remember these pillows from last year?
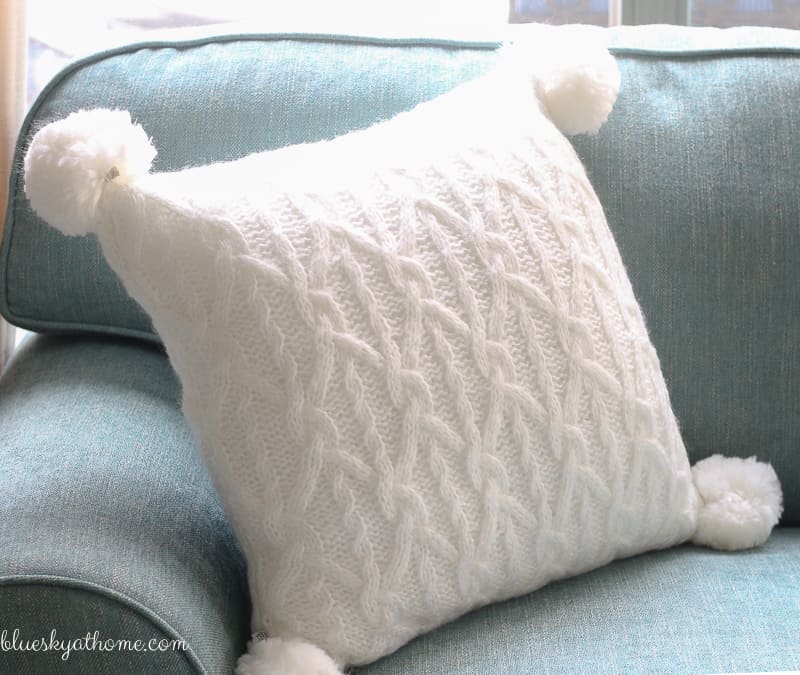
I had bought a string of large white pom~poms at Hobby Lobby and I just cut off 8 pom~poms and sewed one on each corner. I still had 4 pom~poms And I only needed 2.
Cutting Your Fabric
My pillows were 18 inches square. For this pillow, I needed to cover 36 inches plus extra for overlapping. I determined I needed to cut a 40~inch square. So whatever the size of your pillow, cut an extra 4 inches. If your pillow forms are also 18~inches, you should buy 1 1/4 yard of fabric. Maybe 1 1/2, just to be sure.
I didn’t even mark the lines to cut the fabric, but used the grid lines on my fabric mat to guide me.
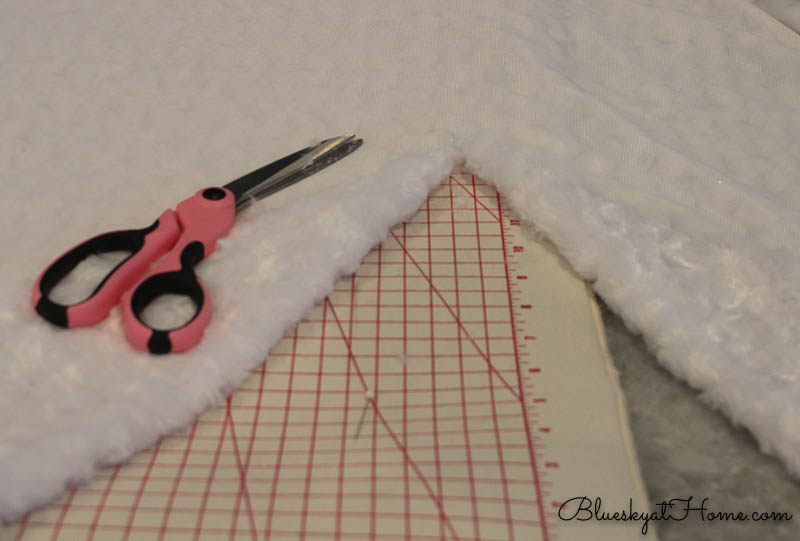
Once I had my 40~inch squares, I placed my pillow form in the center of the fabric, making sure that I had equal amounts of fabric on all sides.
Next, move your pillow about 2 inches left or right so that it is slightly off-center. Then fold the 2 sides up and over the pillow form, pulling the fabric tight and overlapping one side over the other.
NOTE: This fabric doesn’t ravel. If you are using a fabric that does ravel, I would turn the edge over 1/2 inch and press it down.
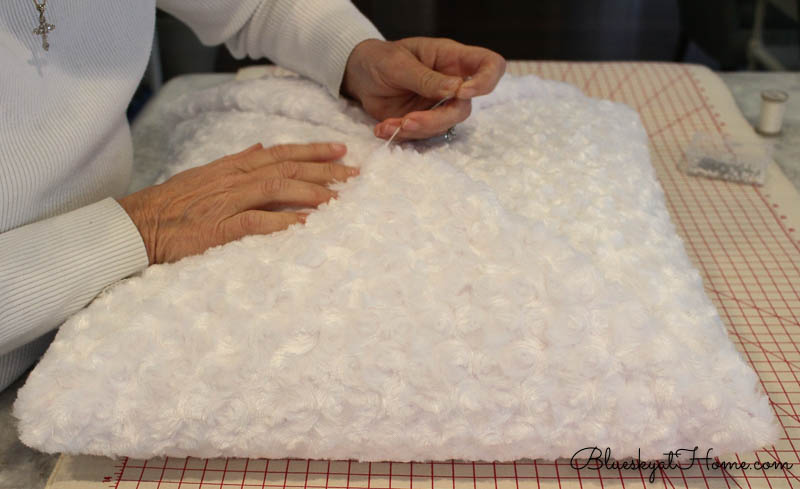
“Sewing” Your Pillow Fabric
O.K. Here’s where a little bit of sewing is involved. If you can sew a button on, you can sew this straight seam. All you need is a needle and thread. I used a long needle. Using a double thread, I used a long stitch to sew the overlapping fabric together, from one side to the other. Nothing fancy.
NOTE: I didn’t even pin the fabric, but you could if you wanted.
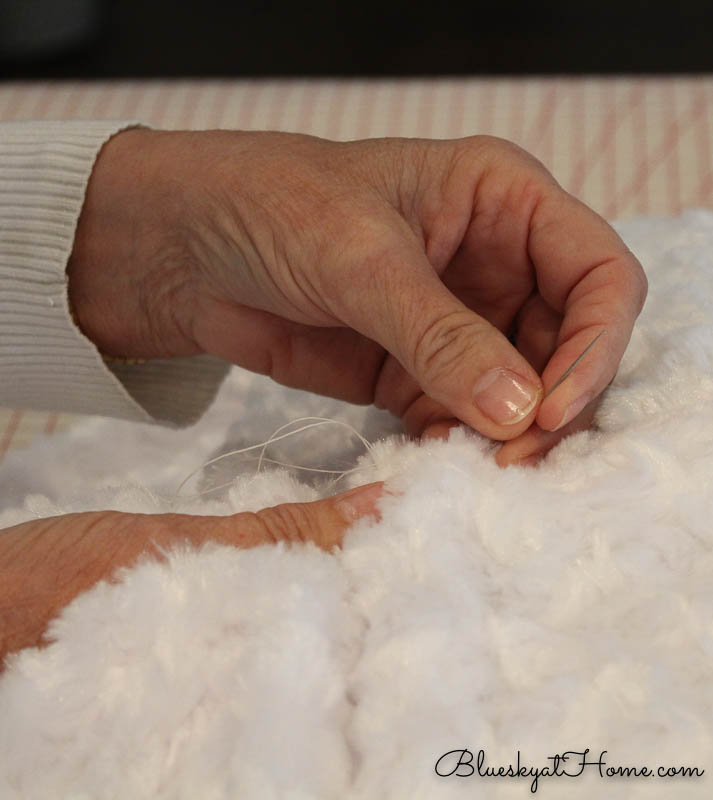
Since this fabric is fluffy and thick, the thread didn’t even show. But even with a flatter fabric, this stitch will not show you when finish the pillow, so don’t worry.
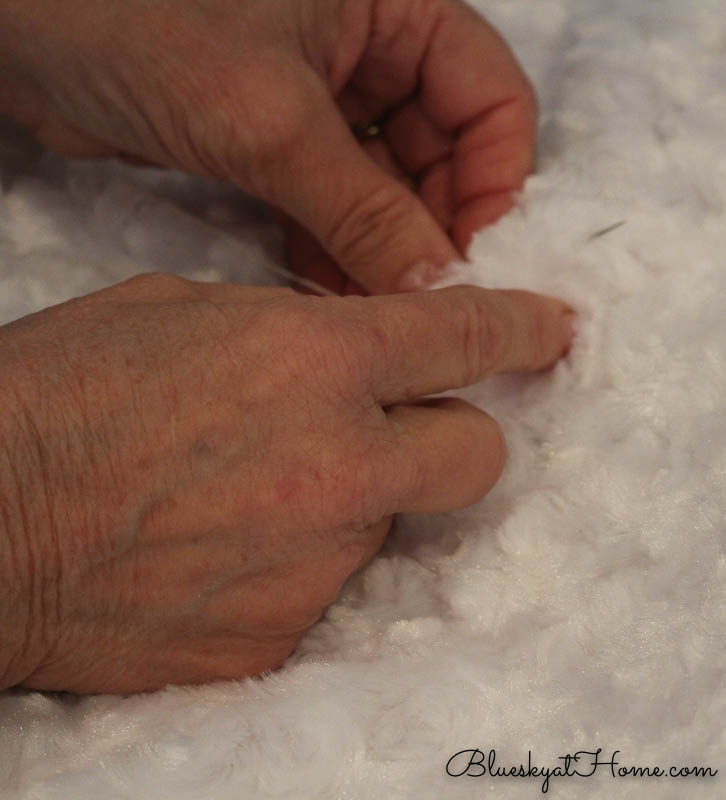
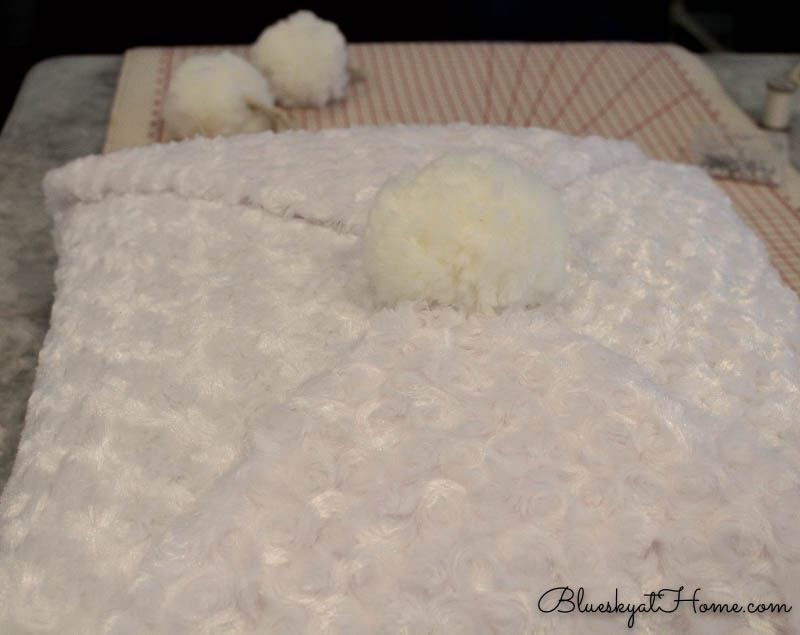
Pretend that you are wrapping a present. You’ve just taped the wrapping paper around your gift box. Next, fold the ends of the fabric diagonally to meet in the center and form a point, just like wrapping a present.
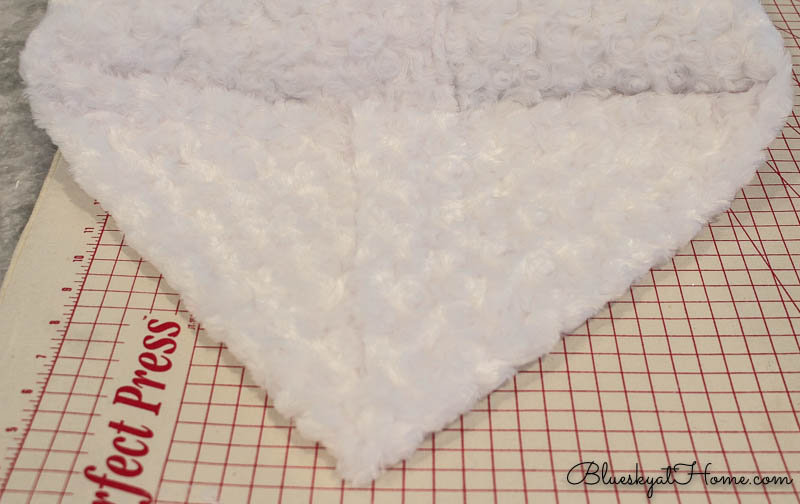
Fold the 2 pointed sides up to meet in the center of the top of the pillow. This will hide the seam that you just sewed by hand. If you want, fold the 2 points under about 1/2~inch.
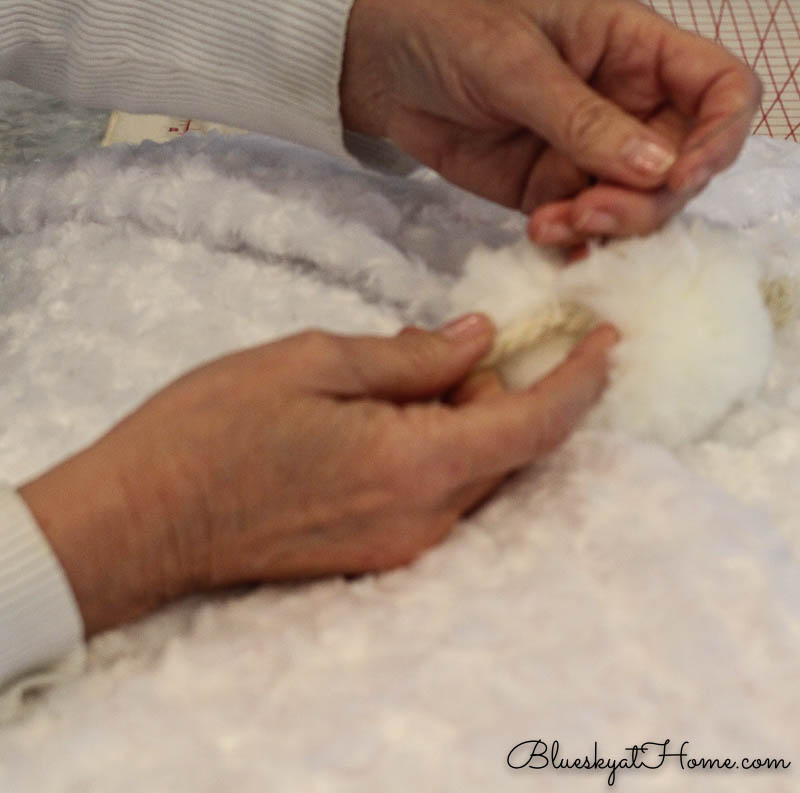
With more double thread, sew the 2 points to the fabric.
To cover the previous stitching and give the pillow some embellishment, I sewed the large pom~pom to the fabric. These pom~poms have a bit of tail on each side. I used that to attach the pom~pom. Then I just tucked the tails in under the folds.
NOTE: If you don’t have a large pom~pom (I haven’t seen any as large as these.) or you want a more tailored look a large button would look really nice on the pillow.
That’s all there was to make this no~sew pillow. Then I repeated the steps for the second pillow.
Bragging Rights
I loved how the pillows look on our bed. More layering, more texture and softness. I like that the pom~pom theme is repeated. Sweet Shark noticed them immediately and was rightly impressed when I told him how I made them. Bragging rights!!
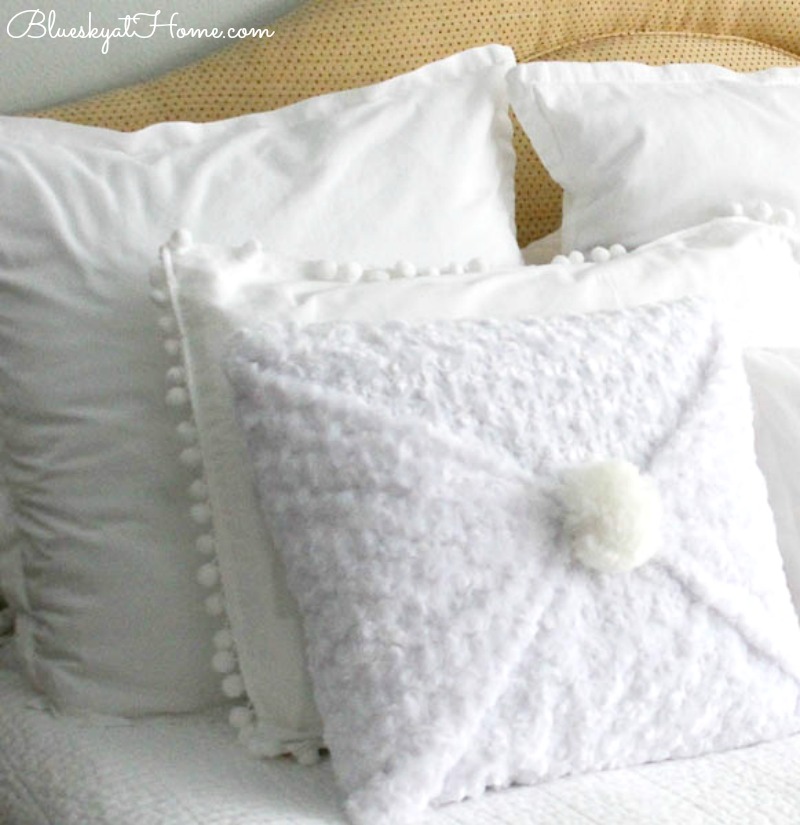
Now we have 4 different sizes, shapes and styles of pillows on our bed: 3 large squares, 3 rectangles, 2 smaller squares, 2 with pom~poms, and 1 monogrammed. What pulls them all together? White!!
Now, don’t tell me that you can’t make this no~sew pillow! And I bet you can make a no~sew blanket. And here are some more pillow projects you might like:
How to Make a Zippered Pillow in 5 Easy Steps
How to Make a Monogram Pillow from a Dish Towel
How to Make a Christmas Pillow from a Dish Towel
How to Make a No-Sew Pillow from a Dishtowel
These 3 pillow projects are easy, but this no~sew pillow is by far the easiest and fastest. Let’s start the clock. 1 hour ~ 1 pillow, maybe 2. You can do it. I know you can. I’m going to do it again because it was just so darn easy.
P.S. If you get tired of the pillow, just take out the stitching and reuse the pillow form and the fabric.


Your pillows are so pretty and look very expensive. Love that they are simple to make too. Pinned!
Marie, thanks for the compliment, the comments, Pinning and visiting.
That fabric and those pom poms go so well together! I love white color schemes in the bedroom, it’s so soothing. Fabulous pillow. Thanks for sharing at Vintage Charm.Pinned! xo Kathleen
Love this… so plush and pretty! Pinning!
These are so beautiful, wintery, and cozy. Thanks so much for sharing.
These are adorable….and something I could do! Thanks so much.
Deanna, you can absolutely make these pillows. I promise!! Thanks so much for visiting Bluesky at Home.
Great tutorial Carol. What a fantastic idea to buy a pom pom garland instead of making one! Well, at least for me. Pom poms look difficult in my eyes.
Nice job! I agree that you can never have too many pillows. I really like the idea of pillow covers to save on storage space. This is coming from a person who has 3 off season pillows stuffed in a bed pillow sized sham on the living room couch! I ALWAYS forget my brainwave ideas by morning and needed chores; I have kept a pad and pen next to the bed to jot down important stuff; then I go to sleep in peace!
Oh Carol, I admired these when I checked out our room reveal. They are gorgeous and look so soft and cozy. I may have to try these.