Easy DIY Valentine’s Day Paper Heart Art
Looking for a simple way to add Valentine’s Day charm to your home without breaking the bank? This easy DIY Valentine’s Day paper heart art is the perfect solution. Let me show you how to make this eye-catching Valentine’s decor that looks far more impressive than the effort required.
Whether you’re decorating for the first time or you’re a seasoned DIY enthusiast, this budget-friendly craft requires minimal supplies and delivers maximum impact.
In just minutes, you can create a beautiful display that brings a touch of romance to any room.
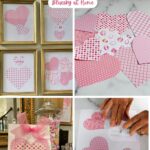
This paper heart Valentine’s Day art project is so easy to make and looks adorable. It would be perfect on a mantel, a bookcase, or on a wall, as I did. It’s inexpensive to make using simple supplies that you probably have on hand.
If you have a few minutes, you can have this art decor gracing your home today.

This post contains affiliate links to products used to create this project. If you should order any item from this site, I may receive compensation, but you do not pay a penny more. Your purchase is greatly appreciated as it helps support the continued publication of this site.
Paper Art Inspiration
Recently, I gathered 19 ideas for Valentine’s Day decorations. Several of these crafts used some form of paper to create pretty decorations. As you can imagine, most of them used hearts as the main subject of the decor.
These projects piqued my interest. I knew I had supplies on hand to make a heart art project for our home.
Last year, I recycled several picture frames stored in our garage. I wanted to use these gold-painted frames filled with art in our entry to add color, pattern, and interest.
I found lovely chinoiserie prints on Etsy to fill the frames. These are my “everyday” art.

In the fall, I changed the prints to pumpkins and leaves when I ordered this set of nine fall printables. I picked six leaves to frame. I must have forgotten to take a picture of them framed on my wall.

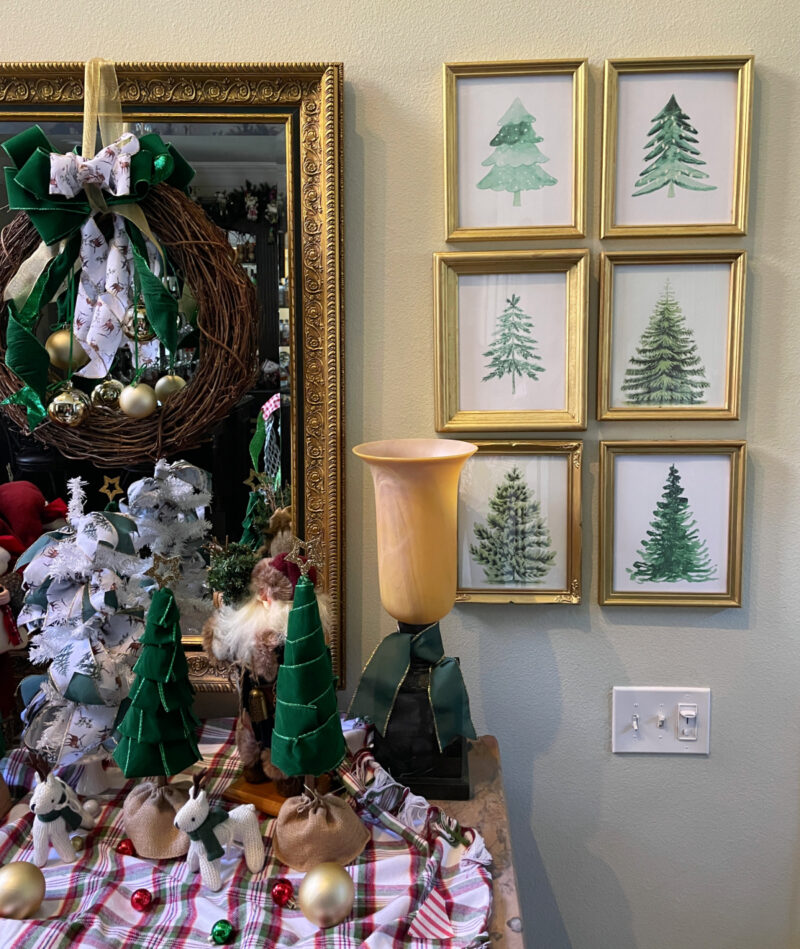
For winter decor, I found three sets of printables (set of two trees, 1 tree, 3 trees) that reflected trees in winter.
For Valentine’s Day decor, I went a different direction and created my own designs.
Supplies to Make Valentine Hearts to Frame
I found several sheets of pink patterned scrapbook paper in my paper stash. These were the inspiration for my Valentine’s art.
Here are the supplies you need to make this easy Valentine’s art.
- frames for holding Valentine’s heart art; my frames are 8 X 10-inches.
- collection of scrapbook papers in colors and patterns you like; you can also try construction paper in solid colors
- Cricut cutting machine OR heart templates and scissors
- repositionable adhesive tape or glue dots; if you prefer, you can also use permanent adhesive tape.
- sheets of plain white paper (computer paper)
NOTE: If you want a heavier or textured background, you can use white cardstock.
NOTE: If you don’t have a Cricut, I suggest using heart-shaped cookie cutters. They are my favorite way to cut out hearts.
Like me, you may have all the supplies to make Valentine’s heart art.
Make the Framed Valentine’s Heart Art
This project is so easy and takes about an hour to complete.
I’m assuming that you already have frames ready to use. Pick the size and number you want to use for this project.
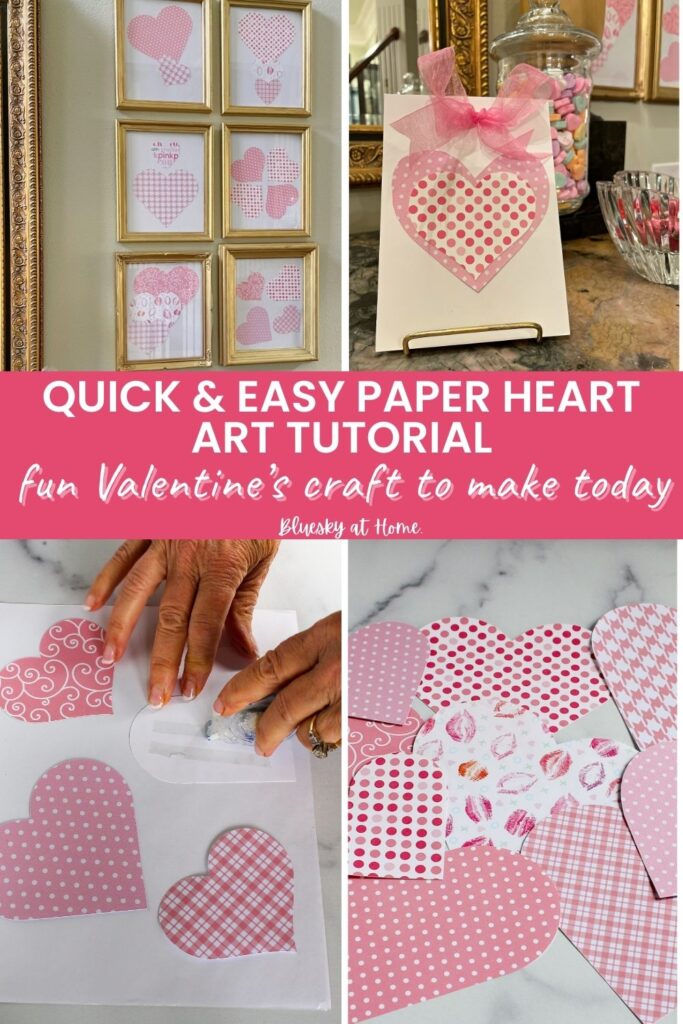
Step 1 – Gather your scrapbook papers. I had five sheets of pink patterned scrapbook paper. I also found a few paper hearts that I had used in previous projects.

Step 2 – If you are using a Cricut, in Design Space, find a heart shape you like. Size it to fit the frames and give you variety.

For some sizes, I duplicated the heart to cut two at a time. I ended up cutting hearts in three sizes. This is why I love my Cricut. It makes sizing and cutting so easy and fast.

Step 3 – Cut the hearts in the different papers until you have a variety of patterns in different sizes.


Step 4 – Begin to arrange hearts of various sizes and patterns. Place hearts on a piece of white paper and play with the arrangement.


Step 5 – Once you have an arrangement you like, turn one heart over at a time and apply repositional tape across the back.

Assembling Your Art and Frames
Open your frame and remove the backing. Place your heart inside and reassemble.


Repeat the process with your remaining hearts and frames.
Hang and Display Your Heart Art
My six frames have 3 different styles. So that they line up in a grid, I try to keep the frames in the same order on our entry wall.

You may notice that I mixed up the number of hearts, their sizes, patterns, and the arrangement for each frame.

Other Options for the Heart Art
This fun Valentine’s day craft can be customized in so many ways:
- use a 5 X7 frame
- use a larger frame with a mat.
- place the hearts on canvas and omit the frames
- use an easel to hold the art on a mantel, table, or bookshelf
- use one size of heart, but in different patterns
- use one pattern in different sizes
- use different variations of heart shapes
That’s how easy this project is.
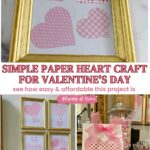
Since I have leftover hearts, I added a couple to a piece of cardstock. I cut slits in the cardstock and used a piece of sheer pink ribbon to make a bow. It sits on an easel on our chest in the entry.

Want more easy Valentine’s Day projects?
- 6 Easy Valentine’s Day Sticker Decorations
- Heart-Shaped Air-Dry Clay Dish
- Valentine’s Day Heart Napkin Rings
If you need a super simple, super fast, super inexpensive Valentine’s Day DIY project, this one is for you. Be sure to PIN it to your favorite Valentine’s DIY Pinterest Board. Here are some of mine: