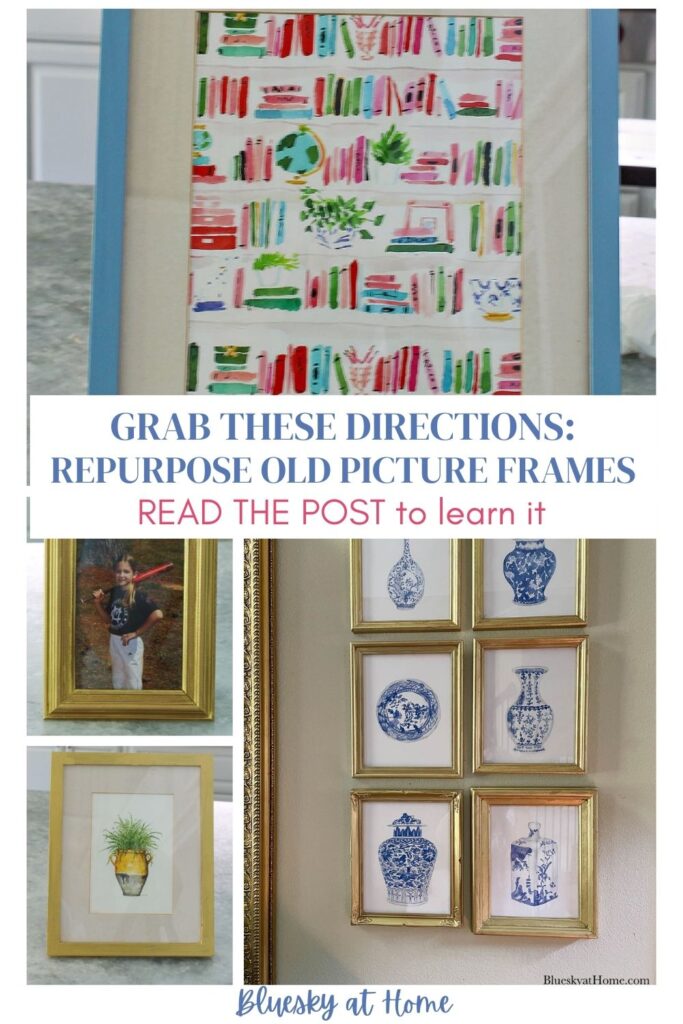
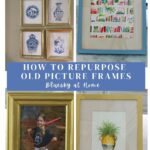
How to Repurpose Old Picture Frames
Do you have old frames laying around your home? Piled up in the garage? Want ideas to recycle and reuse them? Let me show you how to repurpose old picture frames for a stunning new look.
Can picture frames be reused? Of course. An old finish or color or style shouldn’t stop you from using them. Old picture frames can be repurposed to give your home a fresh style.
Let’s face it. New picture frames can be expensive, even at the big box stores. Repurposing picture frames can save you big bucks.
Repurposing old frames saves the environment, too. If you ever come across some old picture frames that you are considering tossing, think again.

This post contains affiliate links to products used to create this project. If you should order any item from this site, I may receive compensation, but you do not pay a penny more. Your purchase is greatly appreciated as it helps support the continued publication of this site.
There are so many ways to repurpose old picture frames.
Old picture frames are readily available.
- flea markets
- estate sales
- garage sales
- antique malls
- your own home
- curbside
Which Came First? The Art or the Frames?
I’ve had situations when I had a picture that needed a frame. I’ve also had situations when I had an old picture frame that needed a picture.
Whichever the case, I first try to look for picture frames that can be reused and repurposed. If I can’t find one, then I’ll go shopping.
Fortunately, for these projects here, I had plenty of old frames on hand.
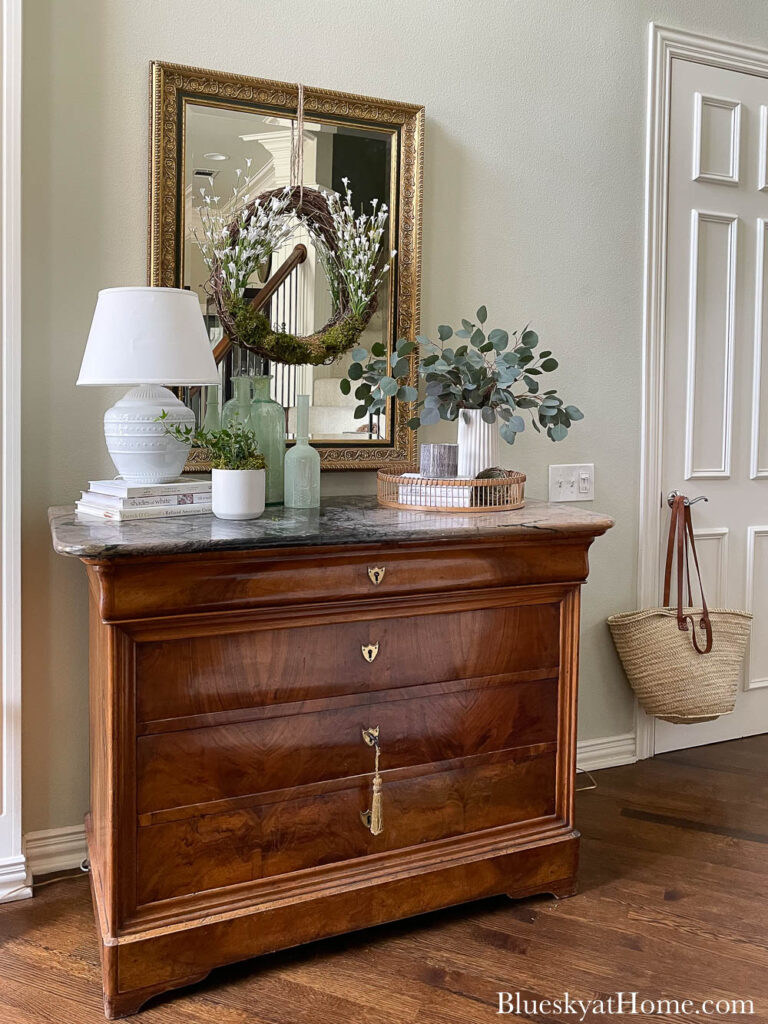
Repurposed Frames for Our Entry
I have had a spot in our entry that has needed some art. Next to our entry commode with a framed mirror was a big blank wall.
I thought a grouping of artwork between the mirror and the closet door would balance the mirror and give color and pattern to the space.
Finding The Artwork
In this case, the artwork was the inspiration for this project.
Finally, the right artwork appeared.
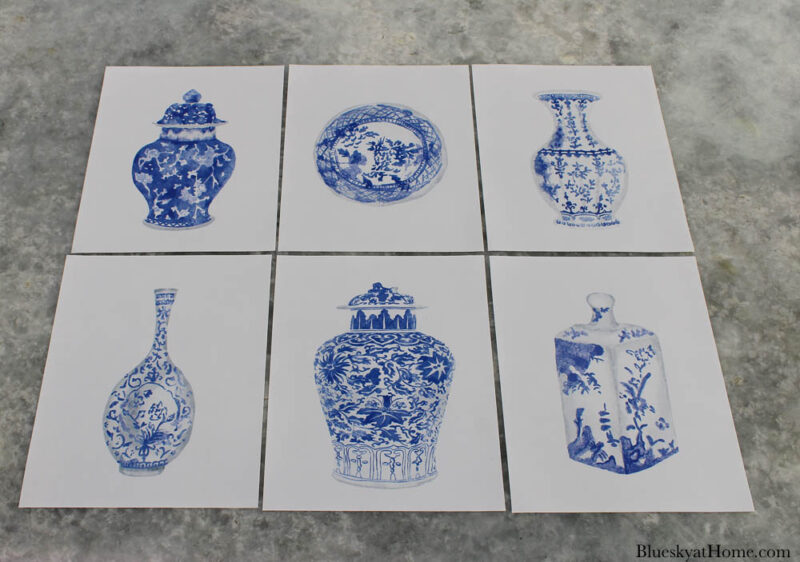
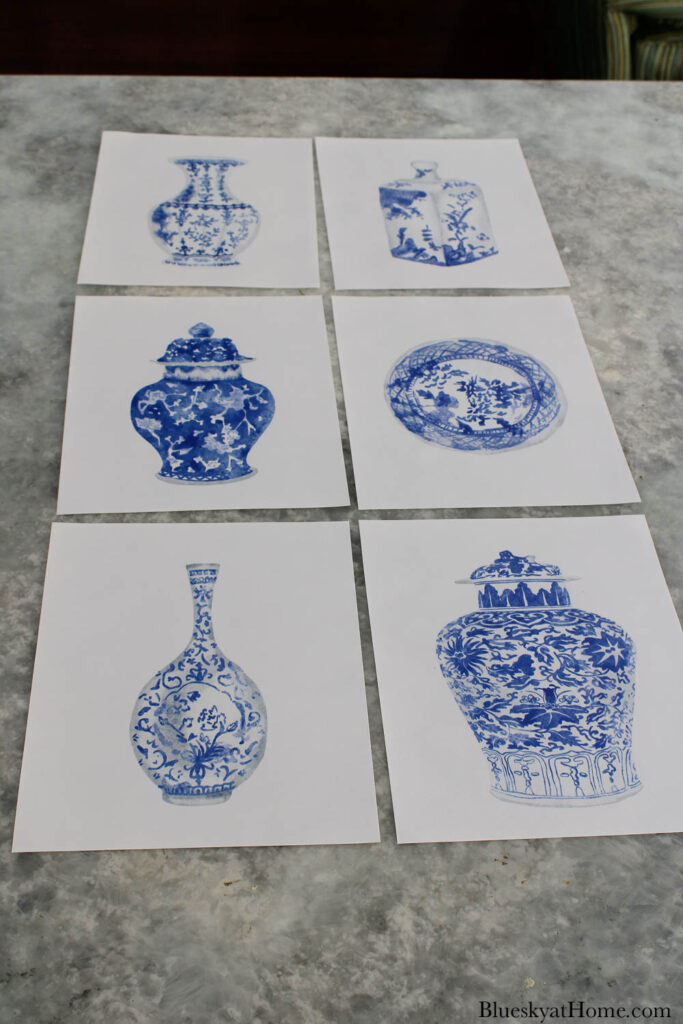
I had seen some artwork on canvas on Amazon that I loved: a series of 6 blue and white chinoiserie pieces. The blue and white color scheme was my favorite and I love chinoiserie and collected quite a bit in the last few years.
The set was not expensive, but I waited for Amazon Prime Day to buy them. The canvases were 8 X 10.
Finding Old Picture Frames to Repurpose
The next thing I needed were frames.
I knew that I wanted gold frames to compliment the large framed mirror in our entry. I could have bought brand new frames.
Before spending money, I remembered that I had a stack of frames that could be repurposed to decorate this space.
Over the past few months, I had removed several framed family pictures from mismatched frames. These pictures were hung on our stairwell. Some of the frames were at least 30 years old. I was slowly replacing them with matching black frames.
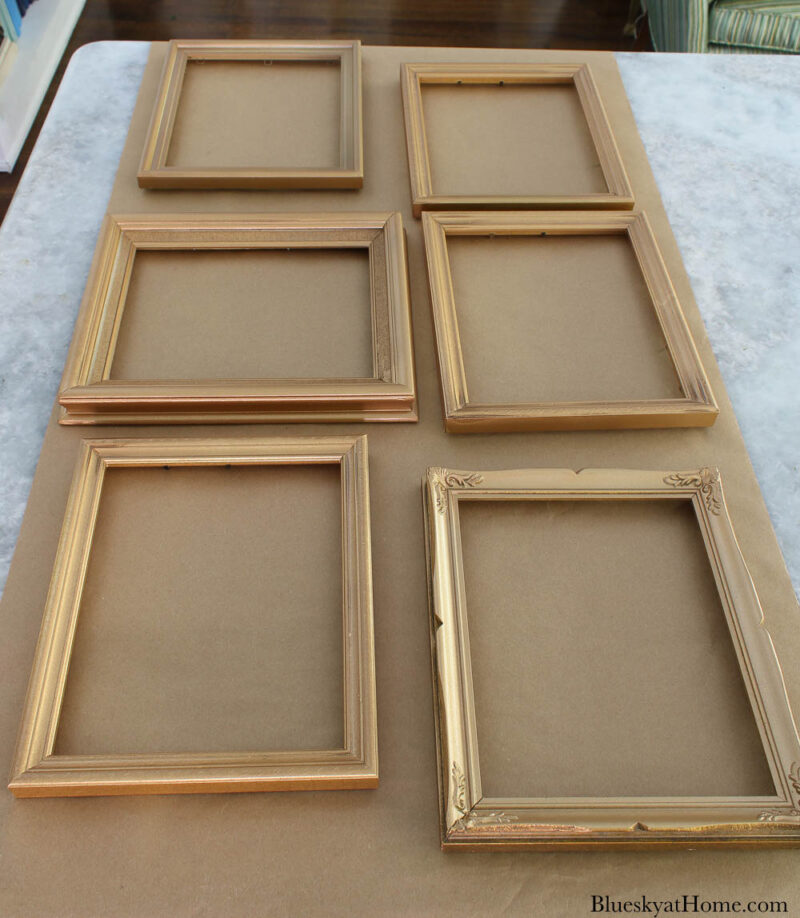
I had about 18 empty frames. Looking through them, I found 6 frames that were the right size and shape for the chinoiserie canvases.
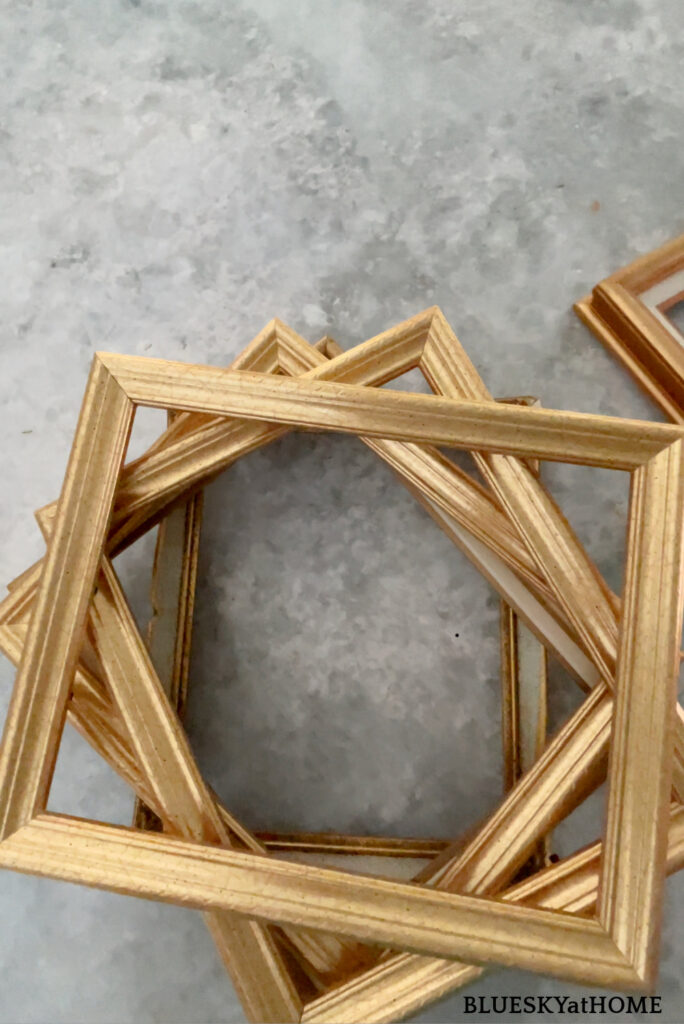
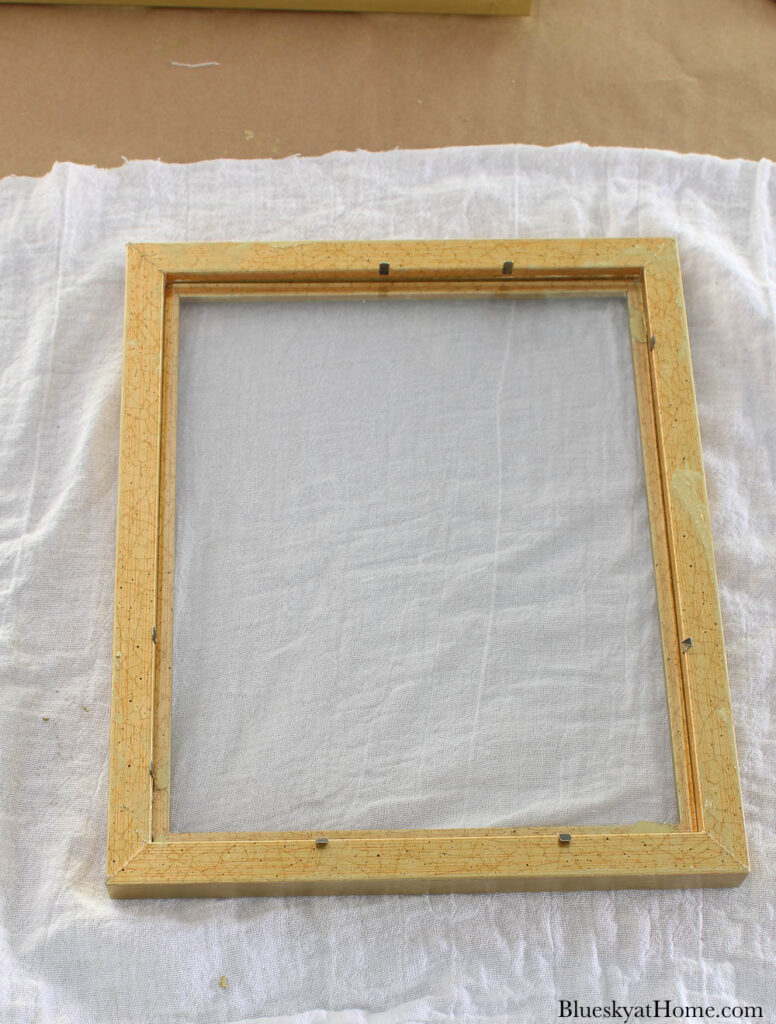
Three of the frames matched and three were similar. All had varying shades of a gold finish. One had carvings and one had a linen mat. Three had a crackle finish.
My plan was to paint all 6 frames in gold spray paint to give them a cohesive look.
Repurposing Old Picture Frames with Paint and Wax
Here are the steps I took:
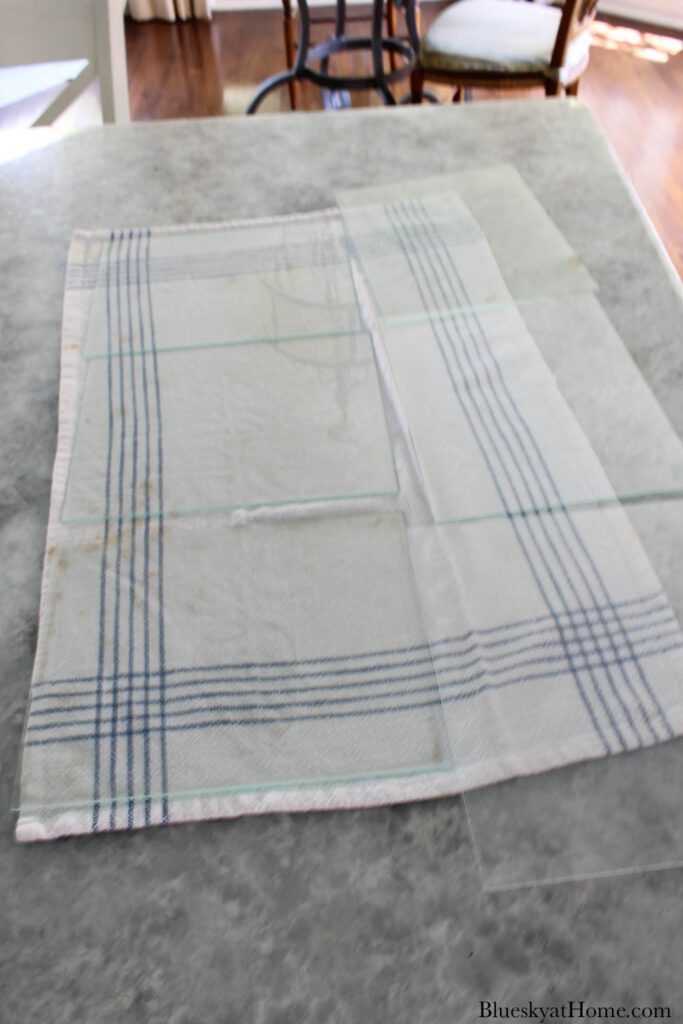
Step 1 – Take the frames apart, setting the glass, fillers and backing aside.
Step 2 – Place the glass on a dishtowel to keep the glass safe. You can clean the glass now or later.
Step 3 – Decide the color and finish you want for your frames. I wanted glossy gold which I had on hand. I also got out my spray paint hand gripper. This tool makes spray painting so much easier on your hand.

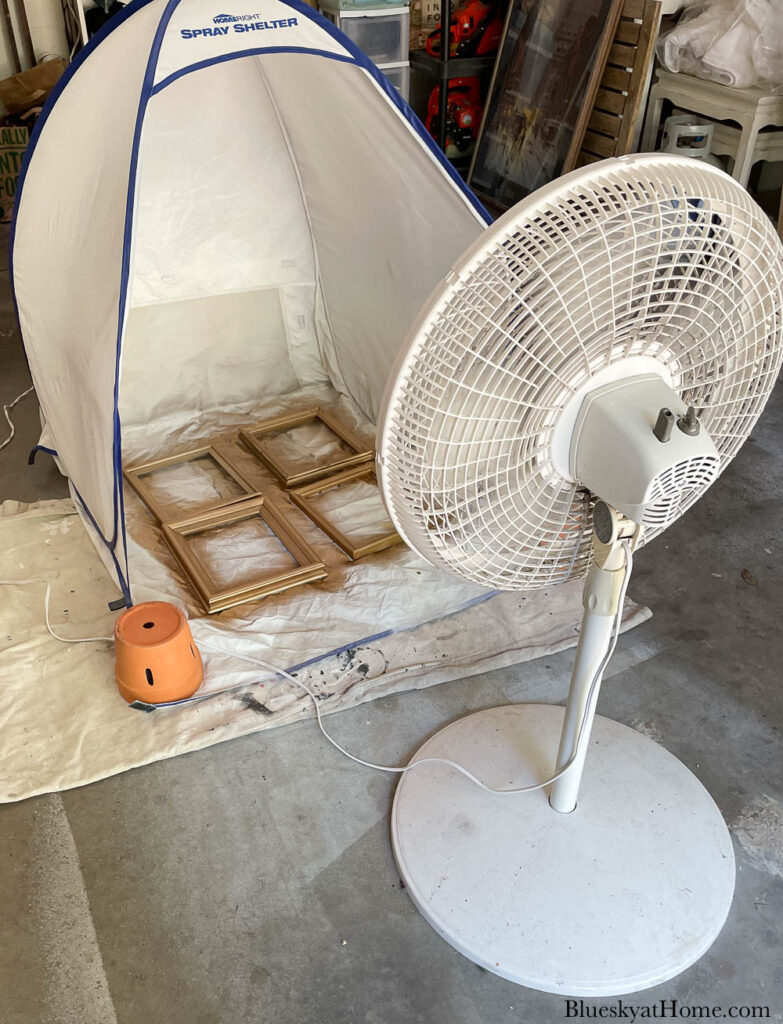
Step 4 – Set up your spray paint “station”. I used my spray tent outside in the garage with the garage doors open. It was very hot so I painted early in the morning.
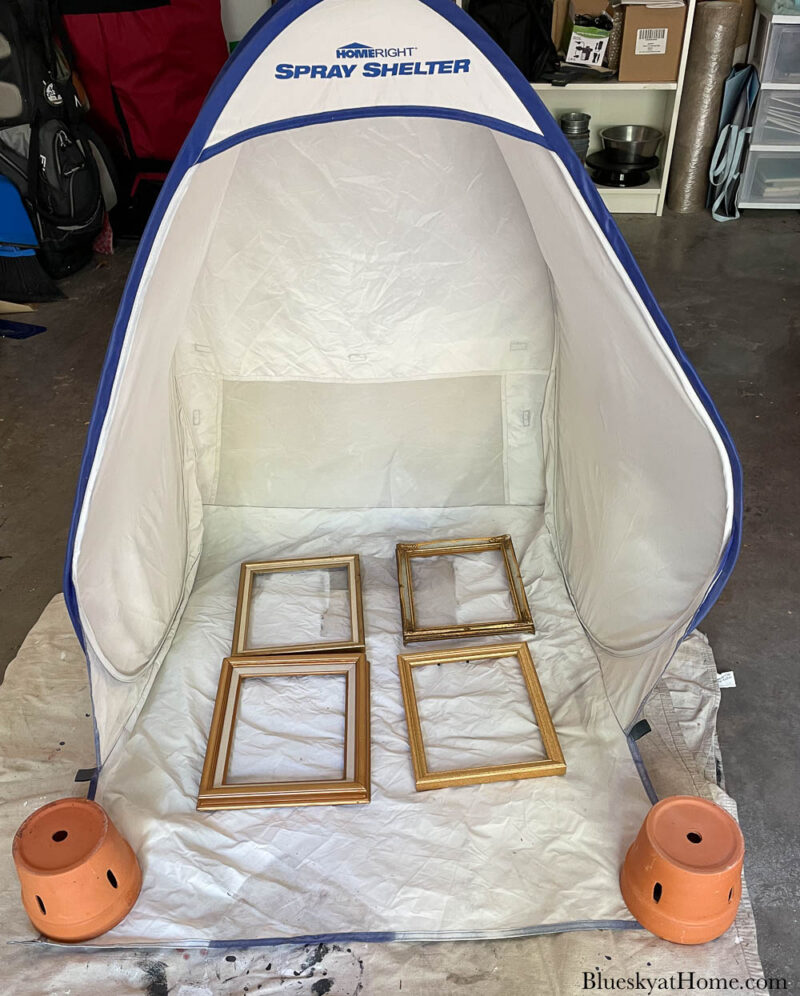
Step 5 – Using a back and forth and up and down motion, apply the spray paint to the frames. I painted in two batches.
I set up my floor fan to decrease the drying time.
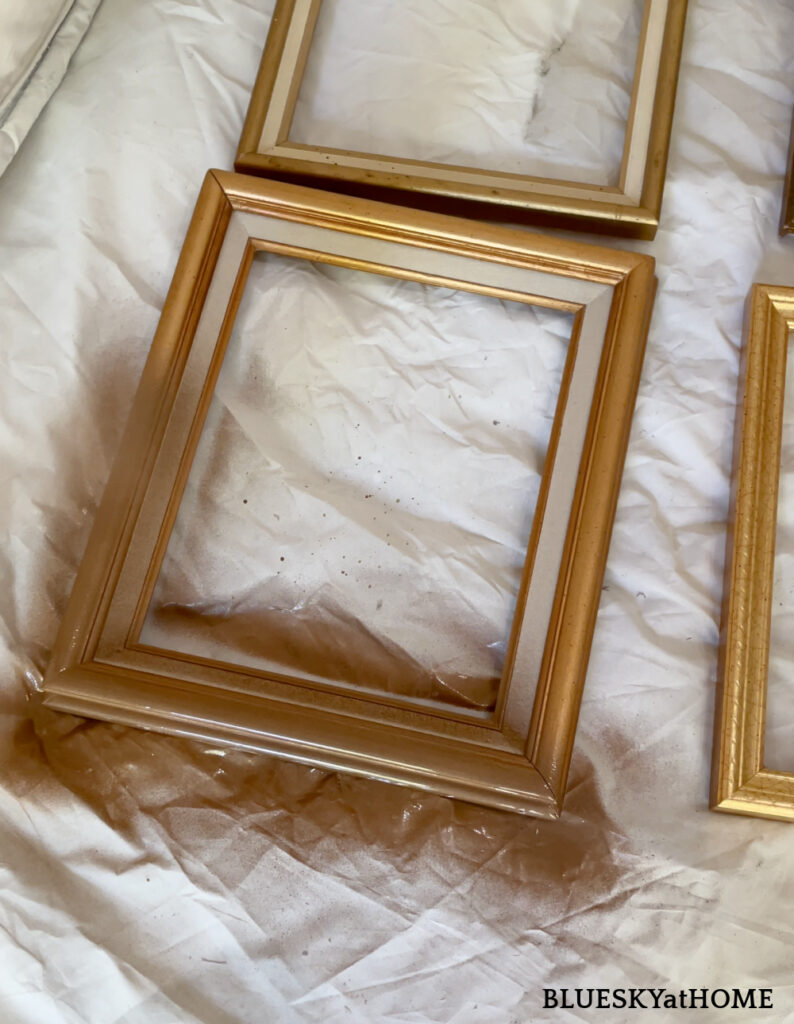
Step 6 – When all the frames were dry (about 30 minutes)- it only took one coat of paint – I brought them inside.
The frames now had the same gold color and were more coherent. However, they didn’t have the bright gold metallic look that I wanted. What to do?
Using Gilding Wax on the Old Frames
Then I remembered Gilding Wax. Years ago, I had used this wonderful product in silver on several pieces (frames, a tray, a shelf, a decorative letter. I knew it would give me the bright metallic gold finish that I wanted for the old frames.
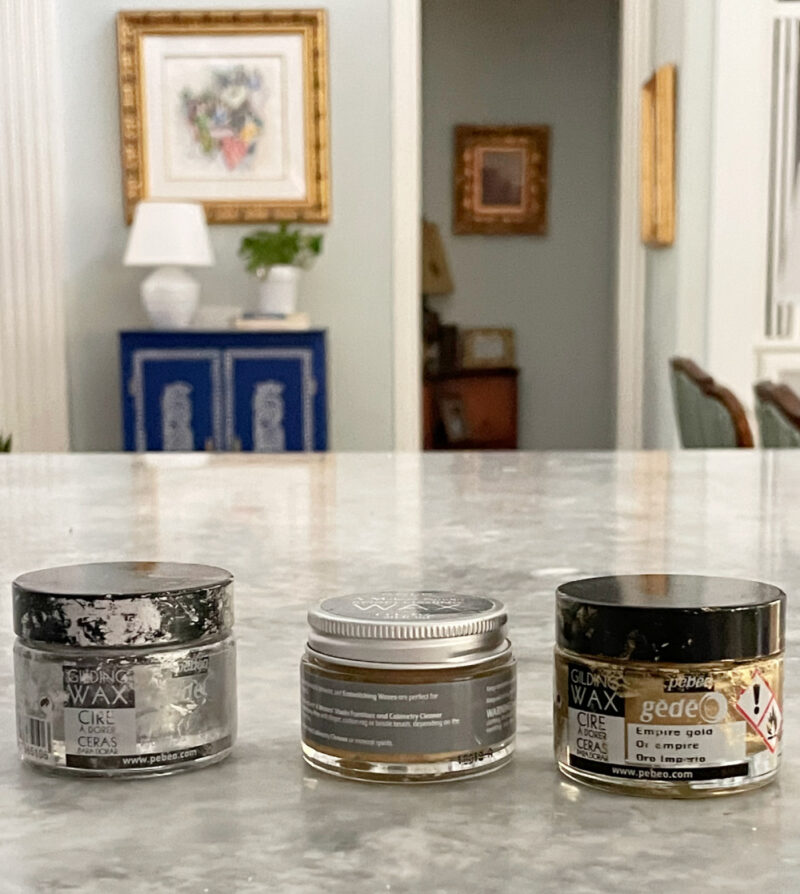
Fortunately, I had plenty of Gold Metallic Gilding Wax on hand.
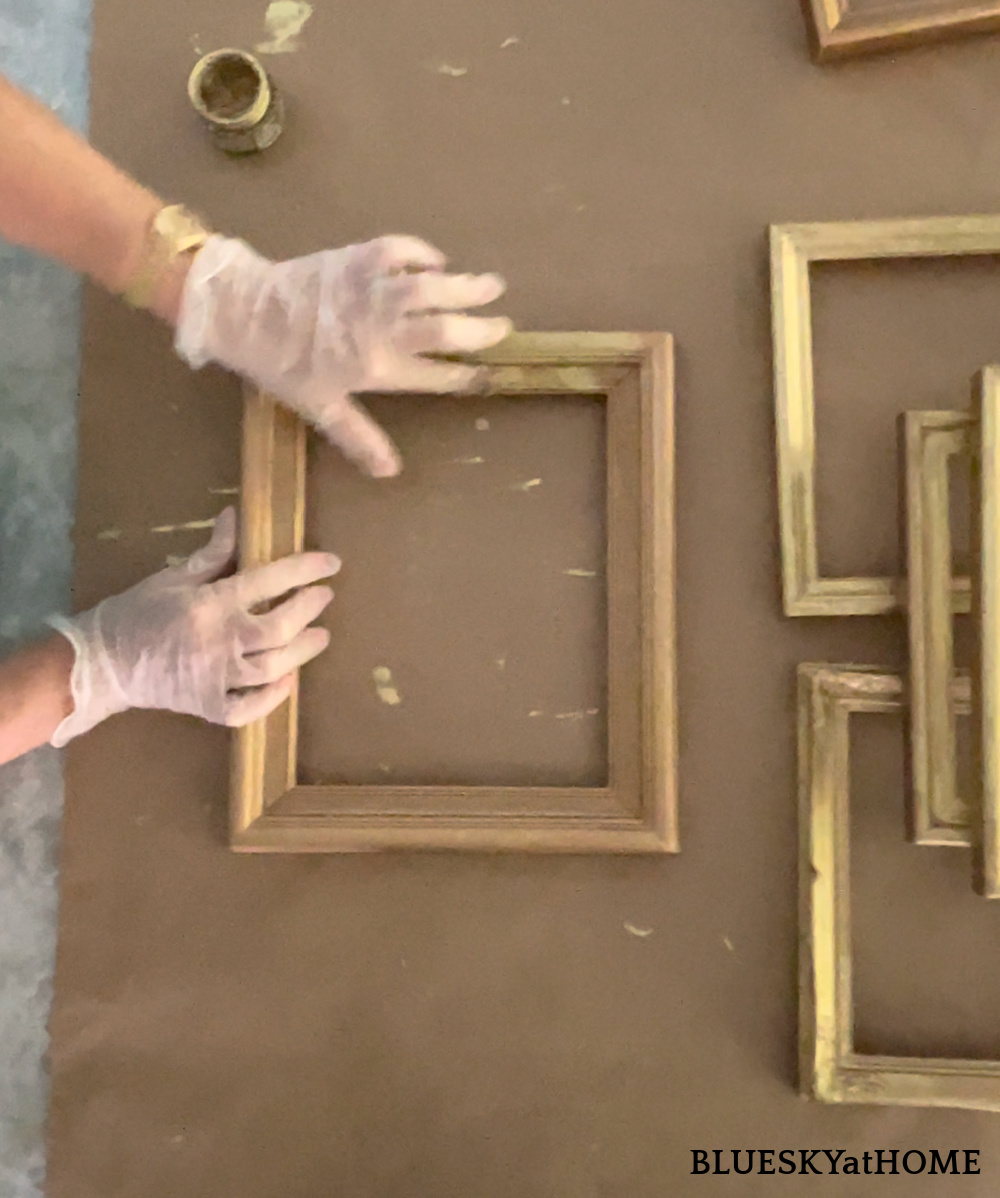
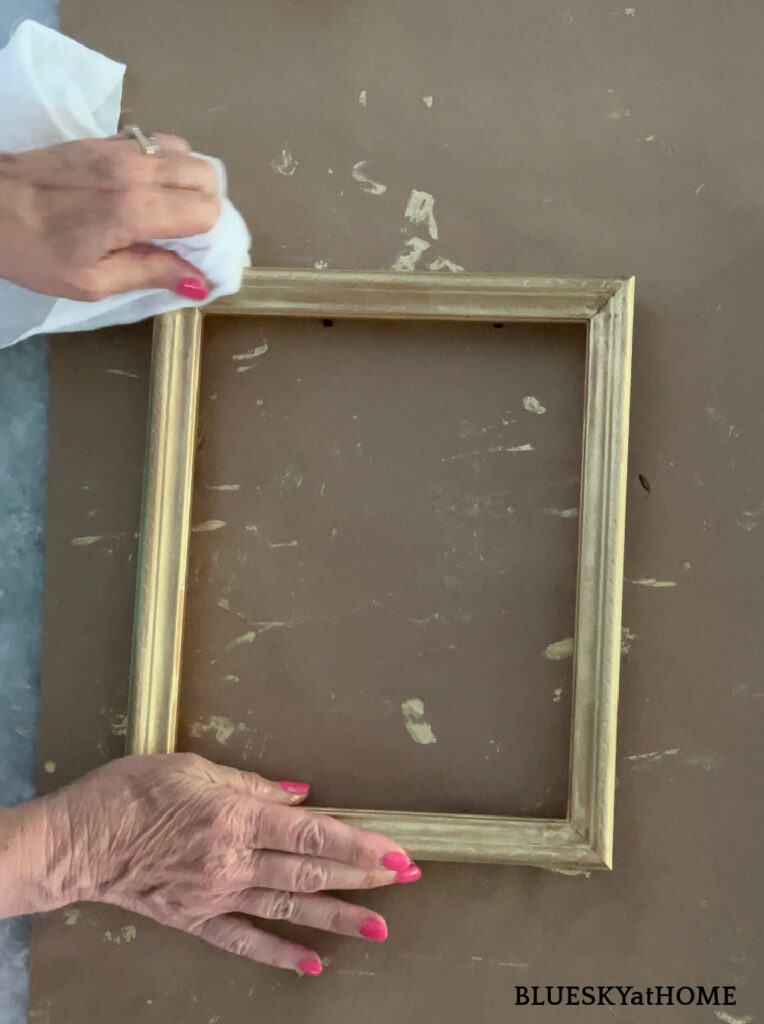
Step 1 – Place paper on your work surface to protect it. Place the painted frames on the work surface.
I have found the easiest way to apply the Gilding Wax to your surface and keep your hands clean is to wear disposable plastic gloves. These are the kinds that you use in the kitchen for working with food. I use them all the time for paint projects.
Step 2 – Dip your finger in the jar of Gilding Wax – it has a creamy consistency – and start rubbing the wax on the frame. Rub it across the surface of the frame, adding more wax as needed.
Here are more in-depth ideas for using gilding wax.
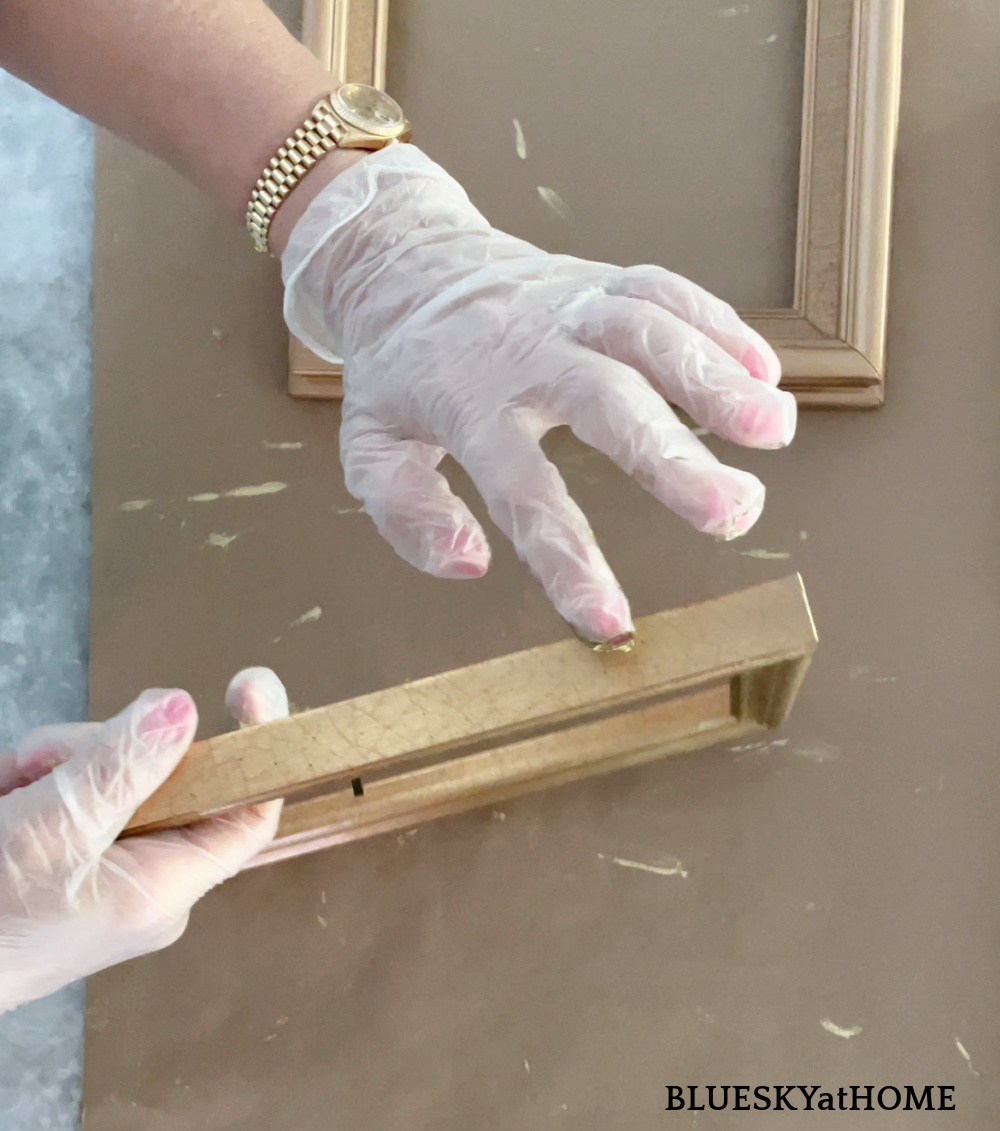
The wax is very easy to spread on the frames. Cover all the surfaces on the top and sides of the frame. Rub off any excess wax and use on the next frame.
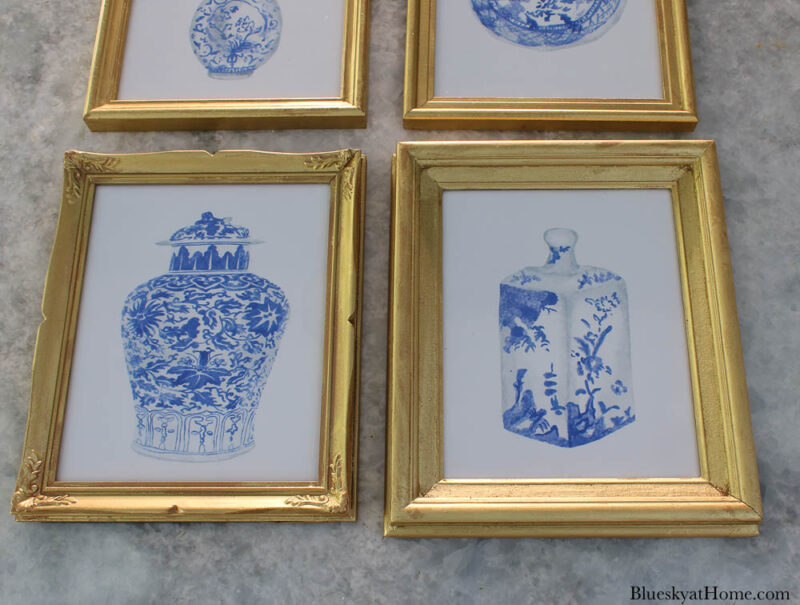
Step 3 – When you are through with one frame, set it aside and repeat with the other frames until all have been waxed. Here you can see the frames with and without the Gilding Wax.
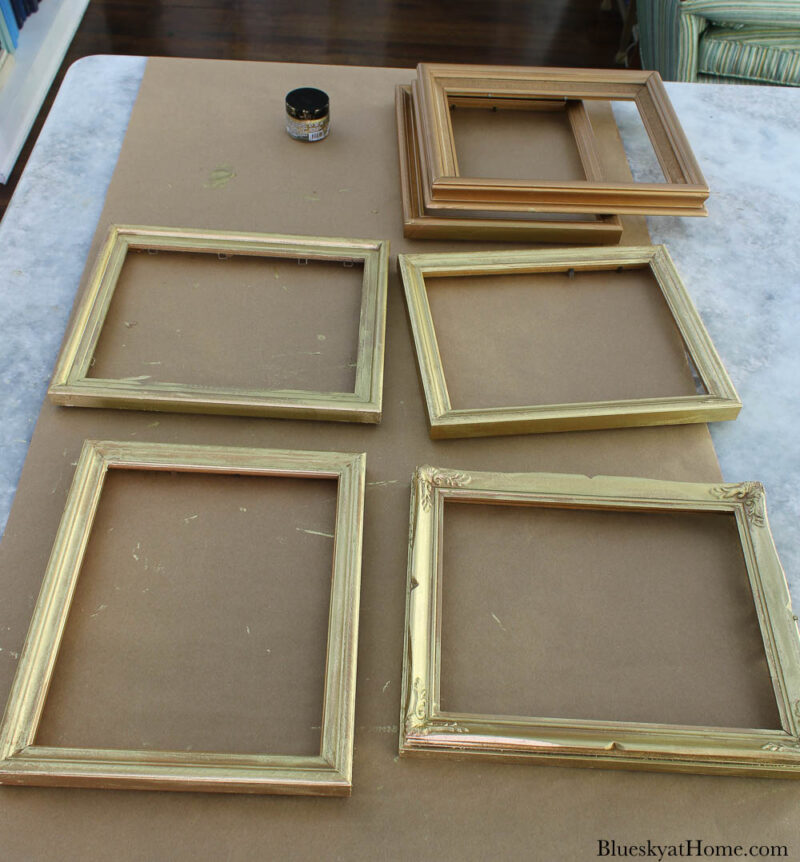
By the time you have finished the last frame, the first frame should be cured.
Step 4 – Use an old clean towel – I used a piece of a flour sack towel to buff the wax into the frame. Use some elbow grease as you rub the frame on the top and the sides. There should be no tackiness and the surface should be smooth.
This step adds a patina to the surface of the frame.
Finishing the Repurposed Old Picture Frames
Now is the time to add your artwork to the frames.
Step 1 – Clean the glass. I found that the easiest way to clean the glass is to place it in the frame. The frame holds the glass. This way you don’t have to get your fingerprints on the inside of the glass.
Step 2 – Before you go any further, decide which canvas will go in which frame. These considerations would play into this decision:
- I would have two columns of three frames.
- The final arrangement of the canvases for balance and symmetry.
- The size of the frames: three were the same size. Two were a little bigger and one was in-between.
- The backs of the frames had different hangers.
I decided that the two larger frames would go on the bottom. The matching frames would go on top. The middle row would have two slightly different frames.
Step 3 – Place a canvas in the chosen frame. I placed a piece of computer paper cut to size next. This step made sure that there was no shadow behind the canvas.
Step 4 – Add the backing to the canvas, pushing down on the brackets or staples to hold the canvas and the backing.
Step 5 – Turn the repurposed frame over and use glass cleaner on the outside of the glass.
Hanging the Repurposed Frames and Art
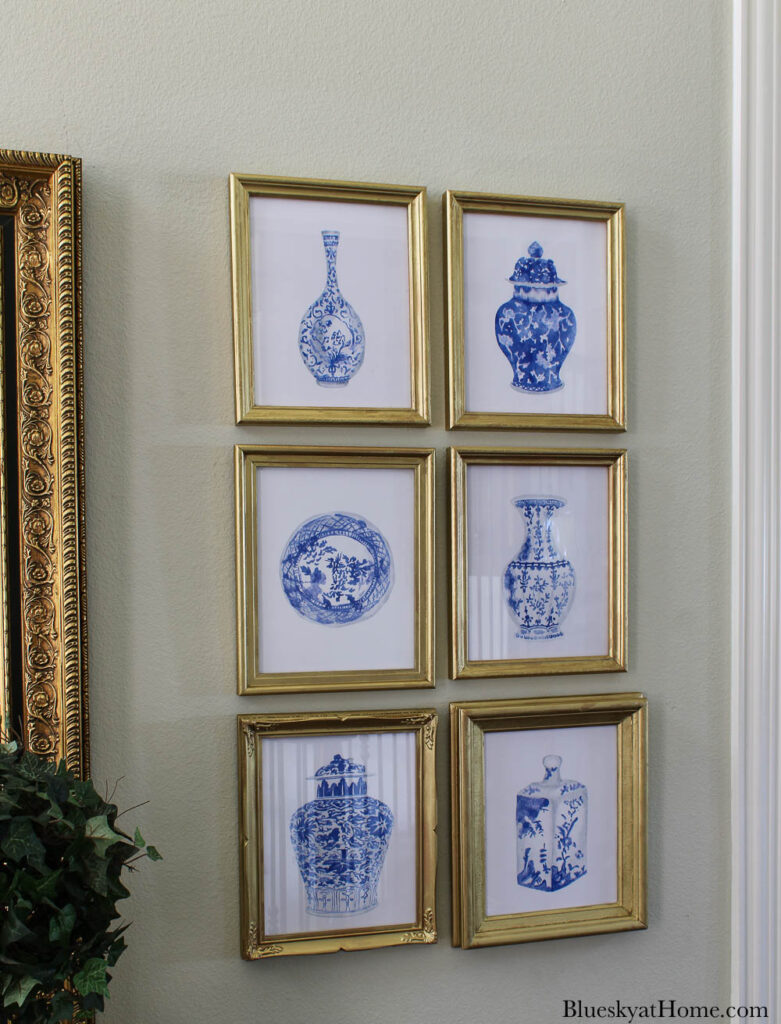
Sweet Shark and I measured and drew lines and marks, nailed and adjusted the frames until the spacing was as good as we could get it. As I mentioned above we had some different size frames with different hangers.
It was a challenge, but at the end of the day, we stood back and loved how we decorated the wall with the repurposed old picture frames and new canvases.
I’m so happy with the arrangement of the canvases. I think most people won’t even notice the slight difference in frame sizes.
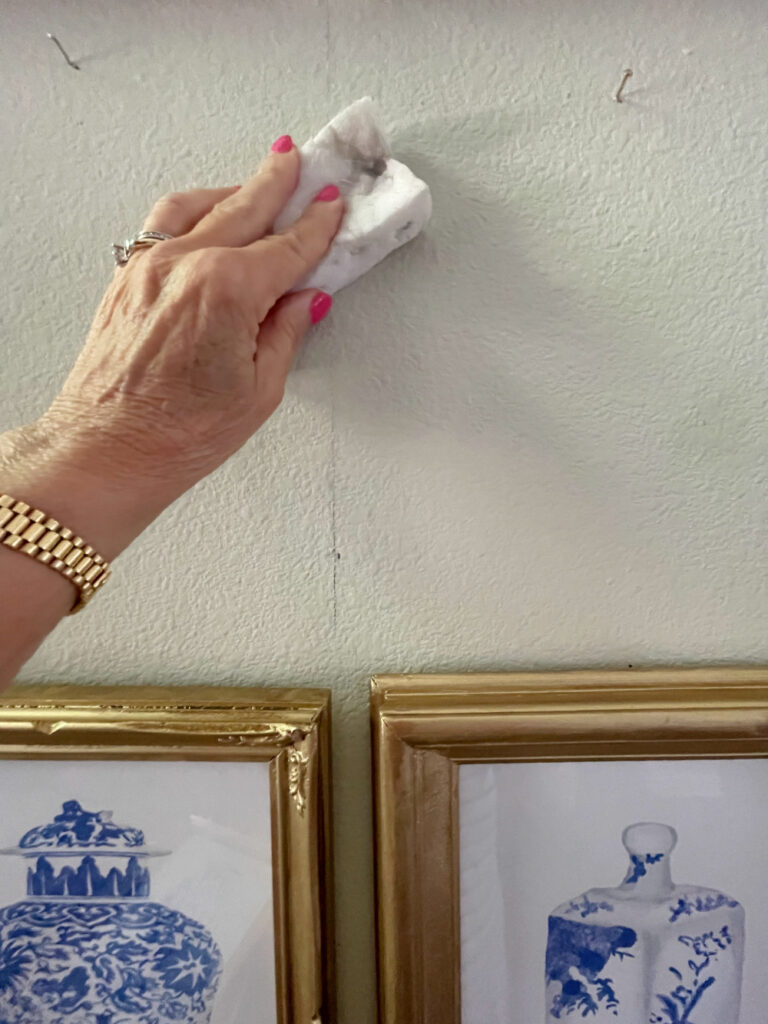
The next morning I took down the artwork one by one. I used a Magic Eraser to remove our pencil marks.
On the entry commode, I added some topiaries with blue containers and gold leaf on a brass tray (another repurposed project). In the center of the tray, I added one of my most recent chinoiserie pieces with faux white flowers.
The entry now was a more interesting look. I am absolutely in love with how we repurposed our old picture frames and decorated our home with them.
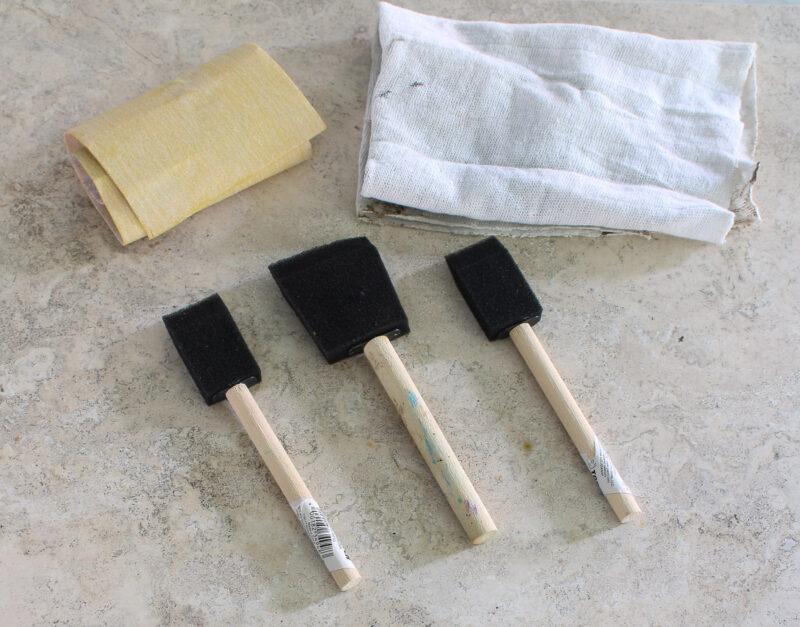
For the next three picture frame projects, I used foam brushes. I also would need some sand paper and cloth to clean the frames.
Repurposing a Thrift Store Picture Frame
On a trip several weeks ago to buy glass vases for our summer living room update, I also found a 5 X 7 frame for $1.49. Although it was rough wood, I knew at some point, I would find a use for it.
The original frame was brown wood with a tinge of red.
As it turned out, I had just received a photo of my granddaughter Lilah at her end of season softball game. It fit perfectly in the thrift store frame, but it needed a new color.

Step 1 – I sanded the rough wood of the frame.
Step 2 – Since I was spray painting my plain glass vases for the living room mantel, I used Krylon Metallic Gold Spray Paint to change the color.

It looked much better, but I wanted a brighter gold color. I remembered the set of metallic acrylic paints I bought for Christmas decorations.
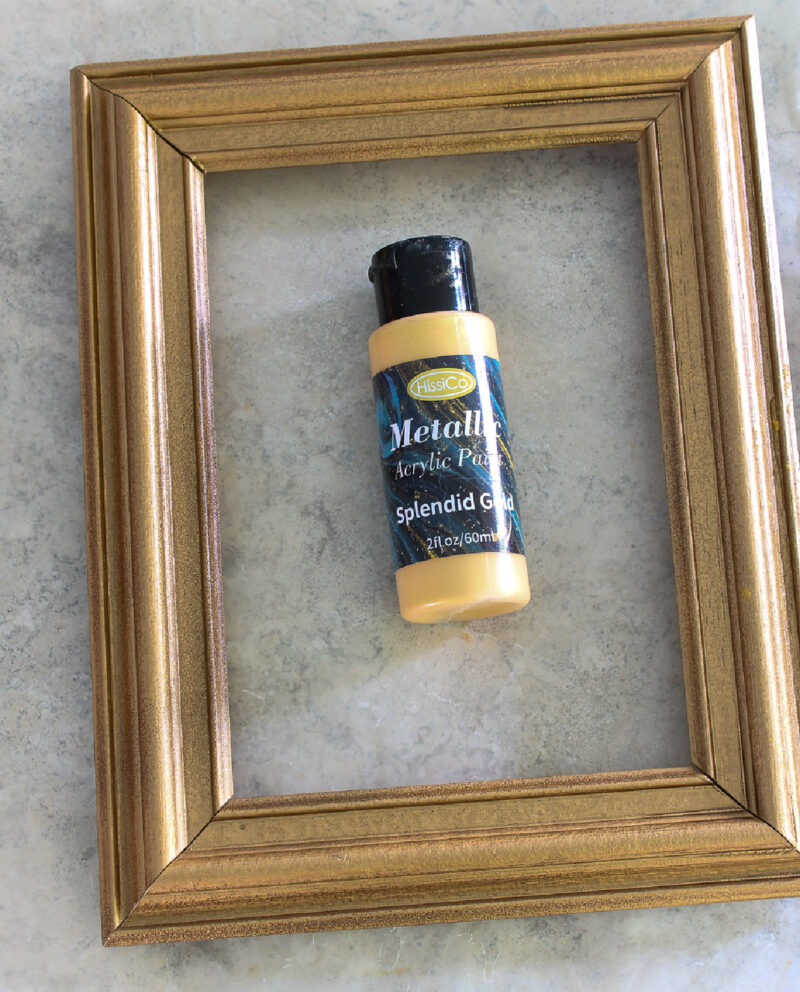
I used the gold color for another coat. It gave the frame a little brighter gold tone.

Here is the finished picture frame with the photo inside.

Repurposed Frame for New Artwork
While doing some research on bookcase styling, I found this pretty piece on Etsy. It would be a nice decorative element on our new bookcases in the living room.

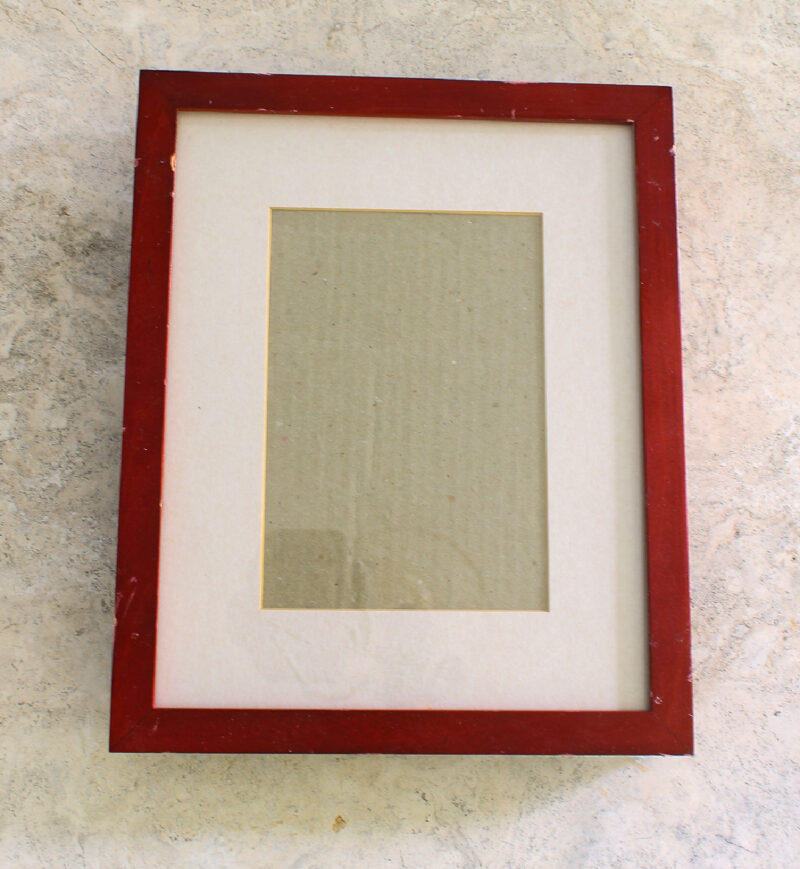
I ordered an 8 X10 size. In searching through out garage I found this frame that is the perfect size and had a matte, too.
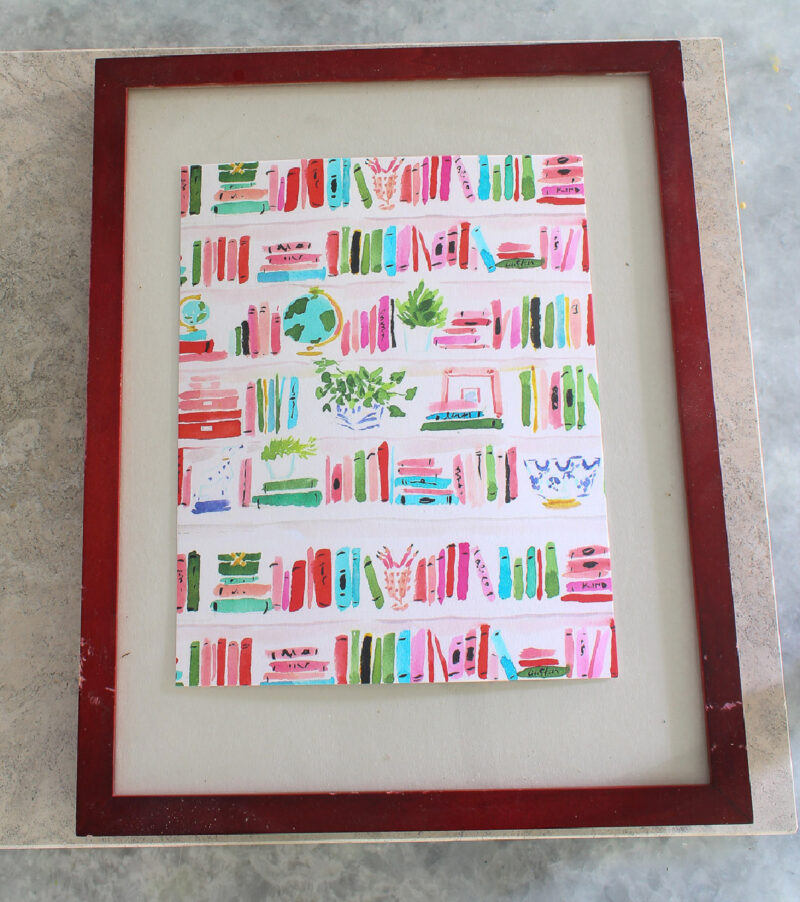
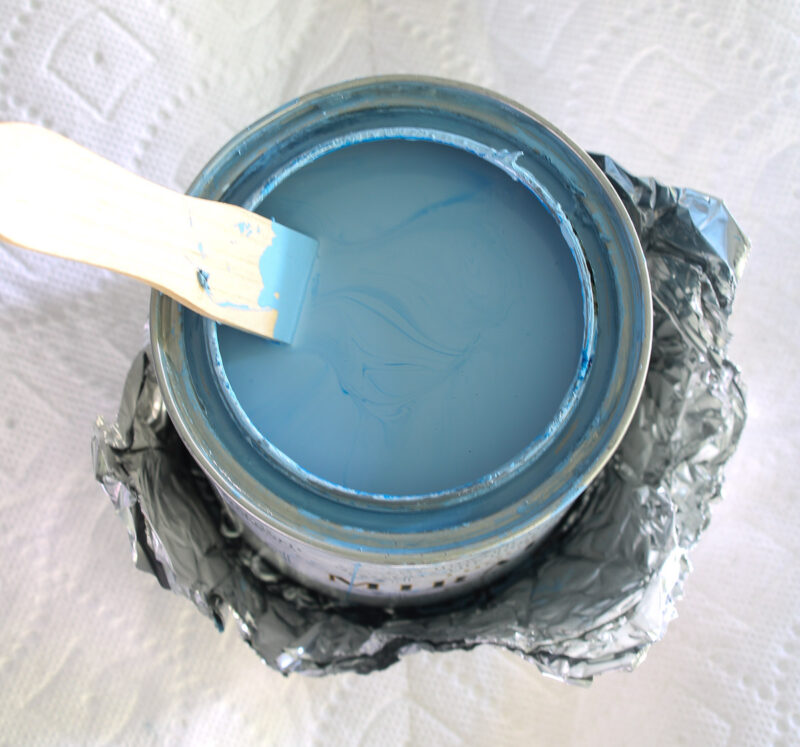
Of course, it needed to be updated with paint. I could use pink, green or blue. I had a pretty blue on hand called Good Day Sunshine that I had used to paint our new side table in the living room. It was a great match for my new piece of art.
Step 1 – This frame had a few places that needed sanding so that was my first step.
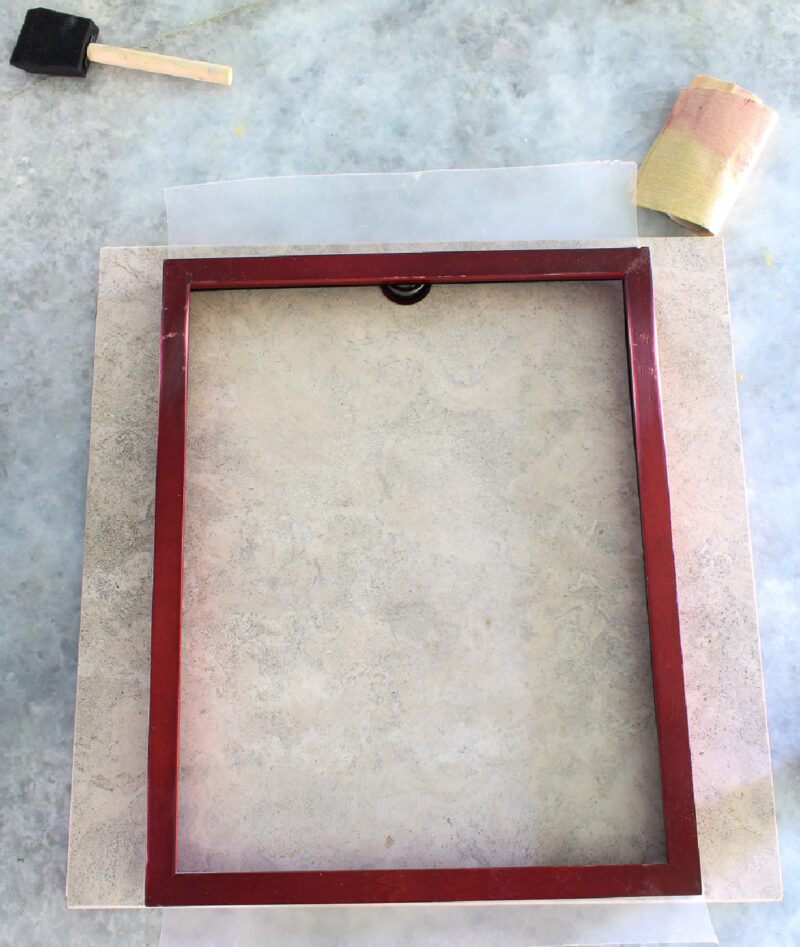
Step 2 – This Miracle Paint from A Makers’ Studio is awesome. The coverage is excellent and it goes on so smoothly. I applied two coats.

Step 3 – Reassemble the new art into the newly painted frame.

I love this artwork and the pretty blue fame. It became a lovely addition to our new bookcase.
Artwork from My Friend Michelle
Back in April when several bloggers gathered at my house for idea exchange and lunch, my friend Michelle of Thistlekey Lane (who is a fabulous artist) brought me this lovely painting. She knew that I had two confit pots.

Again, it needed a special frame. Luckily, I finally found the same frame as the one like above in a smaller size.
It would be perfect for Michelle’s artwork.
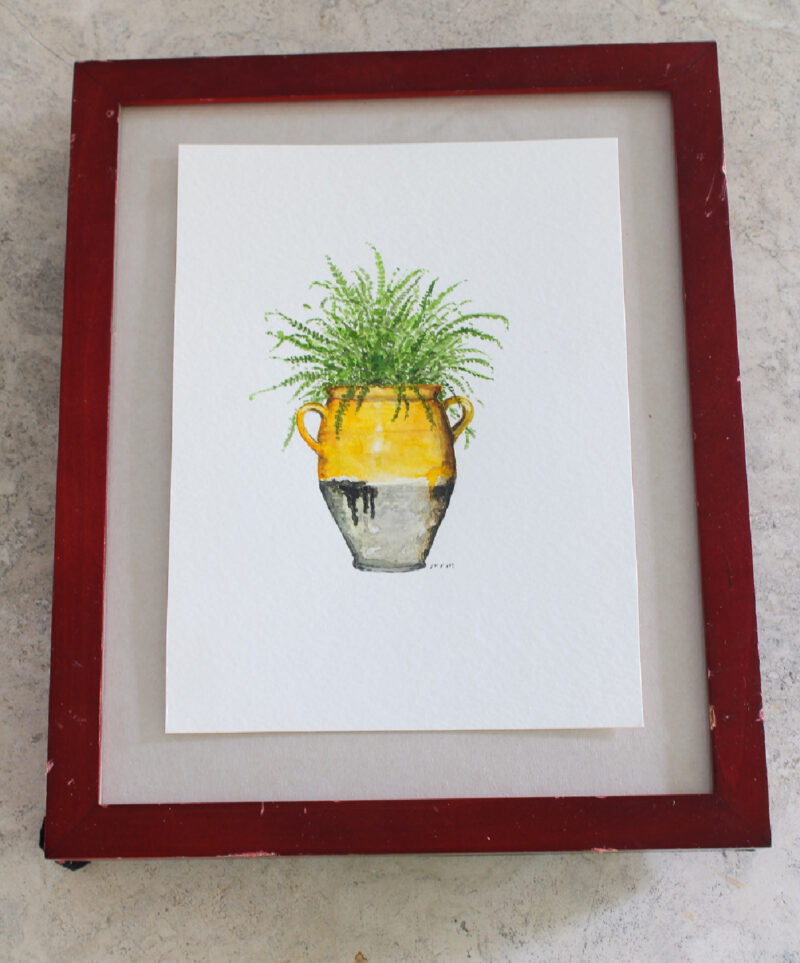
At first, I thought about painting the frame green to complement the greenery in the art, but I didn’t have any green on hand. Since I would have other gold accents on our new bookcase and the confit pot has a gold cast, I chose to go with gold again.
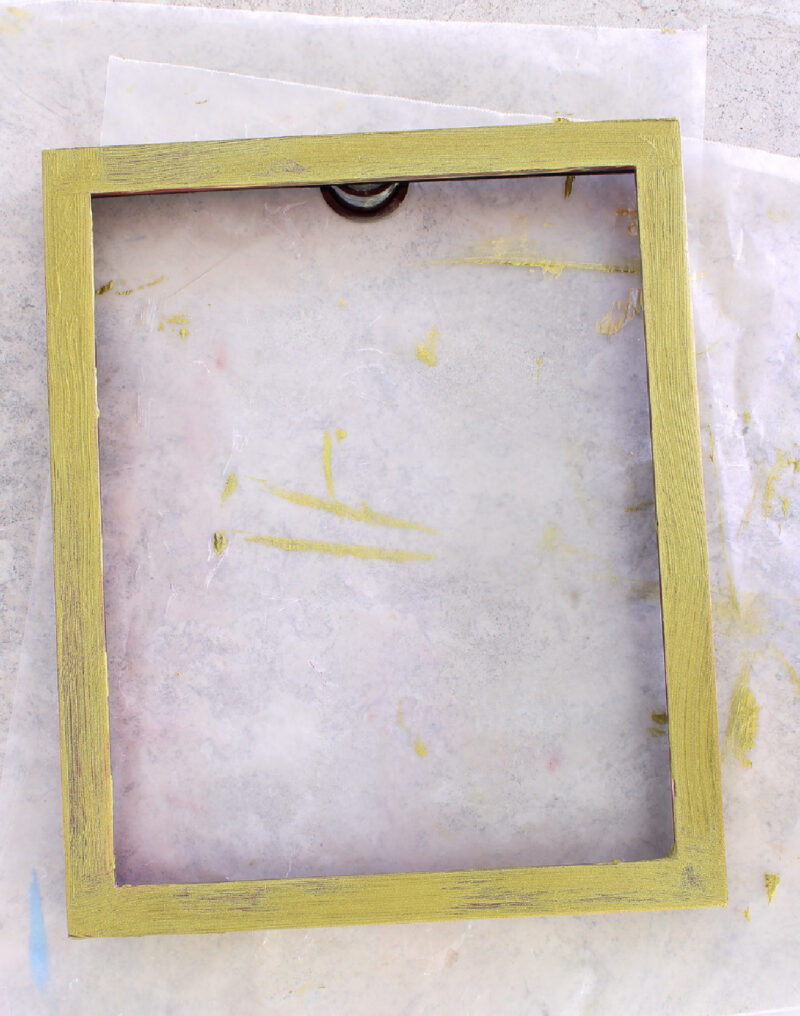
Step 1 – This frame also needed some sanding.
Step 2 – For this frame, I used the gold metallic paint again.

Step 3 – To cover the red shade of the frame, I had to use 3 coats of paint.
Step 4 – I assemble Michelle’s pretty art into the frame.
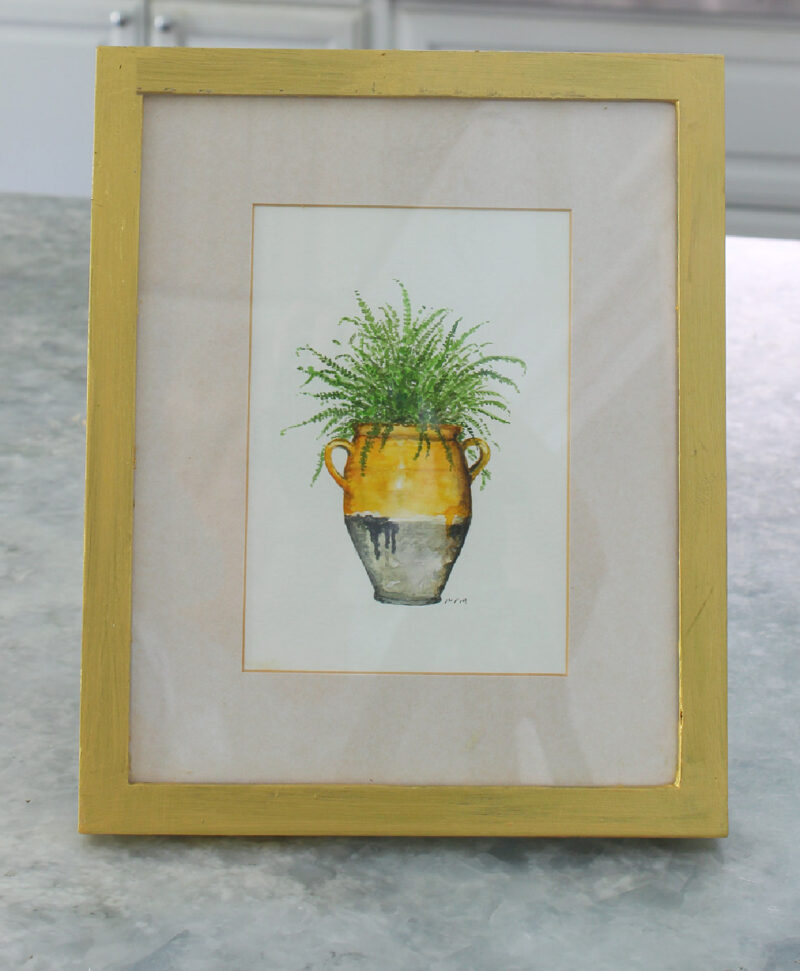
TIP: When cleaning the glass, if you have places that will not come clean with glass cleaner, use a razer blade to “scratch off” whatever is on the glass. It won’t scratch the glass.
Remember how the frames looked before being repurposed?

And here are the repurposed frames. What do you think of all my repurposed frames?
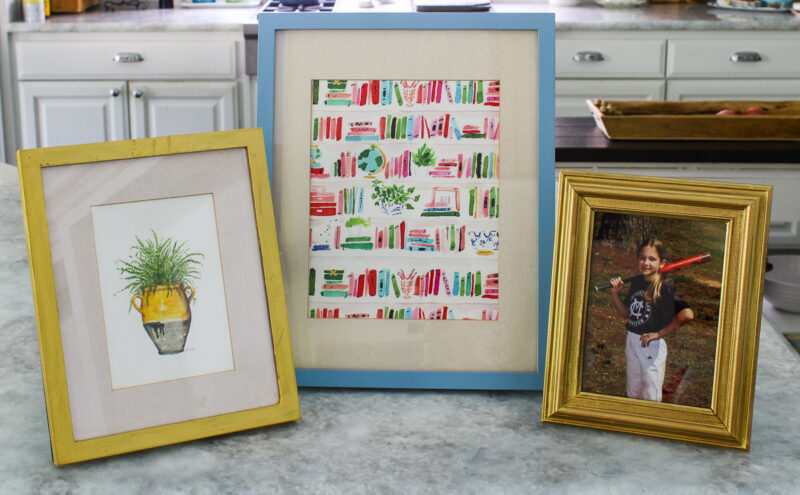
I’m so happy with out they turned out. I have new pieces of art to use in our home. The only frame I bought was the thrift store one for $1.49.
What is the moral of this story? Don’t ever throw out old frames. There are so many ways to repurpose picture frames.
I hope you are inspired to use paint to give old frames an updated look. Please PIN this project so you don’t forget it. Check out other DIY Accessories, Paint Projects and DIY Projects on my Pinterest Boards.


You are a wiz at restoring old frames! All of them look fabulous my friend. Thanks so much for the mention, and I hope you’re enjoying the watercolor! Hugs!
Carol, your frames are beautiful! What a great idea! You made it look so easy to do. Thanks for sharing with us. HAPPY 4TH OF JULY! Enjoy your day!
Repurposing frames can give our homes a fresh look with little expense. We have a stash somewhere in the attic. Jim will have to dig them out so I can use them.
Great idea, Carol!! They look beautiful! You can buy frames so inexpensive at the dollar store or thrift store and make them look expensive with just paint!
THE FRAMES ARE BEAUTIFUL. WHERE CAN I GET THE LOVELY PRINTS?
Kathleen, I bought them on Amazon. The link to them is in the post.
Thank you so much, Kathleen. The link to the print are in the content of the post.
These frames came out beautiful! I love how you took these thrifted frames and bought them back to life. Great job.
Meagan, I am so happy with the way the frames turned out ~ and I didn’t spend a penny! They are the perfect contrast with the blue and white canvases.
Your display is beautiful Carol! I love how you made the different sizes work together. Thanks for the tutorial – I have lots of frames lying around and now I’m inspired to do something lovely with them.
Don’t we all, Barbara? Hate to not reuse them. Thanks for the comment.
They turned out great and such a beautiful gold color too. Really makes the blue and white vases stand out. 🙂
One of my favorite repurpose projects, Cindy. What a difference gold spray paint and gilding wax makes.
HI Carol,
Pinned! Great reminder for great frames!
xo laura in Colorado
Laura, let’s not forget to reuse those old frames.