
Chinoiserie Decoupage Christmas Trees Using the Iron Method
It’s not too early to start planning for Christmas, and part of that plan may include making DIY holiday decorations. I decided to start my handmade Christmas projects early this year using two things I love: chinoiserie and decoupage, but with a twist. I’m making chinoiserie decoupage Christmas trees using the iron method.
I love a project that follows a simple process but can be customized to anyone’s taste in color and design. This project fits the bill.
I also like trying new ways to create a craft. The iron method of decoupage has been on my radar for quite a while. I had all the supplies on hand, and I definitely have an iron, so it was time to give it a try.
If you love decoupage but have never tried this method, follow along and see what you think. It’s also Creative Craft Blog Hop day, so you’ll get the bonus of seeing more creative projects from my blogger friends at the end of this post.
If you are joining me from Gail of Purple Hues and Me, she shared a Decoupage Poinsettia Paper Napkin Rings project that I know is a winner.

Let’s get started.
This post contains affiliate links to products used to create this project. If you should order any item from this site, I may receive compensation, but you do not pay a penny more. Your purchase is greatly appreciated as it helps support the continued publication of this site.
Supplies for This Christmas Tree Decoupage Project
This DIY project needs basic decoupage supplies plus a few extras for embellishing.
- raw wooden Christmas trees: there are many options for this project. I have had two wooden Christmas trees for years. I either bought them at Joann or Hobby Lobby. I decided this was the year to use them. The trees are 15 inches tall and 9 inches wide at the bottom, which makes a great size for using in multiple places.
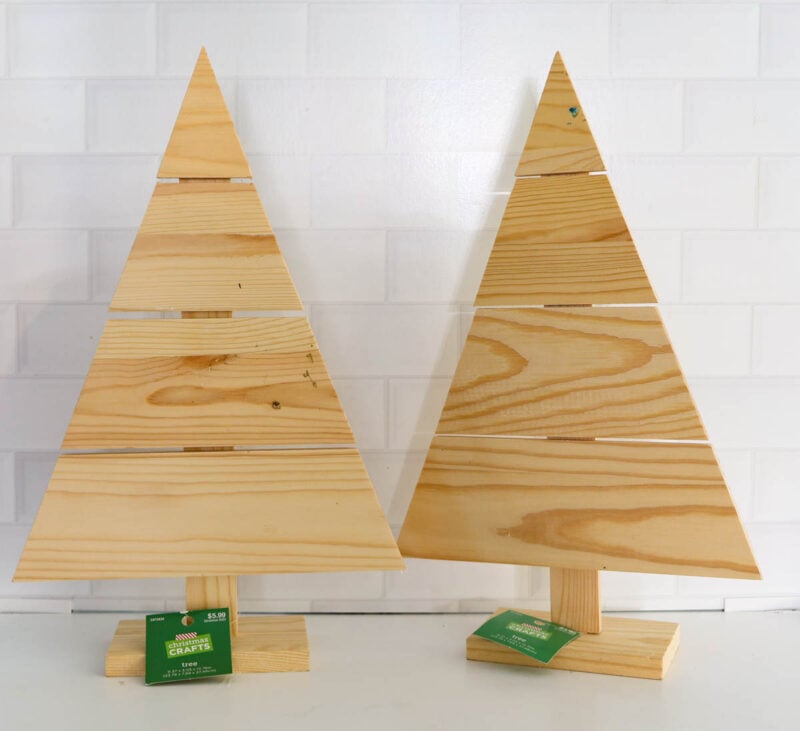
Here are other options that would work just as well.
These wooden trees to check out:
- Option 1 – tree with a star on top
- Option 2 – set of 4 wooden trees
- Option 3 – set of 5 trees in different sizes
- sandpaper to smooth the surface and edges of the wood.
- acrylic paint to paint your wooden Christmas trees. I used a white color from DecoArt that I’ve used several times. Whatever you have on hand will work. The purpose is to seal the wood and give the Mod Podge and paper a smooth surface. You will also need a brush and something to cover your work surface.
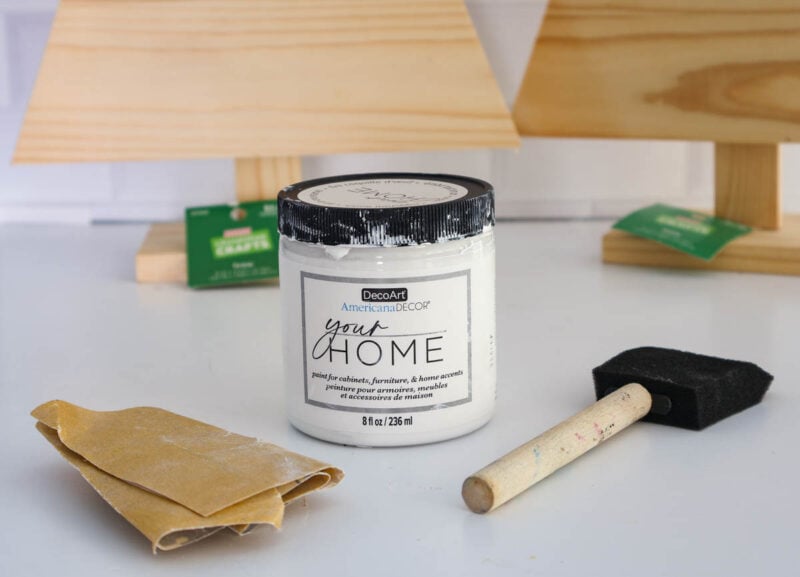
- depending on the style of your Christmas tree, you may need brown acrylic paint for the trunk and a color for the base. I had brown paint for the trunk and I used my favorite metallic green paint for the base.
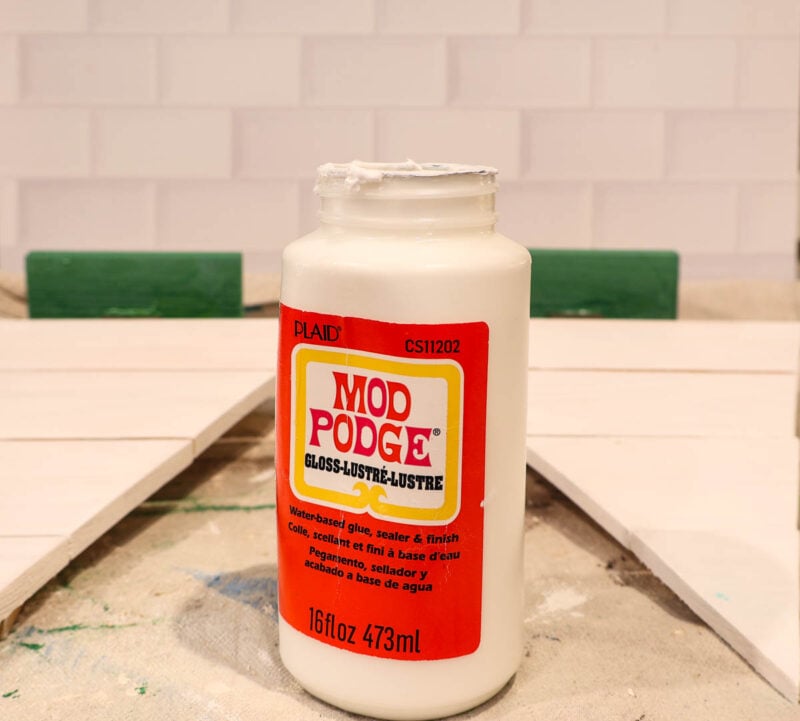
- Mod Podge and a sponge brush: I used Gloss, which I had in my supply stash.
- paper – either napkins, tissue, cardstock or decoupage paper. I used decoupage paper, which I bought recently for another project. It came with nine different styles in different shades of blue. Blue was my color of choice for this project so I had to decide which pattern I wanted to use.
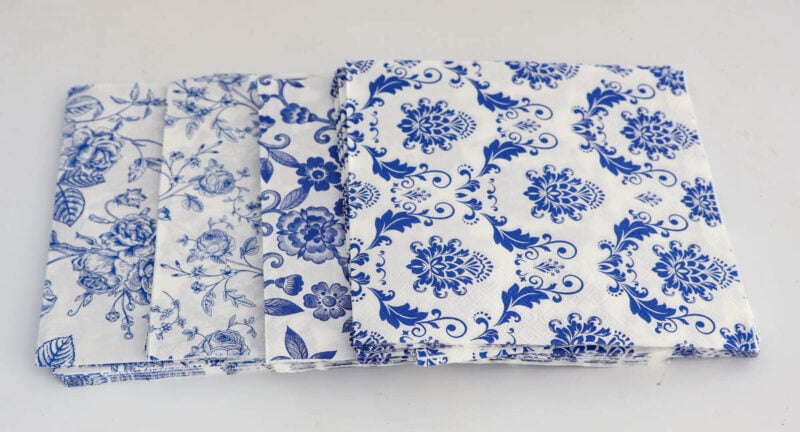
With Sweet Shark’s input, I chose this deep blue in an overall pattern.
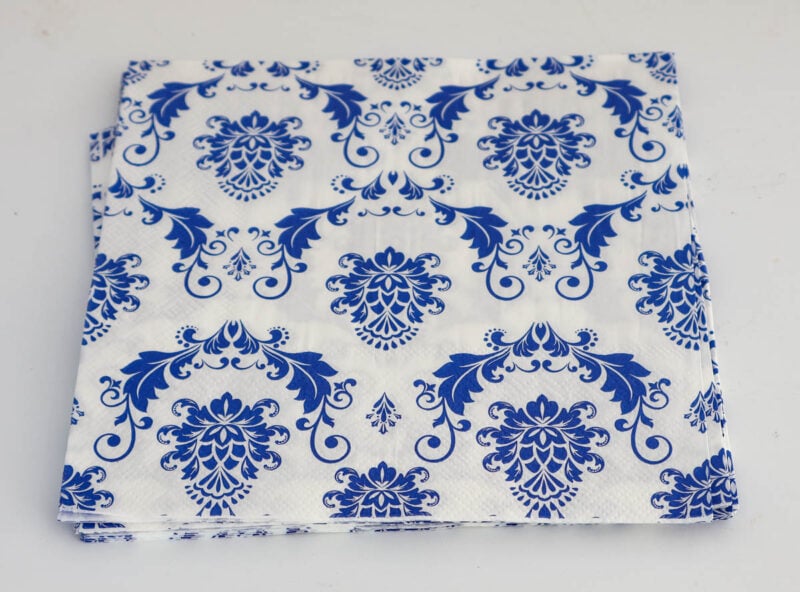
- a sealer to cover the decoupage paper. You can use the same Mod Podge or a spray sealer. I had a bottle of Mod Podge Gloss Spray Sealer so I used that It worked great and you didn’t have to use a brush.
Steps to Decoupaging Your Christmas Trees
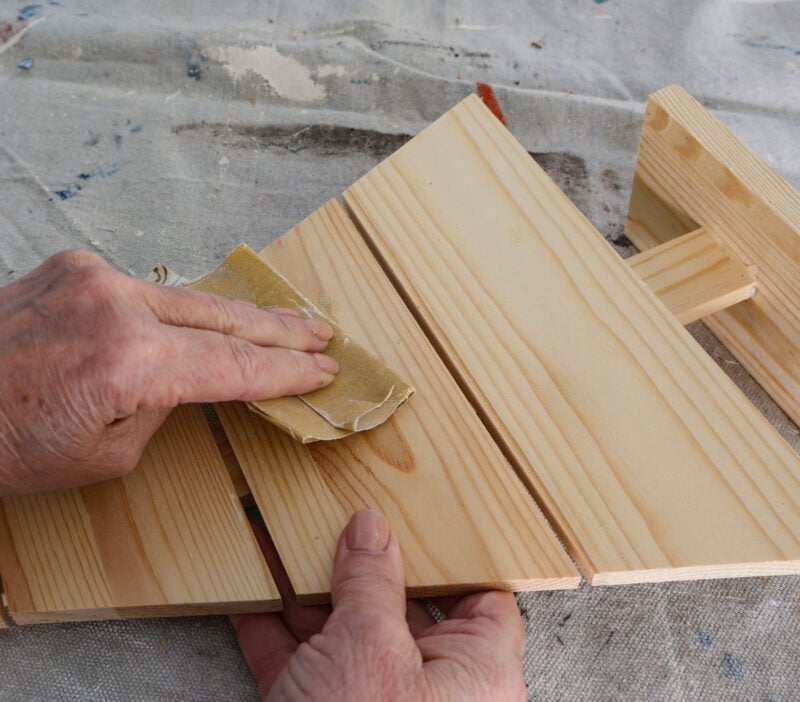
Step 1 – Sand your Christmas trees smooth all over and wipe the dust away with a paper towel.
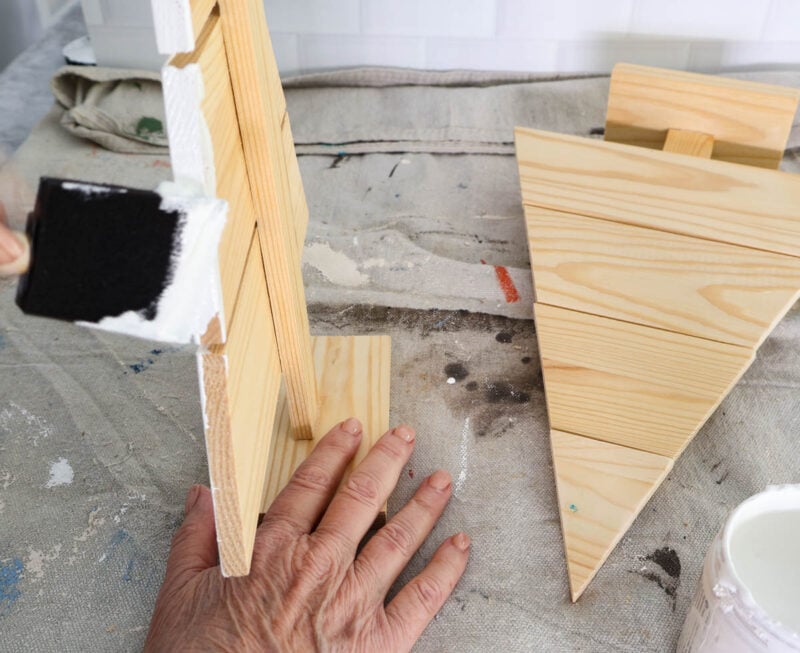
Step 2 – Paint the surface of the wooden Christmas tree that you will decoupage. One coat will be sufficient. For this project, I also painted the sides, but not the back of the trees.
Step 3 – If you will be painting the trunk and the base, use painter’s tape to tape off areas you don’t want to get paint on.
Step 4 – Use brown paint to cover the trunk. Let dry completely, then remove the painter’s tape.
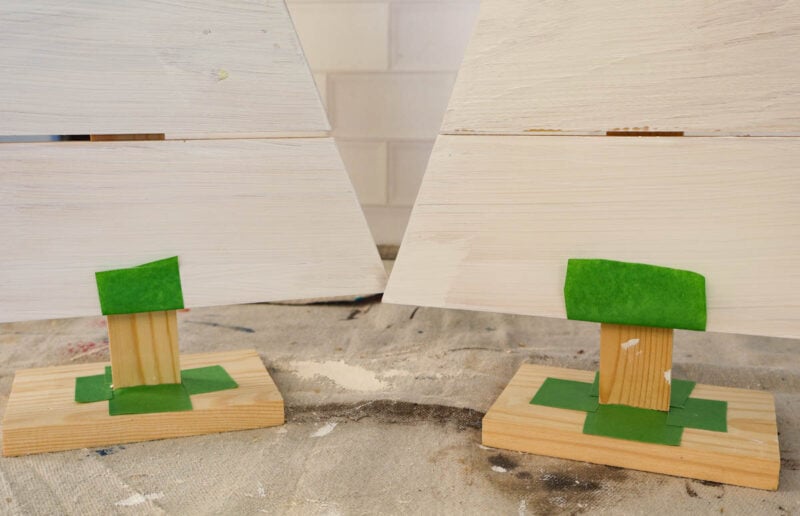
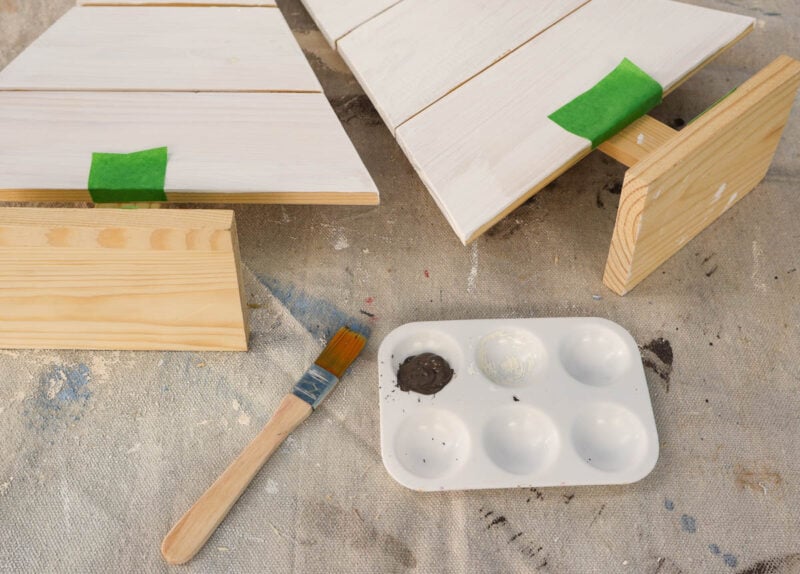
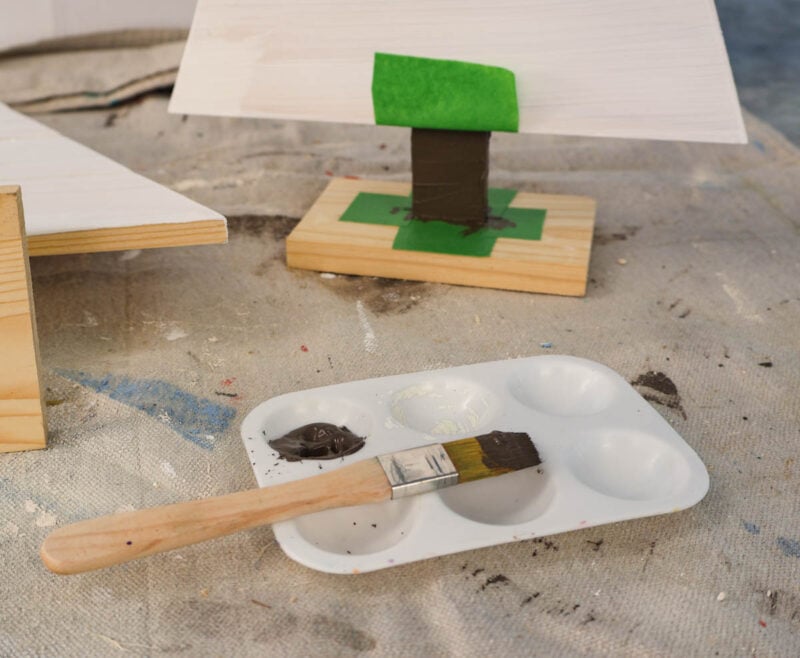
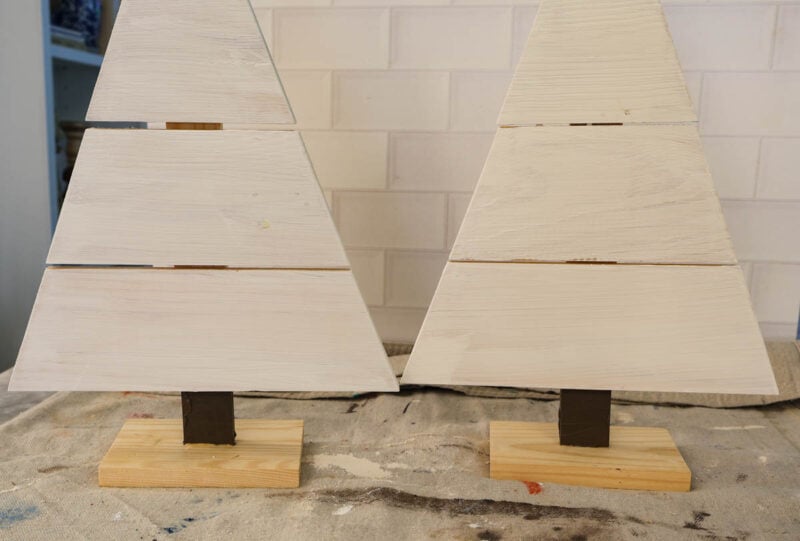
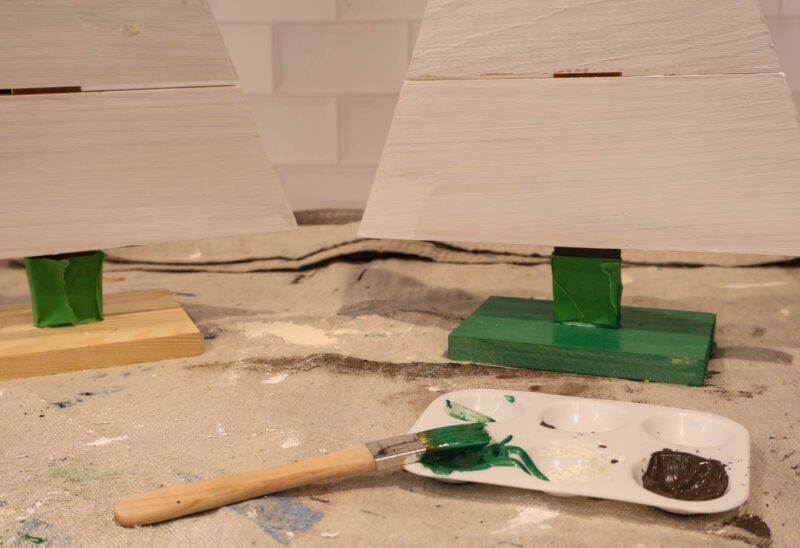
Step 5 – Tape off the trunk and paint the base with green paint and then remove the painter’s tape.
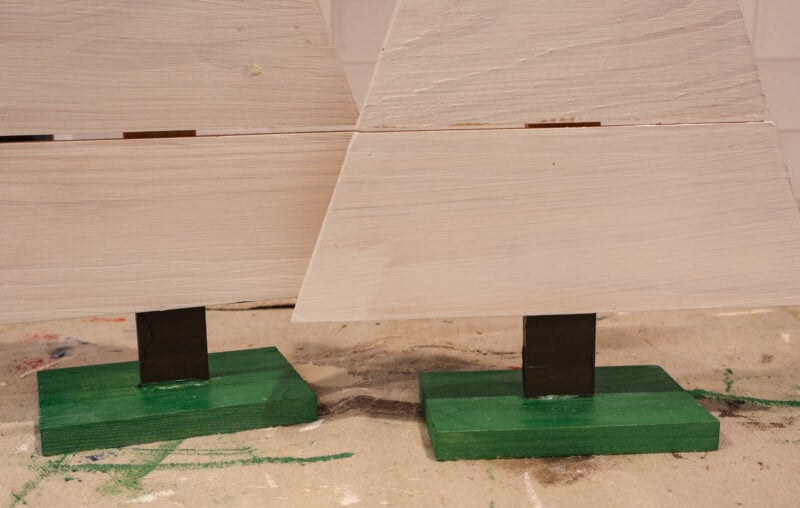

Step 6 – Apply two layers of Mod Podge, making sure that the first one dries completely before adding the second coat. The Mod Podge layers should be completely dry before going to the next step.
NOTE: For this project, I added Mod Podge to the sides of the trees so that the decoupage paper can wrap around the sides.
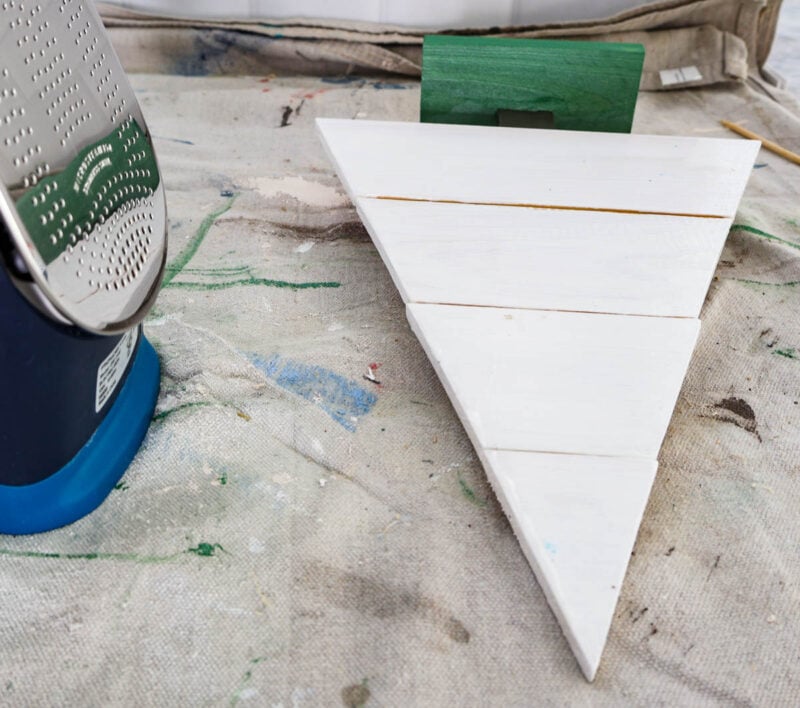
Step 7 – Separate the back layer from the front of your paper.
NOTE: Decoupage paper has only one back layer and it is much easier to remove than a paper napkin.
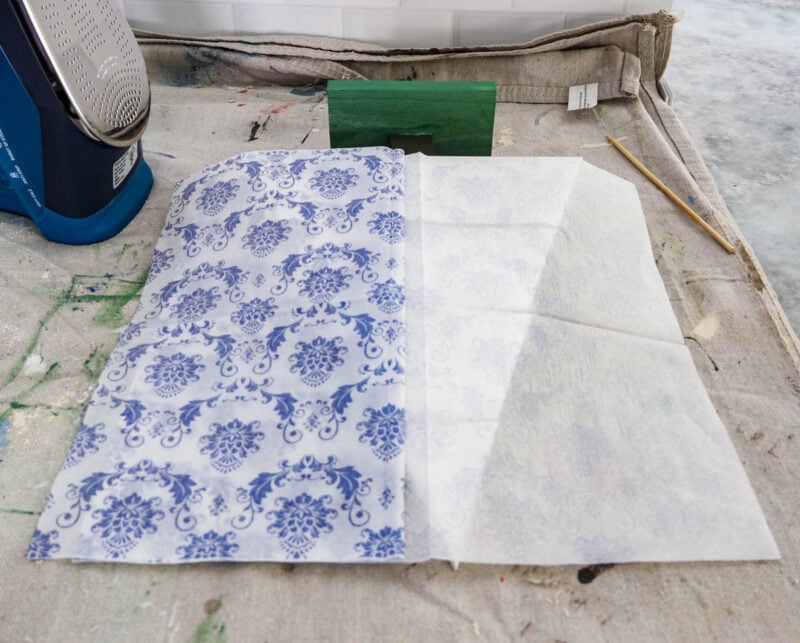
Step 8 – Heat your iron with no steam to high. While the iron is heating up, determine where you want to place the decoupage paper. My pattern had an up-and-down orientation. The decoupage paper just covered the tree from top to bottom.
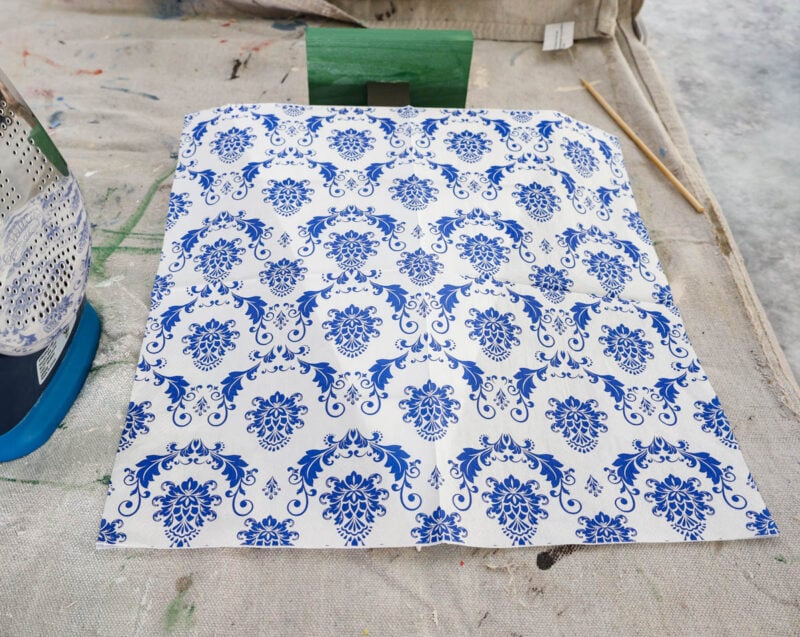
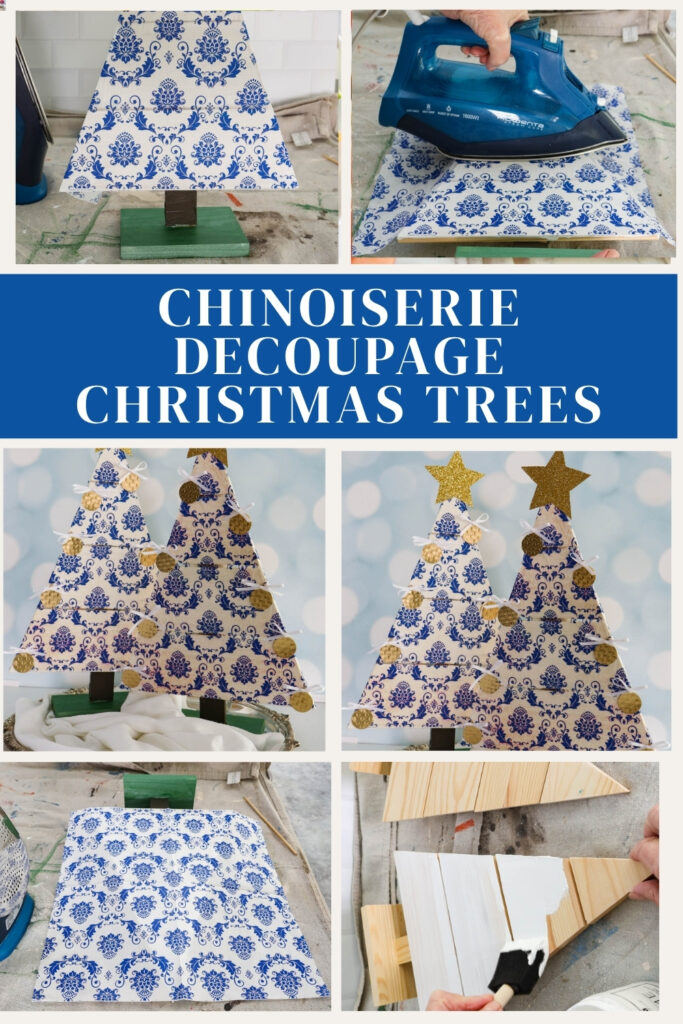
Step 9 – Gently place your hot iron on the surface of the paper. I started at the bottom of the tree and carefully “ironed” the paper, covering all surfaces from side to side, and top to bottom. I did this step twice to make sure the paper is attached to the tree.
BIG CAVEAT: It was only after I finished the project that I realized that I left out a step. Before placing the iron on the paper, you should place a piece of parchment paper on top of the decoupage paper. This extra step is to protect your iron and the paper. I won’t forget this step next time, although my project turned out great anyway. I left the Mod Podge to dry overnight so it was completely dry when I started the ironing step.
NOTE: Make sure the entire surface is adhered. The paper should be completely attached to the wooden tree.
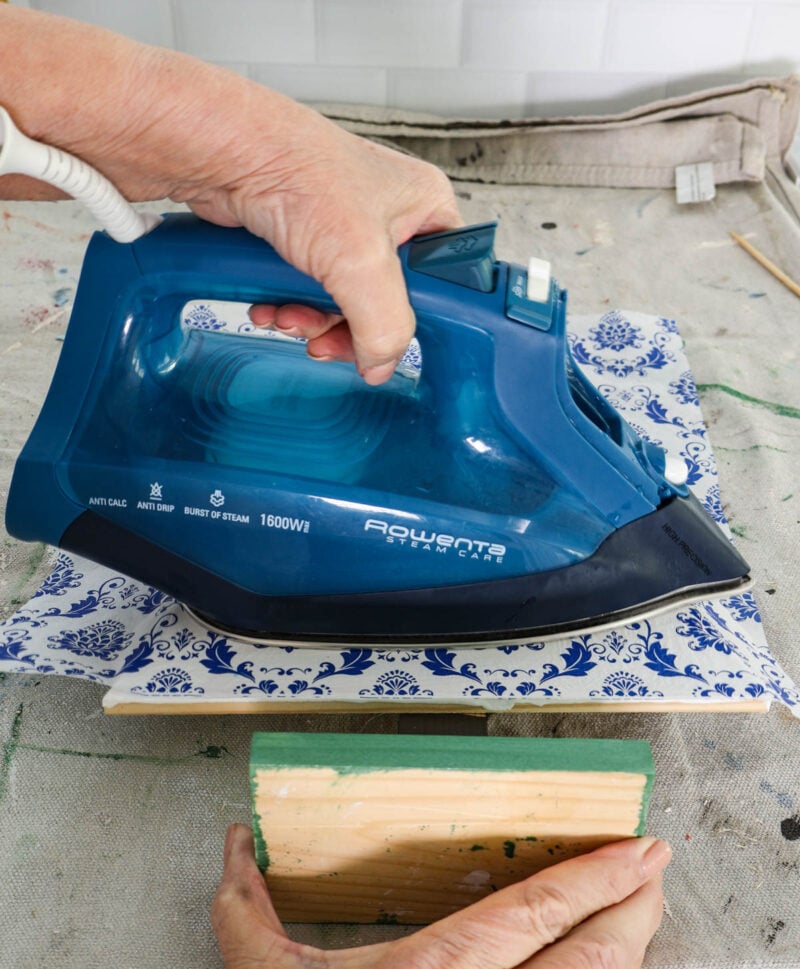
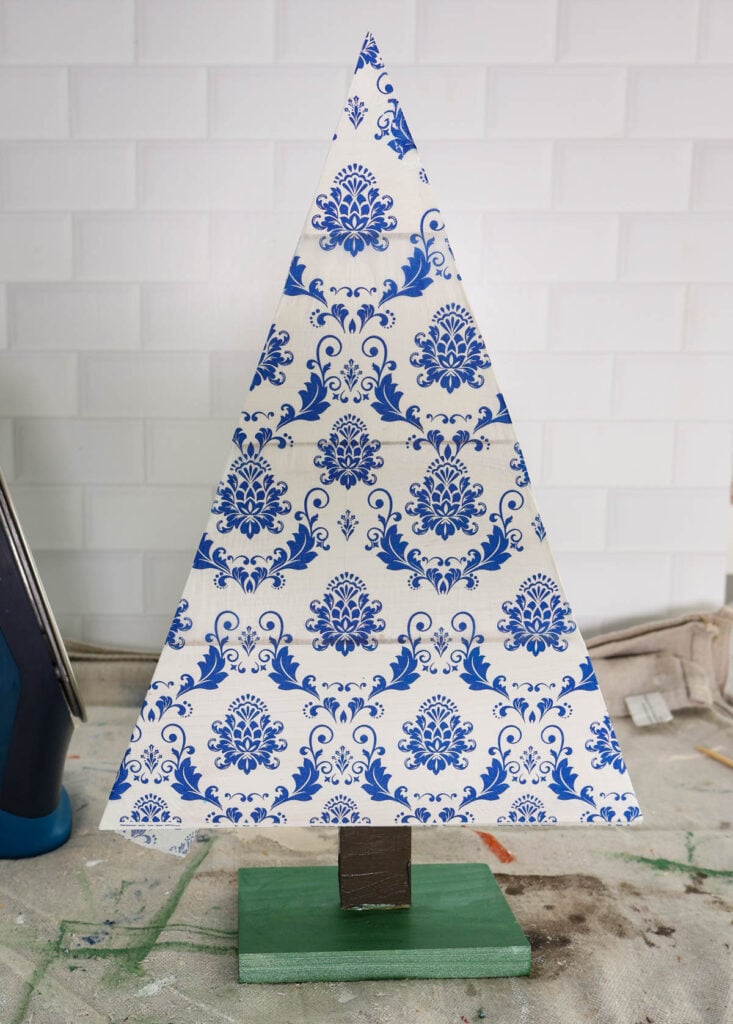
Step 10 – If you are doing the sides of the tree, turn it to the side, holding the paper firmly, and then iron the edge of the paper to the Mod Podge. Repeat with the other side. Repeat with the second Christmas tree.
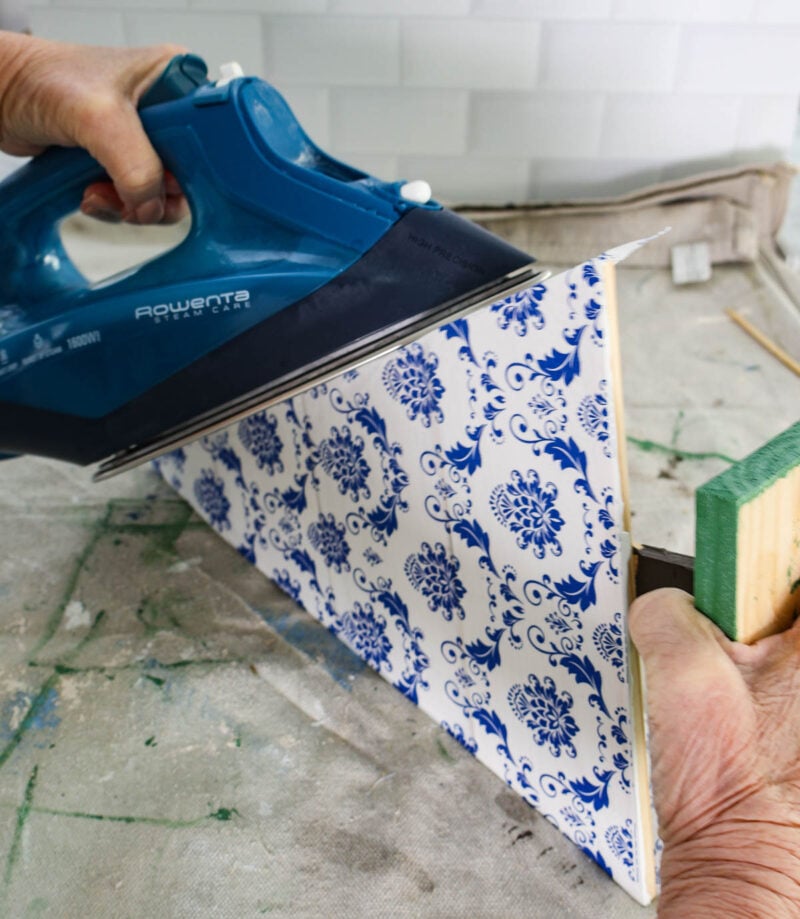
NOTE: You won’t believe how smooth the decoupage paper is. There are almost no wrinkles. The paper is adhered to the surface. I was surprised that it wasn’t hot from the iron.
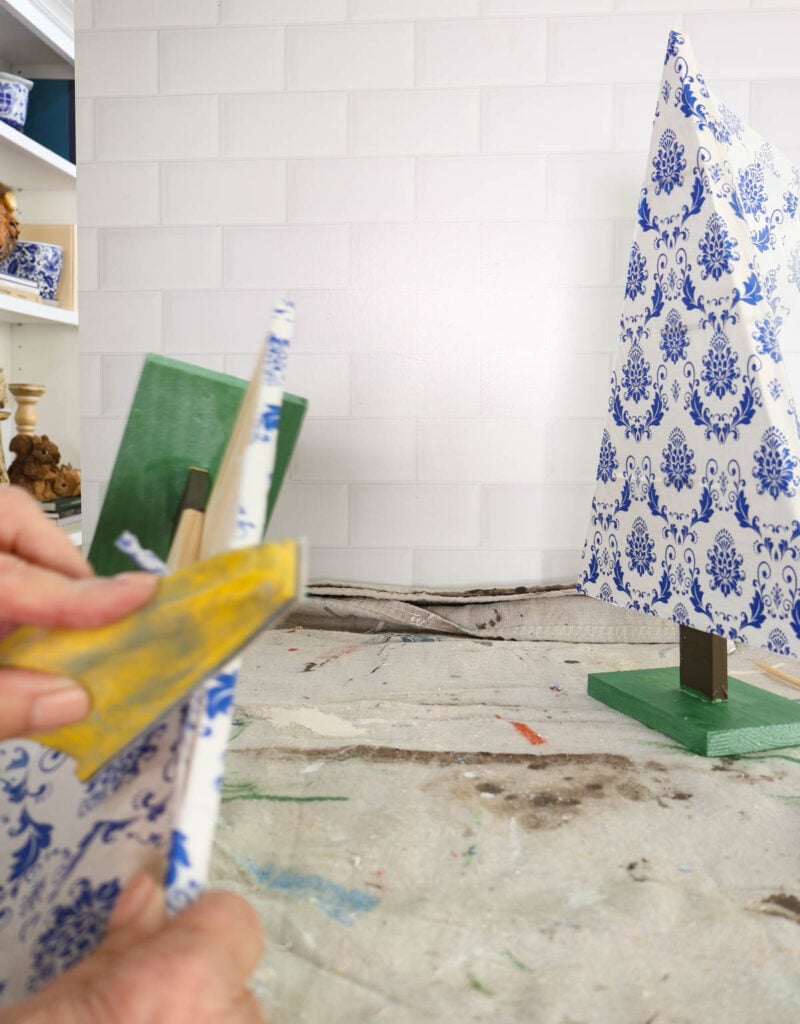
Step 11 – Use a piece of sandpaper to sand off the excess paper. I like using a sanding block tool for this job. It’s actually easy to do this.
Embellishing Your Decoupaged Christmas Tree
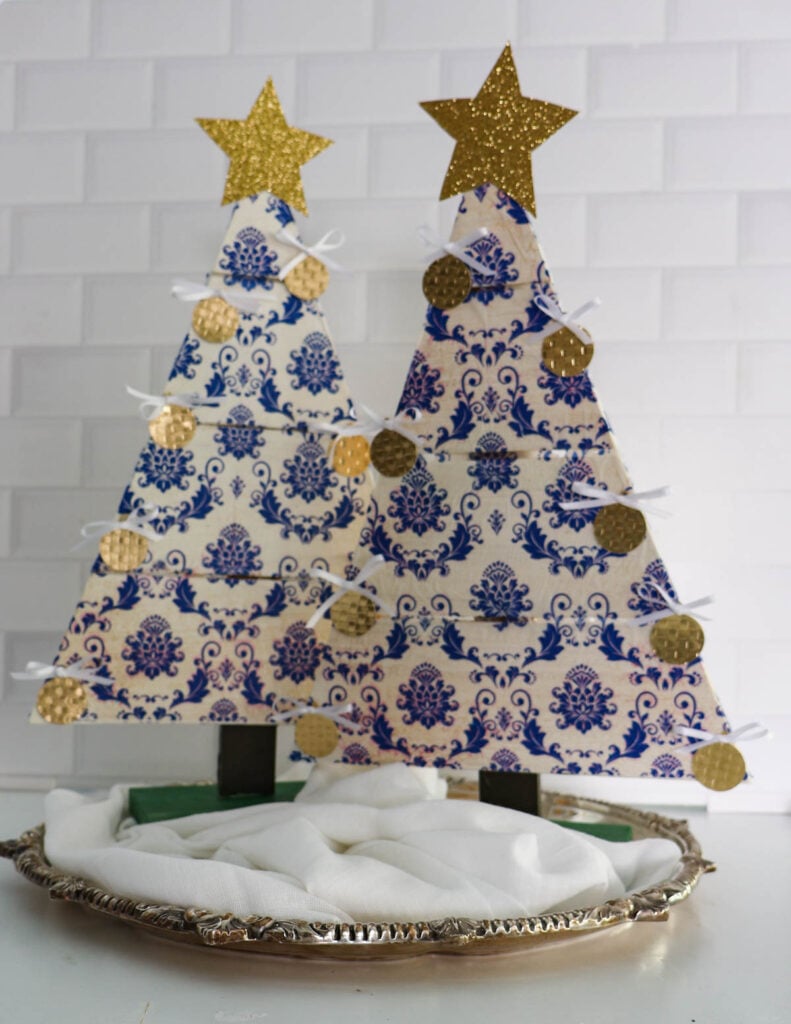
At this point, your decoupaged tree is done. You could stop right here. However, depending on the pattern and colors of your paper, you may want to add some embellishments to the trees to dress them up, which is what I did.
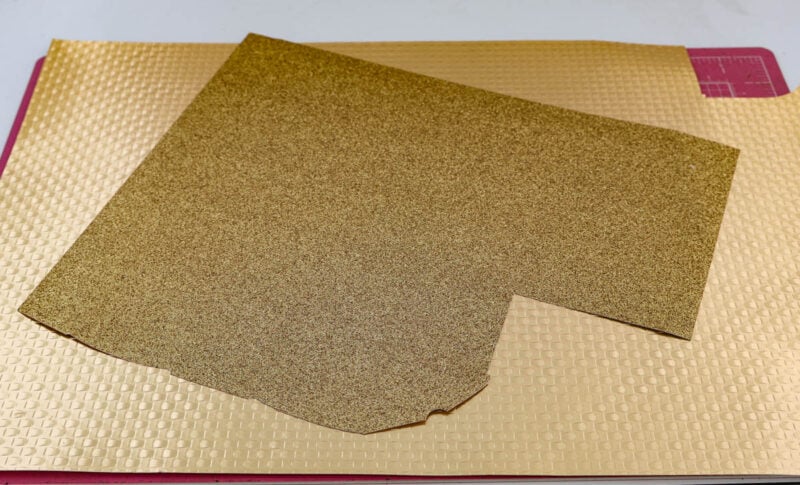
In my paper stash, I found two pieces of cardstock, one in gold glitter and one in textured gold paper. I decided that I would use them both.
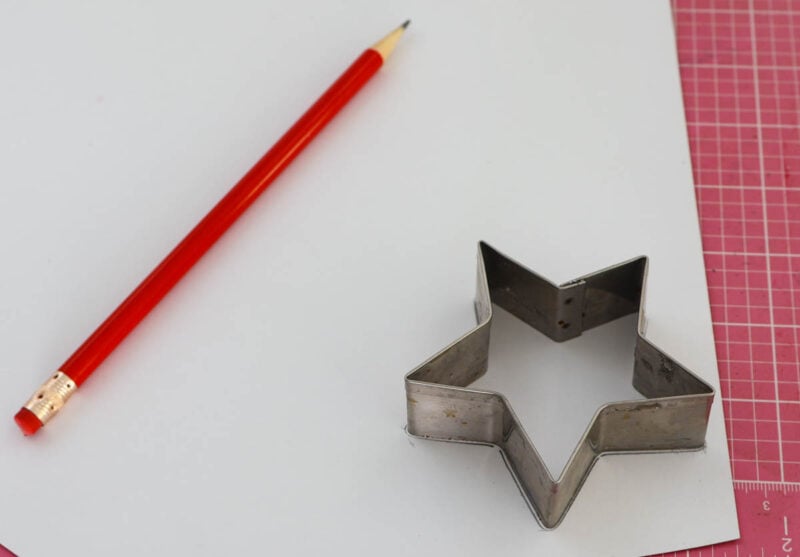
The first embellishment would be stars for the tops of the trees. I used a star cookie cutter as a template. Use a pencil to draw around the inside or the outside of the star. This is totally up to you. I drew around the outside.
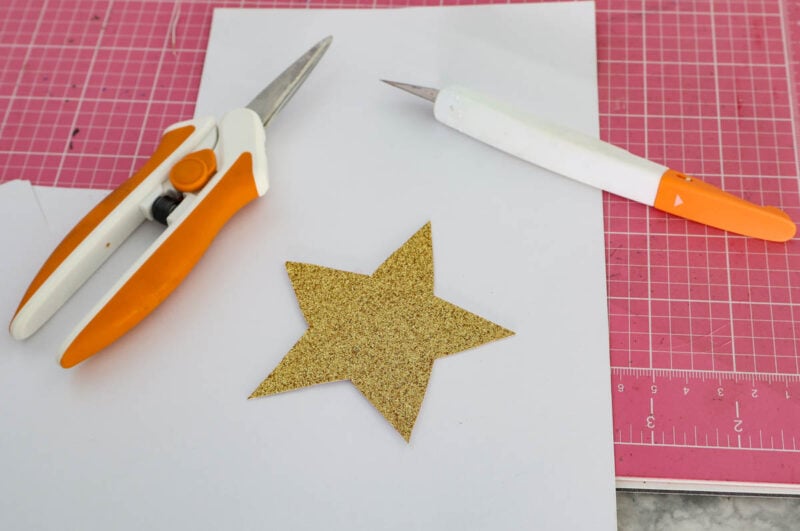
I used my favorite craft scissors to cut out the star. For this project, this method was better than using an X-Acto knife.
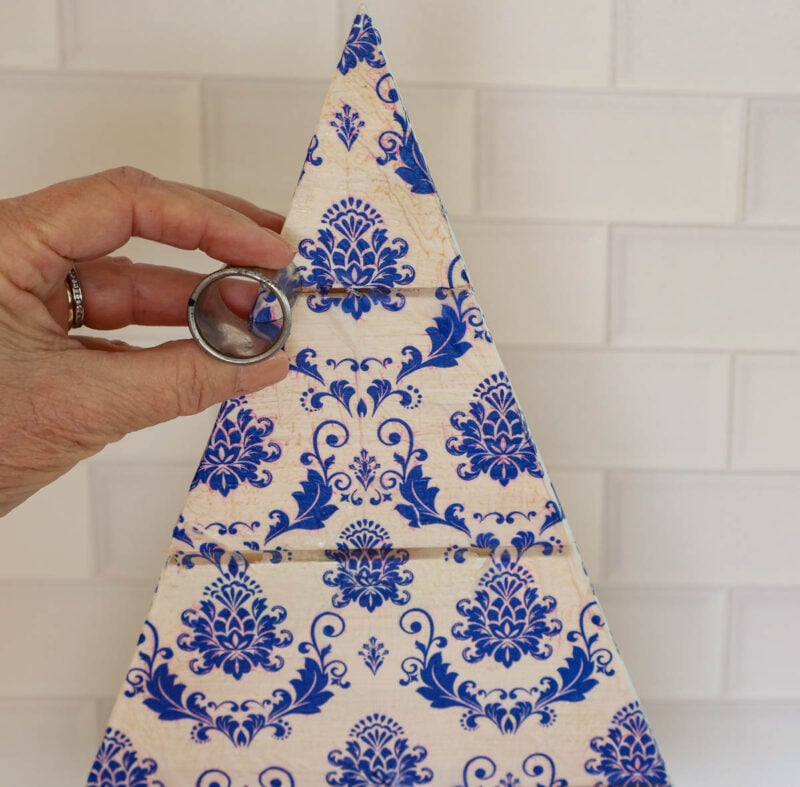
I wanted to make small gold ornaments for the tree. I used my round cookie cutters to determine that 1-inch was the right size.
I knew that I would need 16 – 18 gold balls for both trees. The best way to do that was to use my Cricut Explore Air. Luckily, I found the perfect design: a small round ornament with a hanger. It took less than five minutes to find the design, size, and duplicate it, and cut out the 16 balls.
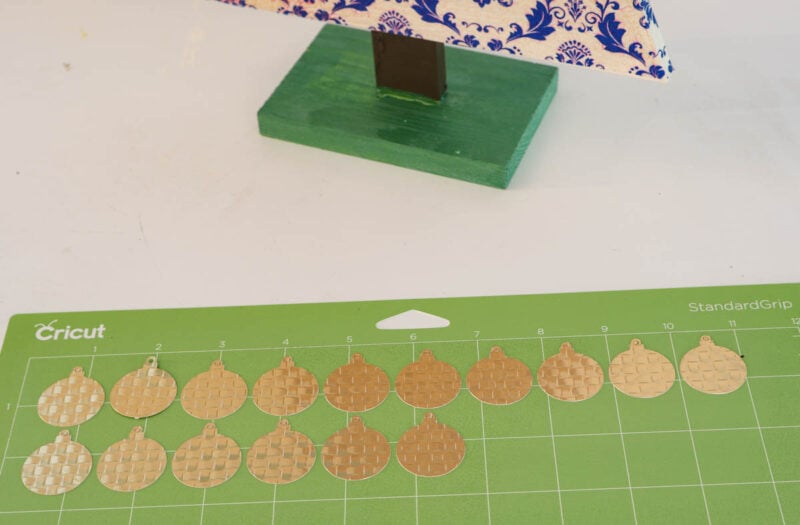
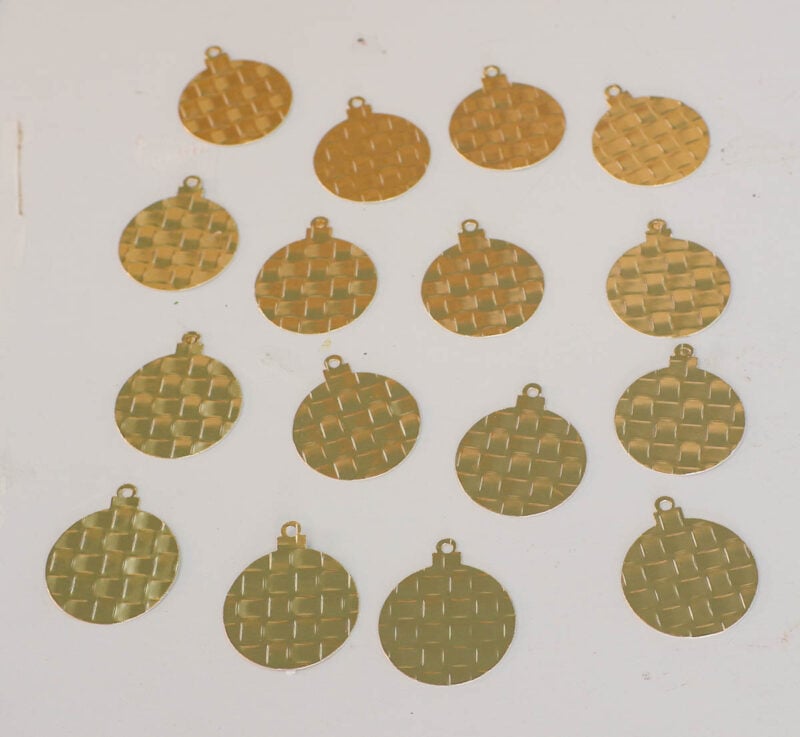
To simulate the look of a hanger, I used my tiny 1/16-inch satin ribbon. I bought a set months ago for gift tags and other uses. It comes in multiple colors. I chose white for this project.
First, I had to make 16 bows to glue to the balls:
1 – Make a small loop with a 1-inch tail.
2 – Loop the ribbon over the first loop and pull it through.
3 – Pull the bow loops tightly and adjust the size of the loops to match.
4 – Cut the tails to match – about 1 inch long.
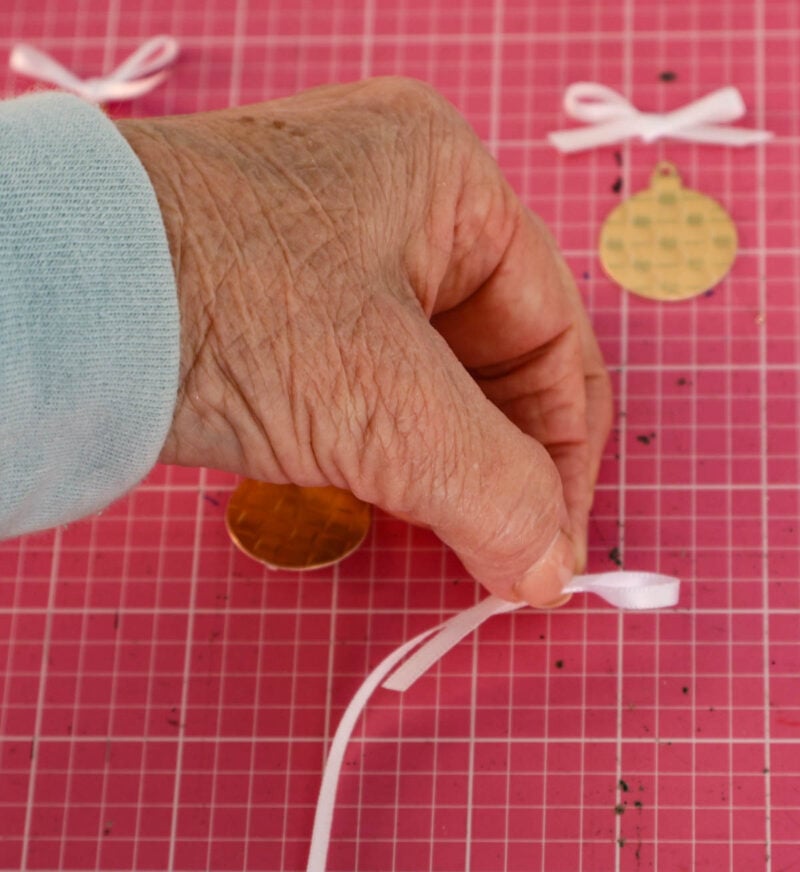
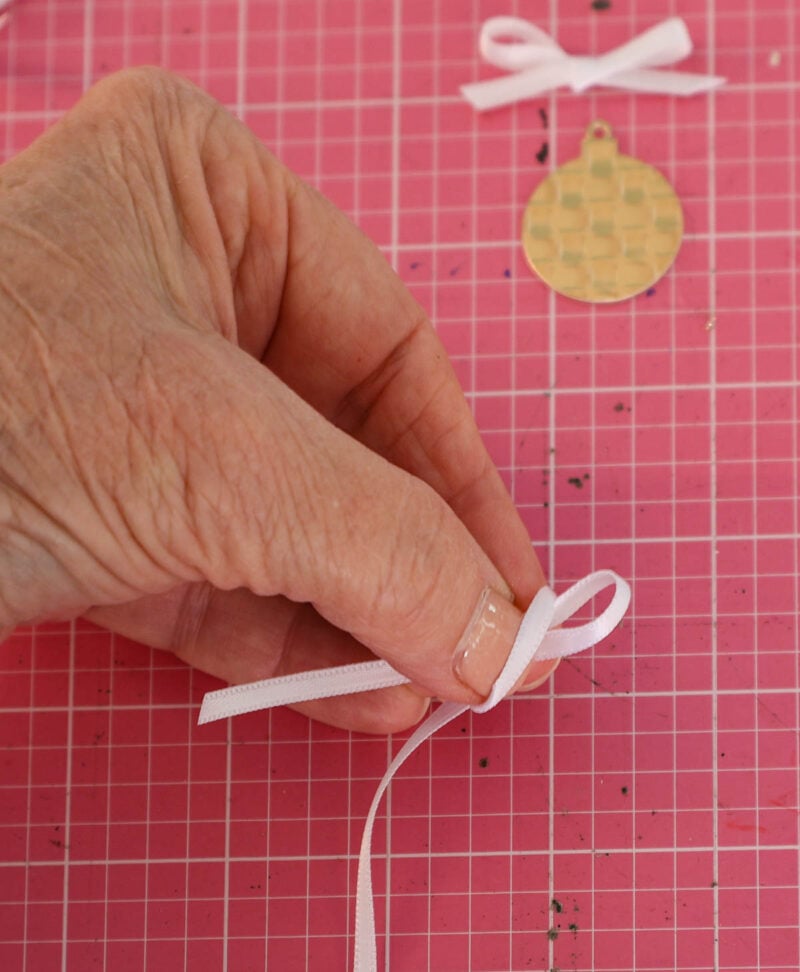
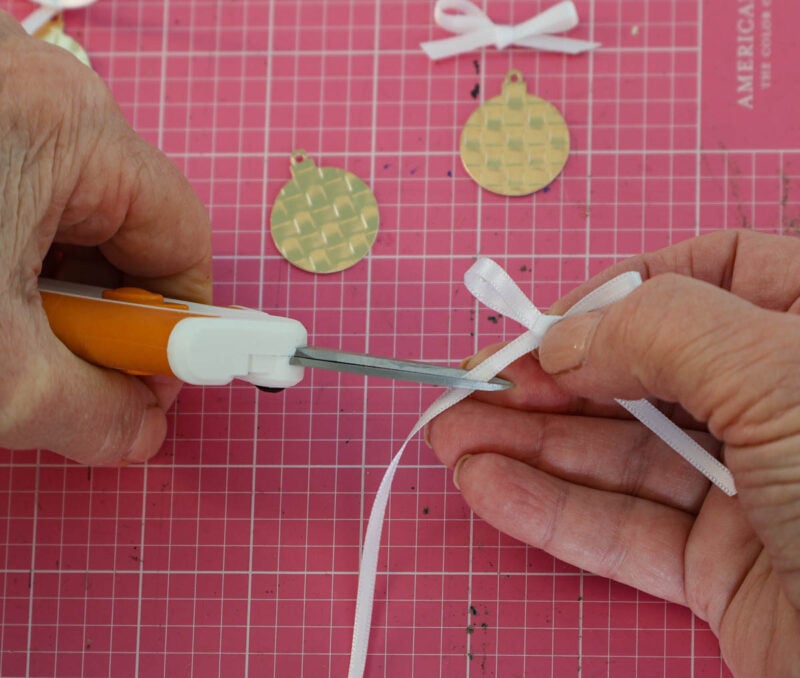
Here are my bows and gold ornaments. The bows were easier to make than I thought they would be, but it was the most time-consuming part of the project. I finally watched half of the first episode of this season’s The Diplomat.
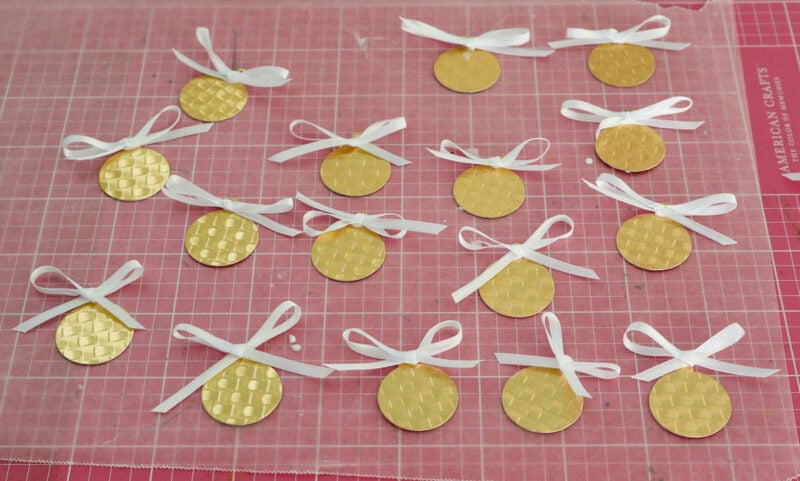
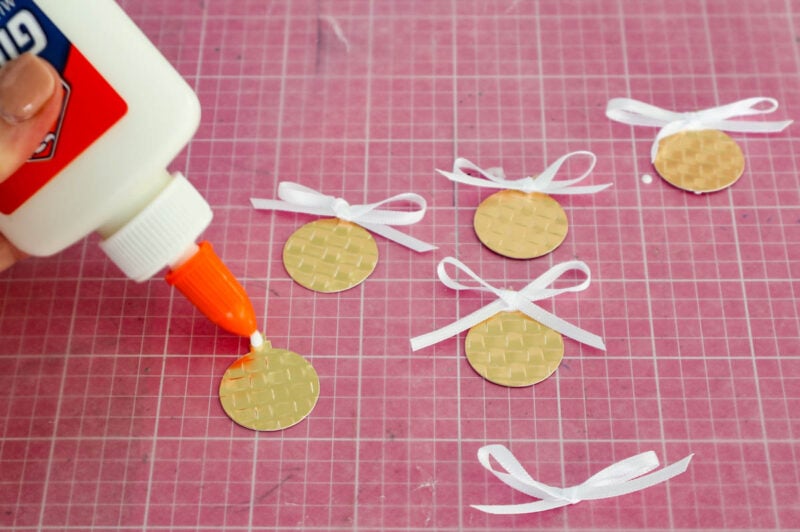
I used good old Elmer’s glue to attach the bows to the ornaments. Let them dry for a few minutes on wax paper.
I didn’t want to permanently glue the star and the ornaments to the tree, in case I wanted something else. You could also use:
- small jingle bells
- tiny faux greenery
- berries
- small tinsel
To attach the stars and the ornaments, I used Glue Dots so that I could remove them and change out the embellishments later.
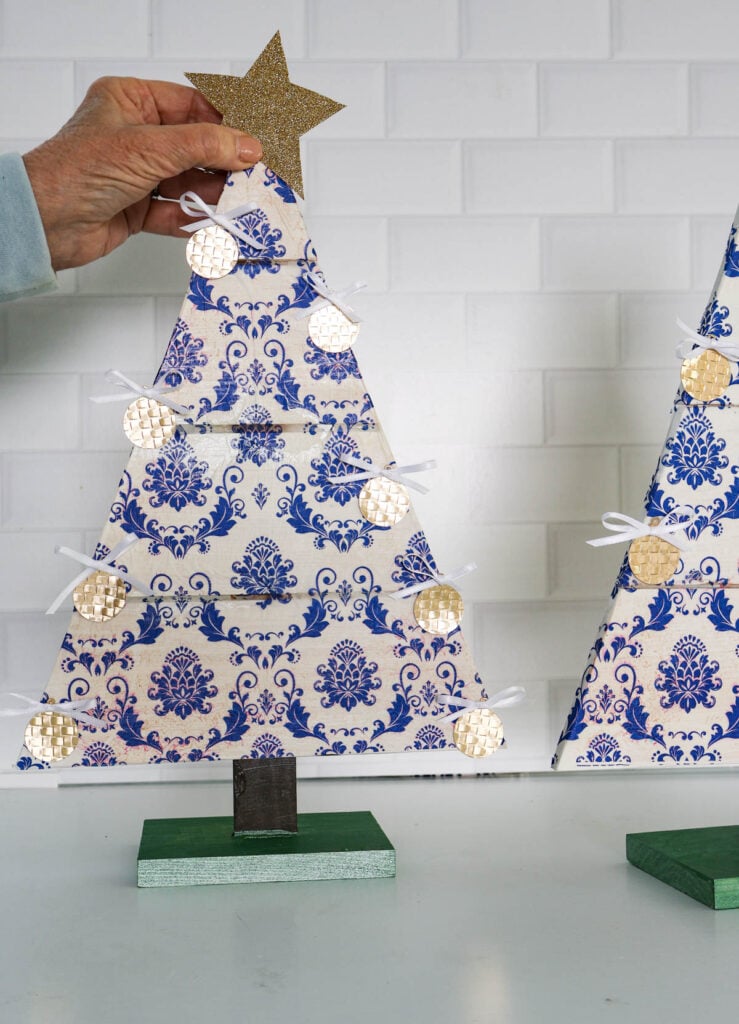
All our Christmas decorations are still in storage; I don’t have anything to style the two Christmas trees. For now, I placed them on a silver tray with a flour sack dish towel as “snow”.
Where will I use them when it’s time to decorate the house? There are several possibilities: the entry, our living room bookcase, the mantel, or maybe a vignette on the coffee table in the living room. Maybe on the table in our bedroom.
I can’t wait to make another project using this method.
My Thoughts About Using the Iron Method to Decoupage
- I thought this method was so easy and resulted in far fewer wrinkles than the traditional method of adding the paper while the Mod Podge is still wet.
- There was no tearing of the paper
- Although you have to wait until the Mod Podge is completely dry to add your decoupage paper, the ironing part is so fast and easy that it makes up for the added time.
- It’s much less messy than the traditional method. Your fingers never have to touch the Mod Podge or the paper when it’s wet.
- For projects where you are laying full sheets of paper flat on a surface, I think this is absolutely the only way to go.
- I’m not sure how the iron method works with torn or cut-up paper. I watched a few videos, and the iron method was only demonstrated using full sheets of paper. I will have to try it that way at some point.
I definitely recommend trying this iron method.
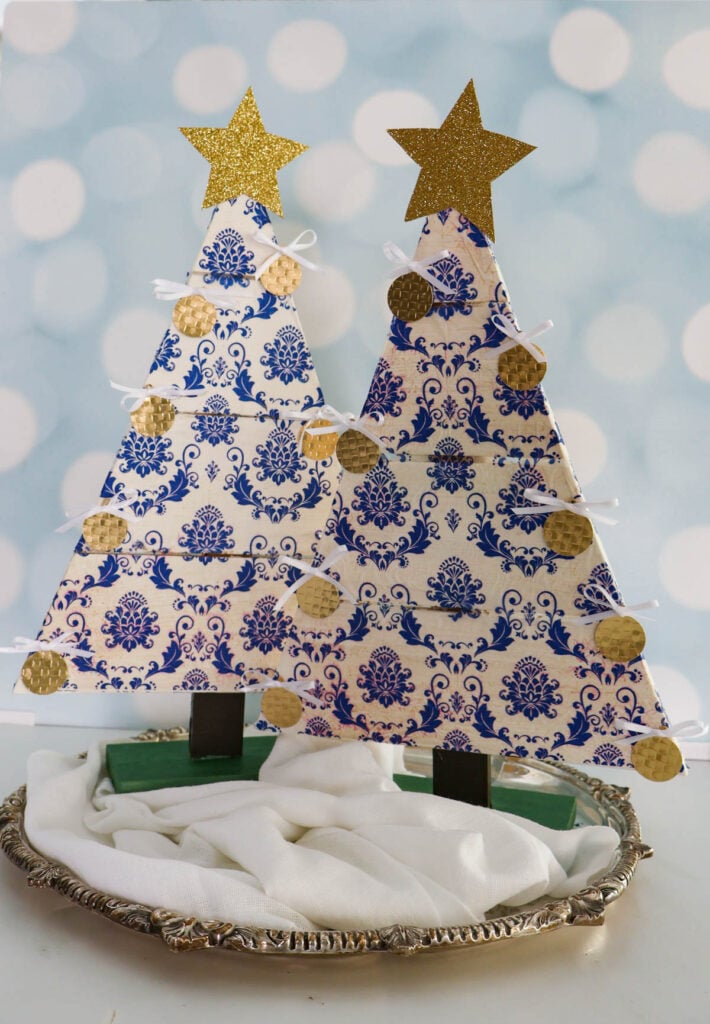
For now, I carefully set my project in my supply chest until it’s time to decorate for Christmas. I’m so glad that I have one new project that is ready to go. And I learned a great new decoupage method.
I hope you’ll try it out if you haven’t already. Please PIN this handmade Christmas decoupage project for your own DIY decorations.
Here are other decoupage projects that I know you’ll love. The first two would be perfect for the iron method:
- How to Decoupage a Tissue Box Cover
- DIY Decorative Tray: An Easy Wrapping Paper Project
- How to Make Decoupage Red and White Christmas Ornaments
And be sure to follow this Decoupage Projects Board and this Christmas DIY Projects Board.
Now take a look at the projects my Creative Craft friends are sharing. Next up is Suzanne at Shop at Blu with How to Make Clock Ornaments for Christmas
Thanks so much for stopping by.



My Thrift Store Addiction – 2 Ways to Crochet a Water Bottle Cozy
Purple Hues and Me – Decoupage Poinsettia Paper Napkin Rings
Bluesky at Home – Chinoiserie Decoupage Christmas Trees Using the Iron Method
Shop at Blu – How to Make Clock Ornaments for Christmas
Birdz of a Feather- Cement Heart








How beautiful Carol; I love those gold embellishments! And so smart to use the glue dots so you can swap them out (I’ll be stealing that idea)! Thanks for being a part of the Creative Craft Hop this year :).
Your Christmas trees are stunning, and what a creative project, Carol! I love to decoupage, and enjoy reading how others decoupage, too!
Three of my favs–blue chinoiseries, decoupage and Christmas trees. What great holiday accent pieces. Pinned~