
DIY Decorative Tray: An Easy Wrapping Paper Project
This DIY decorative tray started, like so many of my favorite projects, with something I saw and loved but didn’t want to pay full retail price for. Once I figured out how easy it would be to bring this lovely decorative accessory to life, I was ready to get started.
Several months ago, I was wandering through my favorite antique mall when I spotted a beautiful acrylic tray styled with a pretty patterned insert. I couldn’t get it out of my head. Unfortunately, the price and color weren’t exactly my cup of tea.
When I got home and searched online, the similar trays I found ran anywhere from $50 to well over $100, and even then the color and design choices were limited. Not one of them was the blue and white I had my heart set on.
I just had to figure out how to bring this lovely decorative accessory to life. Once the process came to me, I was ready to make my own tray.
I consider this decorative acrylic tray project perfect for the person who loves home decor, wants great design, but doesn’t want to pay retail, and is willing to DIY.

This post contains affiliate links to products used to create this project. If you should order any item from this site, I may receive compensation, but you do not pay a penny more. Your purchase is greatly appreciated as it helps support the continued publication of this site.
Table of contents
- Creative Craft Blog Hop
- Decorative Tray Overview
- My Inspiration Acrylic Tray
- The Trouble with Finding the Right Acrylic Tray
- Where to Use a Decorative Tray in Your Home
- The Advantages of Making Your Own Decorative Tray
- Supplies to Make a Decorative Acrylic Tray
- Measuring Your Acrylic Tray Inserts
- Measuring, Cutting, and Gluing Your Wrapping Paper
- Assembling the Acrylic Tray Inserts
- Creating a Lovely Display for Your Tray
- Questions and Answers to Help You
Creative Craft Blog Hop
It’s time for another Creative Craft blog hop. Every participant creates a unique project that you can copy, customize or Pin for future needs. Our hostess this month is Donna of Modern on Monticello.
Are you hopping over from Cecilia from My Trift Store Addiction? She has a great crochet project.
The complete list of participants is at the end of this post. Visit them all for a variety of projects and find the ones you like best.
Decorative Tray Overview
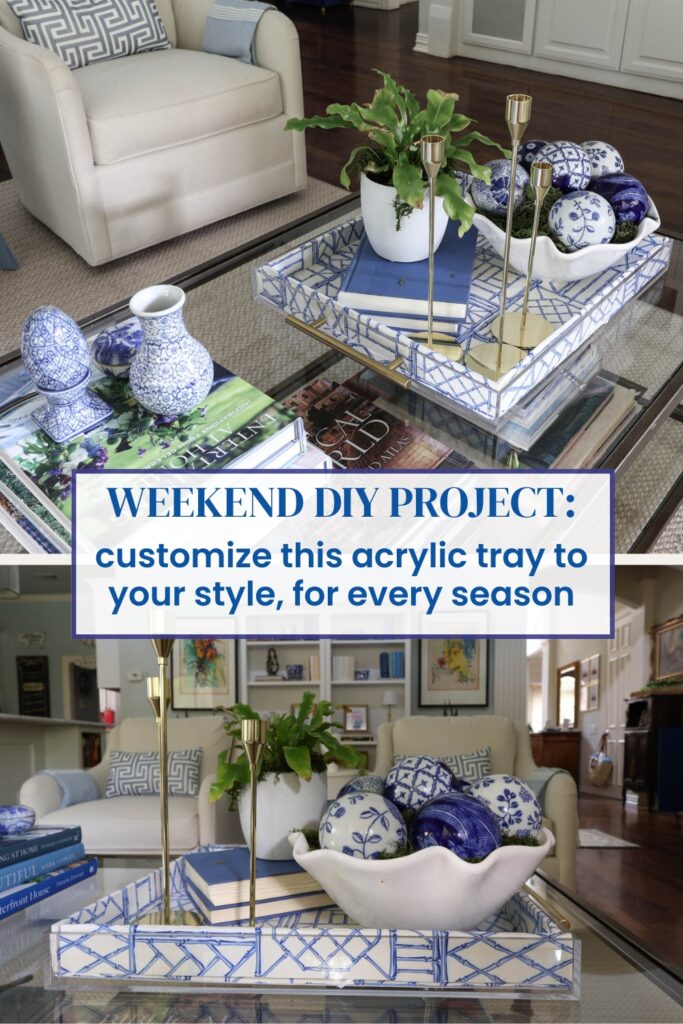
How did I turn a plain acrylic tray into a decorative accessory that can be customized and changed with the seasons? I started with a large plain acrylic tray from Amazon for $44, then covered foam board inserts with wrapping paper in a blue geometric bamboo design on a crisp white background. A little glue, an afternoon of work, and I had exactly the tray I’d been dreaming of, in exactly the color and pattern I wanted.
The best part? The insert lifts right out. You can swap the foam board inserts whenever the mood strikes, for a new season, a holiday, or simply a change of heart, without ever buying a new tray.
If you love beautiful home decor and thoughtful design but would rather not pay retail, this one is for you. It delivers that custom, high-end look for a fraction of the store-bought price, and every single detail is yours to choose. Let me show you how it came together.
My Inspiration Acrylic Tray
Have you seen these beautiful trays in retail stores? They add a modern and classy decorative look to any home. If you are lucky, you’ll find them in multiple sizes, designs, and colors.
When I recently went back to the mall to take a picture of my inspiration tray, it was gone. In fact, there was only one decorative acrylic tray in the entire store. And this is it. This one was about 14 x 16 inches and was $75.
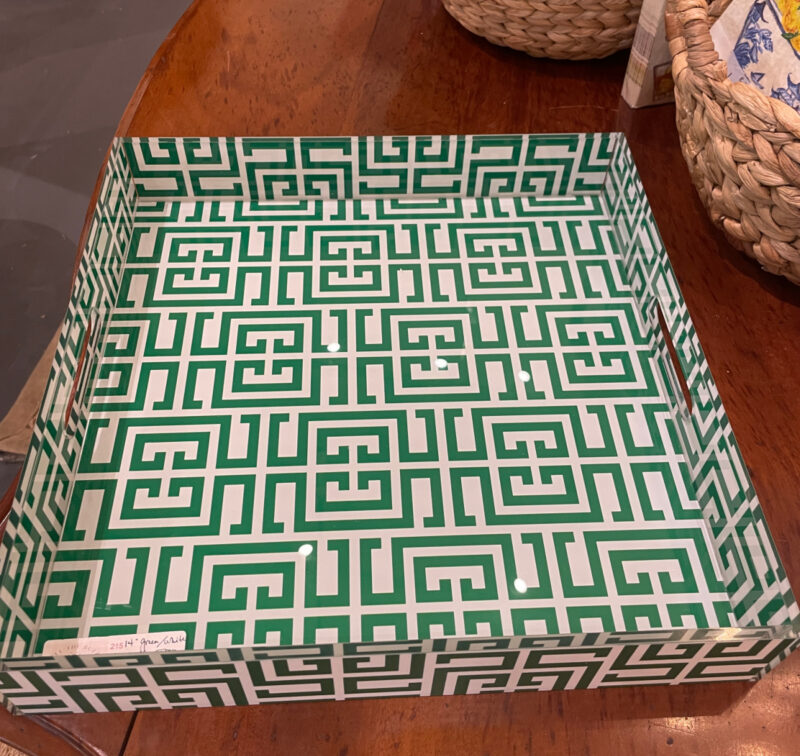
I think August may be the in-between season, because many booths looked low on inventory. It looked like January after Christmas.
The Trouble with Finding the Right Acrylic Tray
If you have ever gone looking for a decorative acrylic tray, you already know the frustrations: The clear ones are everywhere, but the moment you want something with pattern and personality, your choices narrow fast. Decorative acrylic trays in retail stores seem to be limited in sizes and designs.
Most of the patterned trays I have seen came in a handful of predictable designs, and rarely in the exact shade of blue I wanted. Size is another hurdle. You might find a design you love, only to discover it is too big for your coffee table or too small for your vanity. And when you do find the right size, color, and pattern all in one tray, the price often climbs well past what a simple tray should cost.
In other words, you are usually asked to compromise on something: the color, the pattern, the size, or the price. That is exactly the problem this project solves.
Where to Use a Decorative Tray in Your Home
One of the reasons I love a decorative tray is how hard it works. A single tray can move all over the house and look intentional everywhere it lands. Here are a few of my favorite places to style one:
- On an entry console table or chest to display seasonal items together.
- On a coffee table, to corral a pretty arrangement and give your accessories a defined home, the way I styled mine on my brass and glass table.
- On an ottoman, where a sturdy tray creates a flat, stable surface for books, a candle, a small floral, or even a cocktail before dinner.
- On a kitchen island or counter, to hold oils, a plant, a pretty hand soap and lotion set, or a few everyday pretties without looking cluttered.
- On a bar cart, to group glassware and bottles into a polished little station.
- On a bathroom vanity, to gather perfumes, a candle, and a small jewelry dish into one tidy display.
- On a nightstand or dresser, to hold jewelry, a pretty clock, a book, and a bit of greenery.
NOTE: Because the inserts I created for my acrylic tray lift out and the paper is yours to choose, you can match a tray to any room in the house, and change it whenever the season or your taste changes.
The Advantages of Making Your Own Decorative Tray
Once you make one of these, it is hard to go back to buying the higher-priced decorative trays. Here is why:
- You choose everything. The color, the pattern, and the scale are all up to you, so the tray suits your room instead of the other way around.
- You get a designer look for less. My tray came together for a fraction of the retail price of the patterned trays I found online, and it looks every bit as high-end.
- It is endlessly changeable. This may be my favorite reason. The inserts lifts right out, so you can swap the color and design for a new season, a holiday, or a new color scheme without buying a thing. (Think ahead to fall, Halloween, and Christmas.) Match a tray to a party theme, such as New Year’s Eve, Valentine’s, a birthday, bridal or baby shower.
- It is beginner-friendly. If you can measure, cut foam board, and smooth paper with your adhesive of choice, you can make this. No special skills required.
- It is genuinely one of a kind. Because you chose the paper, no one else will have a tray quite like yours.
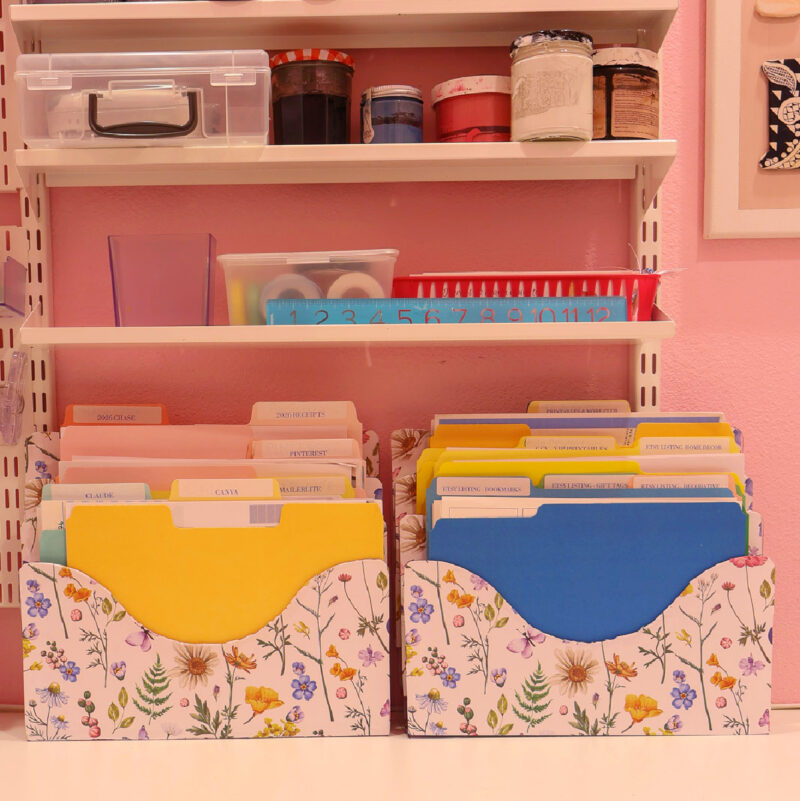
NOTE: You are NOT limited to wrapping paper. You can also use drawer lining paper like I did a few months ago for my file folder project. I bet peel-and-stick wallpaper would also work.
Supplies to Make a Decorative Acrylic Tray
Who wants a short supply list for this project? I only had to buy two supplies for this project, as I already had everything else.
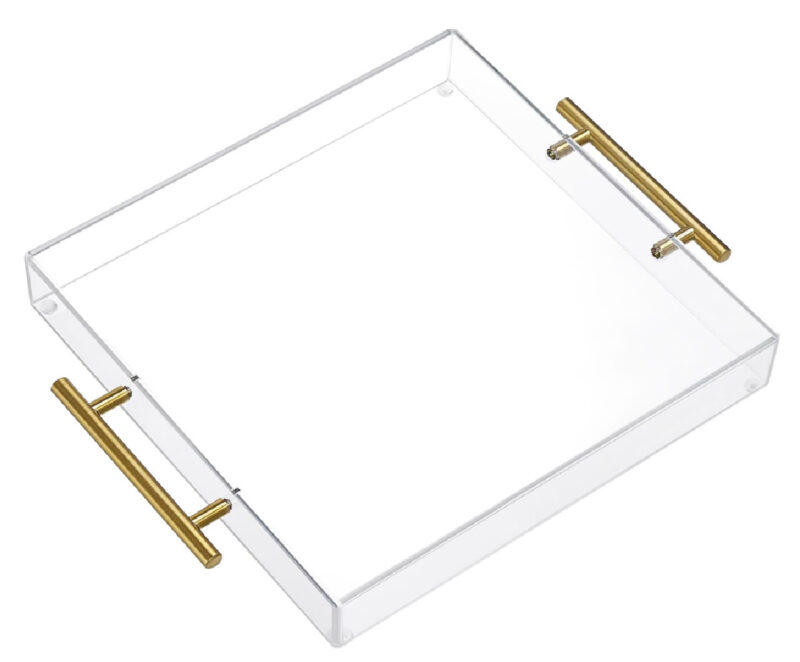
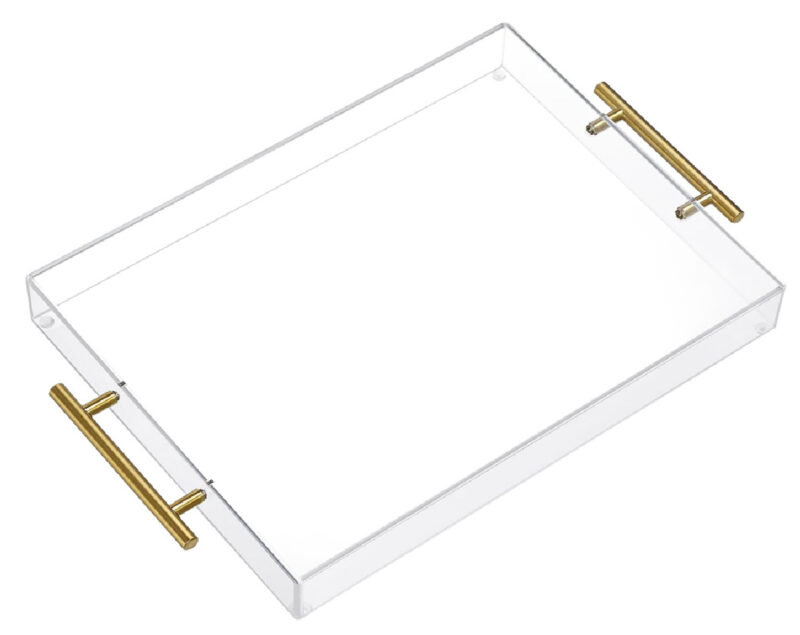
- an acrylic tray in your size of choice. This will be your first and major purchase. My tray was 16 X 18 inches with brass handles. The sides are about 2 inches high.
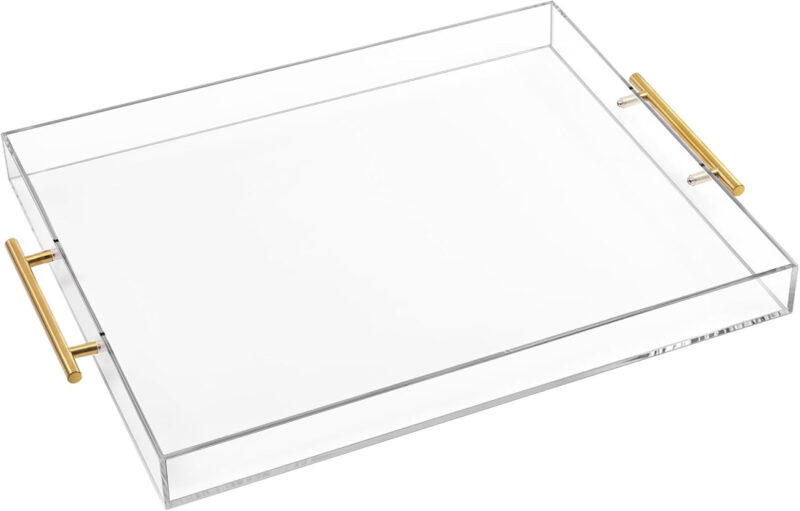
Here are some other size options:
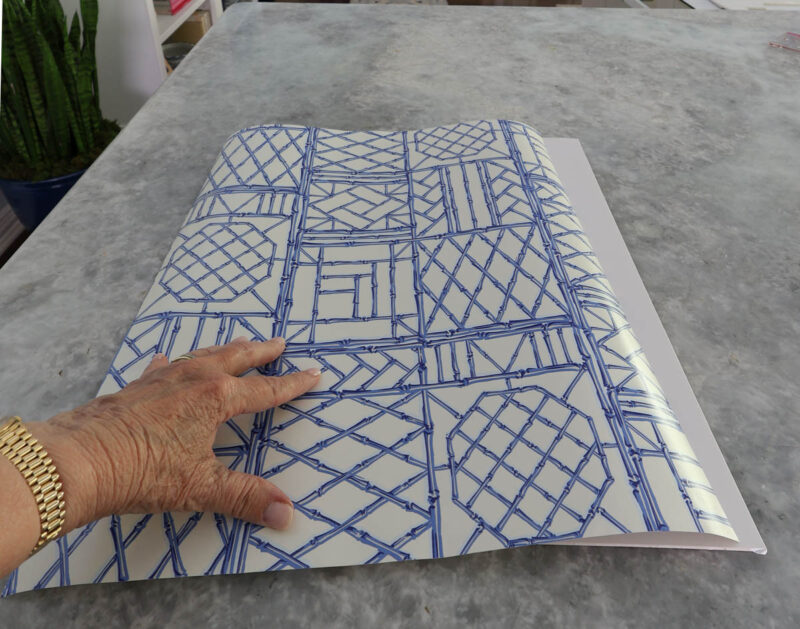
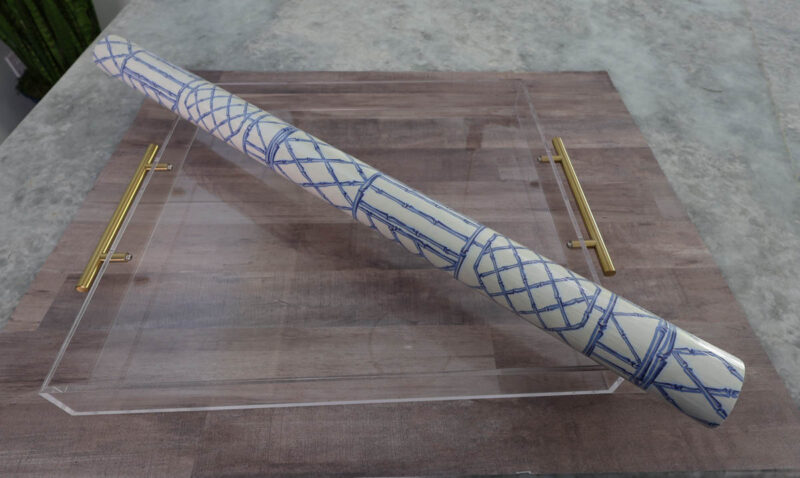
- your wrapping paper of choice (also drawer lining paper, drawer vinyl paper, peel-and-stick wallpaper, Cricut vinyl). I had purchased this beautiful paper by Caspari, called Bamboo Screen in China Blue. I bought it a couple of years ago at the same antique mall where I found my inspiration piece.
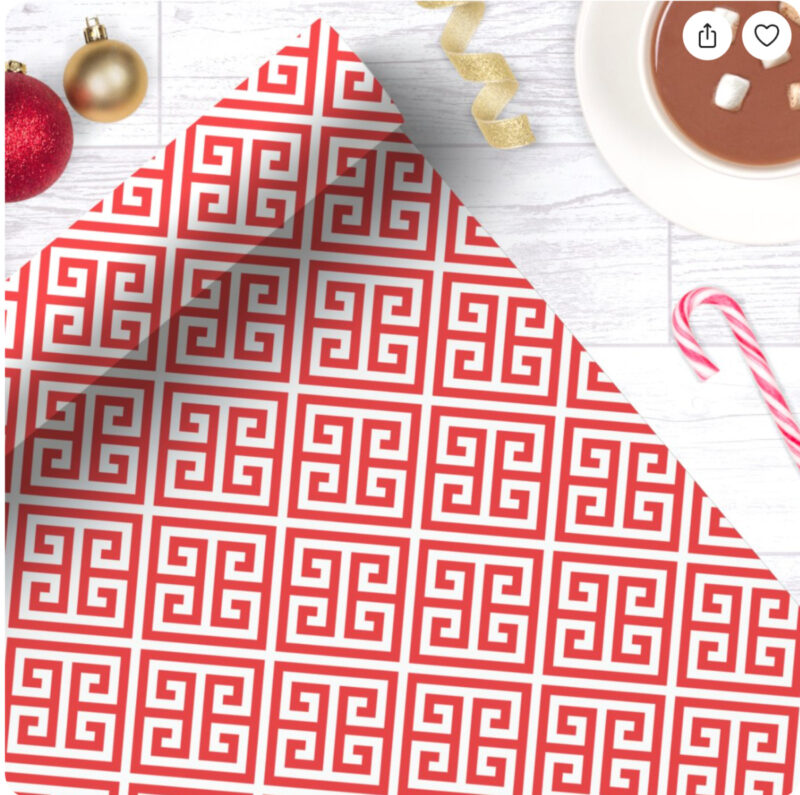
- Here are some other beautiful gift wrapping options that I found online. You’ll notice that most are in blue; I think my computer knows what I like.
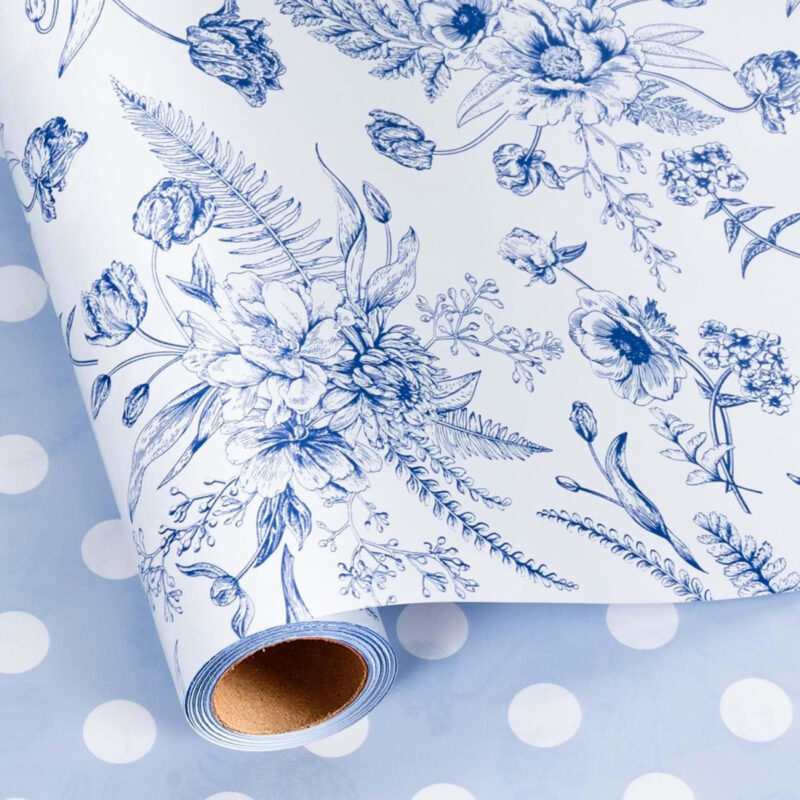
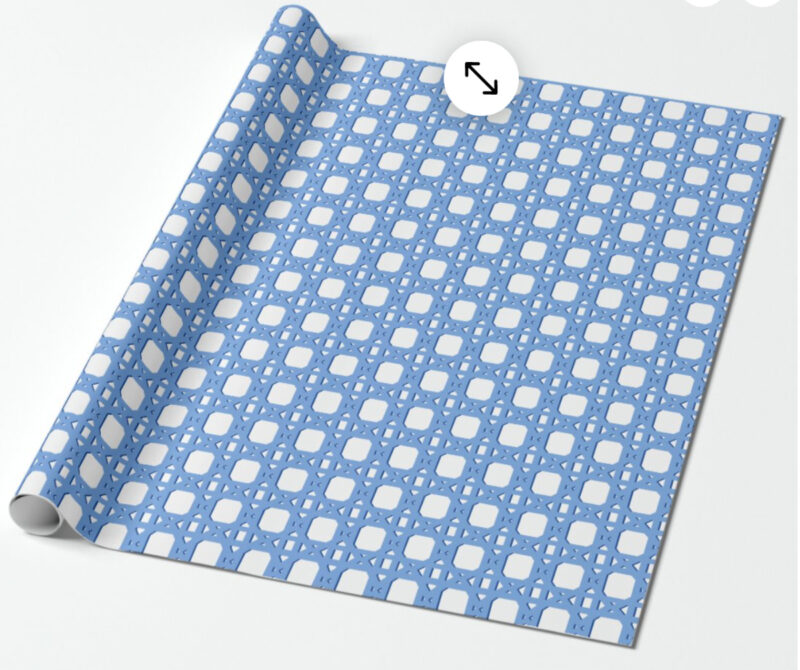
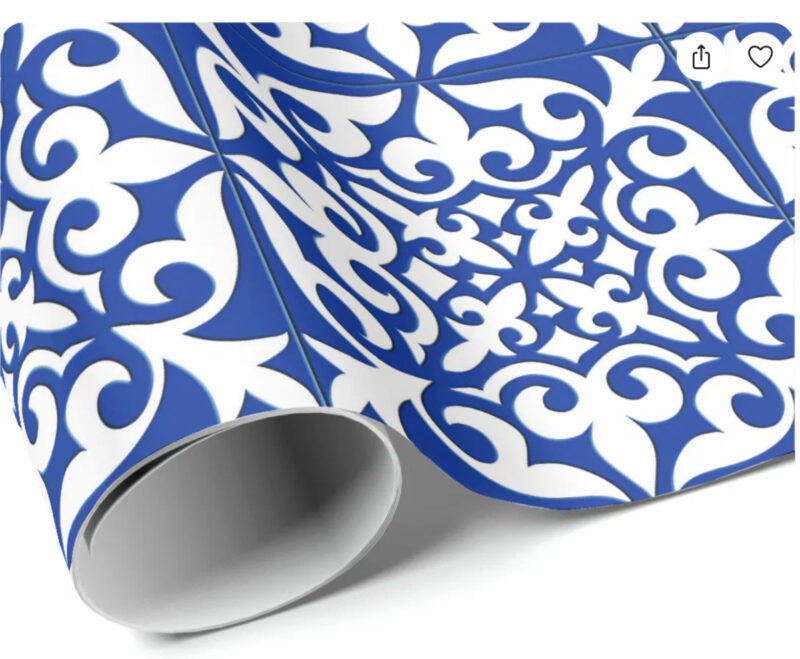
Wouldn’t this wrapping paper be great for a Christmas tray?
- foam board – like what your kids used in science fair projects. It comes in multiple sizes. I sent Sweet Shark to Target (3 minutes from our house!) for mine. It was 20 X 28 x 3/8 inches and $3.99 for one sheet, and I had a little left over. If you don’t have a Target close by, here is a foam board 3-pack 24 X 16 X 3/16 inches online.
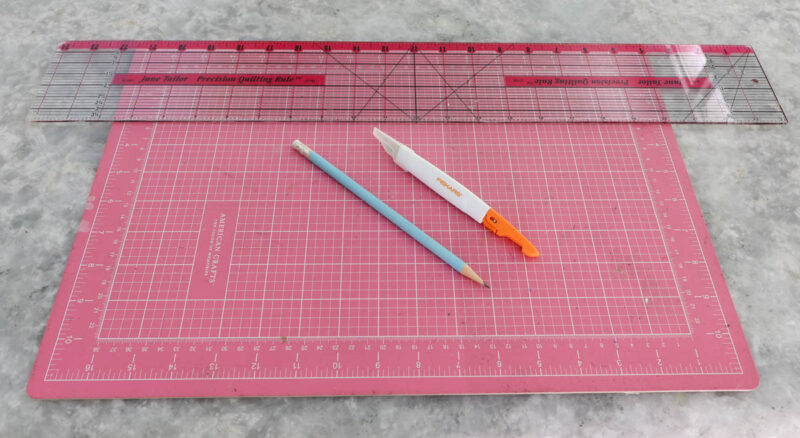
- exacto knife – for cutting the foam board and the paper. This craft knife is my favorite, and it works great.
- cutting mat – depending on your work surface, you may need to use one of these when you cut the foam board
- small sharp craft scissors – for trimming paper around foam board. Again, this pair of craft scissors is my favorite.
- adhesive – I used Mod Podge in Gloss because that is what I had on hand, but it doesn’t matter if you use Matte. I thought about using spray adhesive, but it is way too hot now to do any project outside. When the weather cools, I’ll try the spray adhesive.
NOTE: As long as the adhesive will stick to paper and foam board, it should be fine. I would do a sample check with what you have on hand.
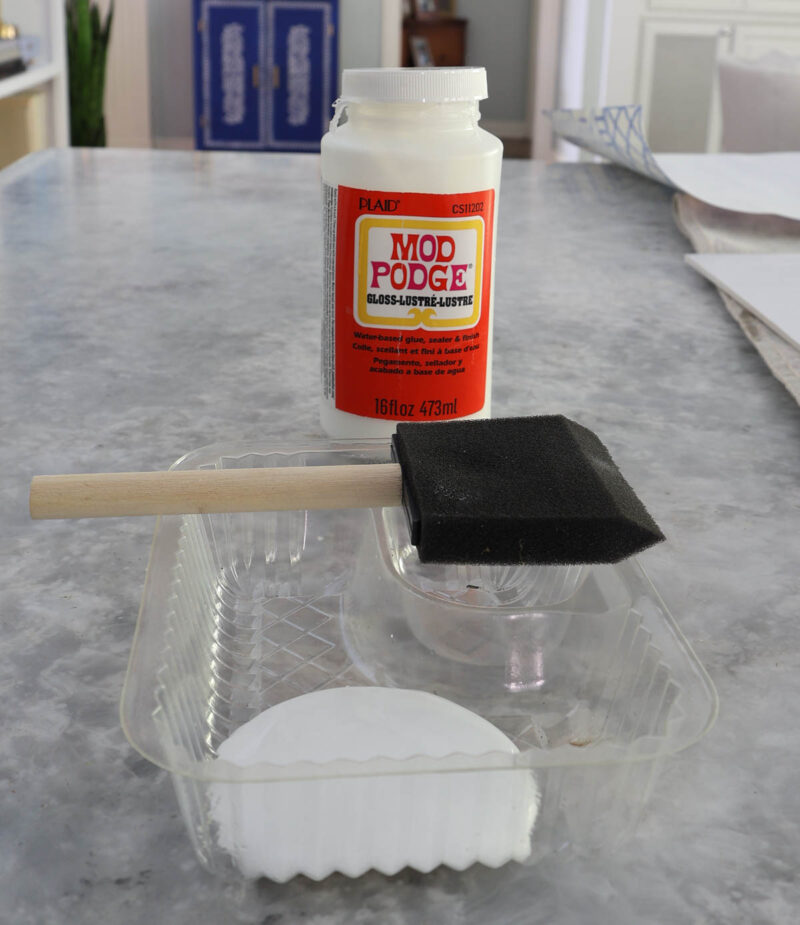
NOTE: Even though I used Mod Podge, this isn’t a decoupage project. The process is very different. I consider it a paper craft.
- foam brush
- clear plastic quilting ruler – this type of ruler allows you to measure down to small amounts, it’s easy to see what you are doing, and it makes cutting paper, fabric, and foam board with the exacto knife a breeze. I’ve had mine for years.
Measuring Your Acrylic Tray Inserts
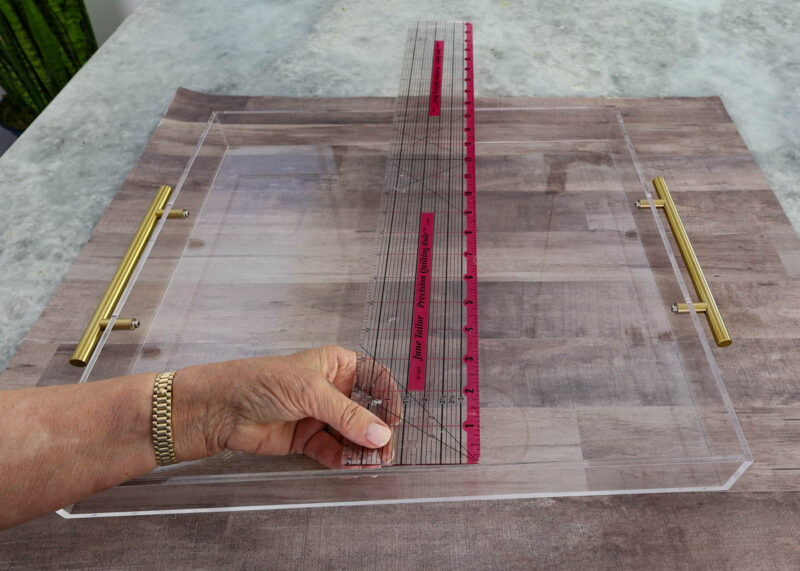
This is your first important step. You are not measuring the outside of the tray. Since the bottom insert will lay inside the tray, you need to measure the inside of the tray. Obviously, your measurements will change depending on your tray. We’ll use my tray as an example.
Bottom Insert
1 – Measure your tray. My tray was 16 x 18 X 2 inches. The width of the sides is 3/8 inch. My cut measurements should be 15 5/8 x 17 5/8.
2 – Use your pencil and your quilting ruler to measure the foam board for the bottom insert.
3 – Using the craft knife and the quilting ruler, cut along your pencil marks. Hold the ruler firmly and press down as you pull the knife through the foam board. You may have to go over the board a couple of times.
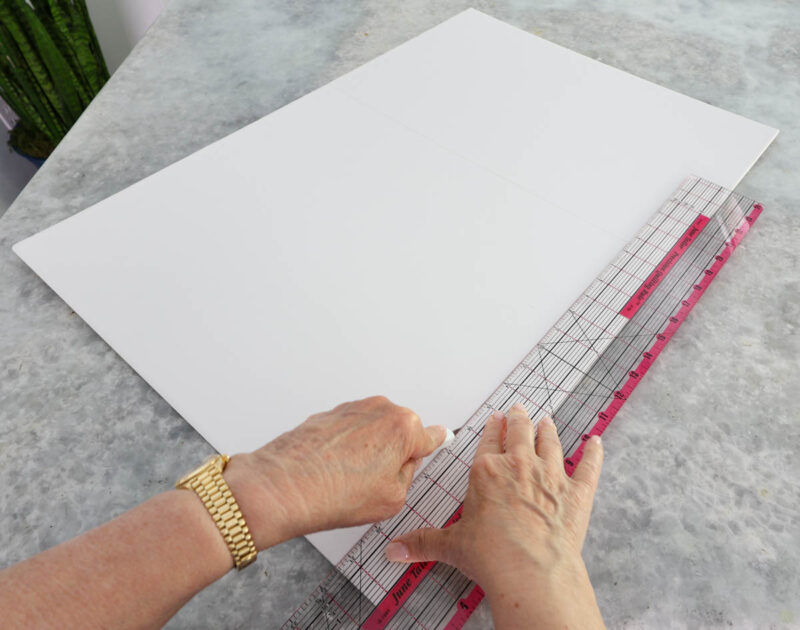
You will see the cut line in the foam board. When you can bend the board backward, you should be able to “pop” the board apart. If not, run the craft knife through the board a third time.
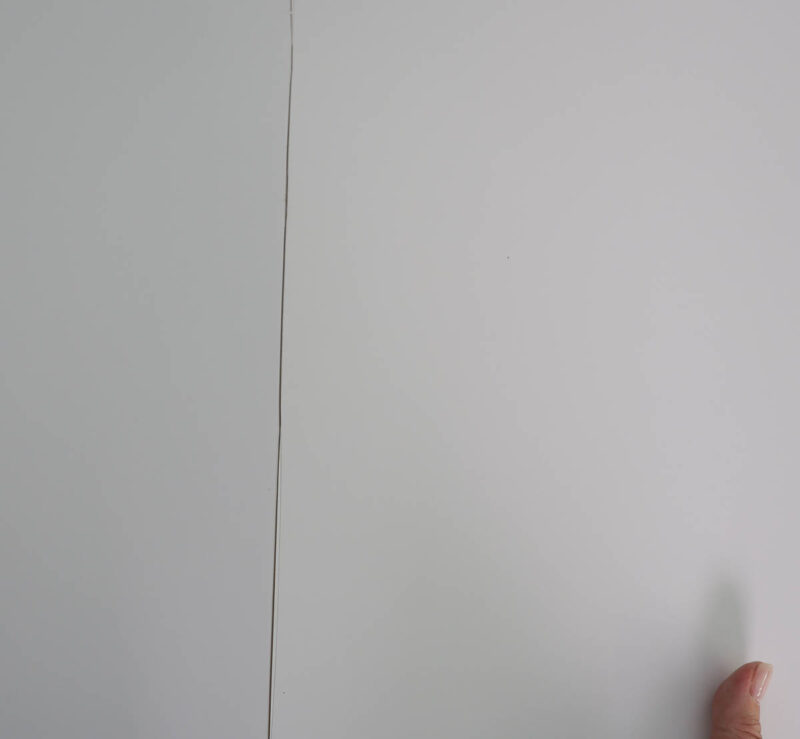
NOTE: Depending on the surface you are cutting on, you may need to place the foam board on a cutting mat. We have granite on our kitchen counters, so I knew the knife wouldn’t hurt it.
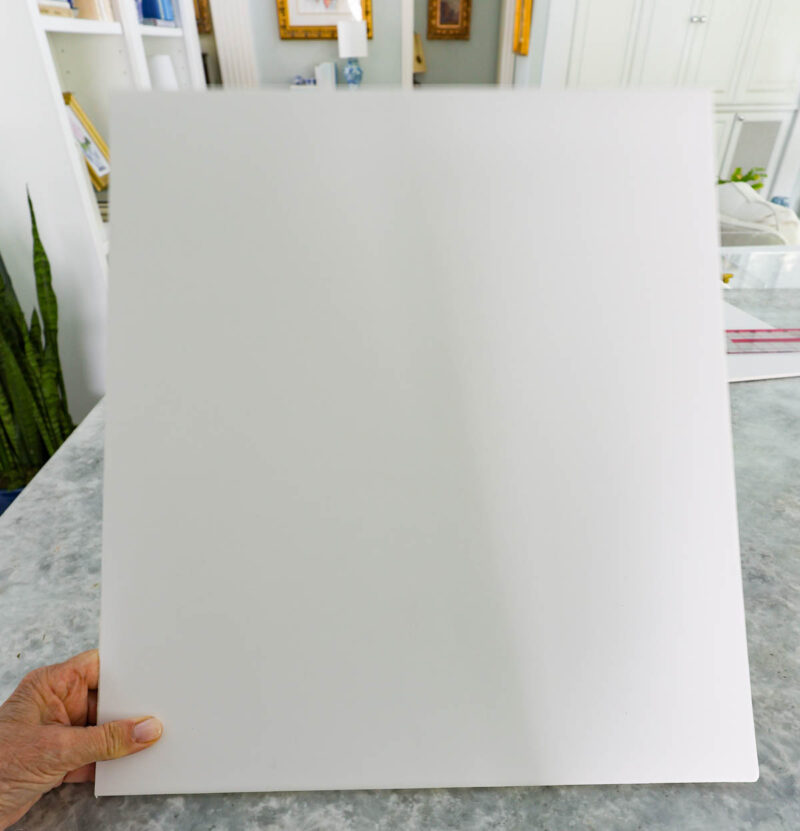
When I cut my first insert piece, it wouldn’t fit in the tray. I recut the sides to 15 1/2 X 17 1/2 inches, and it fit.
TIP: Cut your bottom insert 1/2 inch smaller than the inside measurements of your tray.
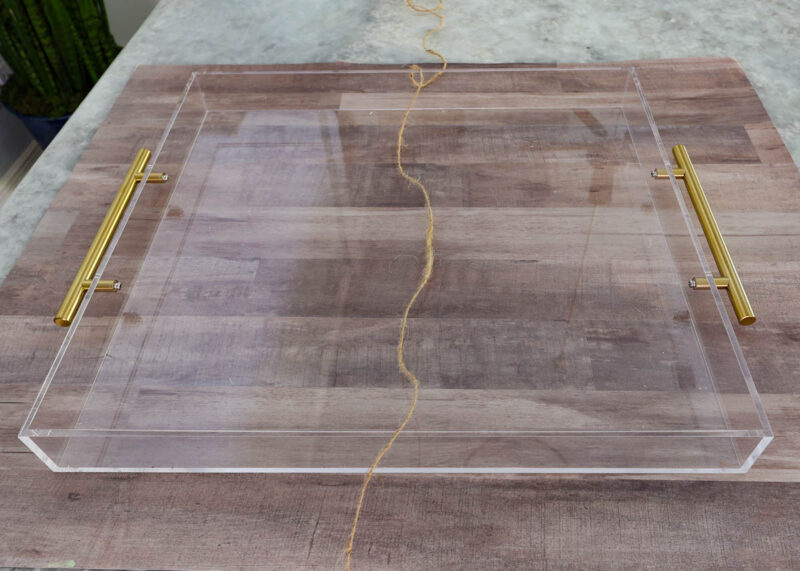
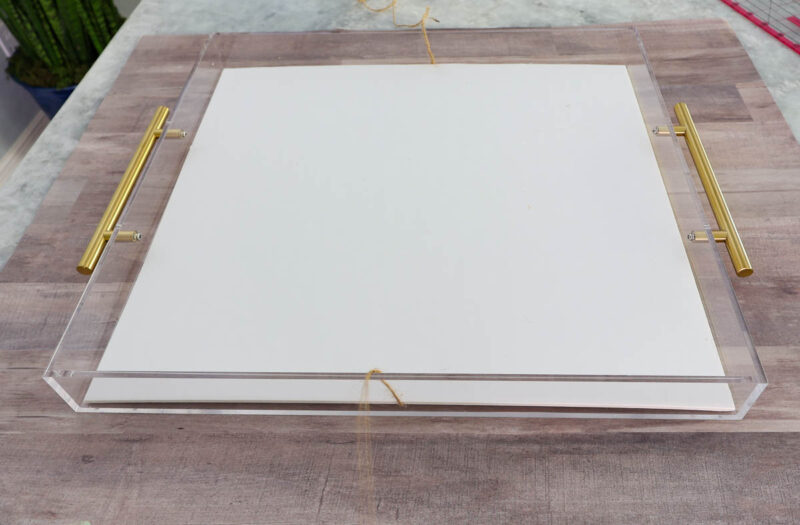
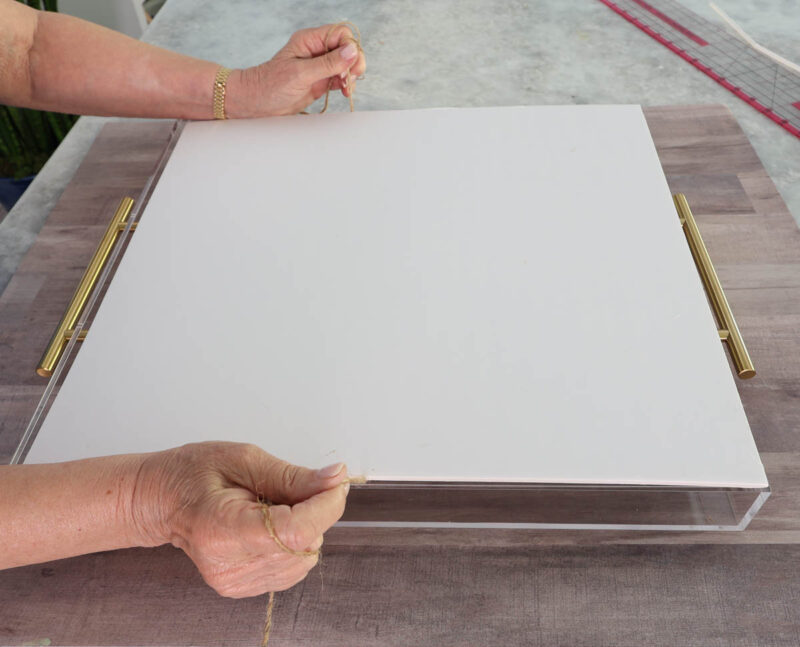
BIG TIP: As I was about to place the bottom insert into the tray, I thought, “How would I get it out?” I put a piece of twine from my stash across the bottom of the tray with plenty of extra on both sides. Then I placed the insert in the tray. To remove it, I simply lifted the twine and the insert came right out.
Side Inserts
For your side inserts, leave the bottom insert inside the tray. Measure from the top of the insert to the top of the acrylic sides. My sides are 2 inches, but with the bottom insert in place, the side inserts should be 1 3/4 inches wide.
You will need four side inserts: two at 15 1/2 x 1 3/4 inches and two at 17 1/2 x 1 3/4 inches.
But when I placed the side inserts in the tray, they didn’t fit. You have to allow for the sides to butt up against one another at the corners. So, I cut one short side to 15 1/4 and one long side to 17 1/4. Now, they fit snugly.
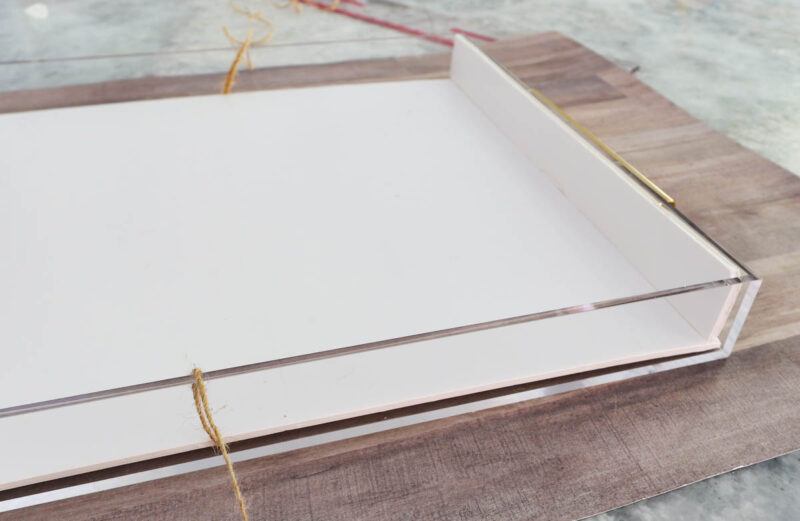
NOTE: When cutting your side pieces, you will have four different lengths. This way the sides will alternate at the corners for a cleaner look.
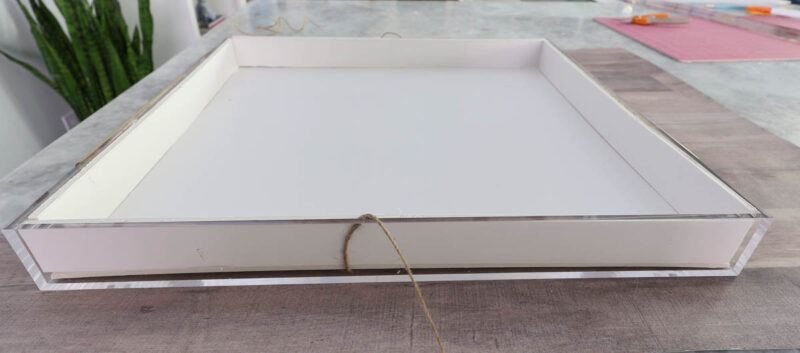
Measuring, Cutting, and Gluing Your Wrapping Paper
Now that you have your inserts measured and cut, it will be easy to measure and cut your paper.
Bottom Insert
1 – Unroll your wrapping paper about 24 inches. Lay your bottom foam board insert on top of the wrapping paper with the right side down.
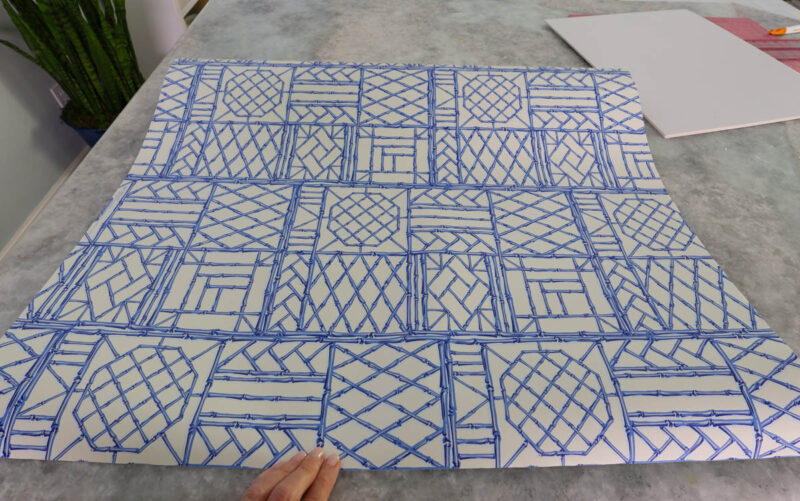
2 – Use your ruler and pencil to mark your cut lines. I added 1/4 inch around all sides to allow for turning over the side of the foam board. Just place the ruler 1/4 inch from the side of the foam board.
3 – I wasn’t sure the best way to apply the wrapping paper to the foam board. After a little trial and error (I applied Mod Podge to the foam board and laid the wrapping paper on top, but I couldn’t see where it was fitting, so I quickly lifted it up.), I found that the best way was to lay the wrapping paper on my work surface and place the foam board, glue side down, centering it to fit on the paper with the 1/4-inch allowance even all around. This approach was easier and worked great.
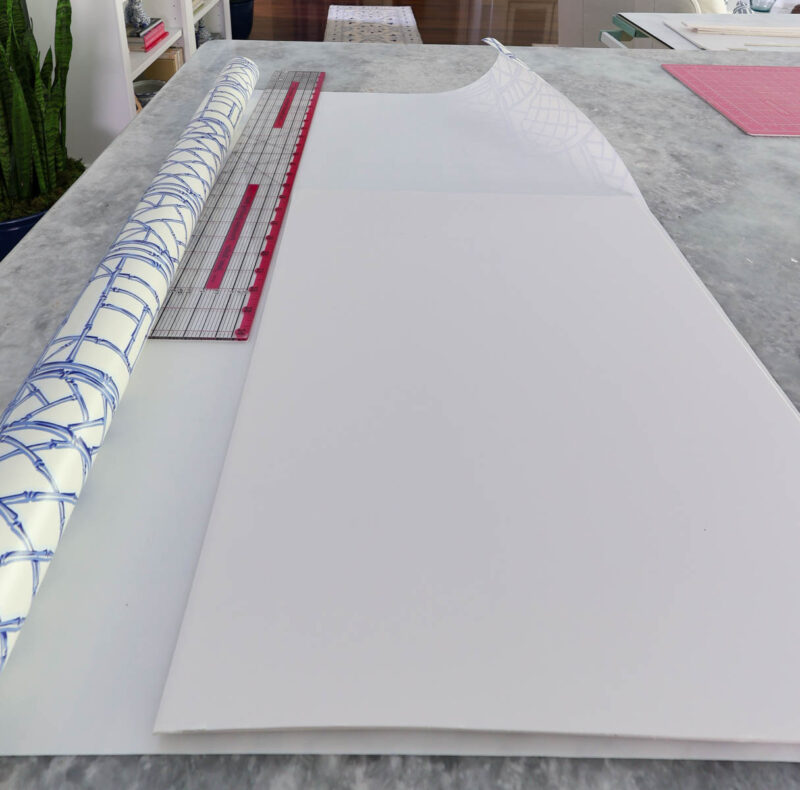
4 – Turn your board over and begin to smooth out the wrapping paper on the foam board, from the center out. I used my Cricut spatula, but you could use a credit card or a plastic pastry scraper. There were very few wrinkles, and they smoothed out easily.
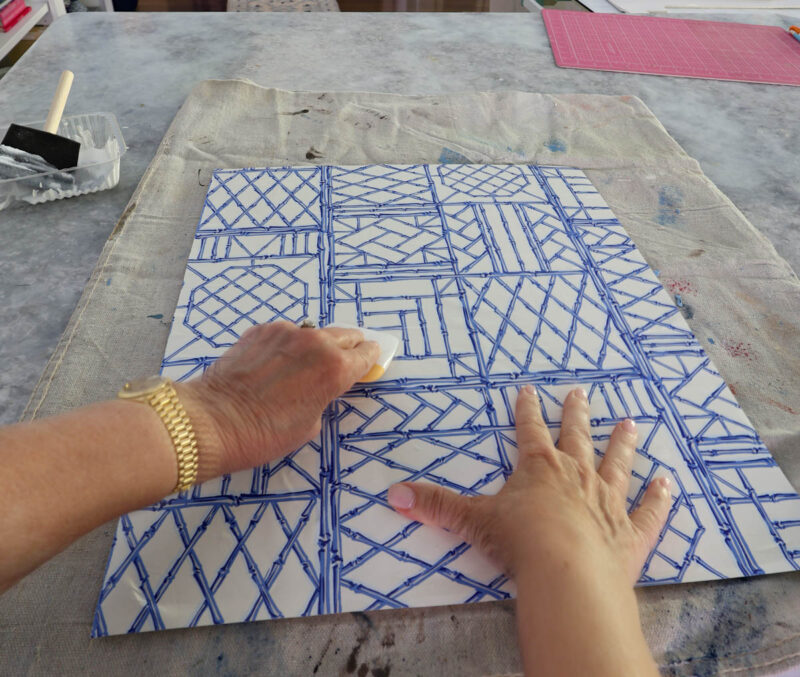
5 – Once you’re done with the front of the board, use a small brush to apply the Mod Podge to the side edges of the foam board. Turn the paper allowance up to stick to the sides.
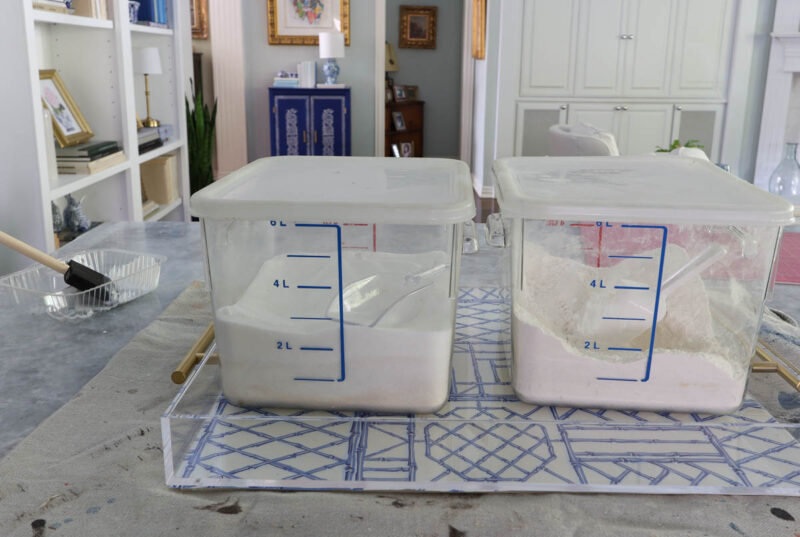
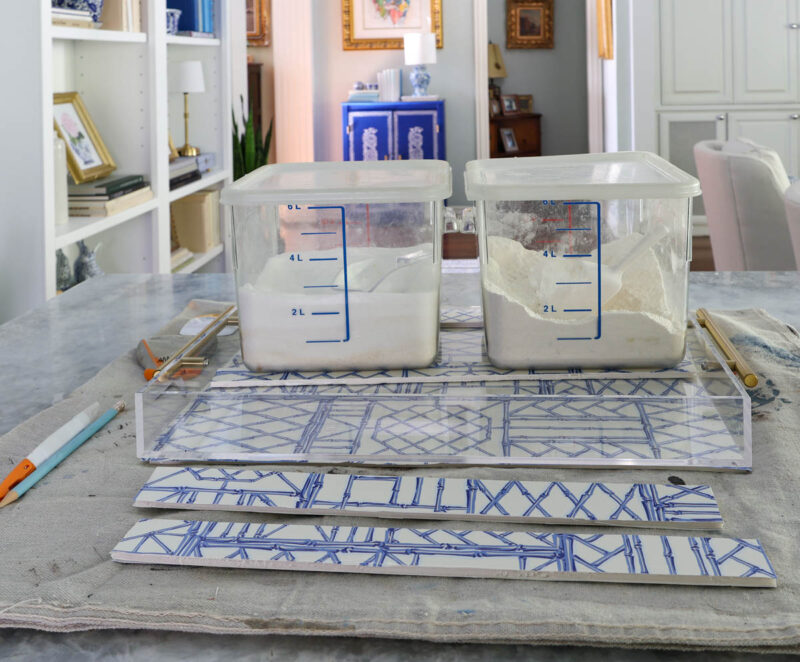
NOTE: At this point, I noticed that the foam board was bending a bit. I assume it was from the glue. I set the board, paper side up, and placed the acrylic tray on top. I added my containers of flour and sugar on top for weight. I set it aside to dry completely overnight. The next morning it was dry and flat!
Side Inserts
I cut the side inserts differently. You will measure, glue, and cut each side, one at a time.
1 – Unfold your wrapping paper and measure the length of the side insert. Mark with a pencil.
2 – Lay one of the foam side inserts on top of the paper. Brush your glue across the top, covering the entire side.
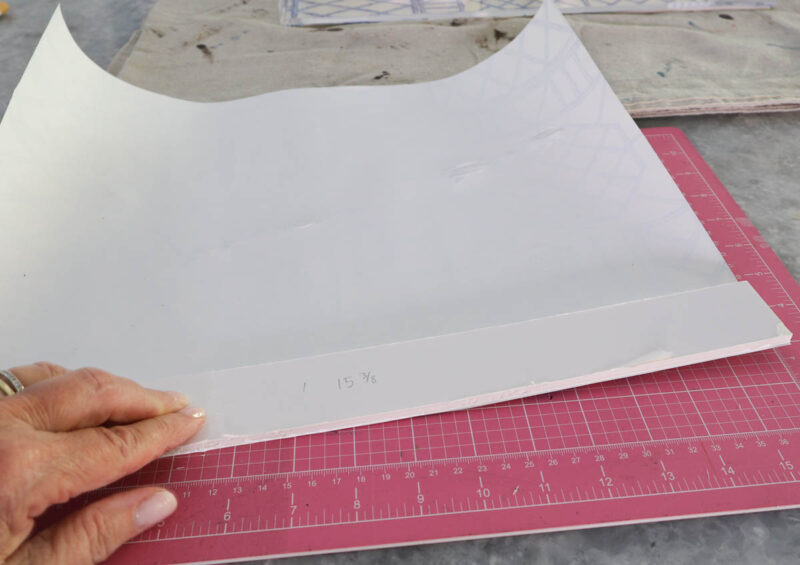
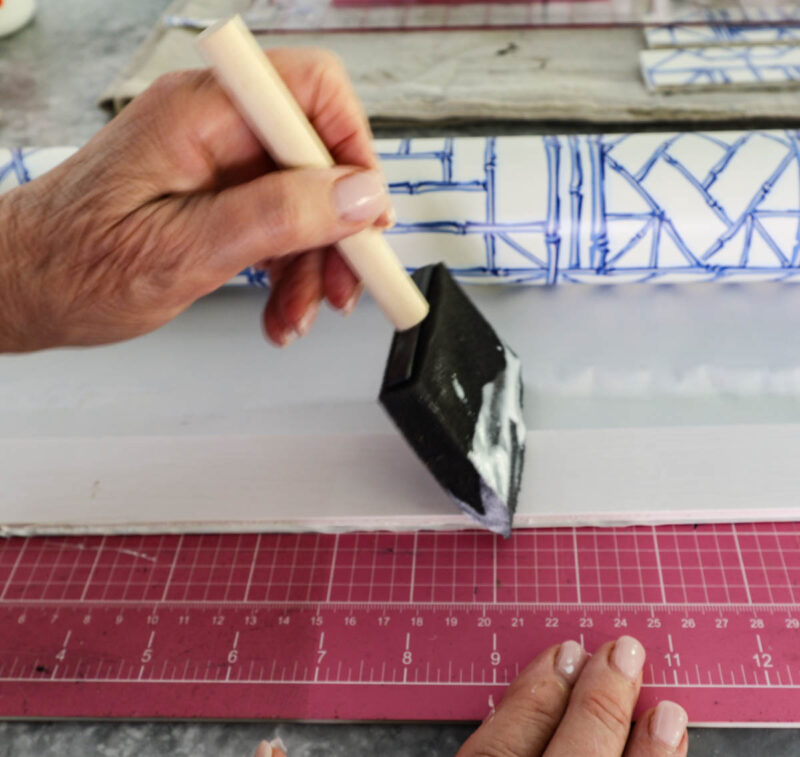
3 – Turn the insert over and press it on the paper from one end to the other. Apply another layer of glue to the top of the insert. Roll the insert over so that the glued side sticks to the paper. Both sides of the insert and the edge of the insert (the top) will be covered in wrapping paper.
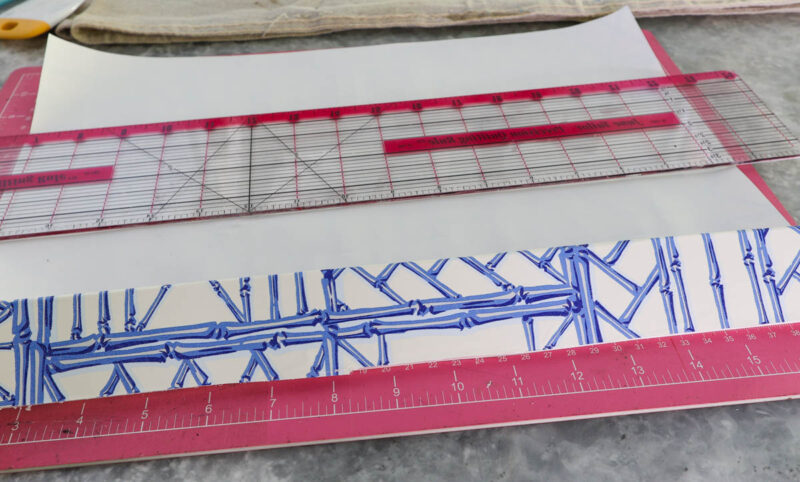
4 – Use the plastic spatula or credit card to smooth out any wrinkles or bubbles.
5 – Use the craft knife to cut the insert away from the rest of the wrapping paper along the sides and the long edge. If there is any paper sticking out on the side edges, trim that off, too. Set the insert aside.
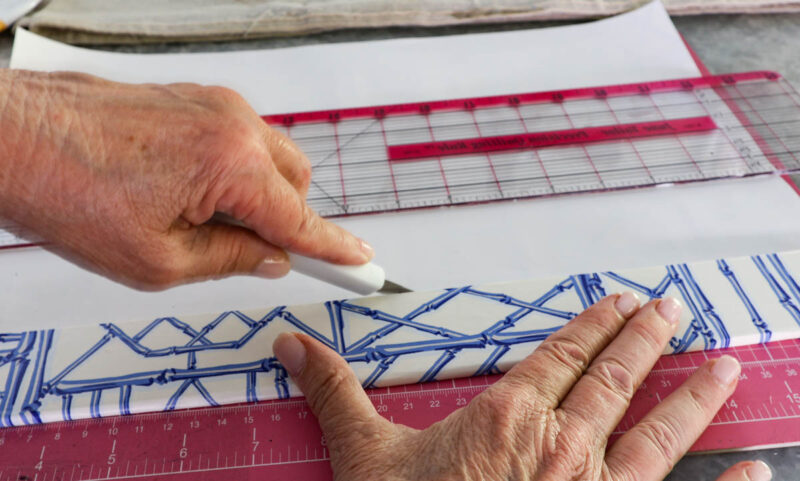
6 – Repeat the process with the remaining three side inserts.
I let the bottom and side inserts sit overnight. The entire process – measuring, cutting, and gluing took almost three hours, including my trial and error! I know that next time, I could do this part in about 2 hours.
Assembling the Acrylic Tray Inserts
Now the fun part.
1 – Before inserting the decorated foam pieces, add a piece of ribbon or thin twine (depending on the style of your tray). This step will make it easy to remove the bottom insert from the tray.
I chose 1/8-inch wide white satin ribbon. Just drape it across the width of the tray, allowing about 3 -4 extra inches on each side.
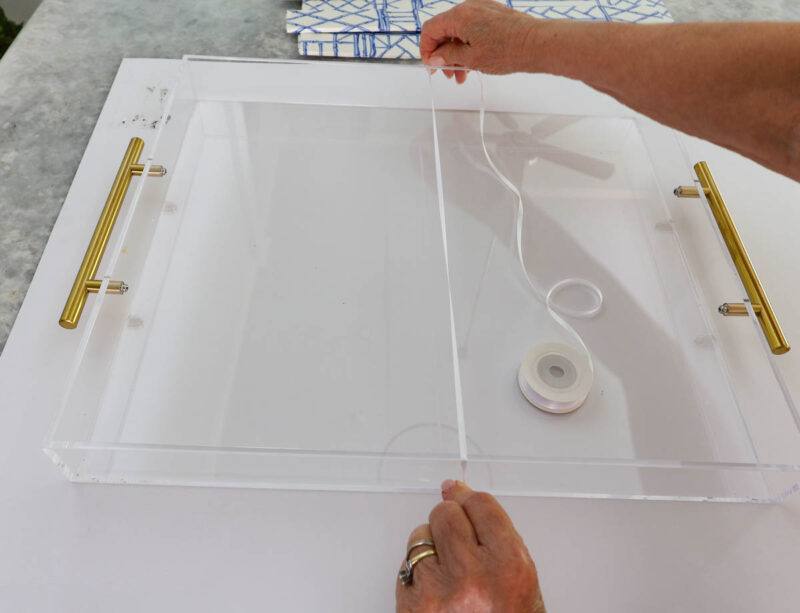
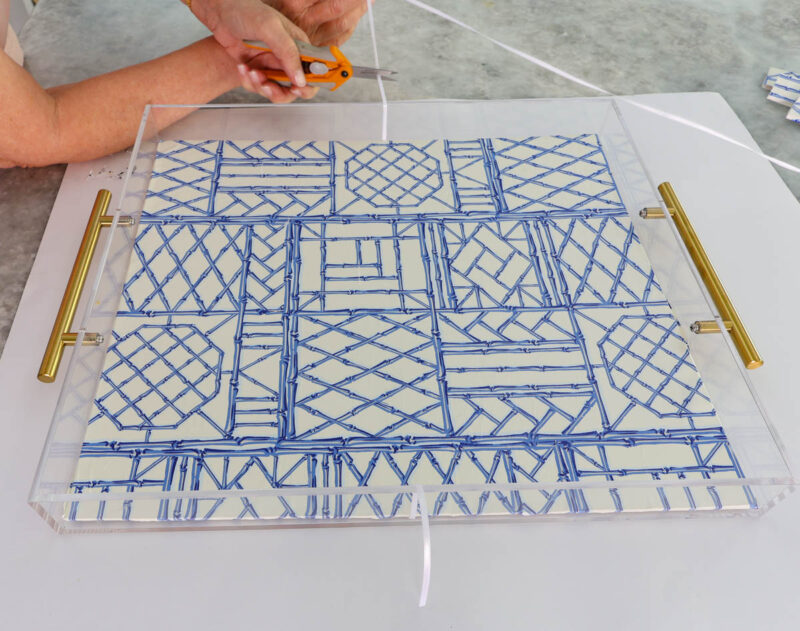
2 – To make sure that the ribbon doesn’t slip under the insert, I made a knot in the ribbon next to the side of the tray. Then place the side pieces in the tray.
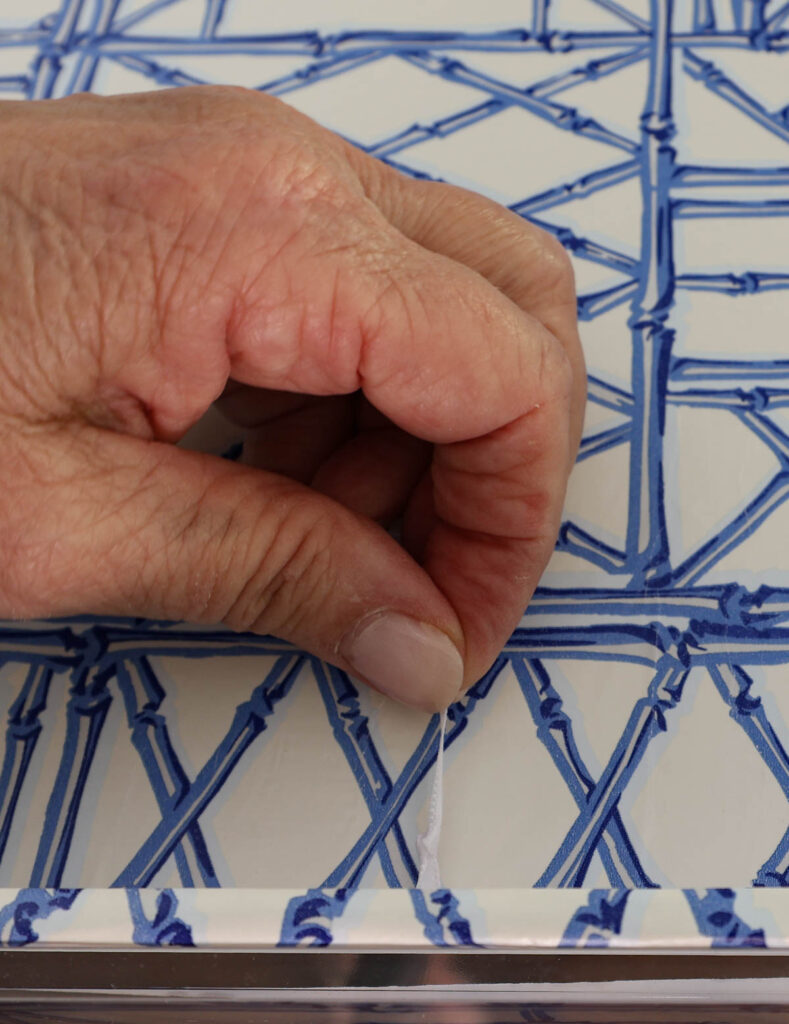
NOTE: Be sure to alternate the long and short pieces to fit in the tray securely.
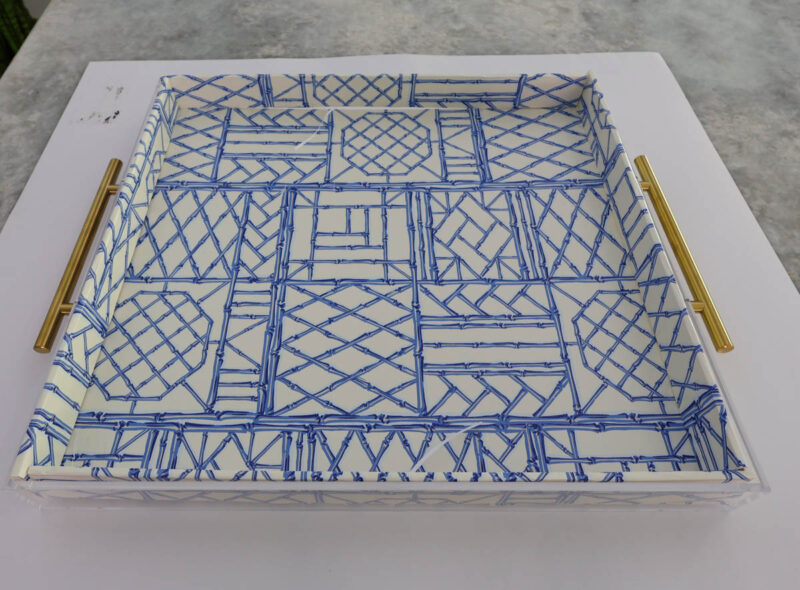
Now your tray is complete! Isn’t it pretty? But you’re not through yet.
Creating a Lovely Display for Your Tray
Although a tray can be pretty as a base for drinks, glassware, or cupcakes, this tray is meant to be used as a home decorative accessory. I chose a large 16 x 18-inch tray to fill half of our living room coffee table or our entry chest. Today, it’s going to become a new focal point for the living room.
The first thing I added to the tray was a white ceramic bowl filled with green Super moss and a set of 6 blue and white ceramic balls.
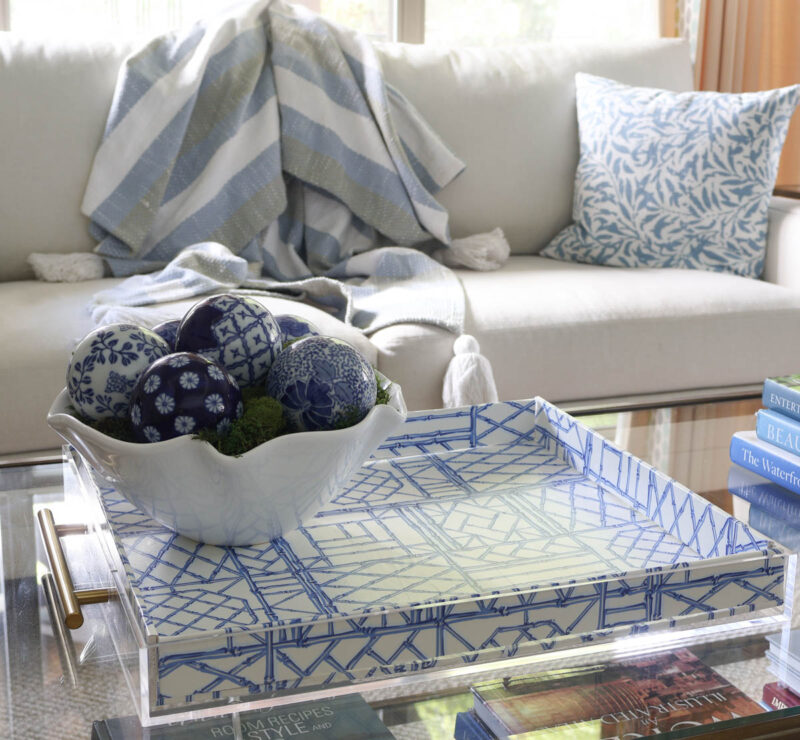
Next came a stack of white books and a blue and white striped container.
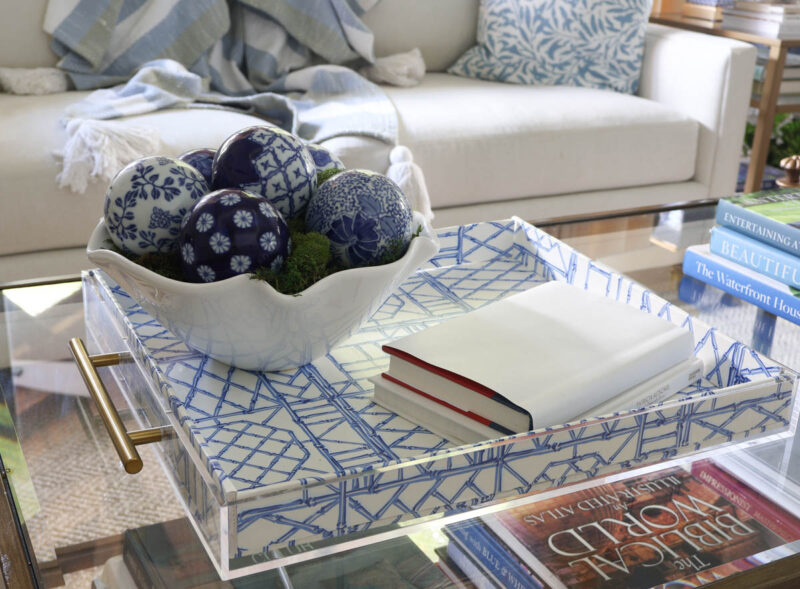
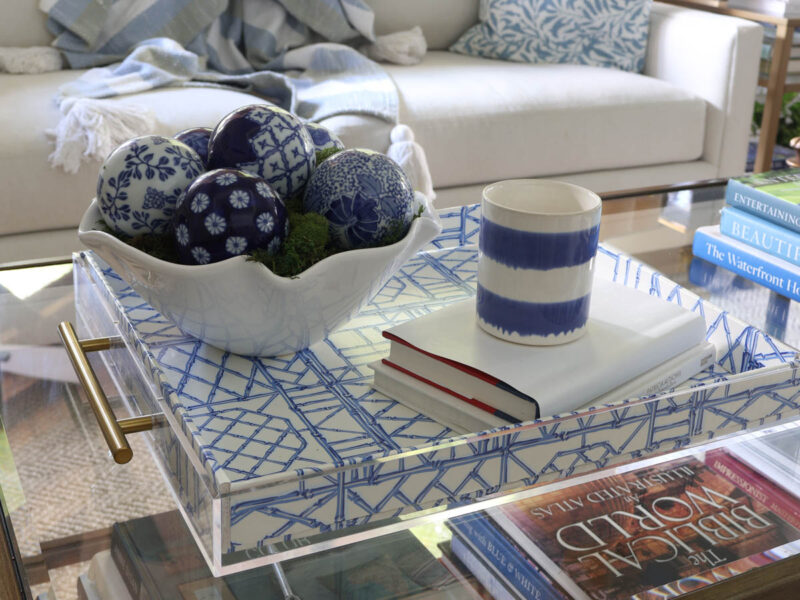
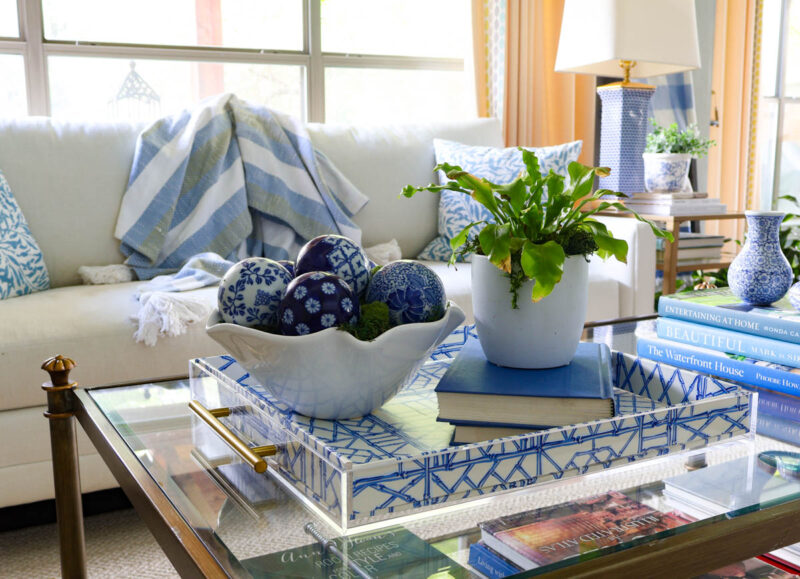
I didn’t like that combination, so I switched the books to blue. And I thought a pretty green plant would add a nice contrast of color and nature. That was better.
To add a metallic touch, I added a trio of gold candlesticks to coordinate with the gold handles of the tray. I didn’t add candles for now.

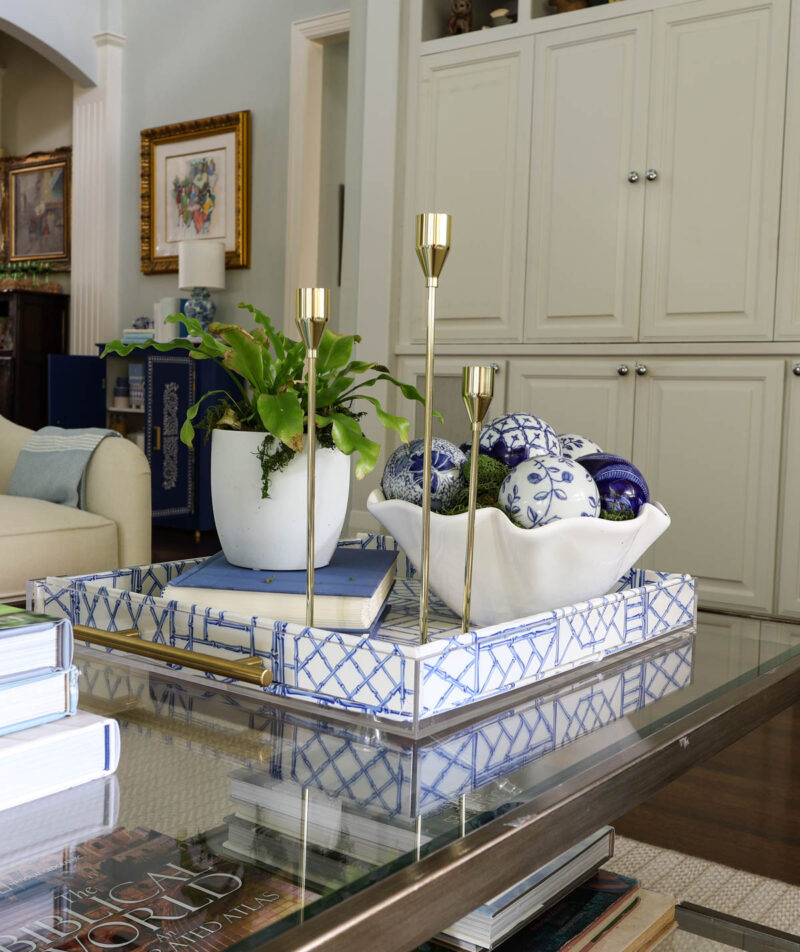
I love how this DIY decorative acrylic tray turned out. It’s colorful, stylish, and so practical.
I know that this process was long and may seem complicated, but it was really easy and satisfying to make. I hope that you’ll give it a try for your home in the coming seasons.
Questions and Answers to Help You
You need a plain acrylic tray, foam board, wrapping paper in a pattern you love, and Mod Podge or another adhesive. You will also want a ruler, a pencil, and a craft knife or scissors to measure and cut the foam board inserts to fit. That is really all it takes to create a custom decorative tray at home.
My acrylic tray cost $44, the price of the plain acrylic tray from Amazon. The foam board from Target was $3.99 . I already had everything else I needed: the wrapping paper, Mod Podge and supplies. Compared to the patterned trays I found online for $50 to well over $100, making my own was a real bargain, and I got the exact color and design I wanted.
Definitely. I don’t consider this a decoupage project. Wrapping paper works beautifully for this project and gives you far more color and pattern options than traditional decoupage paper. And the paper is easier and faster than traditional decoupage. Also, a top coat of Mod Podge isn’t necessary.
Yes, and this is my favorite part. The paper-covered foam boardinsert lifts right out of the tray, so you can make a new insert with different paper whenever you like. Swap it for a new season, a holiday, or a fresh color scheme without ever buying another tray.
A decorative tray works almost anywhere. Style one on a coffee table, an ottoman, a kitchen island, a bar cart, a bathroom vanity, or a nightstand. It corrals your accessories into a polished arrangement and gives everything a defined home.
Absolutely. If you can measure, cut foam board, and smooth paper with a little Mod Podge, you can make this tray. There are no special skills required, which makes it a great project if you are new to DIY home decor.
If you love trays as much as I do, check out Creative Ways to Use Trays and Rescued Tray Gets a Makeover.
Be sure to save this post. Save it to your favorite Pinterest Boards. Here are some of my favorites: DIY Accessories for the Home and Paper Crafts.
Head over to Sarah of Birz of a Feather and see what she has for you.


My Thrift Store Addiction – Crochet a Cozy Chenille Steering Wheel Cover
Bluesky at Home – DIY Decorative Tray: An Easy Wrapping Paper Project
Birdz of a Feather – Sassy Polymer Clay Waffle
Purple Hues and Home – Woven Bamboo Fibers Placemat Box
Modern on Monticello – DIY Macrame Butterfly Bag Charms for Kids







Beautiful project, Carol. The blue paper is perfect for your home. I agree that your version is much better than the inspiration piece.
Wow- Carol this looks fantastic. Great job and great tutorial. I love how you can customize it for different looks. And your coffee table styling is stunning. XO- MaryJo
MaryJo, you are so sweet!. This may be one of my favorite projects. It looks “almost” as good as the real thing, but at a much lower cost and customizable.
Beautiful and so inspiring Carol! I inherited an acrylic tray from my mom and have always thought it needed joushing up; now I know what to do! Your tip about adding the ribbon is so smart ; I can see how much fun it would be to swap this out for different patterns and colours with the seasons .
Your acrylic tray transformation is lovely! I’ve used clearance wrapping paper to elevate mismatched storage boxes–it’s so versatile. Cecilia, My Thrift Store Addiction
I love how your wrapping paper brings new life to an everyday item like an acrylic tray, Carol! The design you chose looks so much nicer than your inspiration! Plus your tray now feels clean and quite elegant! Perfect for any area of your home!