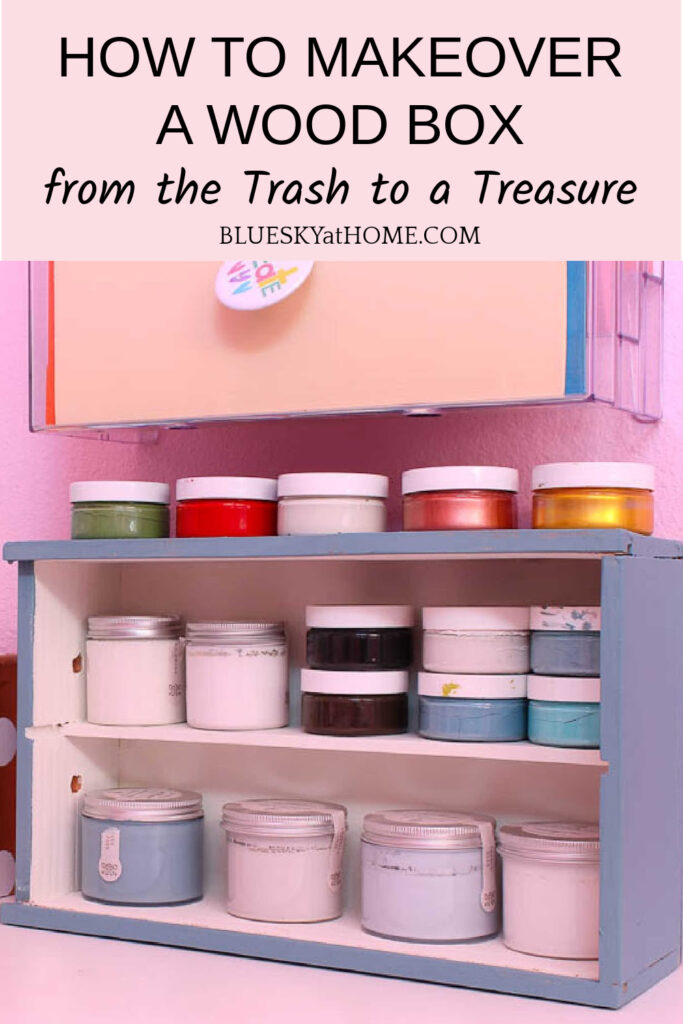
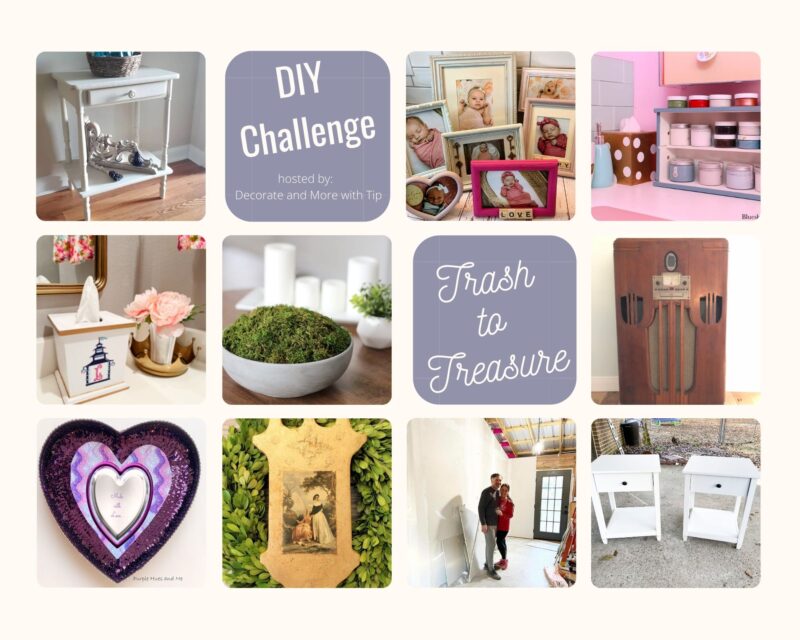
Trash to Treasure: How to Reuse a Wood Box
Have you ever saved a wood box from the trash? You knew it could be made into something pretty and practical. Here’s how to reuse a wood box and take it from the trash to a treasure.
If you think a wood box can’t be reused, think again. There is always something that you can do with a wood box.
When I rescued a wood box from the trash, I didn’t have a clue how I would reuse it. I didn’t want it to end up in a landfill.
I just knew there was something I could do with it. An idea would come to me ~ and it did.
Need some ideas for your wood box? Want to know how to take a wood box from the trash to a treasure?
Let me show you how I did it.

Thank you to Terrie of Decorate and More with Tip for hosting this month’s DIY Challenge Blog Hop. Our theme this month is trash to treasure. Thank goodness because that was the push I needed to reuse my rescued wood box.
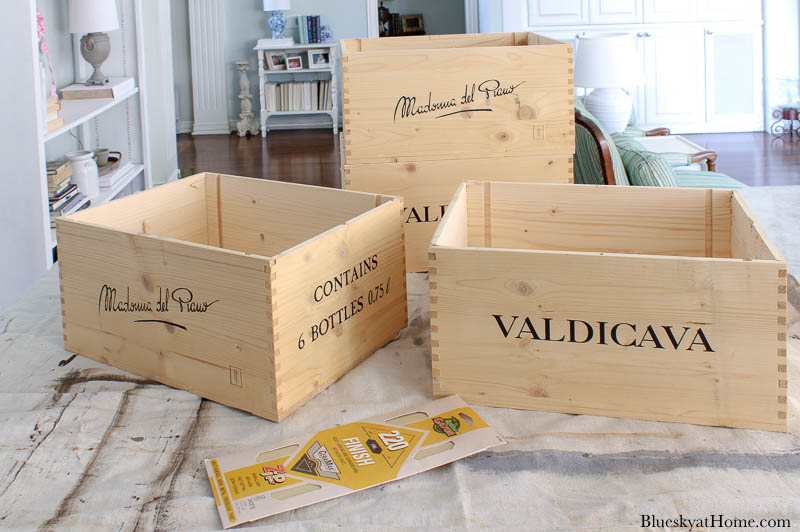
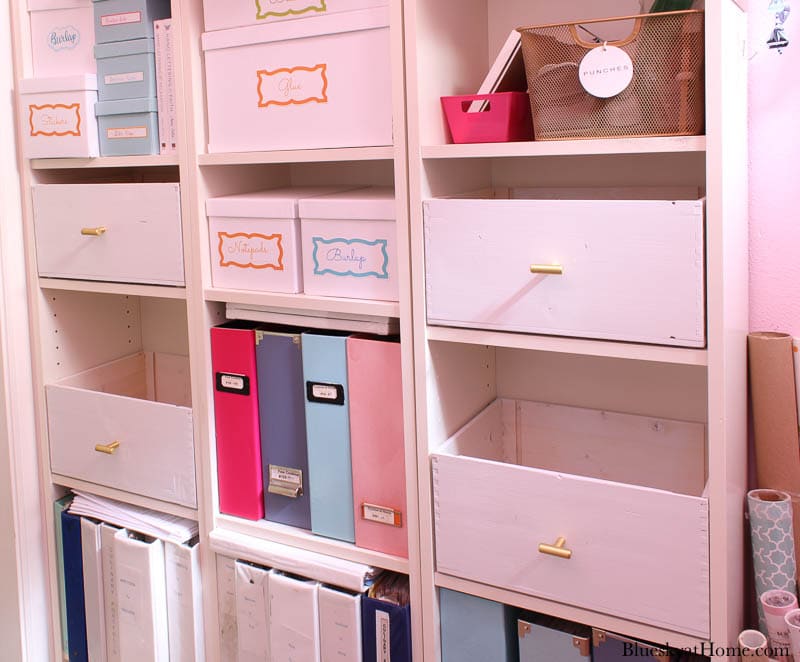
This isn’t the first time that I’ve rescued and reused a wood box. In 2020 I found four wine crates on a neighbor’s curb. A year ago, for our DIY Challenge organization month, I recycled them as storage boxes in my office.
My advice? Never pass up a wood box.
MY TRASH WOOD BOX
This post contains affiliate links to products used in this project. If you should order any product from this site, I may receive compensation, but you don’t pay a penny more.
Let me introduce you to my trash wood box and tell you the story.
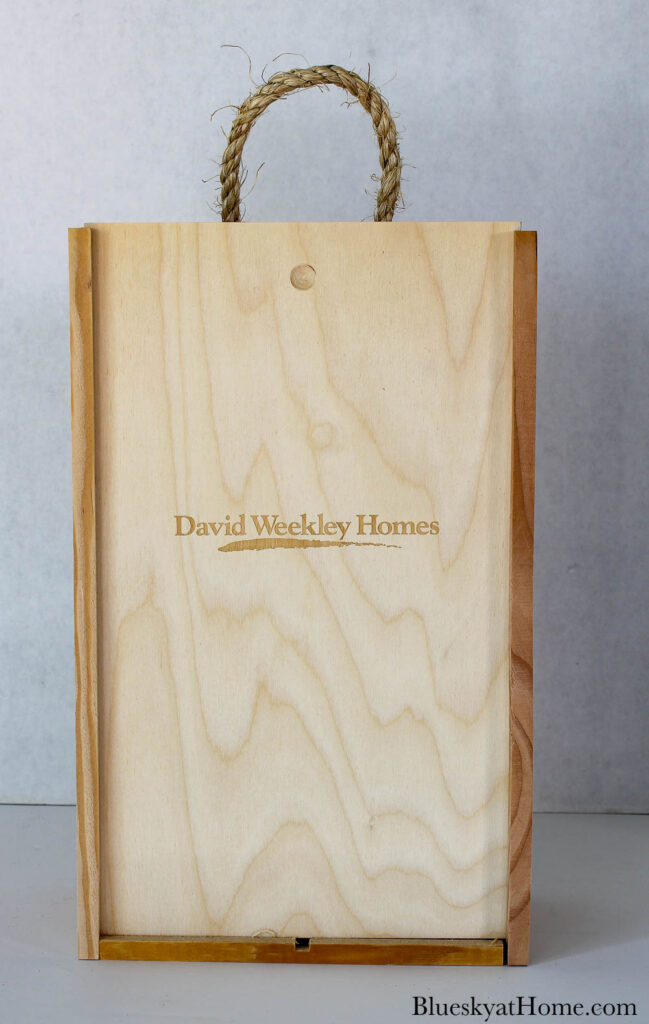
A couple of weeks before Christmas, Sweet Shark brought home a gift from one of his clients. It was a wood box with a big bow. Inside was a lovely bottle of Merlot and two stemless wine glasses. How nice.
Sweet Shark removed the wine and the glasses and took the box outside to the garage. I wondered what he was doing with the box. I went outside and he was placing the box in the recycle can.
“What are you doing with that box?”, I asked.
“Throwing it away,” he answered.
“What!”, I yelled exclaimed. I thought I had trained him better.
I retrieved the box and put it on a shelf. And there it stayed until last weekend.
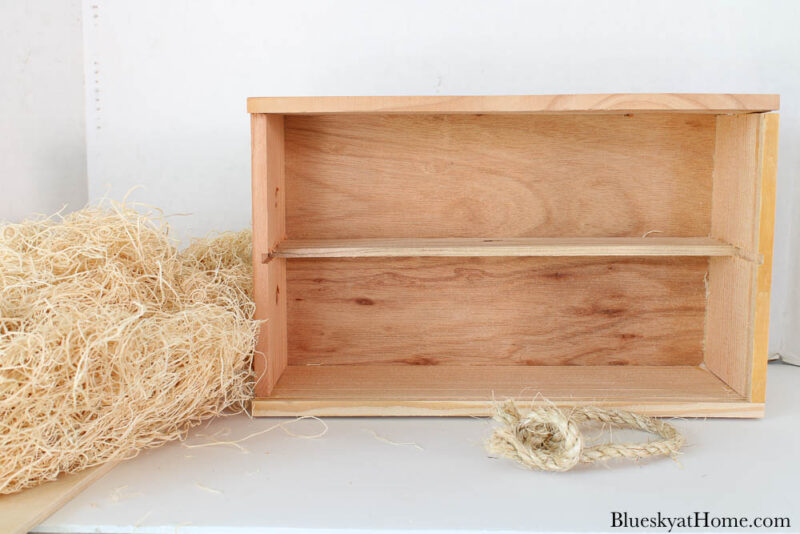
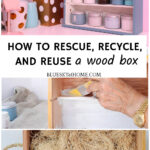
The box was raw wood ~ very inexpensive raw wood. It was 9 inches wide by 14 inches tall with a lid that slid back. The company logo was embossed on the lid. There was a thick twine handle.
At this point, I still didn’t know exactly what I would do with it.
Would I use it in a vertical way? Or would I lay it on its back? Would I use the lid or not? Would I keep the handle or not?
Inside was straw filler to hold the wine bottle and glasses.
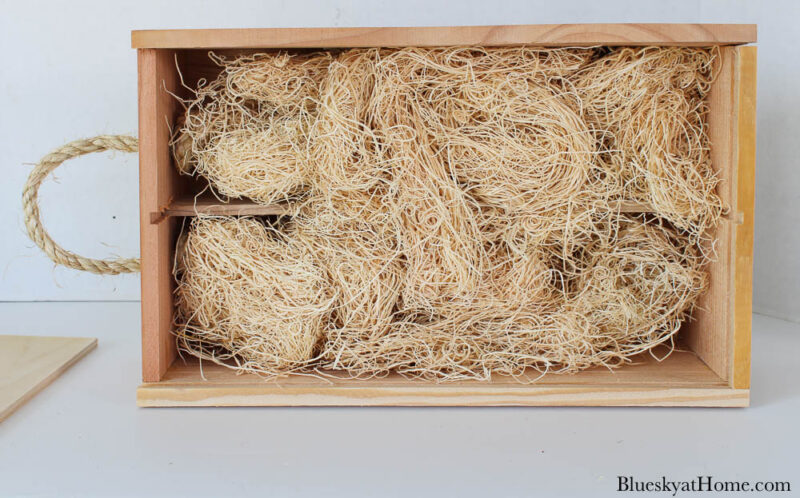
I removed the filler. And then I knew exactly what this box could become.
Do you see what I saw?
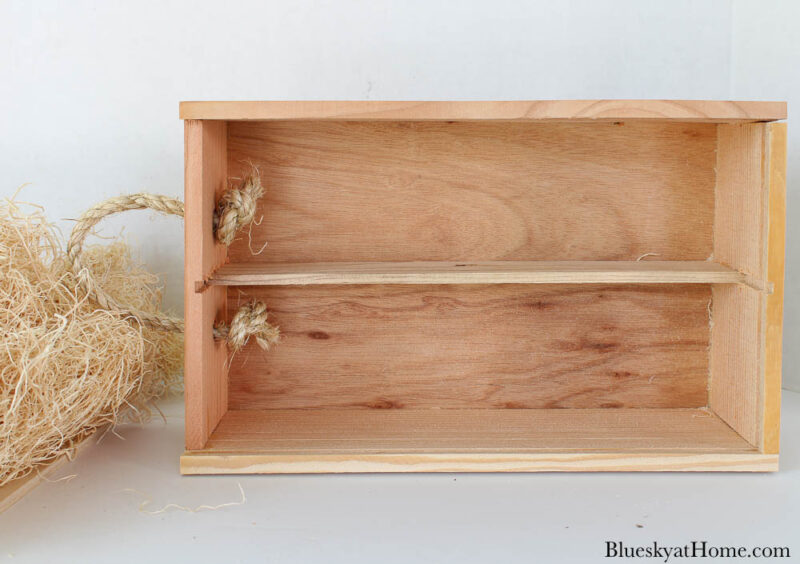
I saw a shelf. A cute little shelf.
Even better, I knew where I would put the box and how to reuse it.
All the box needed was a little prep and paint.
STEPS TO PREPPING THE WOOD BOX
STEP 1 ~ I removed the twine handle. Of course, I added it to my box of twine.
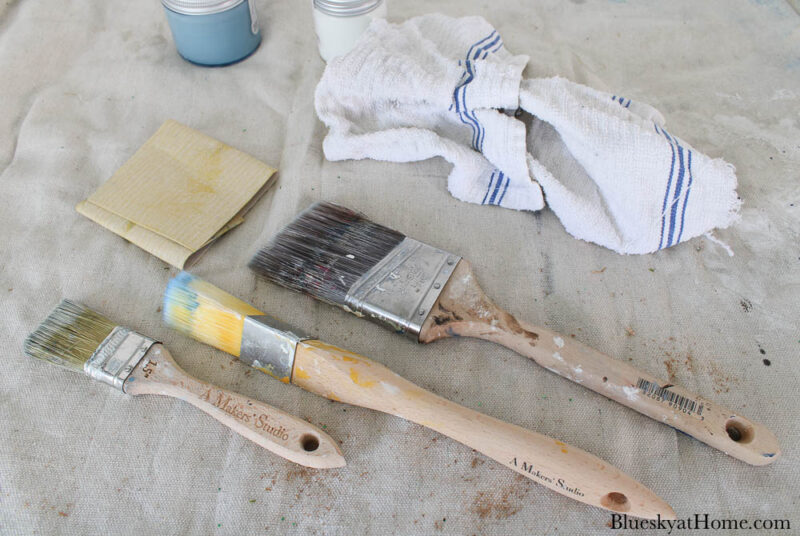
STEP 2 ~ I gathered my supplies:
- a small piece of sandpaper
- a rag
- various paint brushes
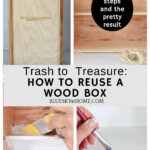
STEP 3 ~ Sand the box. The wood is very rough and there were some areas that had “splinters”. I sanded until the wood felt smooth. Then I wiped down the entire box. Now, I was ready to paint.
PAINTING THE WOOD BOX
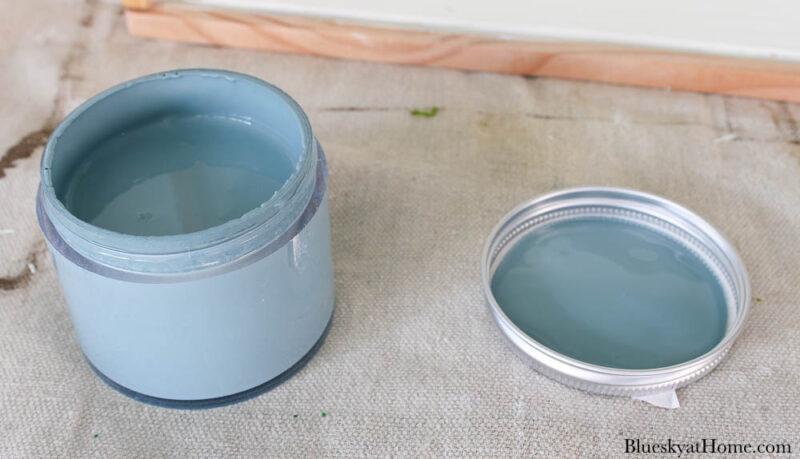
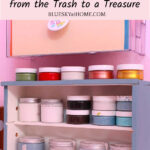
Since I knew where I would use the box, I knew I would use white. I also had a new beautiful blue color to try.
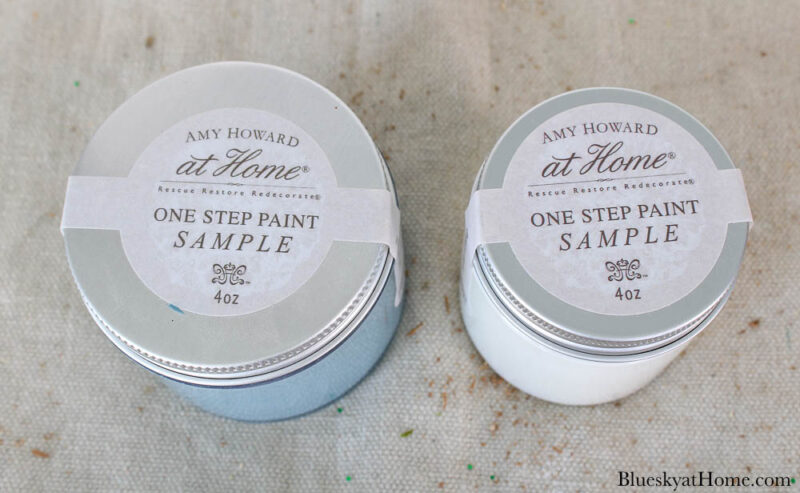
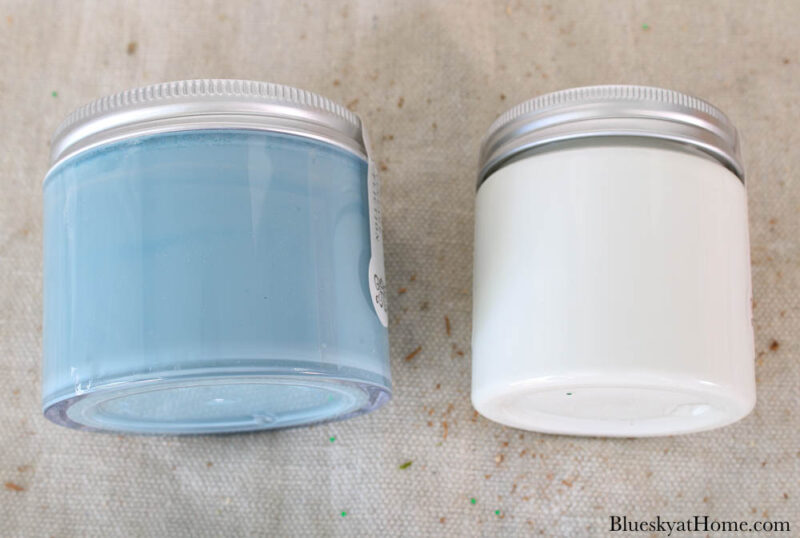
Both these paints are One Step Paint Sample Jars from A Makers’ Studio, one of my favorite paints.
The blue color is Vintage Addiction, a soft grey/blue with just a touch of green. The white was a new one for me, Porch Swing.
The four~ounce jars are perfect for small projects or for testing a color for a large project.
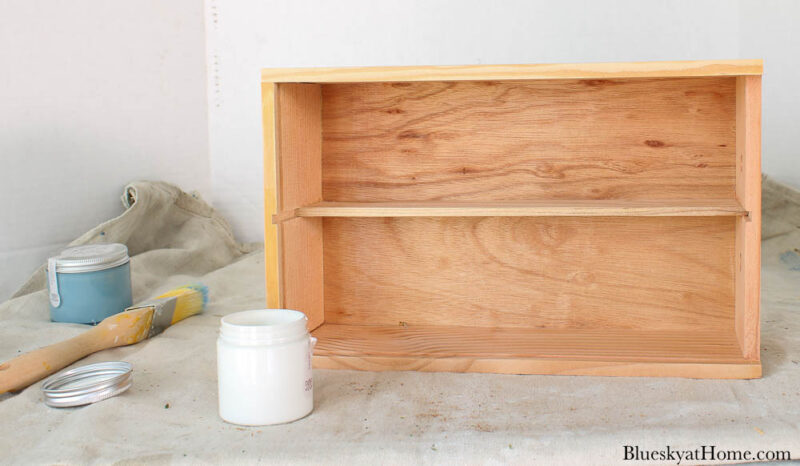
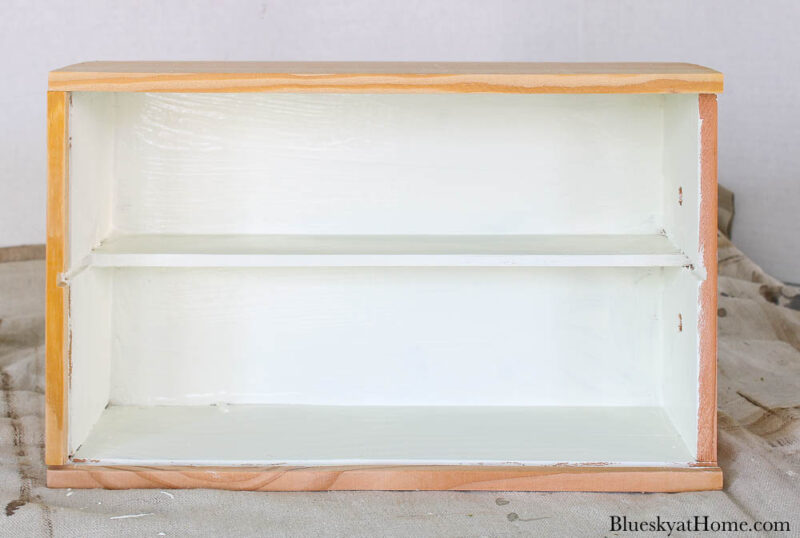
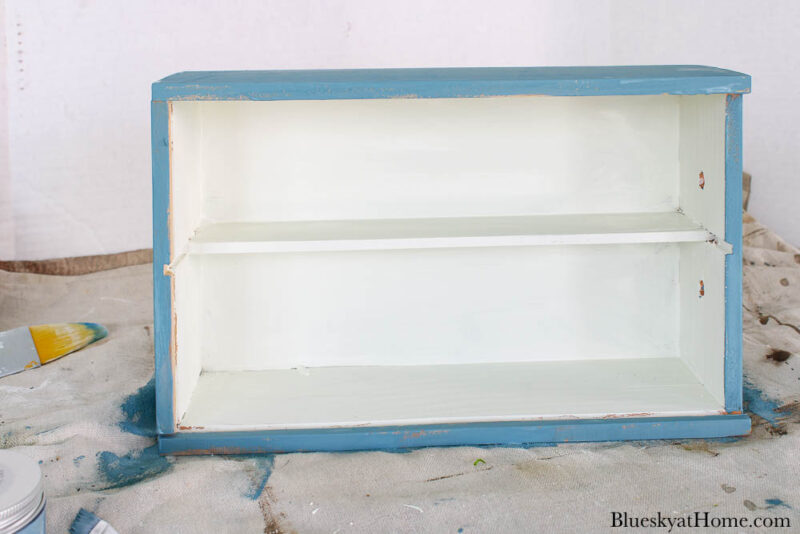
Step 4 ~ I starated painting the inside of the box with Porch Swing. I like using the triangle specialty brush from A Makers’ Studio to get into the corners.
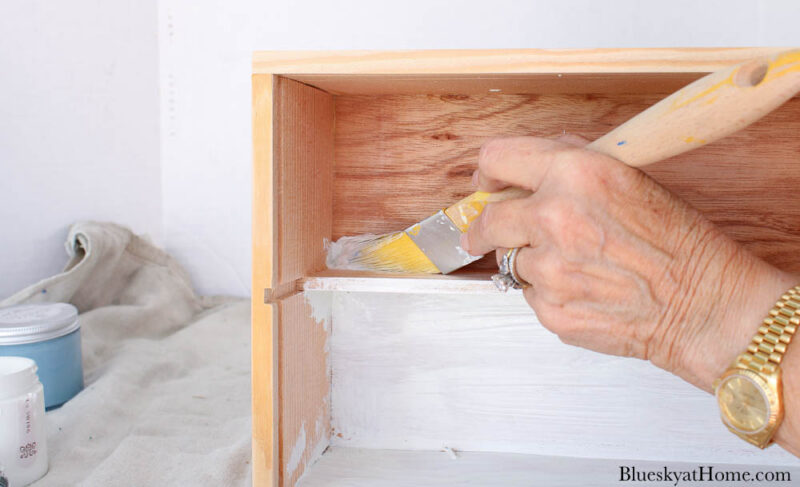
This is the box after one coat. I used a flat 1 1/2~inch brush for the flat surfaces.
To get into the runners where the lid slides in, I used a small brush.
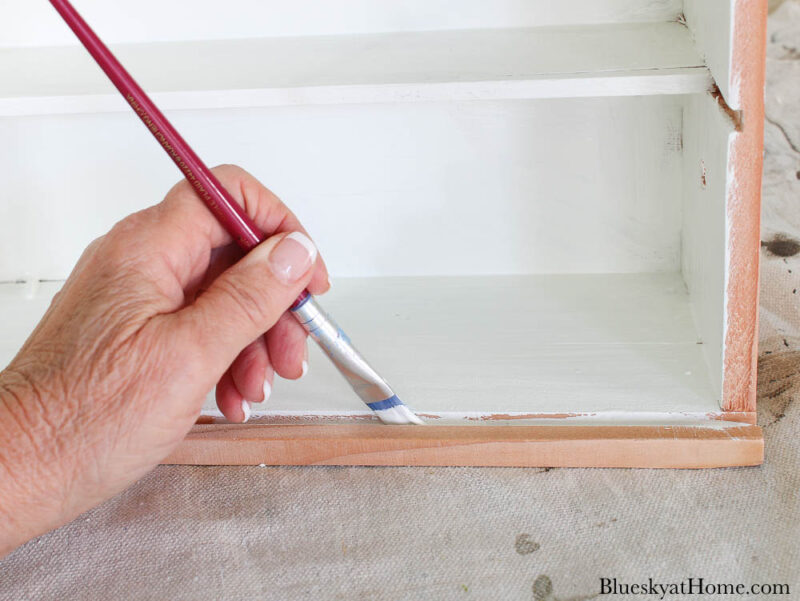
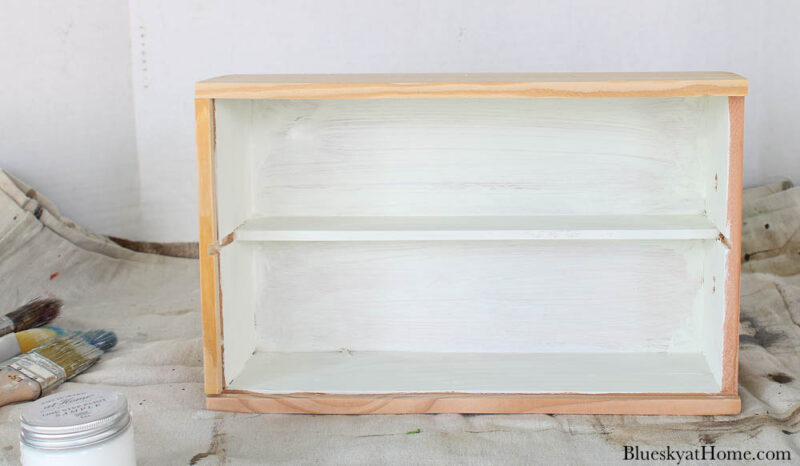
It’s the second coat of paint that always makes the difference.
Apply and let the second coat of white paint dry.
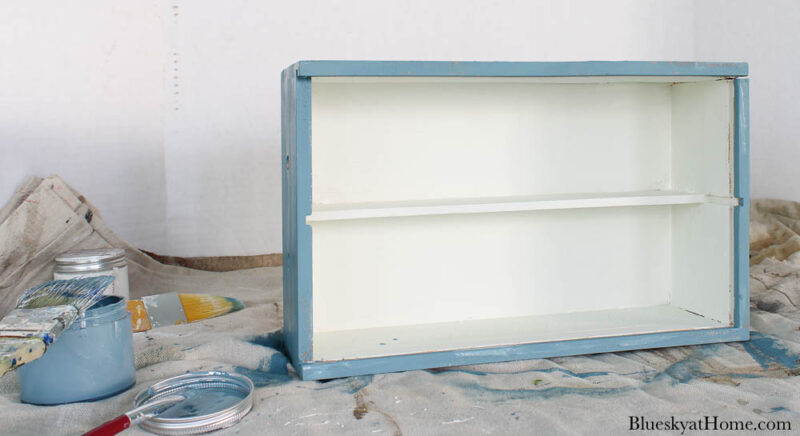
STEP 5 ~ I actually started painting the outside of the box when the inside was almost dry.
I loved this shade of blue.
Since the back of the box will never show, I didn’t paint it. I started on the long flat sides of the box, then the sides.
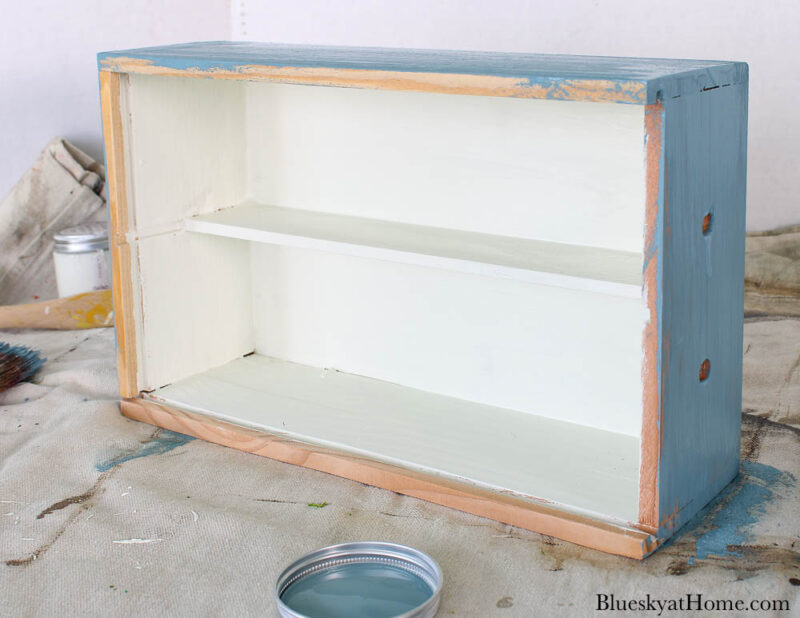
Next came the front edges.
When the first coat of blue paint was dry, I flipped the box over and painted the last long side.
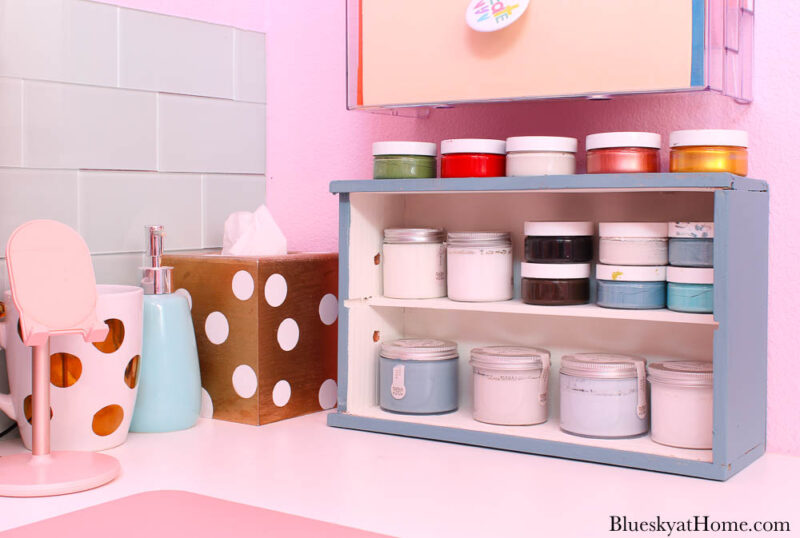
DISPLAYING MY REUSED WOOD BOX
I’m almost embarrassed how easy this recycle project was. A little sanding and some paint and you will have a new “something” to use.
You can use a box you have saved from the landfill or a free box you have received. You could repaint a box you already have for a fresh look.
My reused wood box didn’t cost me a cent. And now I have a pretty little addition to my office that serves a purpose.
BENEFITS OF MY TRASH TO TREAURE WOOD BOX?
I had some small jars of One~Step Paint and ChalkArt that didn’t have a good home. Now they do.
Also, this area to the right of my computer area was a catch~all magnet. I removed the pile of papers, organized and filed them. Now there isn’t room for a paper pile.
You can use paint that you already have on hand ~ or order the wonderful One~Step paint.
How much time did this reused and recycled wood box take to make over?
Active time was about 45 minutes. Dry time was about the same. It took longer for the paint to dry than it took to paint the box. I like when I can work on something else during drying time.
And how much did I spend on this wood box project?
Not a penny. Nada. Zero. The box was free and I already had the paint.
My favorite kind of project:
- it was easy
- it costs litle or nothing
- it serves a purpose
- it’s now pretty
I’m done showing you how to reuse a wood box, my trash to treasure. My one wish is that you never pass a good wood box by. I bet you can always find a way to use one.
Now, it’s time for my friends to show you their trash to treasure projects. I know you’ll get more ideas. The list is below. Jodi of The Hosue House is next on the agenda.


Love the blue and white together. The white will highlight anything you put inside. I love all wooden boxes. For years I have had an old 3 shelf silverware box hung under my kitchen cabinets with an array of small treasures–mostly ceramic figures. All it needed was a scrub and a picture hanger! As a dollhouse lover, I have also used small boxes like yours to make a small scale “house”–4 rooms is perfect!
Another piece saved from a landfill, woot-woot. When you shared how you were going to repurpose it, it got me thinking about the box I have stored away. You inspired me to find a new purpose for it. Btw, thanks for sharing the link to your paints. I think I am going to try this brand.
I love the colors and so creative! I have a few I could do the same!
Score, great way to repurpose this box. We don’t get these little gifts now that my husband has his company working from home. These are so great to be creative with and you did a great job!
HI Carol
OMG this sounds like my husband. I am like have I taught you nothing. I am constantly sorting thru the recycle bin to see what he tossed!
Love this! I recognize the brand on the box too! Ha! Great repurpose project!
happy day! laura
Hi Laura, yes, we have to train them. I thought about XXXXX out the company but didn’t. It was an easy project and fun to do.
What a neat idea and a great way to repurpose this box!
I’m sure Sweet Shark has learned his lesson with that “exclamation”. 😉 Great save. It’s perfect for your paints!
Super cute idea! And practical for storing your paints, too!
Niky @ The House on Silverado
What a great way to use an old box!! You saved it and gave it a whole new life. It looks great!
I love that you repurposed it into extra storage! Who can’t use that! Also, LOVE the color you chose.
Thank you, Christine. I love easy projects like this. And I love the blue color, too.
This is such a useful and functional way to transform a wooden wine box, Carol! Thanks for the inspiration! I have a couple of these boxes sitting in my stash! I used one this past Christmas as a tree stand for one of my Christmas trees. Years ago, a very large and popular area liquor store would actually give these away. if you asked for them and I picked up some. But then they realized they could charge folks for their “trash” and stopped giving them away! Bummer! Anyway, what a terrific idea to turn the box into a shelf! Looks awesome!
Oh, Gail, darn that you can’t get free boxes anymore. I’ve asked for “moving boxes” at the liquor store, but never wine crates. Great idea.
How cute is this? I love the colors and what you ended up using it for, and you saved it from the landfill. Great job, Carol.
I love your use of an old box into a beautiful shelf! And the blue color us absolutely beautiful. I’m glad I’m not the only one who will decorate a space to keep it from becoming the “stacking place”. My family gives me a hard time for it, but it works. Thanks so much for sharing a great project!
This is such a great repurposed. I love how you are using it for a paint storage organizer. Great job Carol! Love the color you painted it by the way. 🙂