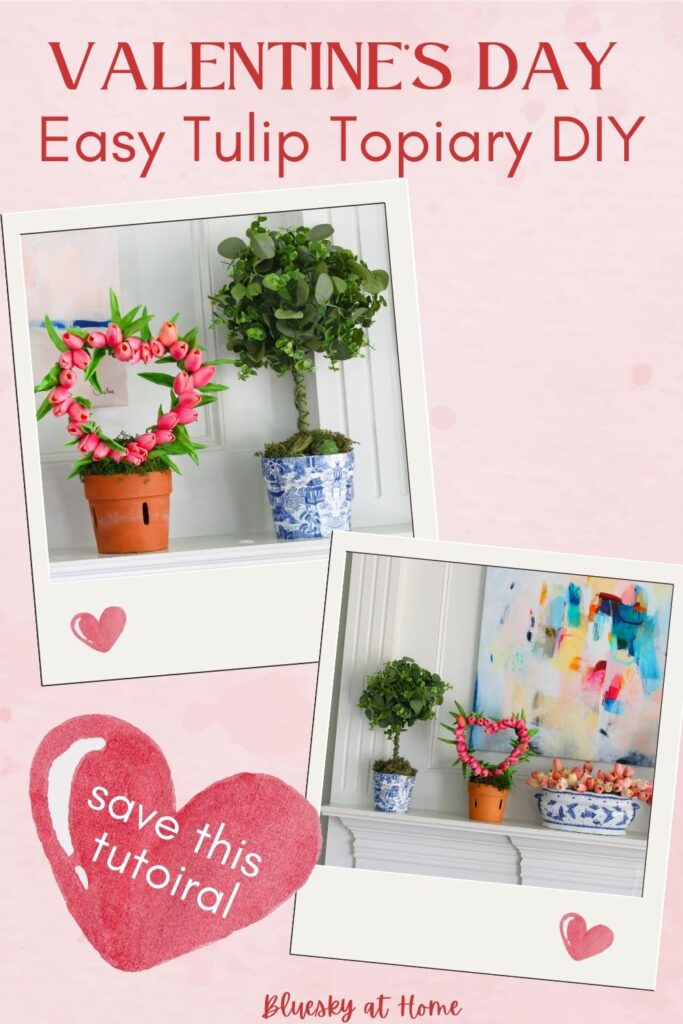
How to Make a Valentine’s Heart Topiary with Tulips
Do you need an easy, but unique and creative Valentine’s Day decoration for your home, but don’t have a lot of time to make it? Try a heart-shaped topiary bursting with vibrant pink tulips. Once I show you how to make a Valentine’s heart topiary with tulips, you can elevate your Valentine’s Day décor with a fresh twist on a classic accessory.
This DIY project transforms simple materials into a stunning centerpiece or accessory. Whether you’re crafting for a loved one or adding a touch of seasonal flair to your home, this tulip topiary will captivate you with its lush textures and seasonal color palette.
Topiaries have surged in popularity in modern home decor for their unique blend of artistry, versatility, and low-maintenance appeal. Once symbols of aristocratic gardens, these sculpted greens now thrive indoors, using faux or fresh greenery.
This seasonal project combines two of Valentine’s Day most popular symbols. The most iconic of Valentine’s symbols is the heart. While roses often steal the spotlight in February, tulips offer a whimsical, modern alternative.

Why We Love Topiaries
Modern topiaries shine in diverse aesthetics, from minimalist interiors to traditional interiors to rustic farmhouse style.
Traditionally crafted from dense, evergreen species like boxwood, yew, or holly, these plants are chosen for their small leaves and ability to withstand frequent trimming. There are so many styles, shapes, and sizes:
- Geometric faux designs, like abstract spheres or angular forms, contrast sleek materials like concrete or metal in modern spaces.
- For transitional styles, terracotta pots or woven baskets soften the look, while symmetrical shapes (cones, spirals) anchor traditional entryways with timeless elegance.
- Artificial options eliminate the need for sunlight or pruning, making them ideal for dim hallways, bathrooms, mantels, tables, or shelves.
- Artificial topiaries dominate modern decor due to their zero upkeep—no watering, trimming, or seasonal die-off.
- They retain vibrant hues in harsh weather, balconies, or low-light rooms, offering always camera-ready greenery.
- Real topiaries, though less common indoors, appeal to hobbyists seeking therapeutic pruning activities linked to stress reduction.
- Whether faux or fresh, topiaries bridge the gap between nature and modern design.
Historically, topiaries symbolized wealth in Roman gardens and European estates, today we most often use faux greenery for low-maintenance decor, relying on materials like floral foam, dowel rods, and Styrofoam bases for DIY projects.
Other DIY Topiaries
These Valentine’s topiaries were not my first topiary project. I’ve made two earlier versions.
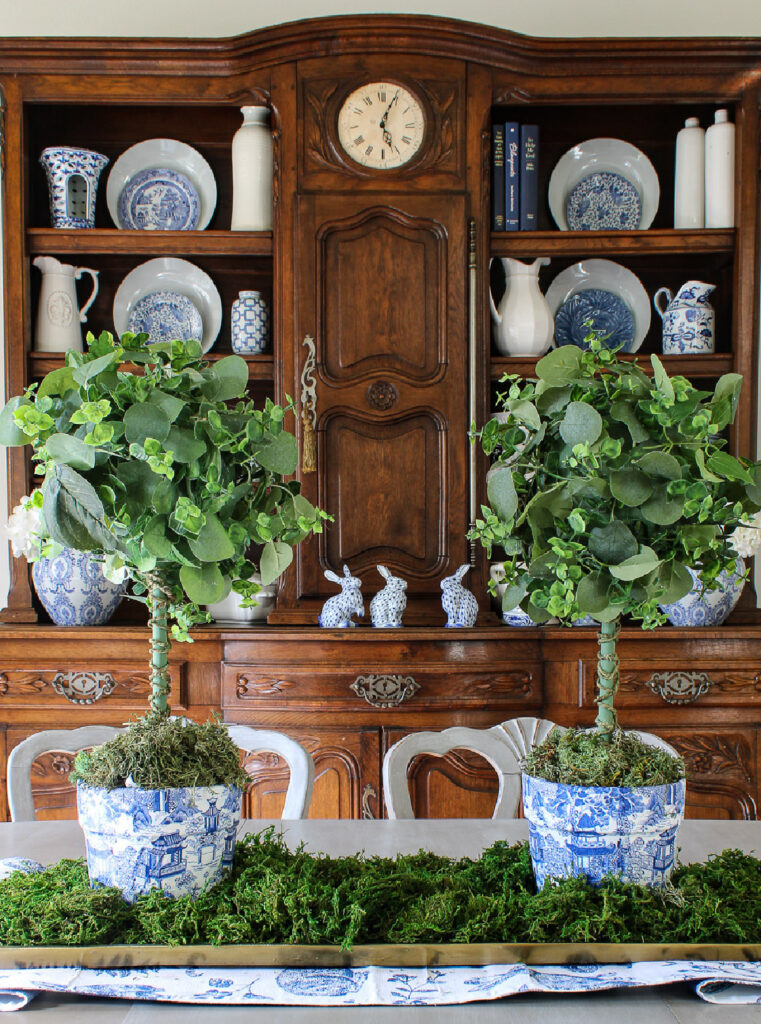
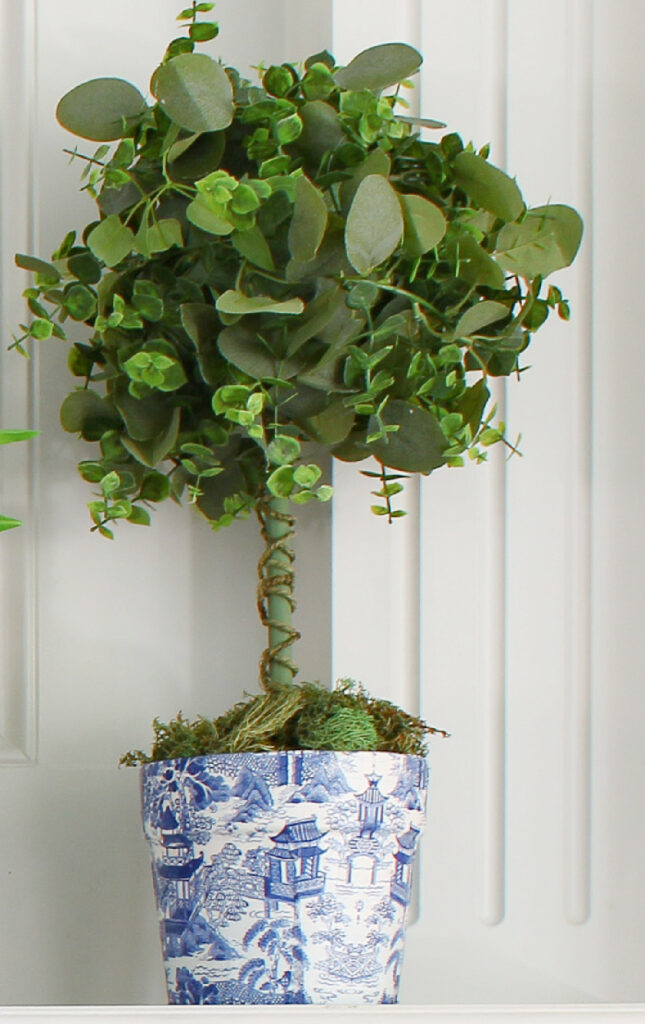
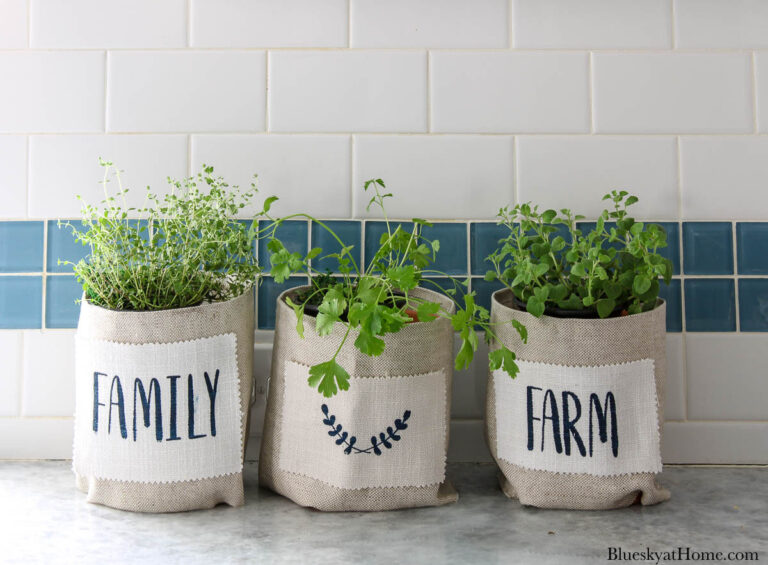
This was my first DIY topiary project. I made them as dining room centerpieces for Easter and used two DIY chinioiserie planters. I still use them in my home decor.
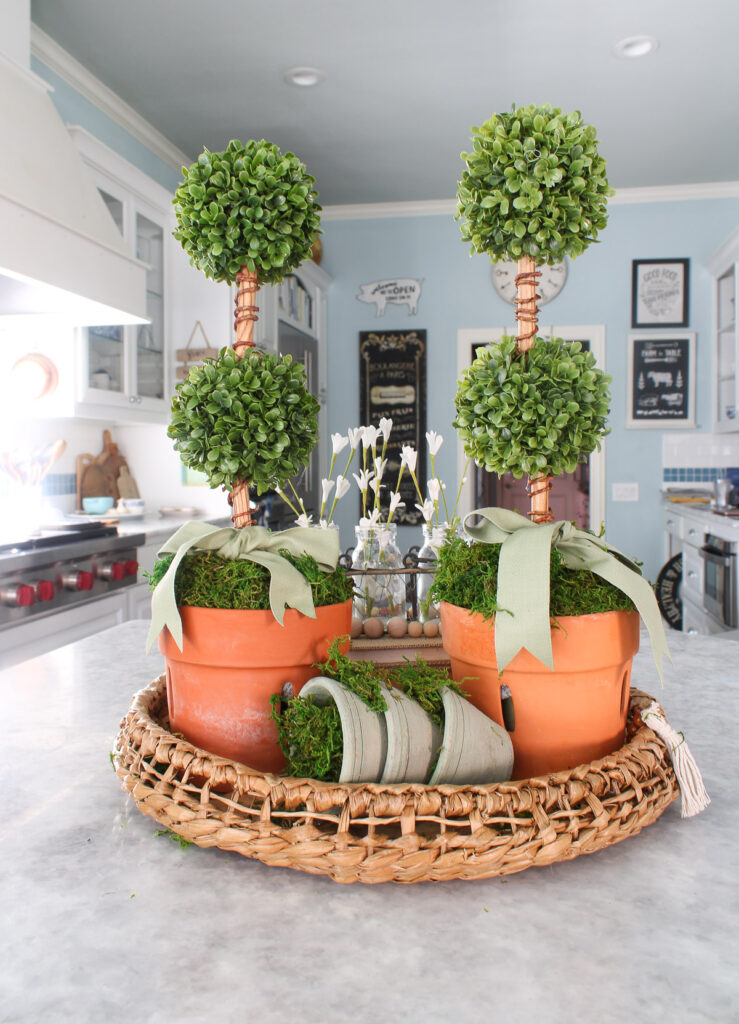
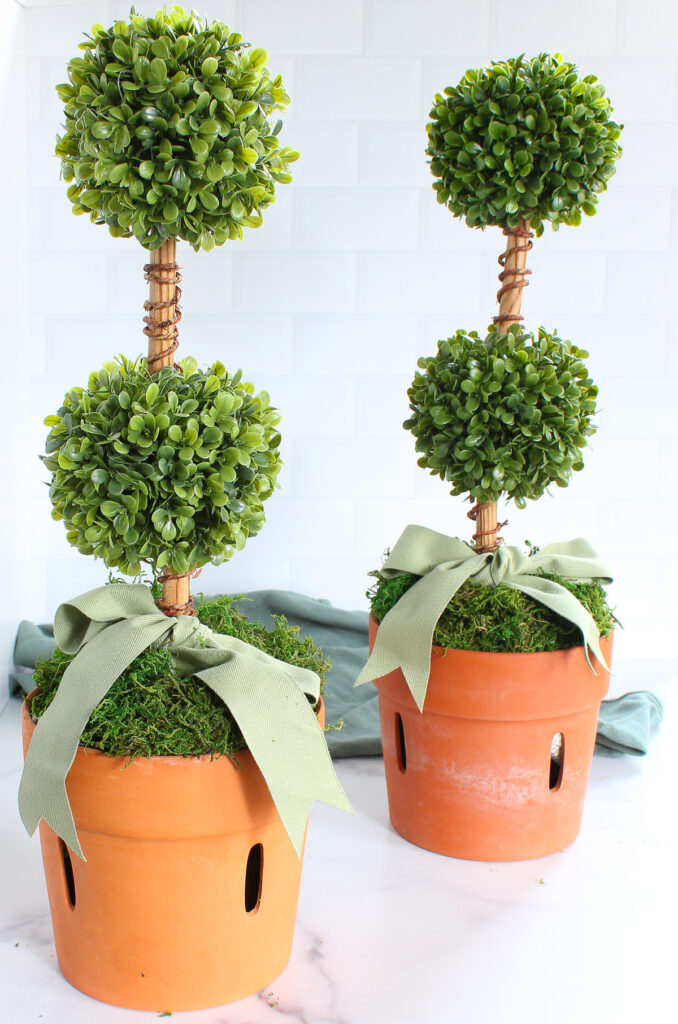
My second topiary was made for a vignette on our kitchen counter. I made it with terra cotta pots, dowel rods, and boxwood balls. It’s one of my favorites.
Where to Use Topiaries
In home decor, topiaries serve as versatile accents across styles and locations.
- Centerpiece on dining tables
- Artificial versions in low-light areas like bathrooms
- Balance a mantel, console table or buffet
- Use in a entry
- On the kitchen counter
- On a console table
- A decorative touch on your front door
Why Use Tulips
My inspiration for this Valentine’s Day heart-shaped topiary came when I saw one at my local grocery store. It was made with real ivy. Before I looked at the price, I knew I could make one myself.
First, I didn’t want to use fresh ivy since it tends not to last long and I didn’t want the hassle of watering. After I saw the price, I knew for sure I could make a Valentine’s topiary on my own.
I actually intended to use faux green ivy for my heart-shaped topiaries. When I couldn’t find faux ivy in my greenery stash, I looked for alternatives.
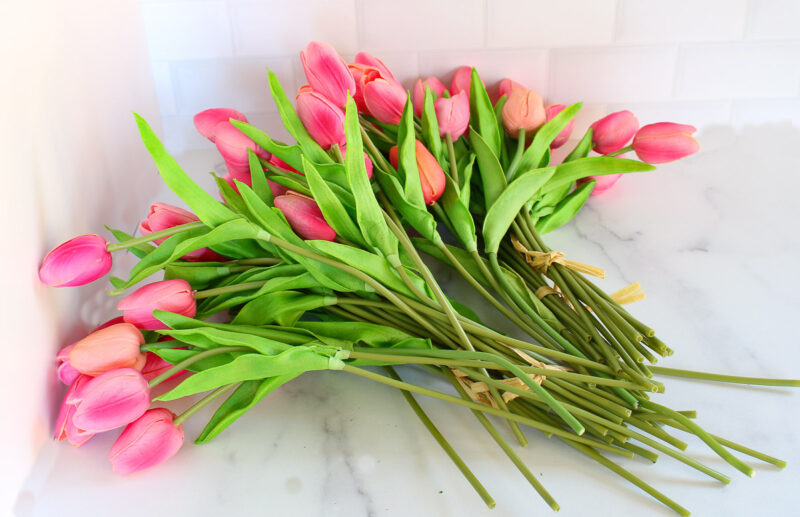
In another cubbie, I had a basket full of faux pink tulips. Since pink tulips are one of my favorite flowers and perfect for Valentine’s decor, I pulled them out and just needed to figure out how to use them to make a topiary.
I figured it out so you don’t have to!
Tulips aren’t just for spring! Their versatility shines here, as faux blooms create lasting beauty without wilting.
I bought several bunches of this bright pink color a while back and have used them many times. Not only is the color pretty, but the material has a silk-like feel and the stems are very easy to bend and manipulate.
This post contains affiliate links to products used to create this project. If you should order any item from this site, I may receive compensation, but you do not pay a penny more. Your purchase is greatly appreciated as it helps support the continued publication of this site.
Supplies that You Will Need to Make a Tulip Topiary
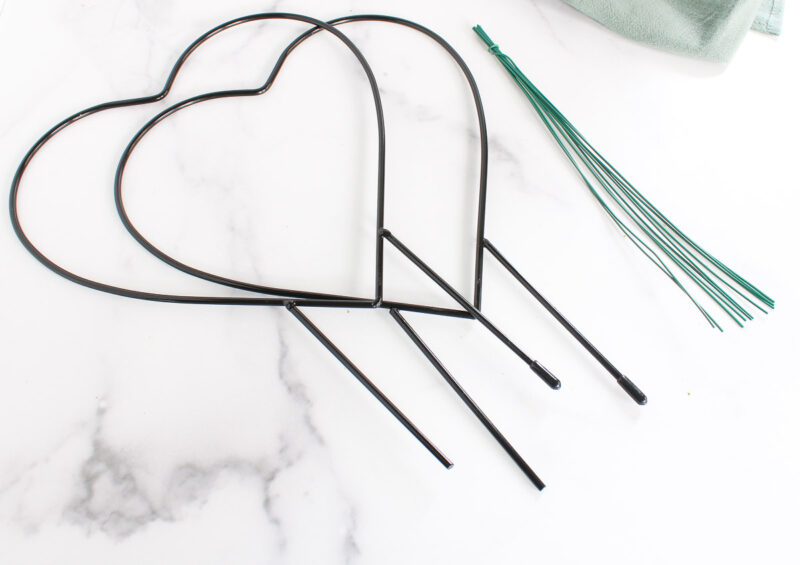
The first thing I looked for was a heart-shaped wire form. You don’t need any glue or zip ties. This may be the easiest topiary you will ever make.
- wire heart-shape form – set of two (This was the only thing I bought for this project. I didn’t need to use the wire ties.)
- faux tulips in your color of choice – (You could use different shades for an ombre effect.)
- planter for holding topiaries – whatever pot you like or have on hand: terra cotta or ceramic, in a color/style you like. I reused the terra cotta planters from my topiary vignette. This is a great time to use thrift shop planters.
- florist foam for holding topiary forms in the planters. I like using round forms for planters
- newspaper or brown wrapping paper for filling planter
- preserved moss for covering florist foam – This is the best stuff for giving your floral arrangements a finished look. It lasts a long time and can be reused over and over.
- optional: ribbon to tie around the planter
This project not only brightens your home but also could serve as a heartfelt handmade gift. Ready to tiptoe through this tulip-filled tutorial? Let’s craft a symbol of love that blooms all year long.
Making this Easy Tulip Topiary for Valentine’s Day
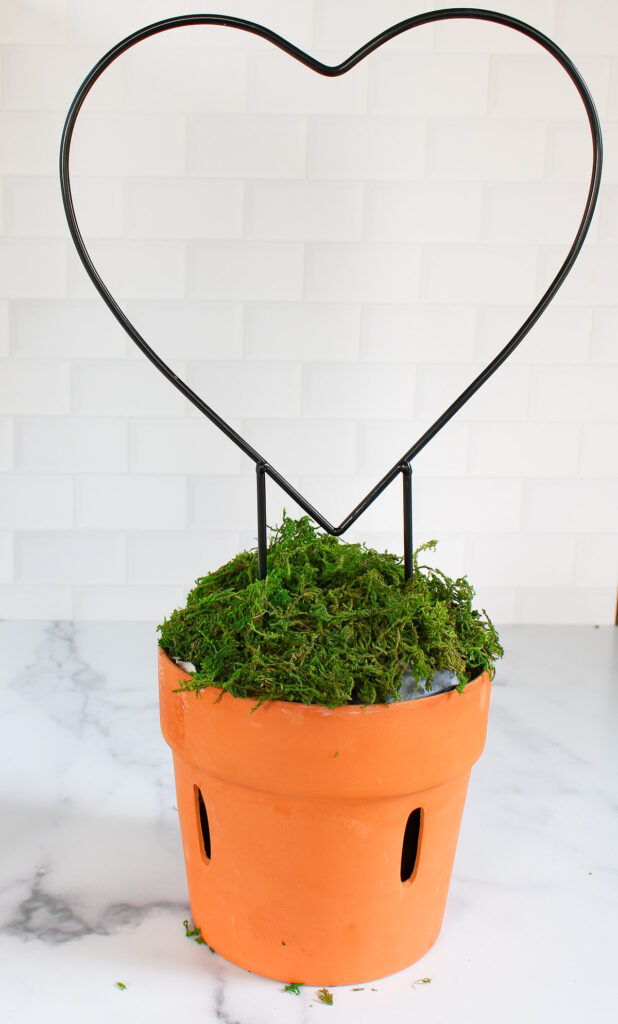
Step 1 – Choose your planter. Fill it with the florist foam.
NOTE: I used the planter and florist foam from my previously-made topiary. I removed the boxwood topiaries and bow. I’ll use them again after Valentine’s Day.
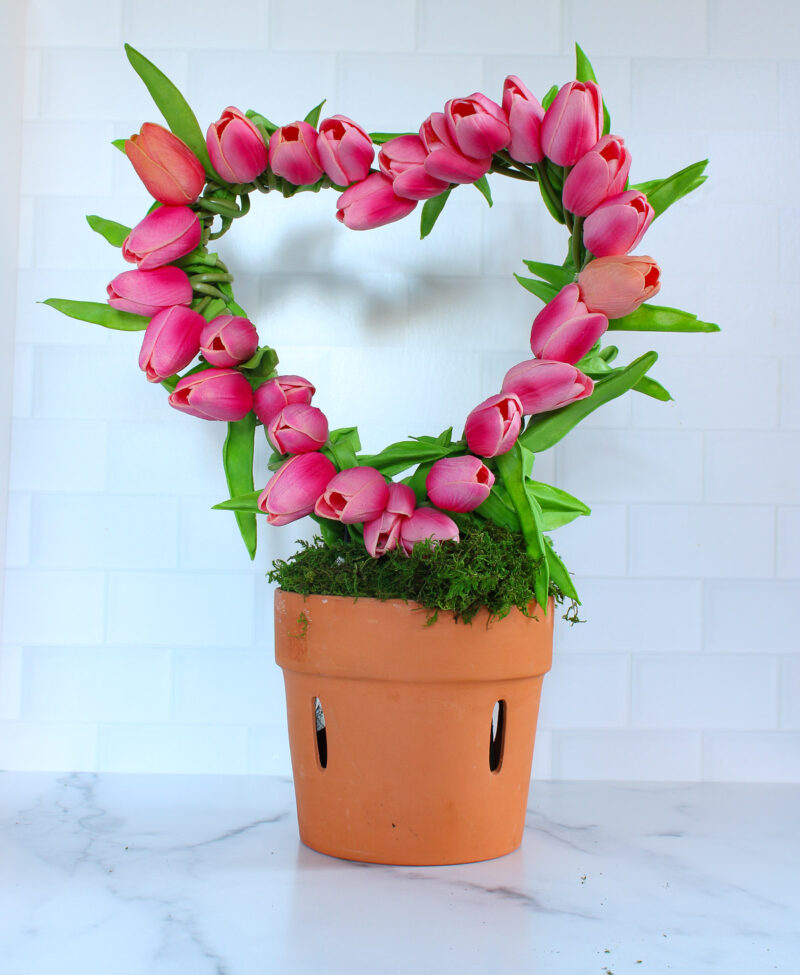
Step 2 – Then I placed the heart-shaped wire form in the planter to make sure it worked. It did! This heart form is 12.4-inches across. Remove the form to add the tulips.
Step 3 – Gather your faux tulips. I had 56 tulips. That gave me 28 tulips for each topiary.
Step 4 – Starting at the top of the wire form, hold a tulip from the back to the wire. The tulip flower should be on the front of the wire form. Start wrapping the stem of the tulip tightly around the wire. Place the next tulip below the first one and wrap the stem around the wire. Continue placing a tulip on the wire and wrapping the stem.
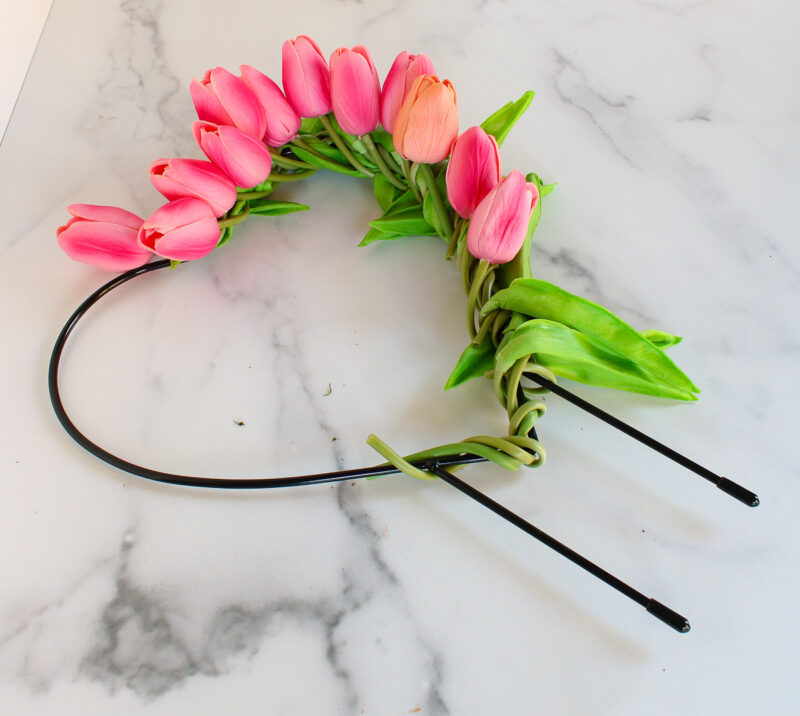
You can weave the stems in between the leaves. You could also remove the leaves if you like.
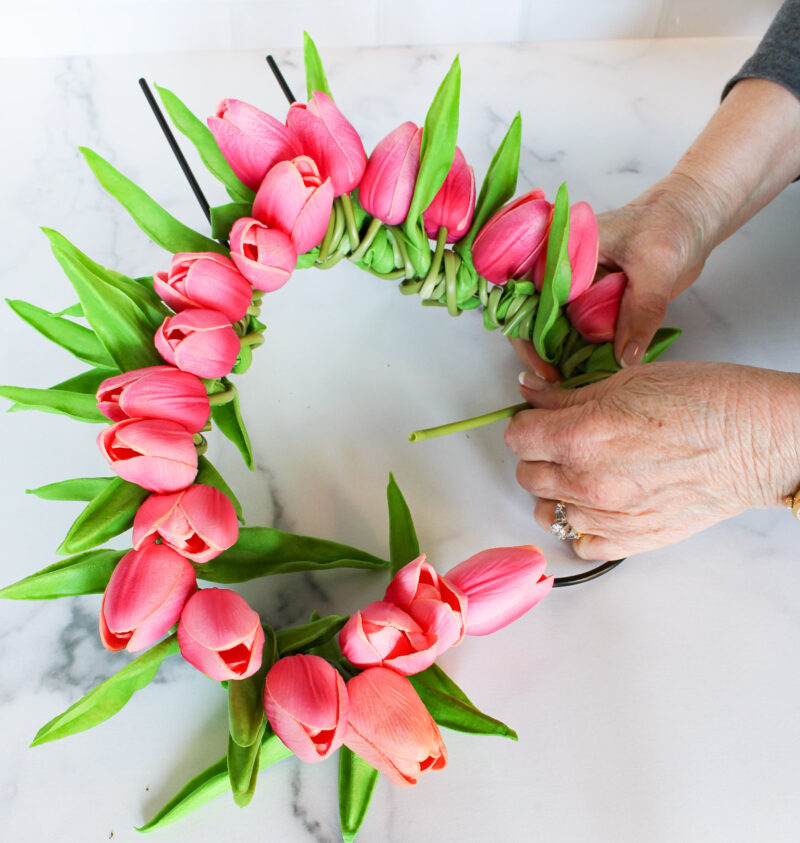
Continue working your way around to cover the whole heart wire form.
Step 5 – Place the wire form tulip topiary back in the planter. Add the green moss and adjust the topiary as needed.
Optional: Add a bow around the planter if you like.
Optional: You could use a couple less tulips and add a bow at the top middle of the heart.
Arranging the Tulip Topiary
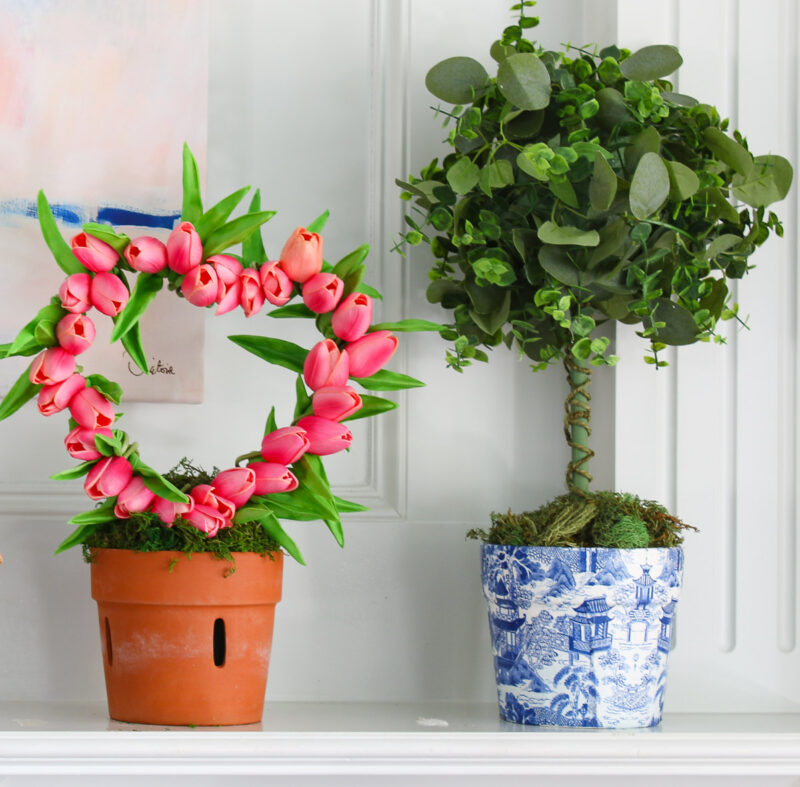
I wanted to use the topiaries on our mantel.
I first added the chinoiserie topiaries on the outside of our mantel. Then I added the tulip topiaries.
In the center of the mantel, I filled my Chinese foot bath with all the rest of my pink tulips (except for the yellow ones).

This provides the main focal point in our living room.
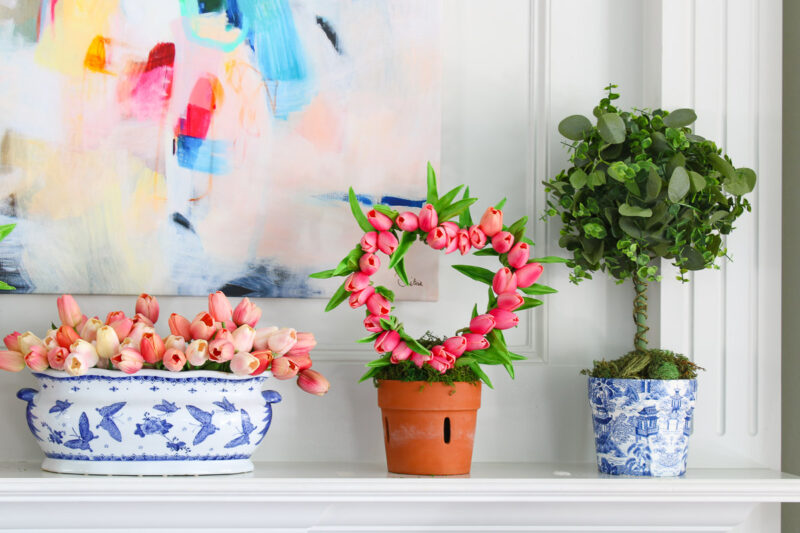
This arrangement is both balanced and symmetrical. It’s a very simple arrangement with five items. I love our colorful artwork in the background. The bright colors are a happy focal point.

The arrangement also forms a shallow V which is interesting to the eye.
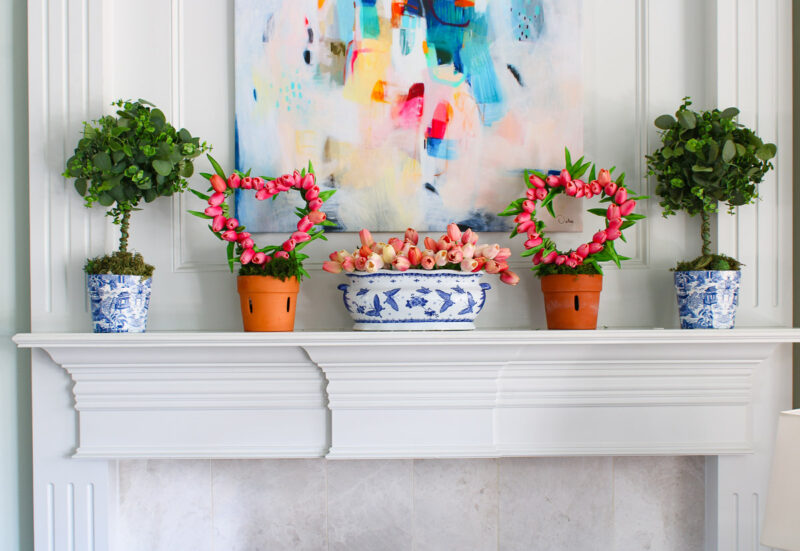
Of course, the tulip topiaries are the major focal point of the mantel. The chinoiserie patterns provide a nice contrast with the simplicity of the terra cotta pots.
NOTE: The tulips on the wire form are easily tweeked for the best shape of the heart. I did this several times while photographing the mantel.
The faux floral arrangement is pretty, colorful, and evokes a soft hint of Valentine’s Day.

Making the topiaries is so simple. It’s an easy project to do while watching TV. It took about 45 minutes to wrap the tulips on the wire forms.
This Valentine’s topiary would make a great gift for a special friend. If you need more Valentine’s Day gifts, check out this collection of the best Valentine’s gifts for your friends.
I hope you’ll give this project a try. You could have it done from beginning to end in a day.
I hope you will save this Valentine topiary DIY project. You can check out and get more Valentine’s ideas in these Pinterest Boards: Valentine’s Day DIY Projects and Valentine’s Day Ideas. I’d love for you to follow me on Pinterest.


Simply GORGEOUS, Carol! I love how you wrapped the stems around to hide the base! Have a great week! Creatively, Beth