How to Build a Printer Paper Storage Box
Necessity is the mother of invention, so they say. This under $10 project started because I needed a place for my printer. Then I needed a place for my printer paper. That’s the necessity. Next I had to figure out how to build a printer paper storage box under $10. That’s the invention. That’s the beginning of this story. Necessity really is the mother of invention. So invent, I did
Welcome to the first Ten on the 10th post of 2020. It’s all about organizing. Thanks to Ann of Apple Street Cottage for organizing this month’s theme. That was sort of a pun. In addition to my step~by~step how to build a printer paper storage box, I know you’ll find some inspiration here for organizing the rooms in your home,

How to Build a Printer Paper Storage Box Under $10
This post contains links to products that I love, recommend and use. If you should purchase any product I may receive compensation, but you don’t pay a penny more.
After we completed my new office several months ago, I needed a place to hold my printer. I didn’t want the printer taking up valuable counter space. Since I had plenty of space under the counter, I purchased this printer cart. (You can see all the other ways I outfitted my small office.)
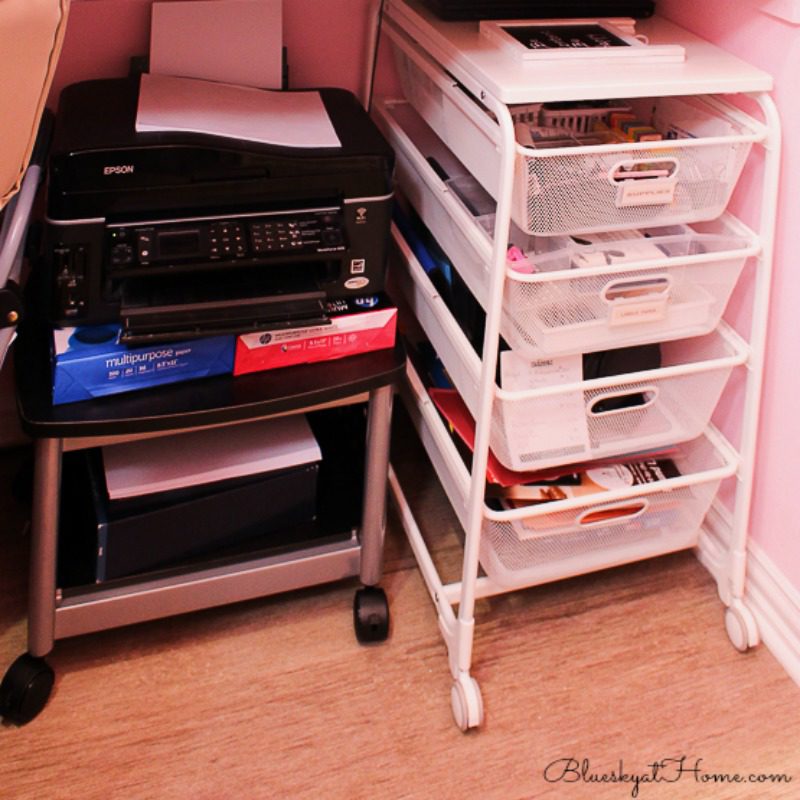
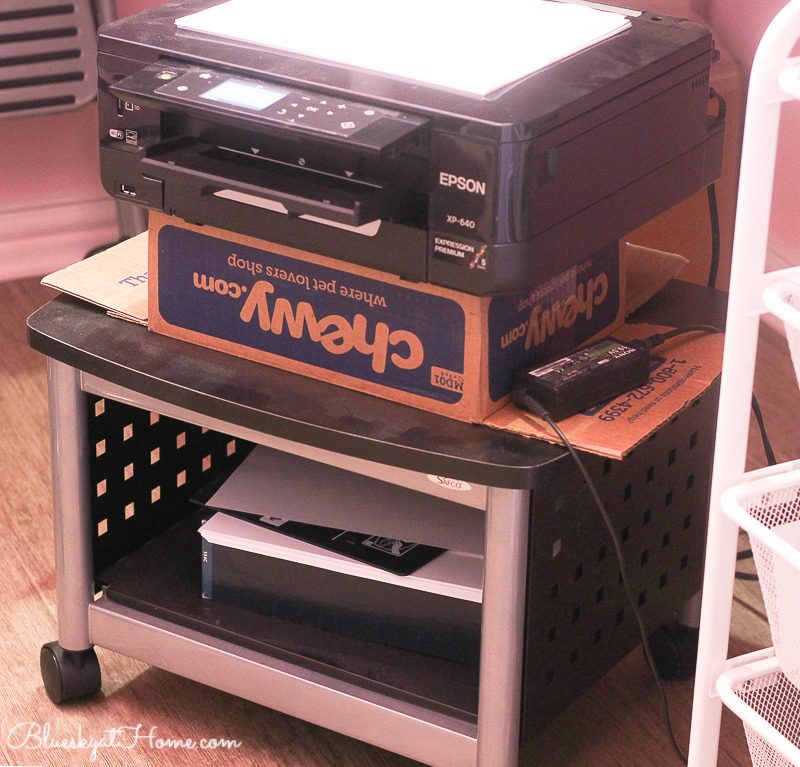
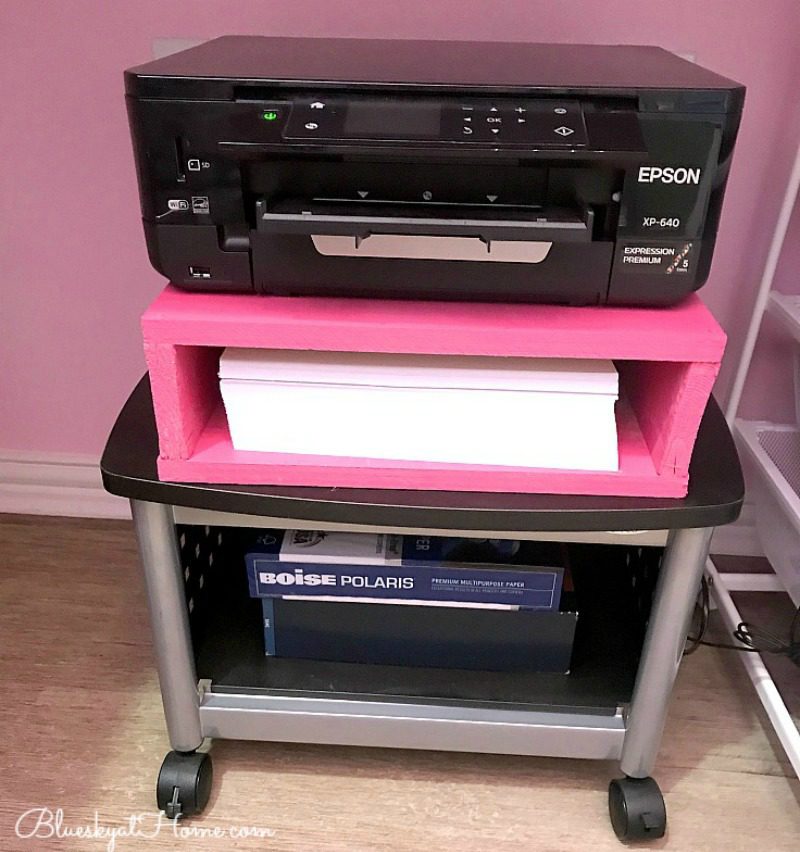
The cart gave the printer a convenient place to hang out. The picture above shows that I was setting the printer on top of reams of printer paper to raise it up. Not very secure. One day I pulled the cart forward and the printer fell off backwards. It died. My ~until then ~ perfectly good printer literally died right then and there. I will admit that because the printer paper fed vertically from the back of the printer, it was hard to get to. I assured Sweet Shark that I did not intentionally kill the printer.
A quick trip to Best Buy and I had a new Epson color printer. It was a fraction of the cost that I paid for the first one 7 years ago. Plus it was smaller and the paper feed is horizontal on the front of the printer. Obviously, setting the new printer on top of a cardboard packing box is not the most secure place. I needed another solution.
Why I Needed a to Build a Storage Box
Even before the printer fell off the cart and died, there were a couple of drawbacks: Where do you store your extra printer paper? If your printer sits on your desk or on a stand, as mine does, extra reams of paper still need a place to hang out. I needed to find a paper storage solution.
- The printer was so low that I couldn’t reach it easily from my stool.
- I didn’t have enough storage space for printer paper.
I decided I needed a build my own storage box.
The Plan to Build a Storage Box
We had a bunch of wood left over from our laundry room countertop project. I measured the size of the printer and determined that I needed a box that was 15~inches square and 3 inches tall. The 3~inches tall would allow for 1 full ream of paper.
I cut pieces of our remaining wood:
- 2 pieces that were 15~inches square
- 2 15~inch 1 X 3~inch pieces
- 1 13.5~inch 1 x 3 inch piece
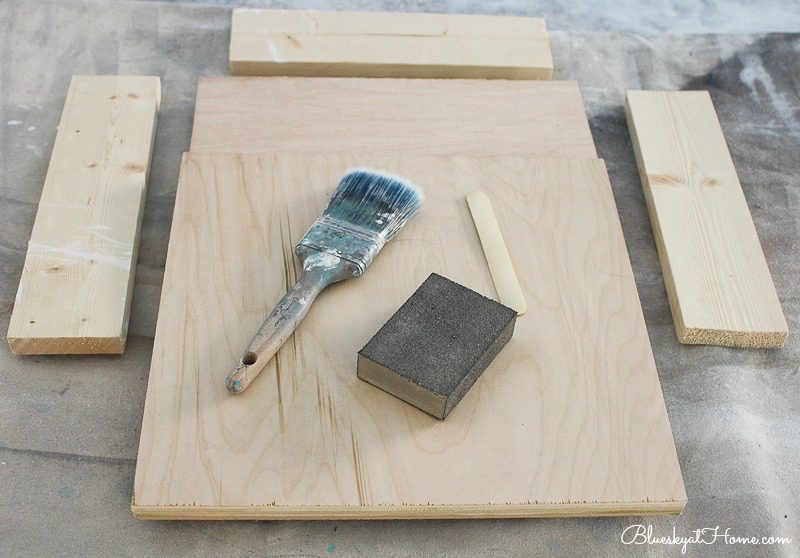
Once I had all my wood pieces cut, I sanded the rough edges
Painting the Storage Box
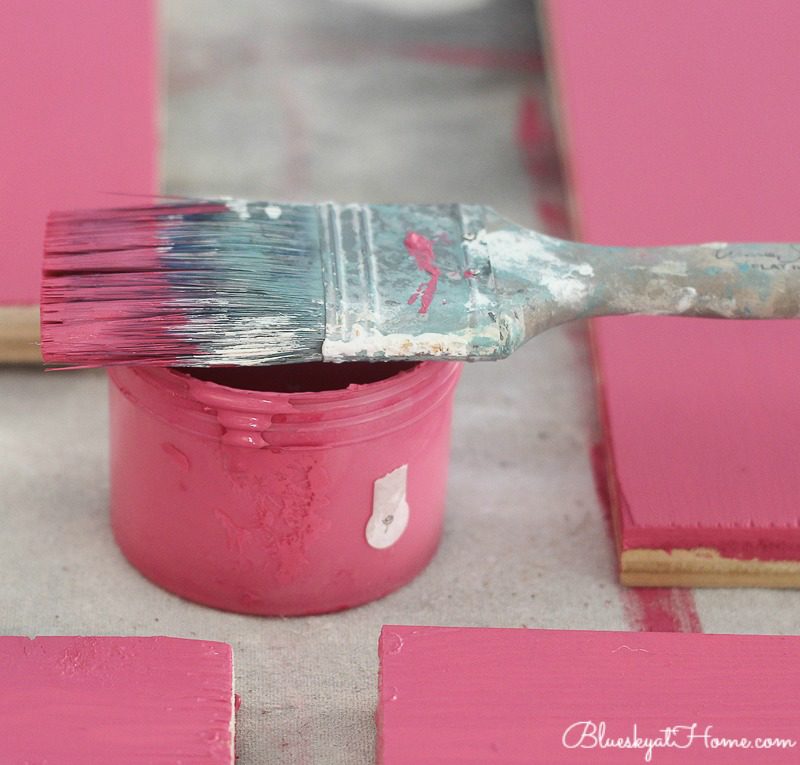
The paint I chose was a Amy Howard at Home One Step Paint in the color Drama Queen. It’s a deep pink color that I’ve had for several months and was waiting for the right project to use. I love how easily One Step Paint goes on and the coverage is awesome.

First, I gave the paint a good stir.

Before assembly, I painted the outside 15~inch square pieces and long support pieces that would be on the outside of the printer box.
Assembling the Printer Box
Other than the wood and paint, to assemble the printer box, I used:
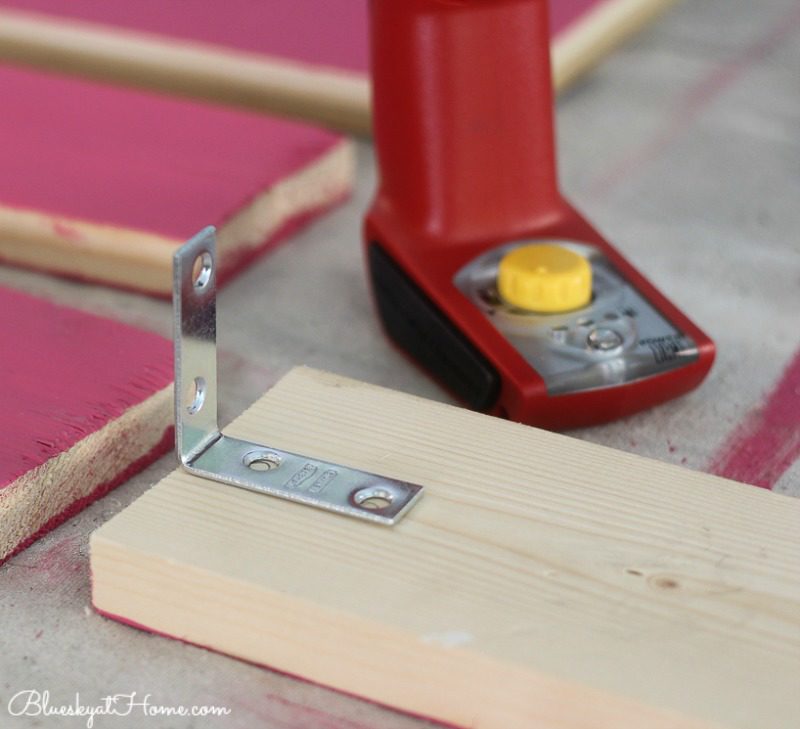
- 2 2 1/2~inch L brackets
- 4 small screws
- 14 medium length screws
- wood glue
- electric drill
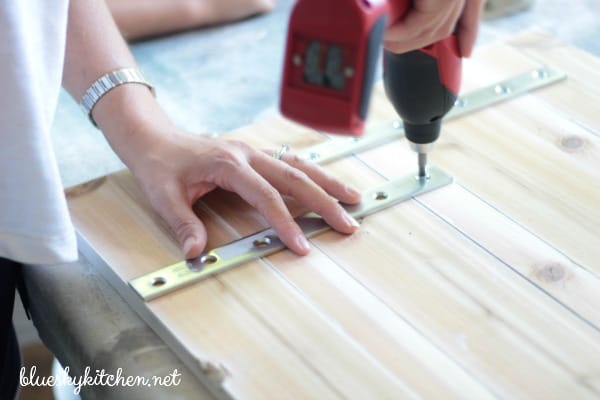
I give the box stability, I used 2 L brackets to attach the 2 15~inch sides to the 14~inch backs. First, I placed the L brackets on the wood, drew a circle where the holes would be, and used my drill bit to make pilot holes. Then I used the short screws to attach the 3 side pieces in a U~shape.
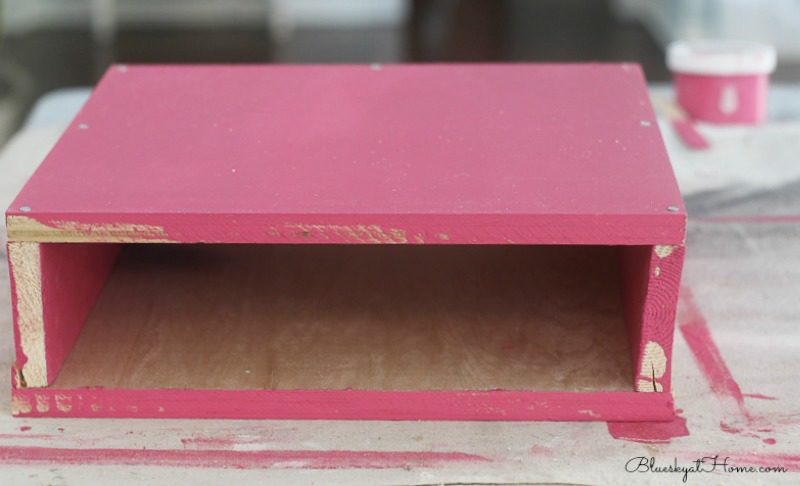
Next I made pilot holes on the top and bottom 15~inch square boards. I ran a bead of wood glue on the one side of each of the squares. I screwed in one square to one side of the U~shape boards, turned it over and screwed in the other square to the other side of the U~shape boards.

After the box was assembled, I gave the completed box another coat of Drama Queen to cover the unpainted portions and hide my screws.
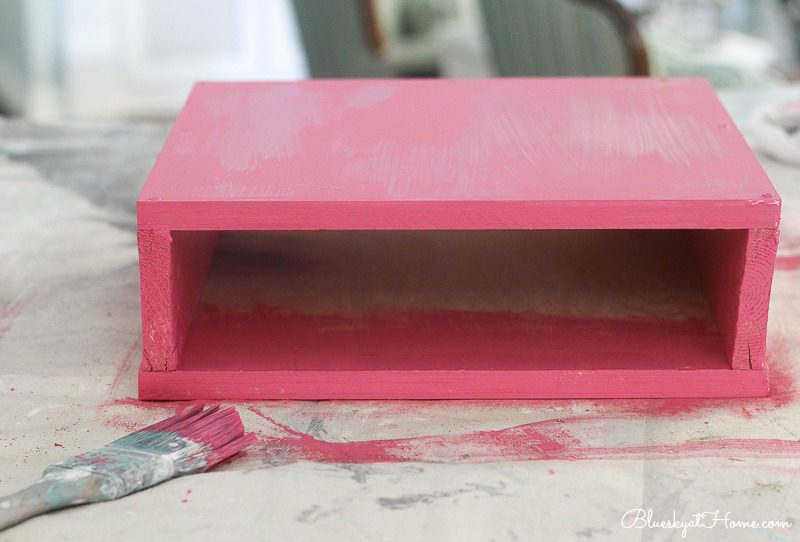
After the paint dried ~ about 20 minutes ~ I gave the outside of the box a light coat of clear wax to seal and smooth the painted wood.
Placing the Box on the Printer Cart
Now the moment of truth. I removed the printer and the cardboard box from the top of the printer cart. I set my pretty pink printer box on the card. It was a perfect fit.
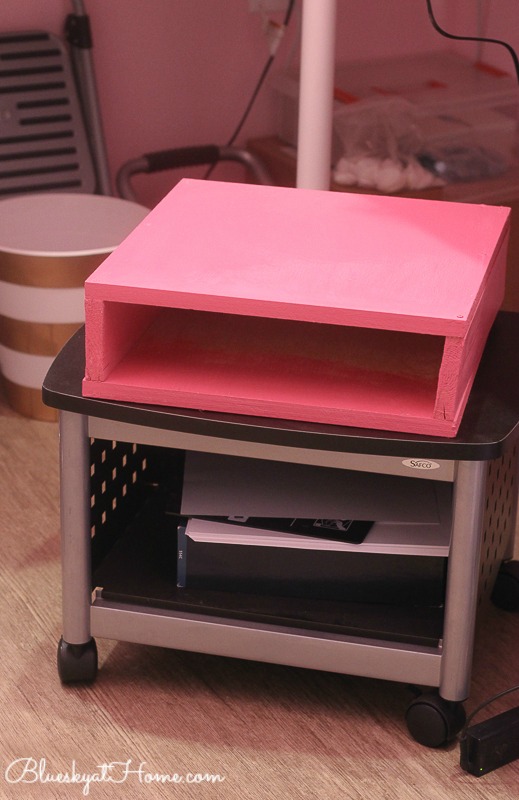
Next I placed the printer on the box and added more than a ream’s worth of paper in the holder part.
Figuring out how to build a storage box for my printer solved my 2 problems:
✔️ The printer was so low that I couldn’t reach it easily from my stool ~ building the storage box raised the printer 4 1/2 inches which makes it now easy to reach the printer and the paper.
✔️I didn’t have enough storage space for printer paper ~ now I have space in the printer cart for extra reams of paper and easily accessible space for opened paper.
The cost of building the printer paper storage box? Practically nothing. The wood was left over from our laundry room project (I still have a lot of wood for another project.), the paint was sent to me by Amy Howard at Home, I already had wood glue and my electric drill. The only thing I purchased was a 4~pack of 4~inch metal L brackets for $2.87. Since I only used 2 of them, my actual cost was $1.44.
I was really proud of myself for building this storage box all by myself. Sweet Shark wasn’t home when I made it so it was 100% my own little project. It actually was really simple. Believe me, if I can build a printer paper storage box, you can do. I love when pretty and practical meet.
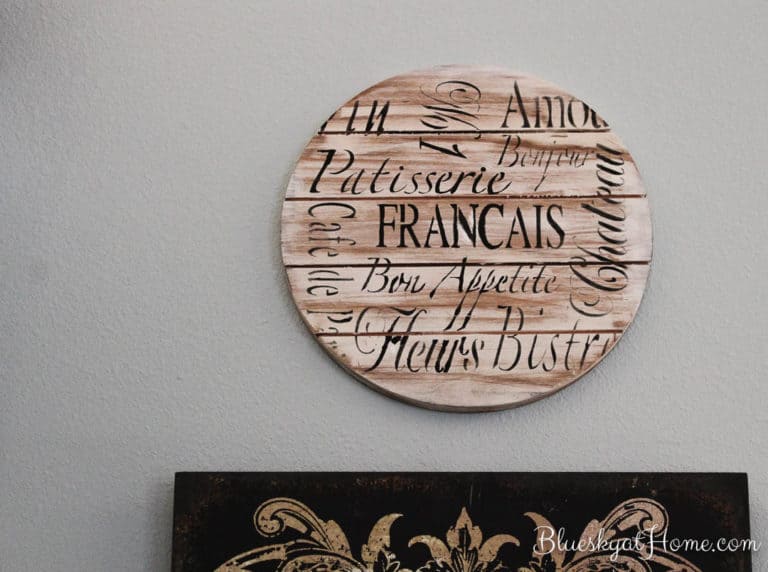
Here’s another organizing project that I built with leftover wood and paint for my office.
Now you have to visit my other Ten on the 10th friends who have created some great organization projects for you. Be sure to PIN all these ideas.

Ann at Apple Street Cottage
Patti at Pandora’s Box
Terri at Decor and More with Tip
Tammy at Patina and Paint
Katie at Let’s Add Sprinkles
Kim at Exquisitely Unremarkable
Carol at Bluesky at Home


Power tools are a girls best friend!! Great fix for the printer problem!
Look at you being so handy! Necessity is the watch word, isn’t it? I am glad you were able to come up with a fix!
I need to make two of those Carol. One for home and one for work. I have the same problem as you do in both offices. Thanks for sharing the tutorial. I am pinning this to make. Love it!
This is a project that’s right up my alley, Carol and I have the tools to do it! Such a great way to organize your paper and give your printer a place to sit.
That is a great idea. It’s adorable too.
Oh!! I love that color…what a fun office you have!
I just love your pink office Carol!
Thanks. It’s my special place.
Carol- this is amazing! I love the color!
Getting my computer/storage area organized is on my list and now I have a great plan- thanks to you:)
Laura, thanks for the comment. I can’t wait to see what you do.
Necessity truly is the mother of invention. I have a printer problem in my office as well. They are just so unsightly. You certainly created a stylish solution.
Happy Sunday
Lisa, I never thought of it as stylish, but I like that idea. Love your pumpkins.
Girl you just amaze me! You and your saw and pink paint are going to town. This is such a great/useful idea. Don’t we all try to figure out where to keep that paper or something else…. I like that the printer can sit right on it. Such a good space saving idea.
Stacey, does this qualify me for “almost amazing”? or “so close to amazing”? KariAnne would be so proud!
Hi Carol,
This is such pretty paper storage. Love the cir you chose. You must be happy that it’s easier to access.
Cindy
Way to go Carol! I love a girl that wields tools! What a great way to solve a problem. It looks great and I love that color.
Tammy, never thought that me favorite credit card would be Lowe’s and Home Depot! All I want for Christmas is a Ryobi electric saw.