Fabulous Crisp White Kitchen Remodel Tour
Back in the middle of March, right before the stay~at~home mandate went into place, I had the privilege of being asked to photograph a kitchen that had been remodeled by one of the top interior designers in Dallas. I was thrilled by the opportunity. I’ve been waiting to show you this fabulous crisp white kitchen remodel tour that I know will inspire you.
We all love to see remodeled kitchen tours. Especially, with so much stay~at~home time, looking at home tours for ideas and enjoyment is big on my how~to~pass~the~time list. Whether you are browsing through Veranda or HGTV Magazine or binging on Pinterest or Houzz, looking at kitchens or patios or bathrooms is so much fun. So much inspiration. So many ideas.
Getting to see this kitchen remodel upfront and personal was a real treat. This one was not a DIY homeowner remodel, although we love those. This fabulous crisp white kitchen remodel was designed and implemented by a top designer who has overseen multi~million dollar projects, not just in Dallas, but in other states. And on top of that, she is a sweetheart.

Fabulous Crisp White Kitchen Remodel Tour
Since I only saw the finished kitchen remodel, I don’t have before photos. However, I think you will be impressed with this fabulous crisp white kitchen remodel tour.
The Interior Designer
First, I want to introduce you to the Dallas Interior Designer behind this fabulous crisp white kitchen remodel. Suzy Childress is an ASID designer who has won numerous awards, such as D HOME Designer of the Year 2015 ~ 2019. Her company, Childress Interiors, oversees projects from beginning to end, working with clients to make their dream project come true. Suzy works with contractors and resources to ensure that each project is based on sustainable materials and cost~effective practices.

Suzy is also an incredibly sweet person. We met about 8 years ago when our previous home was on the market. Then, it turns out we attend the same church. When Suzy asked me back in February to photograph a recently remodeled kitchen that she designed, I was thrilled. I love touring all homes and getting to see what a real professional has created was so much fun.
The Kitchen Before the Remodel
Before we get to all the pretty pictures, I want to give you an overview of this kitchen remodel. As I said, I don’t have photos of the kitchen before the remodel, but here is what Suzy told me how the kitchen looked before the remodel began:
- The kitchen was about 25% smaller than it is now.
- It was dark with limited lighting. Windows were small so there was not much natural light.
- The cabinets were stained with a dark finish.
- The floor was vinyl tile; remember Kentile?
- A peninsula limited easy access to the kitchen from the living room and made it hard to work comfortably in the kitchen. It had a choppy layout.
- The backsplash was a tan tile.
- The refrigerator location limited easy access from a hallway.
- There was very limited storage for the homeowner’s baking and cooking equipment.
- The ceiling was low and an angled wall in the breakfast room made for awkward sightlines.
- The breakfast room had a “turreted” shape which was small and prohibited views to the beautiful backyard.
So, just keep these challenges in mind as I walk you through the beautiful new white kitchen remodel.
The Kitchen After The Remodel
In keeping with Suzy’s company practices, all the materials used were chosen with sustainability and durability in mind. For example, the engineered wood floors and the custom cabinetry were made off~site. Finishes were baked on so there were no fumes and off~gasing in the home. Here are the main changes that were made:
- The peninsula was removed for better flow and access to the kitchen from the living room.
- A large island with a sink was added in the center of the kitchen to provide more countertop space, storage, and flow to the room.
- The one exterior wall was moved back 2 feet to accommodate a wall of customized storage.
- The ceiling was raised in the kitchen and the turret ceiling in the breakfast room was removed to create one continuous flat ceiling.
- Larger windows in the breakfast room with transom windows were added.
- New LED can lighting was added.
- New oversized white subway tile was added as the backsplash.
- All new custom cabinetry with a Shaker style was installed; both closed, glass, and open shelving were used.
- The refrigerator was moved for a better workflow.
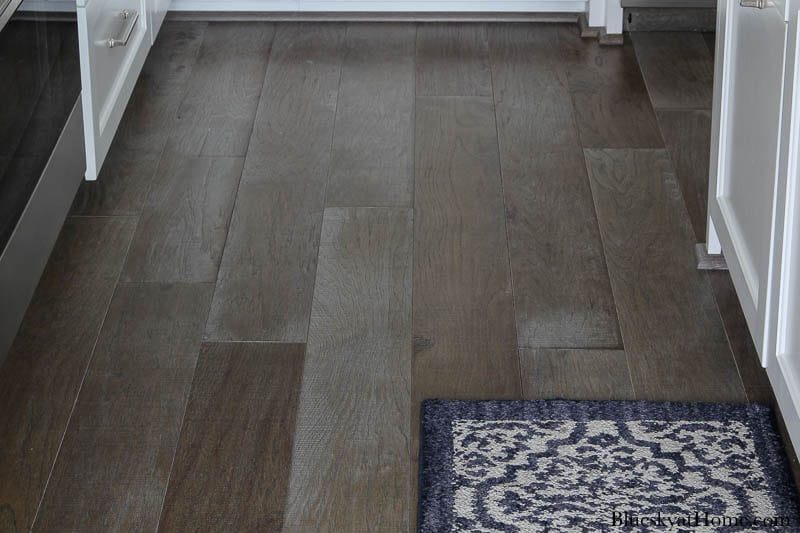
- New engineered wood flooring with a grey and white~washed finish was installed.
- Quartz countertops were installed.
- Polished nickel fixtures, hardware and trim were used.
Let’s Begin the Tour
To give you a sense of space and shape, the kitchen is basically a rectangle that is entered from a hallway on the front short side between the refrigerator and the wall of storage cabinets. The other entrance is from the living room into the breakfast room.
I said the kitchen was now white, didn’t I?
The stovetop, ovens, stove hood, and cabinets are on the long side of the rectangle.
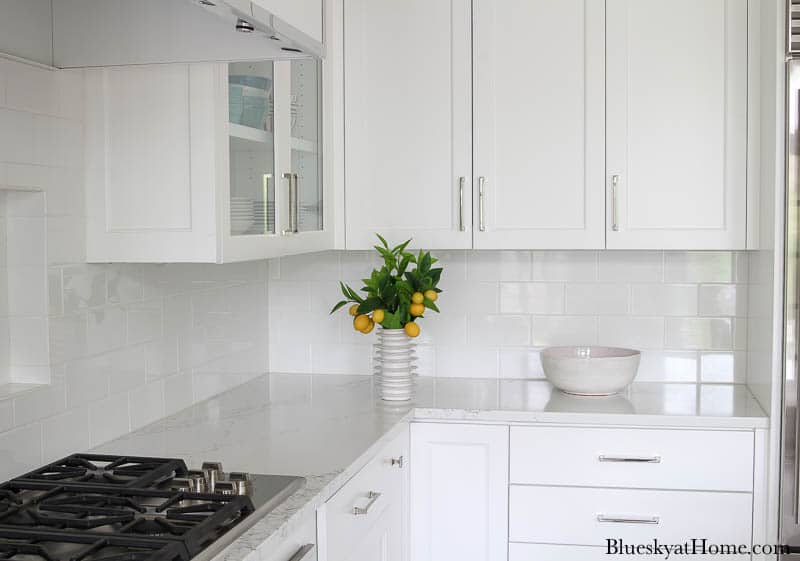
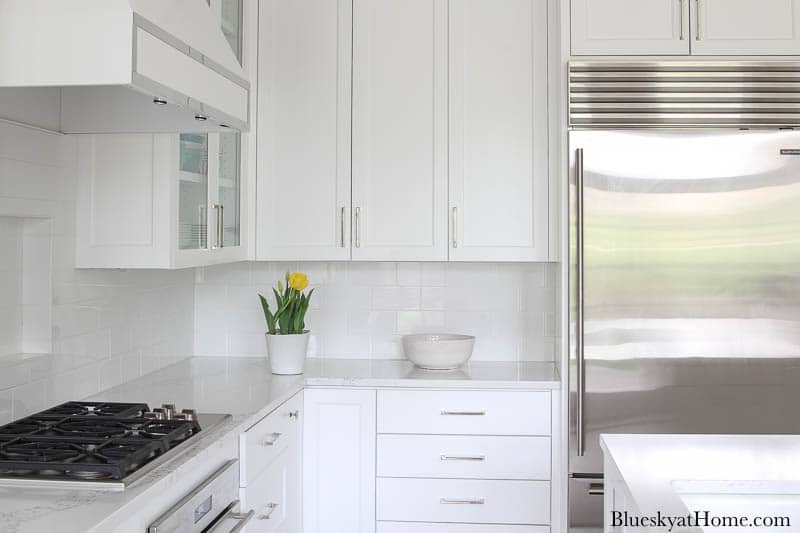
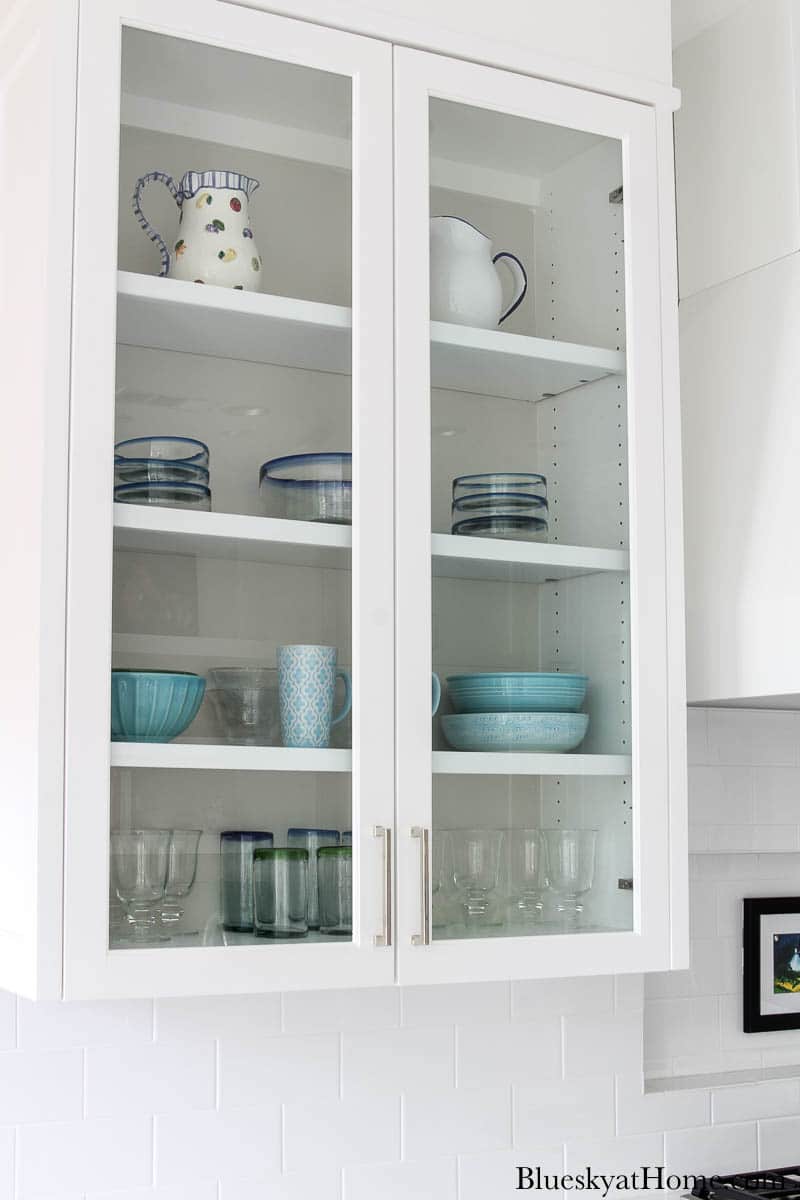
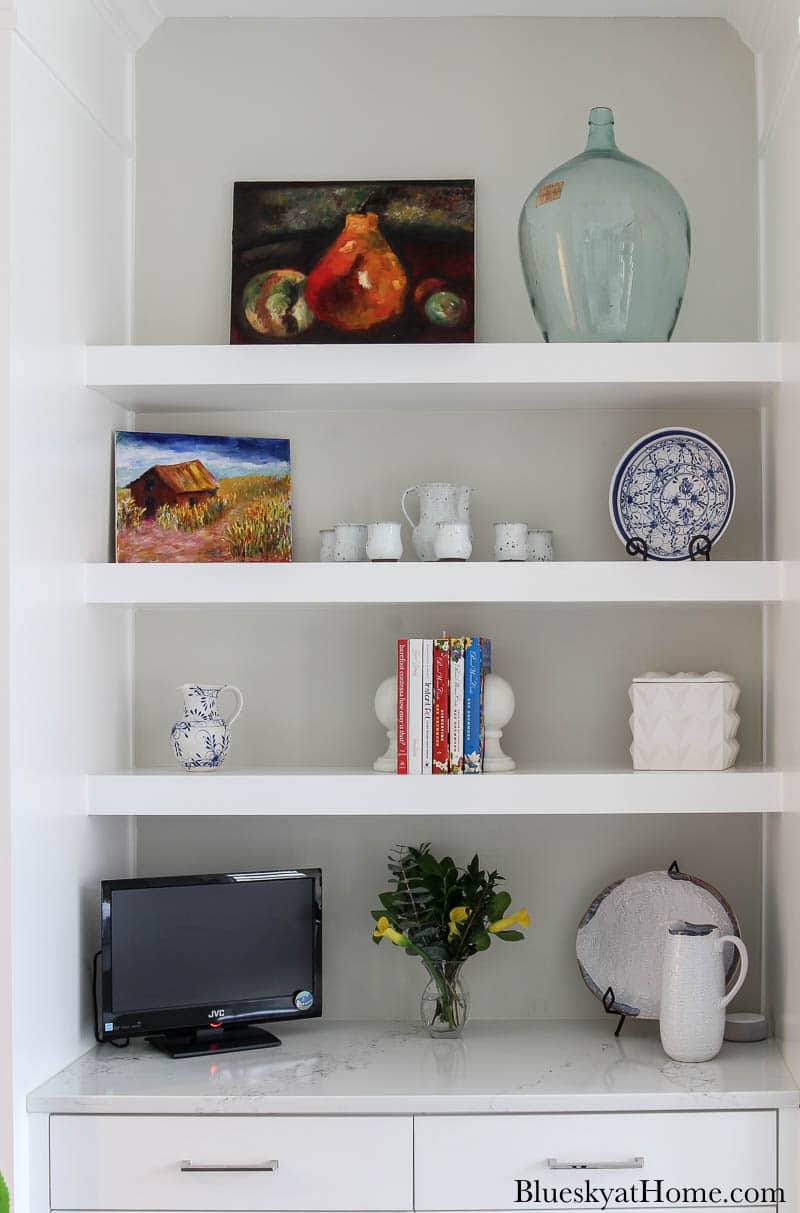
Think of this view as one of the short ends of the rectangle. Here you can see the beautiful white Shaker cabinets, white backsplash, and the white quartz countertops. The perfect backdrop for bright bursts of color. The glass~front cabinet doors provide plenty of space to display pretty dishes and glassware. To the right is the new placement of the refrigerator. You enter the kitchen from a hallway that is to the right of the refrigerator.
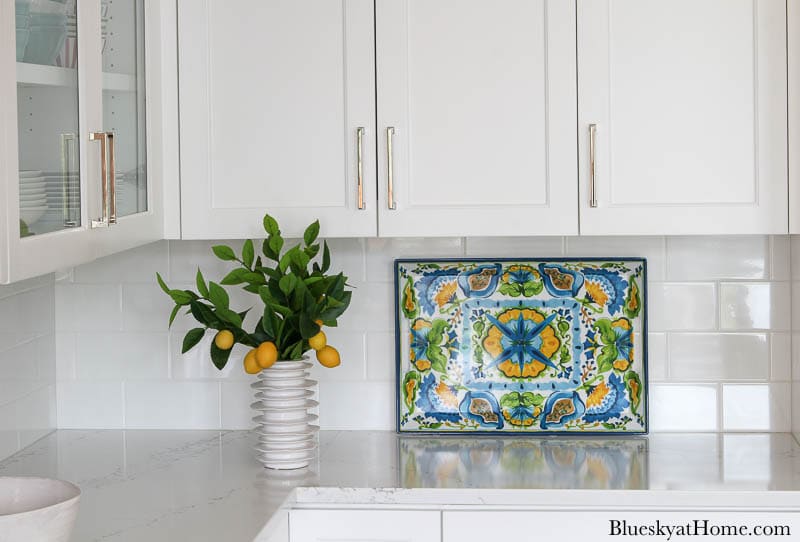
A pretty colorful tray acts as artwork. We were playing around with accessories during the photoshoot. The homeowner likes to keep the countertops uncluttered.
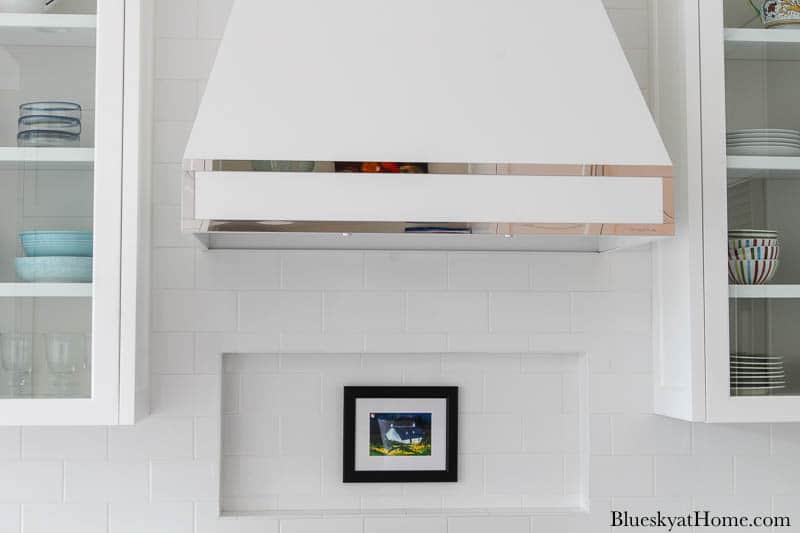
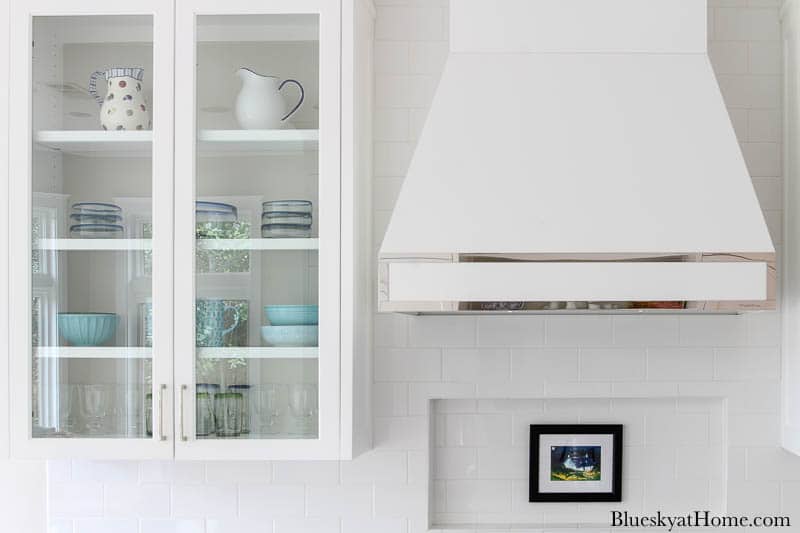
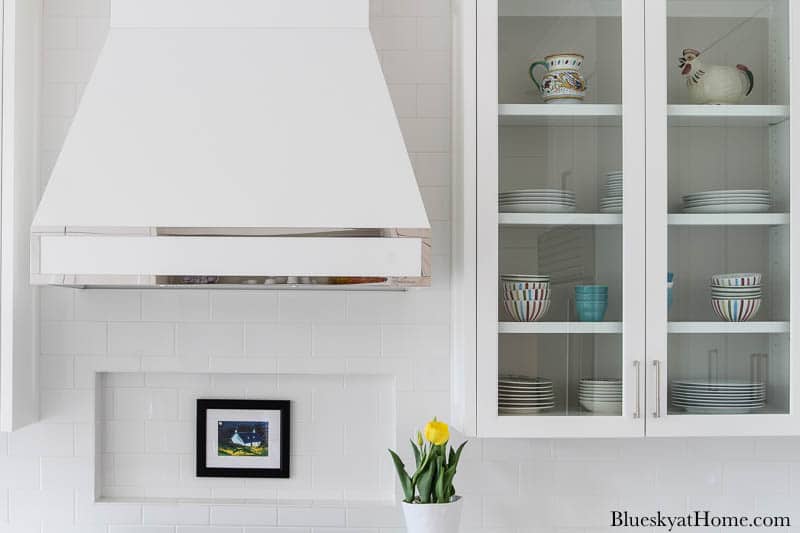
One of my favorite features was the custom enamel stove hood with polished nickel trim. It’s flanked by the glass front cabinets where the homeowner displays favorite dishes in shades of blue. A niche on the back of the stove provides a place for a small piece of art.
To the left of the glass~front cabinets is the opening to the living room.
Here you can see the sleek polished nickel hardware used on all the cabinets and drawers.
Banks of drawers were used for maximum access and maximum storage. This is the end of this long side of the rectangle and the cased opening to the living room is to the left.
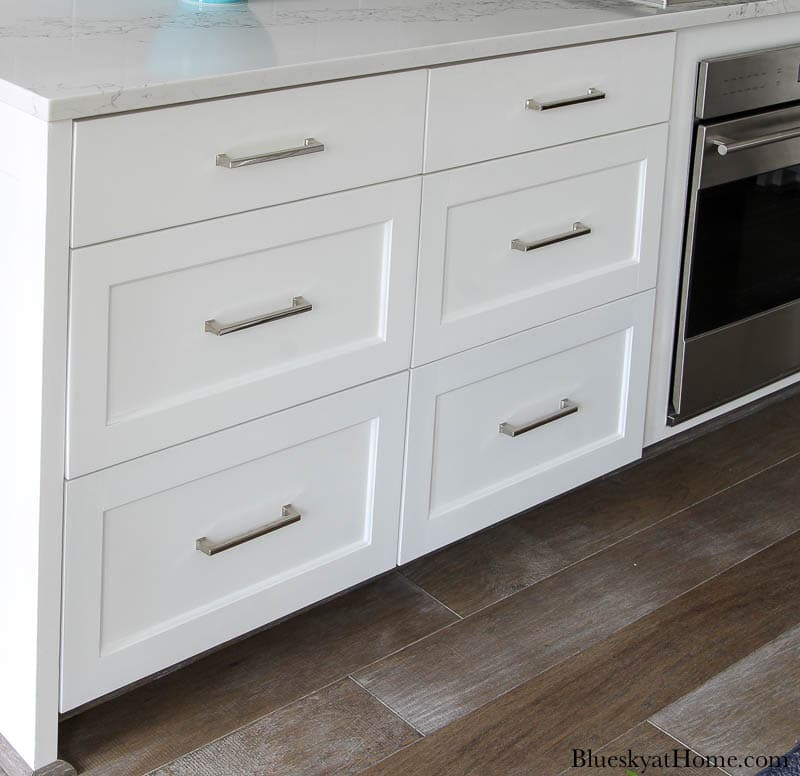
The engineered wood flooring received a grey/brown baked~on stain with a slight white~wash treatment. Unlike floors stained on~site, these will never show wear.
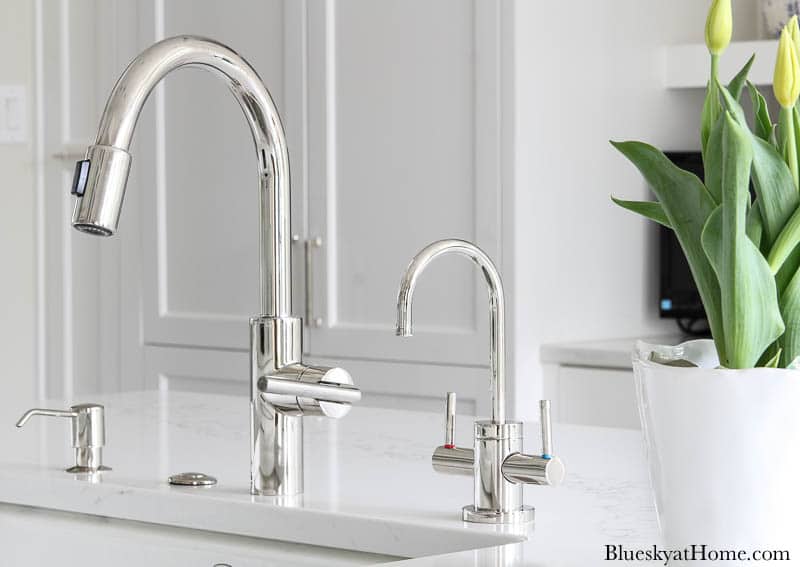
The new island is in the center of the room. The beautiful polished nickel is continued in the faucet, dish detergent dispenser, and water tap. Notice the small round button on the countertop? It’s the button for the disposal. I have the same thing in my kitchen and I absolutely love it. They chose a white porcelain sink.
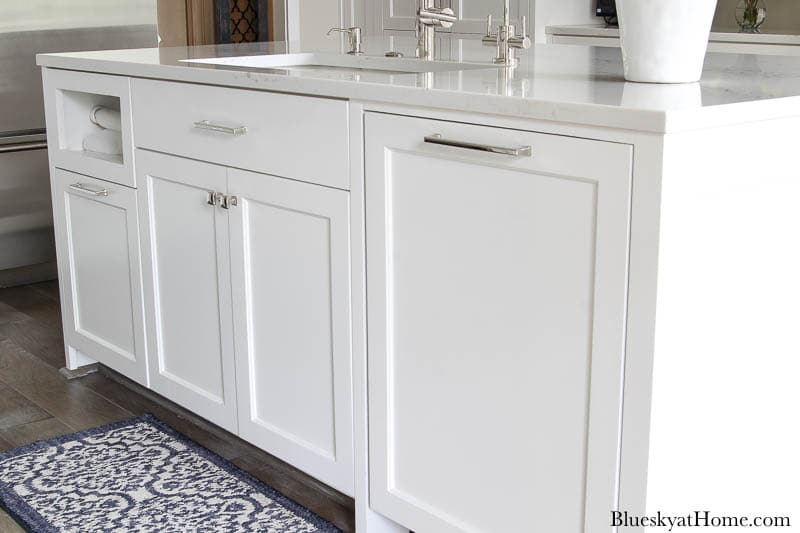
On the sink side of the island is a built~in paper towel holder. Behind it is storage for additional rolls of paper towels. Below it is the trash can. The dishwasher is in the cabinet on the right. I love that everything looks so neat and clean ~ no clutter here.
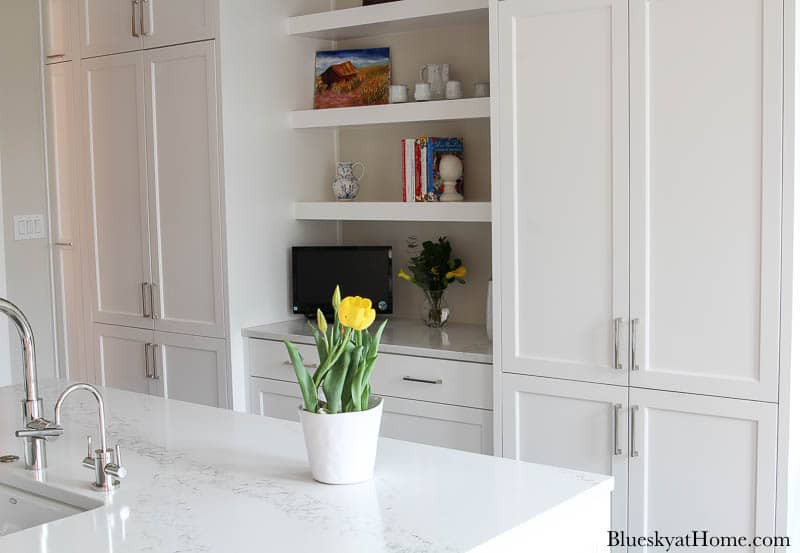
Across the room from the stove and kitchen island is the wall of built~ins. This is an exterior wall that was bumped out about 2 feet to accommodate the new pantry and open display shelves. Two separate floor~to~ceiling cabinets that house both food items and small appliances flank the display shelves with storage below.
To the left of the cabinet doors is the entry to the hallway at the front of the house.
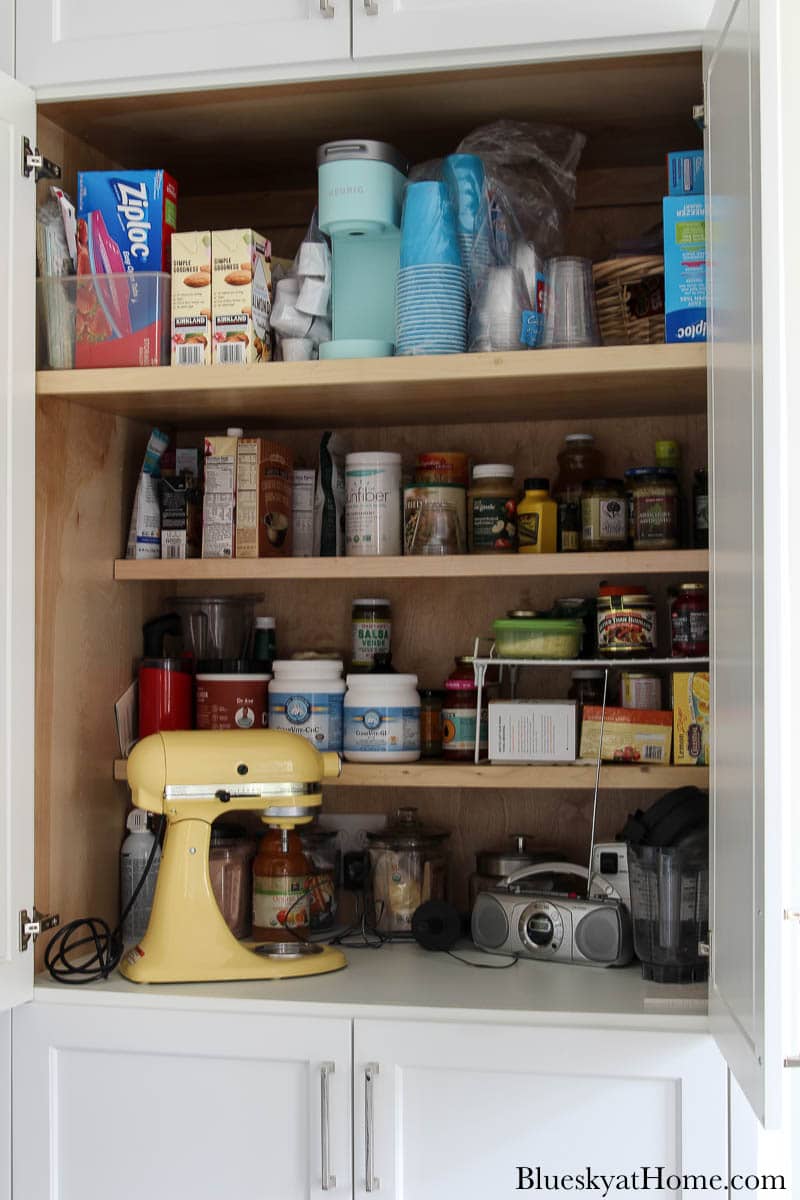
Here are the pantry and storage cabinet doors open. The homeowner gave Suzy very specific measurements to accommodate her small appliances and baking containers.

The bottom shelf opens with a pull~out shelf for the stand mixer. Electrical outlets inside mean that appliances can easily be used without moving them.
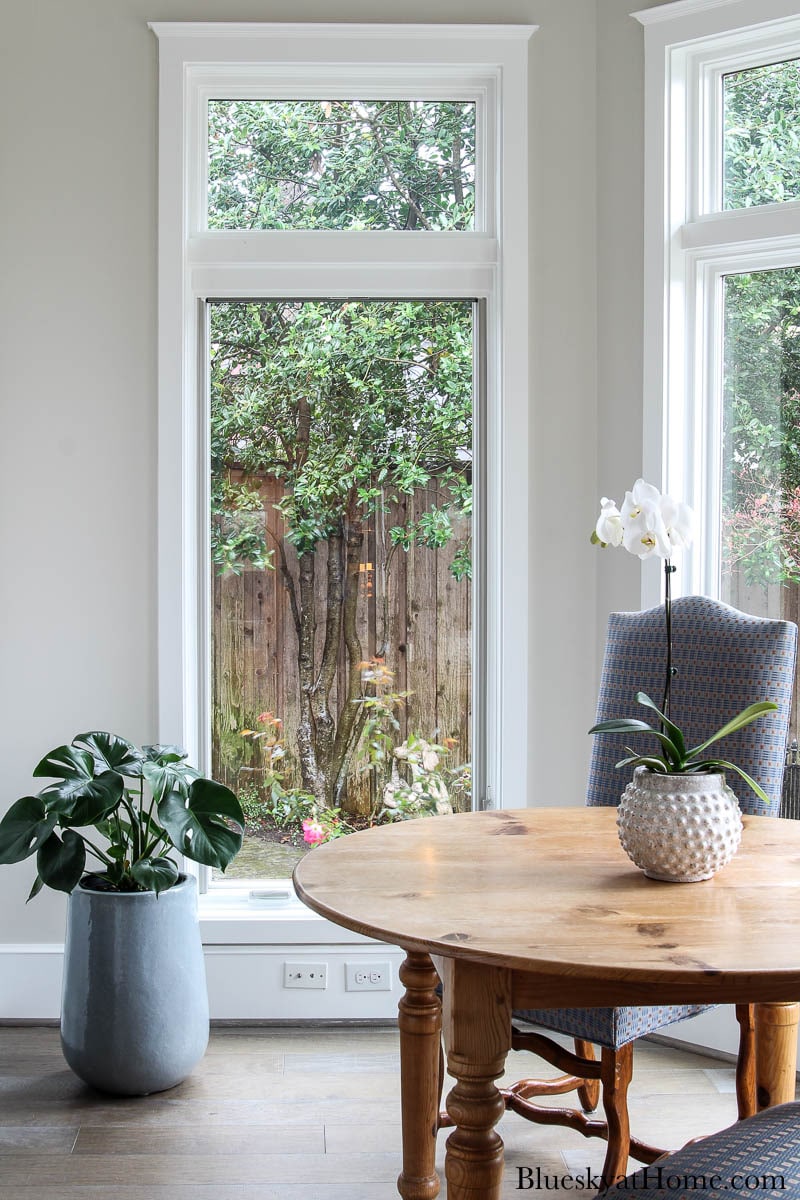
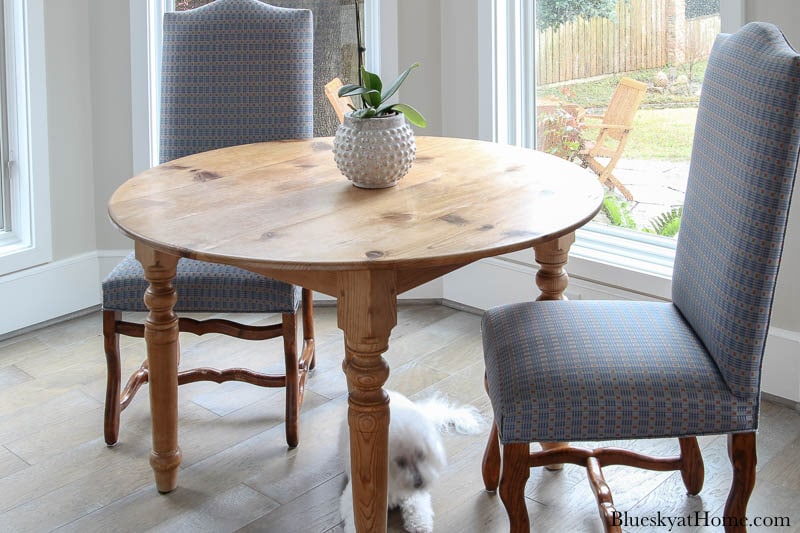
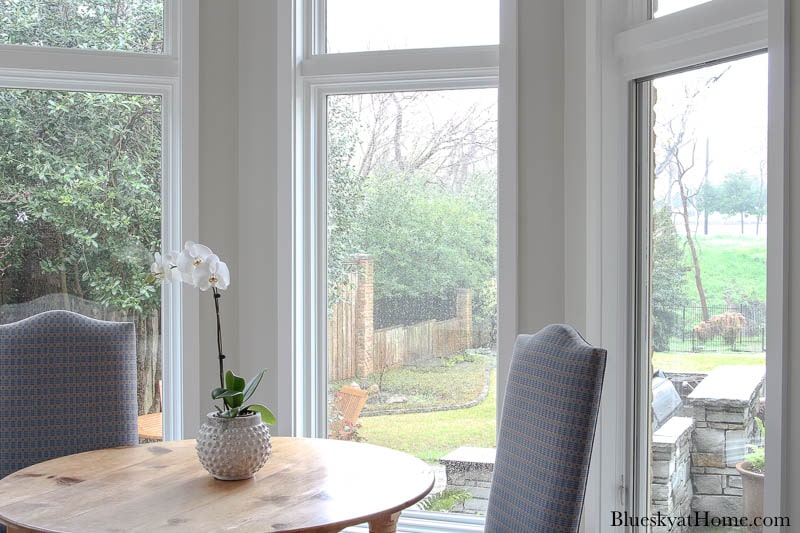
The breakfast room provides a cozy place to enjoy a cup of morning coffee and views of the amazing tree~filled backyard. This window was added to give more light to the room. The original turreted ceiling was raised to match the newly raised ceiling in the kitchen for one continuous flow. All new windows were enlarged ~ I think they are about 9 feet tall.
The family pup enjoys his spot under the table.
You can see a bit of the back patio here, including the outdoor kitchen. There is no need for window treatments as there is complete privacy in the back yard. The property backs up to a creek bed and greenbelt. I don’t know if you can tell, but it was very cloudy and raining during the photoshoot.
To the right of the window on the right is a door out to the patio.
This white kitchen remodel evokes a transitional feel that is both crisp and clean, yet warm and inviting. The white background offers ample opportunity for the homeowner to input her own color choices and favorite accessories.
Here’s another gorgeous kitchen remodel I know you will love too.
If you loved this white kitchen remodel tour, I hope that you will PIN it to your favorite boards so others can enjoy it. It’s been my pleasure to share it with you.


Beautiful! She did a great job and you definitely seemed to enjoy your time there. Thanks for sharing it with us at #HomeMattersParty
Hi Donna, It was definitely a treat to see this beautiful kitchen remodel and photograph it.
Beautiful! Thanks for the tour, Carol!
You are so welcome, Janet. Thank you for visiting and commenting.