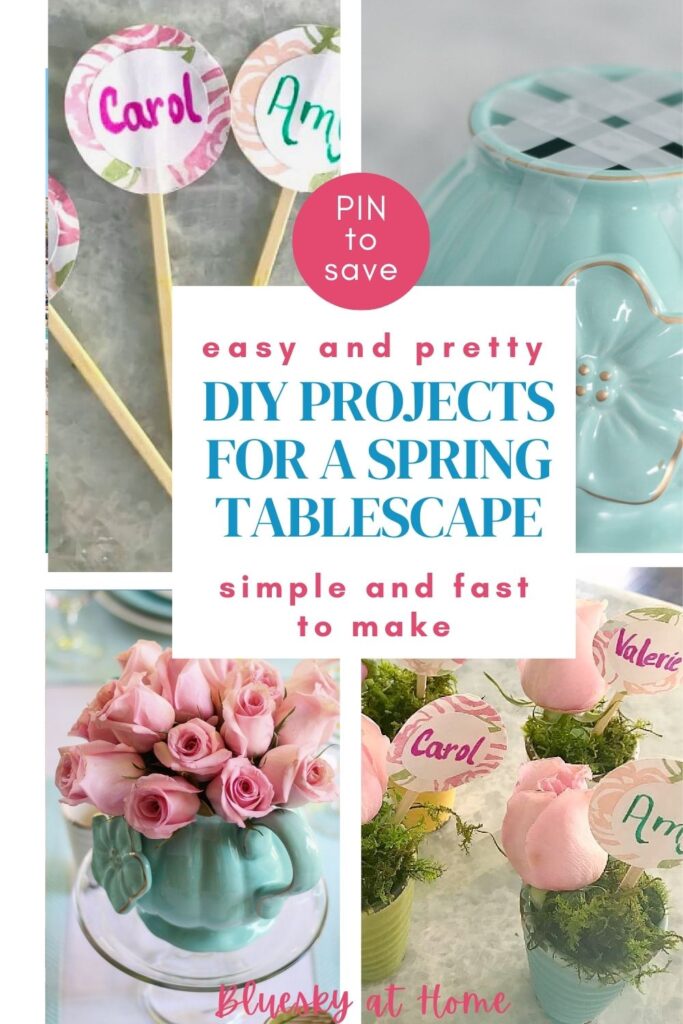
Easy Spring Tablescape Projects
Every tablescape benefits from a personal touch. For one of my favorite spring tablescapes, I made a couple of pretty easy spring tablescape projects. They both enhance the table with lovely embellishments.
I enjoy hosting friends for a quiet lunch featuring flowers, food, and decor for the season. Although the fruit and desserts have been consumed, our breakfast table still has the flowers and other pretty items gracing the table that I created for my spring tablescape.
Creating a tablescape is like creating a beautiful room: you start with an inspiration, add the foundation items, then embellish it with accessories and the pretty extras that give personality and a personal stamp to any space.
One of the two little spring tablescape projects that I created was the inspiration for the tablescape and served as a decorative accessory and the other one provided the personal touch and exclamation point.
Even better, the directions for these projects can be utilized over and over again in your tablescape designs.

Nothing adds more ambiance, grace, flair, and personality to any setting than flowers. Regardless of the type of flower or the container you use, flowers can be one of the best ways to spend your decorating dollars. And a little DIY crafty project also can add great style to your tablescape
Easy Spring Tablescape Projects – Pretty and Practical Ideas
Knowing how to arrange flowers is a talent and a skill that I wish I was better at. Fortunately, I learned a couple of tricks many years ago from a friend who was an event planner.
DIY Flower Arranging
For our spring living room, I used my three “milk-glass” looking vases.

TIP: Scotch tape can be your best friend for arranging flowers. When the opening of your planter is narrow – like the ones on my coffee table here. You can simply place your stems in the vase.
I used two hydrangea stems in each of these vases and they stood up straight because the neck of the vase was only about 2 inches wide.

When the neck of your container is wide, you will need some way to hold individual flowers in place. This is when scotch tape becomes your best friend.
The two jars in this container were each about 4 inches wide. For this arrangement, to insure that the stems stood up, I placed strips of tape across the top in a crisscross pattern.
TIP: Make sure that your container is dry. Scotch tape will not stick to a wet surface.

The next step is to remove all the leaves from the stems.
TIP: For roses, remove any wilted or browning petals.

Next, cut the stems to the height that you need and push the stems through the openings between the scotch tape, starting in the center, and continuing until you have a tight, full appearance.


For the tea-pot in my spring tablescape with pastels, I followed the same procedure.


Yes, it does seem like you are throwing out a lot of greenery, but any leaves in the water will add bacteria that will cause your flowers to deteriorate faster. Discarding wilted petals is what the professionals do. This practice keeps the roses looking fresher.
TIP: Check your roses every few days and remove the wilting petals. Your arrangement will look prettier and last longer.

Insert as many stems as you can for a full and impressive display. I used 14 rose stems in this arrangement. The scotch tape holds them securely. Not using the scotch tape would not result in such an attractive (I think) arrangement.

DIY Place Cards
I love adding some sort of place card to my tables. Why?
It’s not for telling people where to sit – although that can be an option – but because it gives you another opportunity to bring color, whimsy or another decorative element to the table.
Looking around the kitchen, I decided to bring in these ceramic cups that I bought in Atlanta a couple of years ago. They sit in my kitchen cabinet. They were the right size for a cute place card.

The place cards – or sticks – are easy to make. You need a short stick (Found in the cooking section of the grocery store or the craft store.), your paper of choice, glue, an adjustable round cutter (mine is a Friskars), and markers for writing your guests’ names.
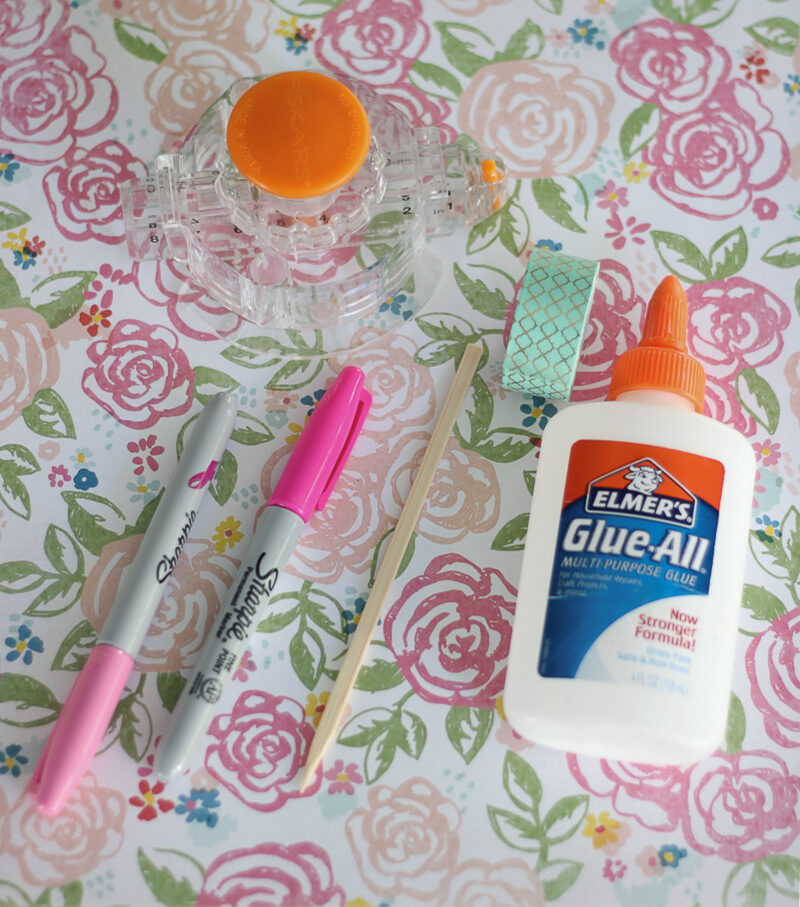
I chose this floral pattern which I already had on hand (I’m always picking up scrapbook paper when I see a pattern I like.). I made 8 2-inch circles. Then I made 4 1 1/2-inch circles using a blank index card.

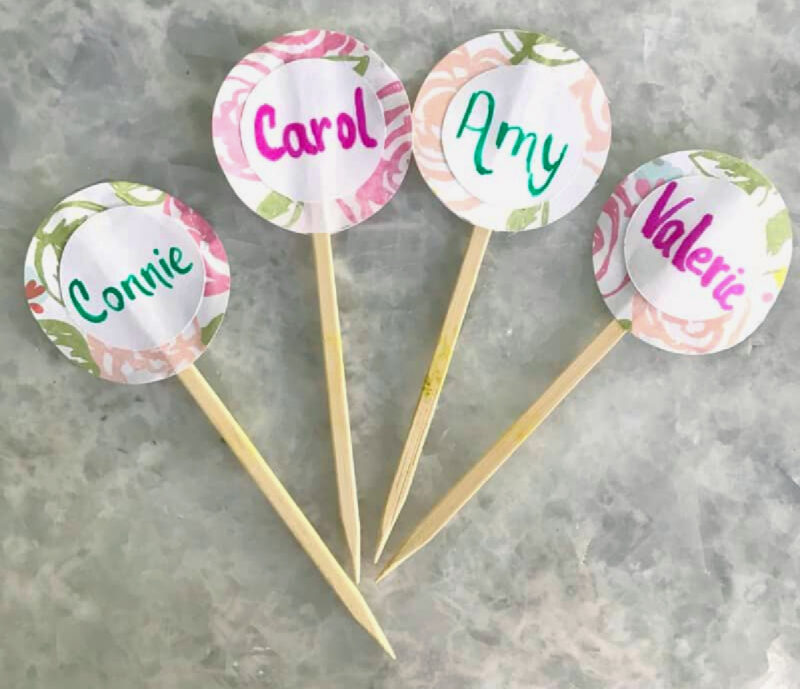
I wrote my guests’ names on the white circles using a bright pink Sharpie and a teal Tombow pen. Glue each name card circle to a flower circle.

I used Elmer’s Glue to attach the paper circles to the sticks. Lastly, glue the remaining flowered circles to the back of the stick.
While those were drying, I cut pieces of florist foam to fit inside the cups, filled the cup halfway with water, inserted the roses (I saved 4 just for this project.)and then the sticks into the foam. The last step was to cover the foam with moss. Pretty cute, uh? If I didn’t love those ceramic cups so much, I might have given them away. Next time, I’ll look for some cute, inexpensive containers to serve as give~away favors.
If you would like to see another similar project using the same method, here’s How to Make Cupcake Toppers I did last fall.
These simple DIY projects will dress up your next spring tablescape. You can check out more spring DIY projects on my Pinterest Board, Spring DIY Projects.
I hope you can and will use these are tips and ideas in your own tablescaping adventures.

These are just darling! Your photos are beautiful, and what great, easy-to-follow ideas you’ve shared here.
Thanks so much for joining the Grace at Home party at Imparting Grace. I’m featuring you this week!
You’ve made my day. I’ve been working hard on my photography. Glad that the directions were easy to follow.
Carol thank you for those tips. I could never get my flowers to stand up and look pretty. They are always flopping over to one side. This will really help. Your tablescape ideas are easy and very useful not to mention lovely.
So pretty, Carol! I long ago used the tape trick and haven’t in ages. Seeing your beautiful arrangements I was reminded and will put into action this Easter! Or maybe before!
The placecard holders are really cute. I like your sweet cups but I wouldn’t have wanted to give them away either. Peat pots are always fun for something like that.
Have a lovely weekend!
Jeanie, Happy I reminded you about the tape trick. Peat pots are a good idea to remember.