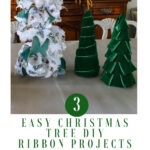
Three Easy Christmas Tree Ribbon DIY Projects
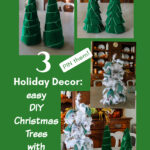
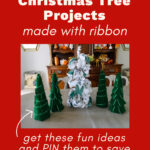
It’s time to get your creative Christmas ideas in high gear. Here you can discover the magic of creating small Christmas trees with three easy Christmas tree ribbon DIY projects.
Whether you’re a seasoned crafter or a beginner looking to add a personal touch to your holiday decor, these easy Christmas tree ribbon DIY projects will inspire you to create a festive display that will wow your family and friends.
These projects offer a versatile range of options to suit any style or color scheme.
Not only will you save money by crafting your own decorations, but you’ll also have the satisfaction of knowing that your trees are truly one-of-a-kind.
With easy-to-follow instructions and tips, these tutorials will show you how to elevate your Christmas decor.
So grab your ribbons, scissors, and a dash of creativity – it’s time to make this holiday season your most beautiful yet!
These Christmas tree ribbon crafts are both easy and budget-friendly.
Ready to get started?
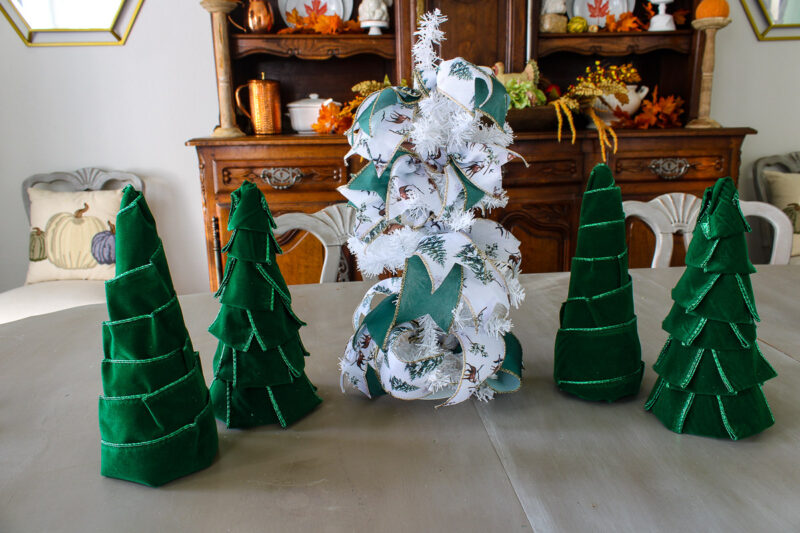
This Christmas ribbon project is part of this month’s Creative Craft Blog Hop, hosted by Sara of Birdz of a Feather. I’m excited to share these three ribbon tree projects with all the other great projects.
Joining me from Allyson of Southern Sunflowers? You’ll love her Santa and Elf clay pot project.
DIY Christmas Trees: 3 Ways to Use Ribbon to Make Pretty Christmas Trees
Last week, I rounded up several Christmas tree projects. Three of the projects gave me an idea for decorating some trees for our home this season.
This post contains affiliate links to products used to create this project. If you should order any item from this site, I may receive compensation, but you do not pay a penny more. Your purchase is greatly appreciated as it helps support the continued publication of this site.
What Type of Ribbon to Use for These Christmas Trees?
When it comes to creating ribbon Christmas trees, the right ribbon can make all the difference in achieving a stunning and festive look.
Choosing the best type of ribbon involves considering various factors, including width, material, and texture.
- Wired ribbons are highly recommended for their versatility and ease of use, allowing you to shape them into beautiful bows or cascading strands that hold their form. throughout the season.
- Width is another critical aspect to consider. Ribbons between 2 and 4 inches wide are ideal for most projects, striking a balance between visibility and manageability. Wider ribbons create bold statements, while narrower options can add delicate accents. Combining different widths can enhance visual interest and depth.
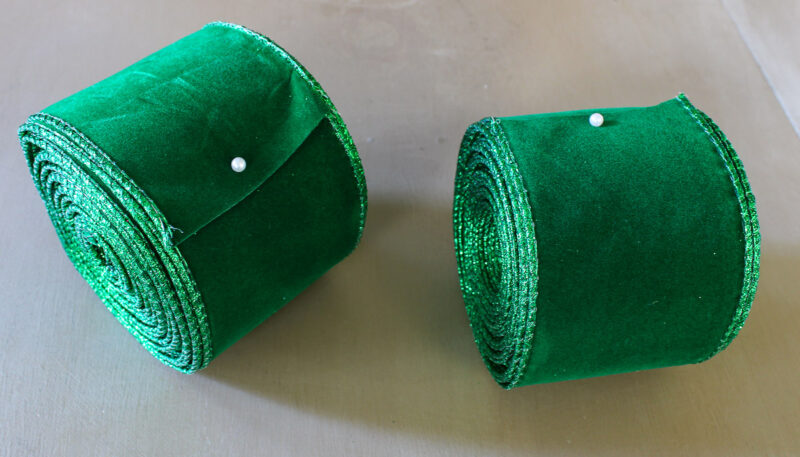
In terms of materials, several options can cater to various themes and aesthetics.
- Satin ribbons offer a smooth, luxurious feel perfect for a classic look, while velvet ribbons add richness and warmth for a cozy ambiance.
- For a more rustic or farmhouse style, consider using burlap or jute ribbons, which bring a natural charm to your decor.
- Each material contributes uniquely to the overall appearance of your tree, so choose based on the vibe you want to create.
- Lastly, incorporating a mix of colors and patterns can elevate your tree’s design and interest.
- You can aim for at least three different ribbons: one with a bold pattern, another that complements it, and a third that adds texture. This combination will ensure your tree looks dynamic and inviting.
With these tips in mind, you’ll be well-equipped to select the perfect ribbons that will turn your DIY Christmas tree into a festive focal point this holiday season!
What are Three Ways to Use Ribbon to Decorate a DYI Tree?
I’ll be showing you how to use ribbon in three ways to make DIY Christmas trees. All three ways are easy to create. You can use one type or color of ribbon or mix up to 3 solids and patterns.
- wrapped ribbon Christmas trees
- looped ribbon Christmas trees
- tied ribbon Christmas trees
What Supplies Do You Need for these Ribbon Christmas Trees?
For these easy Christmas tree ribbon DIY projects, your supply list is short and you may have the supplies on hand. If not, they are easily found online or at your local craft store.
For two of the three types of ribbon Christmas trees, you will need these supplies:
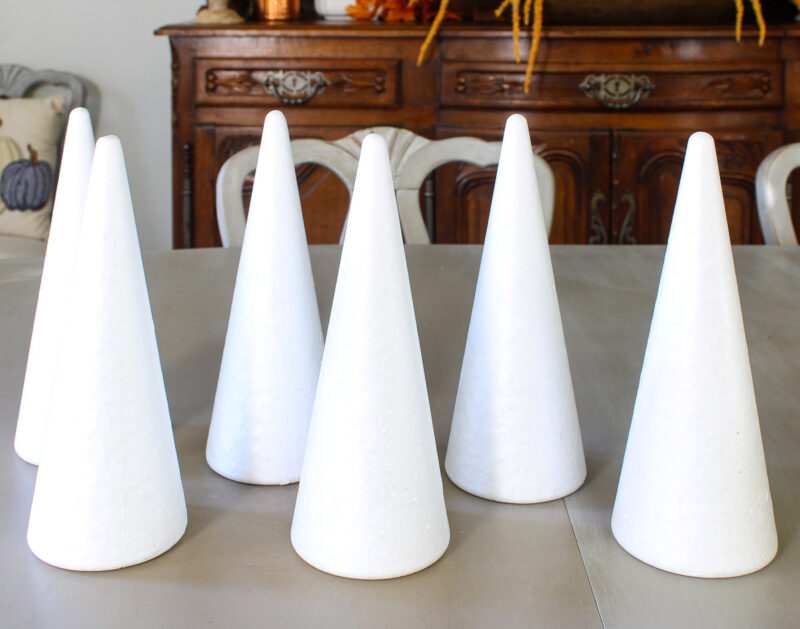
- styrofoam cones in your size of choice – I used white smooth* stryofoam cones that are 9 inches tall. This package came in a 6-pack. You can use cones of the same size or a variety of sizes.
NOTE: I like the smooth styrofoam for easier application of paint, glue, or other embellishments.
- wired ribbon – I chose green as my color for the trees, but you can make your trees any color you want. I chose both solid velvet green ribbon and a package of 3 -one solid and two patterns.


- sharp craft scissors
- ruler
Wrapped DIY Ribbon Tree
This is such an easy project. In addition to the styrofoam cones, wired ribbon, and sharp craft scissors, you will need an adhesive to attrach the ribbon to the cone.
For the wrapped ribbon tree, you can use a glue gun, spray adhesive or adhesive tape.
The adhesive tape I used is actually the tape that is used to hold down rugs. It worked perfectly. It was so easy to apply the ribbon to the cone. I had just enough for two ribbon trees.
NOTE: The amount of tape and ribbon you need depends on the size of your cone and the width of the ribbon. My ribbon was 2.5 inches wide and my cone was 9 inches tall and 3.5 inches wide at the base.

Step 1 – Add Adhesive
Attach the adhesive table to your cone. The first cone, I wrapped the tape around the cone.
At the base of the cone, cut off the adhesive.

Step 2 – Wrapping the Ribbon
Start at the top of the cone and attach the ribbon around the top of the cone. As you wrap the ribbon, you will need to adjust the ribbon, crimping it at spots to fit around the cone. This also creates interest.


Step 3 – Cut Off Excess Ribbon
When you get to the base of the cone, cut off the ribbon.

Bend over the wired ribbon to the bottom of the cone.
NOTE: On the second cone, I attached the adhesive tape straight down from top to bottom of the cone. I think that was easier and used less adhesive tape.
That’s all there is to make a wrapped ribbon Christmas tree.


NOTE: You can try starting the wrapping at the base of the tree, if you like.
Looped DIY Ribbon Christmas Tree
This tree took a little longer, but was still easy.
For this tree, you will need your wired ribbon, sharp craft scissors, and straight pins.
Step 1 – Measure Your Ribbon
For this tree, you want to measure and cut 4 inch lengths of ribbon. I found the easiest way was to measure one 4-inch length. Fold back the ribbon another 4 inches, going back and forth as many times as you want.
For each tree, I did this 2 – 3 times.

Step 2 – Cut the Ribbon on the Fold
Holding the folded ribbon firmly in one hand, put your small sharp scissors through the fold and cut across the fold. Then flip the ribbon and cut through the fold on the other side.
You will have a pile of 4-inch pieces of ribbons.

Step 3 – Fold the Ribbon Pieces in Half
To create your ribbon “loops”, fold the ribbon pieces in half.

Step 4 – Attach the Ribbon Loops to the Cone
Starting at the base of the cone, push in straight pins to attach the loops to the cone.
TIP: If it hurts you finger (I used my thumb.), to push the pin in, use a thimble. I didn’t have a thimble, but a hot glue finger cot worked great.
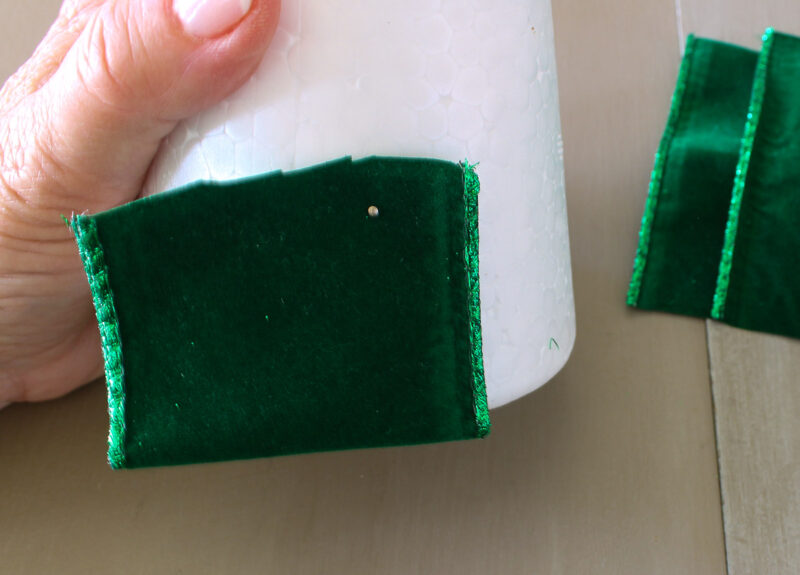
Overlap a second loop, adding another pin to secure both the first loop and the second loop. Continue around the base until you cover the base of the cone.
Next, add a second layer of loops, covering the pins on the loops on the first row. The bottom of the second row of loops should cover the lower row by at least 1/4 inch.
Continue up the side of the cone, adjusting loops and pins as you go.
At the top of the cone, wrap a loop over it, hiding the pins in the fold of the loops.
I used about 24 loops on each tree.
NOTE: Sorry, I got so involved in making these trees and I was watching the Cowboy game that I forgot to take process pictures.
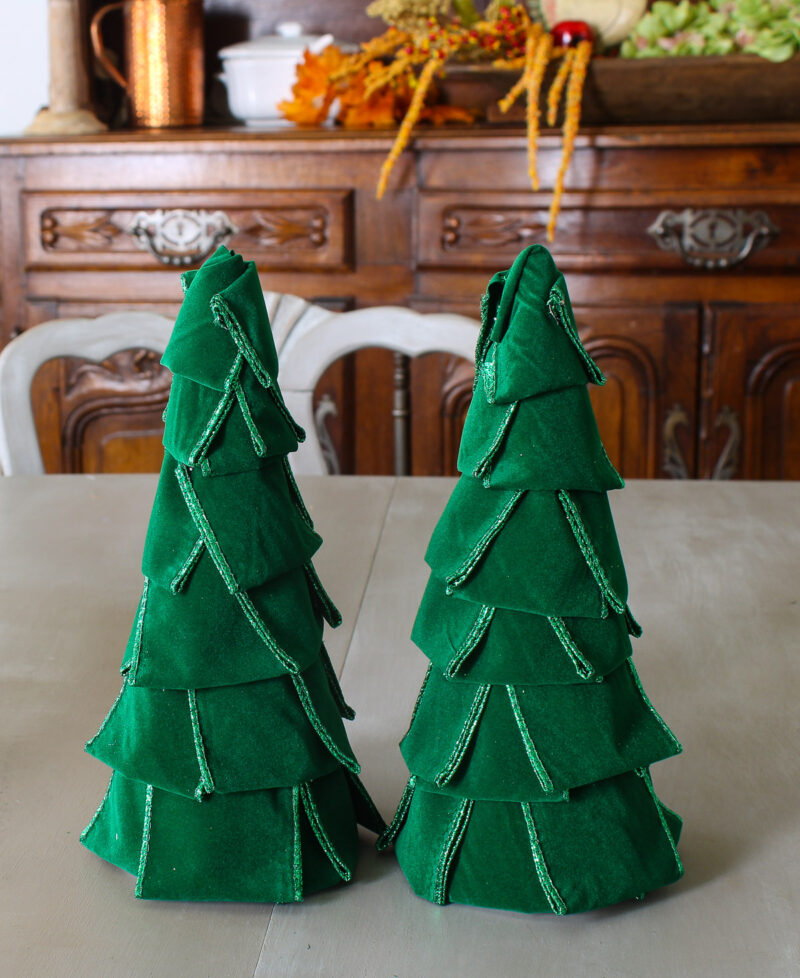
I only used one of the two bolts of the green velvet ribbon for these four tree projects.
Tied Ribbon Christmas Trees
For this tree, I used the other solid green ribbon and the patterned ribbons.

Instead of a styrofoam cone, you will need a small faux Christmas tree. You can use a green or white tree. I think this Christmas tree is about 12 inches tall.

You will also need your small sharp craft scissors and a ruler or cutting mat.
Step 1 – Measure Your Ribbons
I estimated that I would need 5 “sets” of my three ribbons. I started with 21 inch lengths of ribbon.
Step 2 – Cut Your Three Ribbons
Cut three ribbons at your estimated length.
Step 3 – Cut Notches at Both End of the Ribbons

Step 4 – Tie on Your Ribbons
Starting at the bottom of the tree, you are going to tie a “set” of three ribbons around the center pole of the tree at varied sections of the tree.
Layer your ribbons. Holding the set firmly, tie it around center pole of the tree. It may take a bit of adjusting to get the ribbon firmly around the pole.

Step 5 – Adding More Ribbon
Separate a few inches of tree branches above your tied ribbons. Repeat the first layer with a second layer of ribbon.
Cut the second layer a couple of inches shorter than the first layer. My second layer was 18 inches, the third was 16 inches, the fourth layer was 14 inches, and the 5th layer was 12 inches.
Continue this process until you get just below the top of the tree, repeating Steps 1 – 4.

Step 6 – Fluffing Your Ribbons and Branches
Once you have tied all your ribbon sets, it’s time to pull the ribbons very tight as you separate the ribbons apart in different directions. Fluff the tree branches, too, until the ribbons and branches are distributed and fluffed nicely.
TIP: You can curl the wired ribbons for a nice look.

Displaying your Ribbon Christmas Trees
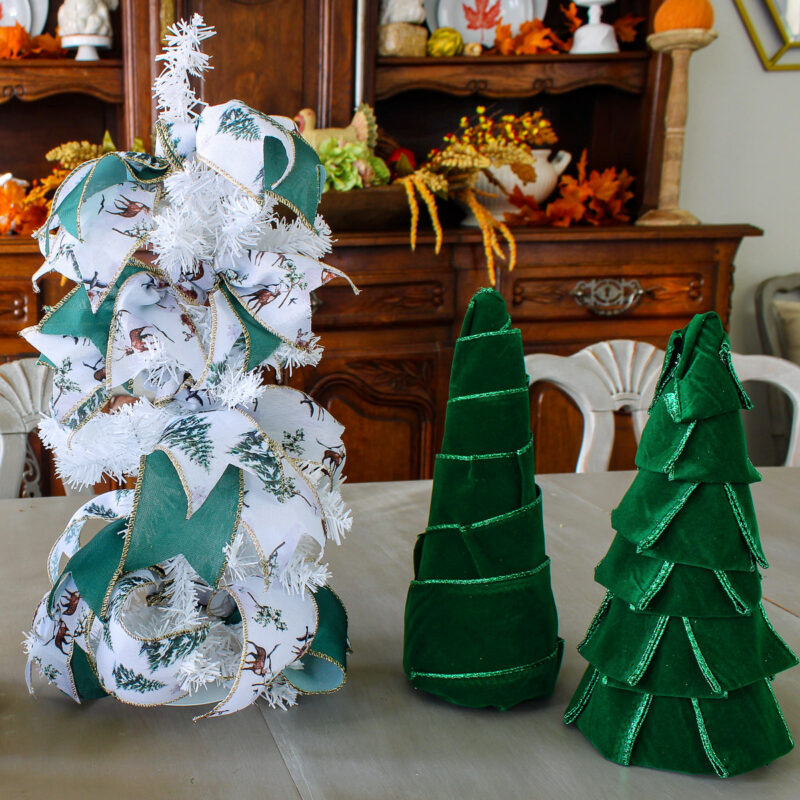
I’m not ready to place these trees in their final place (our bedroom), but here is how they look right now.

These trees can be used in places where small trees are needed.
- tabletops
- side tables
- bookshelves
- kitchen or bathroom counters
- entry table
- coffee tables
Here is how I used these DIY ribbon trees in my Christmas decor?
Here are other Christmas tree projects you’ll like:
- 13 Creative DIY Christmas Trees
- How to Easily Decorate Tabletop Christmas Trees
- 9 Ideas for Christmas Trees in Your Home
Need resources for your Christmas DIY projects?
I hope that enjoyed these ribbon Christmas tree projects. They were fun to make, easy and relatively inexpensive.
I would love for you to PIN this project to use now or later. Please check out these Pinterest Boards: Christmas DIY Ideas, Christmas Home Decor, Christmas Inspiration for a wealth of ideas.
Now you should check out the other DIY craft ideas from my fellow bloggers. Start with Donna of Modern on Monticello.


Donna – Easy DIY Pine Cone Christmas Trees and Topiaries
Sara – Crochet Mug Cozy Pattern Free
Tammy – Hot Cocoa Reindeer
Terri – Christmas Deer Revamp
Rachel –Easy Rag Garland Decor
Cecilia – Darling Gingerbread House Crafted with Dollar Store Decor
Gail – Christmas Glitter Foam Flower Decor
Allyson – Christmas Clay Pot Craft Ideas for Santa and Elf
Carol – Three Easy Christmas Tree Ribbon DIY Projects





Your trees are beautiful and unique! That green velvet ribbon is gorgeous. I’ve never thought of using rug tape for crafting ~ clever.
Those ribbons you used are so beautiful!
The deep green of the ribbon you used is stunning! And the tip about using the double sided tape is genius! I used that a lot in design school and have totally forgotten about it. It would have made the pine cone trees I made this month so much easier too. I am going to put that on my crafting shopping list asap. Thank you for sharing each month. I always enjoy seeing your projects.
They are all so cute Carol! Thank you for the details tutorials, love these! I hope your holidays are wonderful!
Your ribbon trees are so cute and adorable, Carol! I especially love the velvet ribbon you used and the workmanship of your tree designs! As a member of the Bowdabra Design team, I love all of your ribbon Christmas trees. I’m always looking for ways to make something with ribbon that includes putting a bow on it! And your ribbon trees would be perfect to add bows on top! Have a great Christmas!
We don’t have room for a real Christmas tree, but a number of these scattered around would be amazing. These are all so creative Carol; I think my favourite is the loopy one (green is my favourite colour!).
Hey, Sara, we had to give up on our big Christmas tree a couple of years ago. Now we have 4 tabletop trees throughout out home. Much easier to manage. I like the loopy one, too.
Carol I love these ribbon trees. The green velvet ribbon is beautiful. Love that color. AND that roll of adhesive is a game changer!!!!! Thank you so much for sharing.