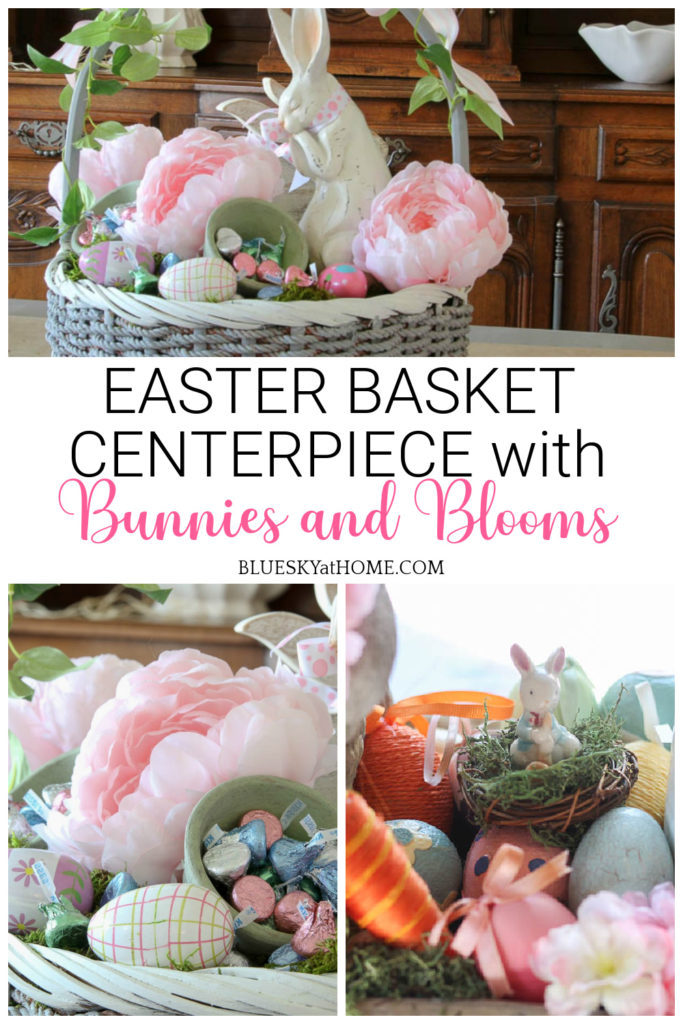
Easter Basket Centerpiece with Bunnies and Blooms
Easter is getting closer. As usual. I plan to create a lovely Easter tablescape. Every Easter tablescape needs a pretty centerpiece. This year I’m creating an Easter basket centerpiece with bunnies and blooms.
Do you like to make a centerpiece for your holiday tables? Let me show this Easter basket centerpiece with bunnies and blooms.
For my Easter table, I checked to see what I had on hand. Fortunately, I had everything I needed.
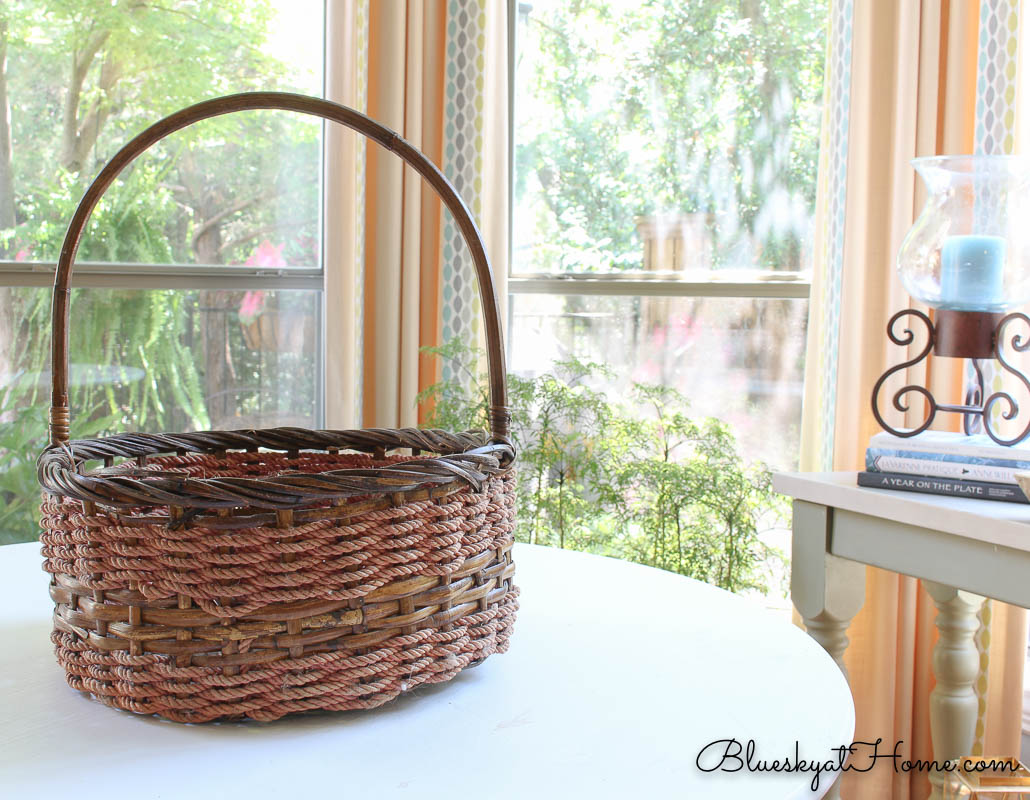
This Easter centerpiece was inspired by a large basket that I had repainted. I was itching to use it in my spring decor.

Bottom~line, I have created an Easter basket centerpiece that I love. It took 15 minutes to put together. It couldn’t be cuter than Mopsy, Flopsy, and Cottontail. And the moral of this Easter tale? You can do it too.
Even better, this basket centerpiece could be used on a coffee table, breakfast room or entry.
Easter Basket Centerpiece with Bunnies and Blooms
Rather than use a little bitty basket, I went big ~ because I could. I immediately knew what basket I would use for my Easter basket centerpiece. It was sitting in the middle of our living room. Full of home decor magazines, old ones that I really should get rid off
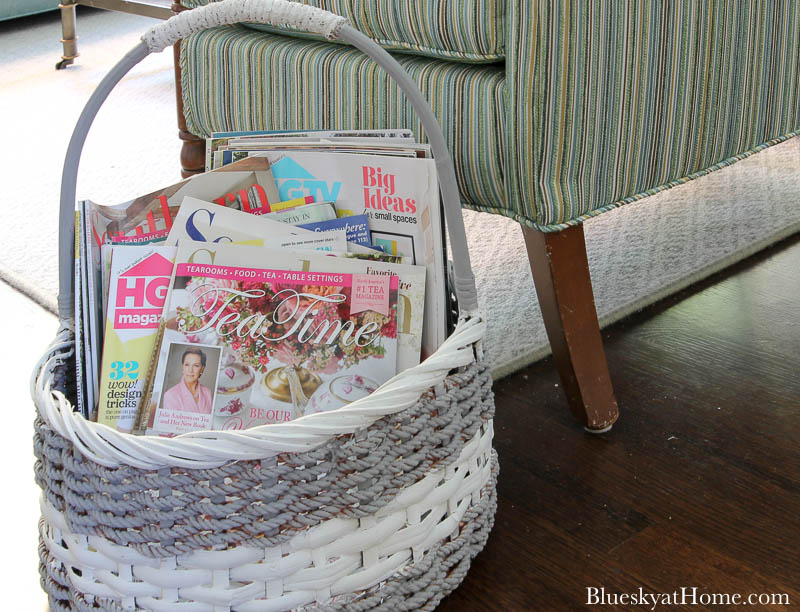
If this basket looks vaguely familiar, I shared last summer how I transformed it from an ugly, forgotten estate sale find to something pretty and usable. I cleaned it out, added jute twine on the top of the handle and painted it grey and white.
SUPPLIES FOR THE EASTER BASKET CENTERPIECE
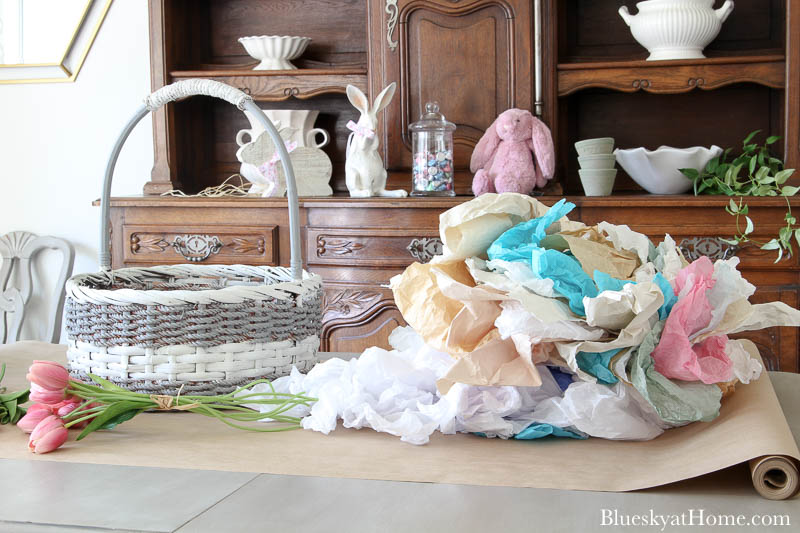
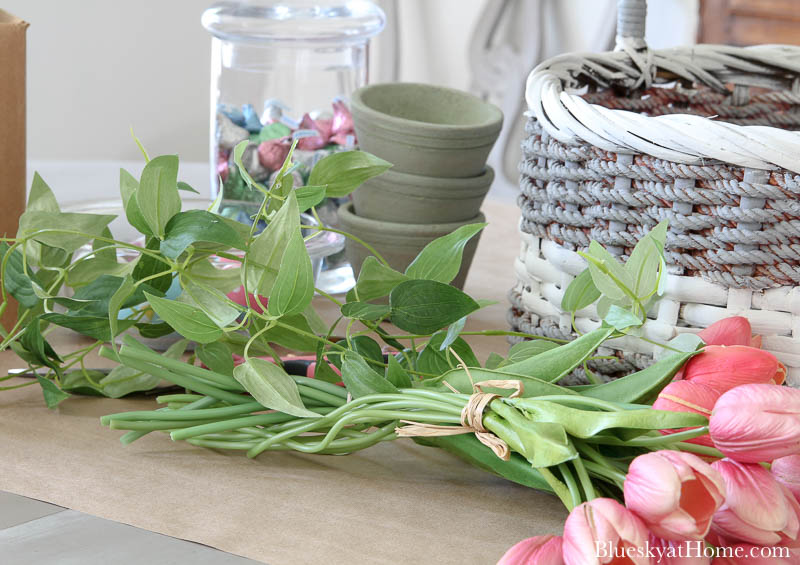
Since I wasn’t exactly sure how I was going to design this Easter basket centerpiece, I started gathering any Easter decorations that I thought might work. I decided to work in the dining room for this project since the kitchen is already decorated for Easter and I didn’t have room to spread out.
Choose your basket ~ my basket is about 6 inches deep so I needed lots of tissue paper to fill it up.
Get your moss ~ I needed moss to make a grassy “lawn”. I love this Super Moss. It lasts forever and is an unbelievable price for finishing off all your fresh and faux flower arrangements for a professional look.
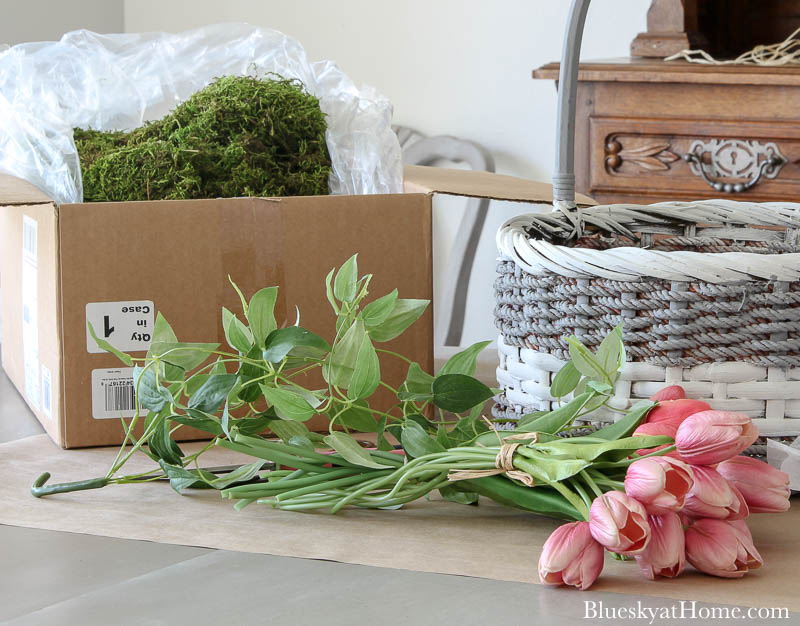
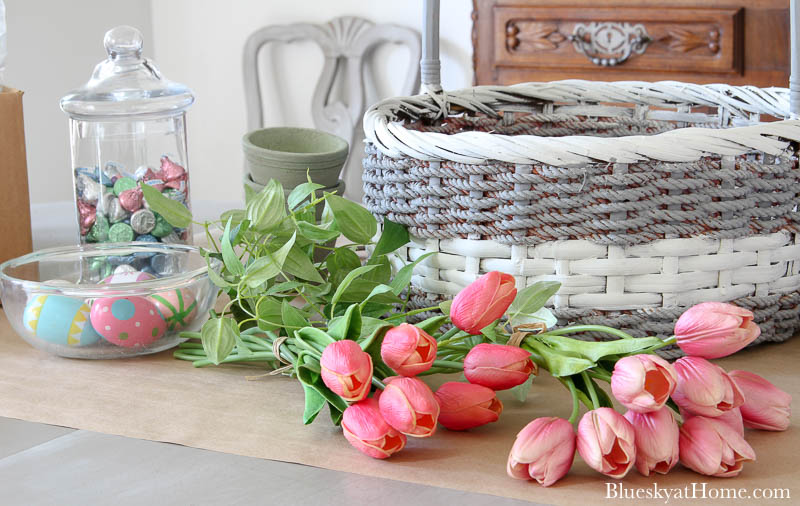
Choose faux flowers ~ I chose faux ivy and faux tulips
Include pretty Easter eggs ~ they could be painted, decoupaged or stenciled
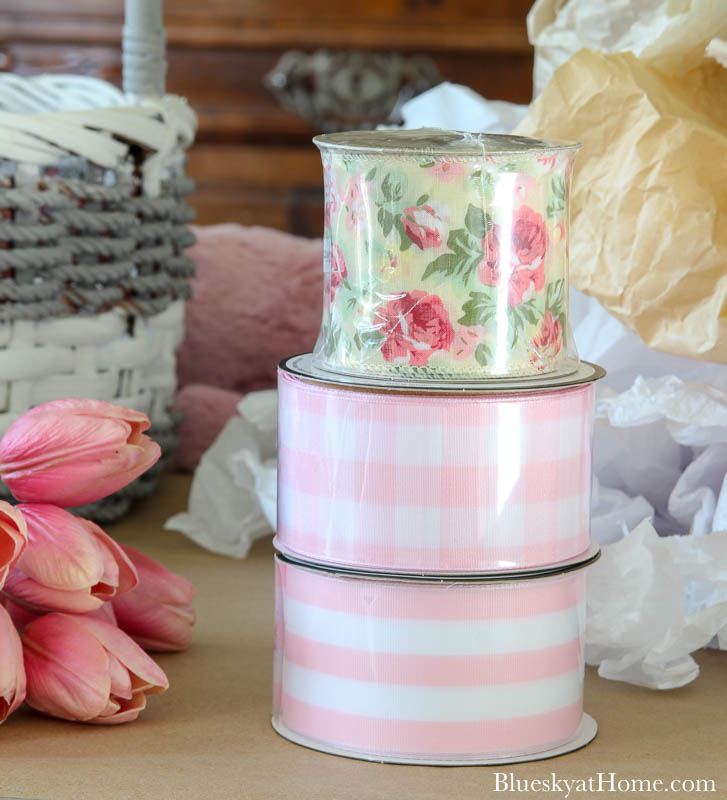
Choose pretty ribbon ~ I ordered three bolts of pretty Easter ribbon from Hobby Lobby
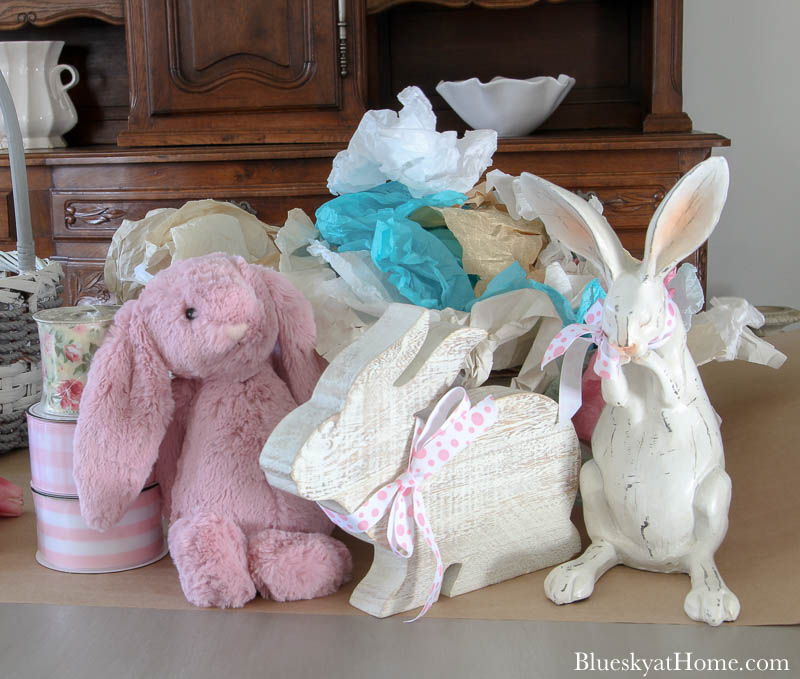
Include Easter bunnies ~ I pilfered three bunnies from other spots in the house.
Gather tools you need ~ With all my possible supplies gathered, now I was ready to begin. I also had basic craft tools:
- sewing scissors for cutting ribbon
- craft scissors
- clippers for faux flowers
TIP: Gather every possible thing you might use to create your centerpiece. Don’t forget scissors and hot glue, and anything else you think you may need them.
Check out the process of creating the Easter basket centerpiece Video.
THE FINISHED BASKET CENTERPIECE
In just under 15 minutes (I know because of the length of the video.), I made the centerpiece. I didn’t overthink it, and I didn’t stress over perfection. And I was just as pleased as if I’d spent a couple of hours.
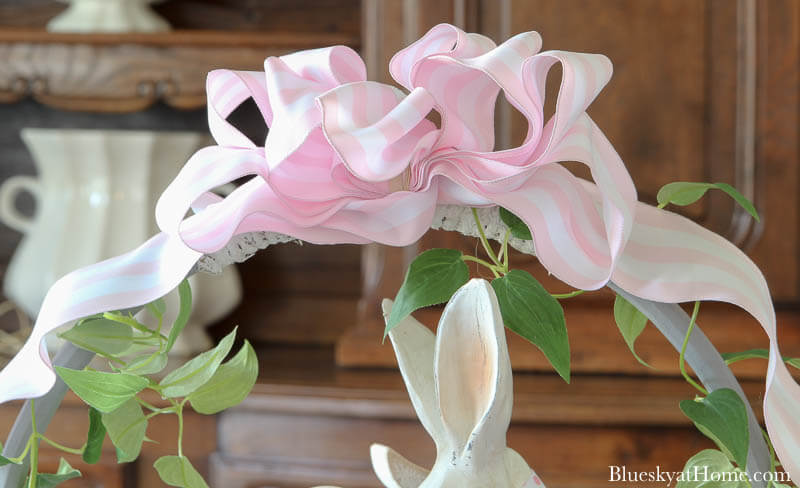
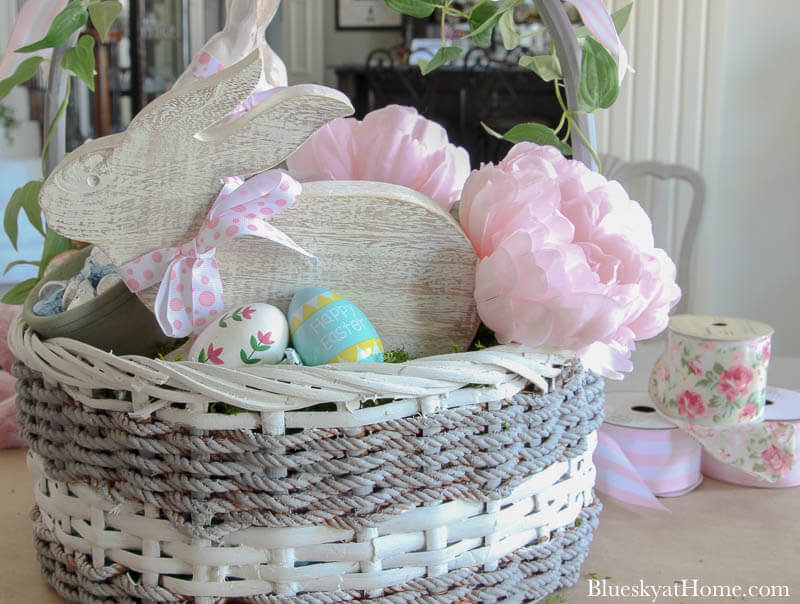
After I filled the basket with tissue paper, I covered it with moss. Next I wrapped the handle of the basket with faux ivy and topped it with a big bow of pink and white striped wired ribbon.
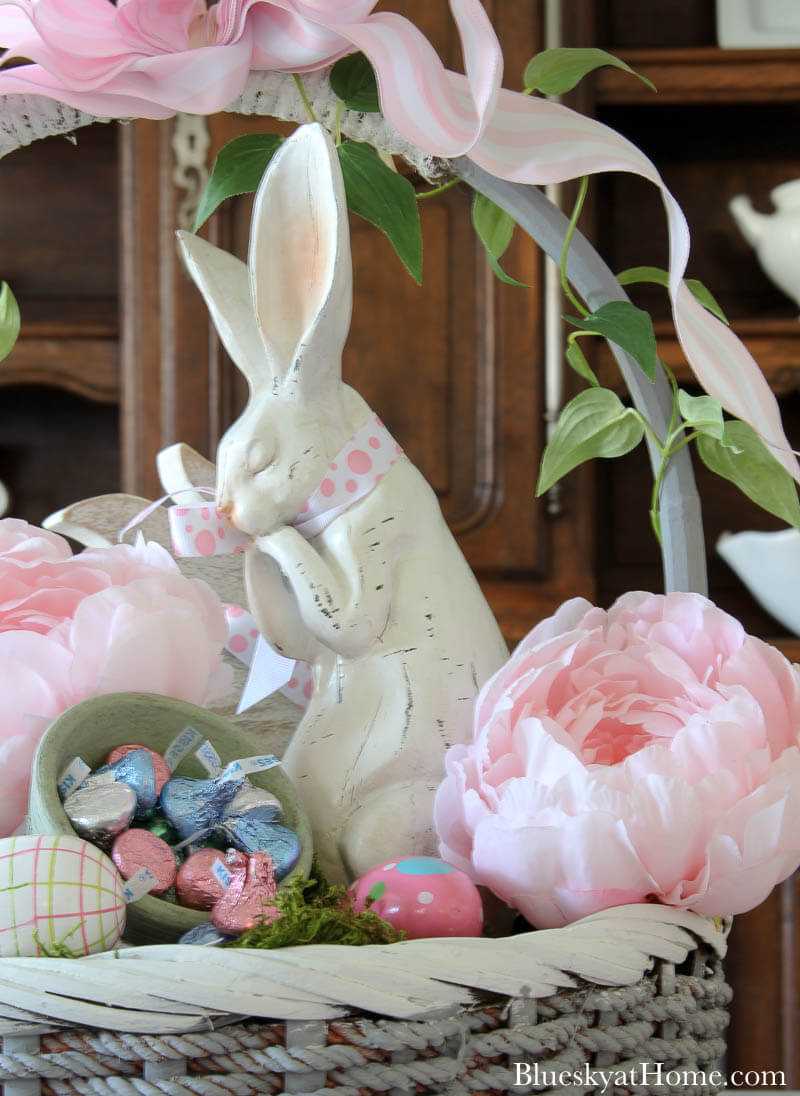
Then I arranged the two wood bunnies. I faced the taller bunny facing out toward the front of the dining room.
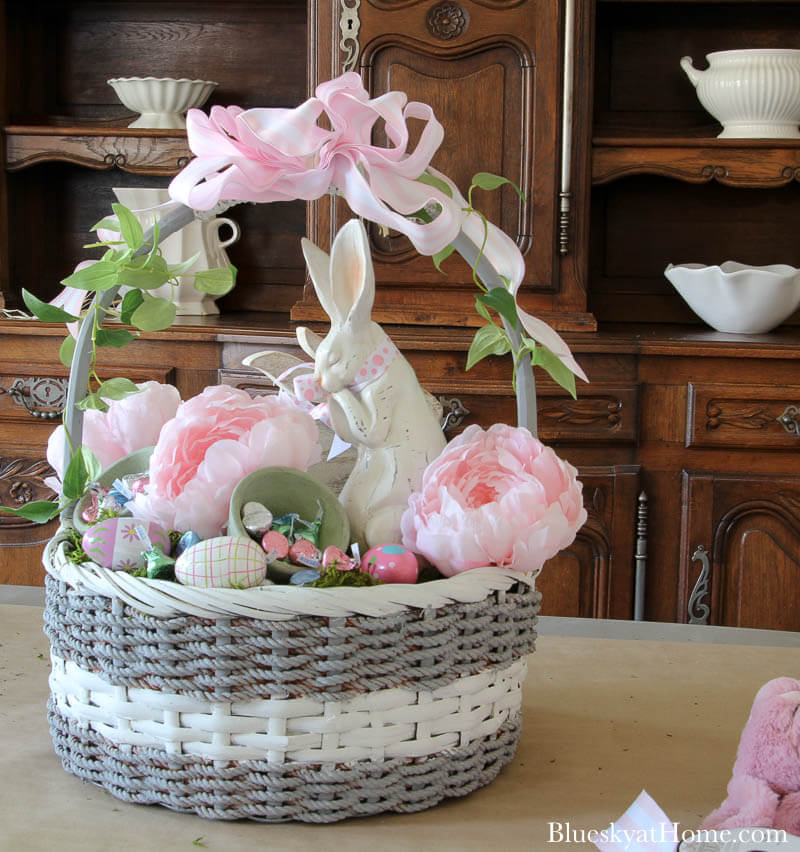
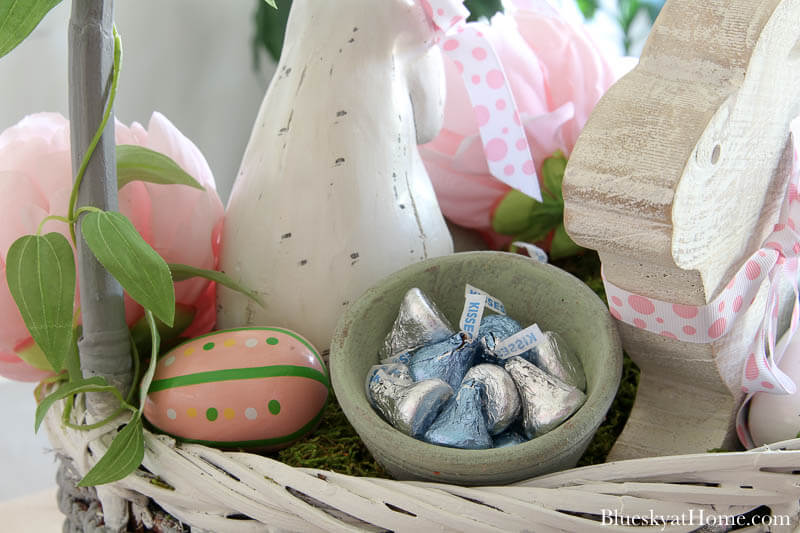
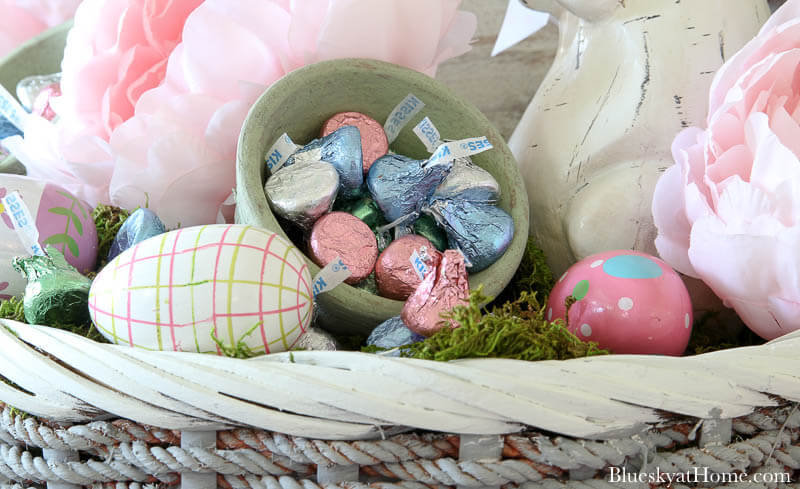
I filled the Easter basket with three faux pink peonies and the 3 three green vintage clay pots filled with the kisses. The painted Easter eggs are scattered about.
The other wood bunny is on the other side of the basket and faces toward the back dining room wall.

I hope you see how easy it is to create an Easter basket centerpiece. Now I’m ready to take off the centerpiece, put away my extra supplies (I didn’t use the pink bunny or the tulips.), and clean up the table. Then I’ll be ready to design my Easter tablescape. The big part is done.
I’d love for you to PIN and share this Easter basket centerpiece project.


Really cute idea Carol!
Pinning 🙂
I love how you transformed that basket with paint! Brilliant upcycling!
I love your basket ideas! Glad to share the hop with you! Enjoy your day!
Your basket is lovely. But I cringed when I read that you throw magazines out. My SO is a vet, so he brings all of our magazines and some catalogs (minus names) to his VA hospital. (My doctor’s office magazines are ancient) The VA volunteers distribute them to waiting areas. I’m sure there is a local hospital, nursing home, etc. that would enjoy your magazines.
What a neat idea this is!
I love your centerpiece idea. So many great ideas for Easter.
So cute. I love the Hersey kisses in the little container. Colorful and pretty.
This is so pretty Carol! I love the basket and the lovely fillers in pinks and whites! I love how you showed how to make something this gorgeous in easy steps!
Hi! Carol!
Such a cute basket and your video was great! Thanks for sharing with us!
Just adorable!Happy Pink Saturday!
So cute—thanks for sharing your project idea with us!
HaPpY pInK sAtUrDaY!
(Stop by my Homemaking Party and link up, if you’d like!)
Very very cute, Carol.
Very pretty.
I just love this so much. Thank you for the inspiration!
I love the way you painted the basket grey and white! It looks good enough for a magazine cover.
I love this idea! It turned out great and I’m thinking I need to get started on one for my table. Great idea and thanks for sharing! Loved joining you for this blog hop!
This is so pretty, love the way you did the ribbon on the handle, the bunnies, all of it. I know your table will be gorgeous as well.