
Pottery Barn Dupe: DIY Metallic Clay Tray with Glass Cloche
Have you ever spotted something gorgeous online and thought, “I could make that”? That happened to me when a Pottery Barn email landed in my inbox featuring a beautiful glass cheese stand on a gleaming brass base. I didn’t need another cheese stand, but I couldn’t stop thinking about that warm metal and glass combination.
So I made my own version. This Pottery Barn dupe is a metallic tray made from air-dry clay, sized to fit a glass cloche I already had on hand. It looks like brass, costs a fraction of the price, and works on a bookshelf, side table, or anywhere you want a little fall display. I’ll show you the three Halloween and fall seasonal displays.
Why is this a great project for the fall season?
- Beginner-friendly – No prior experience needed
- Budget-friendly – Uses simple, affordable materials
- Customizable – Match any fall color scheme

Today is the monthly Creative Craft Blog Hop. You’ll find five projects from five talented creatives sharing DIY projects. If you’re visiting from [Blog Hop Name], welcome! I’m so glad you’re here. Keep reading to see how I made the tray, plus three easy ways to style it for fall.
Welcome to Bluesky at Home if you are coming from Sarah of Birdz of a Feather.
Metal Tray and Cloche Inspiration
A while back, I got an email from Pottery Barn (I bet you get those, too). One of the items featured was a beautiful cheese stand on a metal footed base. I loved the look of the metal and glass.
However, I didn’t need another cheese stand. At 13.5 inches in diameter, I had no place to store it, and I didn’t want to pay the price ($99), although I’m sure it’s worth it.
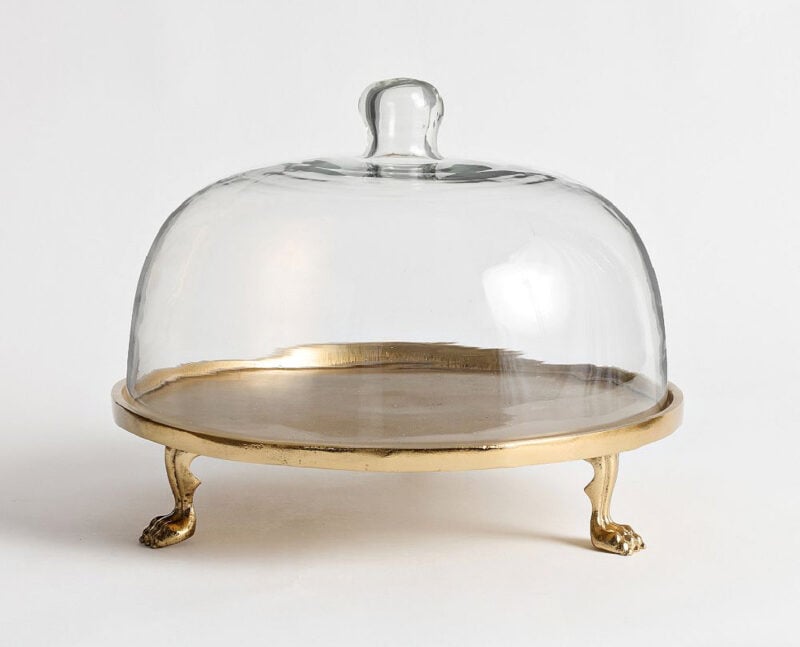
But it gave me an idea. What if I made a tray that looked like the pretty metallic tray in the picture? And what if I replaced it with a traditional cloche (which I knew I had on hand). And what if I made it smaller to fit on a bookshelf or a side table?
And that’s how my vision for this Pottery Barn dupe was born. It’s a good reminder that any item can be a DIY inspiration, but you don’t have to copy it exactly.
My Version of the Cheese Stand
Since I couldn’t manufacture metal, I had to figure out how to make a tray that looks like metal. Air-Dry Clay was my material of choice. I’ve made several air-dry clay projects, from coasters to napkin rings, and I really enjoy the process and the results. It’s an inexpensive medium, and you can make multiple projects from one block of clay.
Air-dry clay is incredibly forgiving and easy to work with, making this an ideal clay project for beginners. With basic shaping techniques and simple tools you likely already have at home, you can make endless pieces for your home, any time of year, for holidays, events, or gifts.
Here are some other air-dry clay projects to give you a taste of what you can make:
- DIY Air-Dry Clay Pumpkin Napkin Rings
- How to Make Easy Air-Dry Clay Leaf Coasters for Fall
- Air-Dry Clay Heart Napkin Rings
Supplies for a Metallic Clay Tray
You’ll find that air-dry clay may be the only supply you have to buy:
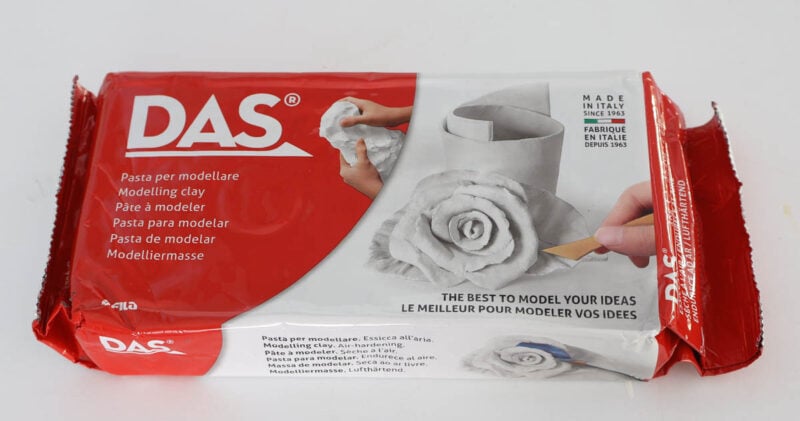
- Das Air-Dry Clay – this brand is so easy to use. It comes in white, terra cotta, and stone grey. I’ve only used the white since I always paint my projects. The clay is fairly soft and pliable when you open the package. Clay modeling tools are available, but I’ve never needed them.
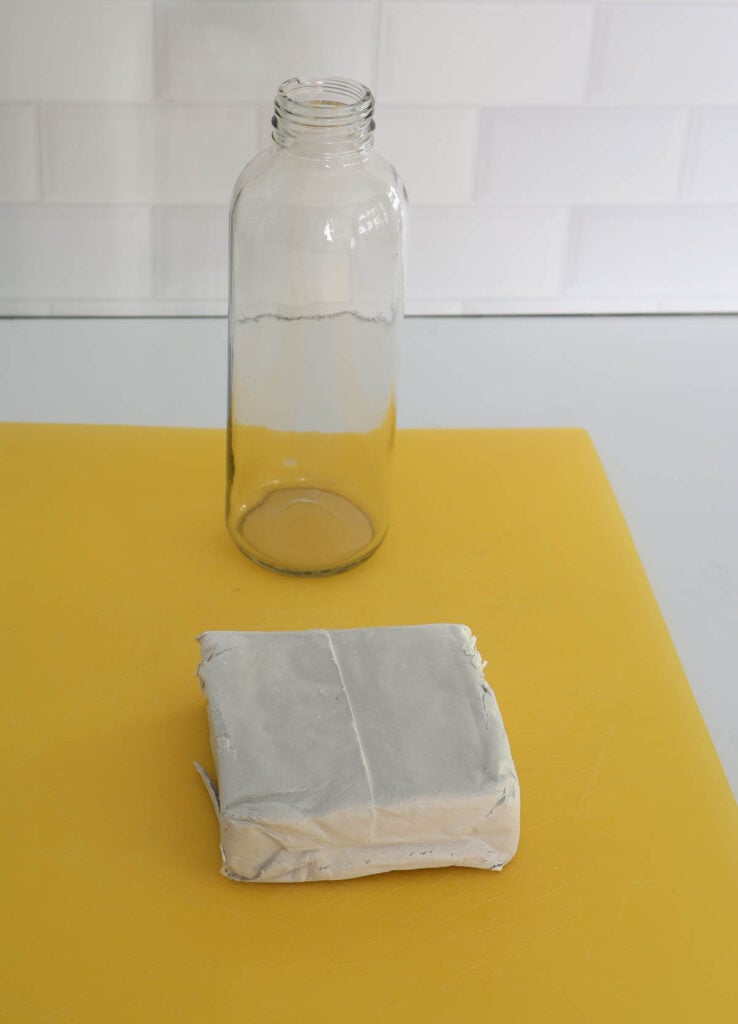
- a surface to work on – since I do most of my projects on my kitchen island, I always cover the granite for safety and sanitary purposes. For clay projects, I like to use an old plastic cutting board (the ones we use just for proteins). They are easy to roll out the clay, leave it to dry, move your project around, and clean (I put it in the dishwasher).
- something to roll out your clay – I use a round glass bottle, but I’ve also used a plastic drink container. I like the glass bottle because it has a solid weight, the clay doesn’t stick to it, and you can put it in the dishwasher after use.
TIP: I do not recommend using your wooden rolling pin. Clay can stick to wood, and you cannot put a rolling pin in the dishwasher. In fact, water should not touch a rolling pin because wood absorbs water.
- a template for your project – I have used cookie cutters, which work great, along with wood and metal cutouts. For this project, I used a salad plate from our everyday dishware. It was 8 inches round, which was the perfect size for my cloche.
- An X-Acto Knife – I’ve found this tool best for cutting around a template and removing excess clay.
- a cooling rack – sounds strange, but putting your project on the cooling rack allows air to flow under it, helping it dry more quickly.
- sandpaper – use a 400–600 grit sandpaper to smooth out any rough places on your clay project. The clay is easy to smooth out. Use a paper towel to remove any “sand dust” from the surface of your project.
- paint of choice – acrylic craft paints, chalk paint, or metallic paints. For this project, I’m using my favorite metallic paints.
- foam brushes
- optional: Gloss Mod Podge as sealer over your paint or I found this high-gloss clay sealer. I used the Mod Podge since I already had it.
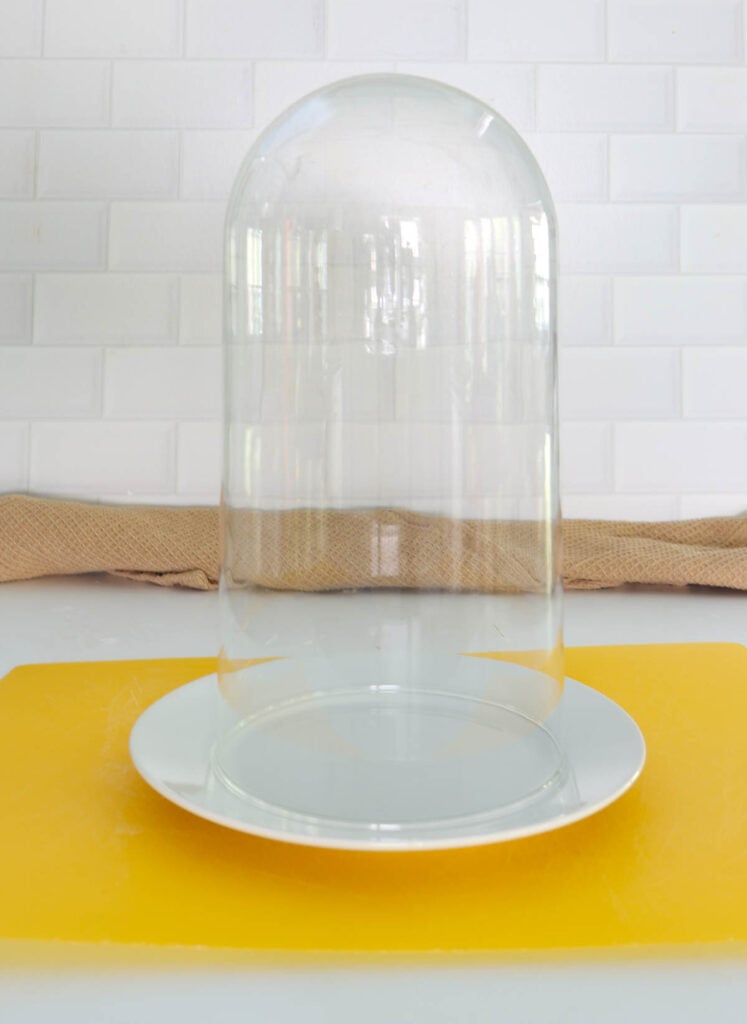
- glass cloche – I already had a cloche on hand and I sized my clay tray to it. My cloche is 5 1/2 inches wide and 11 inches tall. It does not have a knob at the top. The salad plate that I used as my template is 8 inches.
Making a Metallic Tray from Air-Dry Clay
Step 1 – Set up your work surface
Step 2 – Open your air-dry clay package. Use the X-Acto knife to cut off enough clay for your project.
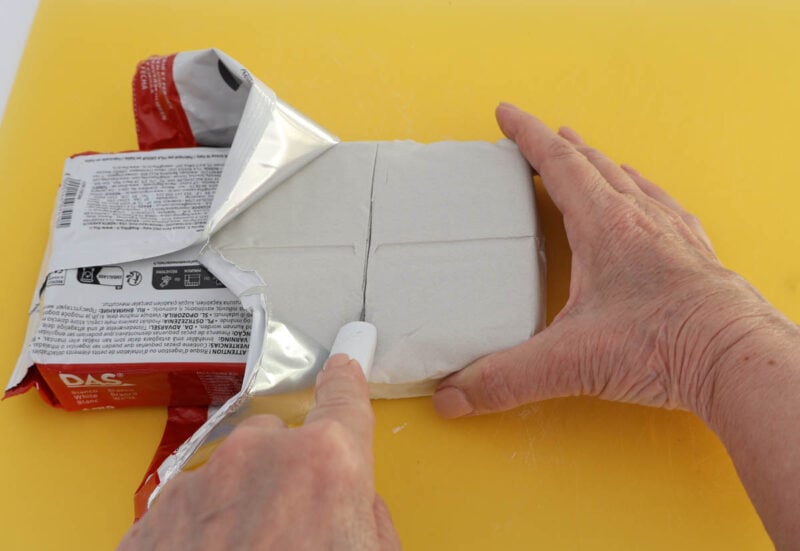
NOTE: You want to keep your remaining clay as sealed as possible. Leave the rest in the packaging, and close it like wrapping the end of a gift. I wrap plastic film tightly around it. Then I put it in a zip-lock bag and push out the air. Do not store outside.
Step 3 – Roll your piece of air-dry clay into a ball.
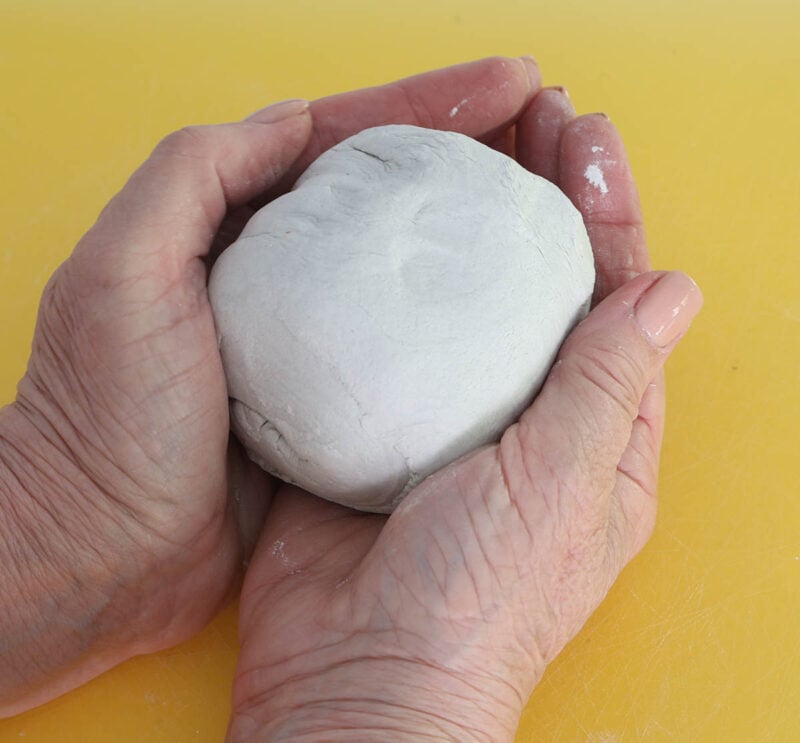
Step 4 – Press the ball of clay as flat as you can. Use your glass “rolling pin” to pound the clay flat, a few inches thick.
NOTE: At this point, I realized I didn’t have enough clay to make an 8-inch circle. I unwrapped the clay and cut off another 3-inch piece. I placed it on top of my rolled-out clay circle and rolled the two pieces together to make a bigger ball. Then I pounded the small piece into the large piece and rerolled it into a ball again.
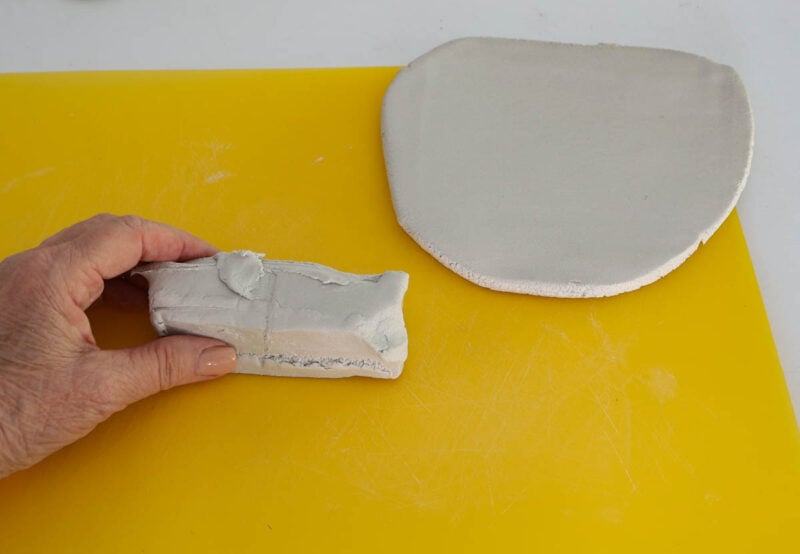
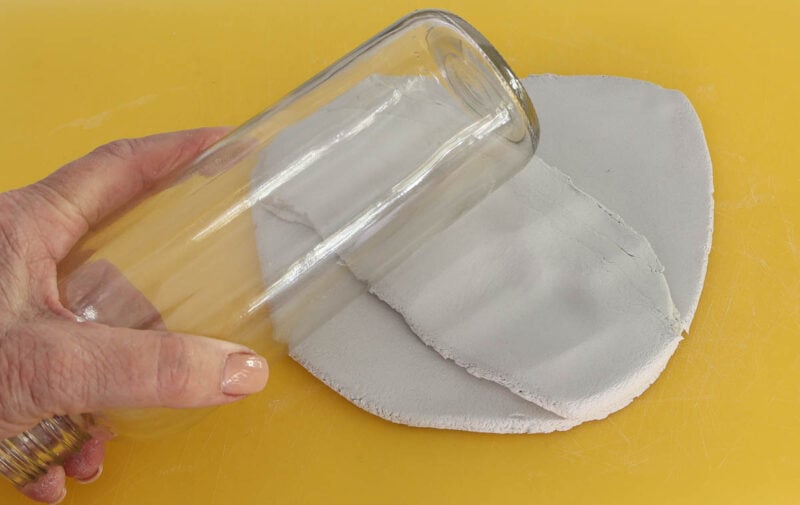
Step 5 – Use the glass “rolling pin” to roll out the clay to the size and thickness you want. It’s just like rolling out pie crust. My circle was about 1/8-ich thick.
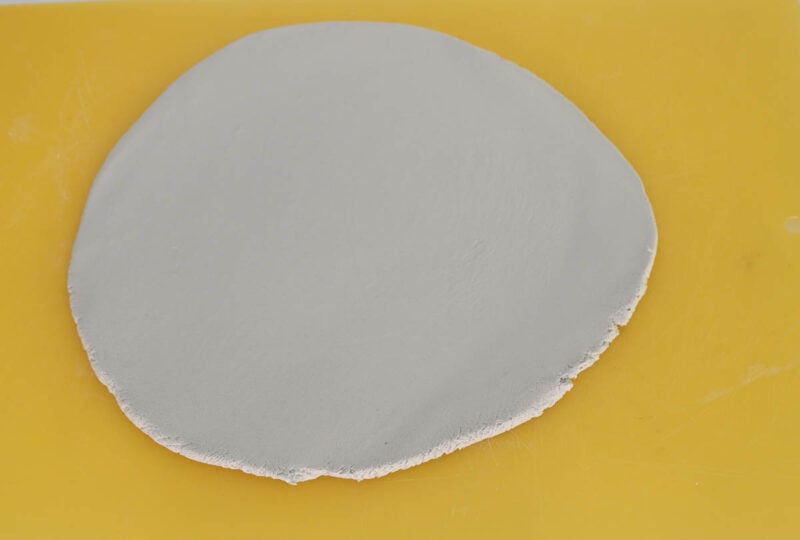
Step 6 – Place the template on the clay. Use the X-Acto knife to cut around the salad plate template and remove the excess clay.
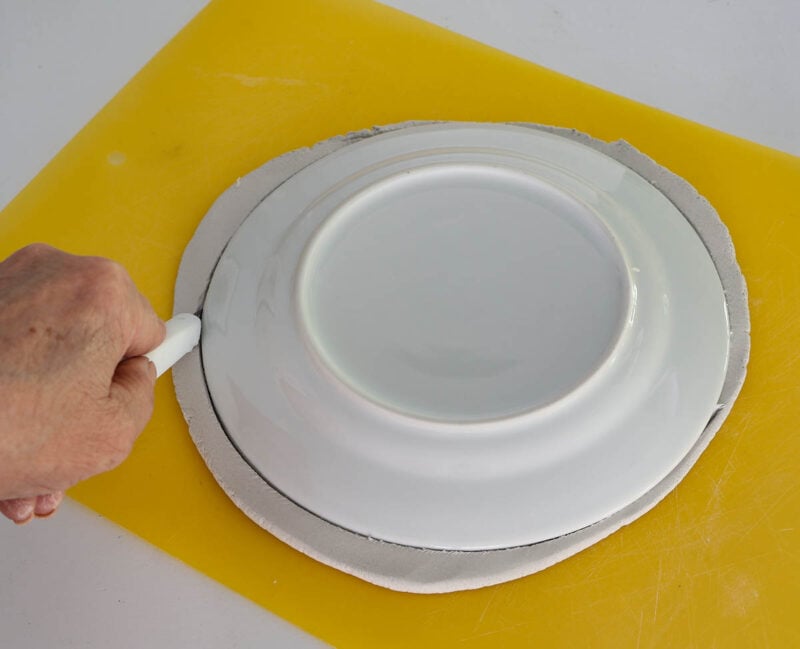
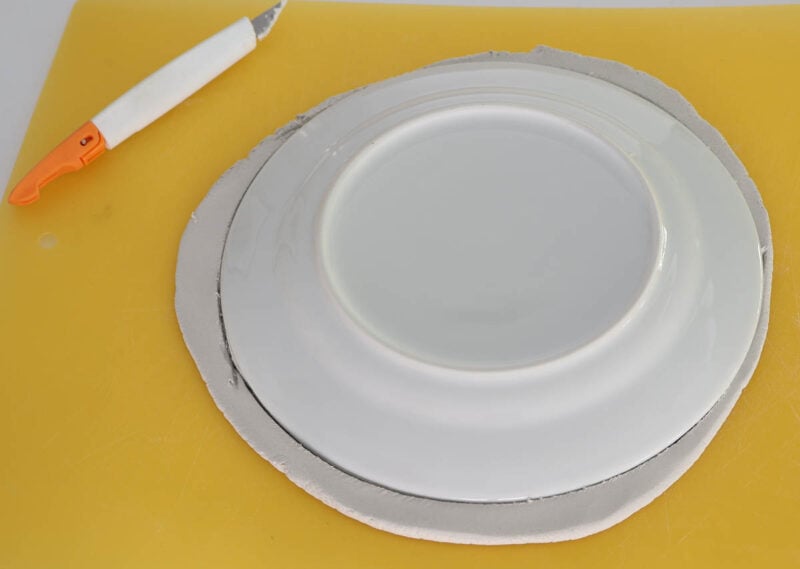
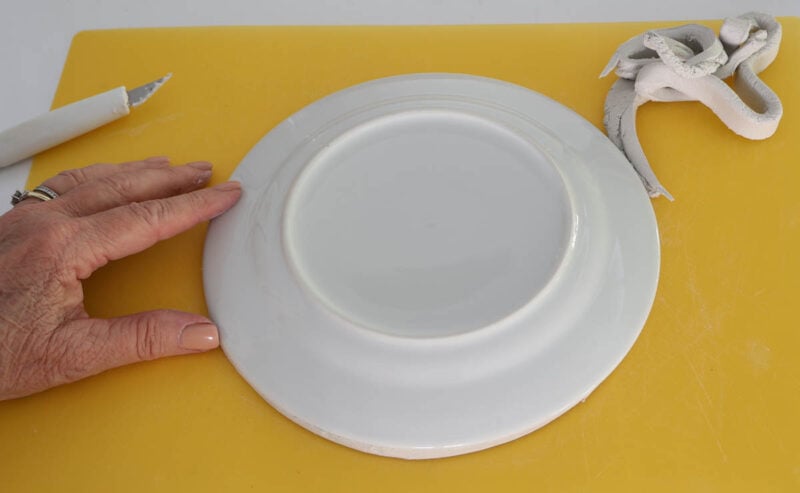
Step 7 – Immediately roll up the extra clay and add it to the wrapped package of clay. Rewrap the clay in the plastic film and return to the zip-lock bag.
Step 8 – Use your finger to smooth the edges of the tray and any wrinkles that might have occurred. You don’t need water, just your finger.
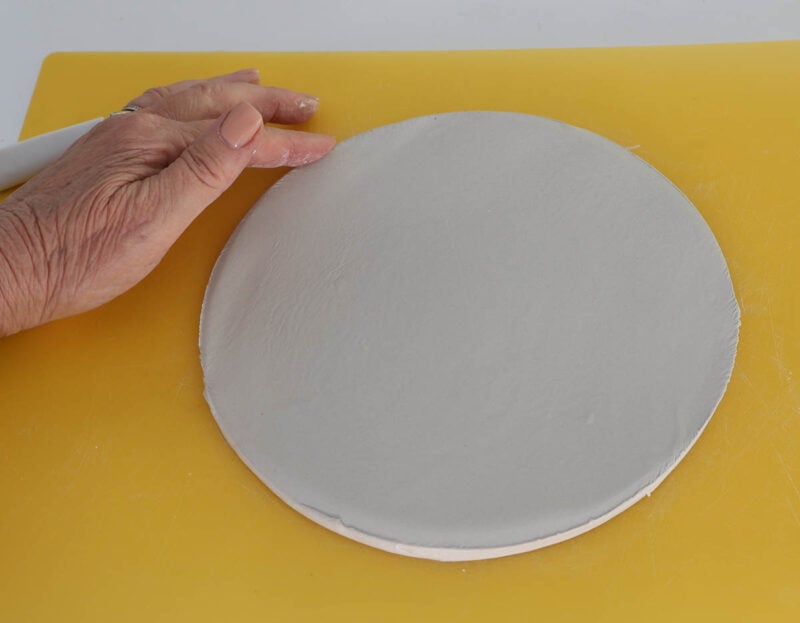
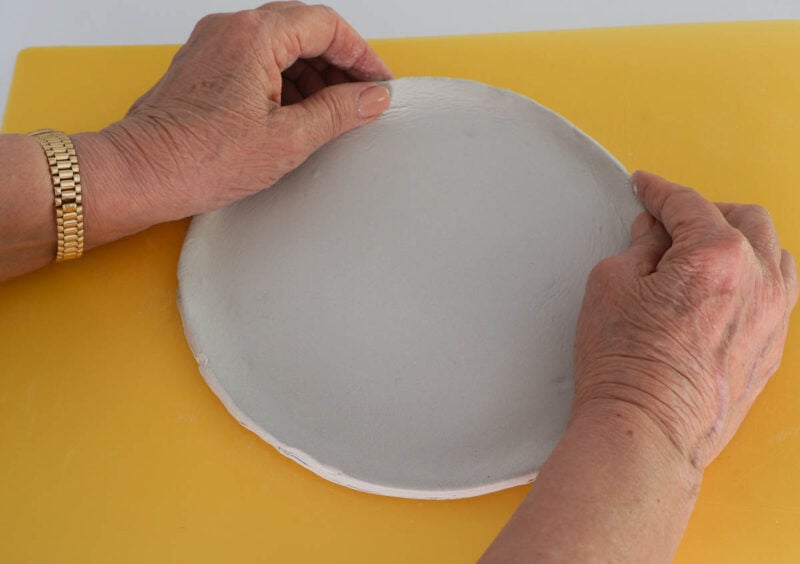
Step 9 – I wanted my tray to have a raised edge. I used my hands to go around the edge of the clay circle and raise the clay. I did this a few times until the edge stayed raised.
Step 10 – Gently lift your clay tray off the work surface (my plastic cutting board) and place the cooling rack on the plastic. Place your clay piece on the rack. Set it aside to dry overnight. I let my tray dry for 24 hours, from 3 PM to 3 PM.
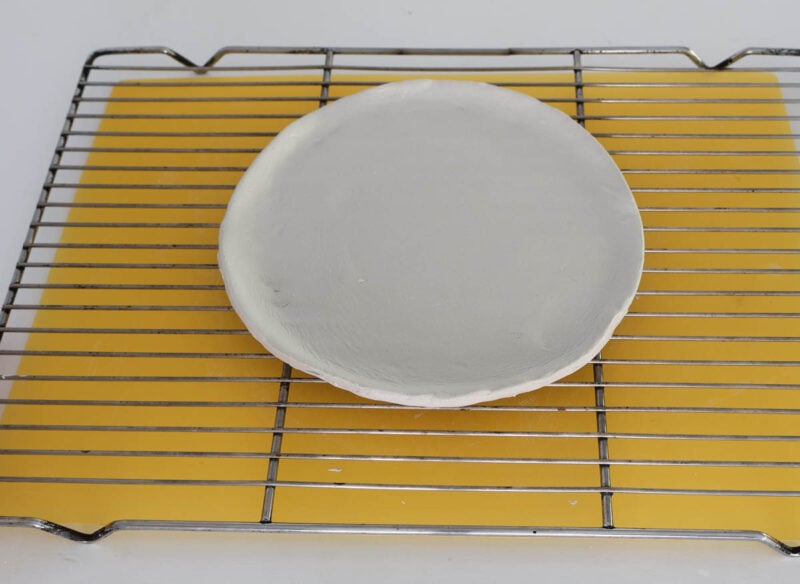
NOTE: In the morning, the top of the clay tray was white and dry. I turned it over and the bottom felt cool and was not completely white. I left it upside down until it was dry and white.
Step 11 – When your clay project is completely dry, use your sandpaper to gently smooth the edges and any rough spots. As you can see, I went outside to do this.
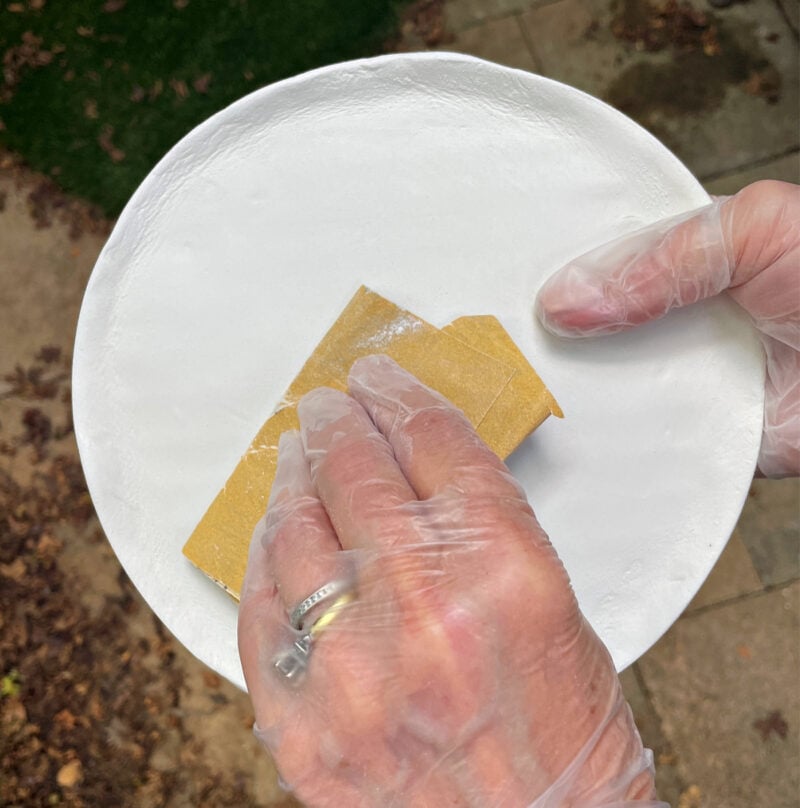
The lines on the bottom of the tray were from the cooling rack.
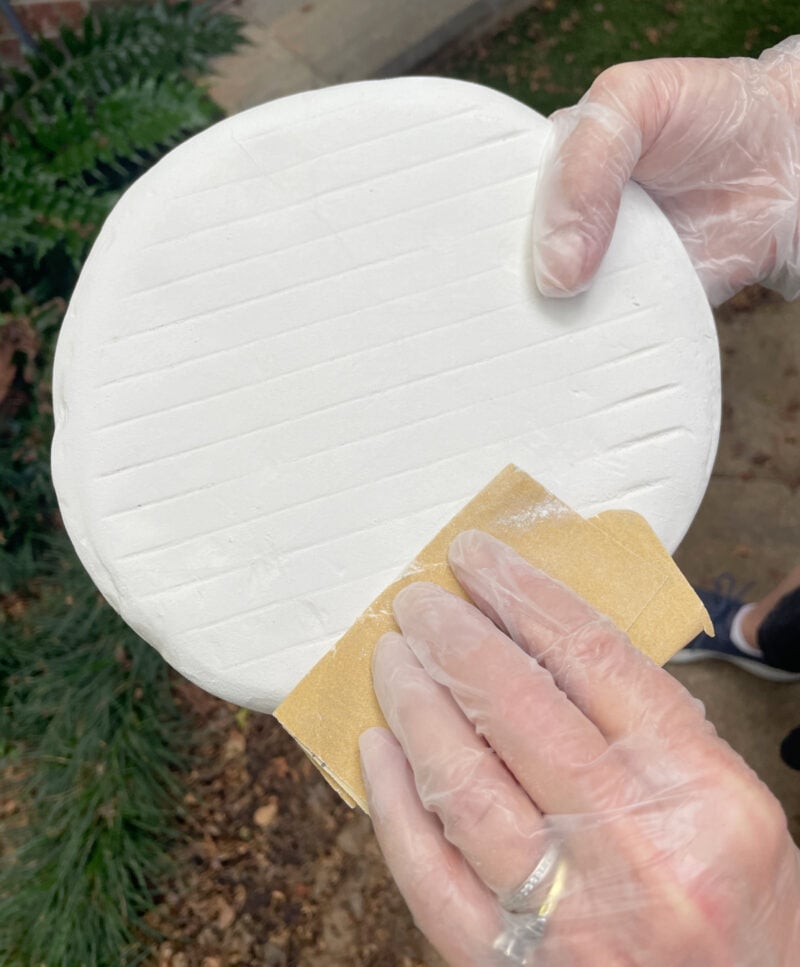
Step 12 – Use a dry paper towel to remove any dust.
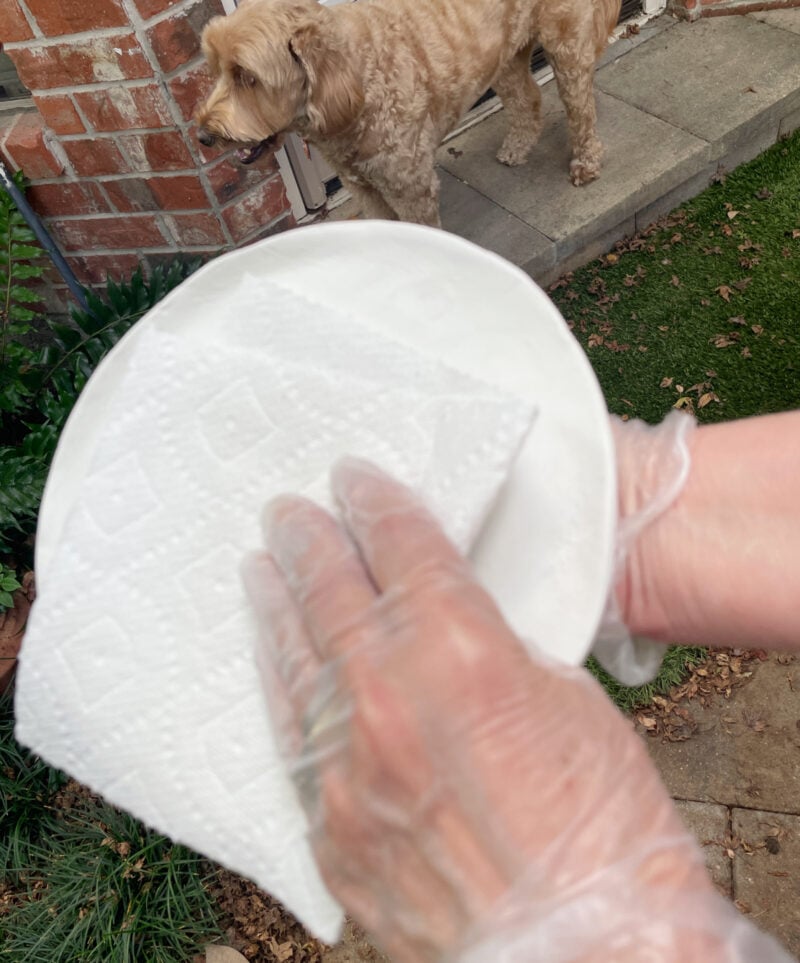
TIP: It’s better to do this step outside in fresh air so you don’t breathe in any clay dust. Sweet Shark took these pictures as Nola looked on.
Painting Your Clay Tray – Turn It to Metal
Turning your clay tray into a metal-looking one is easy with metallic paint. I’ve used this type of paint on all my air-dry-clay projects because I love the look. If you want a matte look, I would use chalk paint.
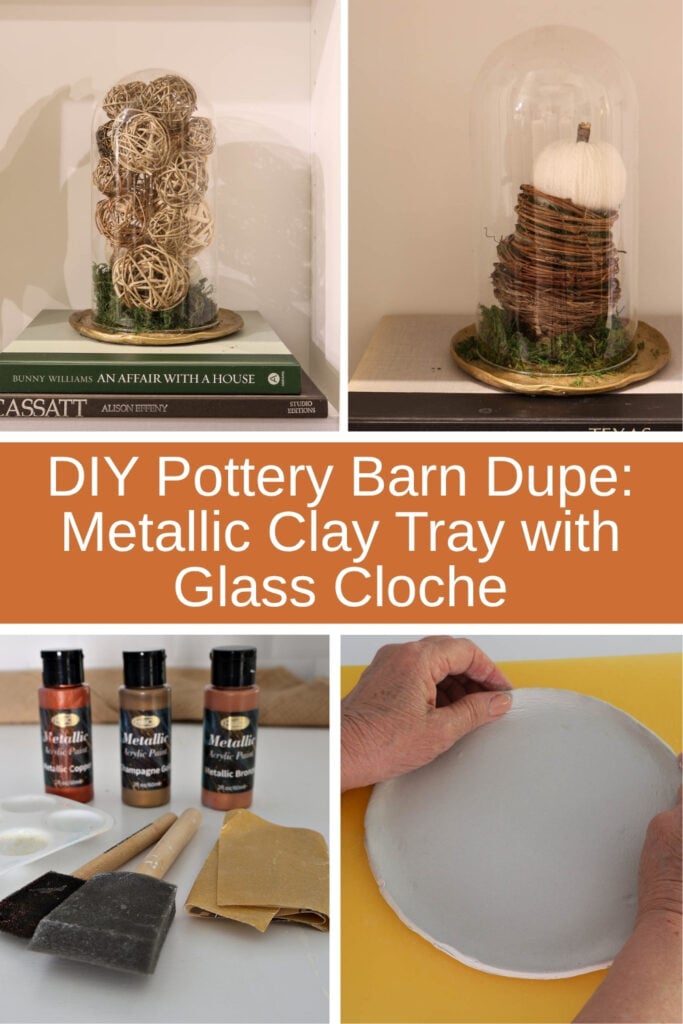
Step 1 – I got out three shades of paint: Metallic Copper, Metallic Bronze, and Champagne Gold.
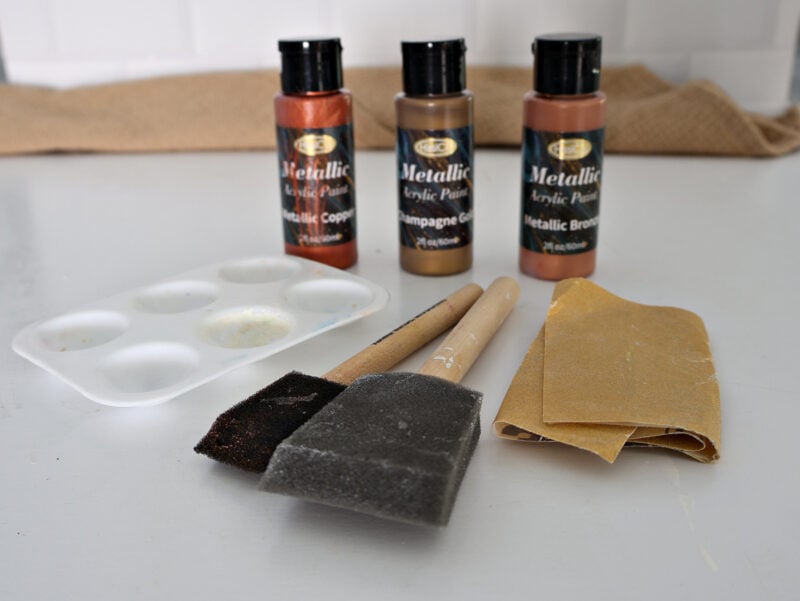
Step 2 – I wasn’t sure which one I wanted, so I dabbed a sample on the bottom of the tray to test them.
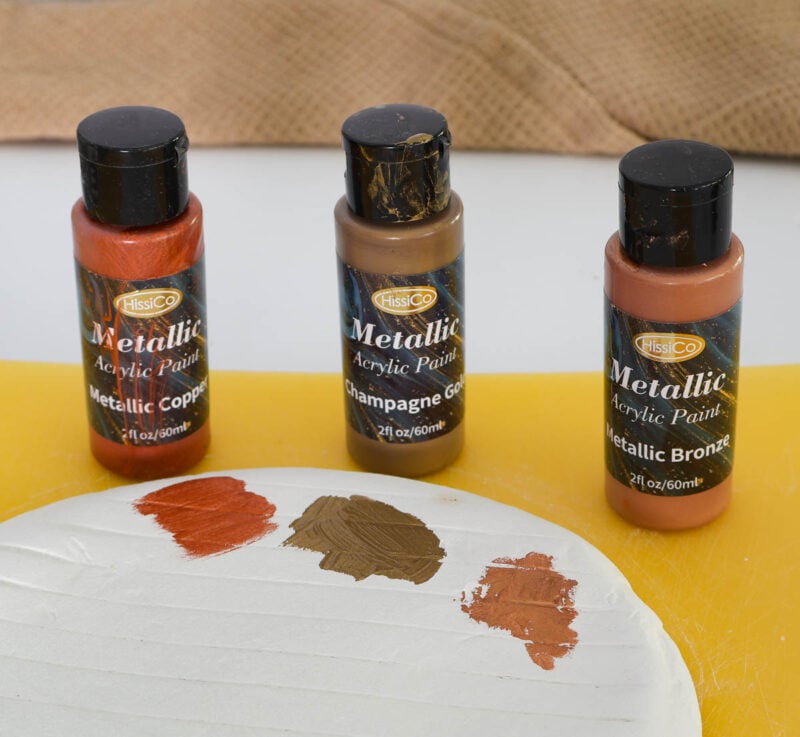
I picked Champagne Gold because it had the metallic brass look I liked best.
Step 3 – Use a foam brush to paint the bottom of the tray first and let it dry completely.
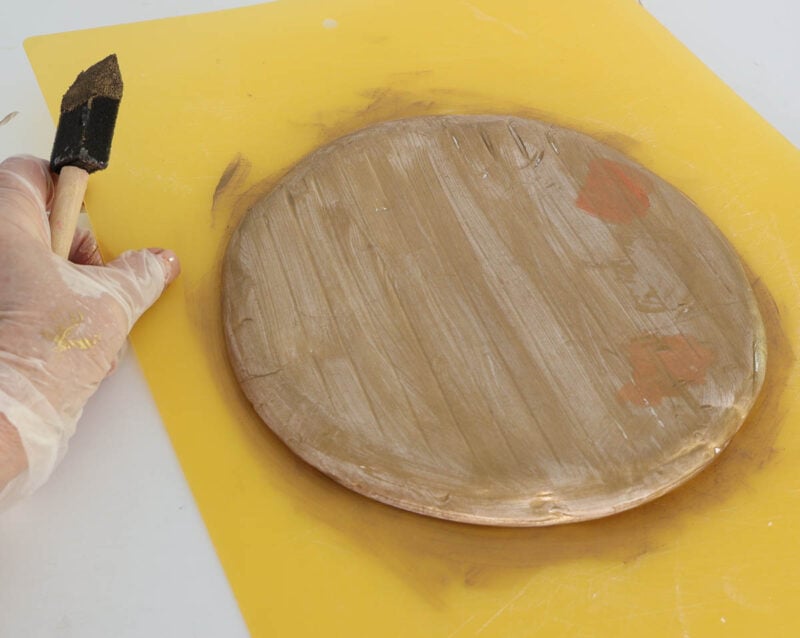
Step 4 – Turn the tray over and paint the top. Let it dry completely.
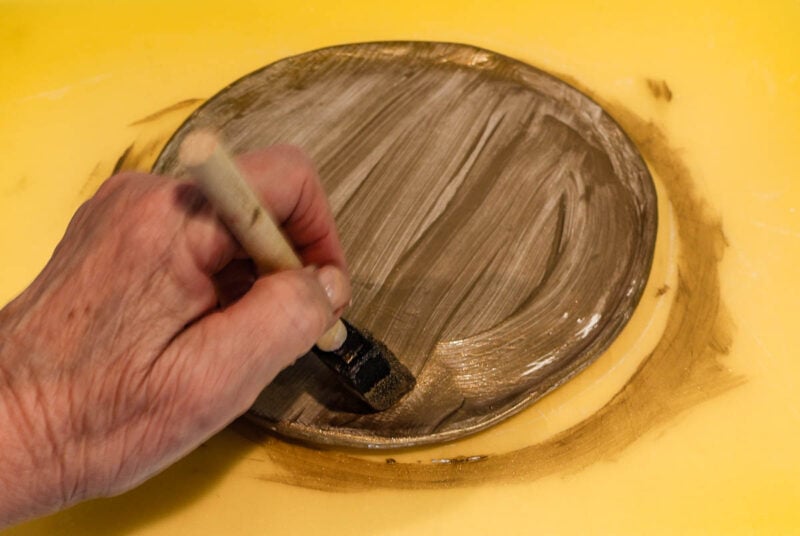
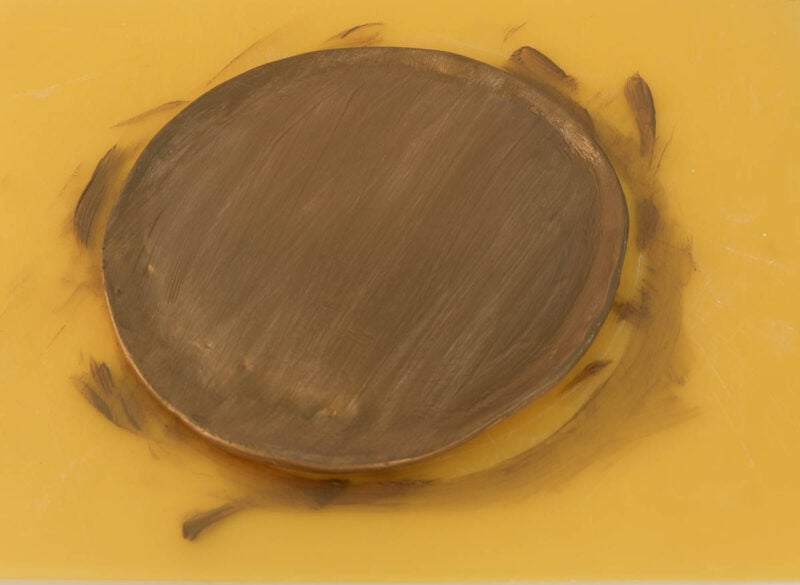
TIP: This paint takes about 15 – 20 minutes to dry. Here is the second coat of paint.
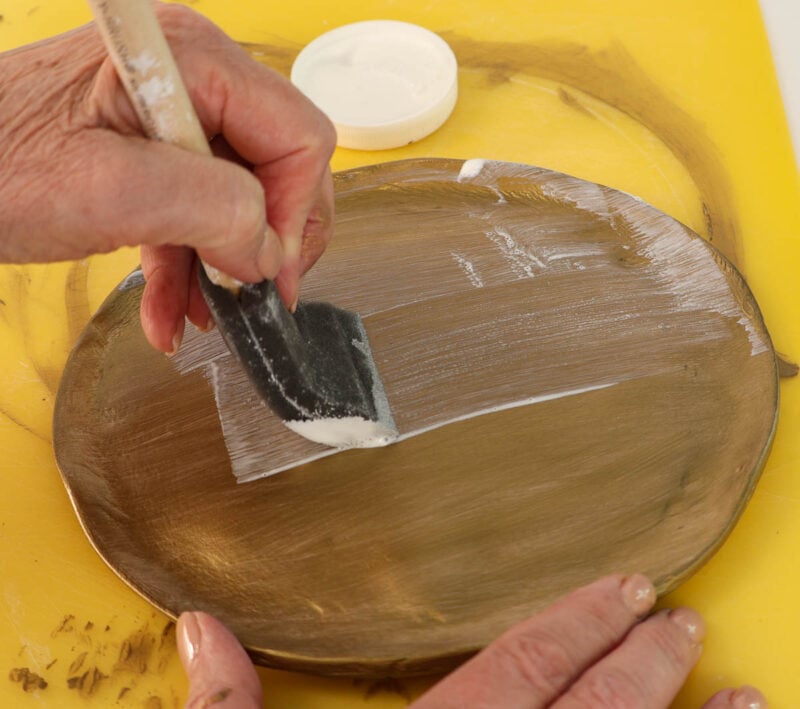
Step 5 – Apply the Gloss Mod Podge as a sealer coat to the top of the clay tray and let it dry.
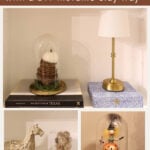
Styling Your Metallic Clay Tray in 3 Fall Displays
Now the really fun part. Creating seasonal displays using the cloche and DIY metallic clay tray.
Display 1 – Adult Halloween Decoration
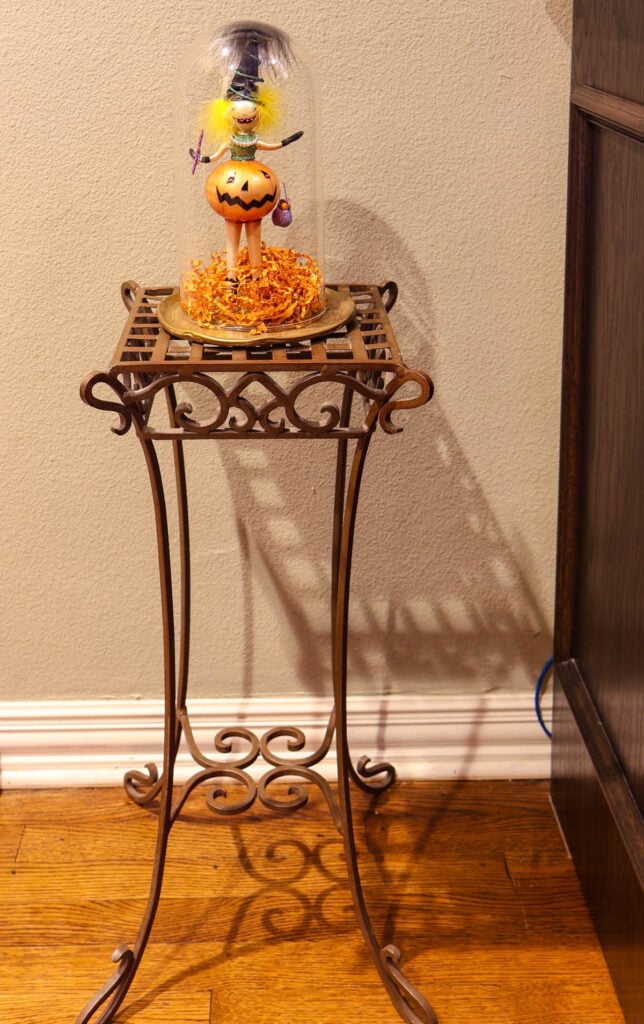
We have a huge collection of Halloween witches of all sizes. This little one is from Department 56, the creators of the Dickens Village. We’ve had it so long, I can’t even remember where we bought it. It fit perfectly inside my cloche, standing on a bed of orange shred.
It’s the perfect size for a side table, a bookshelf, or a cabinet.
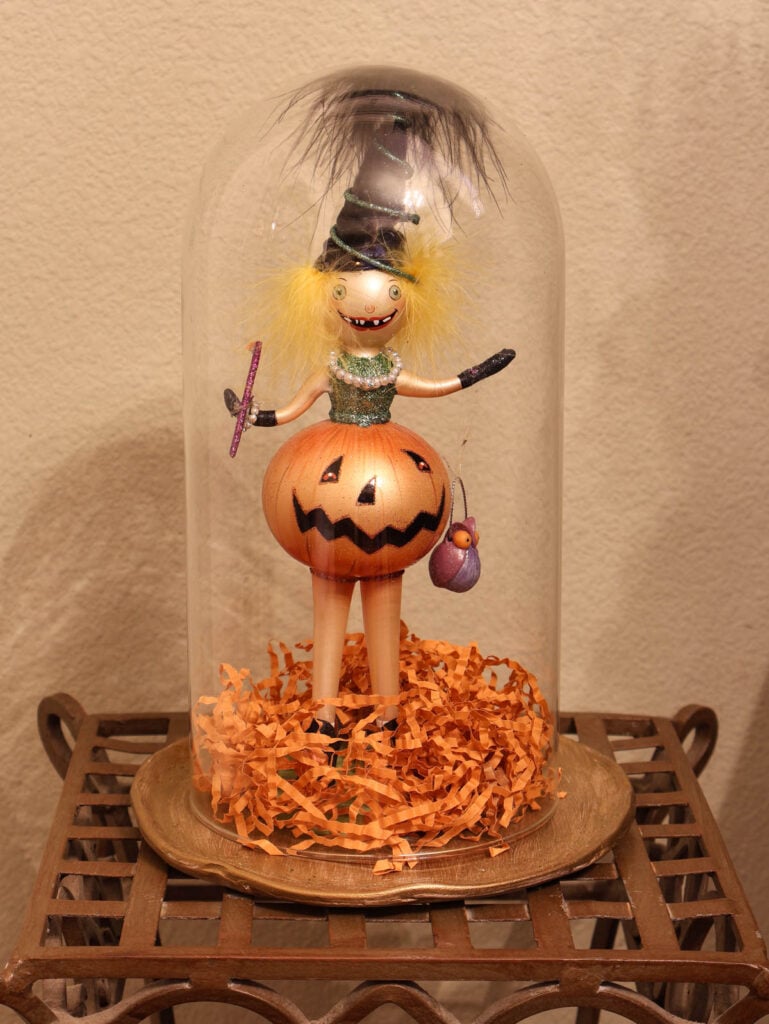
I set it on a small metal table next to Sweet Shark’s bar.
A small animal, like a raven, cat or bat, would also be a nice Halloween touch without getting too cutesy.
Display 2 – Fall Stacked Nests with Yarn Pumpkin
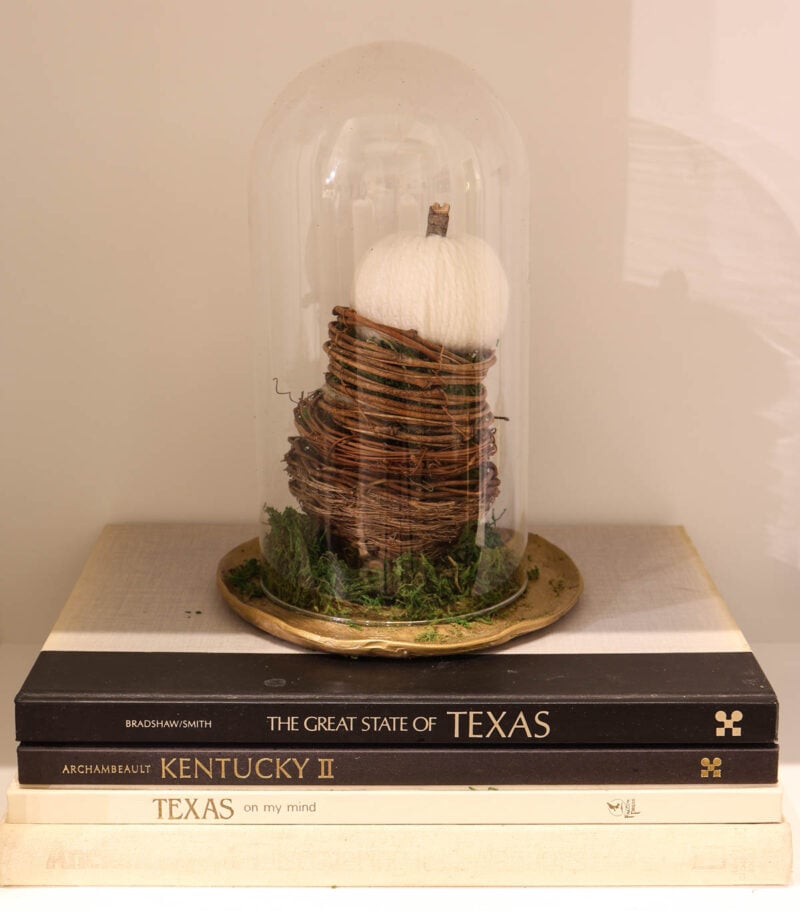
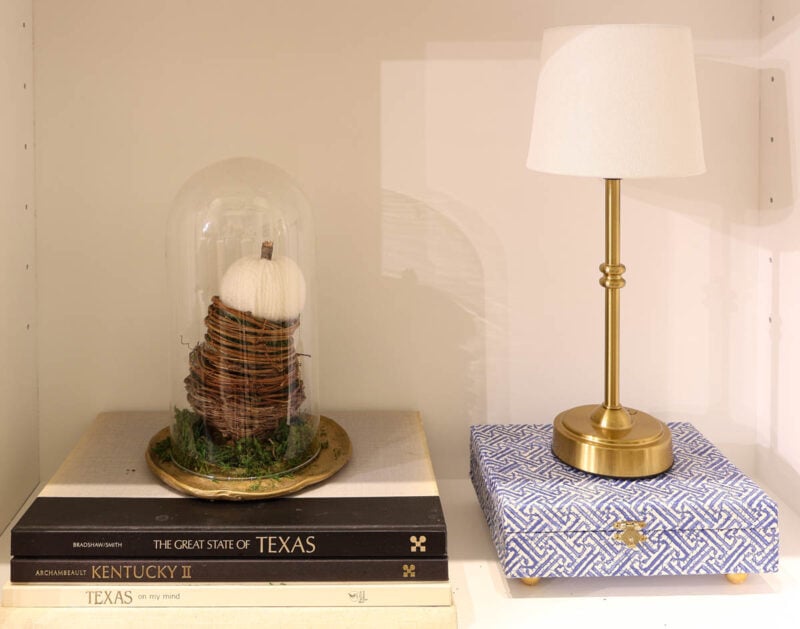
I have three small twig nests filled with moss that I like to use separately or stacked. They fit just right inside the cloche. I place some Super Moss on the metallic tray, added the nests, and then I topped them with a white DIY yarn pumpkin for a bright pop of contrast.
Display 3 – Twig Balls in the Cloche
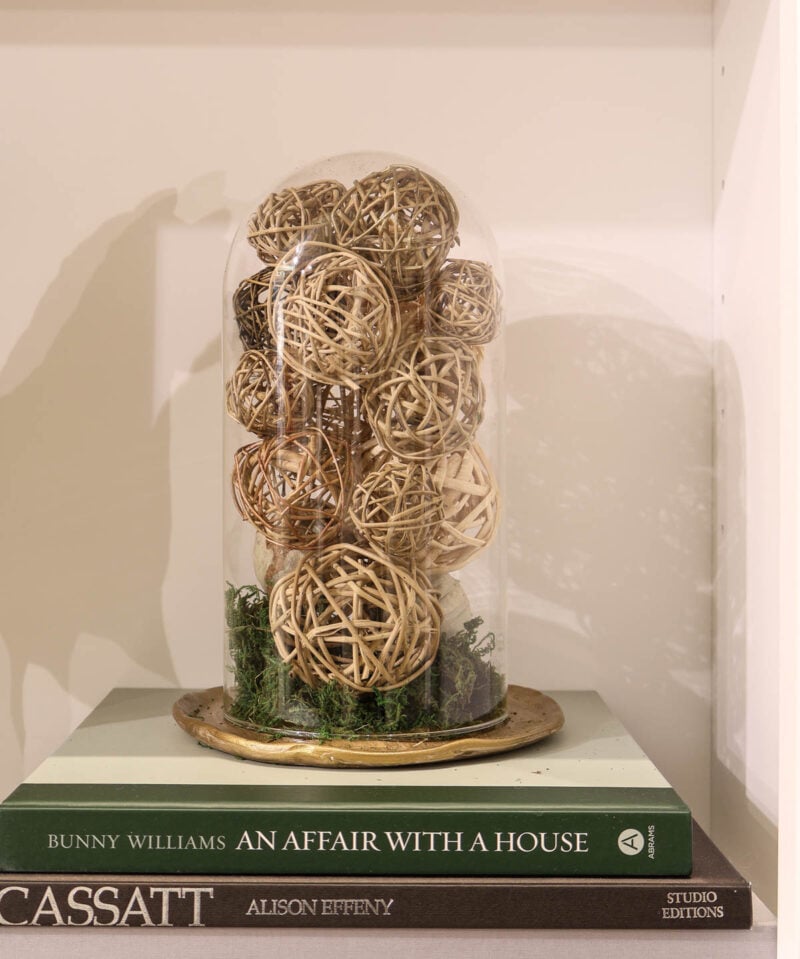
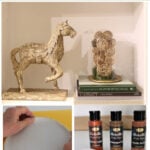
How simple is this display? I have had this collection of fall woven balls for years. I’ve used them in bowls and apothecary jars. Now they have a new home in the cloche. I kept the Super moss as the base on the tray. To assemble the display, I filled the cloche, put the tray on top, and then flipped it over. Our living room bookcase is the perfect place for this fall display
The wood horse was a splurge from Ballard Design. Fortunately, it was on sale.
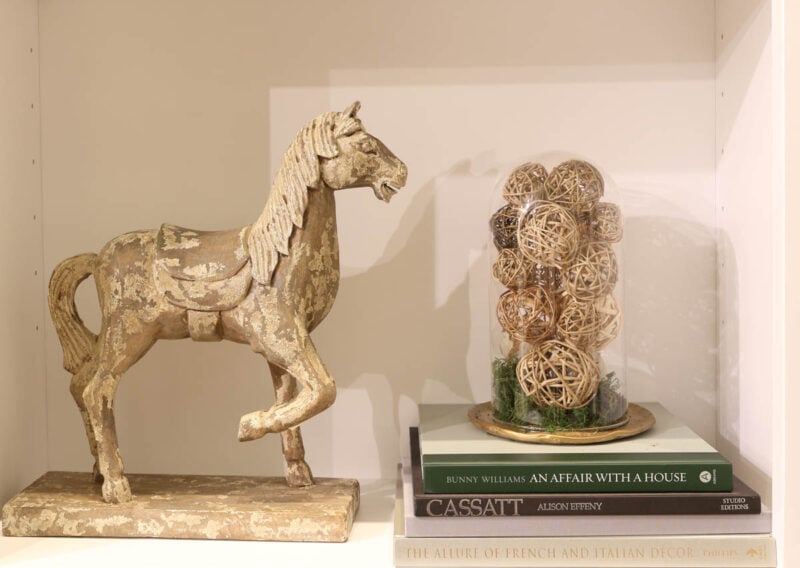
I’m sure I have other small things that can fit inside the cloche. This clay tray, which looks like a small brass tray, will be a useful accessory for small spaces. Which design do you like best?
We’ll leave the Halloween one out for now. I wish I could use all of them around the house.
FAQ for Making a Metallic Clay Tray
Can I serve food on an air-dry clay tray?
No. Air-dry clay isn’t food-safe, even when it’s painted and sealed. Since my inspiration piece was a cheese stand, I know it’s tempting! If you want to use your tray for serving, place a doily between the food and the tray. Otherwise, keep it for decorative displays.
No. A sealer like Mod Podge adds some water resistance, but the clay can soften if it gets wet. Keep your tray indoors and away from spills, and don’t use it under plants or candles that drip. I made this one to be purely decorative.
Usually 24 to 72 hours, depending on how thick your piece is and how humid your home is. The clay is completely dry when it turns evenly white and no longer feels cool to the touch. Flip it over partway through so the bottom dries too. Also, ue my tip of placing in on a cooling rack.
Dust it with a soft, dry cloth. If you need more, use a barely damp cloth and dry it right away.
Absolutely. Acrylic craft paint, chalk paint, and metallic paint all work well on air-dry clay. Choose metallic for the brass look, or chalk paint for a softer, matte finish.
Small cracks are common and easy to fix. Fill them with a little dampened clay, smooth with your finger, and let it dry again before sanding and painting.
I love that a Pottery Barn cheese stand sparked an idea that turned into something completely my own. This little metallic tray took just a block of clay, some paint, and a cloche I already had, and now I have a versatile display piece I can restyle all season long. I hope it inspires you to look at store finds a little differently and think, “I can make that!”
In total, this project took two full days, including 24 hours of drying time for the clay tray. Ideally, I would plan on three days.
As far as cost comparison: The Pottery Barn cheese stand was $99. Yes, it was bigger (13.5 inches) and had pretty feet, but by making one myself, I got exactly what I wanted. since I had to buy a new package of Das Air-Dry Clay ($19.19) and I used about 40% of the package, I’ll estimate that I spent $7.50.
NOTE: Right now the Das clay is showing a price of $17.75 and a sale price of $4.07! If that is still around when you check, I would grab it – that’s a steal!)
If you enjoyed this project, pin it to your favorite DIY or fall decor board so you can find it later. I hope that you’ll try it, but first be sure to save it to your favorite Pinterest Board.
Check out these Pinterest Boards for more Projects: Air-Dry Clay Projects, Fall Air-Dry Clay Projects, and Fall DIY Projects.
The full list of the creative participants is below. Next up on the list is Purple Hues and Me sharing Ruffled Lace Tabletop Lighted Tree.



Modern on Monticello – Santa’s Naughty Or Nice List On Ribbon
My Thrift Store Addiction – DIY Painted Gingerbread Bird Ornaments
Bluesky at Home – Pottery Barn Cloche Dupe for Fall (Plus 3 Ways to Style It)
Birdz of a Feather – Polymer Clay Coffee
Purple Hues and Me – Ruffled Lace Tabletop Lighted Tree



You have such a great talent of duplicating just about anything, Carol! Your lovely piece is the ultimate look for less! I love all three looks but I think I like the woven balls the best! It looks perfect beside your wooden horse!
Brilliant idea and so inspired Carol; I love the warm look of the metal and the way you styled your cloches!
This looks so good. I know it was a lot of work, but you definitely made it look easy, and it turned out beautifully.