17 Photography Lessons on a Farmers’ Market Field Trip
Edgar is my new best guy. How do you explain to your husband that every Friday you have a date with Edgar? That 12 to 2:00 on Fridays are set aside for Edgar? Sometimes you have lunch with Edgar. And finally, Edgar took you on the best date ever ~ to show you how to be a better you, to overcome your phobias and your fears, your insecurities. Edgar practically held your hand as you strolled through beautiful scenery. You know part of your life will never be the same. If that description doesn’t have you in a hot and bothered sweat or you are worrying what is the matter with me, then just chill for a minute. Edgar is a professional photographer and our date was a field trip to the Farmer’s Market where Edgar gave me photography lessons. One of the best dates ever.
If you’re a blogger, you know how important taking, editing, and posting beautiful, awesome images on your blog is. Pinterest and Instagram are such visual media that we are always trying to improve our photography. I’m guessing that, like me, you are looking for the best courses, the most helpful tips and tricks to wow your readers with your images. I even created 2 Pinterest Boards devoted just to improving my photography: Photography and PicMonkey and Lightroom. ( I hope that you’ll follow these boards.)
I read, I watch, and listen to videos. But wouldn’t it be great to have a hands~on, real live person show you exactly what to do with your camera? Someone you could ask questions of whatever topic you wanted? Well, during the month of June, I did just that. I had Edgar ~ that’s really his name. Three other ladies and I met almost every Friday with Edgar. And on our last date, we met at the Dallas Farmer’s Market to actually take pictures and critique our photos and try to copy (in a good way) what Edgar was shooting.
17 Photography Lessons on a Farmers’ Market Field Trip
This post contains affiliate links to products that I love, use and high recommend. If you purchase any product through this site, I may receive compensation, but you don’t pay one penny more.
So a little background about my datemates. One is a part time blogger and the other 2 ladies are avid photography buffs, taking photos of family, trips, and their kids’ school activities. I’m the only one who takes photos specifically for a blog and social media. We all have different cameras and different lens. I’m the only one who uses PicMonkey and Lightroom. (Edgar uses Lightroom for his professional editing and we had one lesson that was just about Lightroom.) I’m the only one who focuses almost entirely on closeups. The others take pictures of sports and action across a field so they use zoom lens. What we all had in common was the desire to improve our use of our cameras and our photography.
What I learned about My Camera and Lens
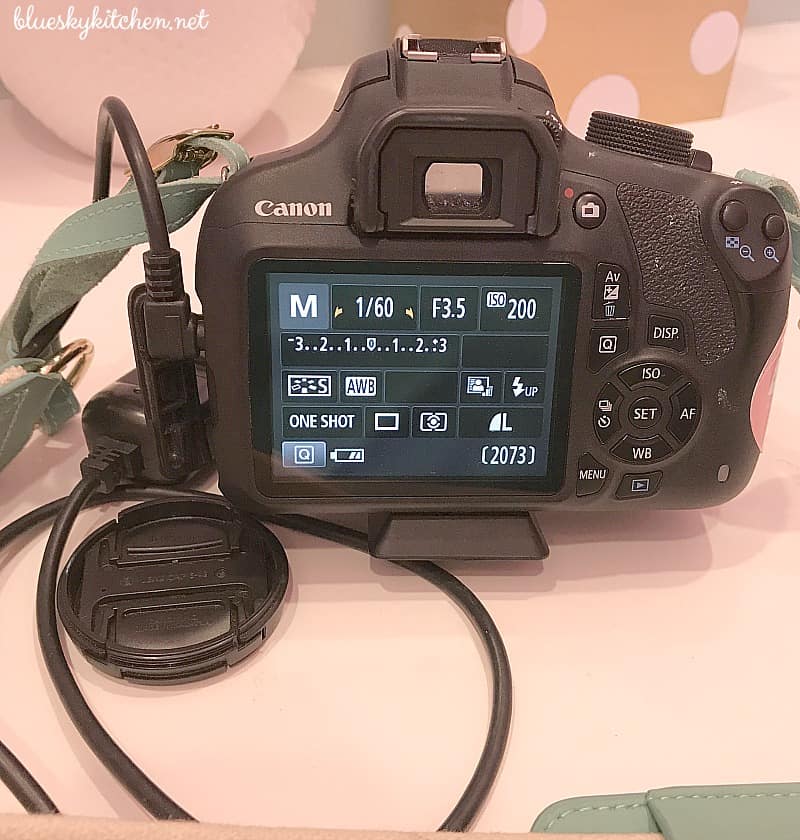
My camera is a Canon Rebel T5. It’s my first DSLR. Another blogger whose photography I love (Paula at Thirteen Thoughts) recommended it as a great camera to start with.(You can read about all about buying my first DSLR camera.) I love it because it’s lightlight, it is very reasonably priced, and takes great images. As I’m finding more and more, a camera (or any tool) is easy to use, once you know how to navigate through the menu. Normally, I’ll read directions, but when it comes to reading the small print in the manual, I just am not up to it. Edgar became my real live manual. We could ask him questions about our particular cameras and he showed all of us how to navigate through the menu.
DISCLAIMER: If you are a really seasoned photographer, you probably know all the stuff I’ve going to share. But if you’re not, please stick around because I hope the things I learned will help you operate your camera so much faster and easier. I figure if you learn 1 thing you didn’t know before, this post is worth reading.
- use those dials on your camera for the easiest way to change your settings
- the fastest way to erase images (MENU, Erase, Select and Erase, then use your ISO button to check images into the erase box; then hit ERASE on the camera just once.)
- all the blue icons are about taking photos: FOCUS SELECTION, DELETE, PHOTO VIEW
- the fastest way to change my focal point
- how to take pictures in live mode (that little white icon on the camera that I never paid attention to)
- you can change the number of images that you see in the viewer with the magnifying glass icon on the left
- you can zoom in on your viewer with the magnifying glass icon on the right
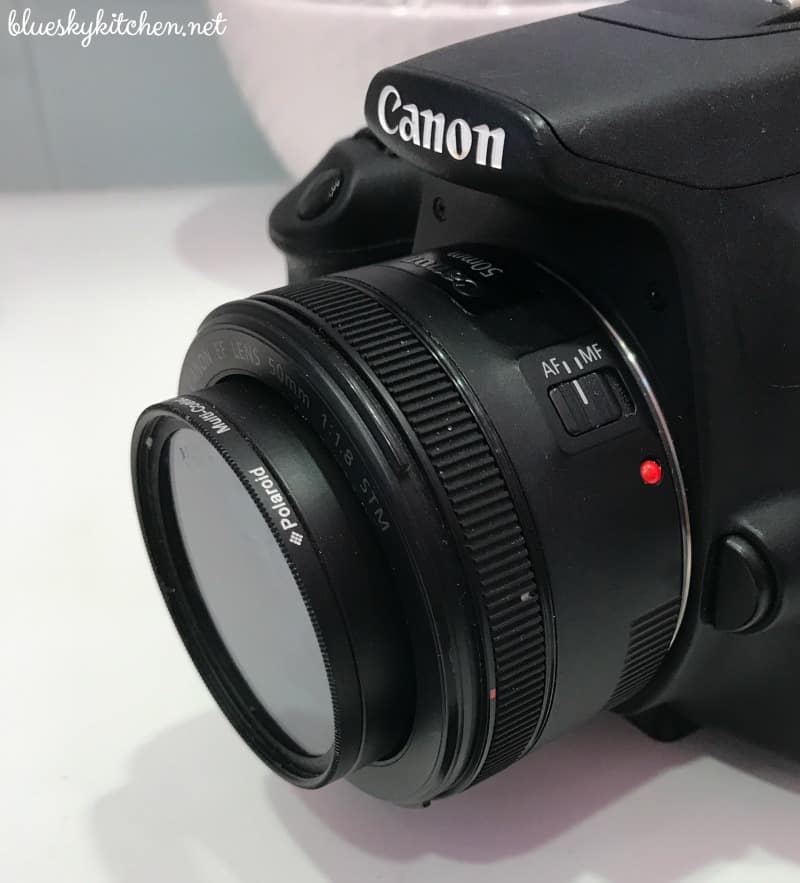
My lens is the 50 mm Nifty~Fifty and I use it for 80% of my photography. (The other 20% of the time I use the lens that came with my camera for wide angle and zoom shots or my iPhone when I don’t have my camera (restaurants) or I don’t have the time to get out my camera. I know tons of bloggers use the Nifty~Fifty because it takes great images, it’s relatively inexpensive and has a low aperture (1.8) for those blurry background shots we all love. Edgar did say that, if you have a good filter on your lens, you don’t always have to keep your cover on your lens. Don’t you hate when you are ready to shoot and your lens cap is on?
Photography Lessons ~ Settings When It’s Cloudy
How many times have you heard that to be a better photographer, you have to practice, practice, practice. I’ve taken a stroll around our backyard just snapping pics for fun, just to practice and challenge myself to deal with really bright sun. I’ve taken so many shots in my kitchen when the light is really low jsut to see if I can use my camera and my post editing to make the photos usable. You can imagine the wealth of photo opportunities at the Farmers’ Market: so much color, shapes, and objects, all n natural outdoor light.
Edgar told us just to walk around and take photos of whatever we liked. Also, it was a partly cloudy day, so Edgar advised us to:
- set our cameras to AUTO. Since I’ve been using MANUAL for about 5 months, I was hesitant. But he explained that when the light keeps changing (cloudy to sunny and back again), AUTO is a better option. You don’t have to stop to make adjustments for the changing light. Inside, where the light is constant, MANUAL is the best choice.
- change our AWB (Auto White Balance) to CLOUDY (use the WB button on the camera and click over to CLOUDY).
I never think about changing these settings but he showed us on his camera that these 2 easy adjustments really make a difference.
JUST A NOTE: except for a little cropping and resizing, I didn’t do a single edit in Lightroom on these images.
Photography Lessons ~ Shoot, Shoot, Shoot
- Edgar showed us how to look for shapes ~round, curved lines and straight lines. Different shapes together creates interest.
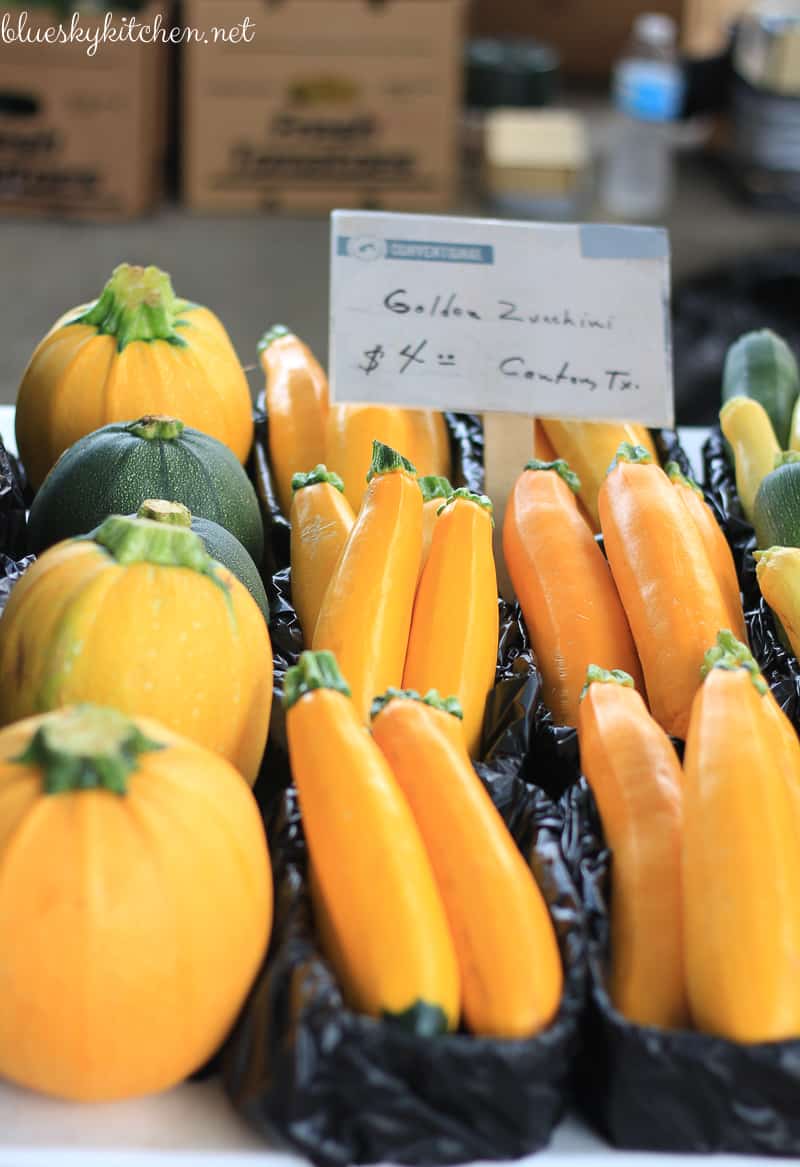
I used a higher aperture on this shot, but the different shapes ~ round, long, and square ~ as well as the way the light shines on the tomatoes ~ gave me an interesting shot.
- Use shadows and light on your subject. This photo has a little too much light.
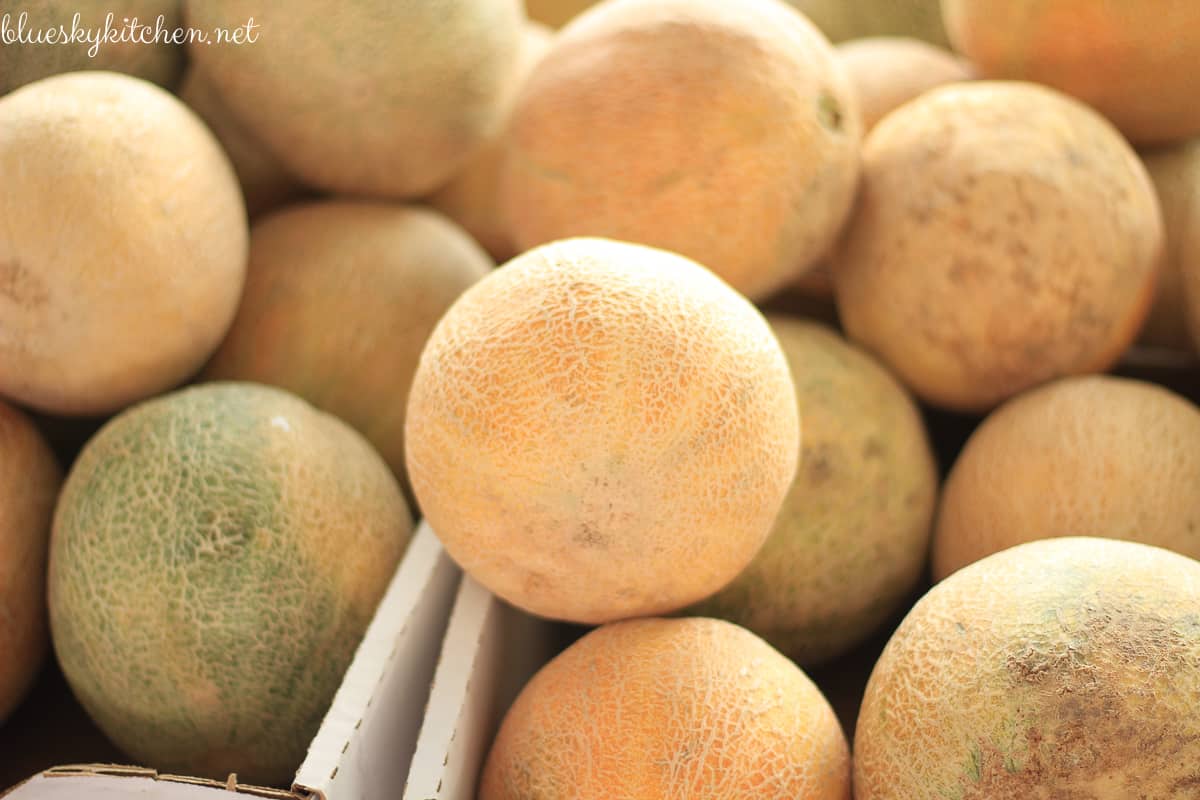
In this one I got the light to focus on the center melon, leaving the others in the shadows. It’s much more interesting.

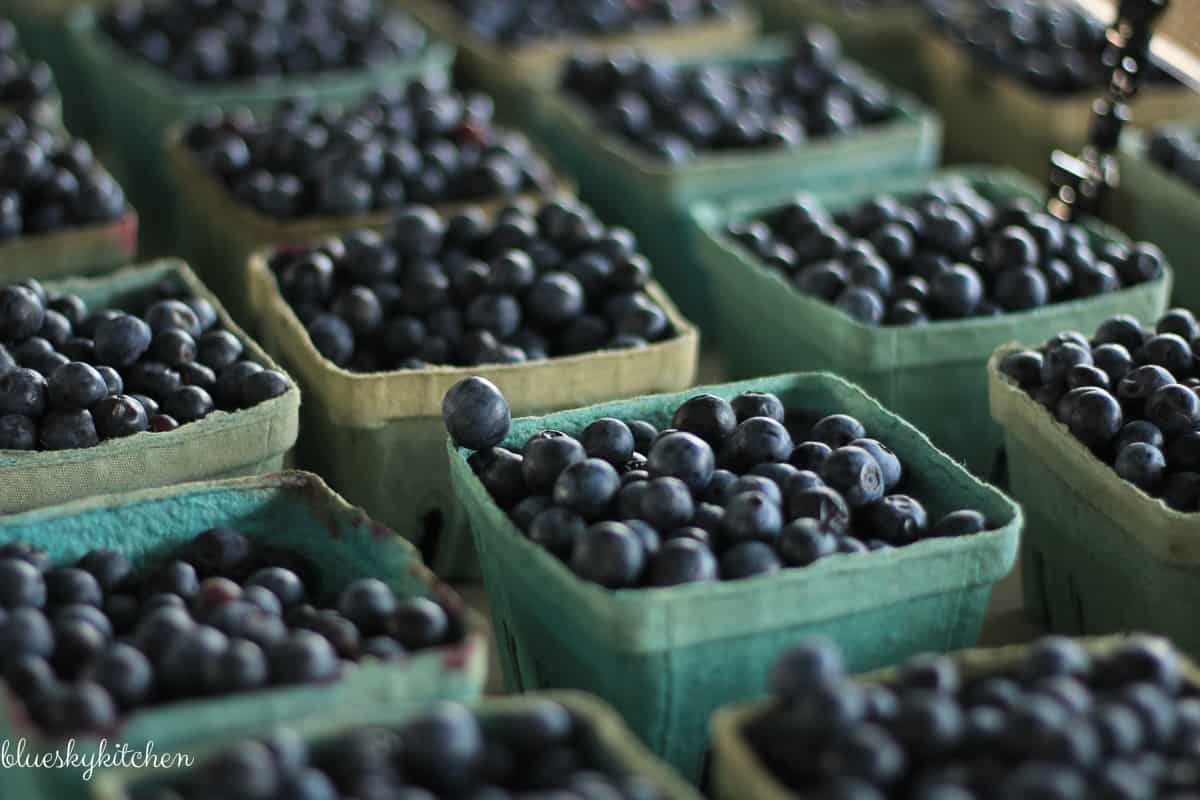
- Take a picture of the same subject from different angles and different distances from the subject. Here I just kept getting closer and lower to the blueberries.
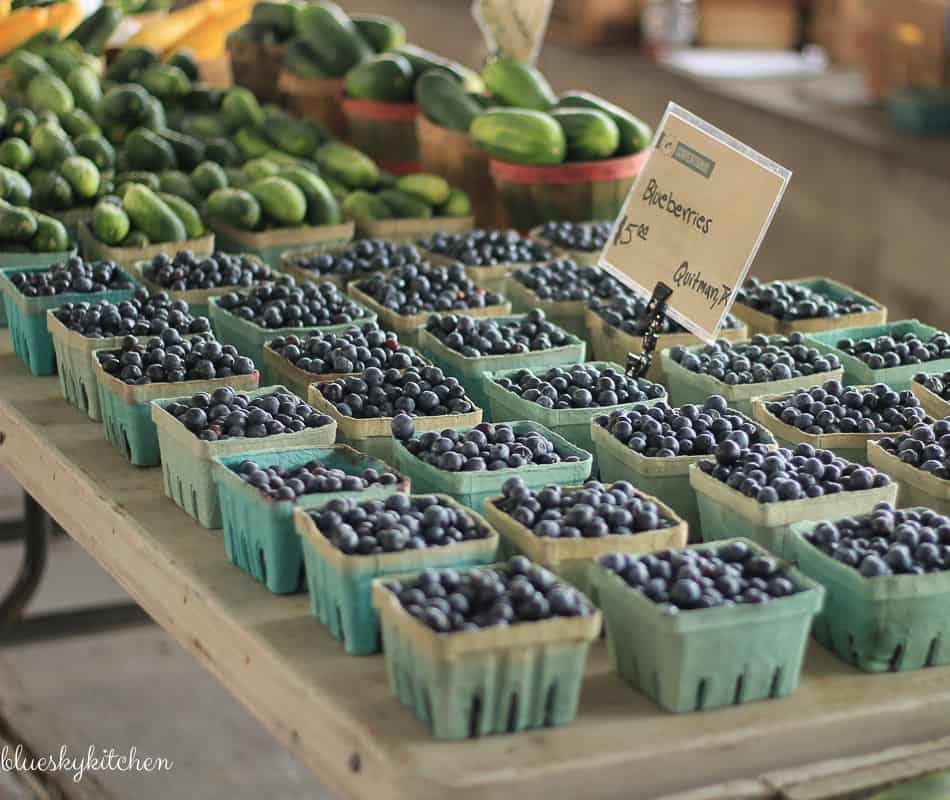
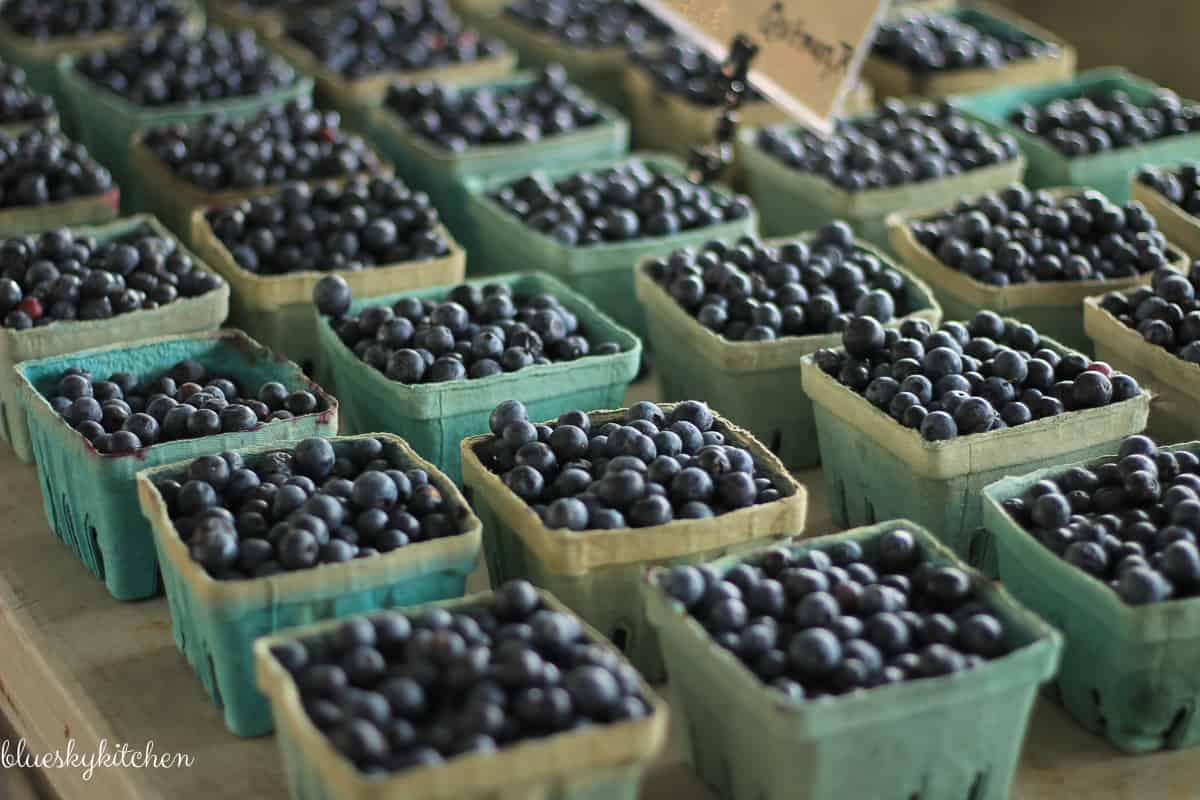
I focused on the blueberries in the front and got a little bokah with a lower aperture in the back.
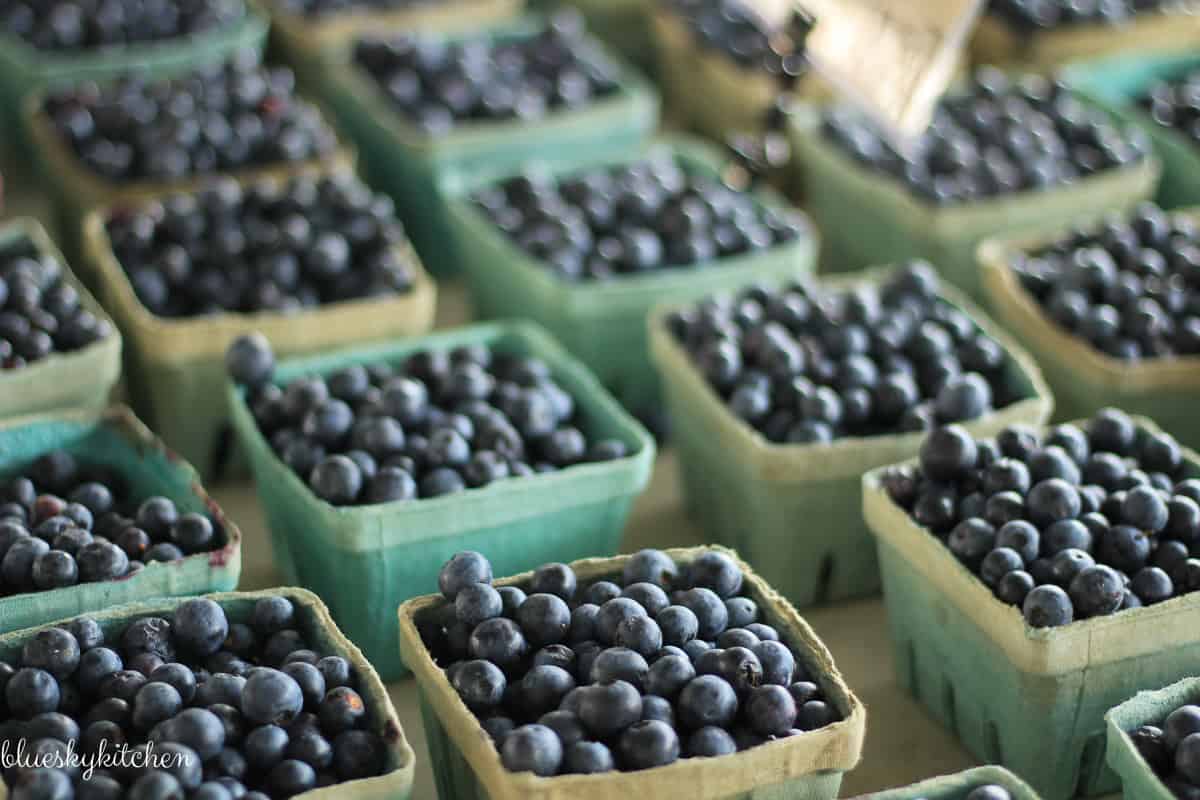
And this one is really up close and I got crouched lower ~ glad I was wearing shorts. See that bluesberry in the center of the image? It’s like it’s dangling in space.
An up close shot
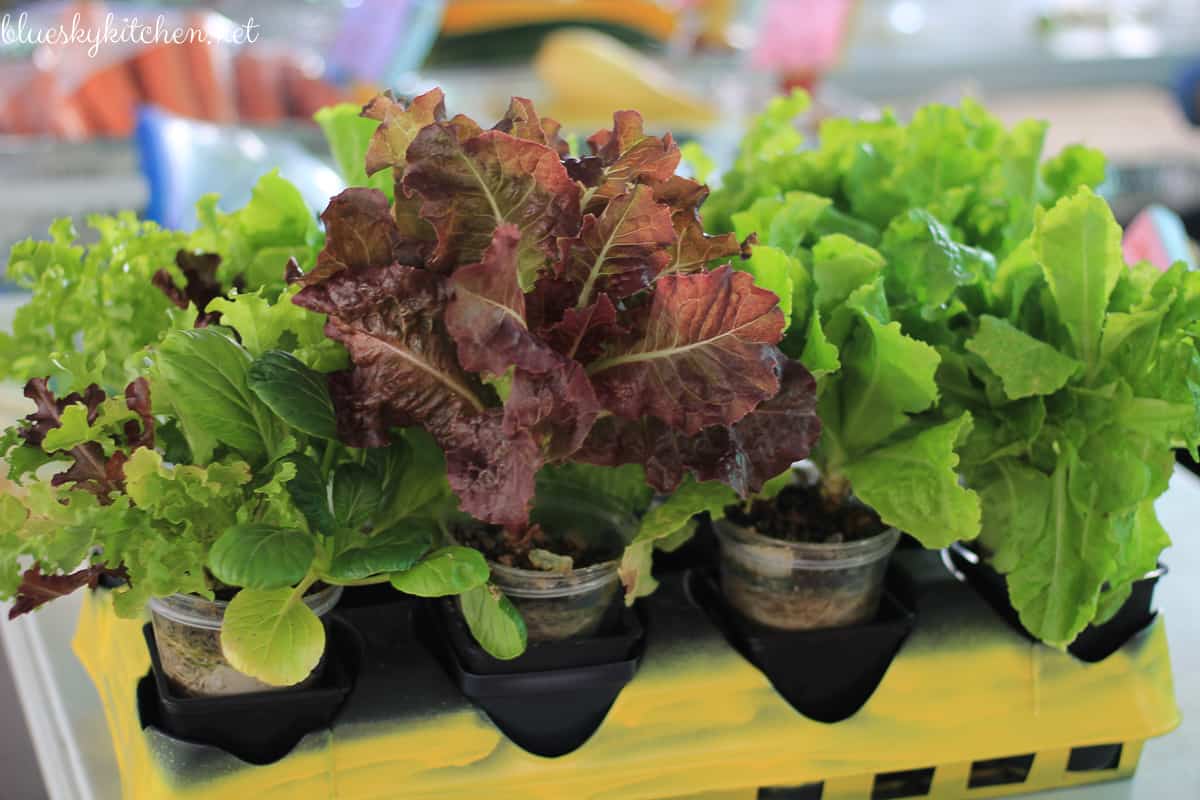
Then I stepped back and got more background for a more interesting perspective. I like the contrast of the greens in the lettuce with the pinks, blues and yellows in the background. Plus a person never hurts the photo.
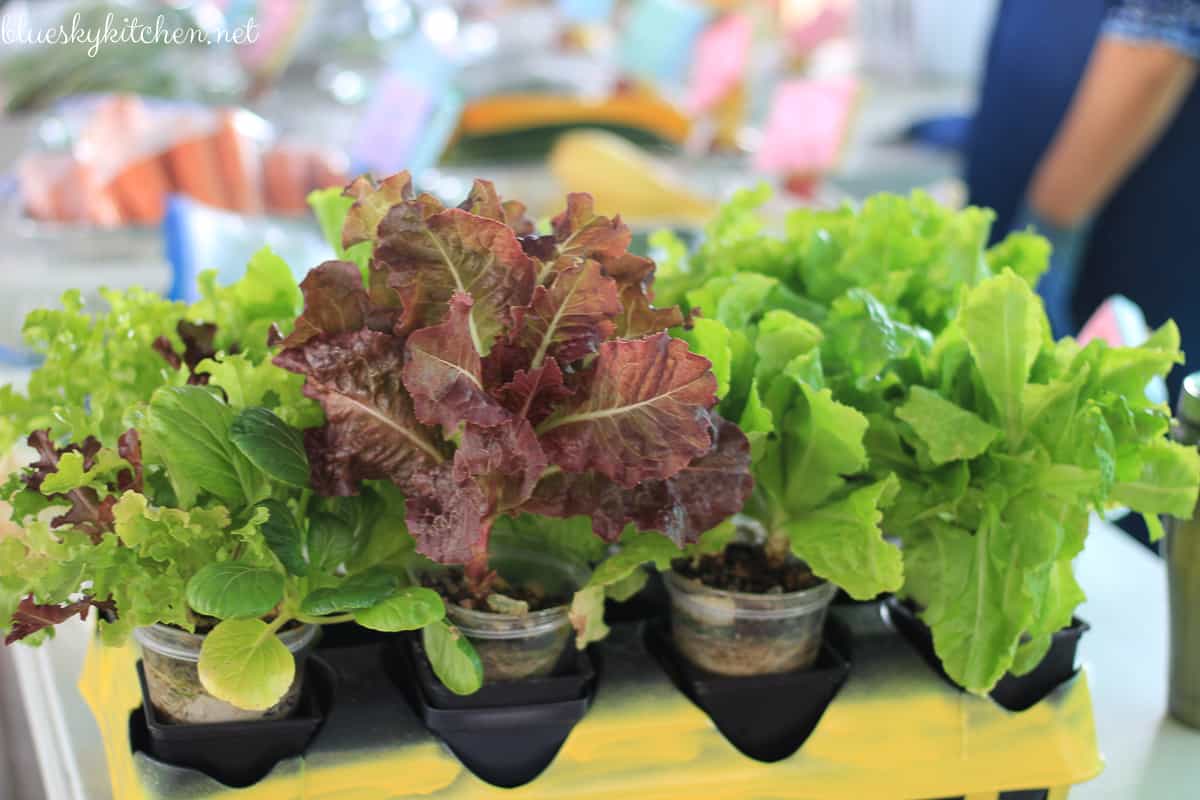
- Get down and level with your subject for a different view.
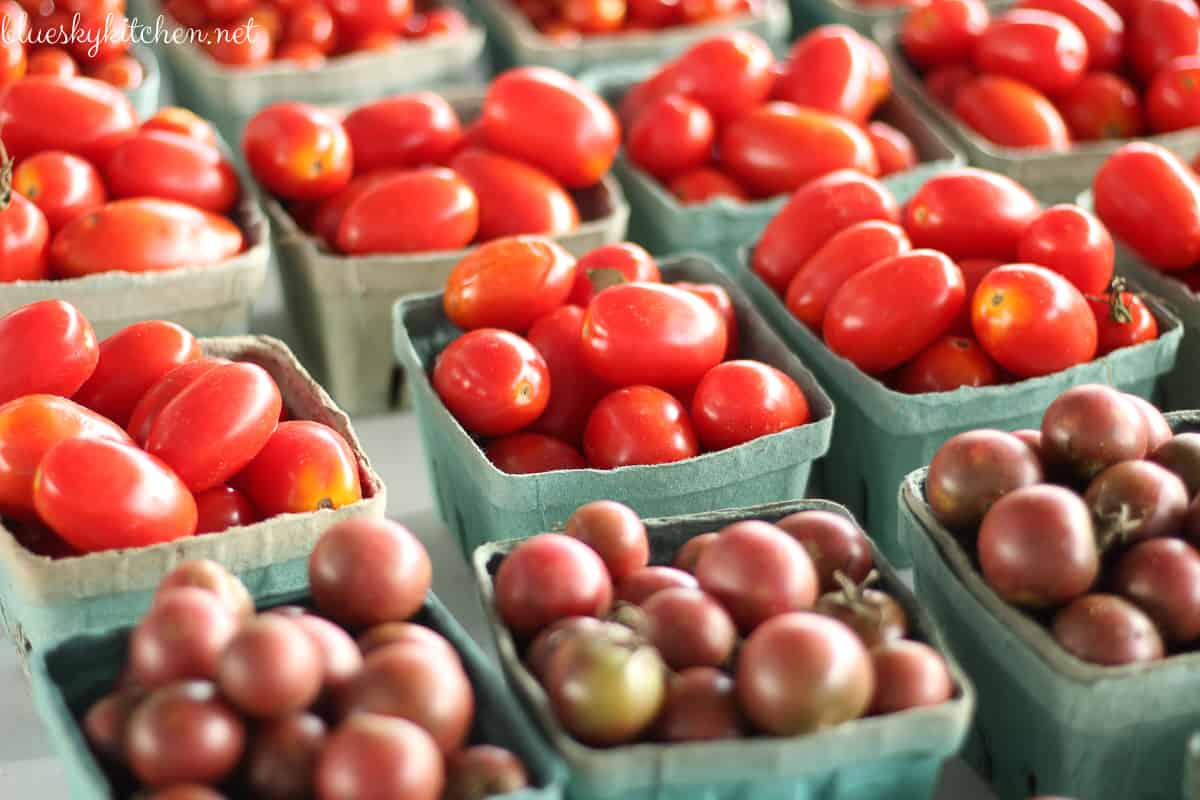
I took this one at eye level. It had just a little bokah at the back.
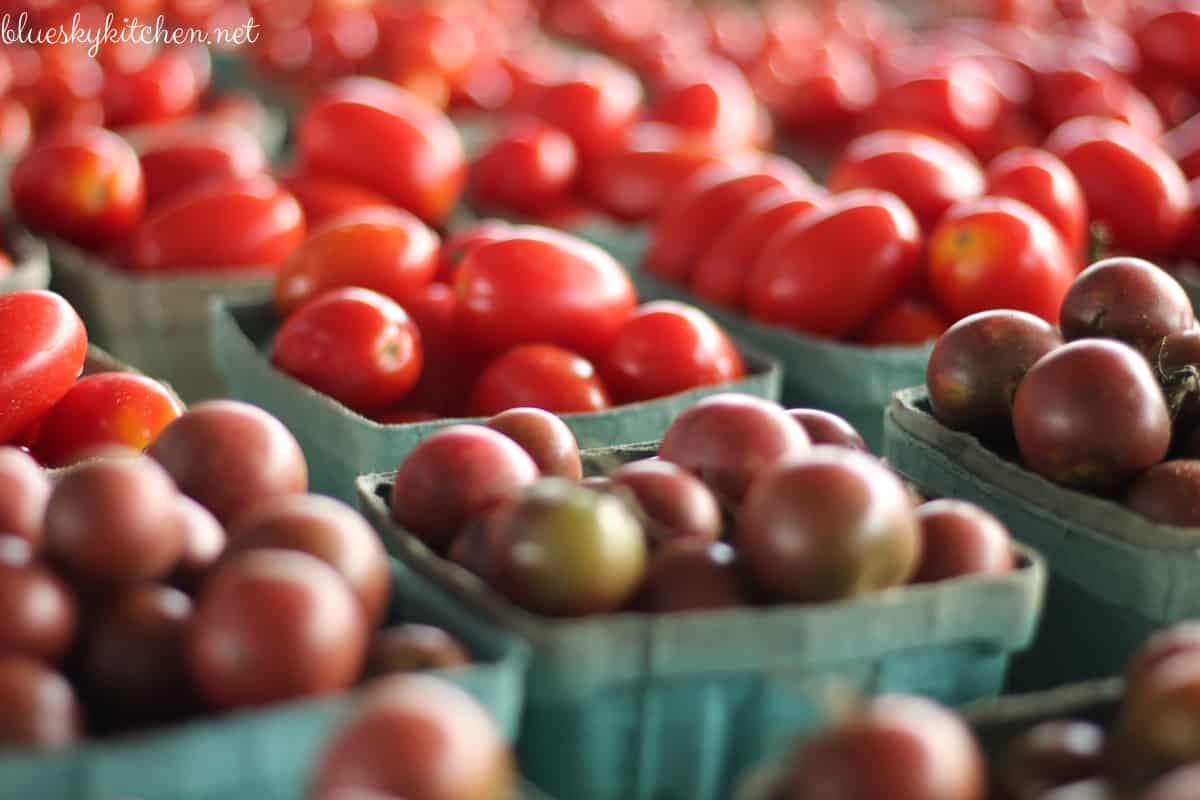
- Use low aperture to get that bokah. (This lesson I already knew.)
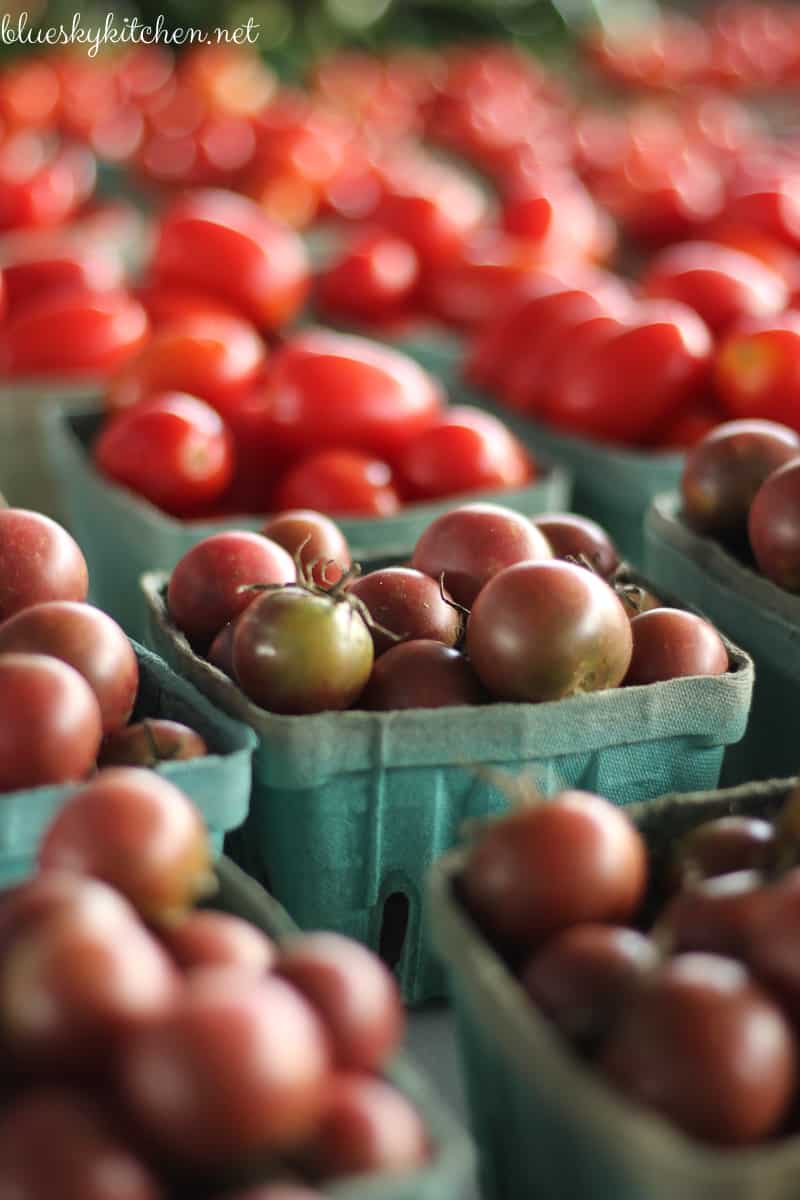
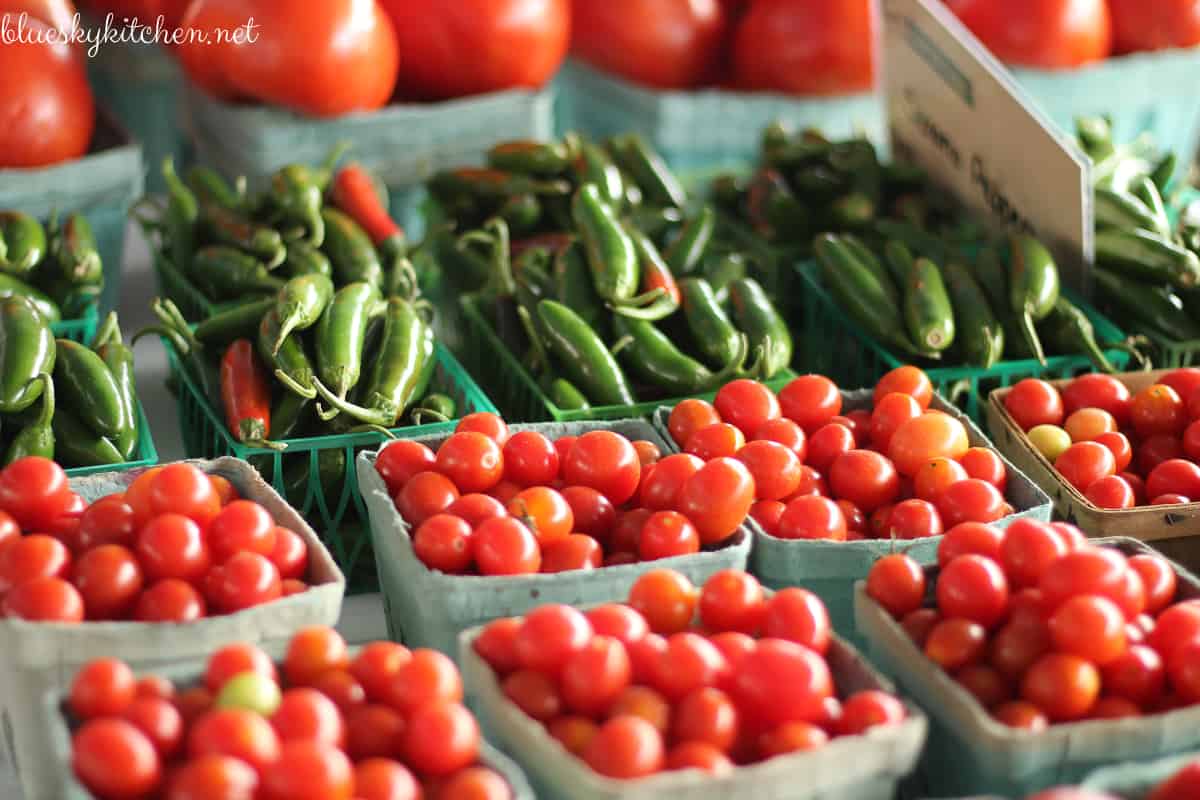
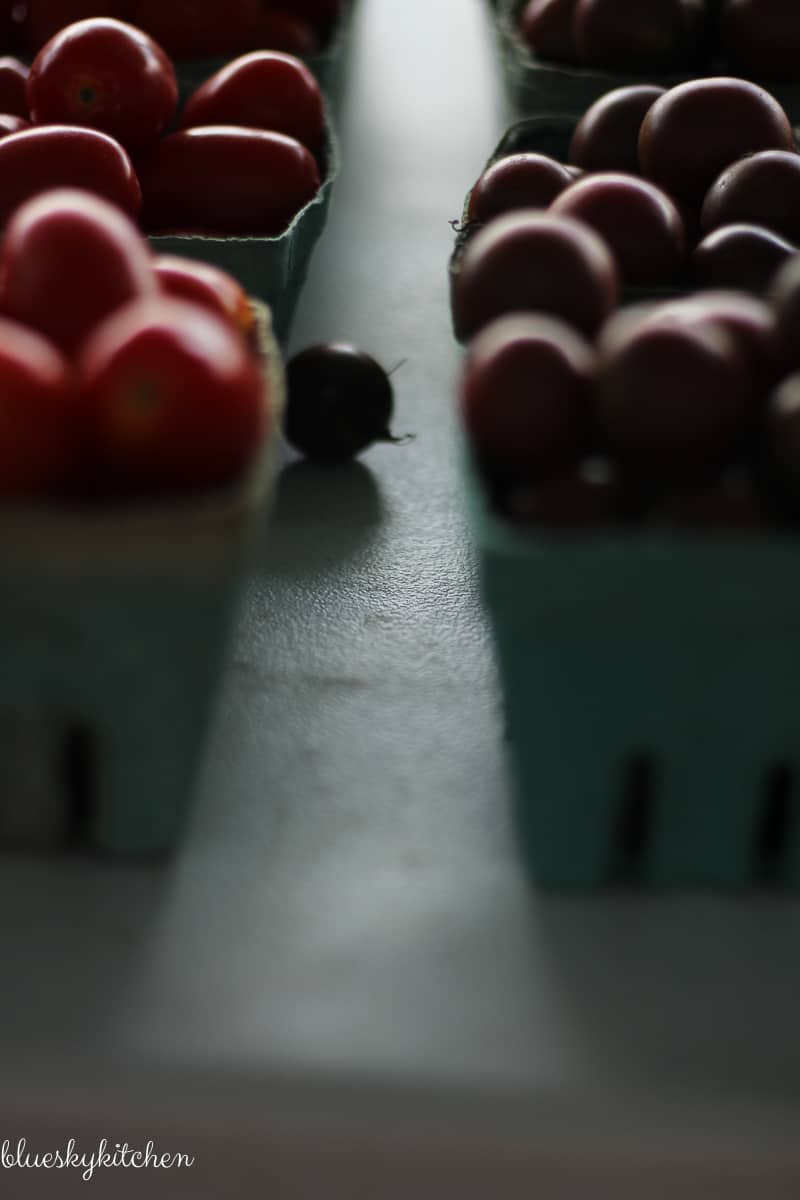
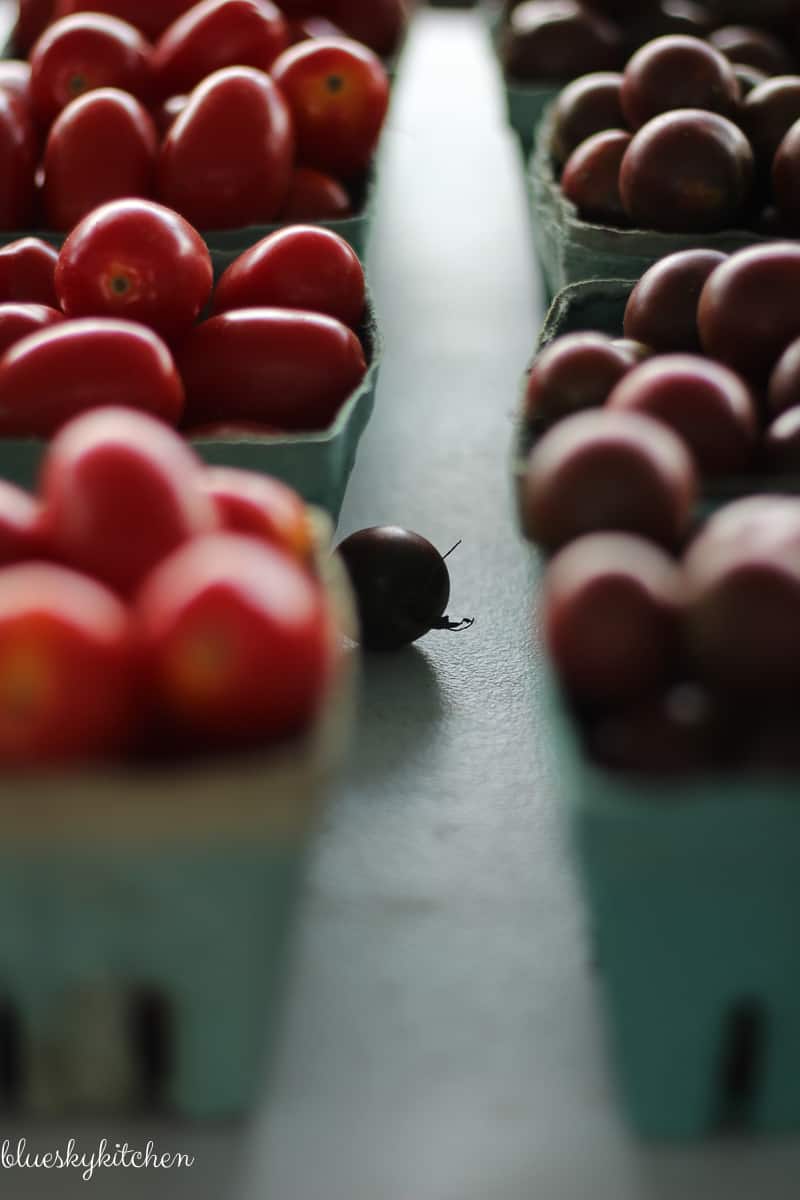
- Sometimes dark and moody works. It took me several shots of these cherry and grape tomatoes to mimic the one that Edgar took. He saw the visual appeal of the the one cherry tomato between the pint containers of other tomatoes. I loved the colors of the tomatoes against the aqua color of the pint containers.
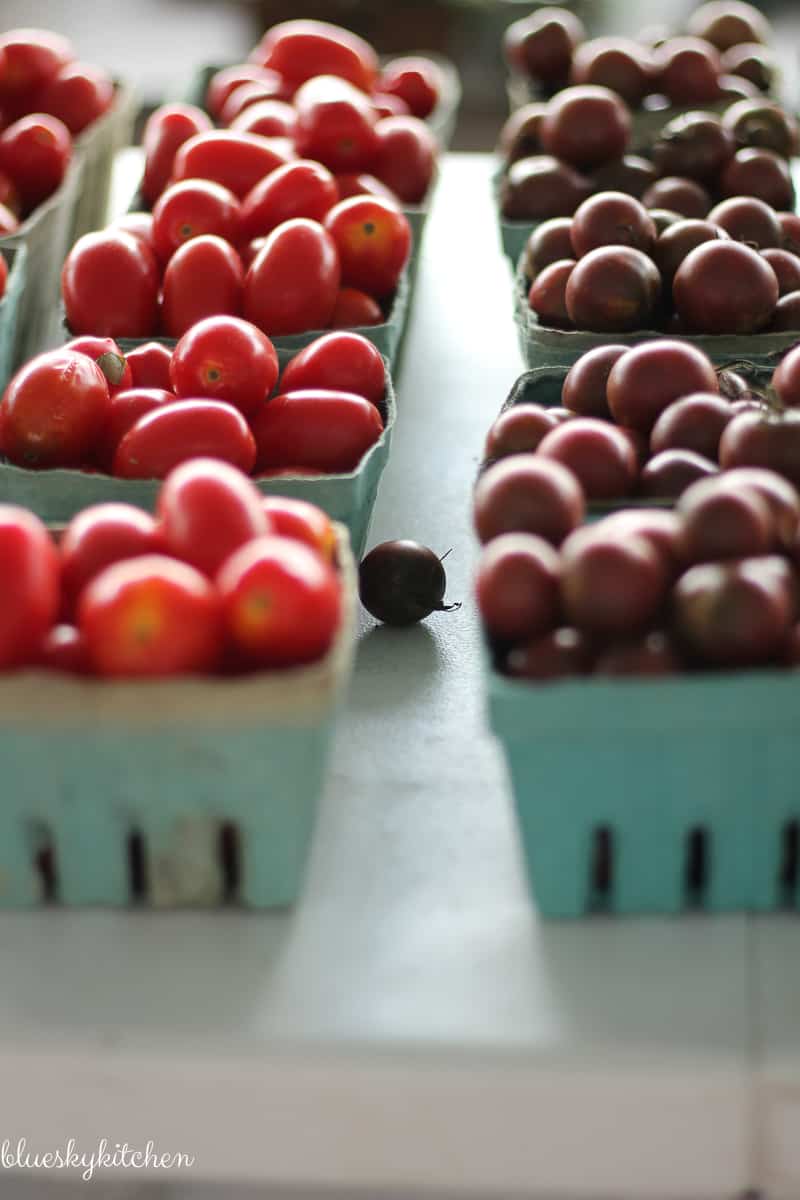
Too much fuzz on this one.
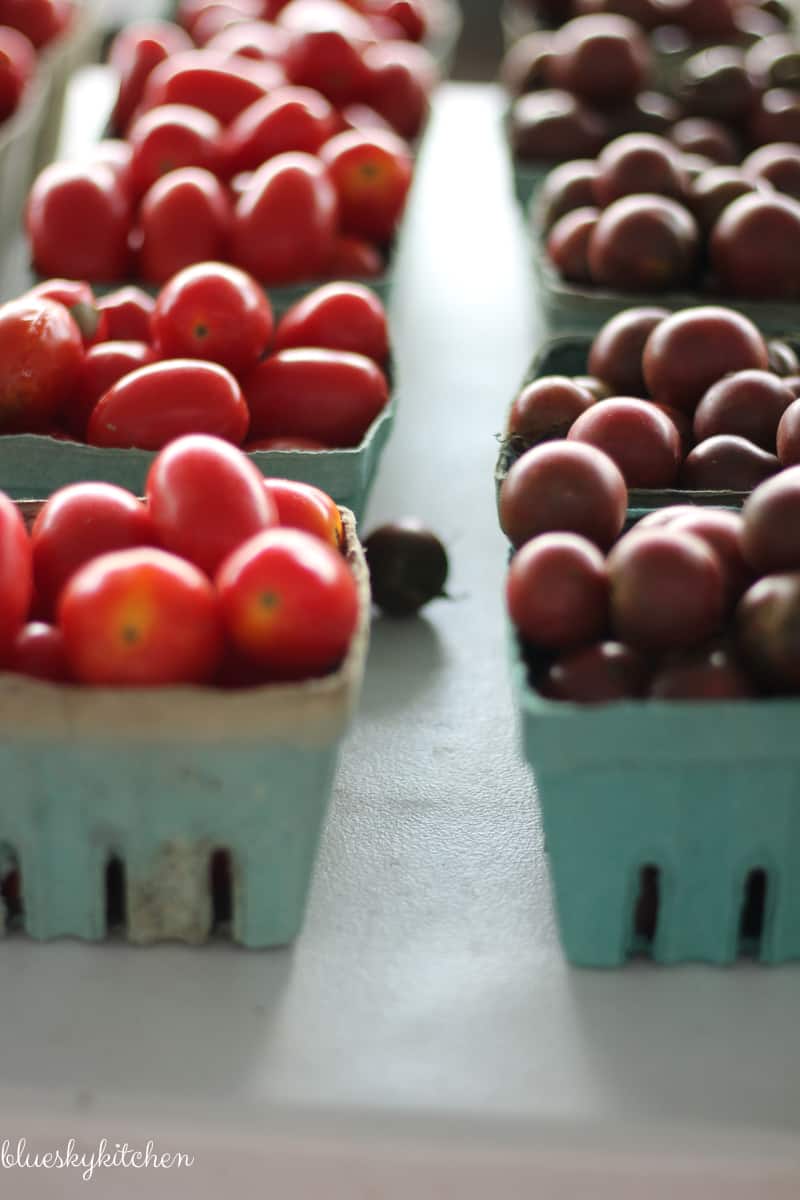
Too much light and too close on this one. But I like the shadow that the tomato casts. The light was in front of me, behind the tomato.
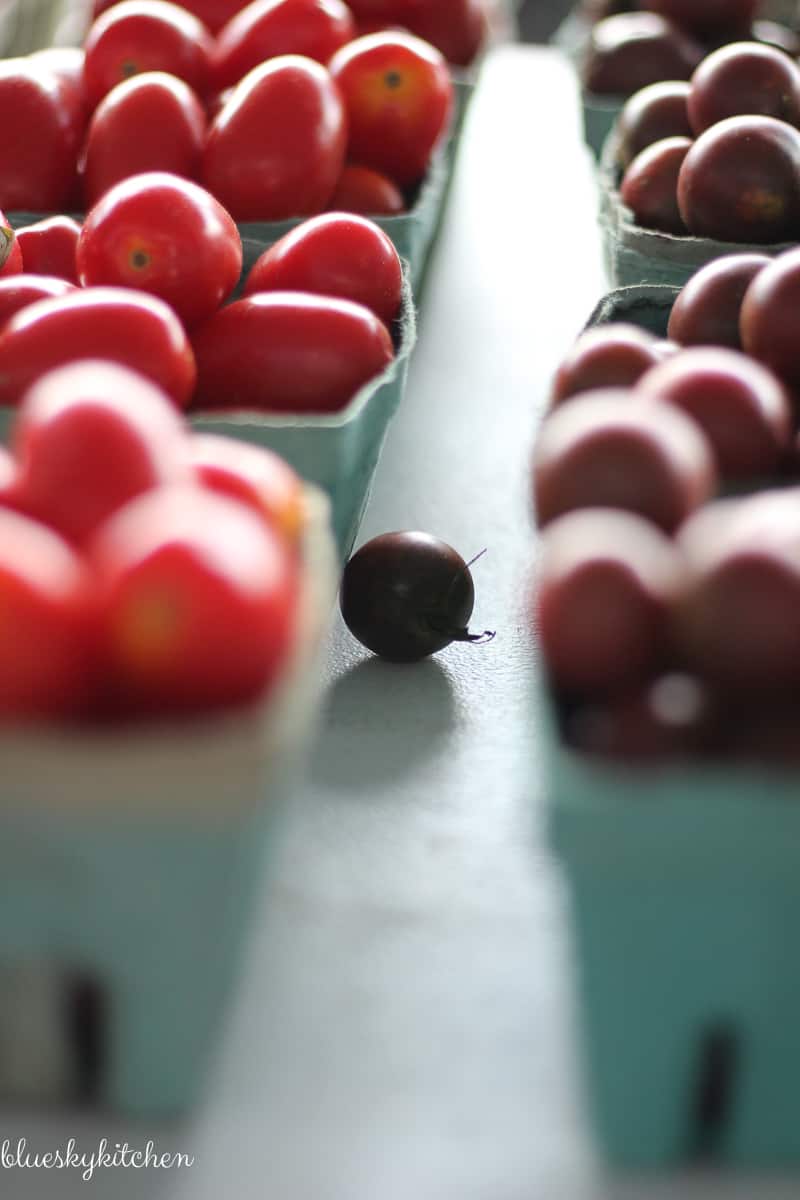
Too much light. I opened my shutter speed up here. Not too interesting.
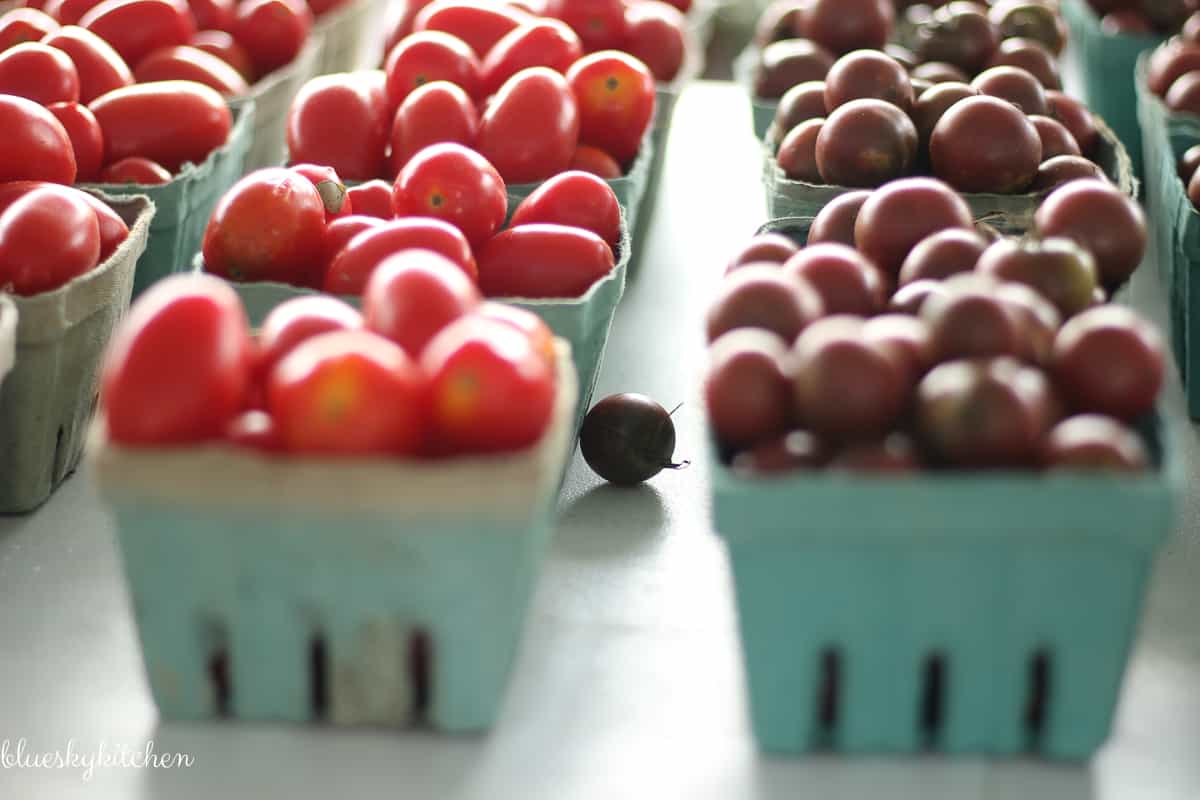
Not enough light. I really lowered my shutter speed.
This was my favorite. I love the “path” created by the line of tomato boxes, the bokah in the front of the image, and the shadow of the tomato. This was pretty close to Edgar’s image, but he did it on his first shot.
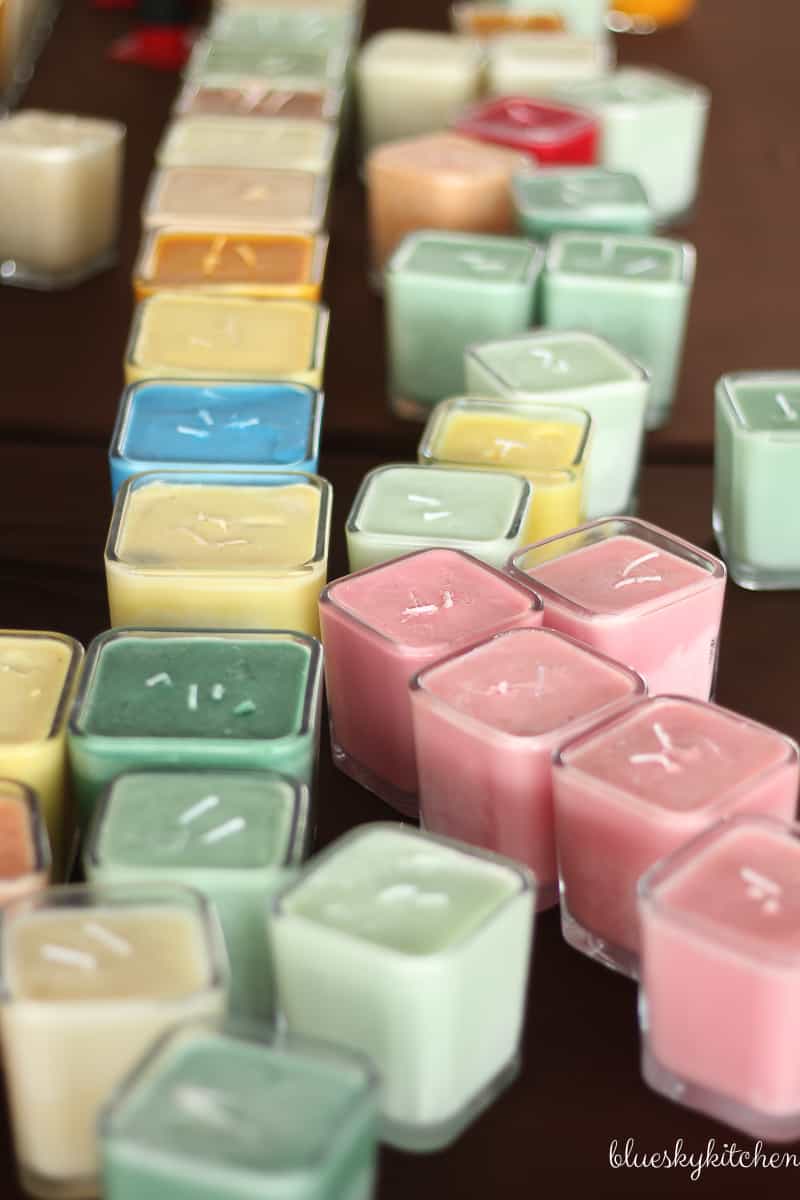
I loved the colors of the candles, but the arrangement really didn’t lend itself to an interesting shot.
A New Editing Tool with Lightroom
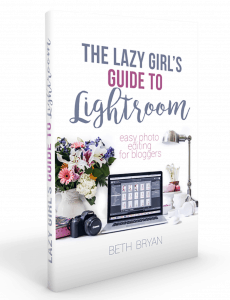
As I mentioned, I didn’t use any editing tools in Lightroom except some cropping and resizing. But there was one editing function on Lightroom I wanted to try. One of my favorite Lightroom gurus is Beth at The Skinny Boppy. Beth wrote The Lazy Girl’s Guide to Lightroom and this the course that I used to learn Lightroom earlier this year. It’s a great video course and I highly recommend it. Beth recently shared a video on Facebook about using the PHOTO MERGE feature in Lightroom. If you have a range of pictures where the EXPOSURE goes from too light to too dark, PHOTO MERGE will blend them together to give you a great image.
If you would like to purchase Beth’s course, you can do it right here.
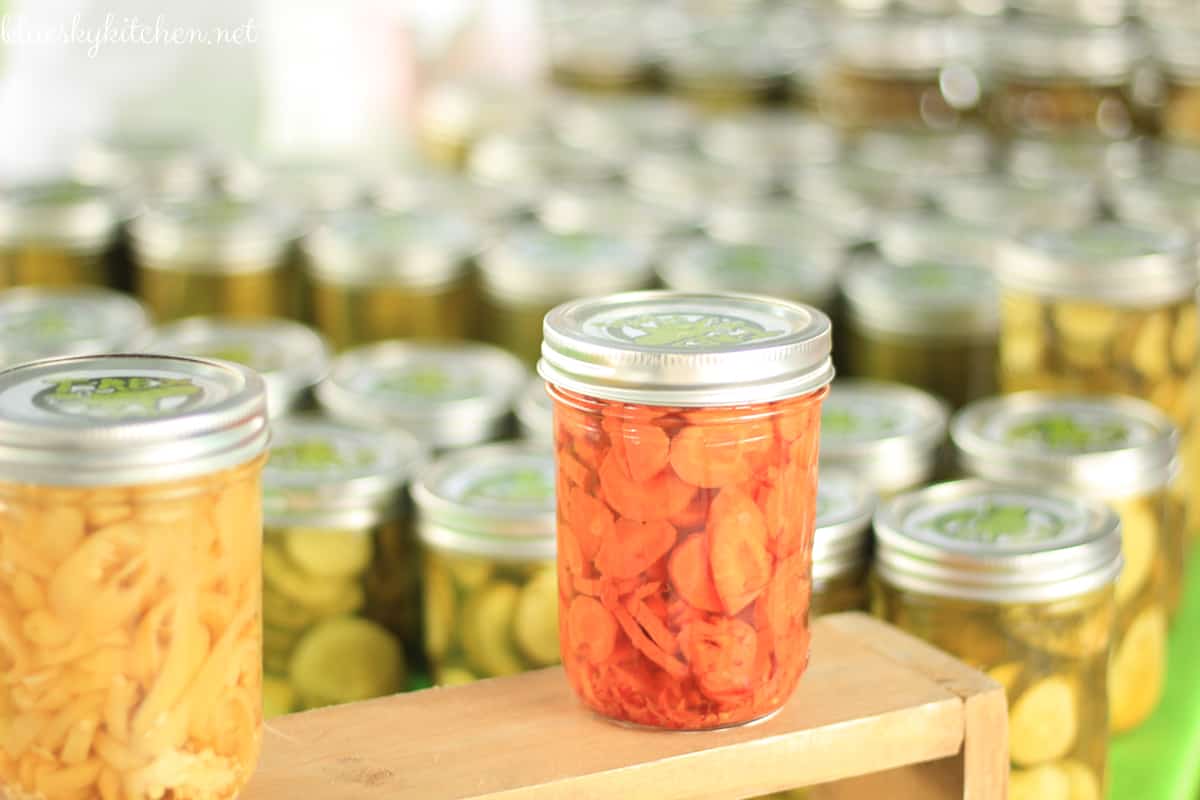
The homemade pickle vendor was a great subject. These were some of the first images I took, before I switched from MANUAL to AUTO. The clouds kept coming and going and the image went from light to dark. I decided to try the PHOTO MERGE feature when I got home and here’s what I got.
Lots of natural light.
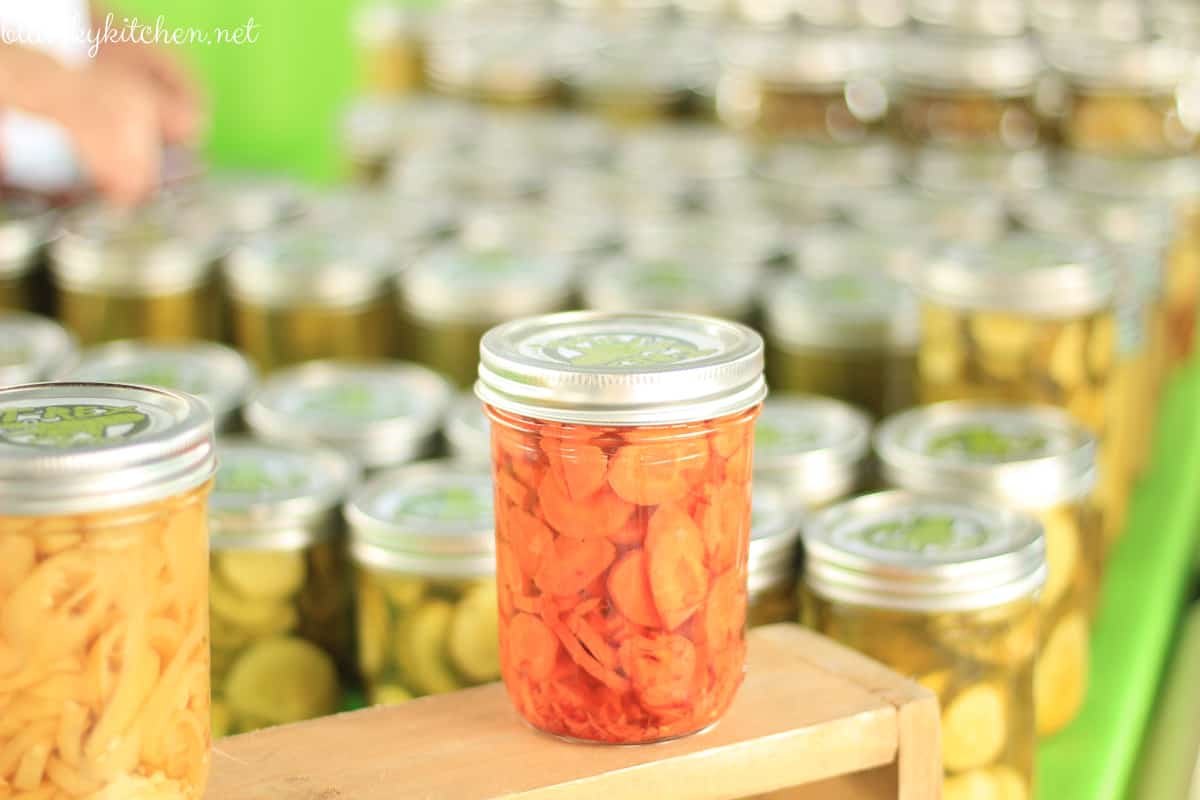
Then the clouds rolled in.
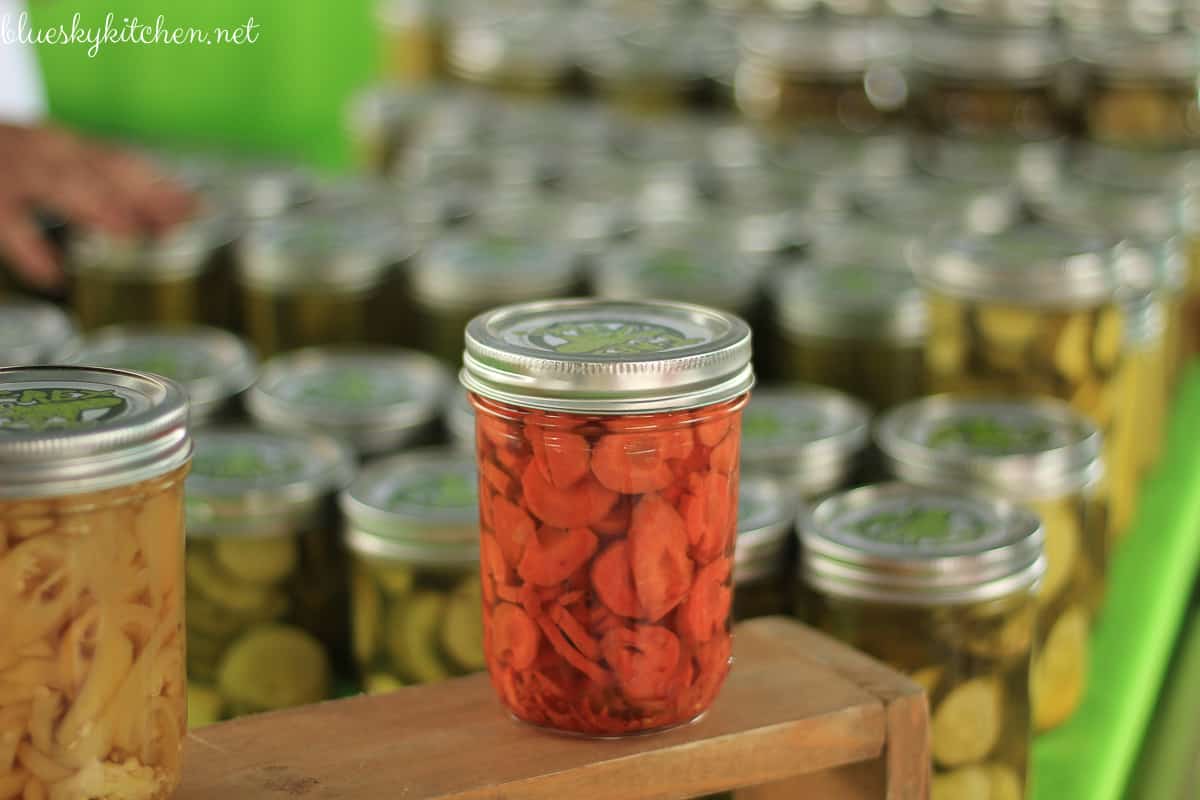
This is the MERGE image. About in the middle between the too light and the too dark. I will definitely be using this Lightroom feature more.
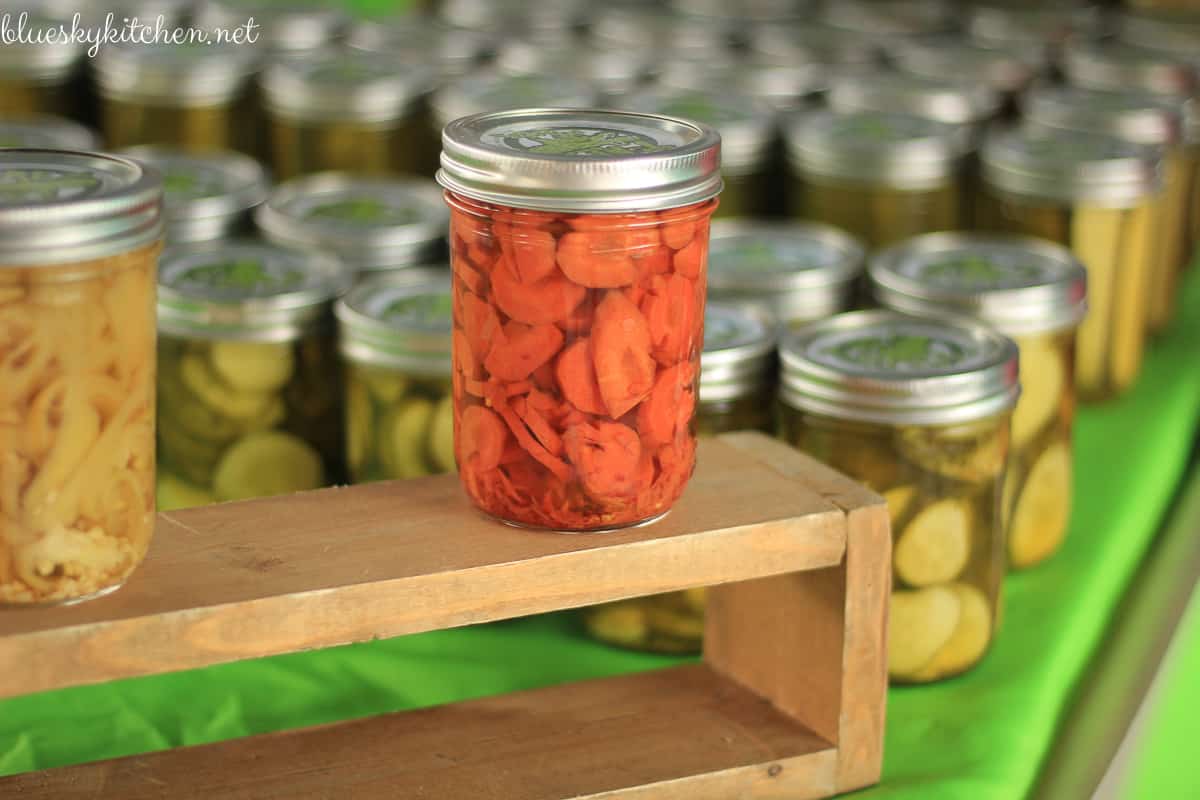
Pretty cool, right. Watch Beth’s video to see how to use this awesome feature.
One Last Photography Lesson
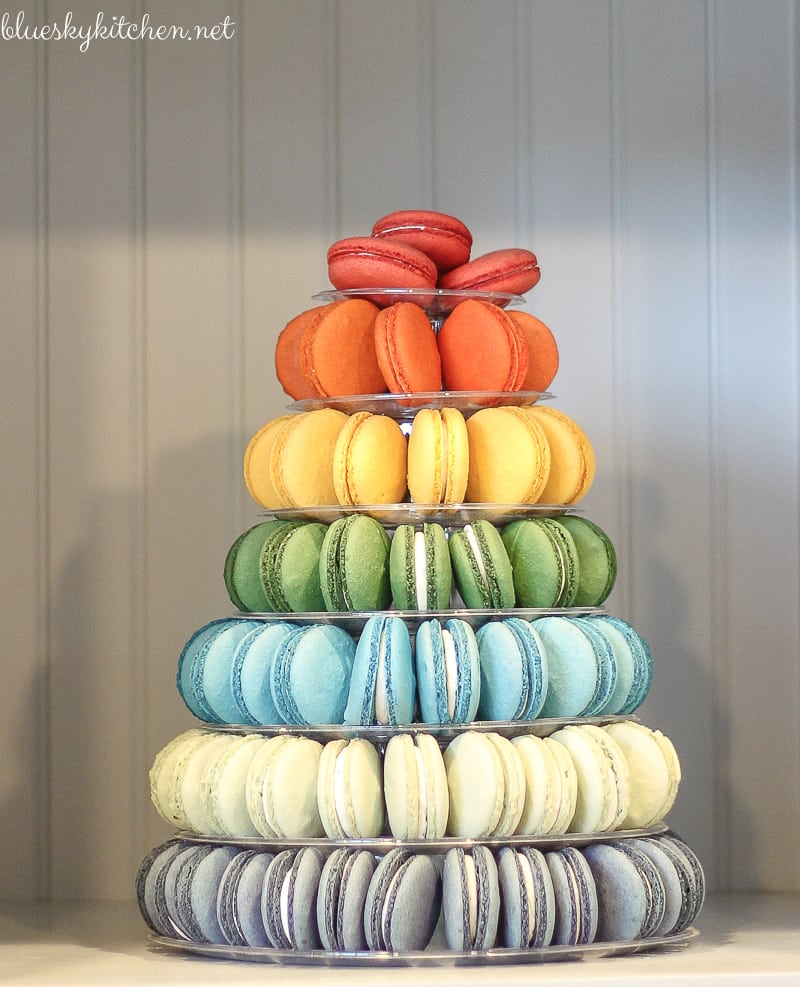
After taking photos outside, we went indoors to The Market where restaurants and other food and nonfood vendors have permanent shops. One of my favorite local macaron shops, Chelles, provided great photo opportunities. The lighting was a challenge: first, it was cloudy and second, all the lighting is tungsten, which gives everything a yellow cast.
- Camera Adjustment: WB button, switch to TUNGSTEN.
- Remember to reset the WB button back to AWB.
Before ~ you can see how the ceiling lights overexposed the top shelf with a yellow cast. The bottom shelf, which was hidden from the tungsten lights has blue cast.
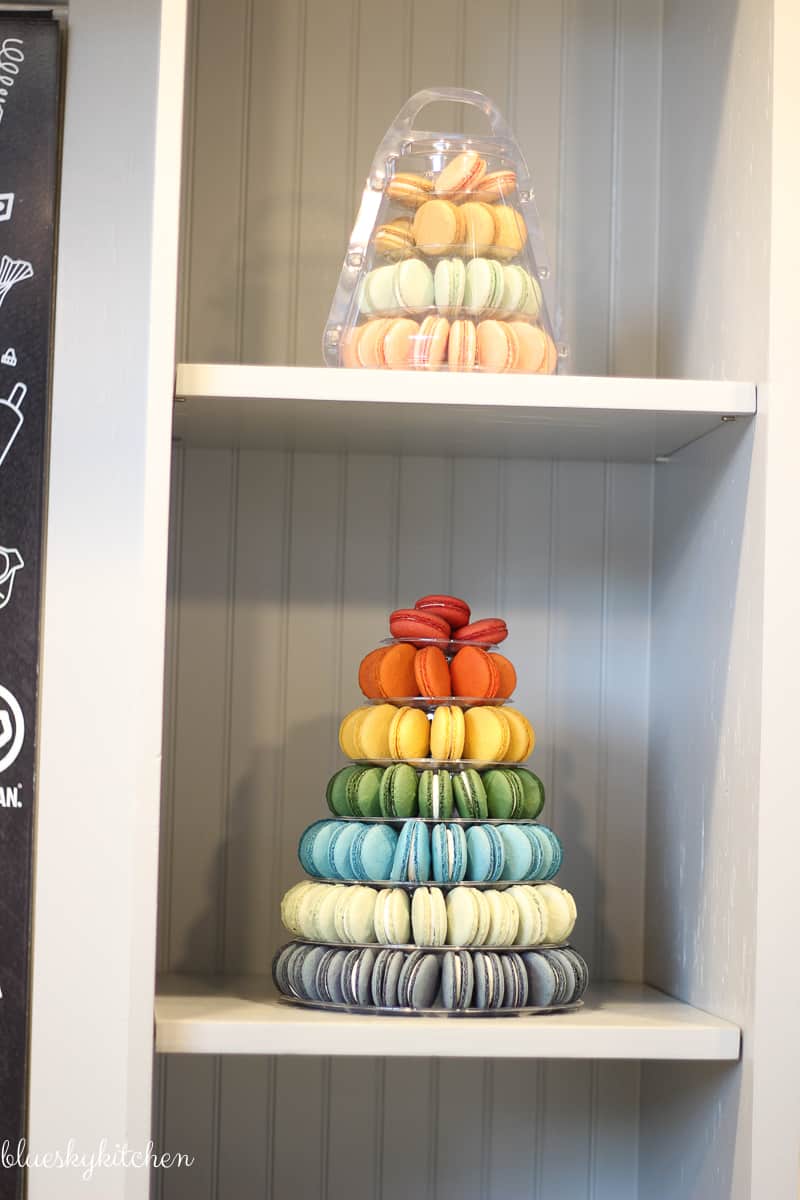
After with some cropping, a slight rotation, and a little White Balance adjustment in Lightroom. (They are delicious, by the way.)
Take Away Photography Lesson
If you can work with a seasoned photographer one~on~one or in a small group like we did, the lessons you learn will be invaluable. Being able to ask questions as the topic occurs to you is a big plus. Having a really good photographer take a photo and trying to duplicate it for lighting and composition will really help you understand how to get great photos. A field trip is a super way to see other people’s cameras and lens and compare photography.
You may also like this post on practicing your photography skills. And here is my experience buying my first DSLR camera.
I’m already missing our little dates with Edgar. We hope to get back to our Friday meetings in the fall. Until then, we can be pen pals and we can ask Edgar questions through e~mail. Sweet Shark tells me he isn’t jealous.
Here’s a sneak peek at next week’s posts:
- Monday ~ How to Prepare for a Blogging Conference
- Wednesday ~ My Summer Tablescape
- Friday ~ The Big Laundry Room Reveal







Congrats, your photos are gorgeous! Photography is my nemesis…….I’ve been using a DSLR camera for a number of years and have taken 2 classes and read up a lot on it but good photography still eludes me! Great to see that you have gone out there and conquered! Thanks for sharing at Vintage Charm! xo Kathleen|Our Hopeful Home
Carol,
Yes, I need an Edgar and a standing date with him. Thanks for sharing your tips. I use a Canon Rebel 6 and need to study how to use it more to really get the benefits of all it can do.
Judith
Judith, we’re planning to get back together in the fall.Let me know if you are interested in joining.
Carol, I am so jealous! What a lovely opportunity. I have taken a couple photography classes and they have been invaluable, but I’d love to get out to that lovely Farmer’s Market with you and your guy, Edgar.
I’ve been using Lightroom for over a year and didn’t know about Merge..gonna give that a try.
Looking forward to hanging at Haven!
Until then, Hugs….Lynn
Lynn, there is always soooo much to learn about everything. I’m going to write a book one day, Why Blogging will Either Kill you or Keep Your Brain Growing. Can’t wait to see you at Haven.
I am so continuously proud of you! This is great! Keep going, Carol!
You are so sweet and I miss visiting.
This is great information Carol! I am looking forward to upgrading my camera later this year.
Pinning this for later.💜
Lisa, glad you liked it.
HI Carol
Where do I find me an Edgar? Thanks! laura
Laura, A new friend of mine who knows I’m a blogger was referred to Edgar by a friend of hers who took lessons from him at the photography store where he works. He’s in Ft. Worth so he came to Dallas on Fridays to work with us. I would ask at your local photography store. Obviously less expensive if you can do it with some other people.
This is so good, Carol!! I need to spend some time with this post and my camera in hand. I need an Edgar too.
Stacy, we’re starting up again in the fall if you want to come and meet Edgar. Group date.