How to Make the Easiest Lemon Tart
Do you love the taste of lemon? The bright citrus adds so much flavor to both sweet and savory dishes. Have you ever made lemon curd? It’s one of my favorites. I have the best way to make the easiest lemon tart.
Would you like a fast and easy way to enjoy a sweet little lemon tart using lemon curd?
Lemon curd is often the basis of lemon desserts, such as easy lemon tarts or lemon bars. This tart filling is smooth, creamy, and full of lemon goodness. It’s the perfect balance of tart and sweet.
I understand sometimes you are in a hurry or you just don’t want the hassle of making fresh lemon curd with lemon juice and separating egg yolks and cooking it.
But you definitely want a lemon tart to serve to friends or family, take to a party or enjoy after dinner.
What to do?
Follow my lead and let me show you how to make the easiest lemon tart – one that is delicious, fulfills that lemon flavor craving, and gets you out of the kitchen fast.

The Story Behind these Lemon Tarts
Every dessert has a story, right? This one does.
A couple of Christmases ago, my dear friend Valerie gave me a jar of lemon-lime curd as a hostess gift. I love lemon curd and immediately tucked it in our pantry until the right time came to use it.
Fast forward to early March. I’m in a group of nine ladies who occasionally gather for dinner, friendly girl talk, and birthdays.
The occasion was a belated celebration for Valerie’s birthday and I volunteered to bring dessert. I knew that I would use the lemon-lime curd that Valerie gave me.
Although I’ve made countless tarts in my culinary career, my plan was to buy pre-made tart shells at our neighborhood Central Market.
When I saw the price of a package of four shells, I was a little shocked. The price had more than doubled since the last time I bought them. (Thank you, inflation and transportation slowdown.)
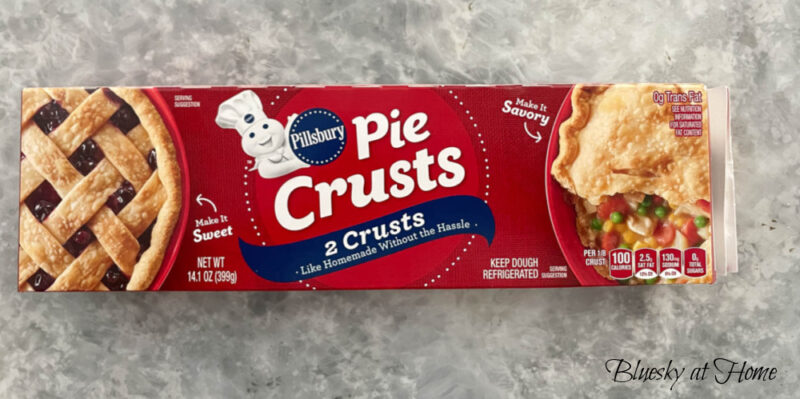
I immediately went to Plan B when I spied the Pillsbury Pie Crust package in the next refrigerated section. I can make the tart shells myself.
I did and everyone loved them. And they were so easy. Sweet Shark was upset that I didn’t make extra for him.
Then next week, I hosted my Bible Study group for our last study of the spring. Why not make a second batch of lemon tarts? I bought more pie crusts and more jars of lemon curd.
I served a simple salad but the star of the meal was the lemon tarts. Another round of rave reviews.
This time I made extra tart shells and Sweet Shark had this first taste. He loved them, too.
That’s why I’m sharing this springtime dessert with you – because it’s so easy, fast, and especially delicious. They are not just perfect for a small gathering. They would be great for a larger gathering, too.
Easiest Lemon Tart – Ingredients
Do you remember a show on The Food Network from years ago? It was called Semi-Homemade. Think of these lemon curd tarts as semi-homemade.
Besides being the best-tasting lemon tart, this easy recipe also needs just a few ingredients:
- refrigerated Pillsbury Pie Crust
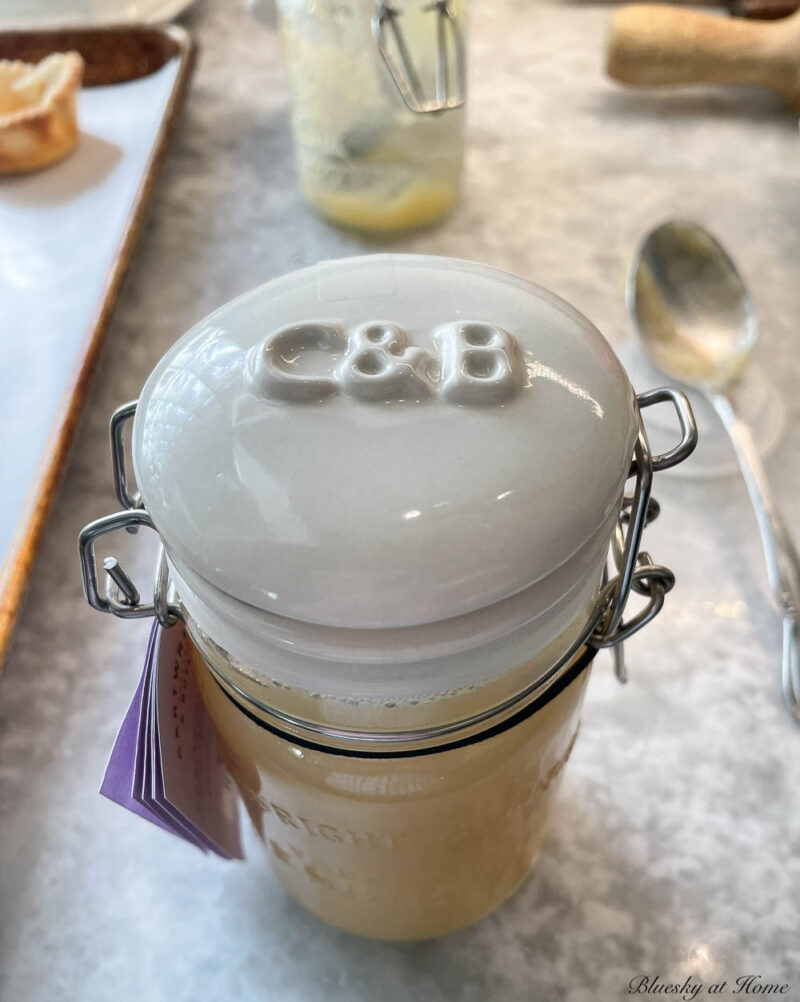
- lemon curd filling – no need to make it from scratch; I bought this brand because I loved the jar. It was delicious right out of the jar. One jar will yield more than a dozen standard-size tarts.
- heavy whipping cream
- powdered sugar
- for garnish: mint, lemon zest, or fresh berries, such as blueberries or fresh raspberries
You only need a few tools:
- muffin pan – either standard or mini-muffin size
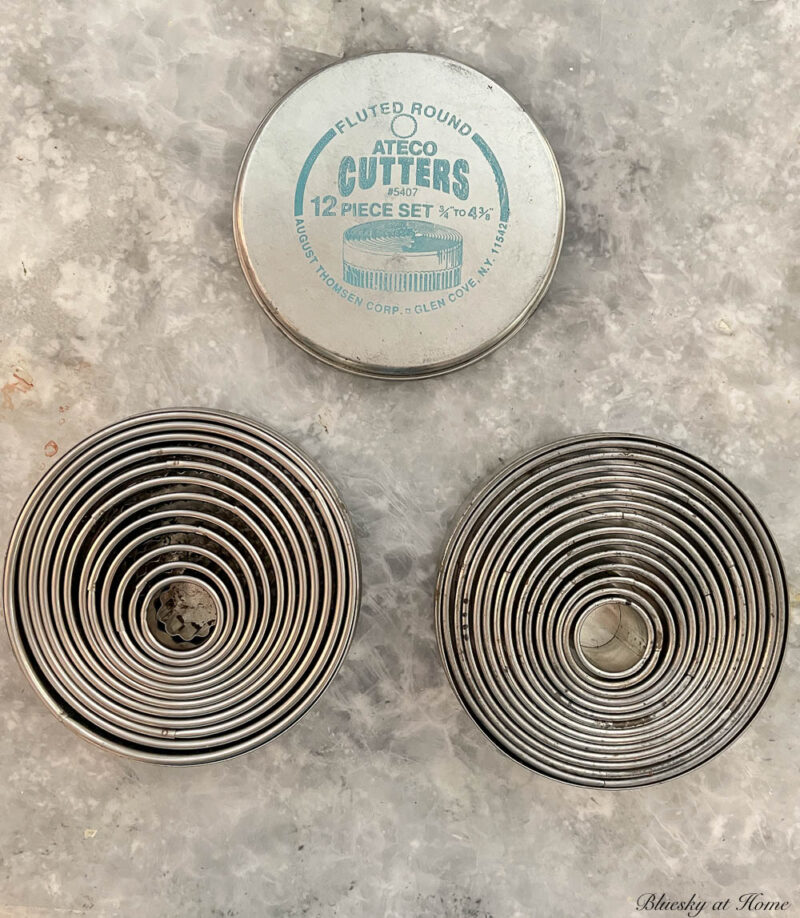
- round cookie cutters – plain or serrated – I have had these sets for years.
- cooling rack, optional
- mixer with whisk beater attachment or immersion blender with whisk attachment
- pastry bag
- pastry tip
- two small spoons
Making the Tarts Shells
Usually, tarts are made using a tart pan, which is like a cake pan with a ruffled edge and a removable bottom. For this easy dessert, I’m just using a standard muffin pan.
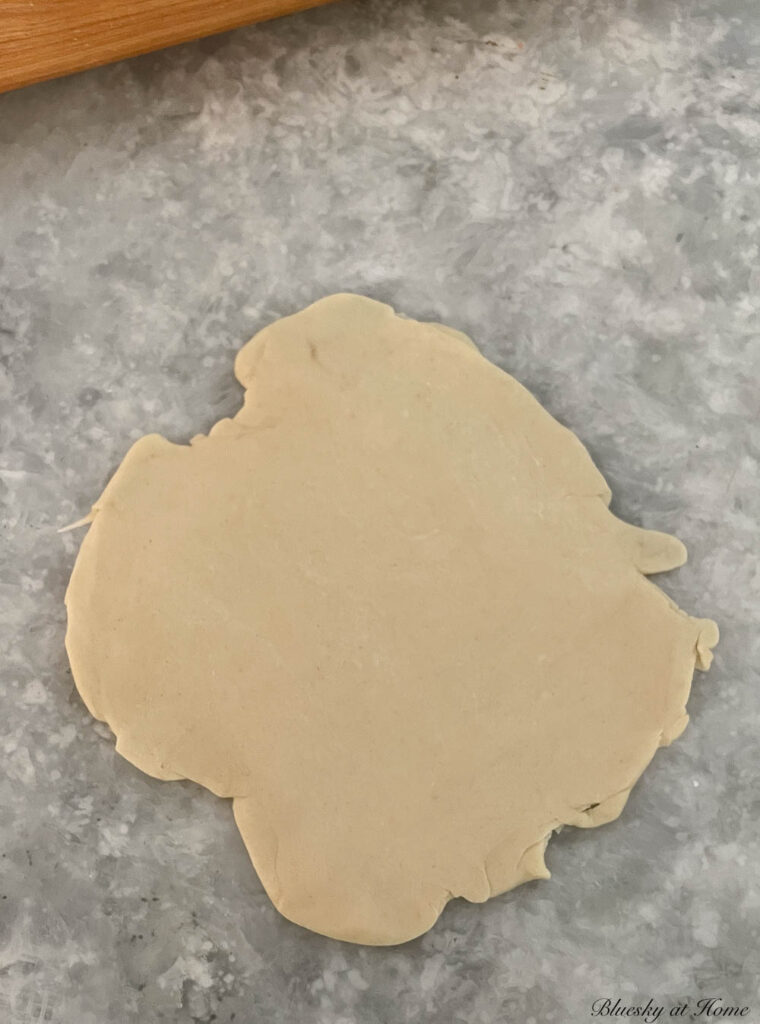
Step 1 – Unwrap and roll out the pie crusts. You don’t have to use a rolling pin or flour on your counter. Preheat the oven to 350˚F.
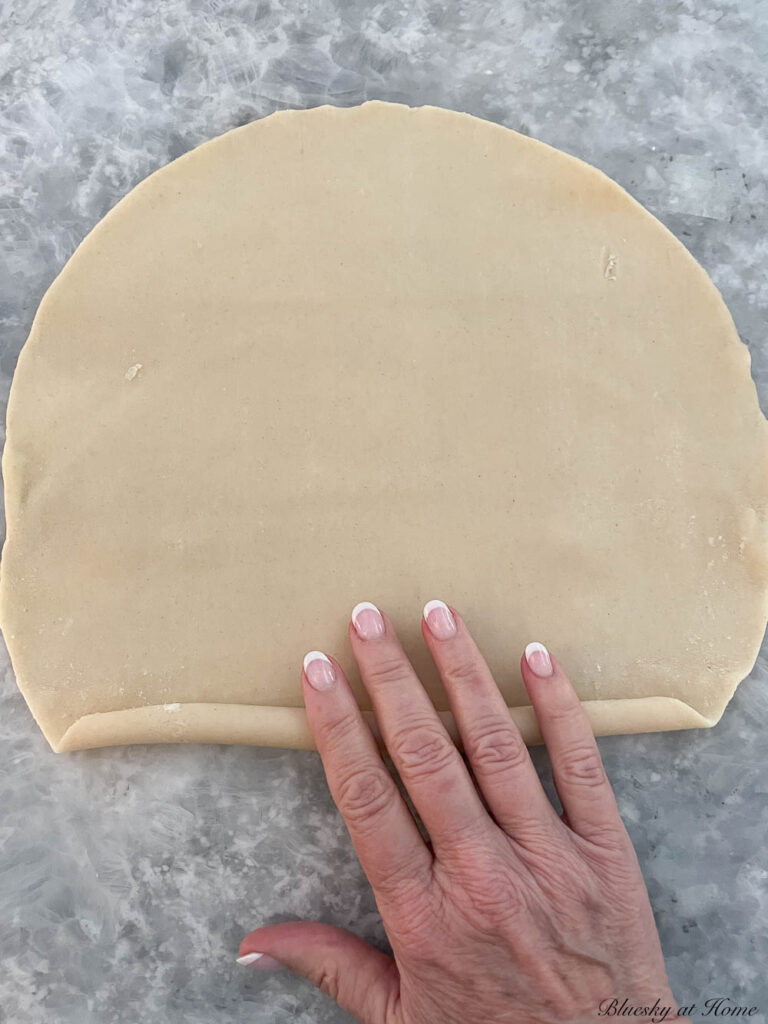
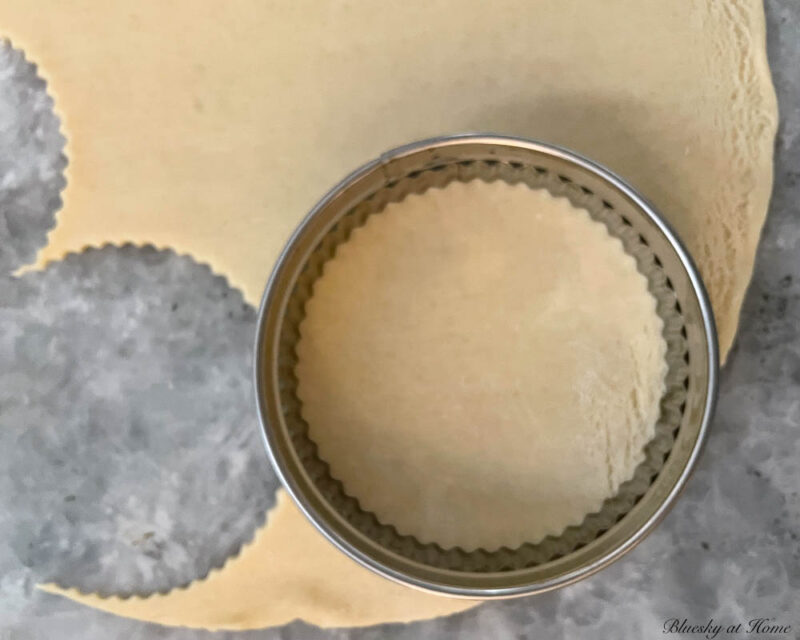
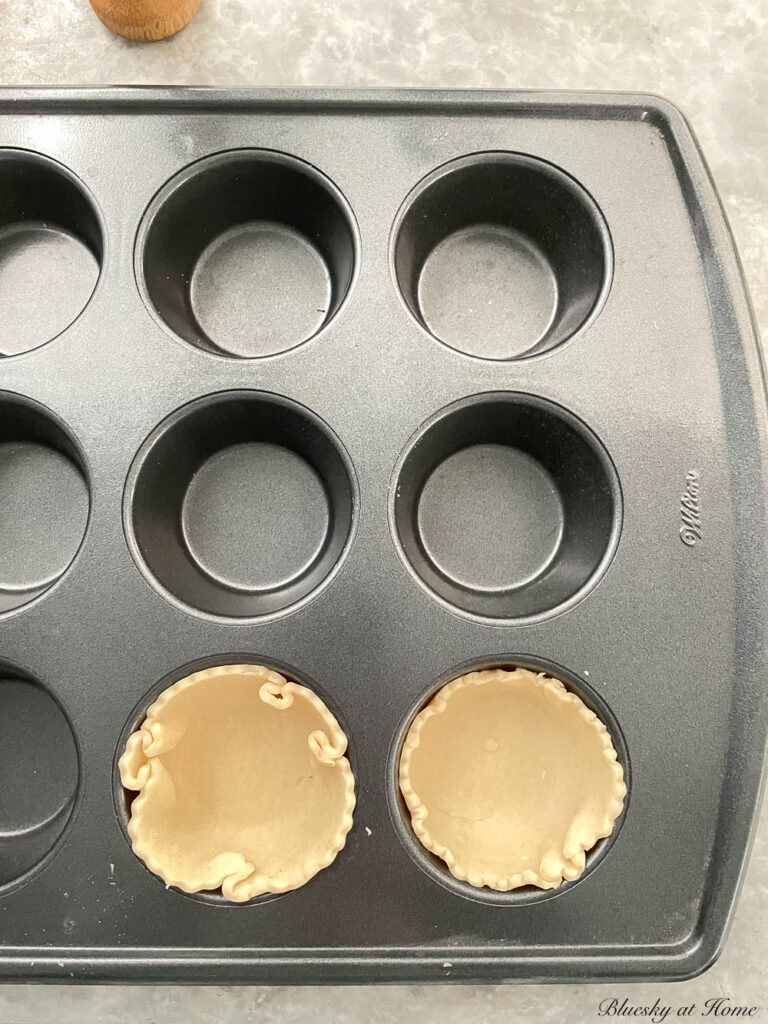
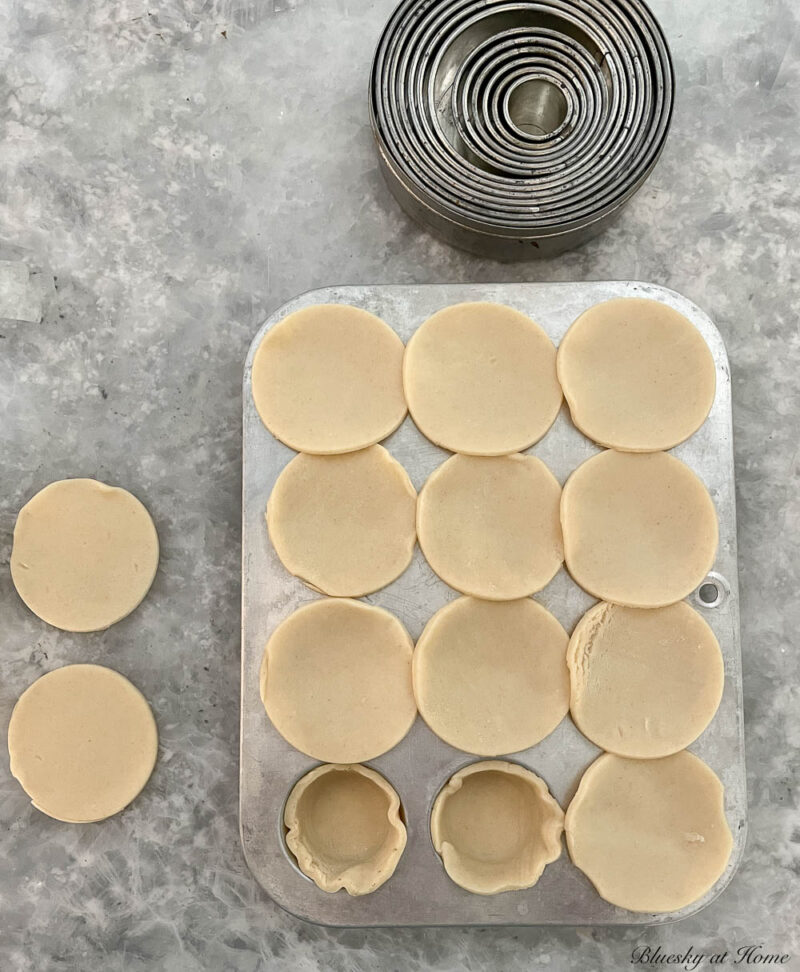
Step 2 – For a standard size muffin tin, use a 4 1/2-inch round cookie cutter to cut out the circles of dough. For the standard-size tart shells, I used my serrated cookie cutters. It gives the edge a look like pinking shears. I got 5 circles to each pie crust.
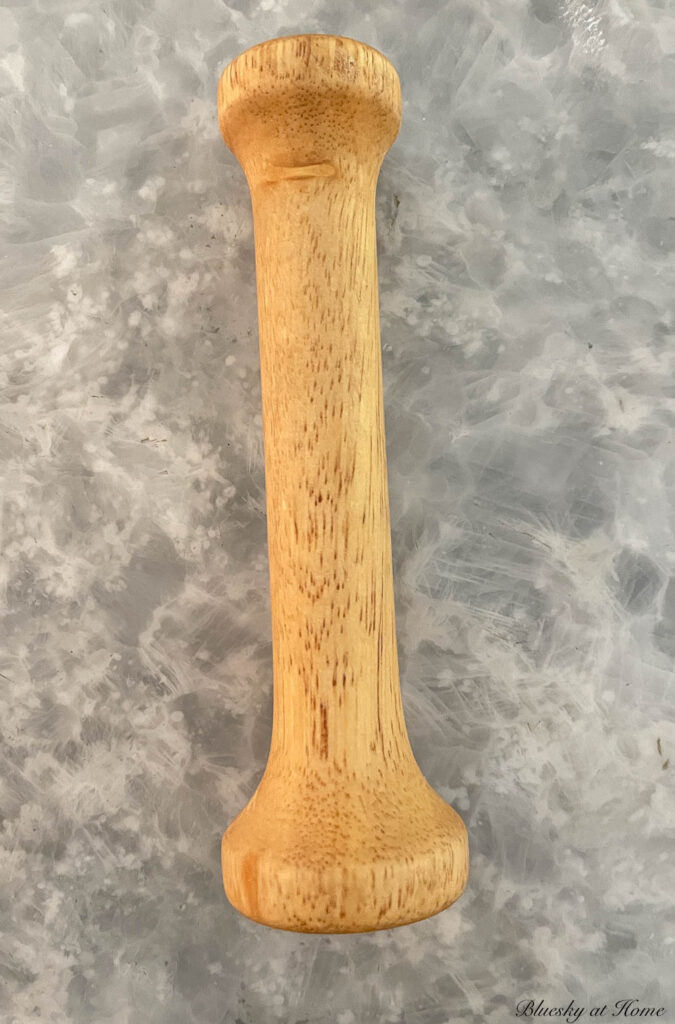
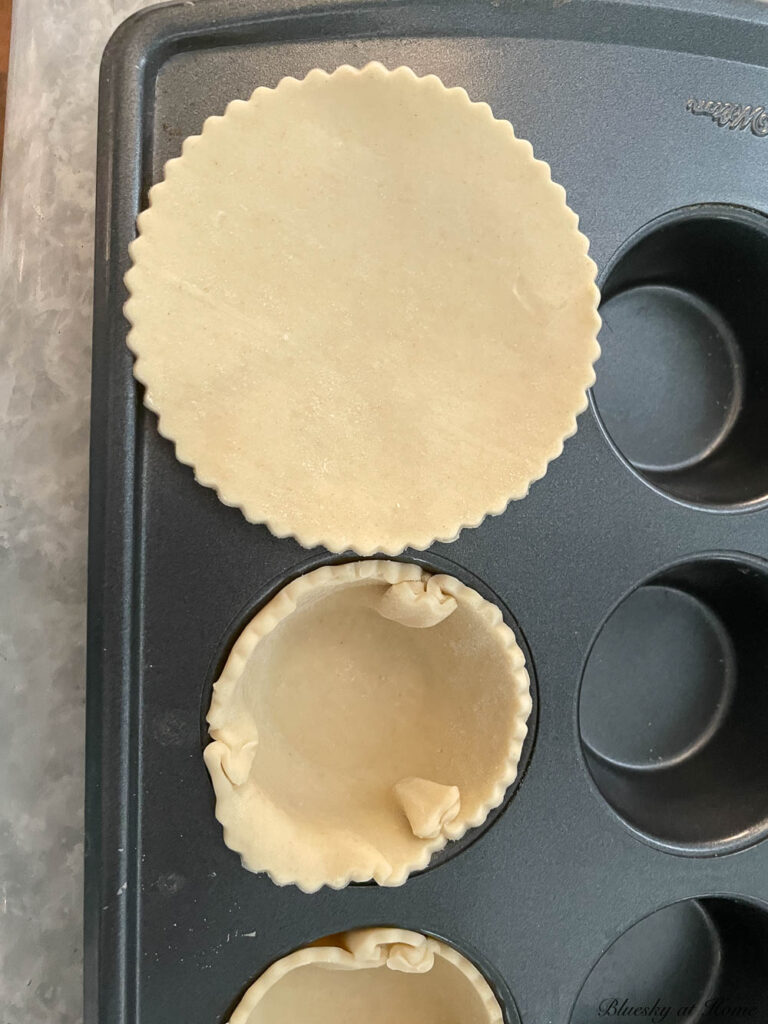
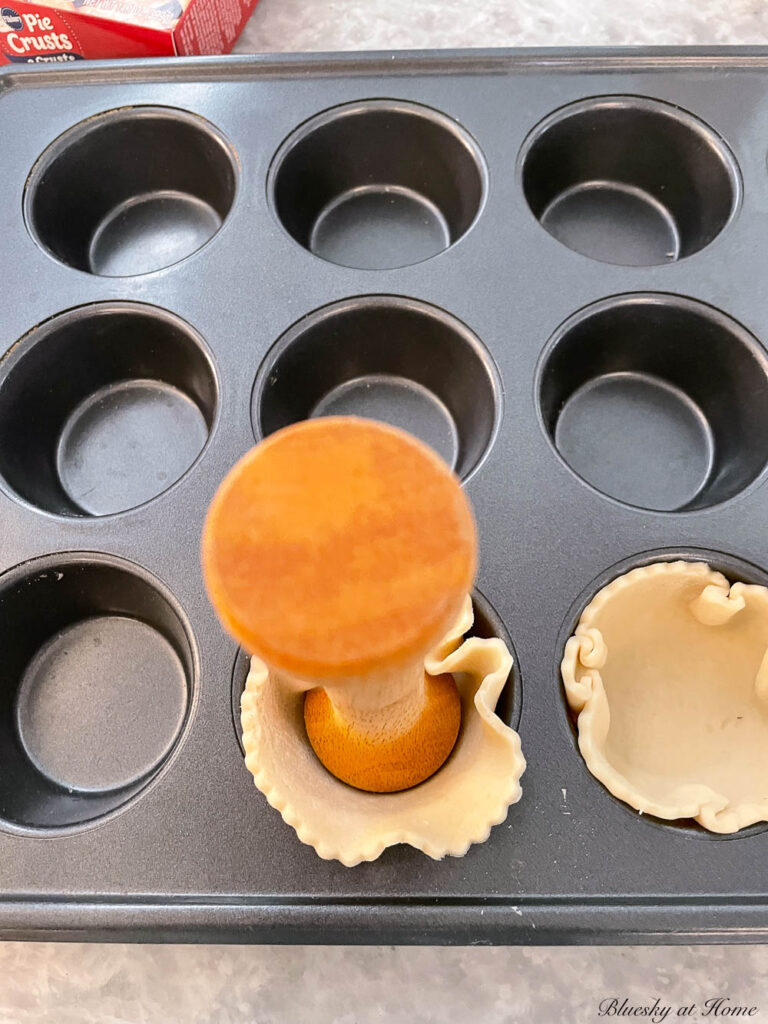
Step 3 – Center one circle over the muffin tin and push down using the large end of the tart tapper.
You will some folds in the dough.
Story: when I explained to my Bible Study ladies how I made the tarts when I got to the part about tart tappers, they all said “what’s a tart tapper”? So I showed them mine.
In case you don’t know, a tart tapper is a wooden tool with a round, flat edge at each end. One end is larger than the other end. It’s used to “tap” or flatten dough into a tart pan, muffin tin or pie plate. It does a better job than pushing with your fingers (nails) on the dough.
The dough will form a cup and fit the sides of the muffin tin. If the sides of the dough curl, just push them against the side of the muffin tin.
NOTE: the dough will shrink in baking, so it needs to start bigger than you think it should.
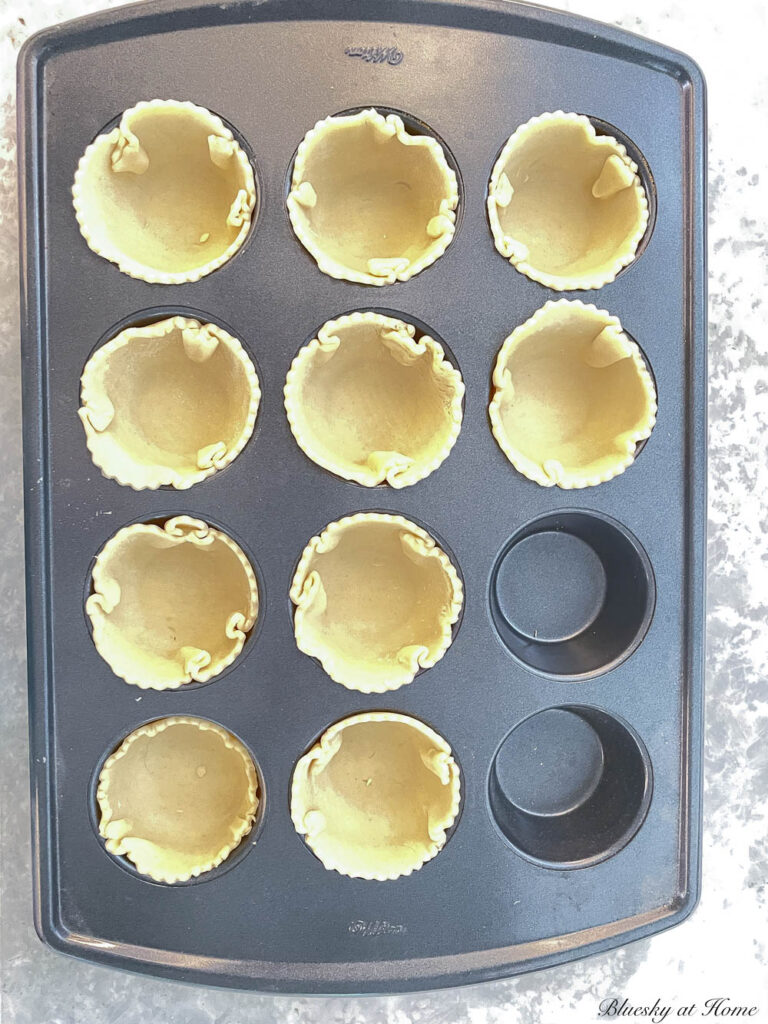
Step 4 – Using a fork, prick the bottom of the shell a few times. This lets steam escape while the shells are baking.
Step 5 – Place the muffin tin in the oven for 10 – 12 minutes. Ideally, you want just a little golden color on the edges of the tart shells.
Step 6 – For best results, allow the tart shells to cool thoroughly before gently removing them from the muffin pan. They come out very easily. You almost don’t need to wash the muffin pan.
Making the Whipped Cream
I assume everyone knows how to make sweetened whipped cream, but just in case . . .
My two cents: Homemade sweetened whipping cream is soooo much better than the stuff that comes in a plastic tub or aerosol can. It’s easy, contains no preservatives, and tastes so much better.
NOTE: Make sure to use heavy whipping cream for the lightest, fluffiest whipped cream. It’s also important that the whipping cream be very cold. Don’t take it out of the fridge until you are ready to use it.
Step 1 – Attach the whisk attachment to your stand mixer (or use a hand-held mixer or an immersion blender).
Step 2 – Pour a cup of cold heavy whipping cream* into the bowl of the mixer. Mix on low speed for about a minute, then raise the speed to medium-high. Add 1/2 teaspoon of pure vanilla extract. (This brand is the absolute best.) When soft peaks* start to form, add a few tablespoons of powdered sugar* to the whipped cream. When stiff peaks form, stop the mixer, and taste for sweetness.
NOTE: Whipping cream will double in volume when whipped. One cup of whipping cream will yield about 2 cups of whipped cream.
Think of the ratio as: 1 cup heavy whipping cream + 1/2 teaspoon pure vanilla extract + 2 tablespoons powdered sugar = yields 2 cups sweetened whipping cream.
NOTE: Some people like granulated sugar in whipped cream; others swear by confectioners’ (powdered/icing) sugar. I prefer confectioners’ sugar. It’s a good idea to shift the powdered sugar to remove any lumps.
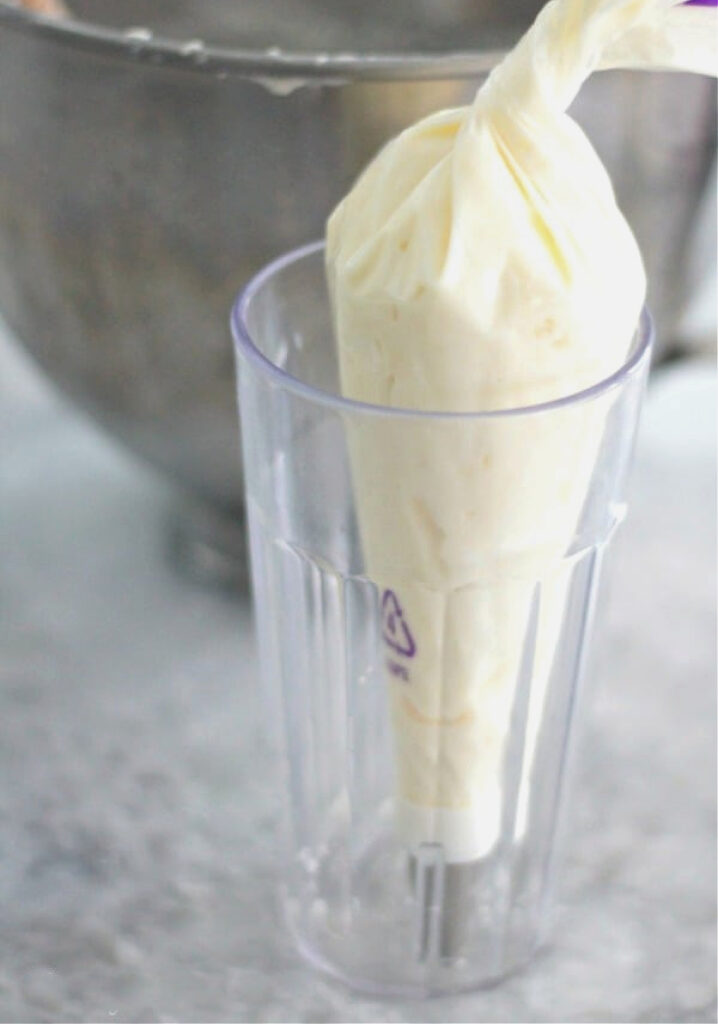
Step 3 – Place a fluted pastry tip inside a pastry bag and cut off the end of the bag. Place the bag in a tall glass or container.
Step 4 – Use a rubber spatula to spoon the whipped cream into the pastry bag.
Step 5 – Place the whipped cream in the refrigerator until you are ready to finish the tarts. I also placed the jar of lemon curd in the refrigerator to chill it.
Finishing the Lemon Tarts
Step 1 – Using two small spoons, fill the tarts with the lemon filling to the top of the tart shell. Use the back of one of the spoons to smooth the curd down.
Step 2 – In a circular motion, pipe the whipped cream on the entire top of the lemon curd.
Garnishing the Lemon Tarts
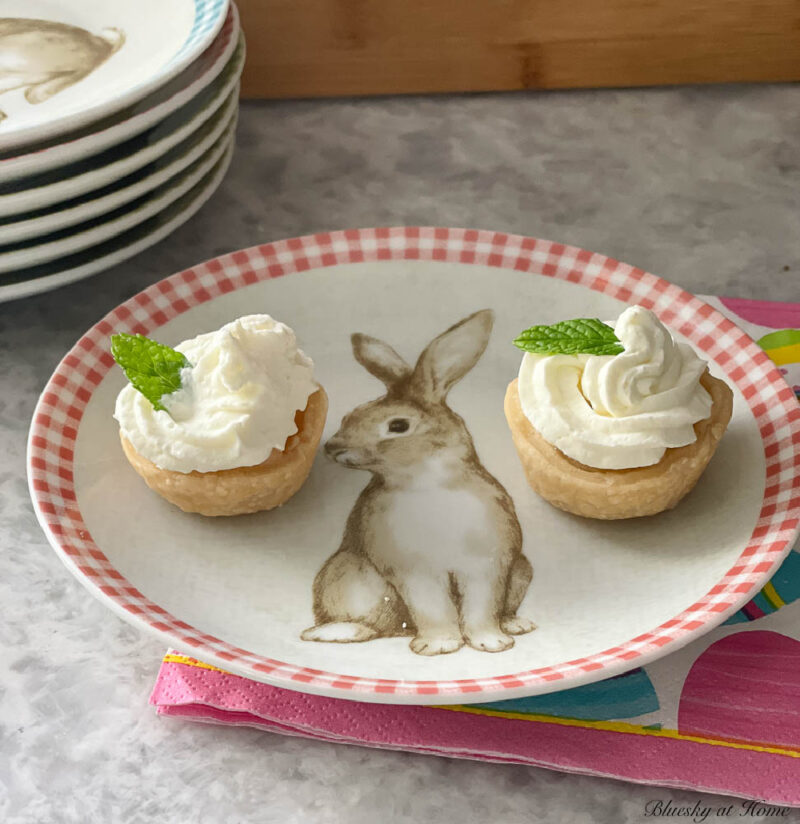
Since our mint is coming back, I have plenty. Mint works so well in desserts, especially chocolate and lemon flavors. Raspberries are also one of my favorite dessert garnishes, like this Best Brownies with Raspberry Garnish recipe.
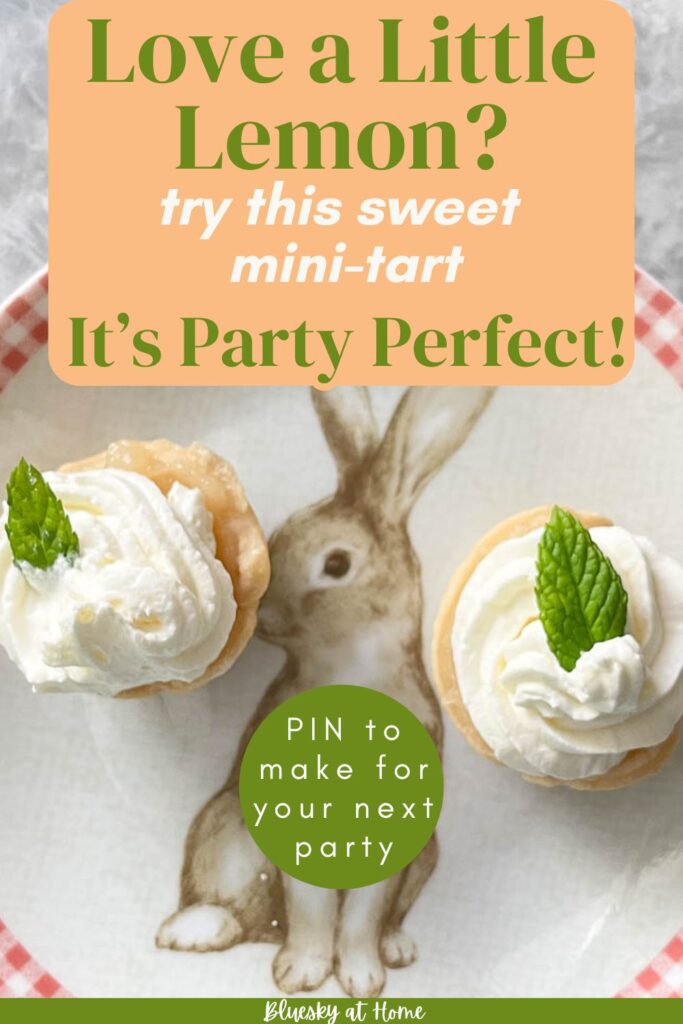
I used one small mint leaf tucked into the whipped cream. I love the contrast of the green mint with the yellow lemon curd.
You could definitely use lemon zest (a Microplane is my favorite tool) as a garnish. A thin lemon peel would also be pretty.
I have used fresh fruit, especially berries for garnishing tarts and it’s a pretty look.
Lemon Tarts 2.0
Sweet Shark was begging for more lemon tarts over the weekend. I had one pie crust left, plenty of lemon curd and enough whipped cream left over to make some more tarts.
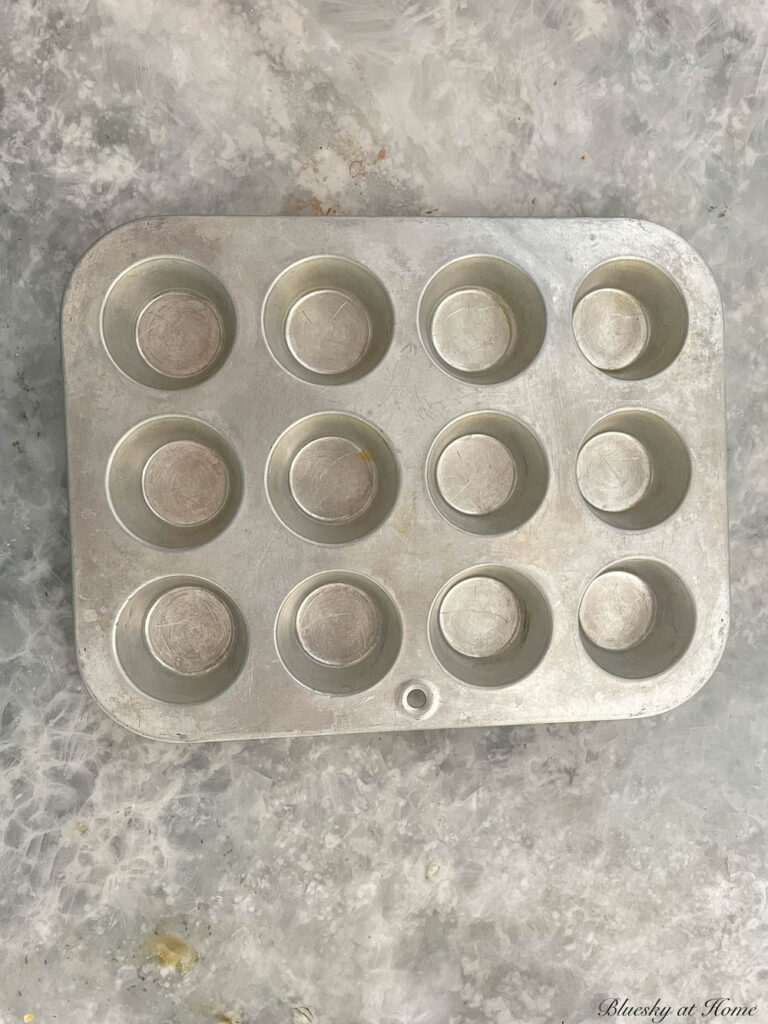
This time, I decided to make mini-tarts, using my mini-muffin pan. I have several of these because I love mini-desserts. These all belonged to my mother so they are officially vintage.
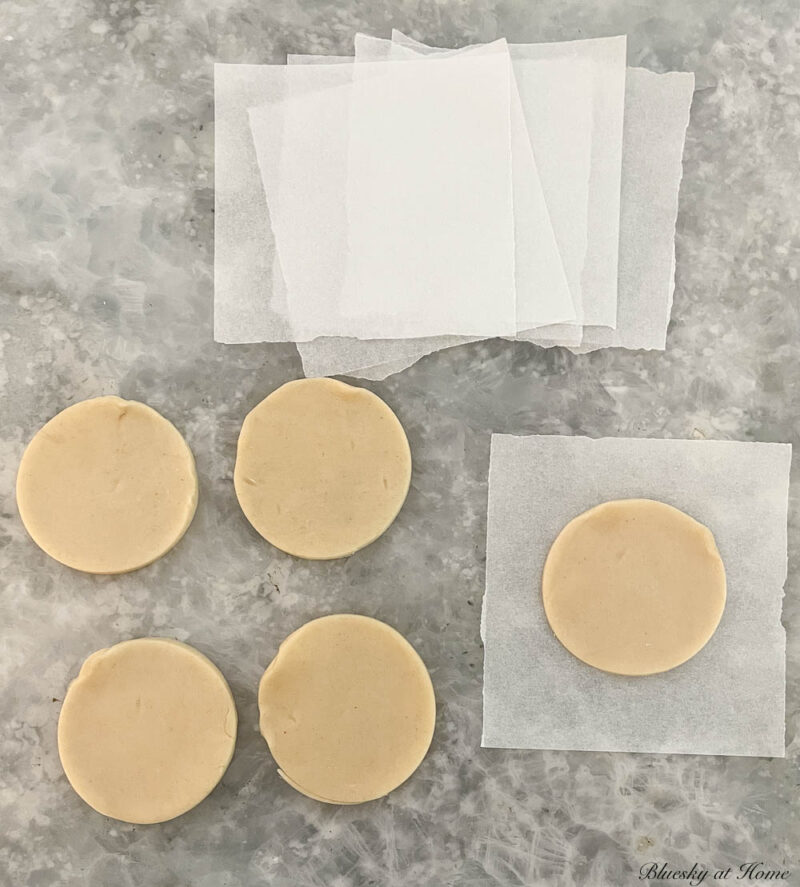
Using a 2 1/2-inch cookie cutter, I got 13 dough circles from one pie crust. This time I used the smooth round cookie cutters.

Also, I used the small end of the tart tapper to press the dough into the muffin tin.

To use all the pie crust, I rerolled the pie crust and got 4 more pie circles for a total of 5 extras.
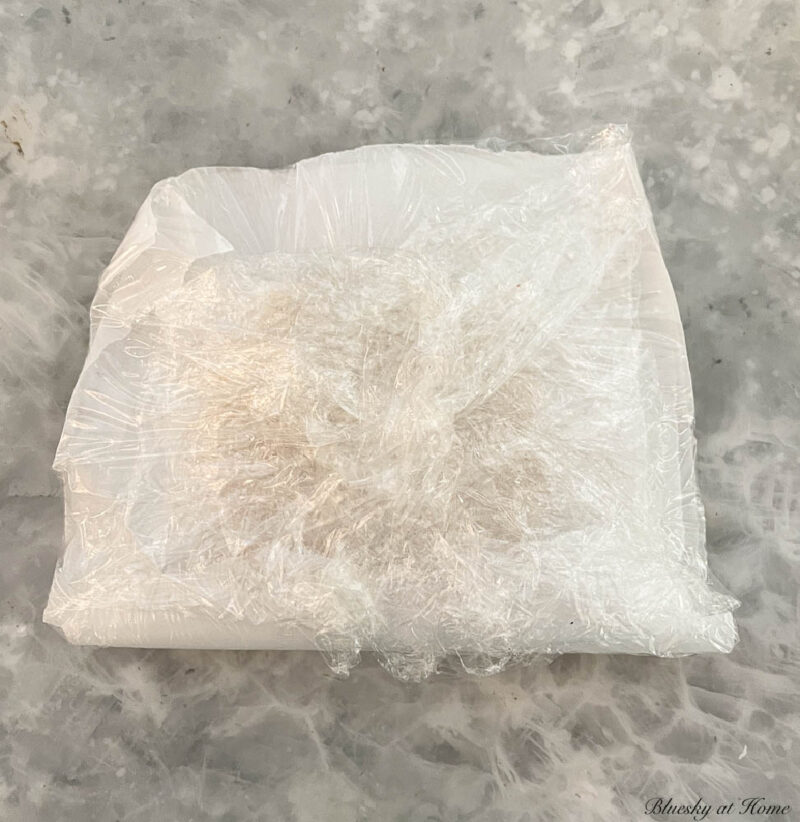
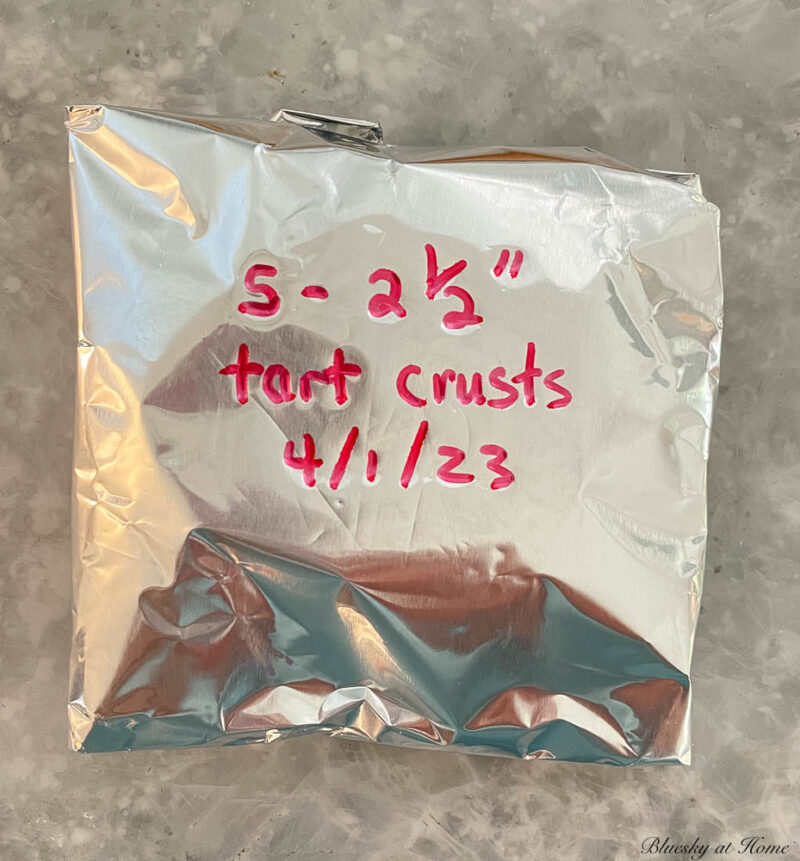
To store them, I folded a piece of parchment paper and stacked the pie crusts between a piece of parchment paper.
Then I wrapped the stack in plastic wrap and foil. Always label packages that you place in the freezer.
Bake the mini-tarts in the same way as you did the larger tarts.
Use the same procedure to fill the tart crust and add the whipped cream. Aren’t these mini-lemon tarts so cute. They are the perfect size for a large party.
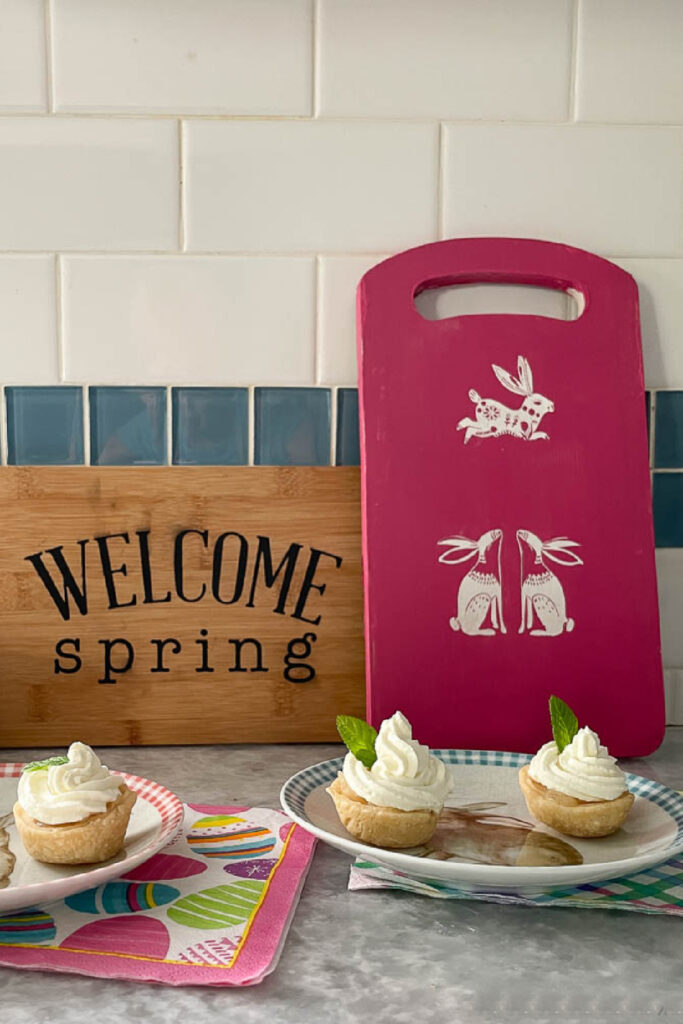
These lemon tarts are perfect for the spring and summer months. You can be in and out of the kitchen in no time.
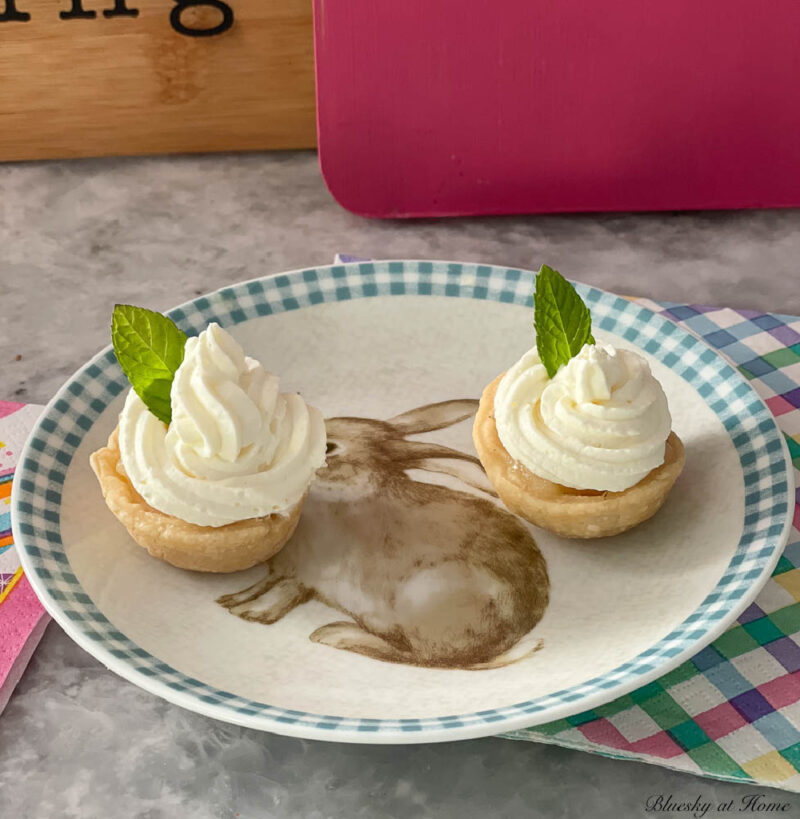
I love mini-tarts for cocktail parties. You don’t even need a fork – just pop them in your mouth.
Easiest Lemon Tart
Equipment
- muffin pan either standard or mini-muffin size
- round cookie cutters varying sizes
- cooling rack optional
- 2 small spoons
Ingredients
- 1 package Pillsbury Refrigerated Pie Crusts thawed
- 1 jar lemon curd filling refrigerated
- 1 cup heavy whipping cream chilled
- ½ teaspoon vanilla extract
- 2 – 3 tablespoons powdered sugar
- for garnish: mint leaves, lemon zest, or fresh berries, such as blueberries or fresh raspberries
Instructions
- Unwrap and roll out the pie crusts. Preheat the oven to 350˚F.
- For a standard muffin pan, use a 4 1/2-inch round cookie cutter to cut out the circles of dough. For a mini-muffin pan, use a 2 1/2-inch round cookie cutter.
- Place the dough circle on top of the muffin tin opening. Push down on the large end of the tart tapper to form the tart.
- Use a small fork to prick the bottom of the tart shell.
- Place the muffin pan in the oven and bake for 10 – 12 minutes
- Remove the muffin pan from the oven and allow to cool. Remove the tarts to a cooling rack and allow to cool completely.
- For the Whipped Cream:
- Place a pastry tip in a pastry bag. Place the bag in a tall glass or tall canister.
- Place 1 cup of heavy whipping cream in the bowl of the stand mixer with the whisk attachment. Start on low speed for 30 – 60 seconds. Increase the speed to medium-high until soft peaks form. Add 1 to 2 tablespoons (or to your taste) of the powdered sugar. Whisk until firm peaks form.
- Use a rubber spatula to spoon the whipped cream into the pastry bag.
- Using two small spoons, fill the tart shells with the lemon curd, about 2 – 3 tablescapes. Use one spoon to smooth the top of the filling.
- Pipe the whipped cream on the top of the lemon curd, covering the entire surface.
- Use a mint leaf, lemon zest, or fresh berries, such as a blueberry or raspberry to garnish the tarts.
Notes
- Fill the tart crusts as close to serving them as possible. The crust can get soggy if the lemon curd sits too long.
- Save any unfilled tart shells in an air-tight container.
- Don’t place unused tart shells in the refrigerator. They can dry out.
- For longer-term storage, place unused tart shells tightly wrapped in the freezer.
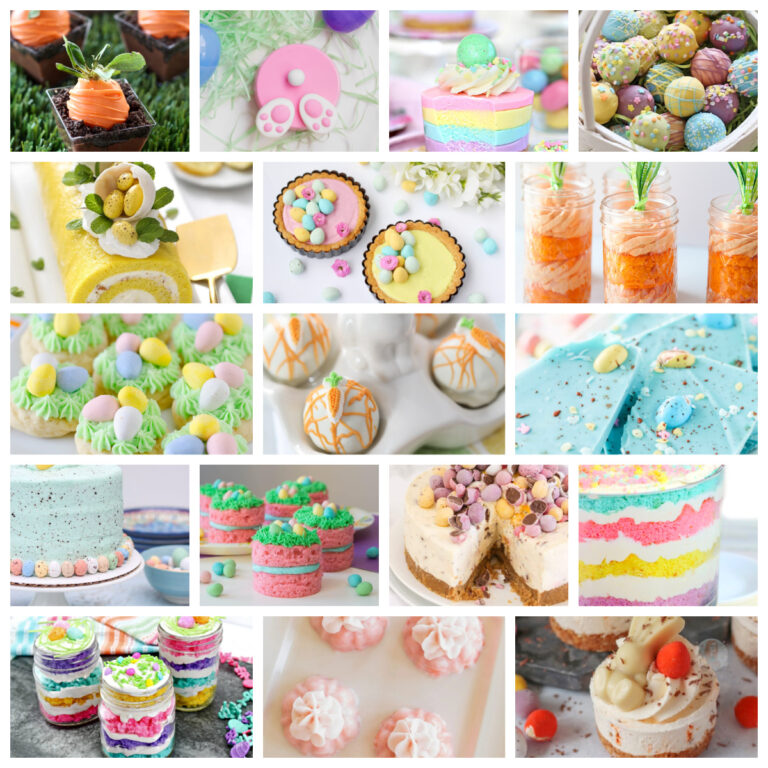
Would you like other dessert recipes? Try one of these (they will work for any event):
12 Awesome Valentine Desserts for Your Sweetheart
3 Christmas Desserts from 1 Fudgy Brownie Recipe
Tips for Saving the Lemon Tart Shells
- Fill the tart crusts as close to serving them as possible. The crust can get soggy if the lemon curd sits too long.
- Save any unfilled tart shells in an air-tight container.
- Don’t place unused tart shells in the refrigerator. They can dry out.
- For longer-term storage, place unused tart shells tightly wrapped in the freezer.

Are you happy you now know how to make the easiest lemon tarts? I know that you’ll love them. Grab the kids and get them to help you make these easy lemon tarts.
Check out these other delicious desserts:
- How to Make Delicious Hummingbird Mini-Cakes
- How to Make a Strawberry Vanilla Cake
- Cherry Cheesecake Tartlets
Be sure to PIN this lemon tart tutorial so you have it handy. Check out my Dessert Pinterest Board.


I will have to try this Carol. Lemon Curd is my husband’s favorite, and I have made it exactly one time. I was like, are you serious with the million steps? Not my cooking style, I like easy so I will have to try your recipe! Thanks for sharing.
Oh Carol you got me at lemon! I have some of this pie crust in my fridge too so now I want to make some! Thank you for sharing at my Weekly Wednesday Link Party! I’m happy to be featuring your recipe this week 🙂
https://www.ourtinynest.com/2023/04/19/weekly-link-party-344/
Thank you so much for the feature, Nicolle. You’ll love this little tart morsels.
Mmmmmm! Those look and sound delicious Carol! I can’t wait to try them. I’d never seen a tart tapper before – thanks for the introduction! 😊
They are delicious. You would love them for one of your beautiful parties.
I love lemon tarts and I love lemon tarts that are easy to make. Thank you for sharing your recipe!
I promised, Catherine, that you will love these, too.
These definitely look like the easiest lemon tarts to make, Carol! Thanks for sharing at Tuesday Turn About! I’m delighted to be featuring you at this week’s party! Pinned!
Yes, they are! Thanks for the feature and hope you enjoy.
I just bought some lemon curd. Making these this weekend. So excited! pinned
Oh, I’m so excited! You will love them.
Carol, we just love Lemon Curd Tarts! I usually make my Lemon Curd but it would be great to have a jar of lemon curd in the pantry for when you feel like making a few tarts. I’m glad you made Sweet Shark some! My hubby loves lemon tarts too! Thanks for sharing your recipe.
My pleasure. We have several good lemon curd options at our grocery store, so it’s worth trying them.