How to Make a DIY Jewelry Organizer
Are you like me and sometimes can’t find your favorite bracelet to go with an outfit? Or a pair of earrings has gotten separated? If your jewelry collection has become a tangled mess, it’s time to create a custom DIY jewelry organizer that actually works for your needs.
Since we finished our new custom closet, all my clothes, shoes, purses, and totes are nicely organized, I’m more attuned to areas that aren’t as neat and organized.
For years, I’ve kept my most precious jewelry in a small jewelry box on my bathroom vanity. Other earrings and bracelets have been in small plastic cubes in a bathroom drawer. Some other pieces were in a plastic tray under my bathroom sink.
My jewelry was not organized, visible, or stored in a pretty way.
When we were working with a closet designer, one of the questions she asked me was if I wanted a jewelry organizer for the new drawers that would be installed in the closet.
Not wanting to give up a single drawer, I declined. I love having all the drawer space. All the drawers are full, but neatly organized.
But soon, I realized that I did want my jewelry as organized as everything else. After all the new drawers and cabinets were full and organized, I also realized I had the perfect spot to store and organize my jewelry.
I’m so pleased with my new jewelry storage solution, and it didn’t cost me a cent. If you are in the same situation I was in, here is how to transform wood boxes into stunning jewelry storage in just one weekend.

Crafting Deadline – A Good Incentive
It’s always nice to have a deadline to get your creative juices flowing. The first deadline I had was a visit from our closet designer, Sheryl, a couple of weeks after the closet was completed. In the interim, Sweet Shark and I returned all our clothes, shoes, purses, and totes to the new closet. We arranged and rearranged some things a few times until we got everything exactly where we wanted it.
Today is my second deadline. Our monthly Creative Craft Blog Hop, hosted by Sara of Birz of a Feather. Every month, a group of bloggers who are enthusiastic about DIY crafting, share what we have recently created.
I love to craft, but I want my creations to have a purpose.
I wanted to have my jewelry organizers in place before Sheryl came and also ready for today’s blog hop.
If you are joining me from Terri of Decorate and More with Tip, then welcome. Terri is already thinking ahead to Christmas projects.
This post contains affiliate links to products used to create this project. If you should order any item from this site, I may receive compensation, but you do not pay a penny more. Your purchase is greatly appreciated as it helps support the continued publication of this site.
Idea for the Jewelry Tray Organizers
Once I decided I wanted to organize my jewelry, I went online to search for possibilities. I found some nice options.
But, I thought, surely I can make a simple custom storage solution myself.
Making your own jewelry organizer offers several compelling advantages over purchasing pre-made storage.
- First, you can customize the compartments and dividers to fit your specific collection – whether you have more rings than bracelets or prefer deeper sections for chunky statement pieces.
- Second, this handmade organizer costs a fraction of what you’d spend on comparable wooden jewelry storage in stores, often under $20 for materials. In my case, the jewelry organized cost me nothing, as I had everything on hand.
- Third, you get the satisfaction of creating something functional and beautiful with your own hands, plus the flexibility to match your bedroom décor perfectly.
I went to my supply stash. I have an old chest of drawers in our garage where I keep everything from styrofoam Christmas trees and balls to wood sleighs, blocks, and dowels.
And there, I found my first unfinished wood tray. It would make the perfect jewelry tray.
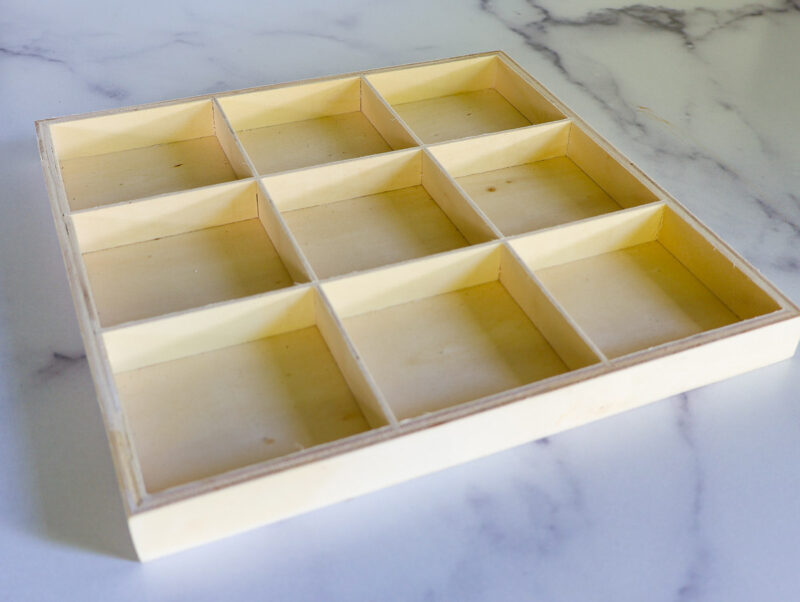
I have had this piece for several years. I’m pretty sure it was a tic-tac-toe tray. I don’t know what happened to the X’s and O’s. I thought with a little imagination, it would make a lovey display tray for many of my jewelry pieces.
To check it out, I tested several pieces in the square compartments.

This beginner-friendly craft project would require no woodworking skills and I knew it wouldn’t take long to complete – in just a few hours.
Next, I remembered a few wooden boxes that had been gathering dust for years. At one time, I had four of these boxes.
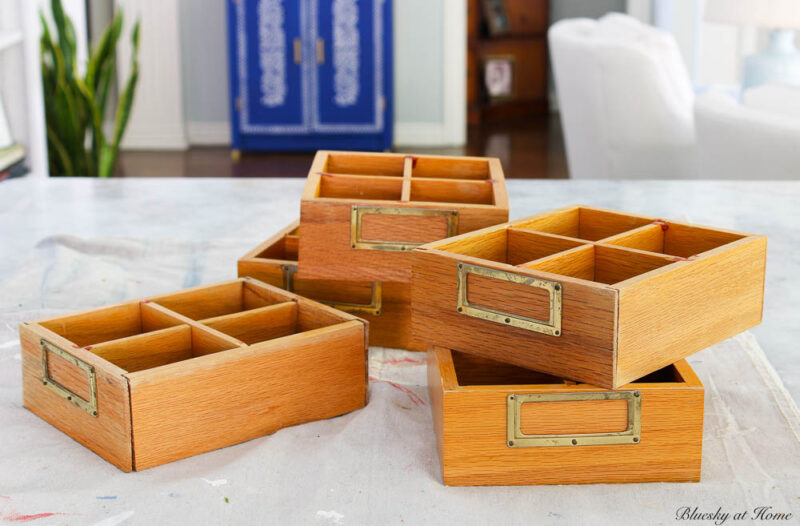
I bought them at a flea market years ago for $5.00. I never knew what to do with them. A few years ago, the other boxes started falling apart, so I threw them away (Don’t judge!)
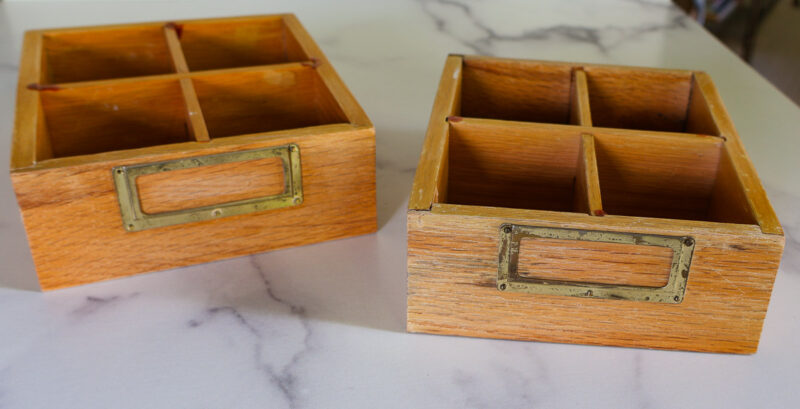
Now, I thought the remaining two would also make great homemade jewelry boxes.
Let me show you first how I turned the unfinished wood tray into a pretty jewelry tray.
Transform a Wooden Tray into a Jewelry Organizer
This tutorial will show you how you can create your own custom jewelry tray using unfinished wood boxes and a few simple supplies.
As I said, I had everything I needed to make the tray, but if you are starting from scratch, here is what you need:
Supplies for the Jewelry Box
- Wood tray with dividers; I found a few that would work great: a rectangular one, a square one, and an octagon-shaped one.
- Sandpaper; I used 220 grit.
- Acrylic paint in your choice of color. I used white.
- Foam paint brush
- Velvet choice of color. I found this self-adhesive velvet in multiple colors.
- Rotary cutter or sharp sewing scissors
Step 1 – Sand the Wood Tray
I thought the wood needed some sanding, so I used a piece of 220 grit sandpaper to smooth the edges. Then I wiped it with a tack cloth.

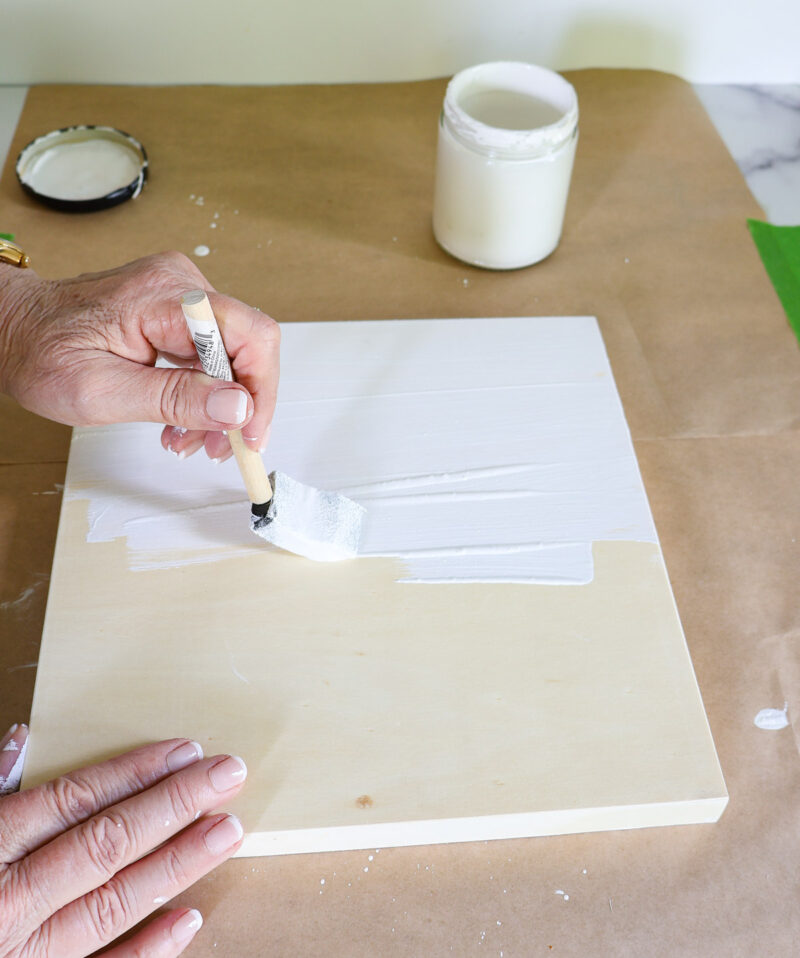
Step 2 – Paint the Tray
Using your foam brush, paint the box. I painted the inside of the compartments first, then the tops.


When the top was dry, I turned the tray over and painted the bottoms. I painted two coats.


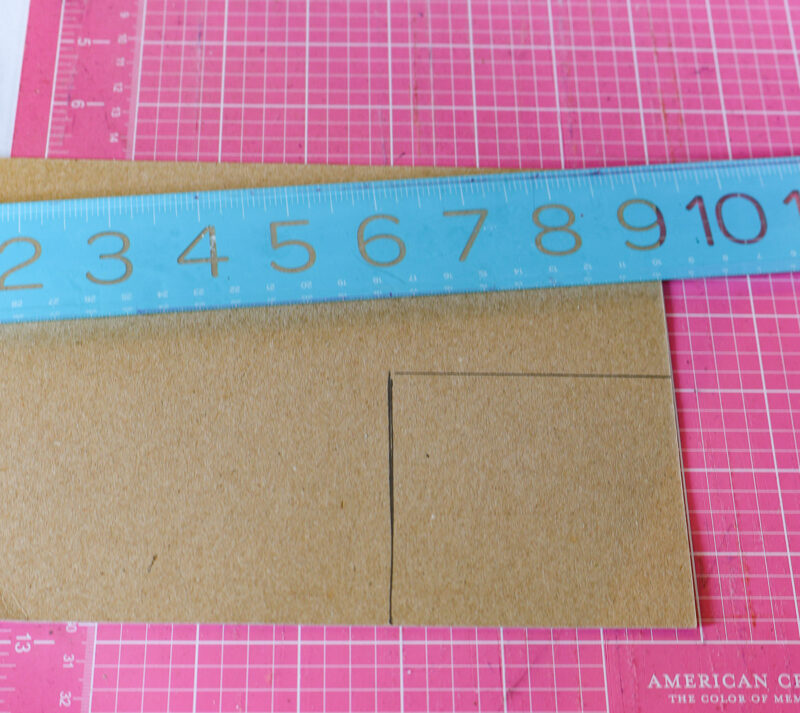
Step 3 – Make a Template for Cutting the Fabric
Measure the size of the compartment. Mine were 3 X 3-inches. As it turns out, that’s exactly the dimensions of a sticky note.

Using a piece of cardboard, I made a template to cut the fabric. I used my super-sharp craft scissors to cut the cardboard.


Step 4 – Cut and Add the Fabric to The Jewelry Organizer
I had plenty of fabric left from my updated vintage stool project.
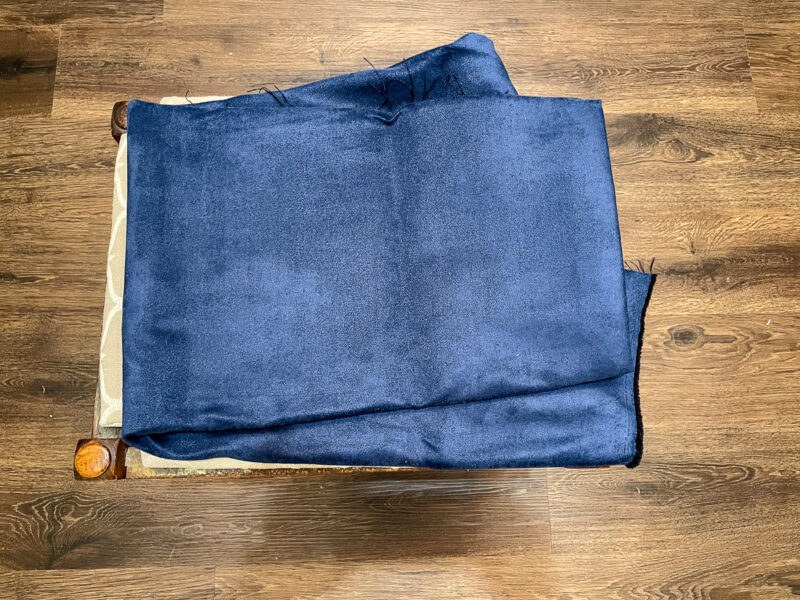
I would use my cutting mat and my rotary cutter to cut the fabric to fit in the compartments. I needed nine for the tray.

When I had my nine squares, I placed them in the compartments. I thought taht I would glue the fabric down, but they fit so snugly that it wasn’t necessary.

They fit perfectly. I was ready to put my jewelry in the squares.

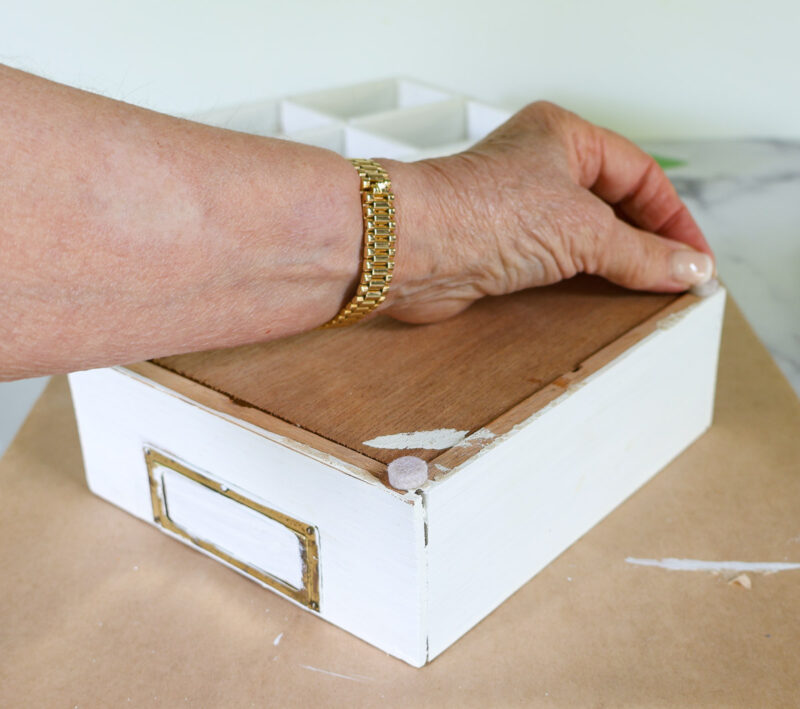
Step 5 – Adding Pads to the Bottom of the Tray
I thought it would be nice to add felt pads to the bottom of the tray so it could slide on the cabinet shelf.


That finished the first handmade organizer for my jewelry. When I removed some of this jewelry from the little plastic containers in my bathroom, I found earrings and bracelets I forgot I had. Now I can see everyone I have.

Supplies for the Wooden Box Jewelry Organizers
I used a few different supplies for this second project:
- Wood box with dividers
- Acrylic paint in choice of color. I used white.
- Foam paint brush
- Velvet choice of color. I found this self-adhesive velvet in multiple colors.
- Rotary cutter or sharp sewing scissors
- Painter’s tape
- Craft exacto knife
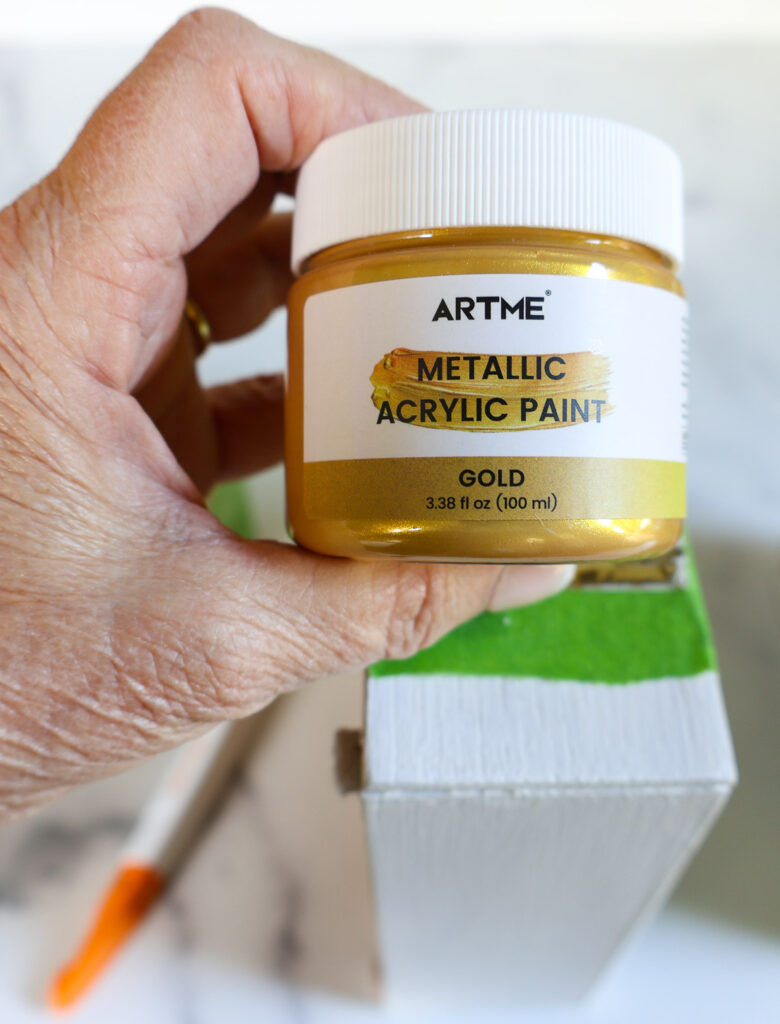
- Gold paint
Turning Vintage Wood Boxes into Jewelry
Step 1 – Painting the Wood Boxes
If your dividers can be removed, then remove them before painting. Just like the wood tray, I painted the vintage boxes with white acrylic paint inside and out with two coats.


I also painted the dividers. I gave everything two coats.

Step 2 – Measuring and Cutting the Velvet Fabric
For the two vintage boxes, I measured and cut the velvet fabric using the same cardboard template.
This time, I cut longer strips of fabric.

Then I cut across the strips to make my squares. This method was much faster than cutting each square individually.

Step 3 – Add the Felt Pads to the Bottom of the Wood Boxes
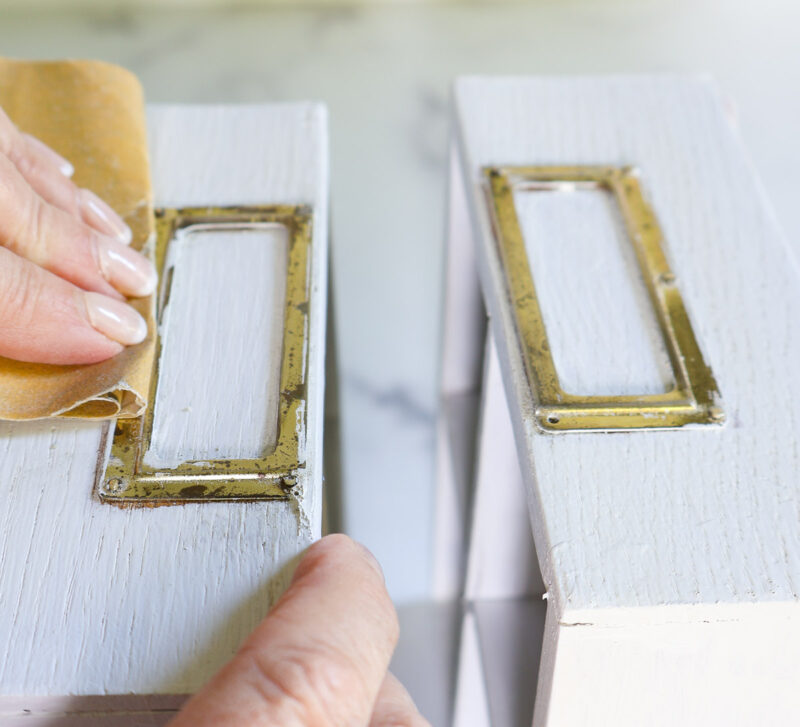
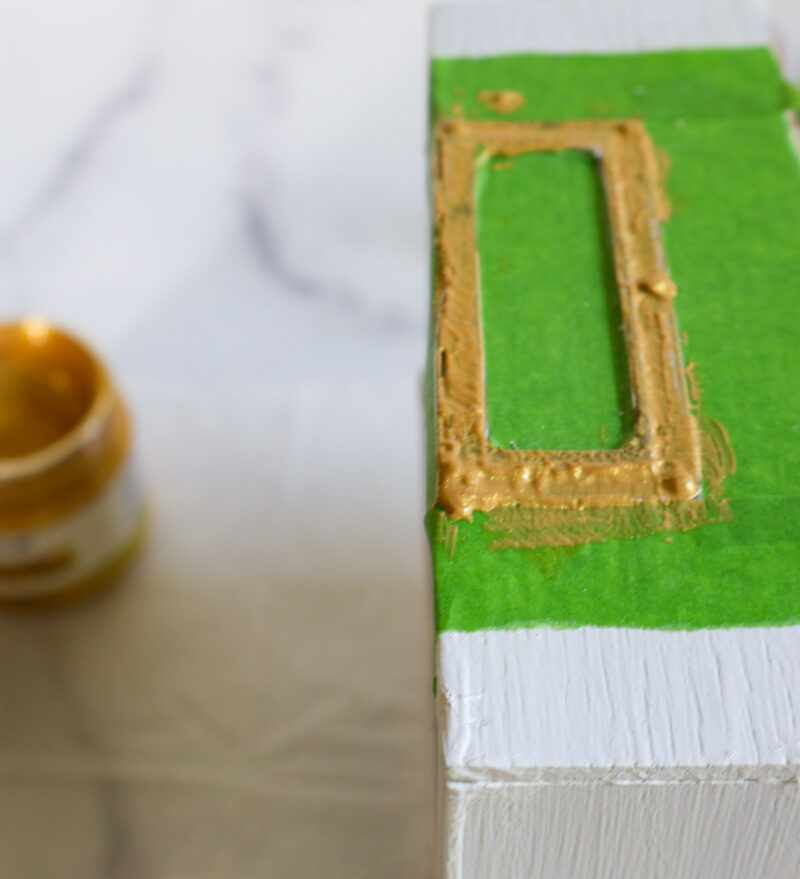
Step 4 – Sand and Paint the Metal Label
I decided to paint the small metal label holder. First, I sanded off as much of the white paint as I could.
NOTE: I couldn’t remove the gold metal labels. Very small nails were impossible to remove.
Then I added painters’ tape around the metal. I used my Fiskars craft knife to cut away the excess tape.


I love this metallic gold paint.
Use a small foam brush to paint the metal label.

Step 5 – Re-insert the Dividers and Add the Fabric Squares

Step 6 – Add Your Jewelry to Your Organizer
Now I added the rest of my jewelry to the boxes.

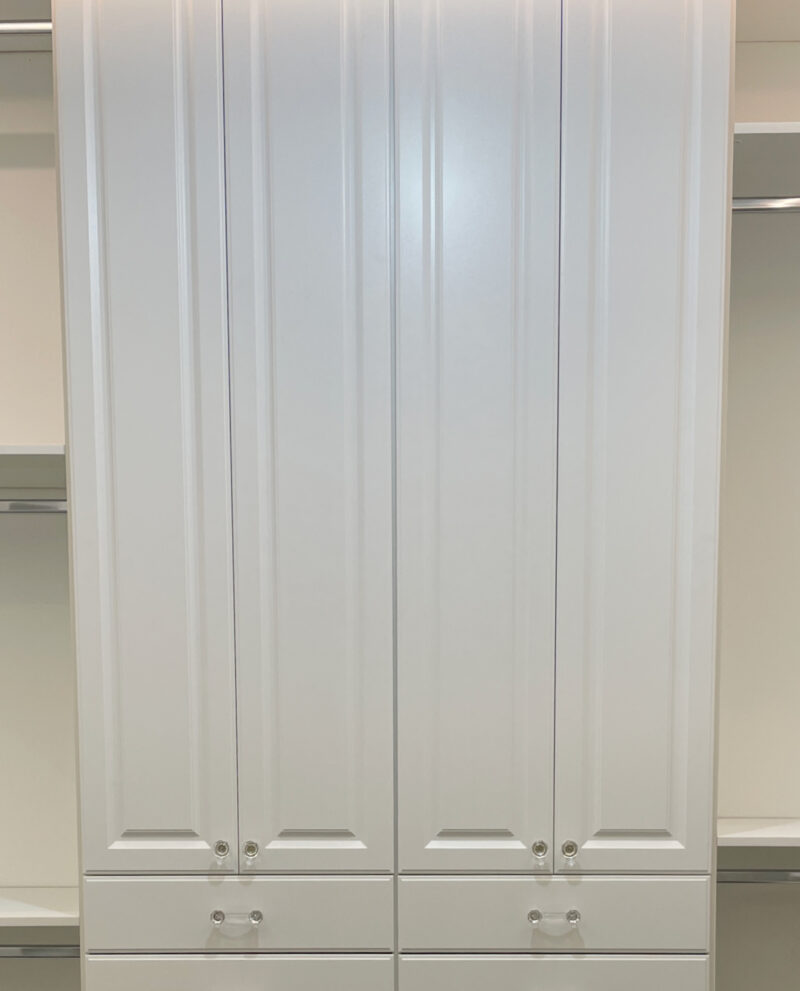
Place the DIY Jewelry Organizers in the Cabinet
I planned to place the wood tray and the wood boxes in the lowest shelf in our new cabinet in the closet.
Now my jewelry is easily accessible and easy to see, but out of the way.

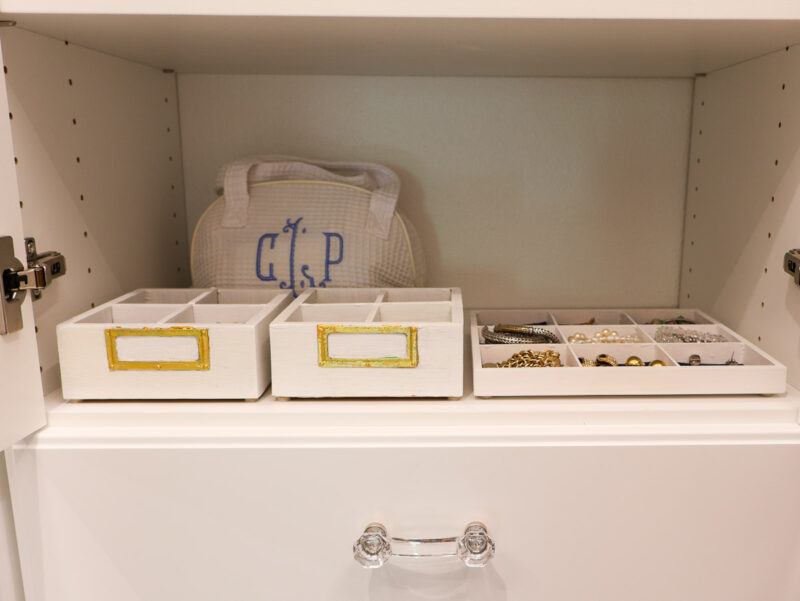
I had plenty of extra space to add a few other jewelry bags in the back of the cabinet. This move also opened up some space in a drawer in the bathroom.


I think I’ll wear more of this jewelry because the pieces are more visible. I found things I had forgotten I had.
I hope that you will try these DIY jewelry storage solutions. They will not only keep your accessories organized but also serve as an attractive display piece.
Whether you’re looking to organize jewelry in a small space or simply want an affordable storage upgrade, this DIY approach delivers both style and functionality.
Using simple raw wood boxes, you can transform basic materials into a beautiful wooden jewelry storage system and you can customize to your needs.
Now its time to take a look at the DIY projects my friends are sharing. The list is below.
First, please PIN this post to your Pinterest Boards to save. You can also follow me on Pinterest. Check out these relevant boards: Organization and DIY Projects.


Modern on Monticello – DIY Harry Potter Flying Key Christmas Ornament
Purple Hues and Me – Handmade Nylon Iris Flowers
Birdz of a Feather – Circle Earrings
Decorate and More with Tip – DIY Scroll Christmas Tree Lantern
My Thrift Store Addiction – Good Day Sunshine! Vintage Headboard Trellis
Bluesky at Home – How to Make a DIY Jewelry Organizer


These are such a great idea Carol. Both for using what you already have AND for organizing your jewelry. I need to sort and organize mine as well. Thanks for the inspiration to look for boxes or whatever I can repurpose to do just that.
Donna, I am so enjoying my jewelry organizer. I’m wearing more of my pieces, since I can now see them!
Carol, I’m a big fan of using what you have on hand and your jewelry organizer is the perfect example of reusing items in a way that’s functional AND pretty–win, win! Blessings, Cecilia @ My Thrift Store Addiction
Carol, there is an art to organizing jewelry and you have certainly mastered it! This is such a great solution and a clever storage idea! And best of all, it’s pleasing to look at, too! I need to get busy with organizing my jewelry! Thanks!
Carol, you inspire me to organize my jewelry AGAIN! I am not a neat person when taking it off, I through it into a dish and call it done. I love how you make your boxes into jewelry organizers. Great idea!
I love how you adapted what you had on hand and it looks amazing in your new closet organizer Carol! I have to agree that when something is out of sight, it’s out of mind so I’m sure you’ll get a lot more use out of pieces you forgot you had! You’ve inspired me to look around and come up with something for my jewelry now.