The Easiest DIY Patriotic Decoupage Project for 4th of July
If you’ve been following along here at Bluesky at Home, you know I love a good decoupage project – and this one might be my favorite yet. This DIY patriotic decoupage project is festive, easy to make, and so pretty paired with my blue-and-white chinoiserie balls. Together, they create a red, white, and blue vignette that feels both patriotic and polished.
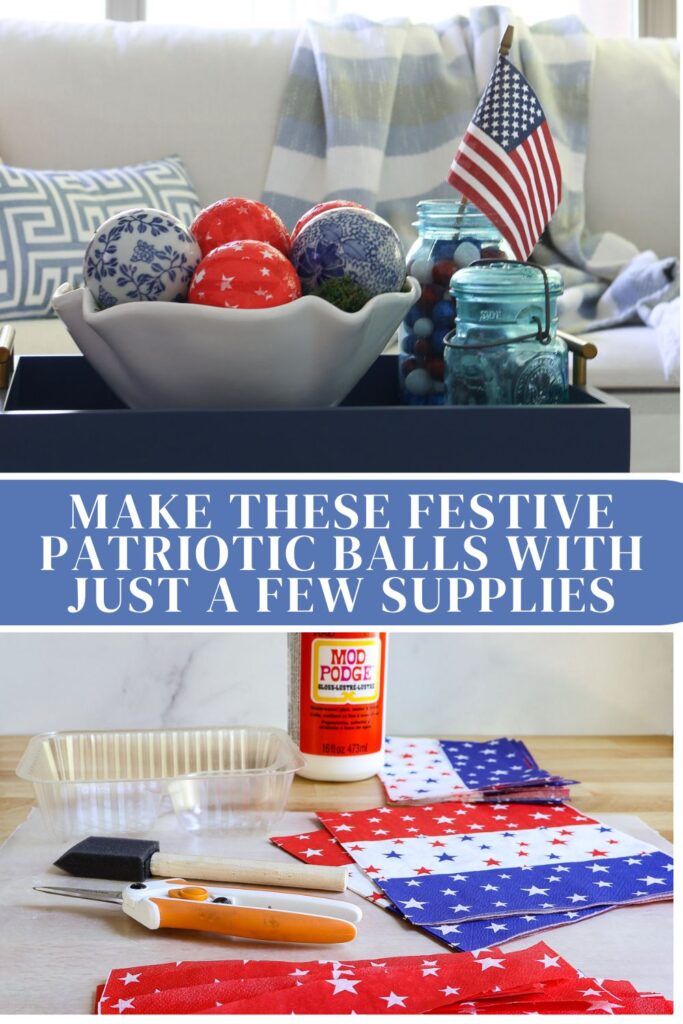
The secret to these cheerful little spheres? Red napkins printed with white stars – the perfect patriotic pattern – decoupaged onto plain styrofoam balls. The result looks like something you’d find in a high-end boutique, but I promise the process is simple enough for a beginner. I made four balls in an afternoon, and I can’t stop smiling every time I walk past them.
Whether you’re decorating for the Fourth of July, Memorial Day, or any summer celebration, this craft delivers big impact with minimal effort. Grab your Mod Podge and let’s get started.
This post contains affiliate links to products used to create this project. If you should order any item from this site, I may receive compensation, but you do not pay a penny more. Your purchase is greatly appreciated as it helps support the continued publication of this site.
Table of contents
The great thing about this decoupage project?
- Once you learn the technique, you can use this craft for any holiday, season, and occasion decoration – just change the size, if desired, of your styrofoam balls and your napkin color and pattern.
- You can make as many as you need for your intended use.
- They are so affordable.
- They can be used for multiple projects over time.
Places to Use These Decoupage Balls
There are so many places you can use them in your 4th of July decorating.
- Fill a basket, tray, bowl, or dough bowl.
- Fill a large wood lantern or apothecary jar.
- String them together as a banner.
- Fill a large lantern.
- Attach them to a wreath.
Inspiration for This 4th of July Decoration
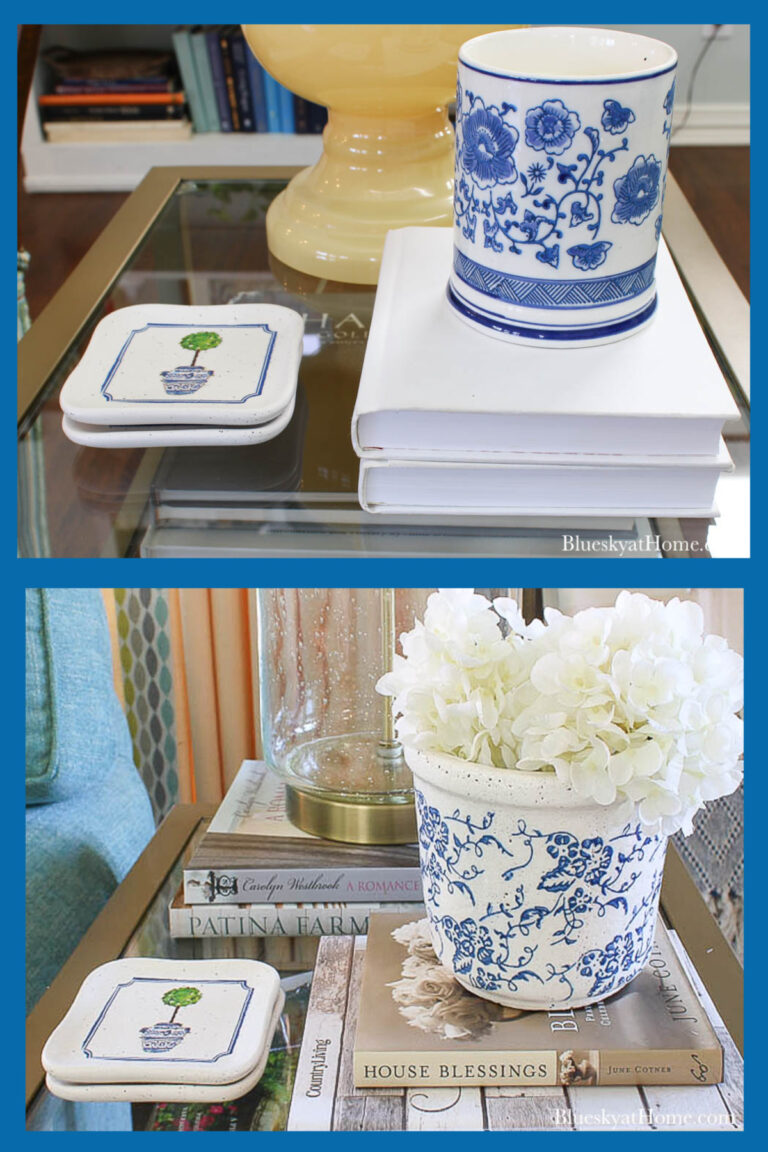
It’s no secret that I love chinoiserie. I’ve collected many pieces, from vases to bowls, trays, and candles. The blue of chinoiserie is perfect for the red, white, and blue of our patriotic color trio.
I’ve had a group of six ceramic chinoiserie-style balls in a white bowl for several years. I thought adding a pop of red to the chinoiserie balls would make a fun and creative 4th of July centerpiece for our coffee table.

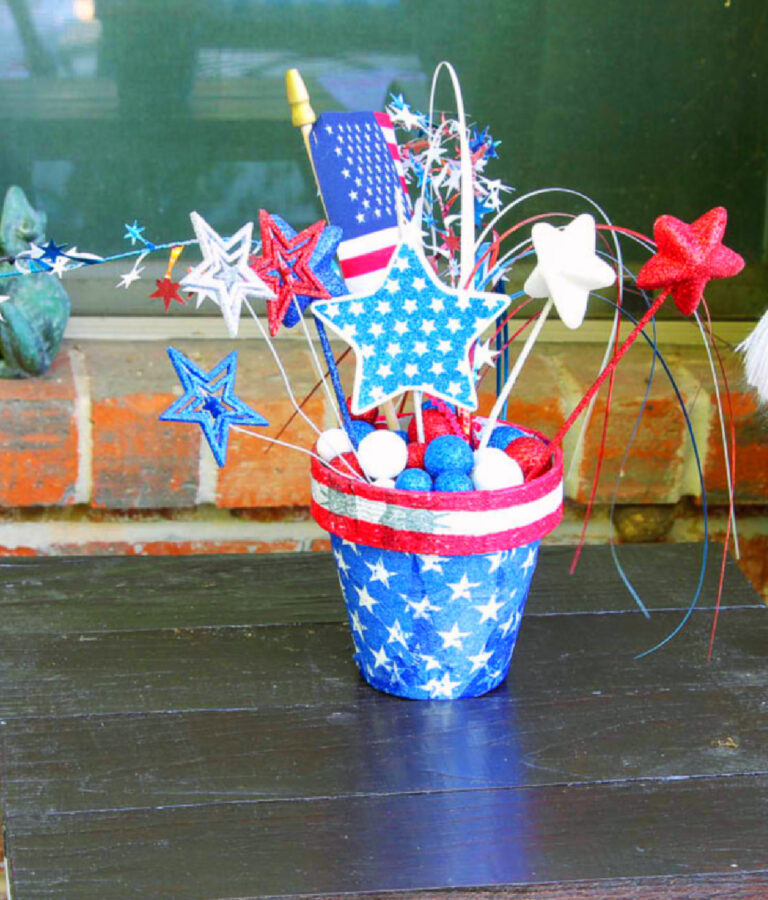
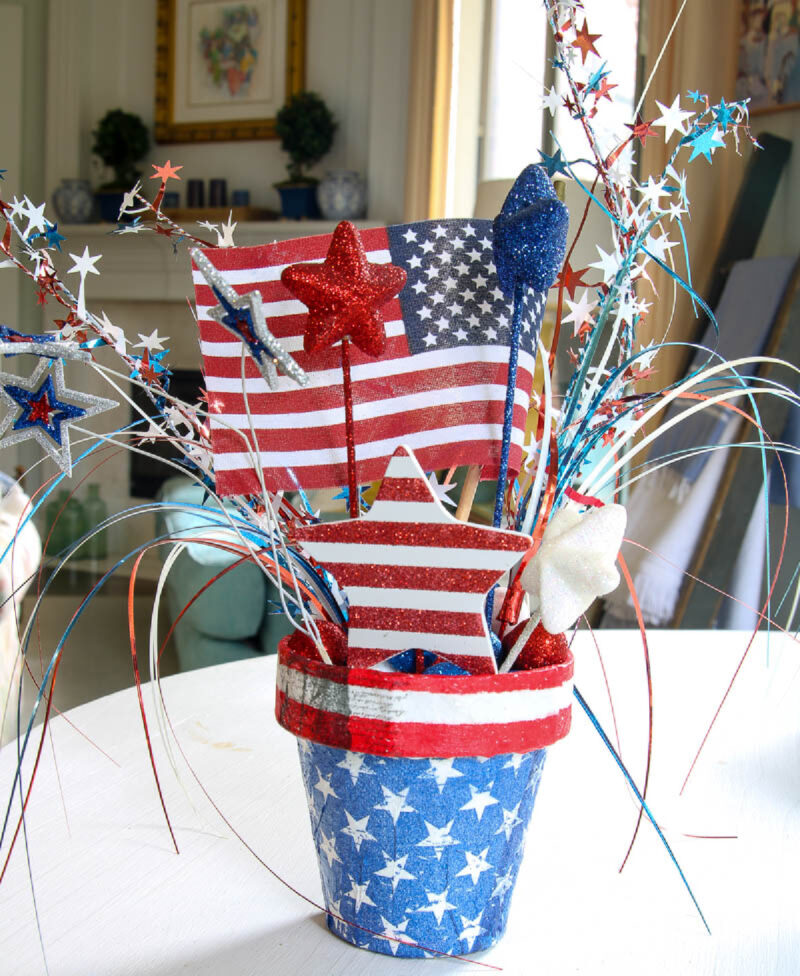
This is not the first time that I’ve made a 4th of July decoupage project. A few years ago, I made terra cotta pots using a red-and-white striped napkin with white stars on a blue background. What does that remind you of?
Unfortunately, I was completely out of suitable napkins for this new project, so I had to find some new ones.
Supplies for This Patriotic Project
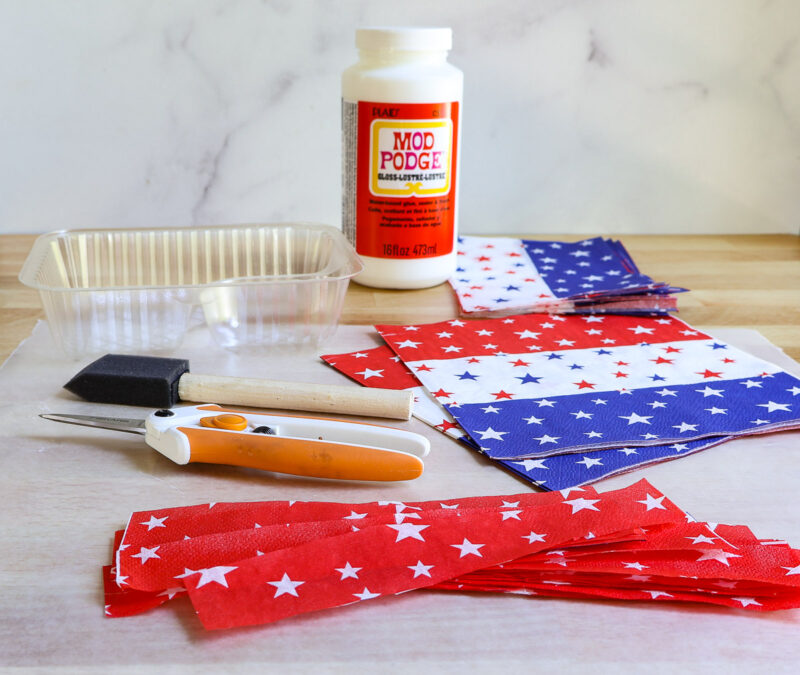
Another reason I love decoupage projects is the number of supplies you need – they only require a few. These are the ones you need for this project.
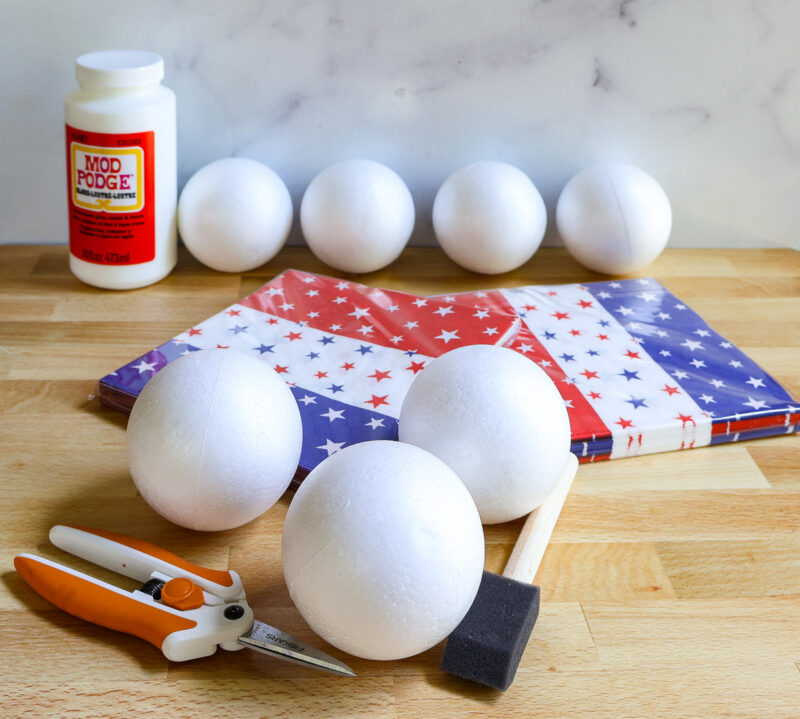
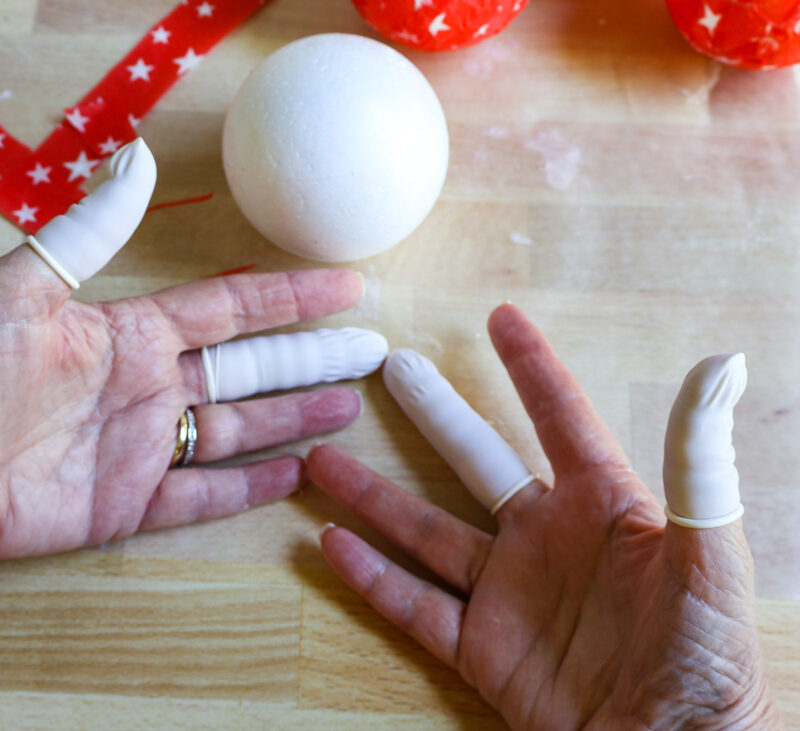
- Styrofoam balls – I had a bag of 10 3-inch balls in my supply chest. These have a smooth texture, which I highly recommend for any project using styrofoam.
- ModPodge – the most used decoupage glue. For this project, I used the Gloss finish. If you wonder how long an 8-ounce bottle of Mod Podge will last, you can get dozens and dozens of projects out of it.
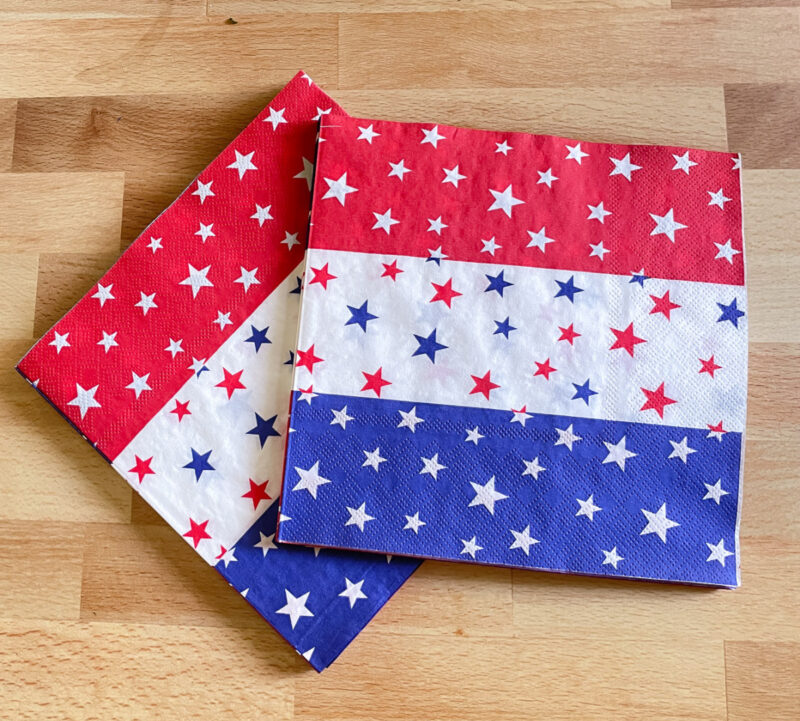
- Paper napkins – there are so many patterns and colors available, you shouldn’t have a problem finding one that meets your project vision. They come in different sizes: cocktail, luncheon, and guest towels. I’ve used all three. The color and pattern are my first consideration. FYI: this napkin also comes in a guest towel option, perfect if you need a large size.
- Foam brush or Mod Podge brush – I’ve used both, and either will work. For price, the foam brushes are your choice. I do like the feel of the Mod Podge brushes.
- Small, craft scissors – for some projects, you may want to tear the napkin into pieces. For others, cutting the napkins into pieces is a better option. These scissors are my go-to scissors for cutting paper, especially for small or curved areas, and narrow ribbon.
- Small container for holding the Mod Podge – any small plastic container will work. I use plastic “nacho” containers. (I bought a package of 300 about 10 years ago, and I”m starting to run out!). These small plastic cups are what I will order next.
- Optional – finger cots – I’ve discovered that these are great for covering your fingers. They keep your fingers clean and they don’t stick to the glue as much as your fingers. I put them on my middle finger and my thumb to hold the styrofoam balls.
Preparing the Napkins
Step 1 – Unfold your napkin flat.
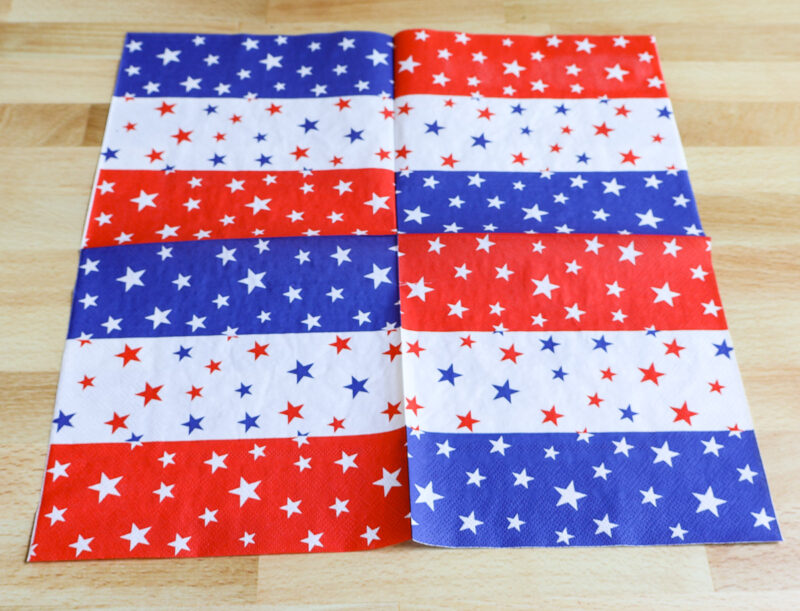
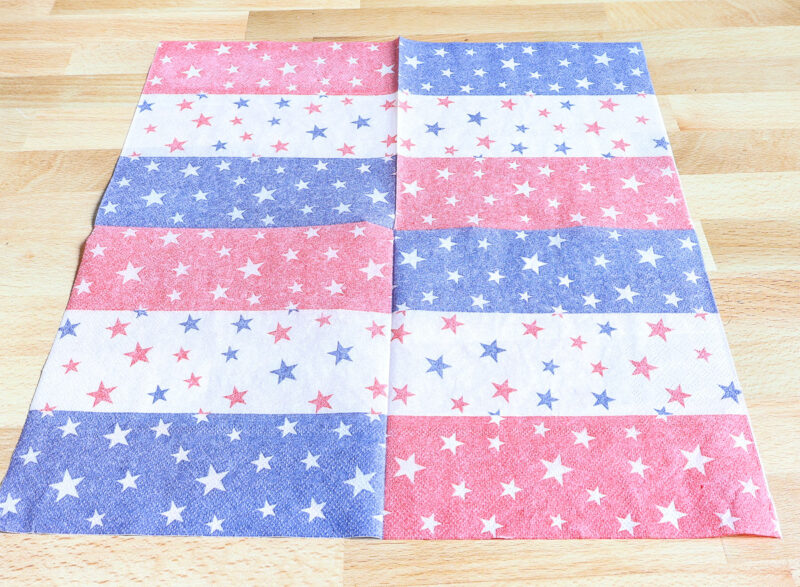
Step 2 – Gently separate the front layer of the napkin from the back layer. All napkins have one to three layers. To start the separation, rub a corner of the napkin layers between your thumb and index finger until they begin to separate. Then gently pull them apart.
Step 3 – Decide which part/parts of your napkin design you want to use. Do you want to tear the napkin or cut it?
For this project, I wanted to use only the white stars on the red background. I used my craft scissors to cut the napkin in half. Then I turned one piece so that the colors of the two pieces lined up. This way, I could make fewer cuts.
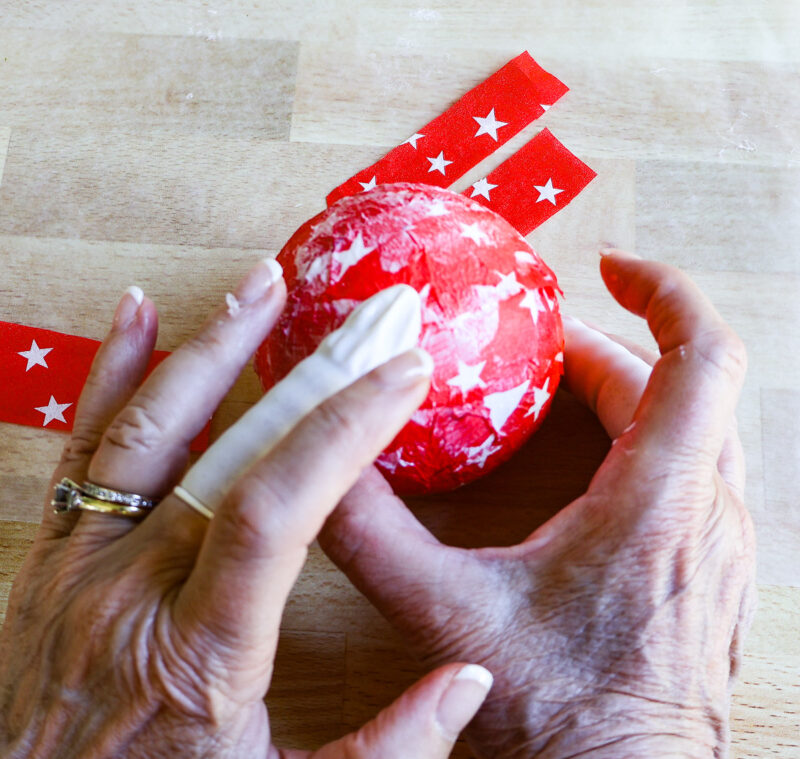
Then I cut the red sections from the rest of the napkins. Once I had just my red sections, I cut those in half lengthwise to make strips.
I used four napkins and got 32 strips.
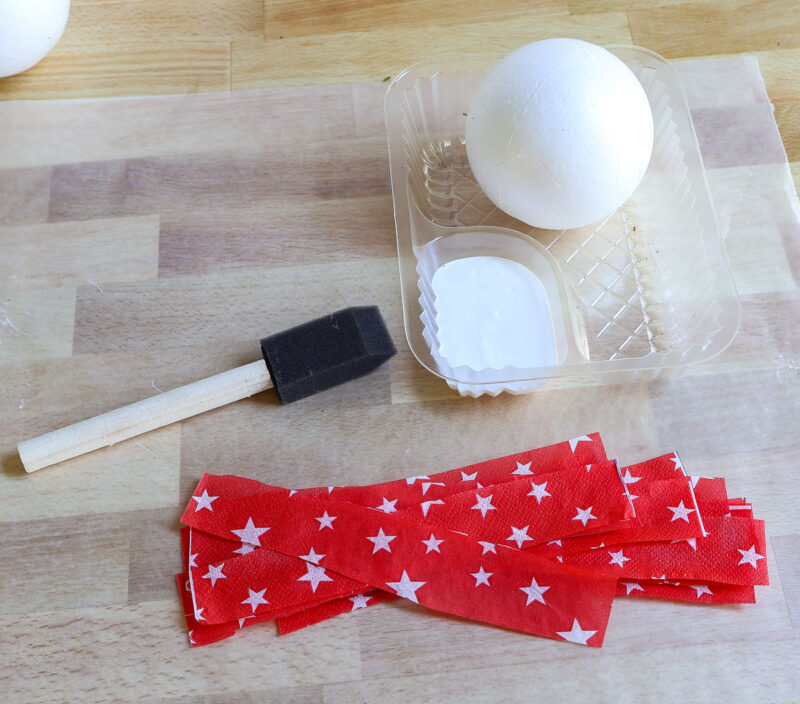
Decoupaging the Styrofoam Balls
Step 1 – Pour a small amount of the Mod Podge into your container.
Step 2 – Every project is different in the way you apply the napkin strips. For this ball, I started gluing two strips around the equator of the ball. I “painted” a layer of ModPodge about the width of a strip and placed it on the ball. Then I repeated with the other strip.
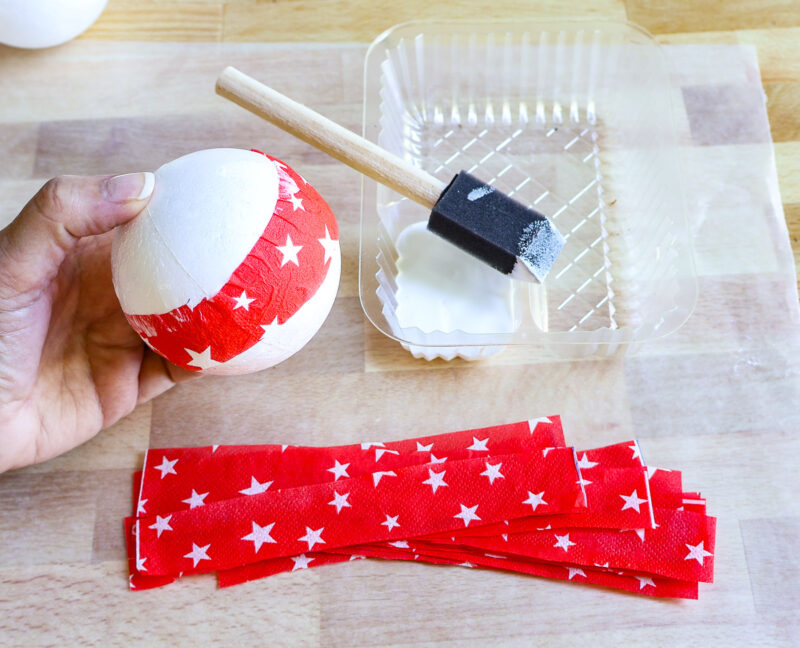
Step 3 – Now, I added a layer of Mod Podge on the top of the strips with the foam brush, smoothing the napkin down on the edges.
Step 4 – Continue adding Mod Podge, strips, and more Mod Podge on top.
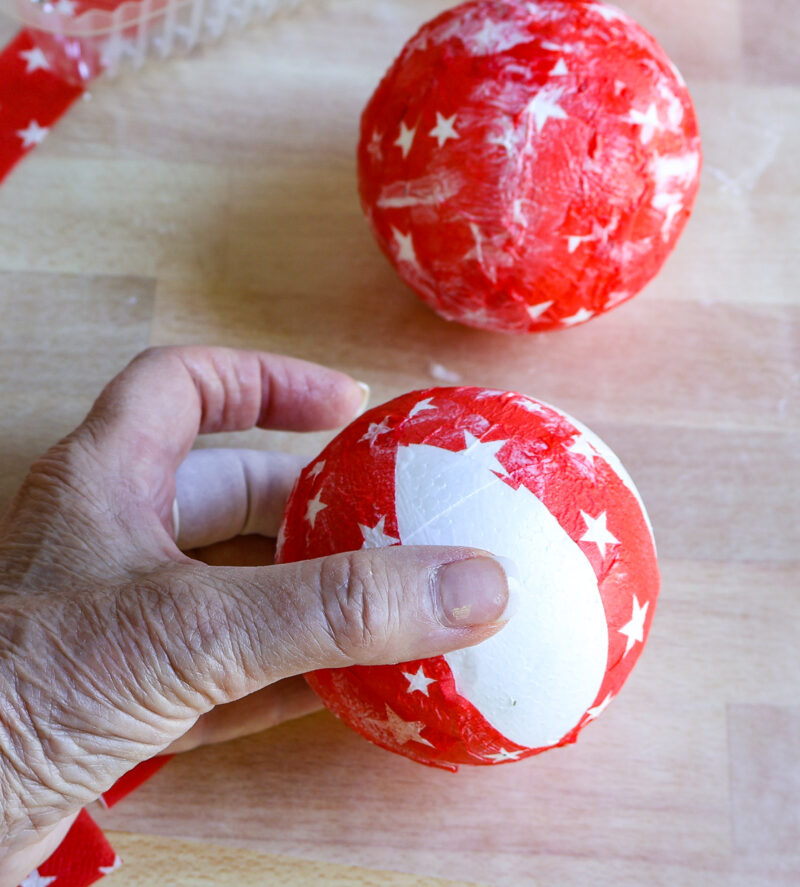
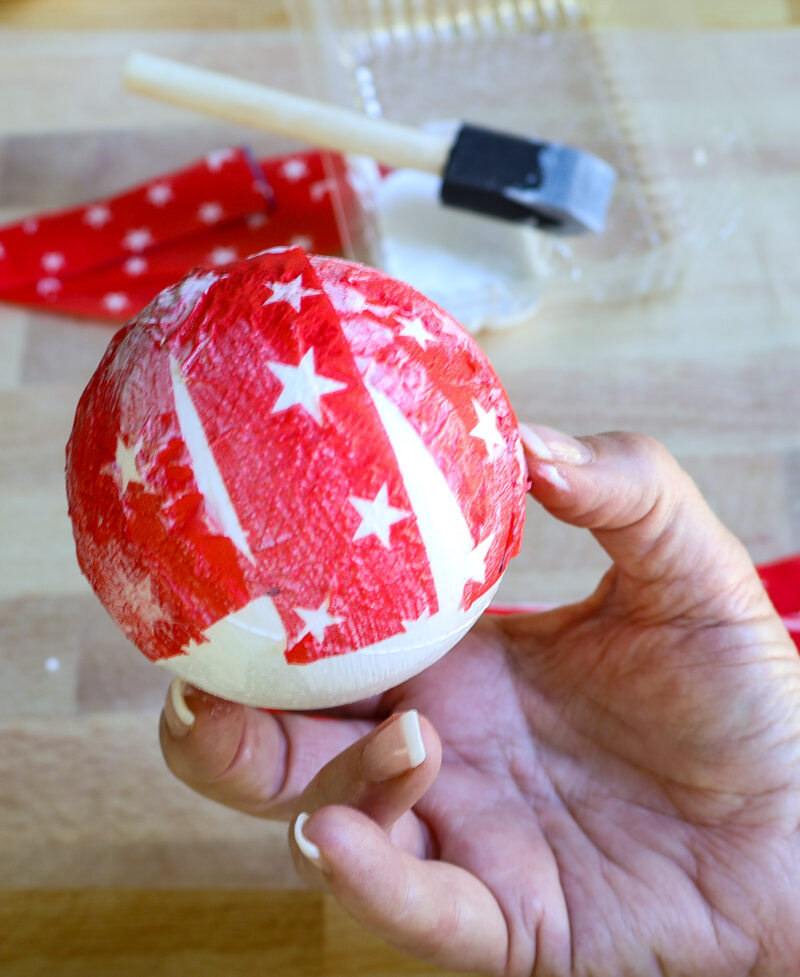
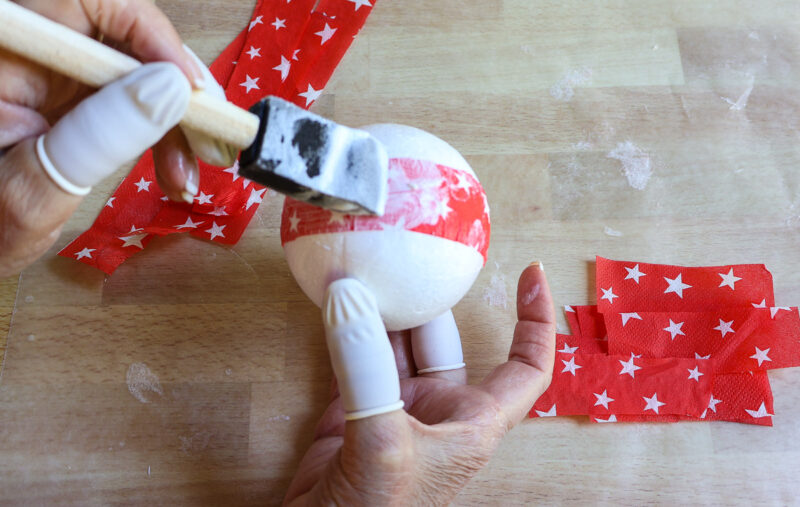
Step 5 – As you add more strips of napkin, pat and smooth the napkin down with your middle finger. This is where the finger cots make the job easier.
TIP: If needed, cut the napkin strips in half to fill smaller areas.

NOTE: There is no right or wrong way to add your napkin strips for this project. I think all four of my balls were a little different. Do what feels right at the time.
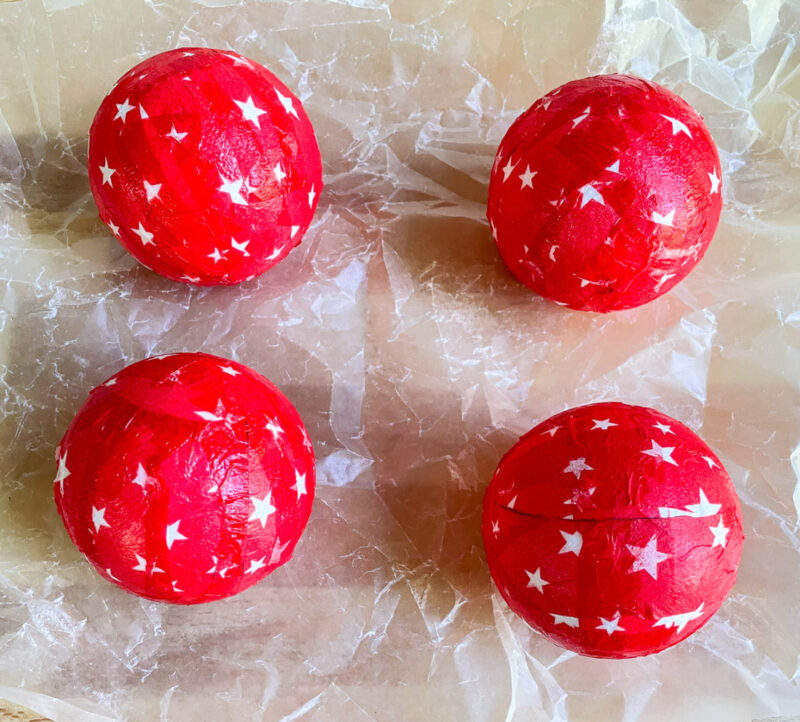
Once each ball is covered, I give it one more coat of Mod Podge. Then allow them to dry completely. I recommend overnight.
I wadded up my piece of wax paper to hold the balls in place. A few rolled off my work surface before I began the project.
Displaying Your Decoupage Balls – Pairing with Chinoiserie.
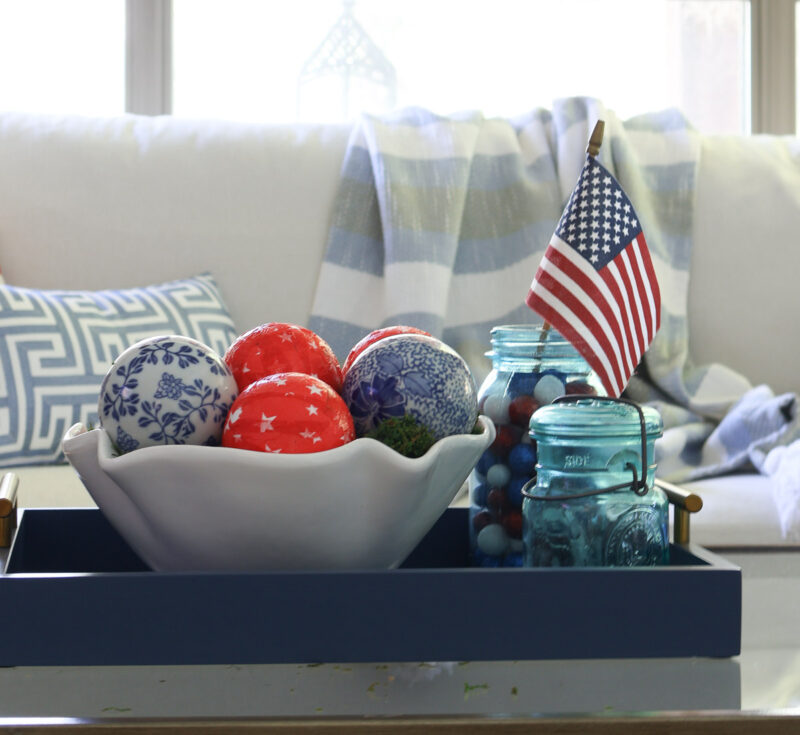
I removed three of the chinoiserie balls and replaced them with four of the red decoupage balls. I set the bowl on my favorite blue wood tray.
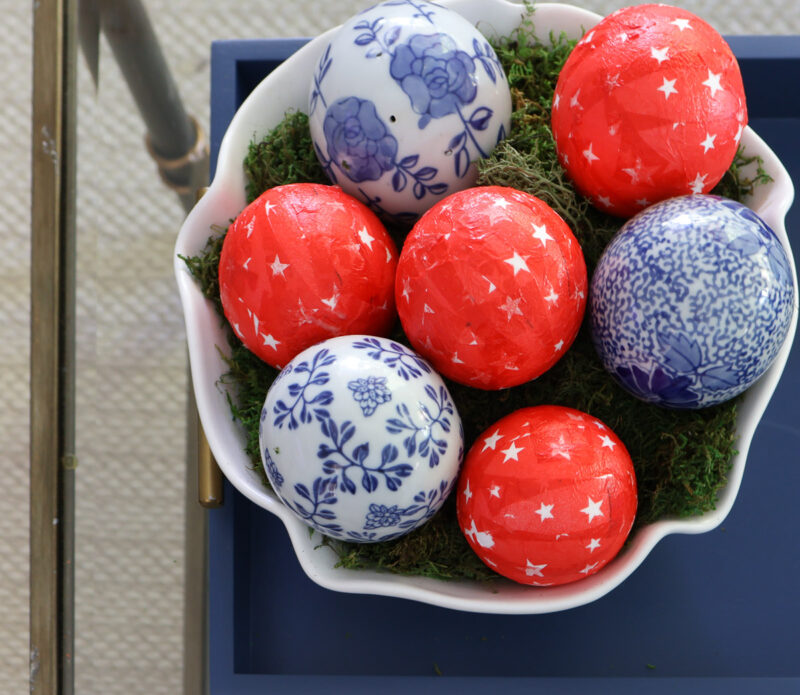
To finish the vignette, I added two blue glass mason jars. The larger one got a small American flag.
If you want the easiest DIY patriotic decoupage project you can find, this is one I hope you will try. This isn’t the last of my 4th of July DIY decorations. Come back for more.
For more decoupage projects, try these:
- How to Decoupage a Wooden Box
- Red-and-White Decoupage Christmas Ornaments – I forgot about these!
- How to Deoupage a Glass Platter
Please Pin this project to your favorite Pinterest Boards. Here are mine: Decoupage Projects and Patriotic DIY Ideas