
The Easiest Way to Make Zippered Pillow Covers
Any home decor lover knows the transforming power of throw pillows. They add style, color, pattern, and texture to a room – and that finishing touch of charm that makes a space feel truly put-together.
The problem? Custom pillows made for your specific space can be seriously expensive. The solution? Make your own – and make them look like a pro did it.
I’m going to show you the easiest way to make zippered pillow covers, and I promise you don’t have to be an experienced sewist to pull this off. With a few basic sewing skills and a little creativity, you’ll have beautiful, custom pillow covers you’ll be genuinely proud to display in your home.
The bonus – you’ll save a pretty penny compared to store-bought options, and you can choose exactly the fabric that works for your space.
If you love having decorative pillows throughout the year – for the changing seasons or for holidays, now is a great time to find that perfect fabric and learn how to make a zippered pillow.

This post contains affiliate links to products used to create this project. If you should order any item from this site, I may receive compensation, but you do not pay a penny more. Your purchase is greatly appreciated as it helps support the continued publication of this site.
Table of contents
Why You Should Make Zippered Pillows
Retail pillows with zippers cost more than those without – and for good reason. There’s more labor involved and additional supplies. But that extra cost is well worth it, because zippered pillows have a more polished, high-end look and feel.
Most home decor lovers know that swapping out pillows for different seasons and holidays keeps a home feeling fresh all year long. Here’s why zippered pillow covers make that even easier:
- You can change out covers more frequently without buying whole new pillows.
- Storing just the covers takes a fraction of the space that storing full pillows does.
- Reusing quality pillow inserts – like down – means you spend your budget on beautiful fabrics instead.
- Most accent pillows are 18 or 20 inches. Four of each size covers most of your decorating needs.
Decorative designer pillows from home decor stores can run $200 – $300. Yikes. Having pillows custom-made is even more expensive. When you want pillows designed specifically for your space, ones that match your exact color scheme and aesthetic, nothing beats a DIY zippered pillow cover.
The best news? If you can sew a straight line, you can make one. No fancy attachments, no expert skills required. This is one of the most beginner-friendly sewing projects.
Yes, you do have to use a sewing machine. You don’t need any fancy attachments to be an expert seamstress. In fact, sewing a DIY pillow cover is one of the easiest sewing projects. A total beginner can do it.
If you can sew a straight line, you can make a DIY throw pillow.
Choosing Your Fabric
For me, making a pillow cover always starts with the fabric. Here’s what to consider when choosing yours:
- Cotton – A timeless choice. Durable, breathable, easy to work with, and available in endless patterns and colors. Perfect for beginners.
- Linen – Relaxed and sophisticated. Its natural texture adds a casual elegance that works beautifully in almost any room.
- Velvet – Pure luxury. The soft, plush texture adds depth and creates an elegant focal point.
- Canvas – Sturdy and versatile. Great for a casual look that holds up to everyday use.
- Silk – Elegant and refined, but more delicate. Best for pillows that won’t see heavy traffic.
- Outdoor Fabrics – Designed to resist fading and weather, ideal for high-traffic areas or outdoor spaces.
- Prints and Patterns – Don’t be afraid to experiment. Florals, geometrics, and abstracts add personality and visual interest.
Most fabric stores will give you swatches to take home, which makes coordinating with existing fabrics so much easier. The staff are usually very knowledgeable and can help you figure out exactly how much fabric you need.
Tip: Always round up on yardage – you never want to come up short. And check that patterns are correctly aligned before you buy.
The fabric you choose can influence the look, feel, and longevity of your throw pillows. Take a moment to envision the style you want to achieve. Let your chosen fabric bring that vision to life in the coziest and most stylish way possible.
TIP: Do check that the fabrics are well-made and that the patterns are correctly aligned.
The great thing about buying fabric for pillows is that you normally don’t have to worry about repeats or aligning patterns. And it doesn’t take much fabric to make beautiful pillows.
Why A Sewing Machine is Best for Making Zippered Pillows
Although I have made no-sew pillows for fun and seasonal crafts, nothing beats a sewing machine for producing the best and most long-lasting pillows.
While no-sew pillows are fun for seasonal crafts, nothing produces a better, longer-lasting result than a sewing machine. Here’s why it makes such a difference:
- It delivers precise, even stitching – especially important for straight seams and zipper installation.
- It handles a wide range of fabrics, from delicate silk to sturdy canvas.
- It speeds up the process and opens the door to more detailed work like piping or decorative trims.
My sewing machine is a Sears Kenmore I’ve had for over 15 years – my second one. My dad bought me my first when I was in college, and between the two of them I’ve made clothes, curtains, drapes, duvets, valances, comforters, and countless pillows. Even a basic machine pays for itself many times over.
A zippered pillow cover only requires a straight stitch and no pattern. If you’ve been wanting to try sewing, this is the perfect first project. You’ll love the results.
Whether you’re a sewing novice or a seasoned pro, utilizing a sewing machine can significantly enhance the quality and efficiency of your DIY pillow-making project.
If you have wanted to try your hand at sewing, then zippered throw pillow covers should be your first project. You’ll love the results and be proud of your first sewing attempt.
Supplies for Your Zippered Pillow Cover
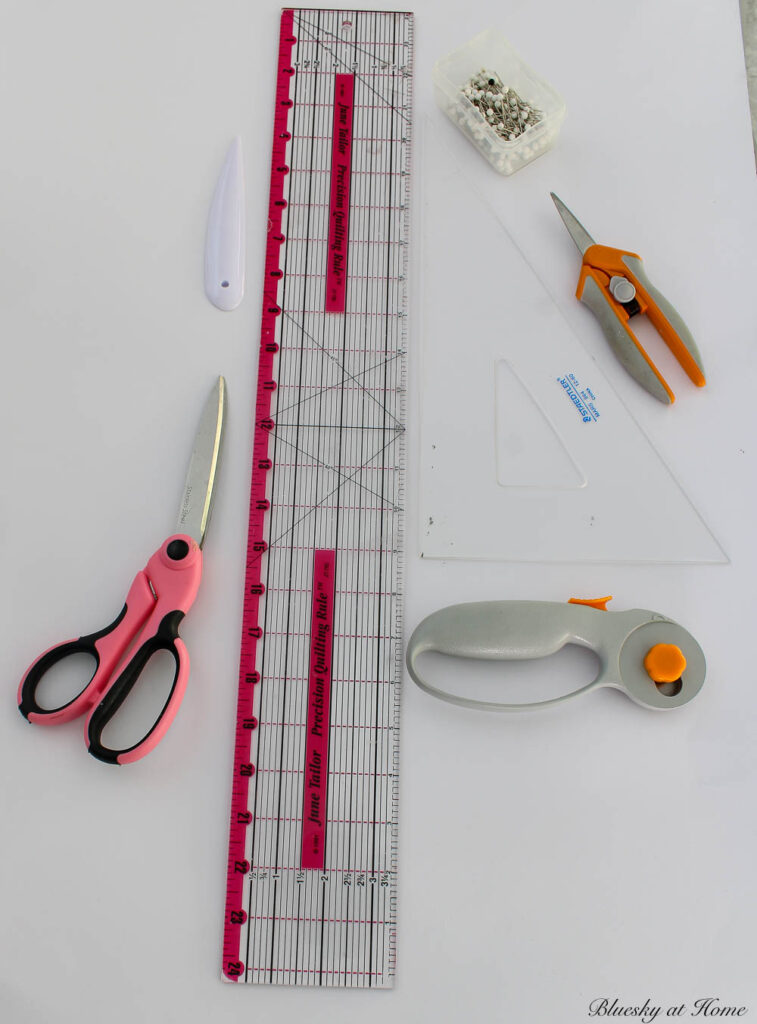
The great thing about making pillow covers is that they require straight measures, straight cutting, and straight sewing. I have found that these supplies make measuring, cutting, and ironing fabric projects simple and efficient.
- a cutting mat – the 24 – 36-inch size is perfect for sewing projects. I messed this one up by using my ironing mat and ironing over it. It warped and buckled. Right after I began this project, I replaced it with a new one.

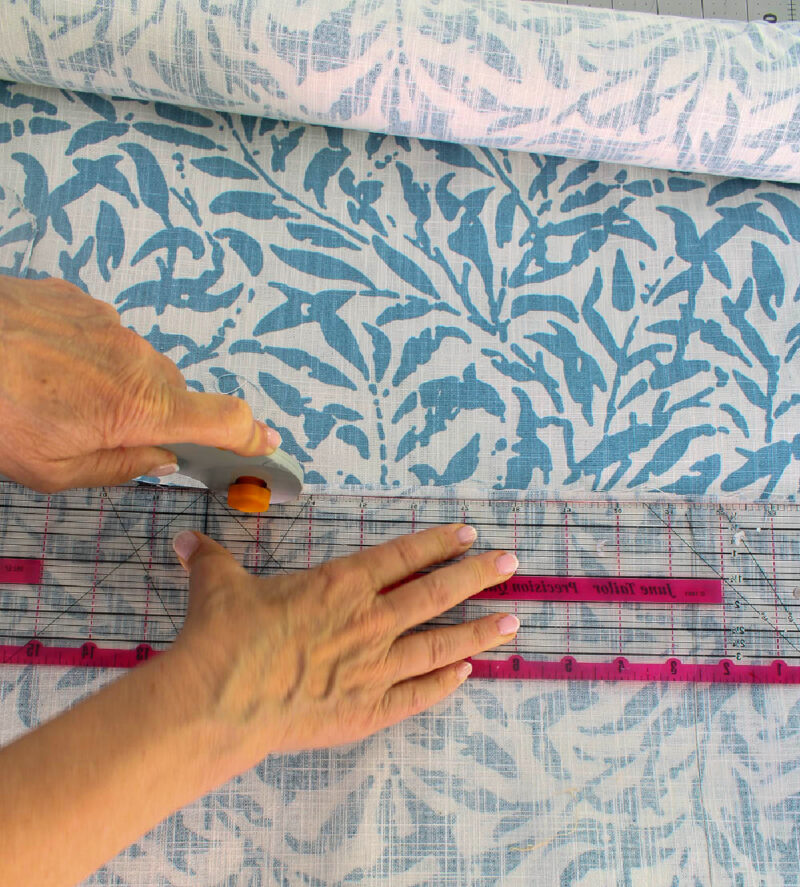
- rotary cutter – the best way to cut long, straight lines on fabric. You get a cleaner cut than scissors and it’s faster and easier on your hands.
- 24-inch acrylic sewing ruler with multiple measurements. The fact that you can see through it makes aligning and measuring fabric a breeze.
- padded ironing mat – much easier to lay out large pieces of fabric for sewing projects than on an ironing board. It rolls up for easy storage.
- good steam iron – usually for sewing projects, you don’t use the steam setting. I love my Rowenta.
- good, sharp sewing scissors
- small sharp pointed scissors for small spaces – indispensable for clipping small threads.
- a “t-square” or measuring tool for ensuring 90-degree corners
- fabric of your choice
- matching thread
- invisible zipper – invisible zippers don’t come in as many sizes as regular zippers, but you can cut them down easily
- seam ripper
- dressmaker pins – the kind with the little balls at the end; they are much easier to work with
- pillow inserts in the size you want the pillow; your pillow covers will be the same size as the pillow inserts. This ensures a nice, full fit for your pillows.
What Pillows Am I Making?
I have wanted to make these pillows for months to complete our living room accessories.
I made three different pillows:
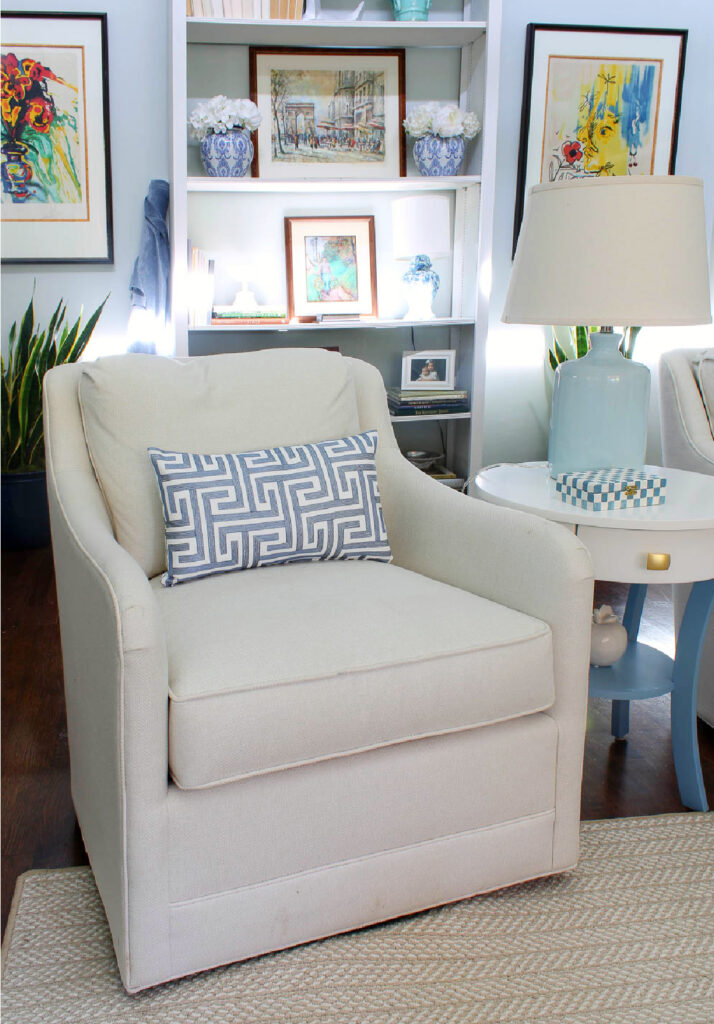
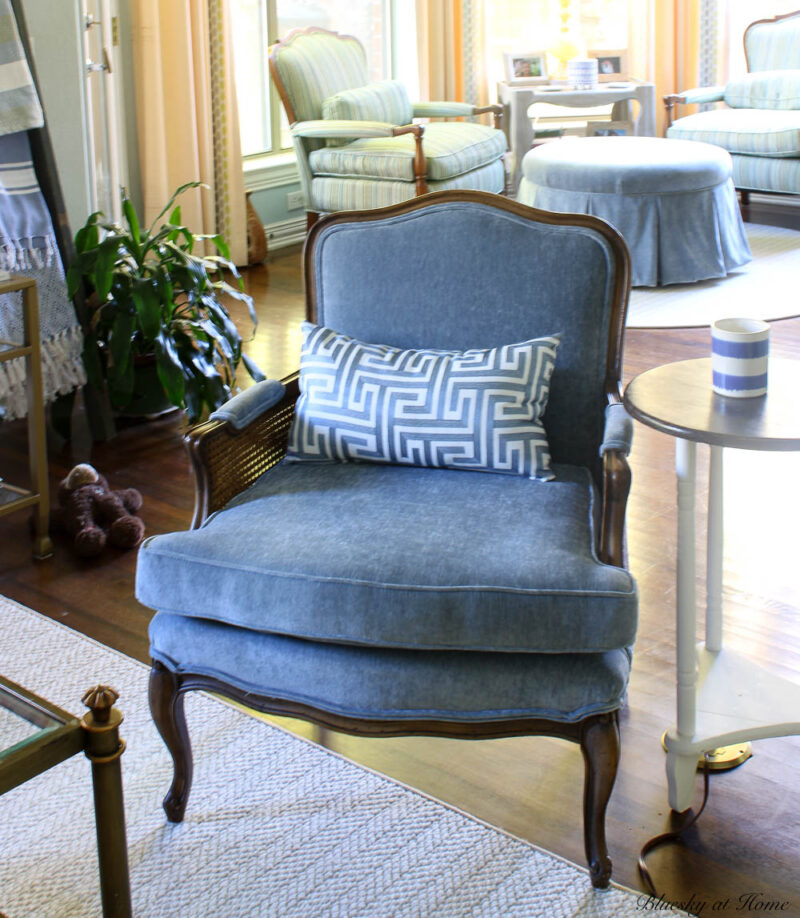
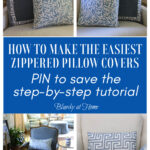
- 3 lumbar pillows for our two swivel chairs and one Bergere chair – 20 inches X 12 inches. I bought the fabric in April at Cutting Corners in Dallas. I love the fabric (It’s a white cotton/linen with blue thread stitching in a sort of “Greek key”) pattern. It perfectly complemented the fabric we used for the Bergere chair and a new fabric ottoman. I bought 2 yards which was more than enough for the 3 pillows. I think the fabric retailed for $49.99/yard, but at Cutting Corners, it was $29/yard.

- 2 20-inch square pillows in French Blue cotton velvet from Cutting Corners. This is the fabric that we used to reupholster the Bergere chair and make the ottoman. There was plenty left over for pillows, and I still have plenty left over for other projects.

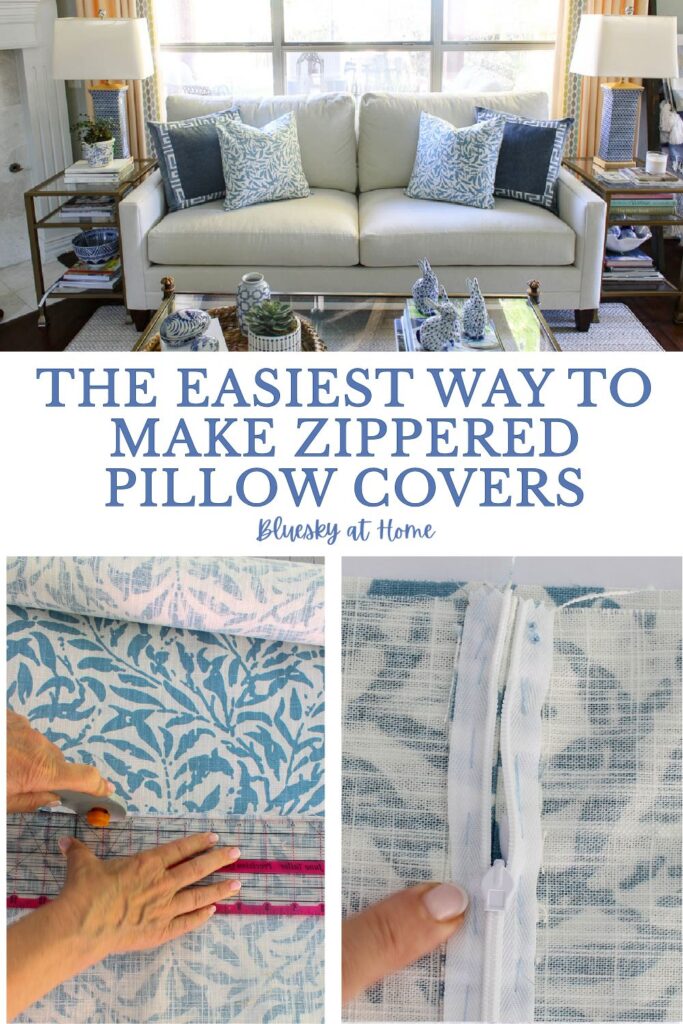
- 2 – 20-inch square pillows in white cotton/linen with the screen print in a leafy French Blue geometric pattern from the Ballard Designs store, not far from us. It’s called Marjorie Slate Leaf Design. I was browsing with a friend and fell in love with the pattern. It was $36 a yard on sale for $25 a yard. It had to be special-ordered. Ballard has a 2-yard minimum on special orders, which was fine since I needed 1 1/4 yards for my pillows. I will definitely use the extra.
- I purchased the 20-inch down inserts at Ballard Design last spring and they are wonderful.
- I purchased the 3 20 X 12-inch lumbar polyester pillow inserts online. They came in a package of 4 and are great.
Making the Zippered Pillow Covers
I’ve used this process for years and it has never failed me. There are three parts to making the pillows, and I’m using 20-inch pillow inserts to demonstrate. The good news – the size and shape of your pillow don’t change the steps at all.
The images are below the instructions. Read the instructions first, then follow the images.
Measuring Your Fabric
Prior to measuring and cutting, lightly iron your fabric on low heat, if necessary. Fortunately, I didn’t have to iron my fabric.
- Lay your cutting mat on a large flat surface – I use our kitchen island.
- Fold your fabric in half, right sides together, to the measurement of your finished pillow. For a 20-inch pillow, fold it until you have 20 inches. Line up the selvages evenly. Think of the selvage as the top side of the pillow and the fold as the bottom – this is where the zipper will go. Pin the fabric in place at both the selvage and the fold.
- Using your acrylic ruler, measure across the width of the fold to the width of your pillow (20 inches). Mark with a straight pin or pencil. This is the left side of the pillow.
- Continue marking across the width of the fabric, keeping the ruler straight.
- Place the edge of your acrylic ruler on the fabric fold and measure up the length of the pillow, marking as you go. This line is the top of the pillow. Use a 90-degree angle to make sure your corners are perfectly perpendicular.
- When you reach the other side of the fabric, where you placed the first straight pin, measure across the top of the pillow. Think of this line as the top of the pillow. You now have the outline of the pillow. Use the 90 ° angle again to ensure your corners are perpendicular.

Cutting Your Fabric
For your first pillow, you only need to make two cuts.
- Place the acrylic ruler firmly along the mark on the left side of the pillow. Pressing down firmly, run your rotary cutter along the edge. You may need a few passes depending on the thickness of your fabric.
- Repeat on the second line – the top of the pillow.
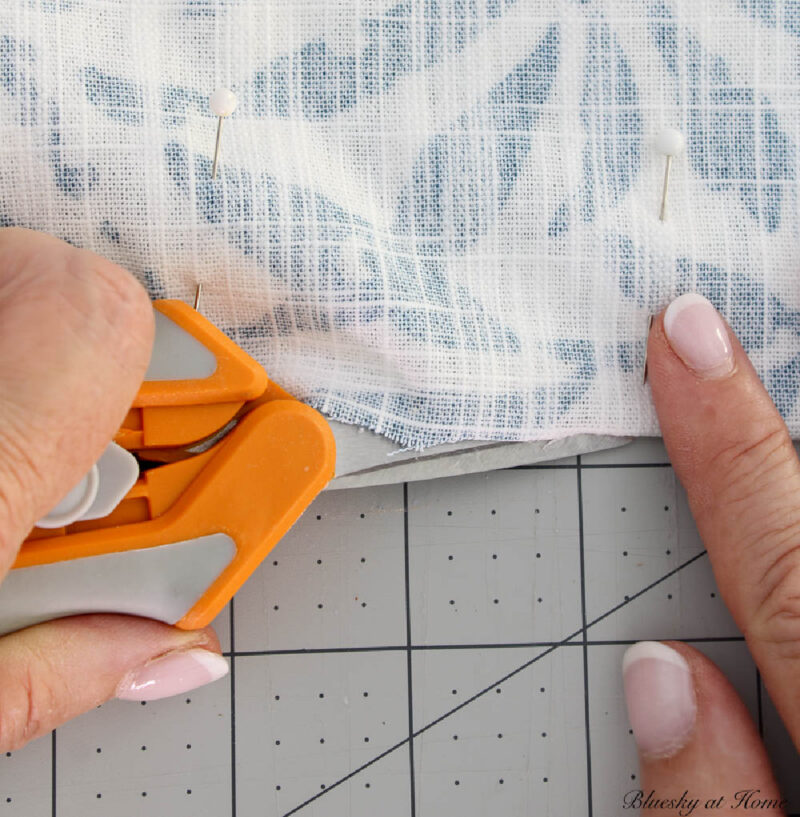
- Lay the folded edge flat on your counter. Using small, sharp scissors, cut along the fold across the full width of the fabric.
You now have your pillow pieces cut out with the right sides of the fabric together.
Sewing in the Zipper
This section looks long, but I promise it’s easier than it appears. Take it one step at a time.
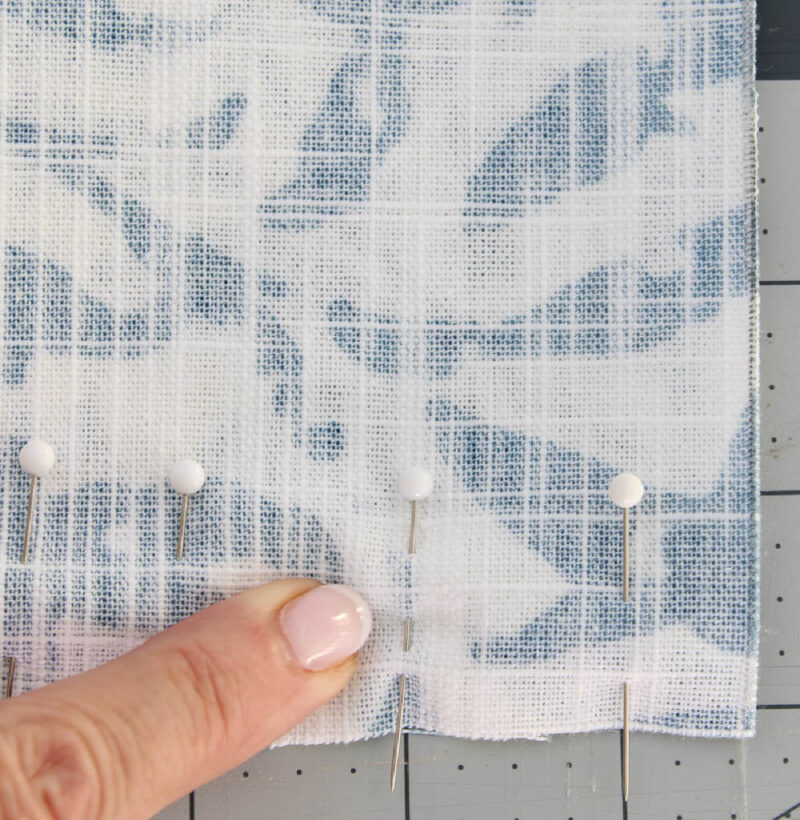
- Along the folded edge of the fabric, pin the two sides together with pins pointing toward the edge of the fabric.
- Place a pin two inches from the left edge and another two inches from the right edge. These marks are where your stitching will change.
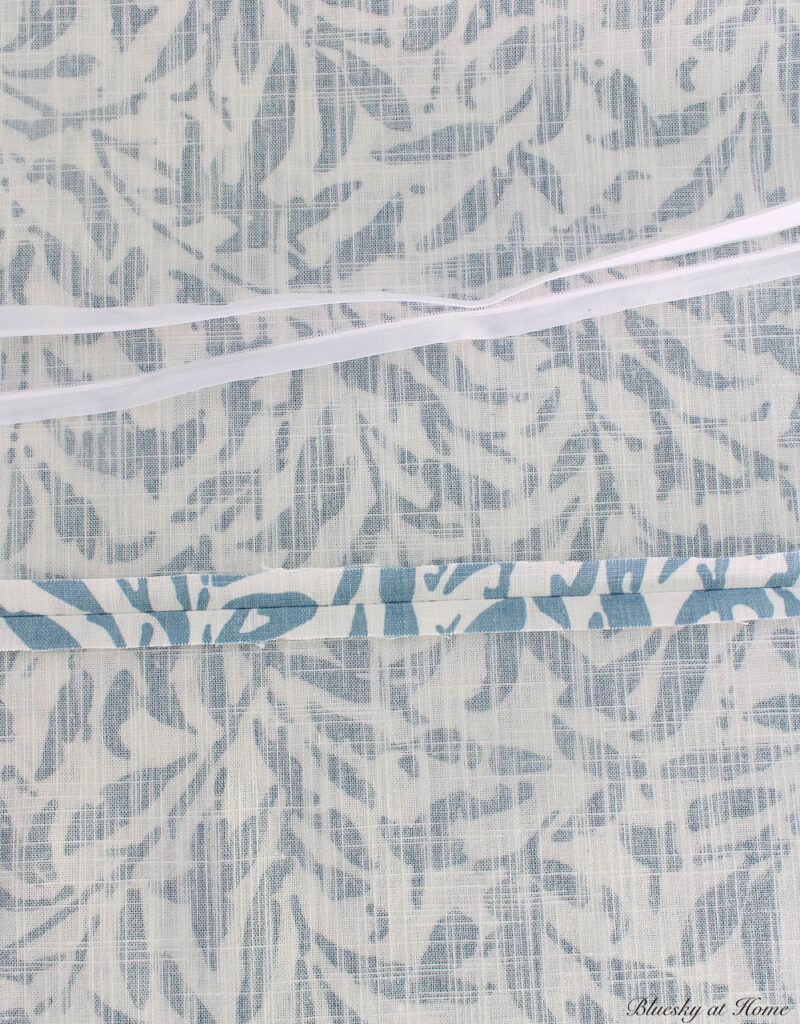
- On your sewing machine, with a 1/2-inch seam allowance, use a regular stitch length for the first and last 2 inches. Switch to your longest stitch in between – this is your basting stitch, and the zipper will go in this section.
- Press the seam open on your ironing mat.
- Remove the zipper from the packaging and iron out any creases. You need about 16 inches of zipper – a 20 to 22-inch zipper works perfectly.
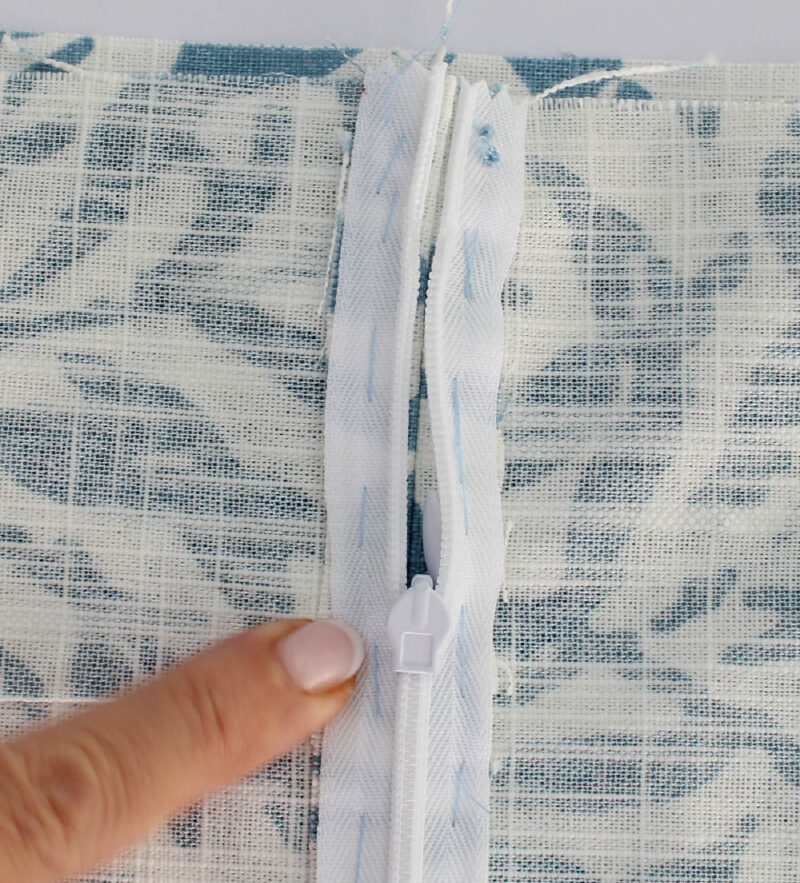
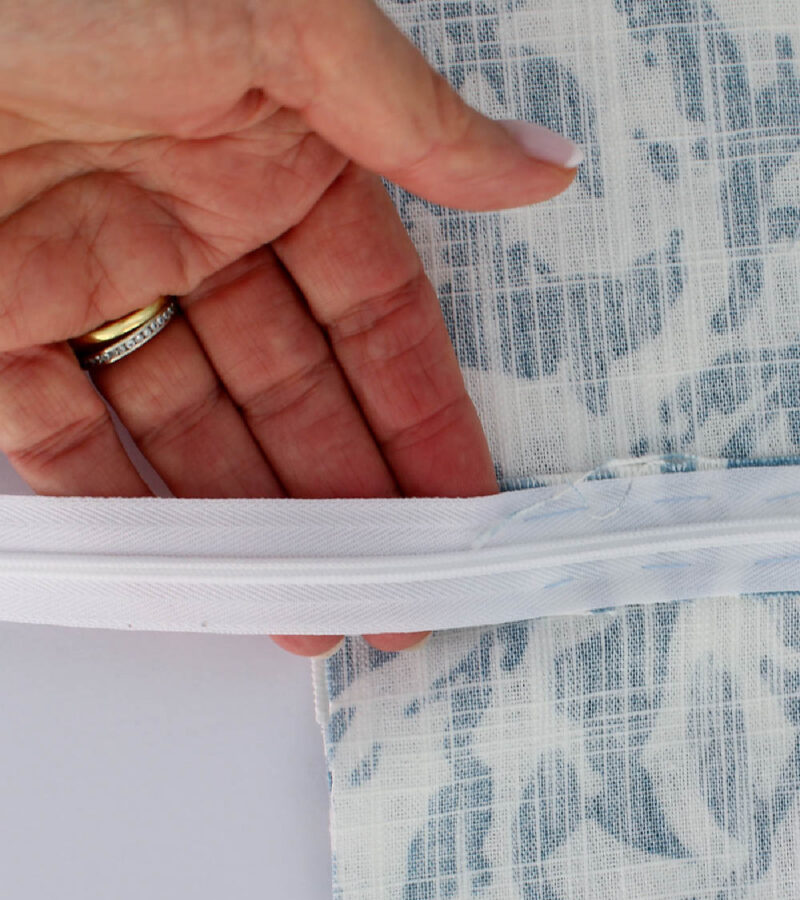
- Lay the zipper face down on the open seam, with the top of the zipper closure about one inch from the edge of the fabric. Unzip it a few inches – the zipper pull should stay “up” and exposed so you can grab it later. Pin the zipper to the seam allowance and pillow face, with the teeth right along the seam.
- Baste the zipper to the pillow seam, then remove the straight pins.
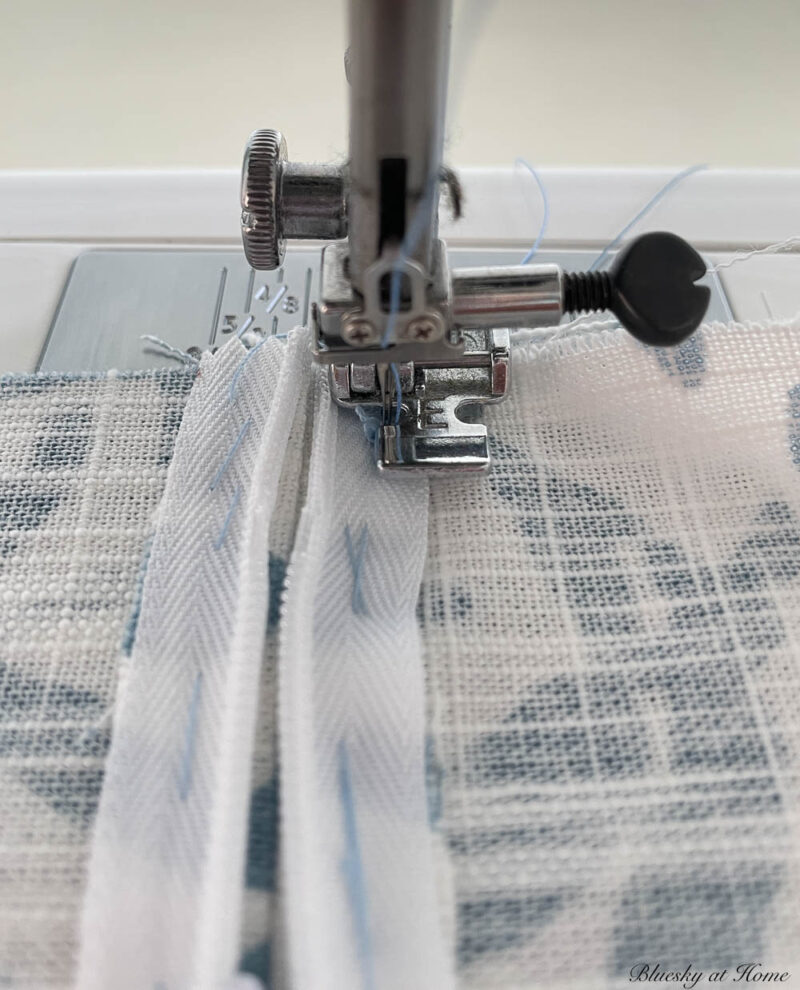
- Switch to your zipper presser foot, adjusted to the right of the needle.
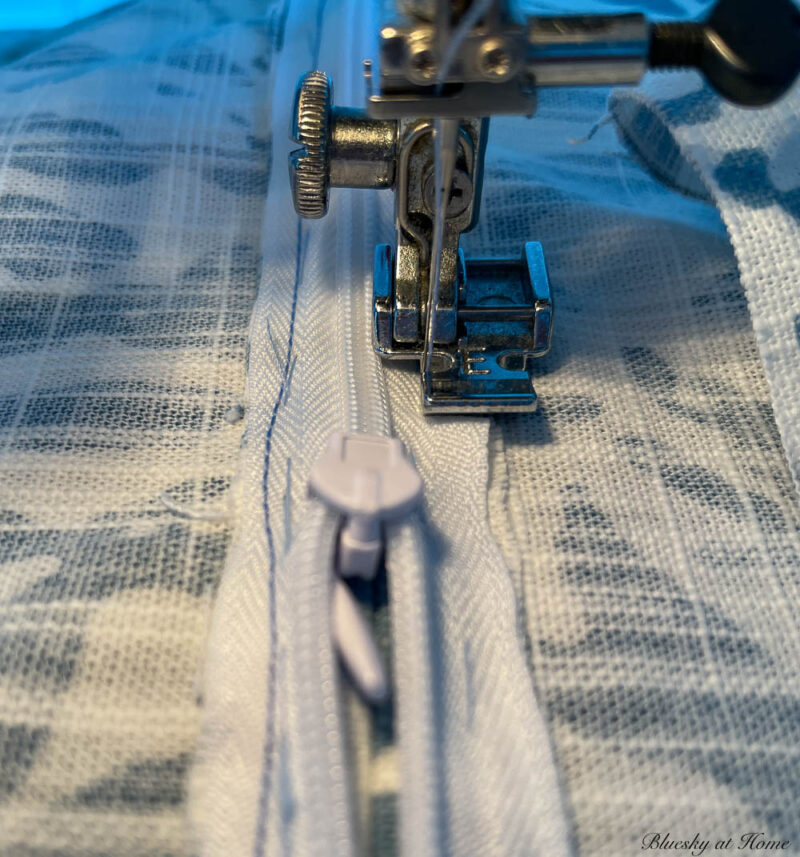
- Sew the zipper to the fabric using a regular stitch, keeping the foot as close to the zipper coils as possible.
- When you reach the zipper pull, the foot may shift slightly – just ease the fabric back into place as quickly as you can.
- At the end of the first side, stop with the needle down, lift the foot, and pivot the fabric 90 degrees to cross the zipper teeth. Go slowly here – the needle will go through the teeth. Once across, pivot again to the right and sew back up the other side. Backstitch to secure and cut the thread.
- If you have excess zipper coils, trim them off, leaving about 1/2 inch of tape.
- Switch back to your regular presser foot.
- Using a seam ripper, carefully remove the basting stitches from the seam – working from the top of the zipper to the bottom. As you go, you can begin opening the zipper.
- Remove any remaining basting stitches holding the zipper to the fabric.



Sewing the Pillow
This is the easy part – you’re almost done!
- With right sides together, pin the three remaining sides of the pillow, keeping raw edges even and smooth.
- Place the pillow at your sewing machine near one edge at the top of the zipper. Make sure the zipper is mostly open – this is important.
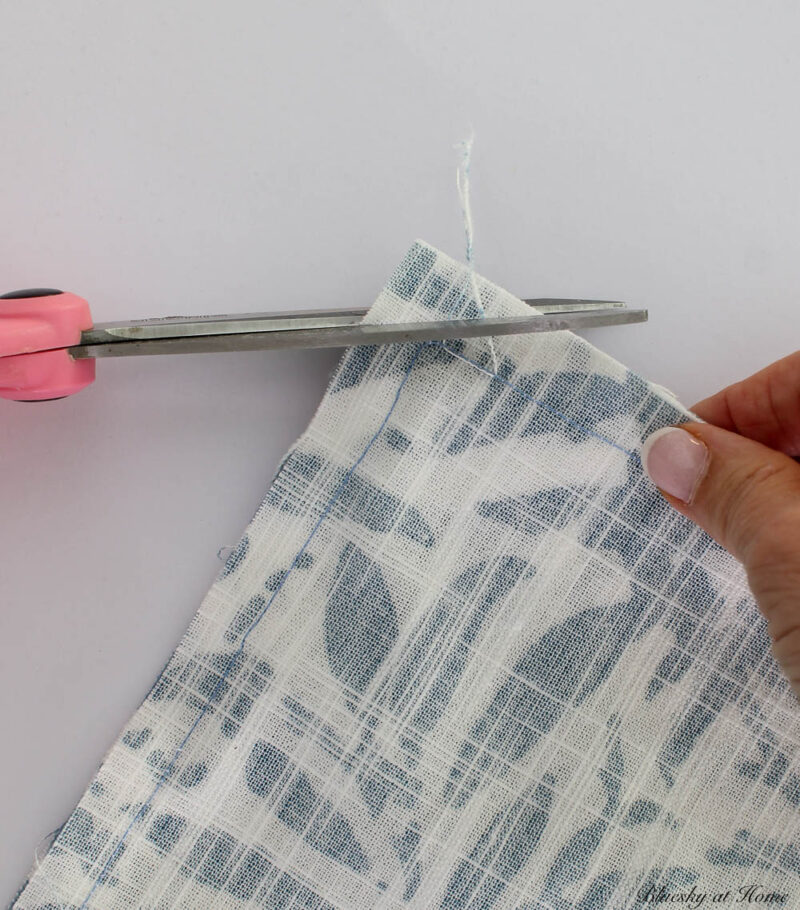
- Stitch all three sides, backstitching at the beginning and end. About one inch from each corner, increase your seam allowance to 5/8 inch, then return to 1/2 inch after the corner. This little trick prevents pointed corners.
- Clip the corners diagonally to reduce bulk.
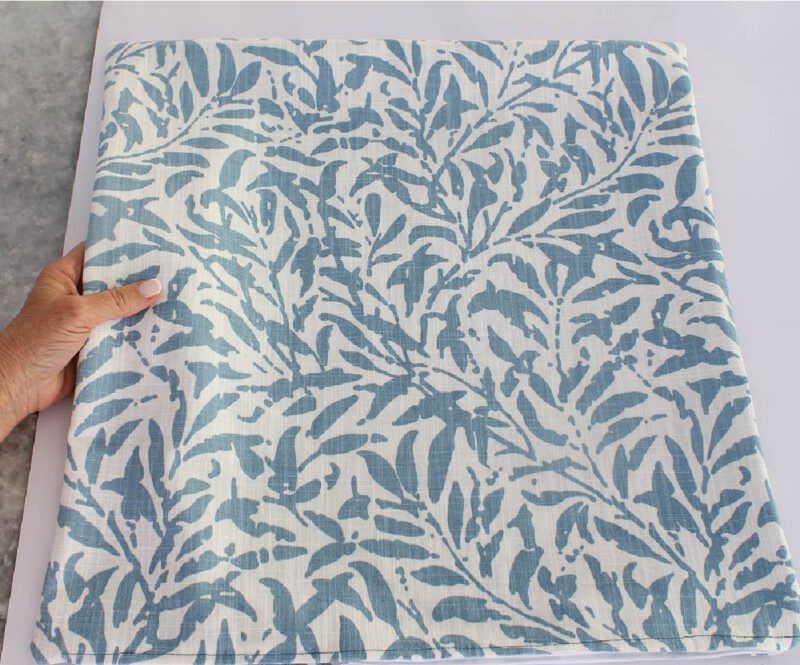
- With the zipper fully open, turn the pillow right side out.
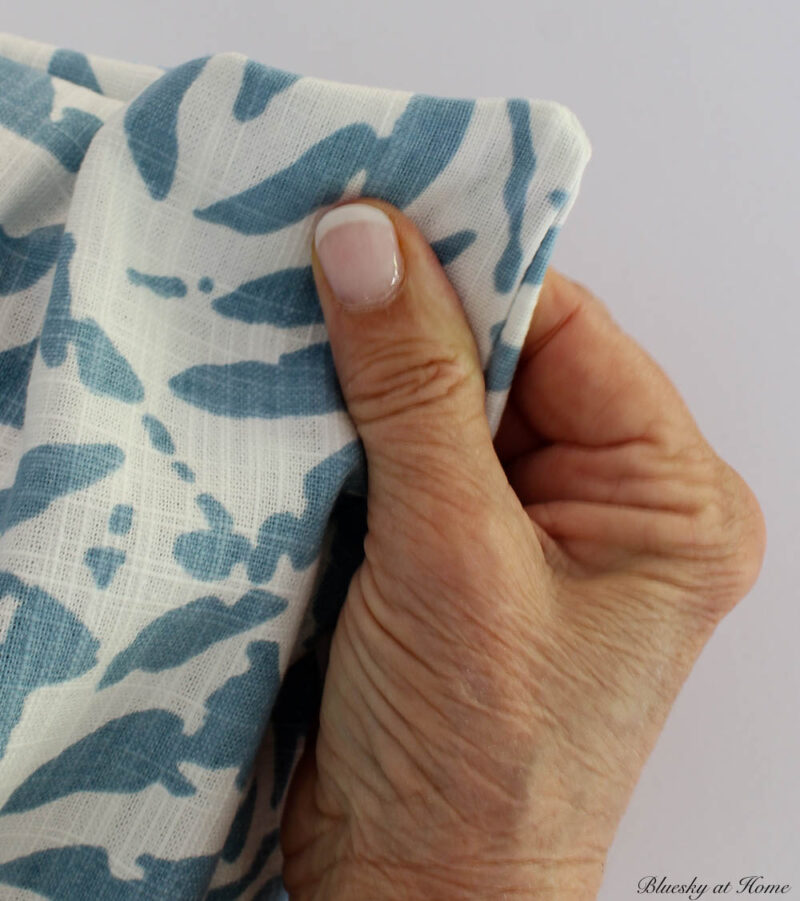
- Use your fingernail or a plastic collar turner to gently push out the inside seam at each corner.

Inserting the Pillow Insert
- Sit in a chair for this step. Fold the pillow insert in half and push it into the cover, all the way to the back.
- Open the insert and push it flat, filling out the sides and corners.
- Hold the pillow between your legs and squeeze gently as you close the zipper.
- Give the pillow a few good whacks on a hard surface – this distributes the fill evenly and gives it that plump, finished look.
Display Your Pillow and Enjoy
Now comes the fun part – showing off your beautiful new pillows! The lumbar pillows add extra comfort to the chairs, and don’t you just love that pop of blue?
In the background, you can see the custom ottoman we had made. It is the same fabric as the chair, but the light makes it look totally different.

I love how the velvet pillows and the patterned pillows work together. Here is how to make and add trim to a pillow.


I hope you now feel comfortable making your own custom pillow covers with zippers. Once you try a couple, you’ll be a pro.
Want more info on using pillows? Here are my 11 tips for using pillows.
Making zippered pillow covers really is one of the most satisfying and cost-effective projects. You get exactly the pillows you want.
I highly encourage you to PIN this post so you always have the tutorial handy. Add this post to your favorite PInterest Boards. Check out my DIY Projects and my new Sewing Project Board.














I added a zipper to one pillow years ago, it wasn’t great, but I’ve always wanted to master this skill. I think your instructions will help me to do so! Thanks!!
Thanks, Carol, for the pillow DIY. Your instructions are perfect! I have made a few of my pillows with the fold-over feature at the back but I do prefer to use the zipper.
So glad it helped you, Mary-Ann.