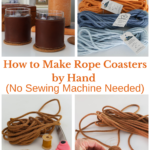
How to Make Rope Coasters by Hand (No Sewing Machine Needed)
Fall entertaining season is here, which means more glasses, mugs, and warm drinks landing on your tables. If you need coasters to protect your surfaces but don’t have a sewing machine, or you simply enjoy hand-sewing, this rope coaster project is for you.
You can make these rope coasters by hand with braided cotton rope, a needle, and thread. They cost almost nothing to make; they’re practical and pretty. This project isn’t necessarily fast, but it’s relaxing and perfect to pick up while you watch TV. You can work on a coaster, put it down, take a walk or make dinner and come back to the project. I made mine over the weekend while watching college football and the Cowboys game.
Use them on your side tables or nightstand, or tie a set of four with ribbon for a hostess gift. And because you coil and stitch as you go, you can make them any size, even a 7-, 9-, or 11-inch trivet for your Thanksgiving table.

This post contains affiliate links to products used to create this project. If you should order any item from this site, I may receive compensation, but you do not pay a penny more. Your purchase is greatly appreciated as it helps support the continued publication of this site.
Inspiration for This Coaster Project
Usually, inspiration for a handmade project comes from a picture we see online or something we see in a store. A vignette – a pretty centerpiece, a coffee table arrangement, or how a bedroom is styled. How many times have I thought, “I can make that” or “I can design that”?
But sometimes we see a material or product and think, “What can I make with that?” Maybe it’s a pretty napkin that becomes a decoupage project, fabric that becomes a pillow, or a paint color that changes the look of a piece of furniture.
That’s how this project began. Last year, we visited our friends in Blowing Rock NC for a few days. We loved the weather and the charm of this small mountain town. One afternoon, our hosts had an appointment with their contractor (They had just bought another house to remodel). Sweet Shark and I went for a walk by ourselves, and I spotted a shop I hadn’t noticed before. It’s called The Mountain Thread Company.
What drew me in were the beautiful fabrics and bins of cotton rope. There were lovely woven baskets, purses, bowls, and other pretty things. The salesperson showed me how to make a basket using the beautiful braided rope on her sewing machine.
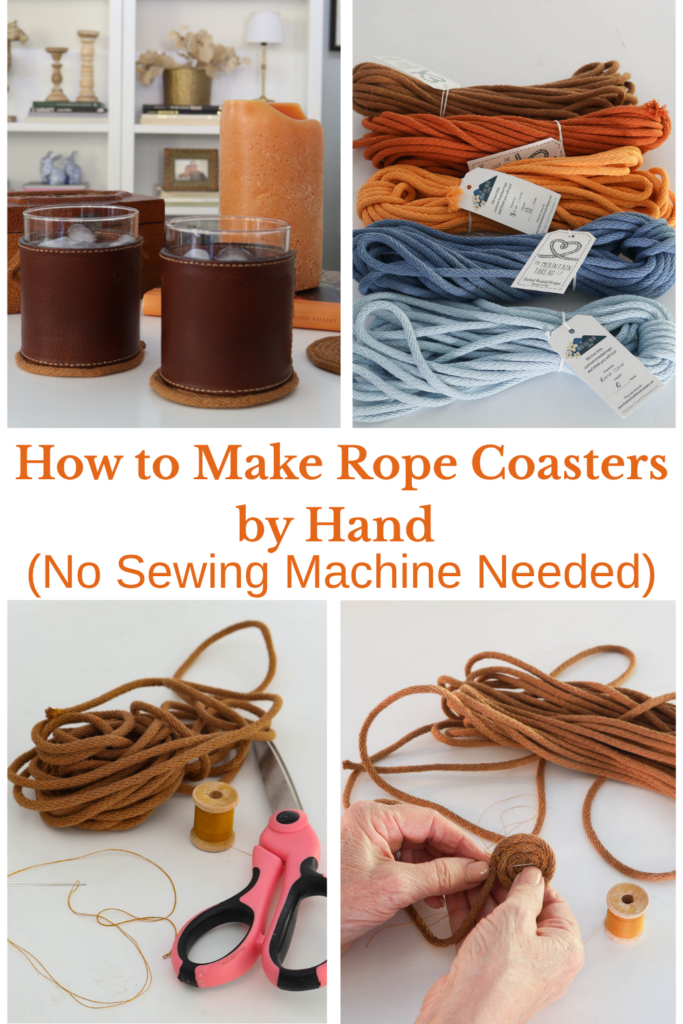
I couldn’t leave without buying some of the pretty, all-cotton braided rope. I picked five colors: three in shades of yellow/gold, rust, and light brown, and two shades of blue.
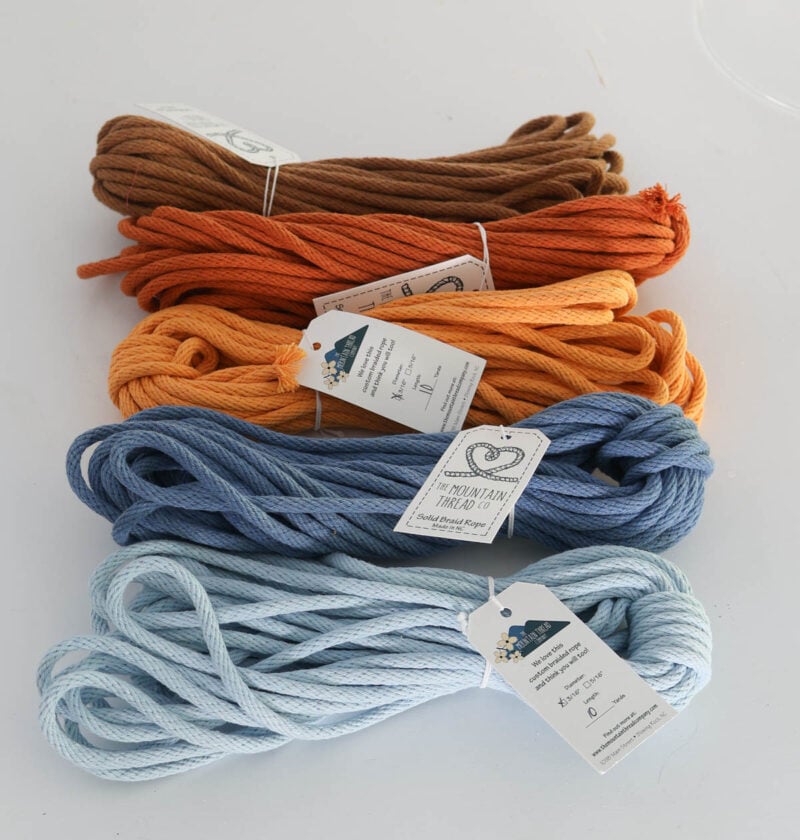
At the time, I had no idea what I would make with the braided rope packages. But I knew I would find great things to make someday.
Fast forward to a few days ago. It was time to make use of this beautiful braided rope. Although the projects The Mountain Thread Company shares on their website use a sewing machine, that won’t work for me. Since Sweet Shark is using my sewing desk as his office desk, I don’t have a place to use my sewing machine.
So, if you would like to make pretty coasters but don’t have access to a sewing machine or only sew by hand, this project is for you.
Now, I’ve made other projects with rope or twine, such as this Pumpkin Decorated with Rope and Twine one, and I’ve made coasters with decoupage, like these pretty topiary ones, but I’ve never made coasters with rope.
Supplies for the Braided Rope Coasters Sewn by Hand
You only need a few supplies and you probably have them on hand. The only supply I had to buy was the braided rope, which I picked up last year from The Mountain Thread Company. The braided rope comes in 10-yard packages in dozens of colors. The rope comes in two sizes – 3/16-inch and 5/16-inch. It costs $13.50 for 10 yards, or $1.35 per yard.
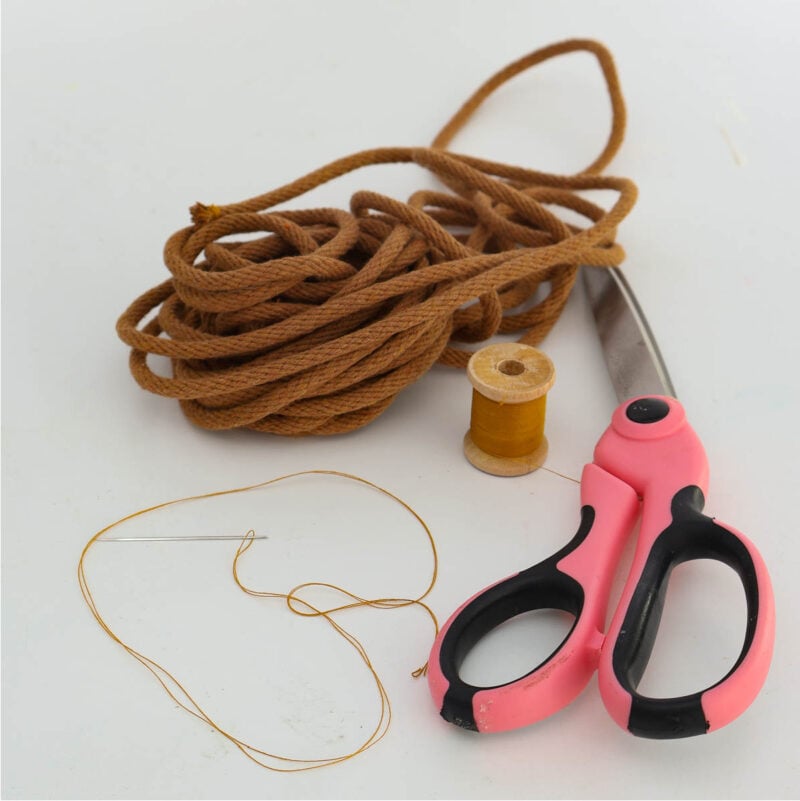
Using one of our glasses, I measured the coasters at 3 3/4 inches in diameter.
- cotton braided rope – 3/16-inch (5mm) thick, in your color of choice. As an alternative, try this cotton braided rope. Like the one I used from The Mountain Thread Company, it is all cotton, 3/16 (5mm) inch thick, and available in multiple colors. I used the light brown color for my coasters.
- matching sewing thread – You can use different colors if you want a different pattern in a different color. However, for this project, I wanted a solid look for the coasters. Fortunately, I had the right color in my sewing supplies.
- large eye ballpoint needle – you want a ballpoint needle with a large eye. It’s just easier to use for this project. My needles were two inches long.
- sharp sewing scissors
- a ruler or tape measure
Steps to Making Your Braided Rope Coasters
Before you begin, take the rope out of any packaging, but do not cut it. You’ll cut the rope when you finish each coaster.
Step 1 – Determine the diameter of your coasters. Using one of our glasses, I determined that my coasters would be about 3 3/4 inches.
Step 2 – Thread your needle, pull the thread through until both ends are even, and knot them together. My thread was about 12-14 inches long, doubled. Longer than that can get tangled.
Step 3 – Push your needle through the end of the rope. Then wrap the thread around the end a few times to keep it from fraying.
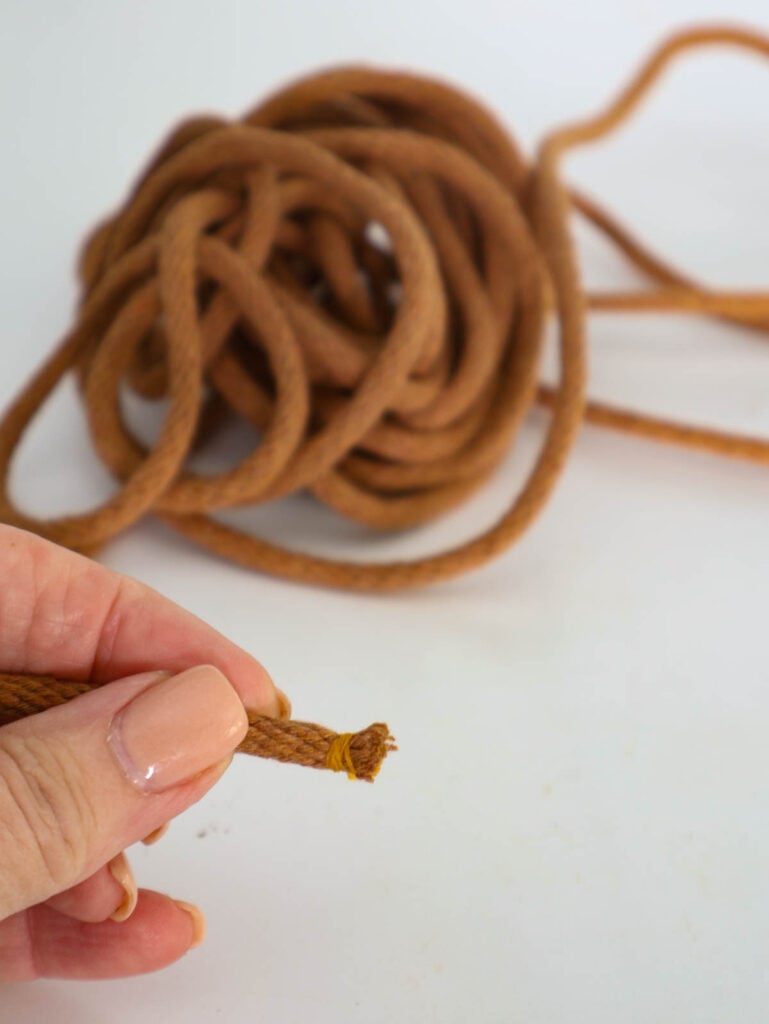
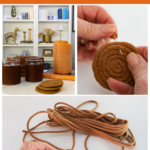
Step 4 – Bend the end over about 1/2 inch. Thread through the bent-over portion. Pull your thread tight. This will be the center of your coaster.
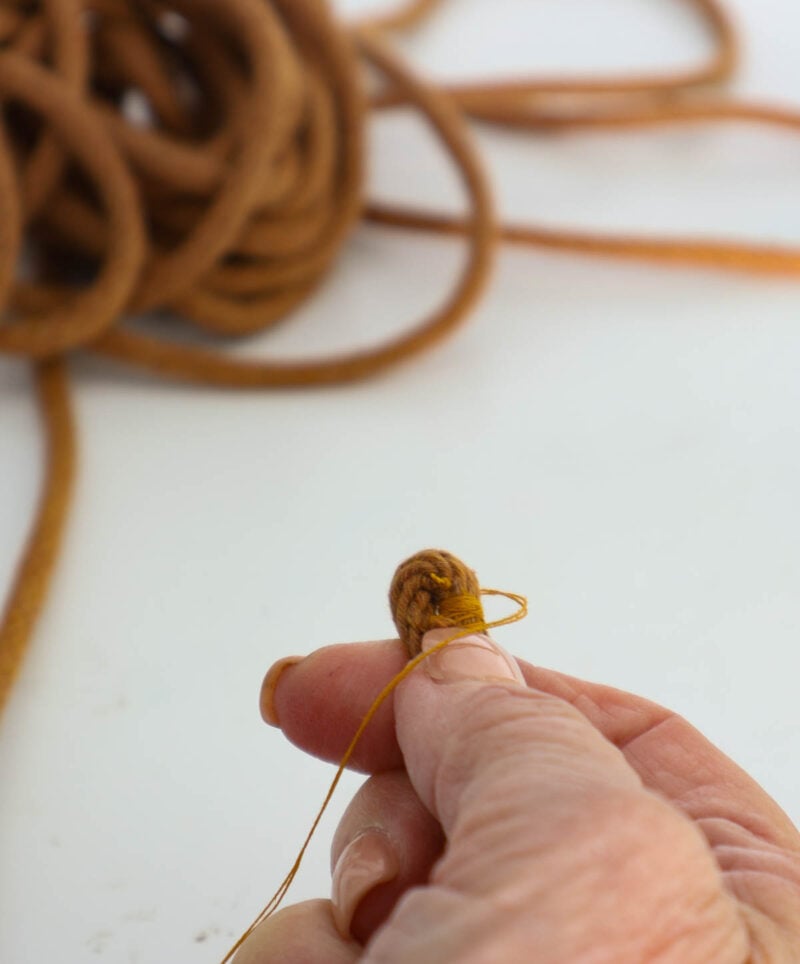
Step 5 – Bend the rope around the center. Push the thread through the outer rope and into the inner center. Pull the thread tight.
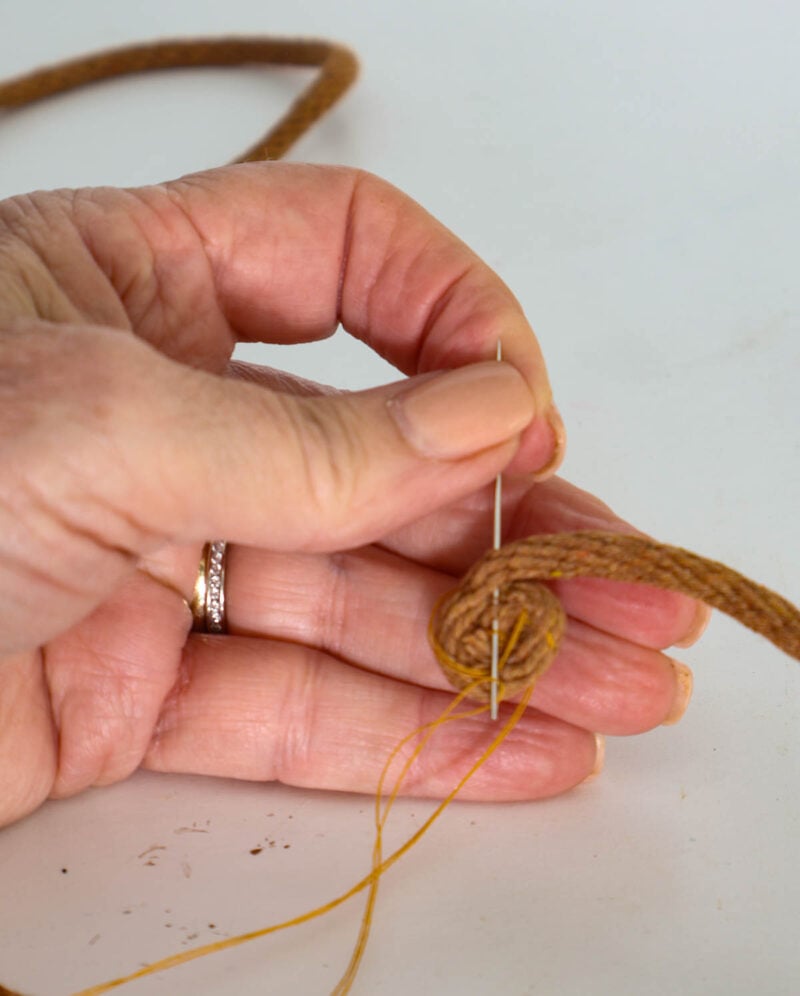
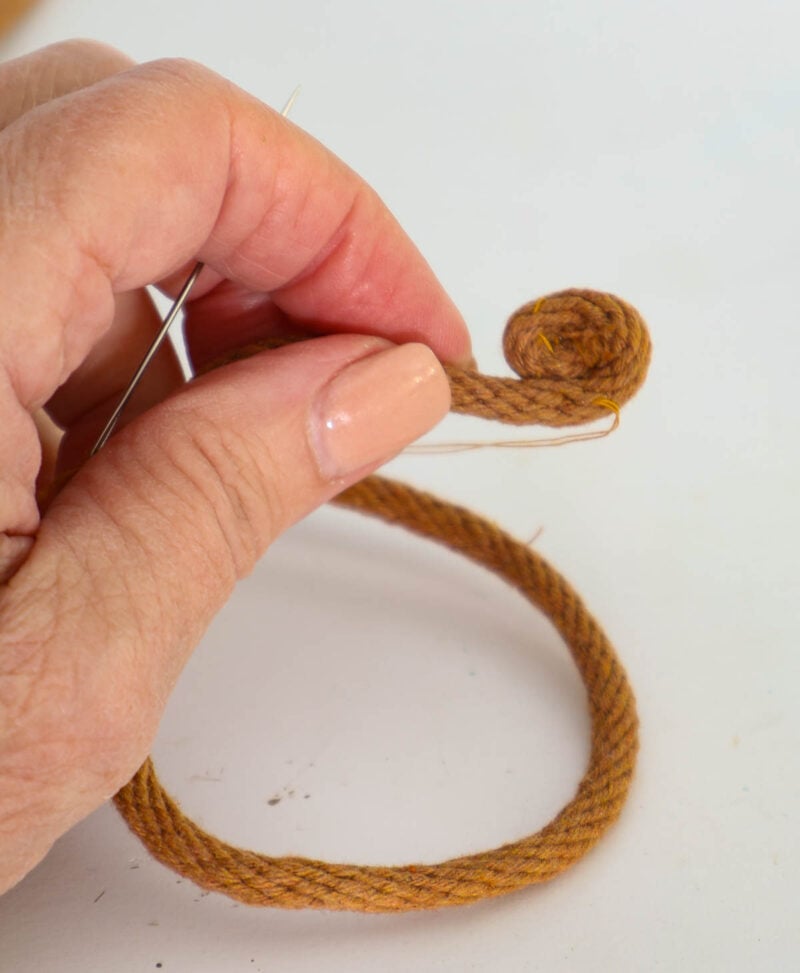
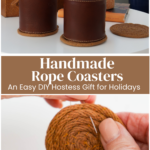
Step 6 – Continue to wrap the rope around the center, which will get bigger with every complete circle of the center. Use your needle and thread to attach each new row of rope to the previous one.
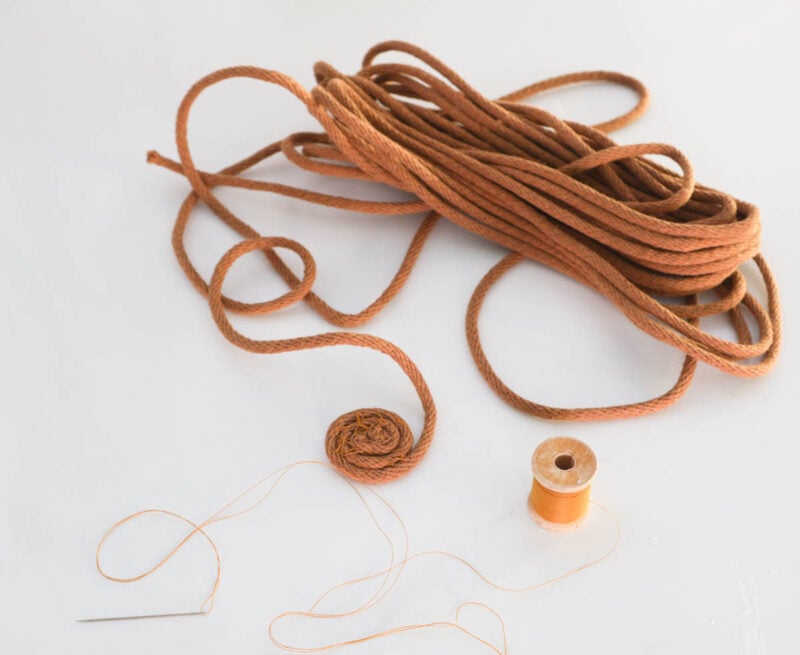
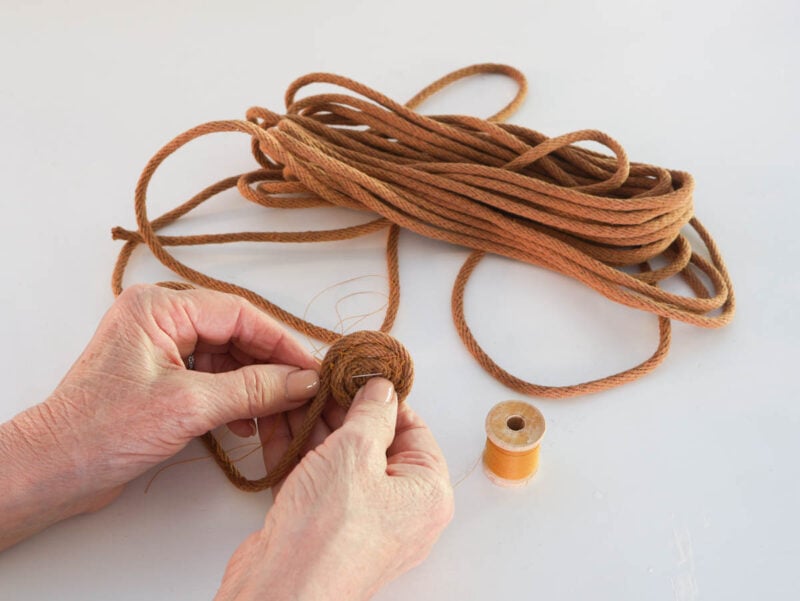
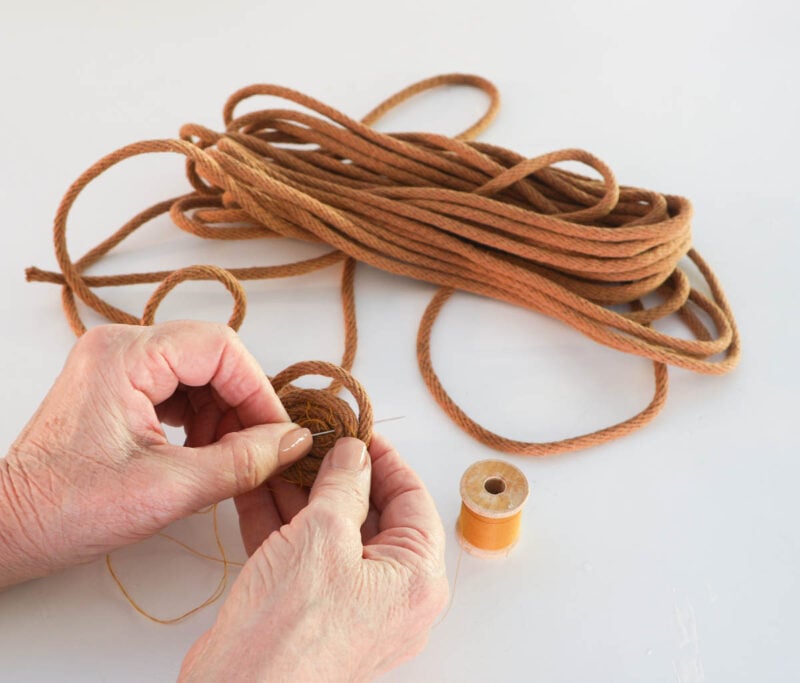
Use small stitches, going in and out from the previous row to the next one. Work from the top of the coaster so you can see your stitches.
TIP: If you pull the rope too tight as you wrap, the coaster can start to cup a little. Laying it flat on the table every few rows keeps it flat.
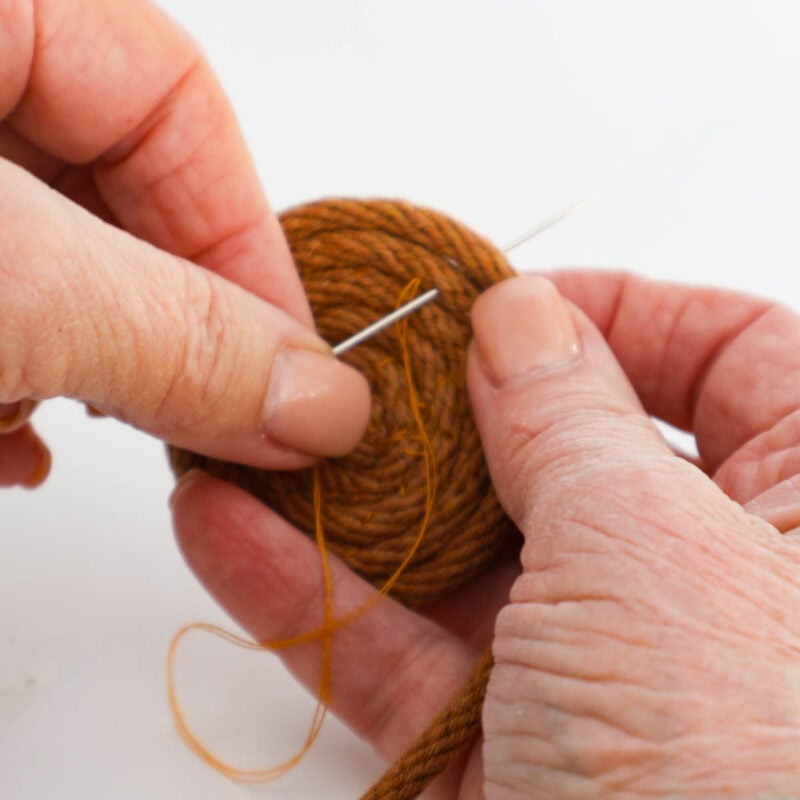
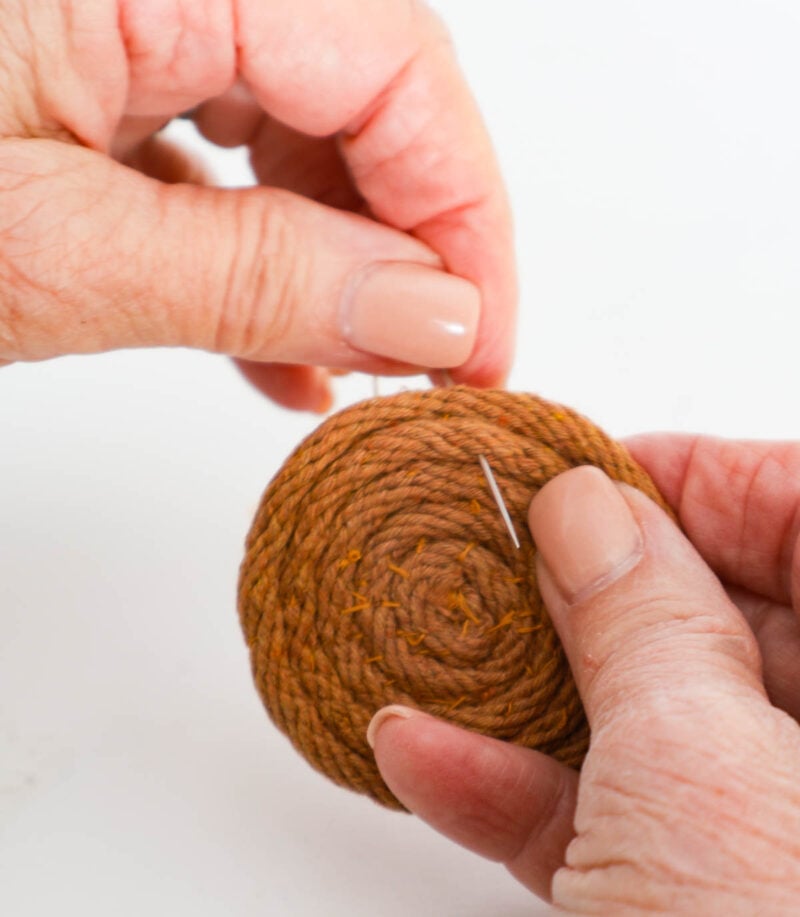
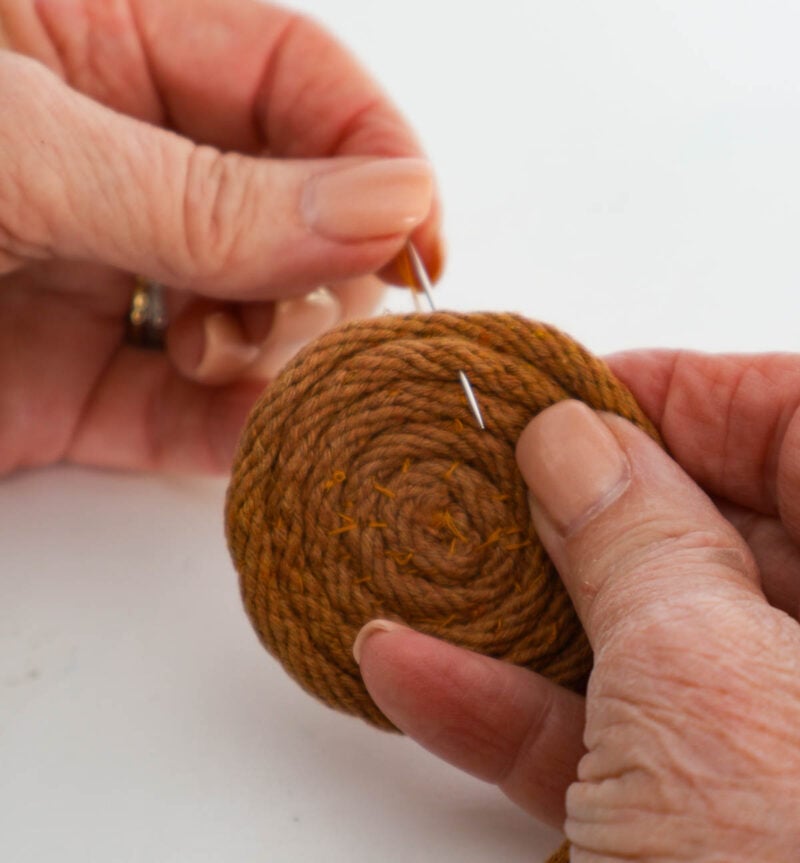
Step 7 – Check the diameter of your coaster as you add more rows of rope.
NOTE: You may see bits of thread between the rows of rope. That’s OK. No one will notice. I found that I got better with each coaster. My third one looked better than my first one. I also got faster with each coaster.
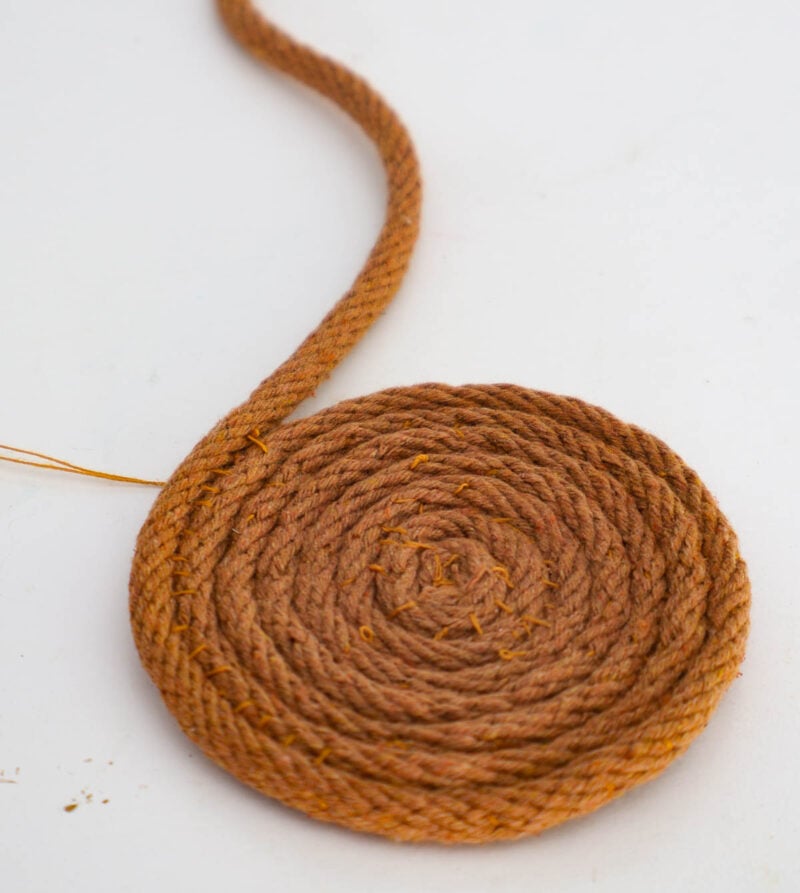
Continue wrapping the rope around your growing circle, and sewing the rows to the previous one.
TIP: Pull the thread tightly and make small stitches.
NOTE: When you are nearing the end of your thread, stop when you have about 3 inches left. Through the bottom side of the coaster, loop through the rope, then make a knot. For any remaining thread, stitch it back through two or three rows of rope and cut it off. This step secures and strengthens the coaster.
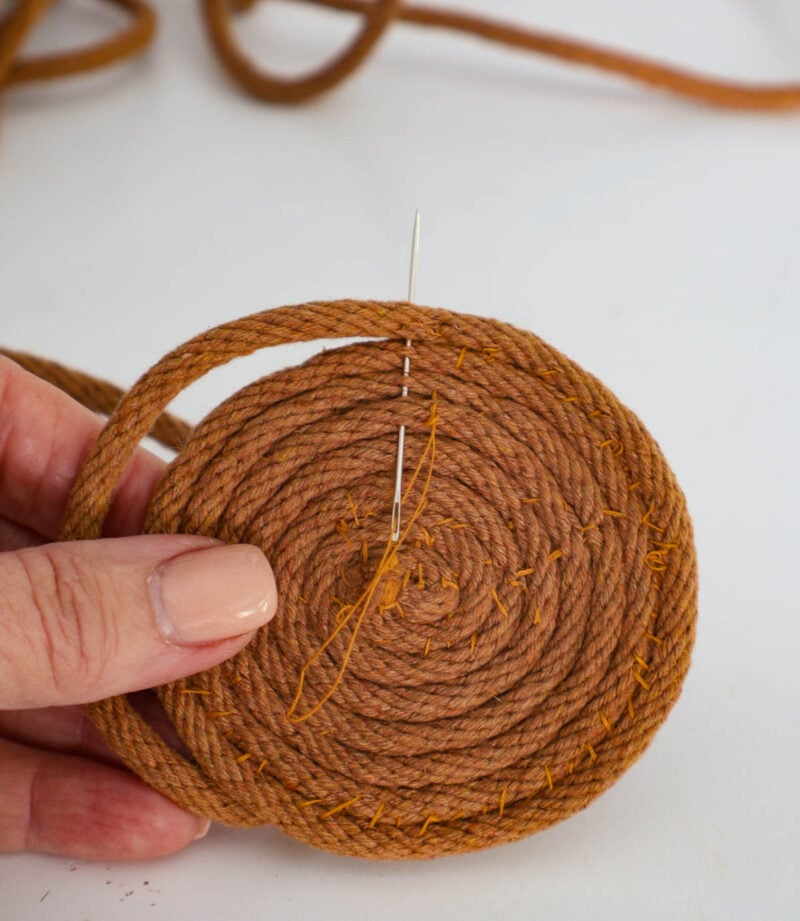
Step 8 – When you’ve reached the correct diameter for your coaster, cut the rope diagonally with your sewing scissors. Wrap several loops of thread around the end of the rope, and then stitch it into the last couple of rows of rope. Make sure the stitching is tight. Tie off the thread and push it back into two or three rows of the coaster. Clip off the end of the thread.
This step helps the end taper into the last row so it blends in.
And you are done. I made three coasters, but I intend to make one more for our living room.
NOTE: With small sharp scissors, you can clip off any stray pieces of thread.
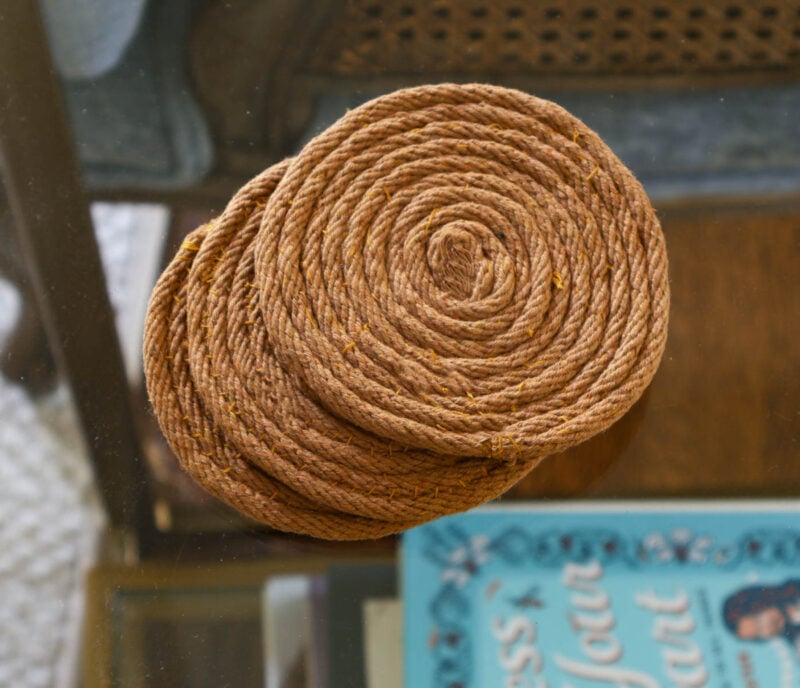
For Displaying Your Coasters
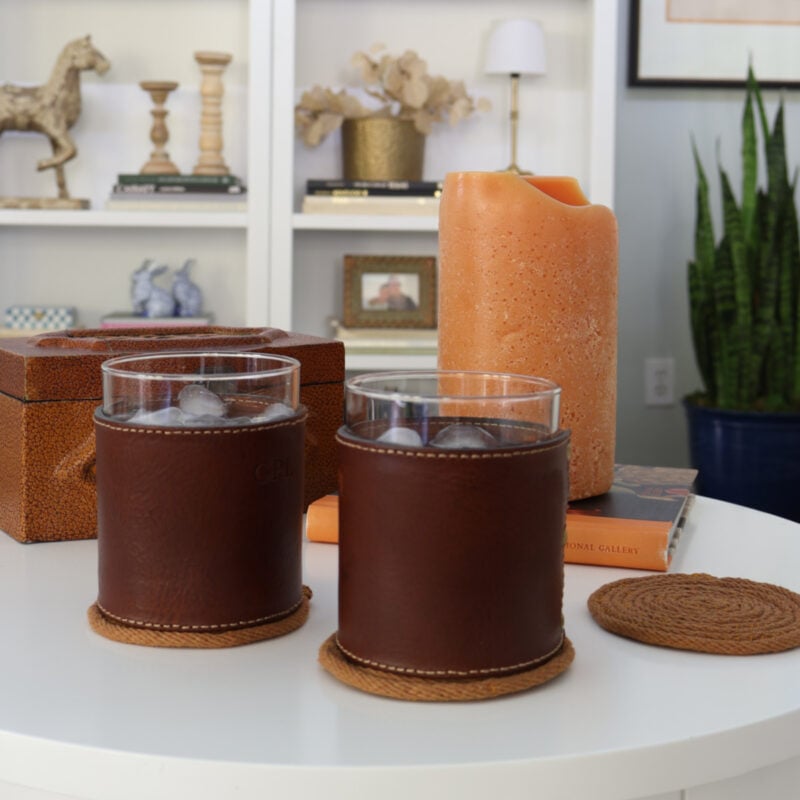
You can stack your coasters on one table, or you can put one coaster on your side tables where people might place their drink.
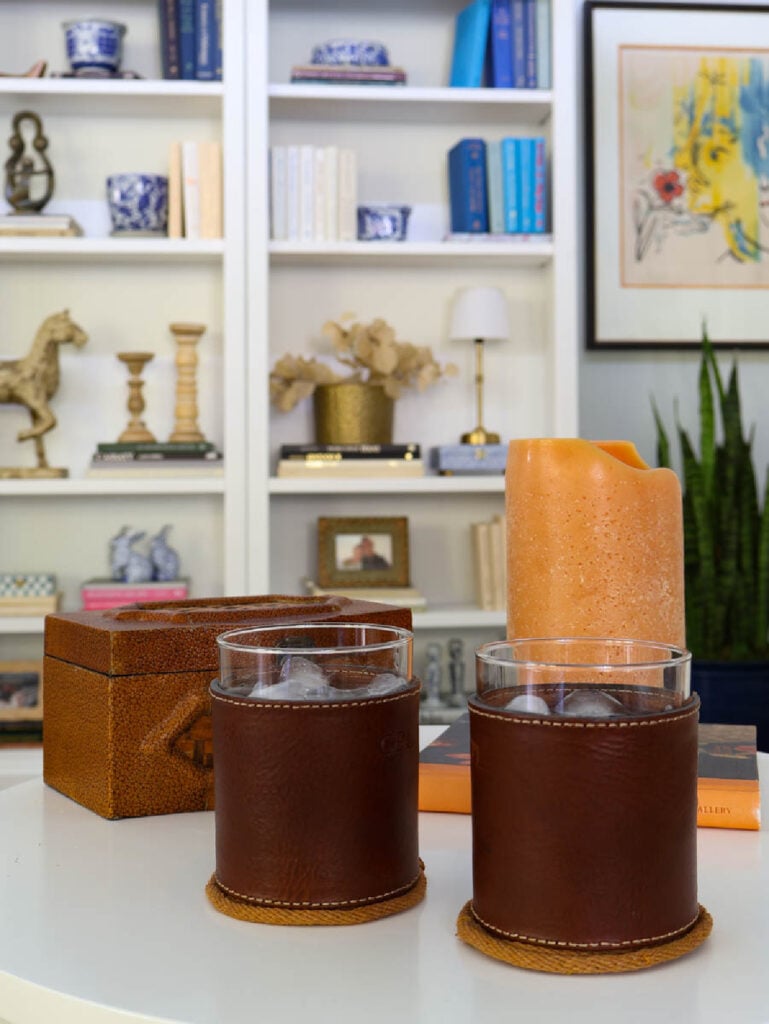
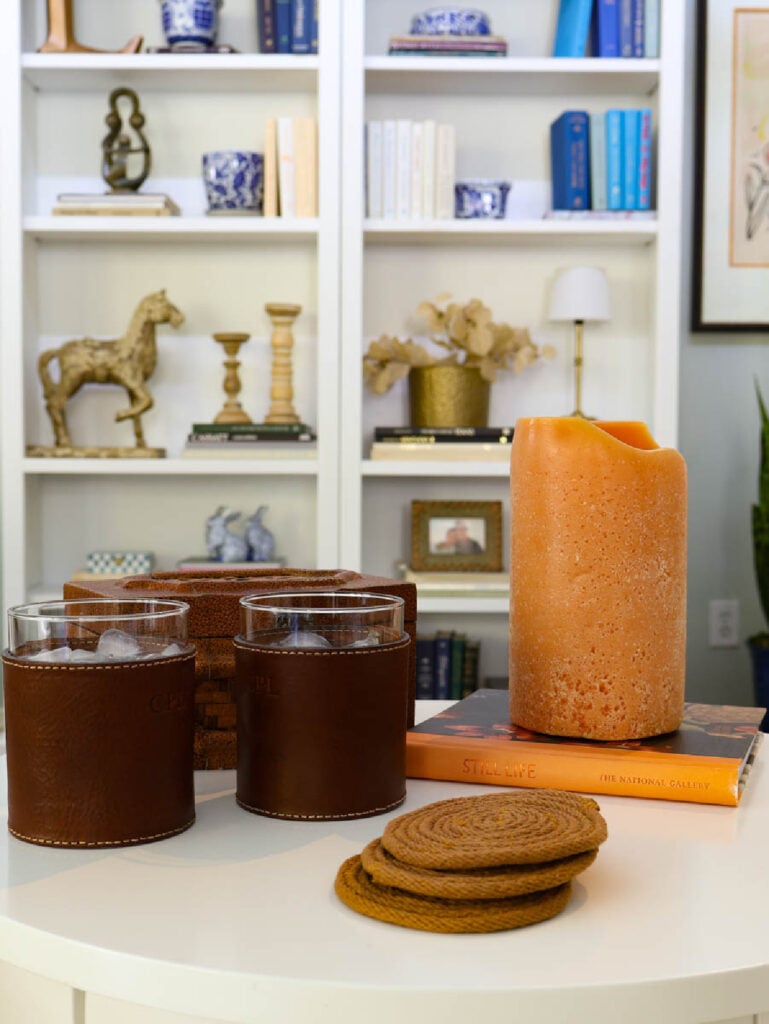
I can say that this is a super easy project. It requires no DIY skills. If you have ever sewn a hem or a button, you can make them. You can make them all the same color, as I did, or mix in coordinating colors.
Another great thing about these coasters? Once you learn the technique, you can make them for different seasons or holidays of the year. And they make great gifts. Make a set of four tie up with a pretty ribbon, and you have a much appreciated gift.
Cost of the Coaster Project
After I finished three coasters, I measured the rope I had left. I started with 10 yards and had 5 yards remaining, so each 3¾-inch coaster used 1⅔ yards of rope.
At $1.35 per yard, that’s $2.25 per coaster, or $6.75 for all three. A set of four would cost just $9.00, and one 10-yard package makes about six coasters. The thread cost was so small it’s not worth counting.
This is an easy, useful, and budget-friendly project.
- Three coasters cost $6.75 in total.
- A set of four would cost $9.00, which is great as a hostess gift idea.
- A full 10-yard package costs $13.50* and makes 6 coasters, or about 5 if you allow a little extra for trimming and practice.
*That price is based on the braided rope from The Mountain Company. If you buy the less expensive online product I shared, it would cost even less.
Answers for Your Braided Rope Coaster Questions
Each 3¾-inch coaster uses about 1⅔ yards of 3/16-inch rope, so one 10-yard package makes about six coasters.
About $2.25 per coaster, or $9.00 for a set of four, using rope that costs $1.35 per yard.
Because they’re 100% cotton, I recommend hand washing only. Wash them in cool water with a little mild soap, gently press out the water (don’t wring or twist), and lay them flat to dry, reshaping them as needed. Cotton can shrink, and dyed rope may bleed, so skip the washing machine and dryer. For small spills, spot-clean with a damp cloth would be my recommendation. One caveat: If you mix colors in one coaster, like blue with a light color, test a scrap of the darker rope for bleeding by dampening it and pressing it on a white paper towel.
It depends on your pace and how comfortable you are with hand sewing. This is a relaxing project to work on a little at a time, while watching TV or in the evening. I found I got faster with each coaster, and you probably will too.
Regular all-purpose sewing thread works perfectly. Choose a color that matches your rope so the stitches blend in, or a contrasting color if you’d like the stitching to show.
I hope you enjoyed this project. I can’t wait to try my hand at other projects using braided rope. Save this project for your next easy handmade craft. Pin it to your favorite craft board. Check out these Pinterest Boards and follow me: DIY Projects.