Lighted Christmas Tablescape
Have you ever thought of having a lighted Christmas tablescape? I love lights at Christmas and thought this would be a pretty idea to try.
Although we may not be entertaining this year for the holidays, I still love styling a Christmas tablescape ~ especially one that is lighted and festive. It’s just like having another large decorative scene in your home.
When Wayfair offered to let me pick out some new items for my Christmas tablescape, I felt like I could send my Christmas list straight to Santa.
Thank you to Wayfair for sponsoring this lighted Christmas tablescape post. Although I was compensated with a gift card to purchase items for my tablescape, all opinions are my own.
Christmas Tablescape with Lights
As it turned out, I had been asked by a local women’s club to create a video for their Zoom Christmas luncheon. I knew that my Christmas tablescape would be perfect to share. They even sent a professional videographer to my home to film me creating the tablescape.
When I create a tablescape, I love to use items that I already have or items that can be used in other ways. As I went shopping on the Wayfair site, I kept that practice in mind.
Tablescapes, especially for specific holidays, should be thought of as another decoration. Since the videographer was coming even before Thanksgiving, we can enjoy the tablescape for several weeks.
TIP: I recommend that you set your Christmas tablescape a few weeks ahead of time so you can enjoy the pretty decorations.
Step 1 ~ Think what your theme will be in terms of color or items used.
First, for this centerpiece, my color scheme would be white and gold with pops of red and green. I wanted to use some of our Santa collection and bottle brush trees.
Since I would be creating my tablescape a few weeks in advance, I wanted a centerpiece without flowers.
Shopping for My Tablescape
I wanted to use either lanterns or large jars or vases to hold my Santas. That was the first thing I looked for on my Wayfair shopping trip.
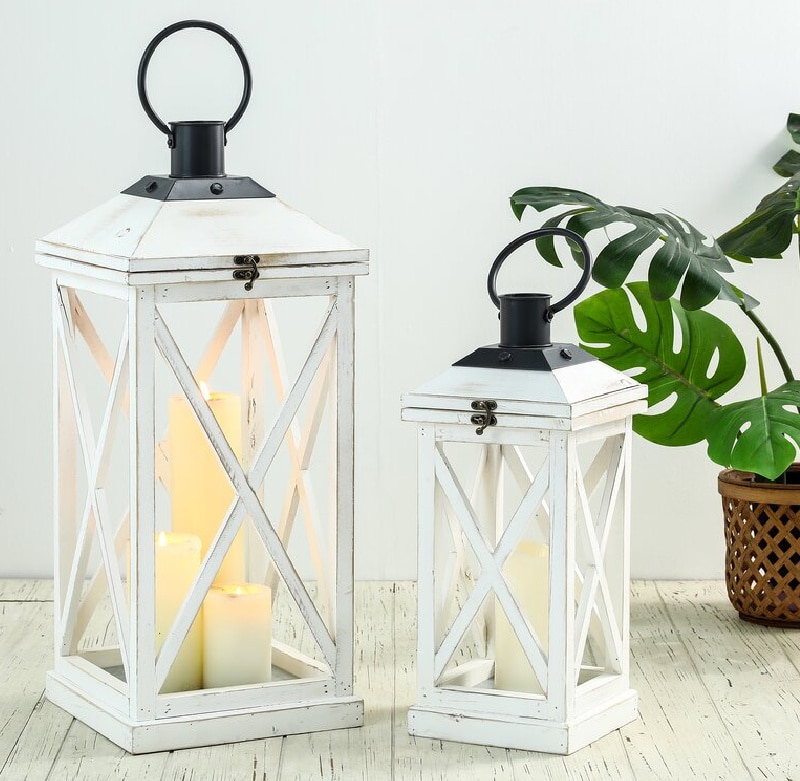
I was so excited when I found these wood and glass lanterns that could be used throughout the year in our home. This lantern set is very similar to the one I ordered. I love how the top lifts up for easy access.
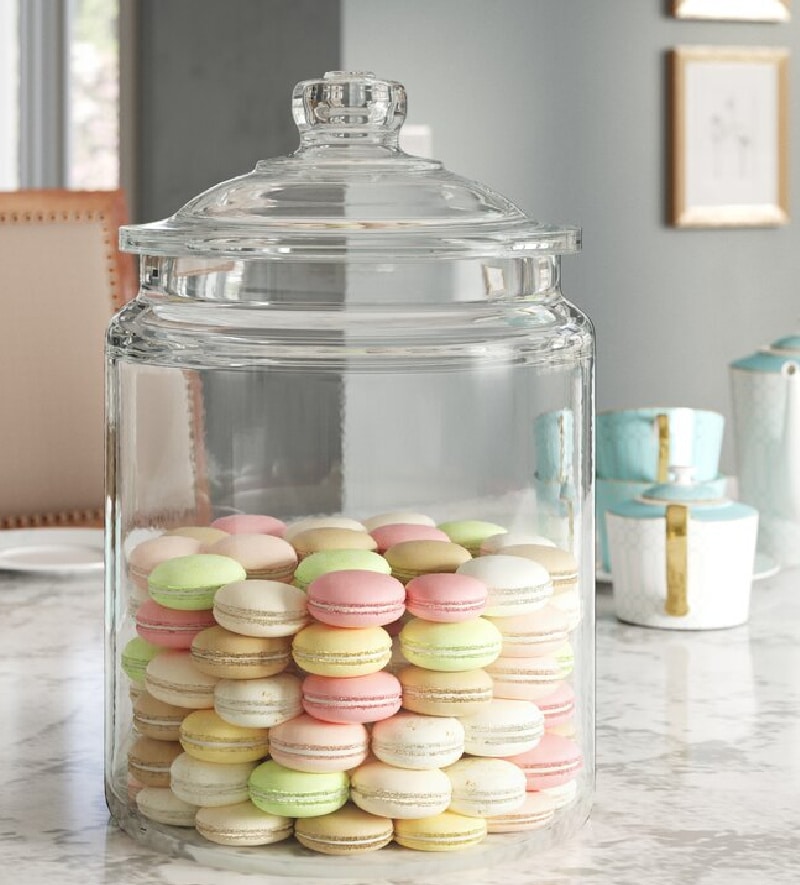
I love apothecary jars and I have several. I needed a really big one, not just for this centerpiece, but for year~round use. This super large 8~ quart jar went into my shopping cart faster than you can say jingle bells.
I wish Wayfair sold macarons!!
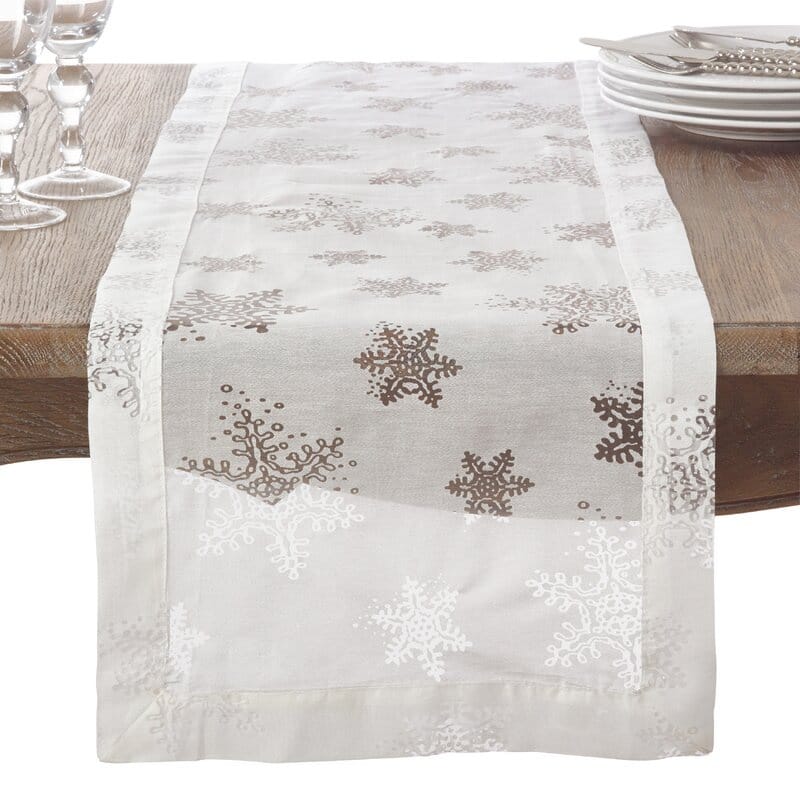
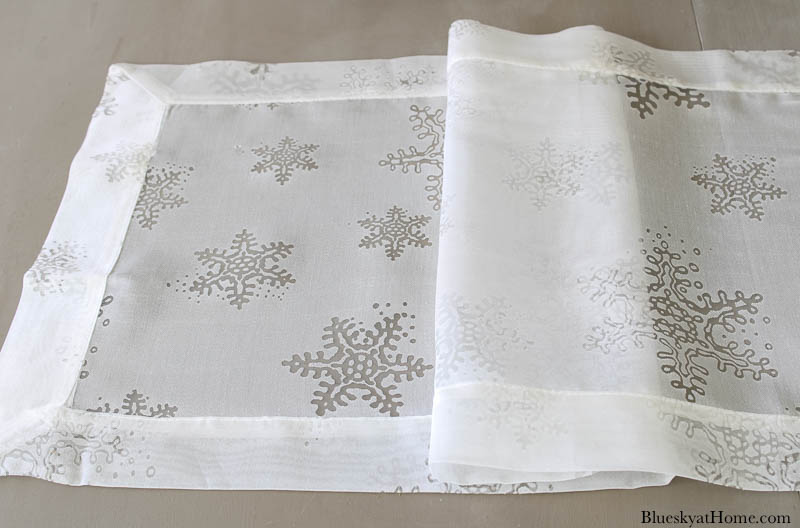
I needed one more thing before I could start creating my tablescape ~ a pretty runner to set my lanterns and apothecary jars on. I found this beautiful white runner with a snowflake motif.
Creating my Christmas Centerpiece
Here’s 3 tips I always follow:
- TIP: always gather everything you will need for your tablescape ~ centerpiece elements, placemats, dishes, silverware, glasses, napkins, napkin rings. This will make the process go faster.
- TIP: completely clear off your table to start with a clean slate.
- TIP: always create your centerpiece first.
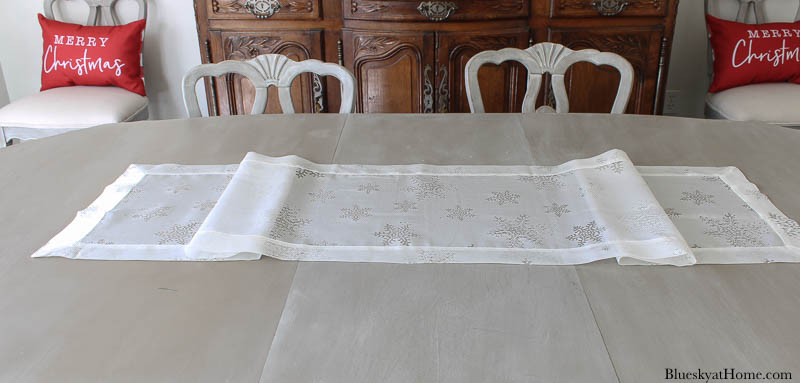
The first step was placing my new white snowflake runner on the table. I gave the runner a couple of pleats.
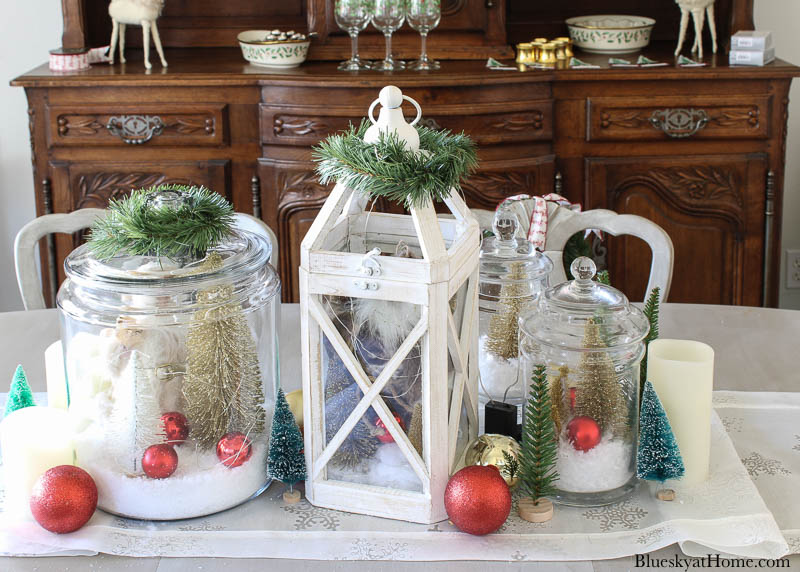
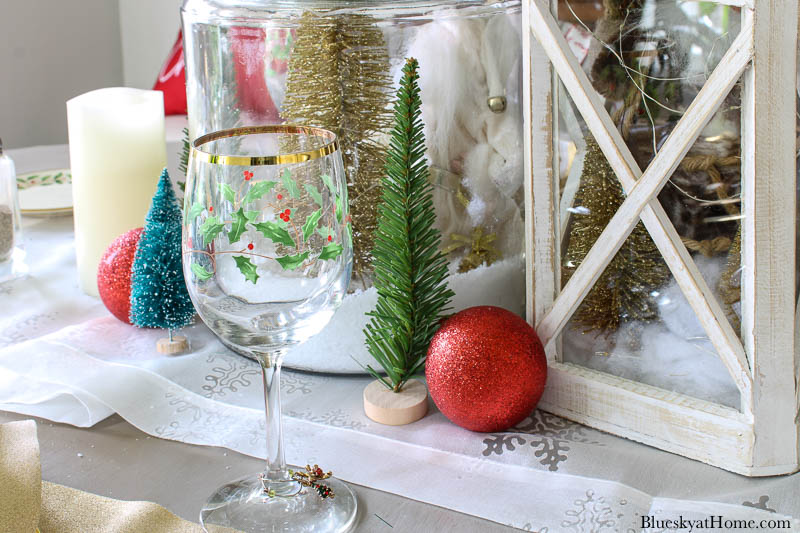
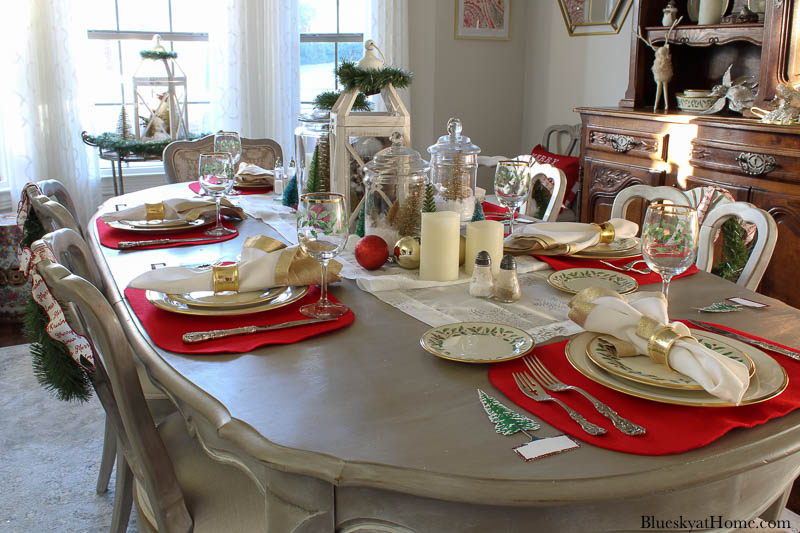
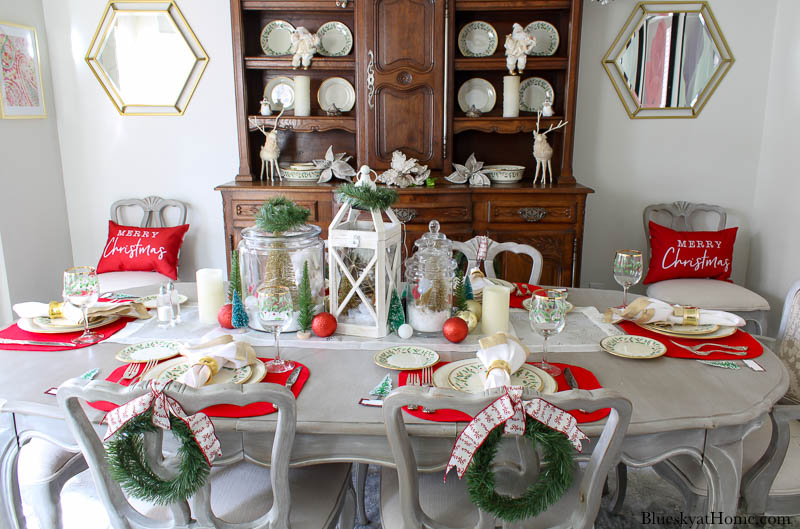
Next, I created the centerpiece. I filled the smaller lantern, the new large apothecary jar and two smaller jars with faux snow, Santas, bottle brush trees, small round ornaments and fairy lights.
I taped the battery pack for the fairy lights to the inside of the top of the lantern.
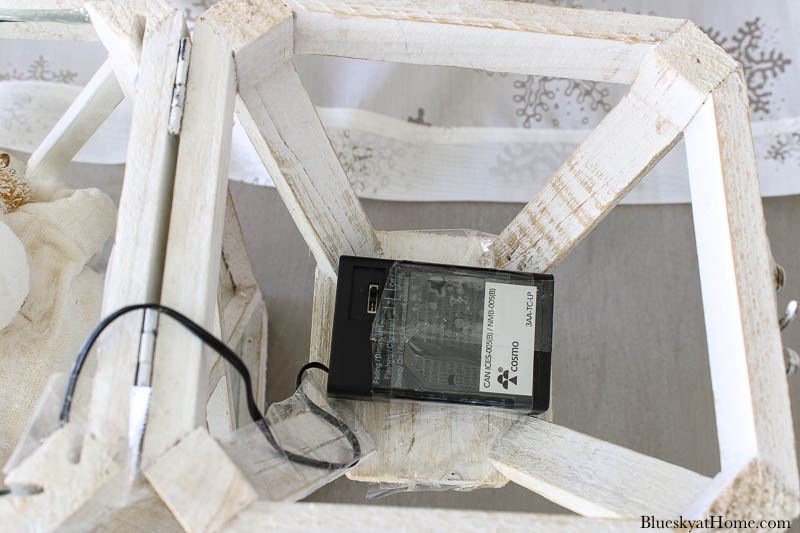
TIP: Battery~operated lights with timers are best for a lighted Christmas tablescape.
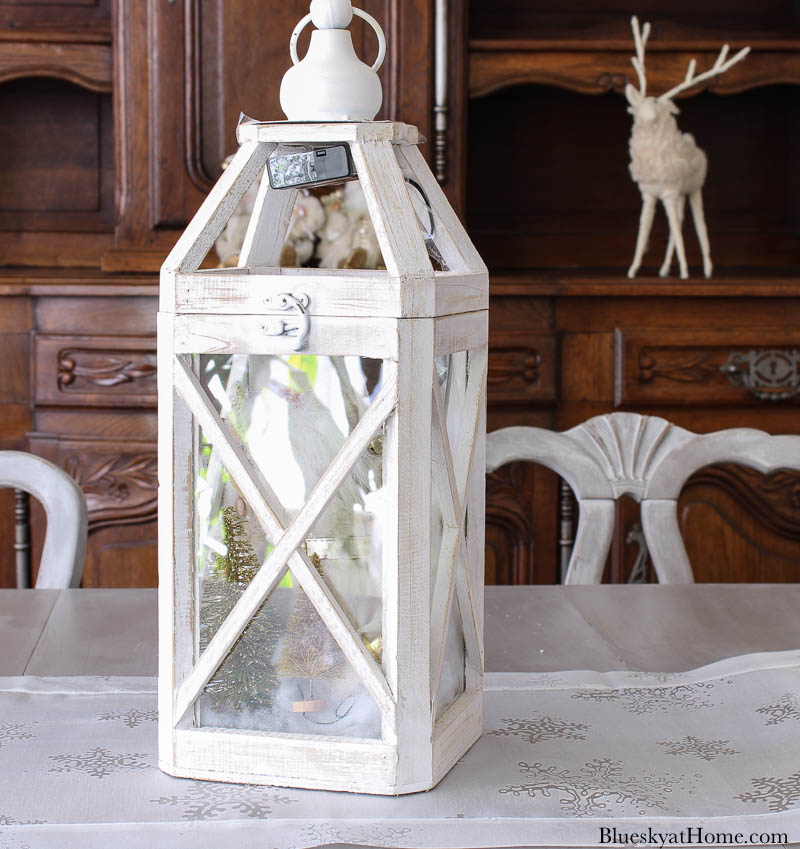
Wrapping greenery around the top of the lantern and jar added color and hid the battery packs.
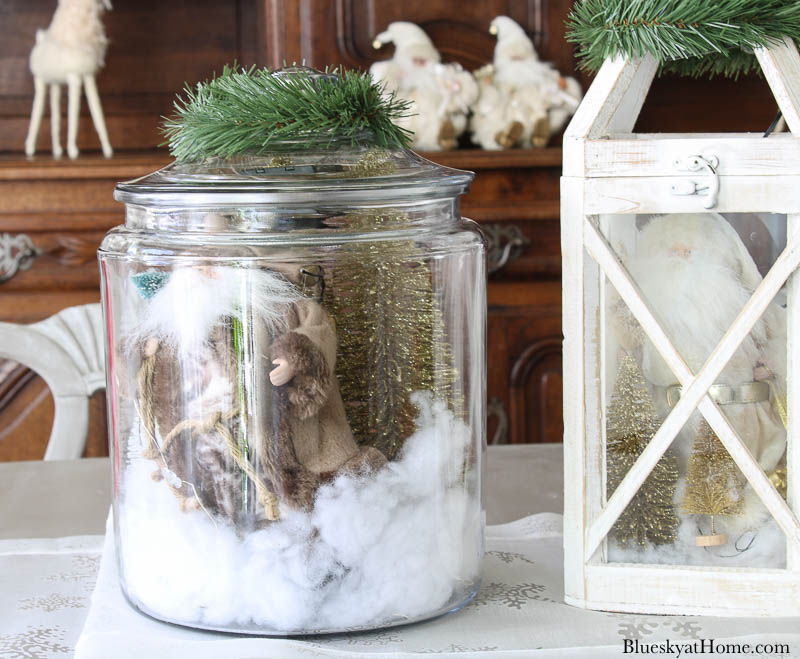
The large apothecary jar is balanced by the 2 smaller jars on the other side of the lantern.
Then I added more bottle brush trees and large red and gold ornaments. This brings in more color and interest.
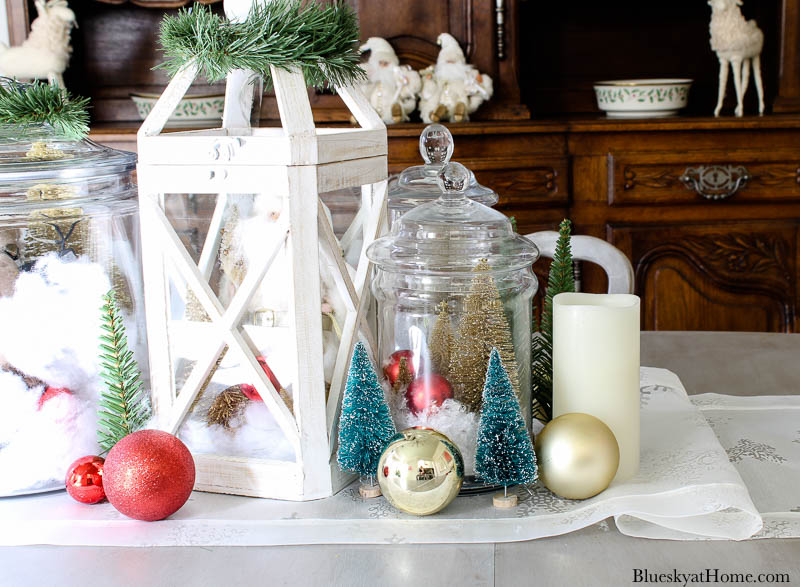
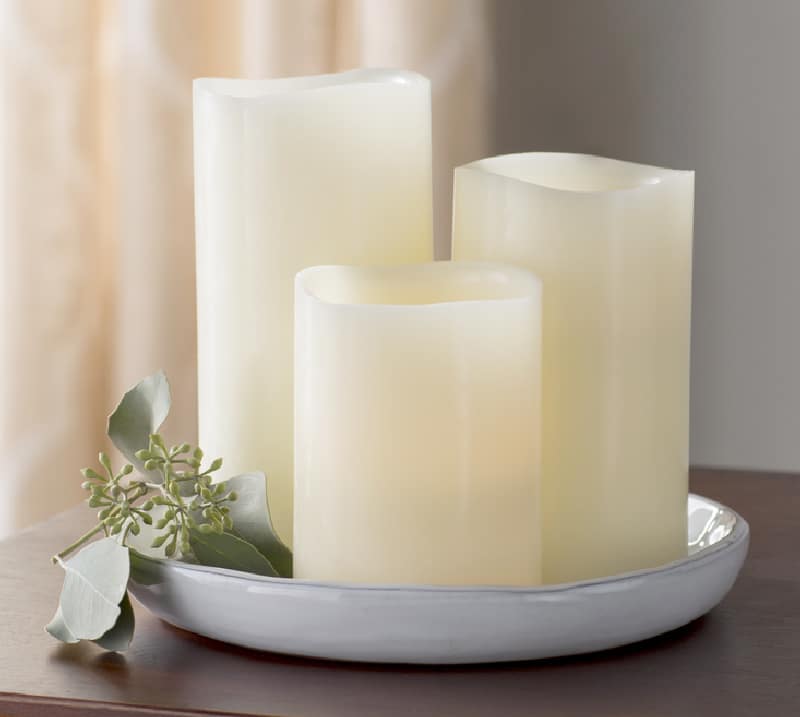
To add more ambiance to my lighted Christmas tablescape, I love using battery~operated candles ~ especially if they have a remote control. I found this set of 3 in 3 sizes.
Adding Christmas Place Settings
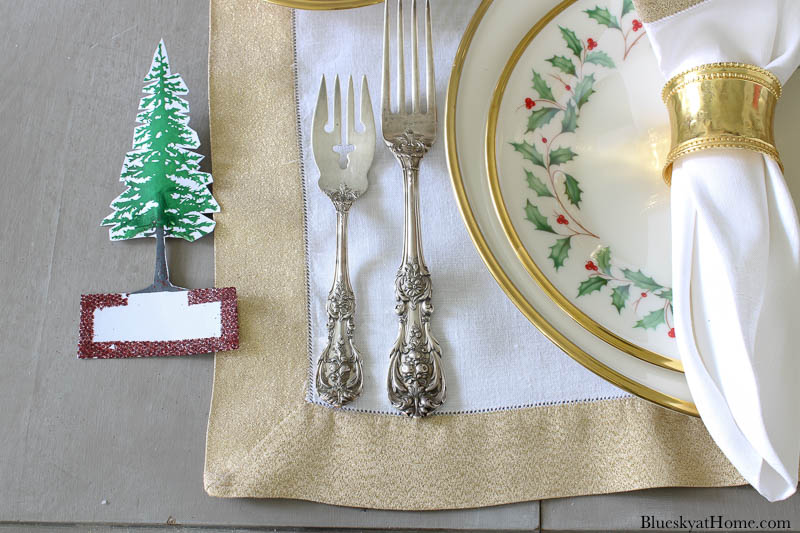
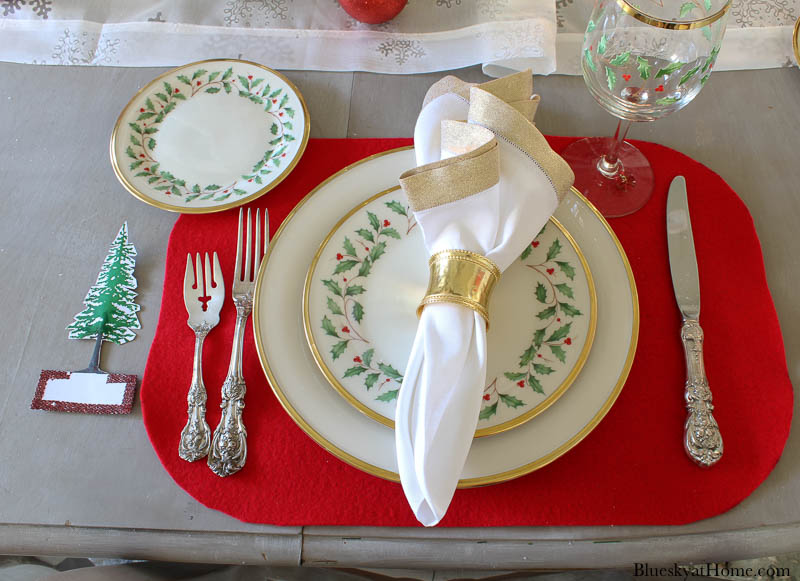
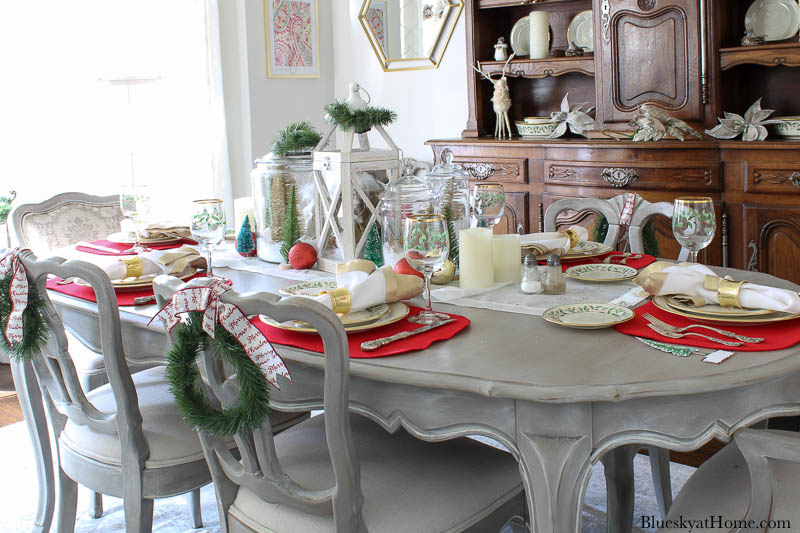
Once your centerpiece is in place, it’s time for the place settings. I decided to use our white and gold~trimmed placemats and matching napkins, our Christmas china and my mother’s Francis I sterling silver.
The gold napkin rings add a little bling.
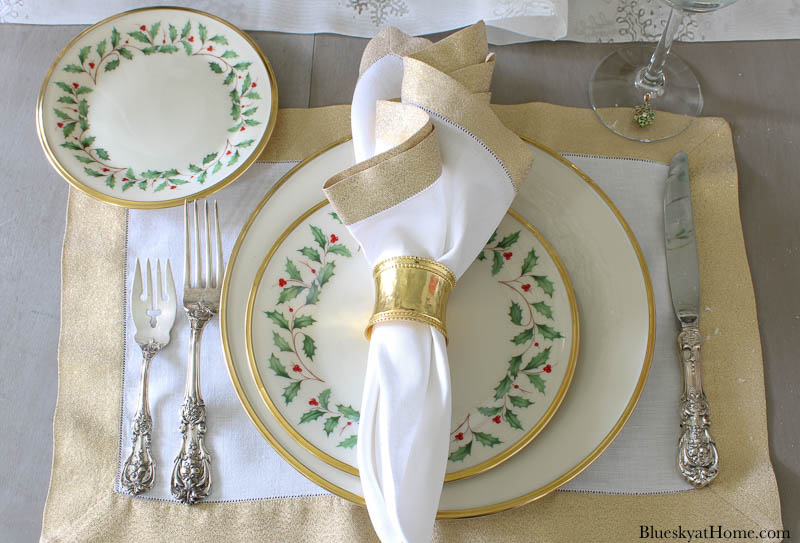
Then I added our Christmas wine glasses.
I love adding a personal touch to every tablescape and I love placecards. Making these Christmas tree ones was fun and easy.
After a few days, I decided that the white and gold placemats were too big and I wanted more red on the table. I replaced them with the red felt ones that I made last year.
Much better! Don’t be afraid to switch elements out.
Embellishments for the Christmas Dining Room
Don’t forget that there are other elements in the dining room that you can decorate. Anything that adds color and interest is a good thing.
We have 2 extra chairs on the back wall of the dining room. I love to place decorative pillows on them to bring the eye in, add color, texture, and interest.
These Merry Christmas pillows were perfect. I can always use them in another room during the holidays. They have a buffalo check red and white fabric on the other side.

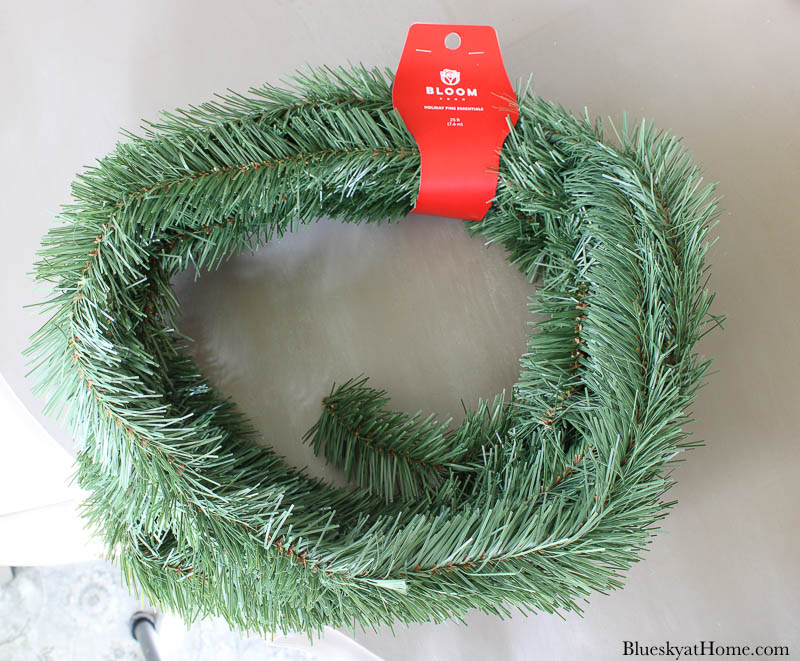
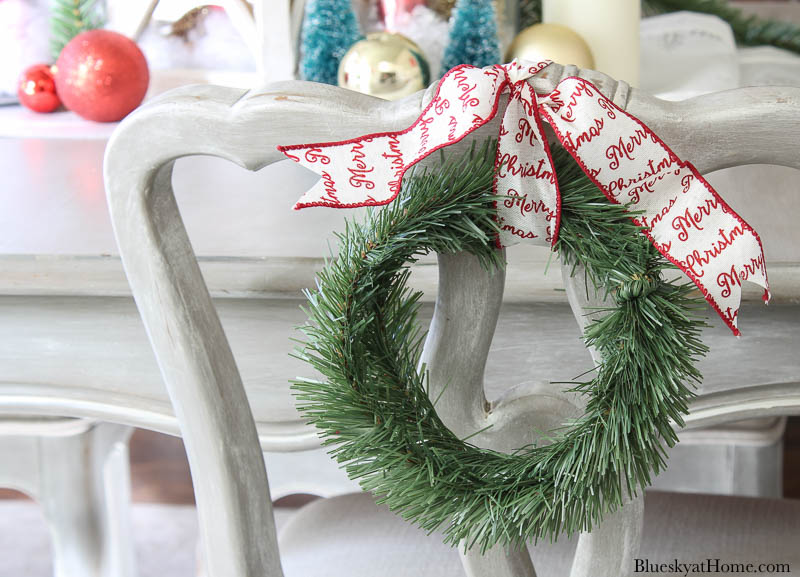
I like to add interest to the backs of the chairs using small wreaths but I couldn’t find any. Instead, I used thin garland and made 2 loops to create a wreath. Then it was easy to tie them to the back of the chairs with Christmas ribbon.
Our bar cart sits in the bay window of our dining room. It’s the perfect spot to decorate for the holidays. I used the larger lantern of the lantern set. It was easy to repeat the same elements as on the Christmas tablescape.
I also added more garland around the bar cart and added red and gold ornaments. It’s magical at night and is pretty from outside.
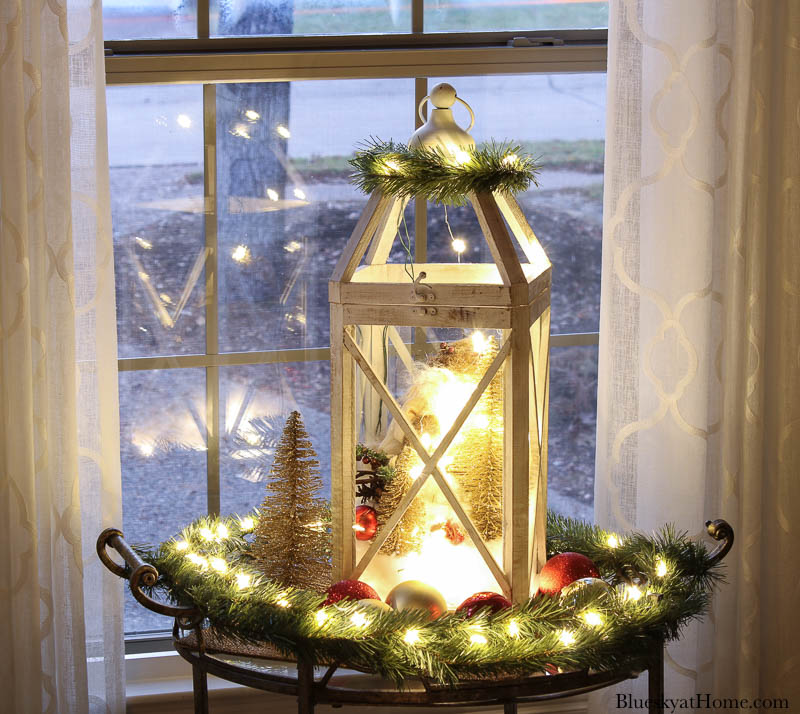
Speaking of magic, I love when the lights come on at night. With one click on the remote, then the candles come on, too. This is the lighted Christmas tablescape look that I wanted.
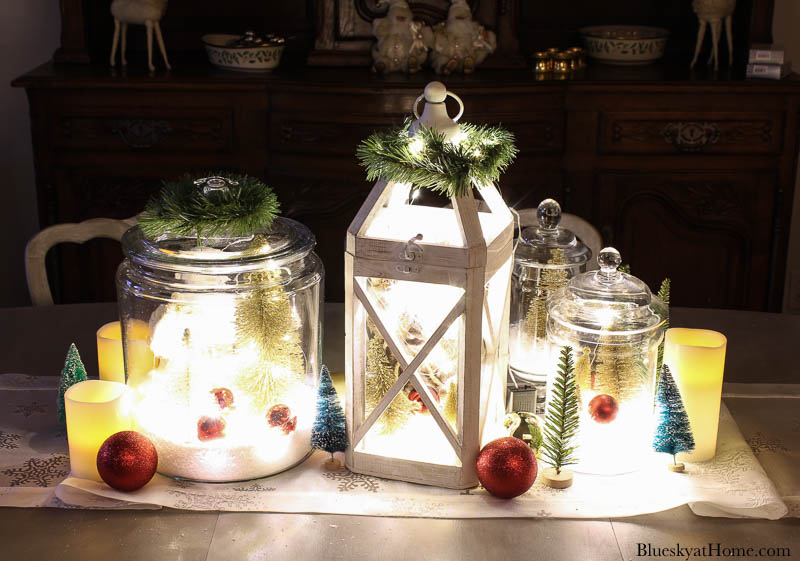
It’s so nice to pass by the dining room and see the pretty centerpiece and place settings.
Since I finished the Christmas tablescape, we have added more decorations to the rest of the room with garland and wreaths, which I’ll show later.
I hope you enjoyed my lighted Christmas tablescape. It’s one of my favorites. Thank you to Wayfair for playing Santa.
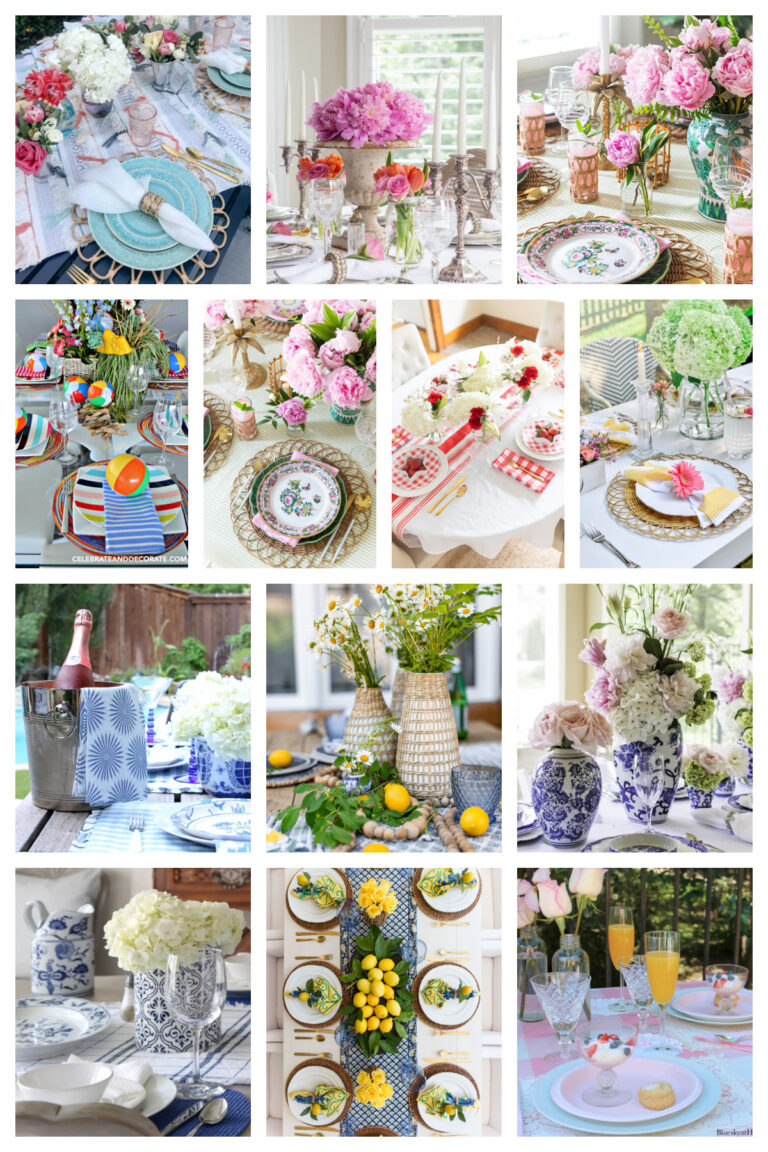
Here are some other Christmas tablescapes for your inspiration.
Don’t hesitate to set your tablescape right now so you can enjoy it during the holiday season.
Don’t forget to PIN this tablescape. And you can check out my Christmas Tablescape Pinterest Board.




Carol, this is so lovely. I miss you on our tablescape blog hops with Chloe! How great to be able to Zoom and show your craftiness in tablescaping.
I like your Christmas tablescape. The lanterns are so pretty and everything looks festive and cheery!
Thanks for linking up and sharing this post with us on our Embracing Home and Family-link up!
-Cherelle
Your table looks fantastic and the woman’s group chose the perfect person to do a video. You give great tutorials and are so darn cute while doing it. Congrats on the Wayfair post. I’d love one of those 8-qt. jars! Wowza!