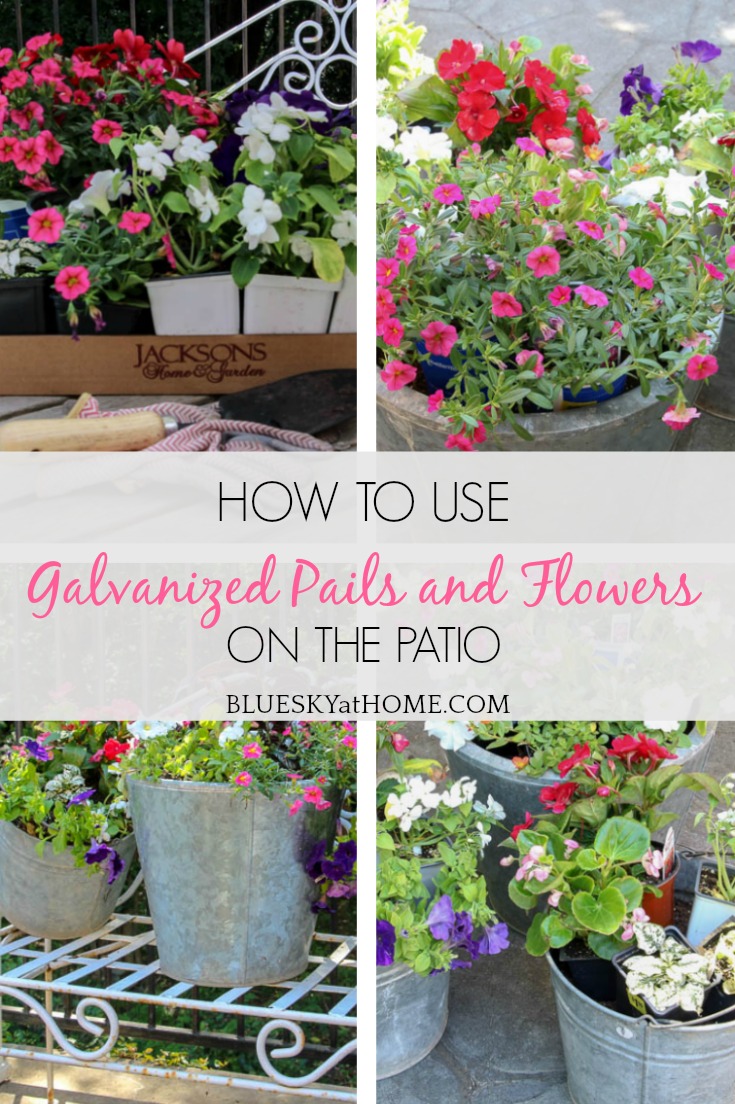
How to Use Galvanized Pails and Flowers on the Patio
With April almost over and warmer temperatures coming to most of the country, we all can look forward to planting flowers. Warm weather annuals bring massive color to our yards, flower beds, and to containers. I love all sorts of containers, but one of my favorites are galvanized pails and watering cans. So let me show you how to use galvanized pails and flowers on your patio for color and interest.
You can find galvanized pails, water cans, and other containers at your local nursery and hardware stores. Galvanized pails and watering cans are a great find at flea markets and antique malls. I’ve been lucky enough to find a few. They are not expensive and have so many uses.
It’s the last Tuesday of the month so that means Pinterest Challenge hosted by Cindy of County Road 407. When I saw the Pinterest inspiration that Cindy proposed for this month, I knew I was in. I had galvanized pails and it was time to start planting flowers, so let me show you how to use galvanized pails and flowers on the patio or your porch or wherever you want to add springtime color to your home.

If you are joining me from my sweet friend Julie (and co~hostess at Tuesday Turn About) from My Wee Abode, then welcome. Julie has a great talent for creating wonderful things in a small space.
How to Use Galvanized Pails and Flowers on the Patio
So, what was our inspiration for using galvanized pails and flowers? This project from Leo and Jane from Cottage at the Crossroads used galvanized pails and flowers in what they called a topsy~turvey way. It looks like the galvanized pails are hanging in midair. I won’t go into how they achieved this look ~ that’s the part of the project that is a surprise.
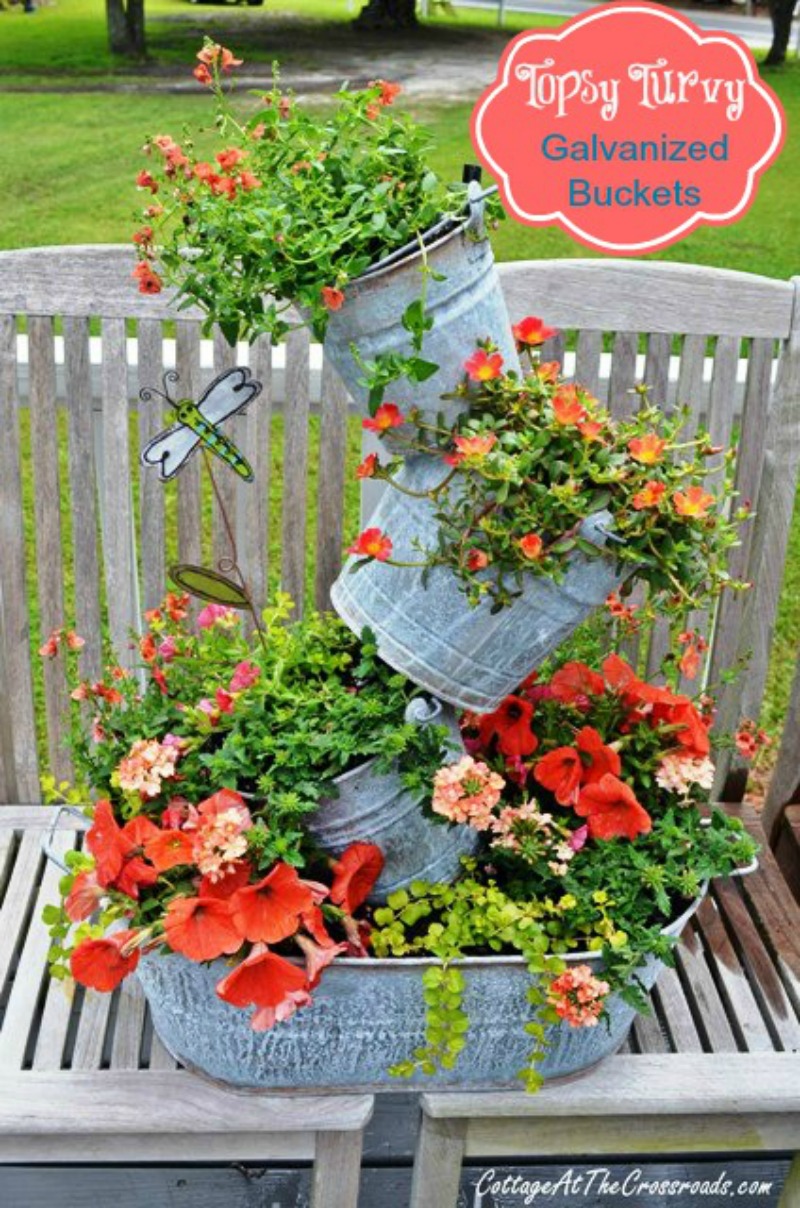
Years ago on a girls’ trip to the Texas Hill Country, I bought a “thing~ a ~bob” that would actually have allowed me to replicate their project. After years of sitting in the garage (About once a month, Sweet Shark would ask me what it was and I would have to explain again.), when we moved, I put it in a garage sale. Now I wish I had kept it.
My Pinterest Challenge Project
I wasn’t going to copy the topsy~turey part of Leo and Jane’s project, just the elements of galvanized pails and flowers.
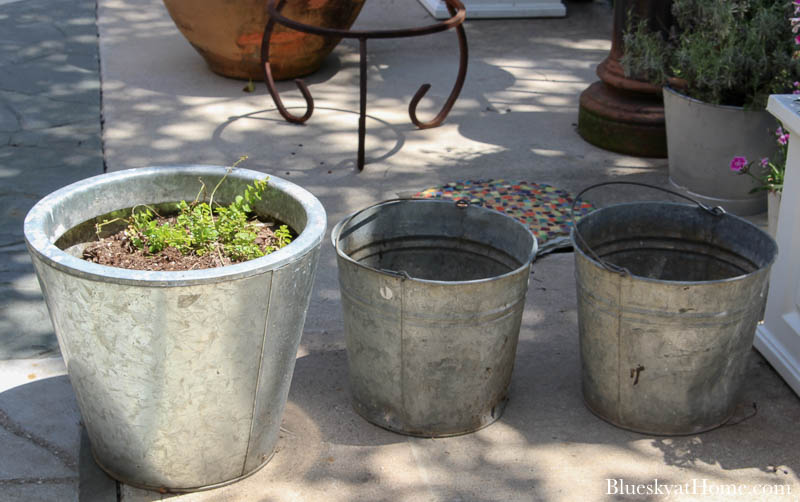
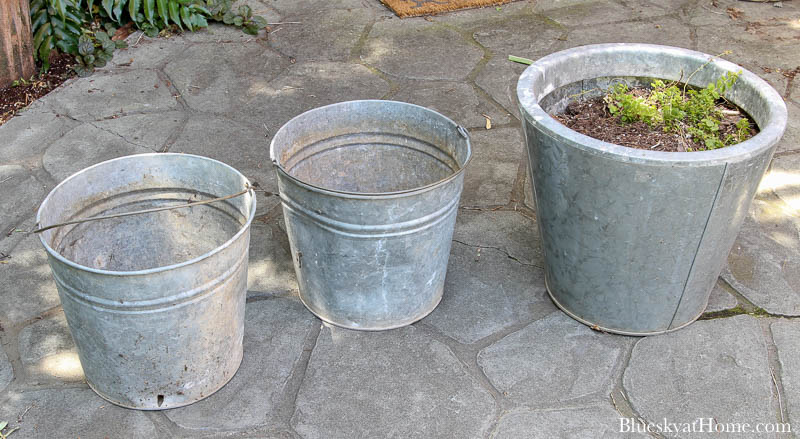
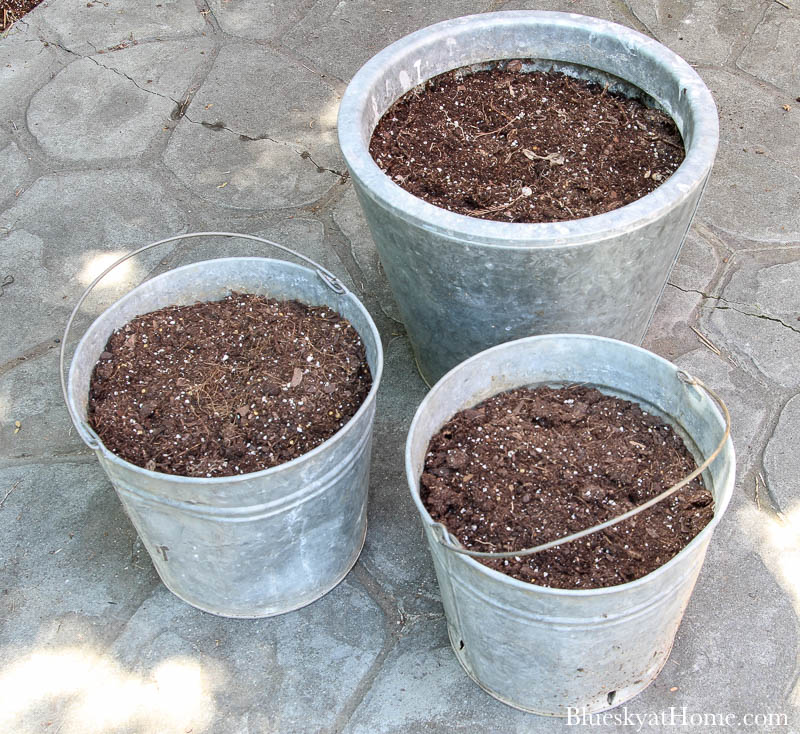
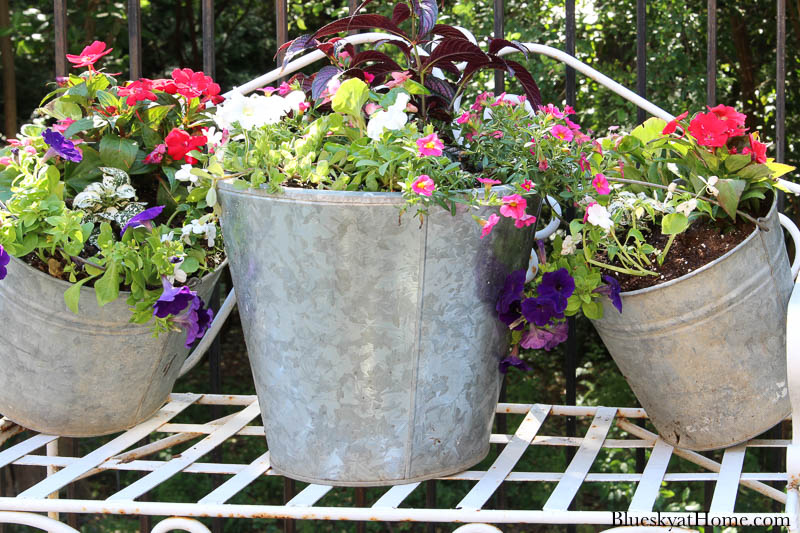
I did have 3 galvanized pails on hand that would be perfect for this Pinterest Challenge. The 2 on the right are true old galvanized pails that I bought at a flea market. The larger container on the left originally had an azalea bush in it that I bought at a charity auction several years ago. After a couple of years, the azalea died and I’ve been using all three pails for other flowers and herbs. In the background, you can see another galvanized pails that contains lavender
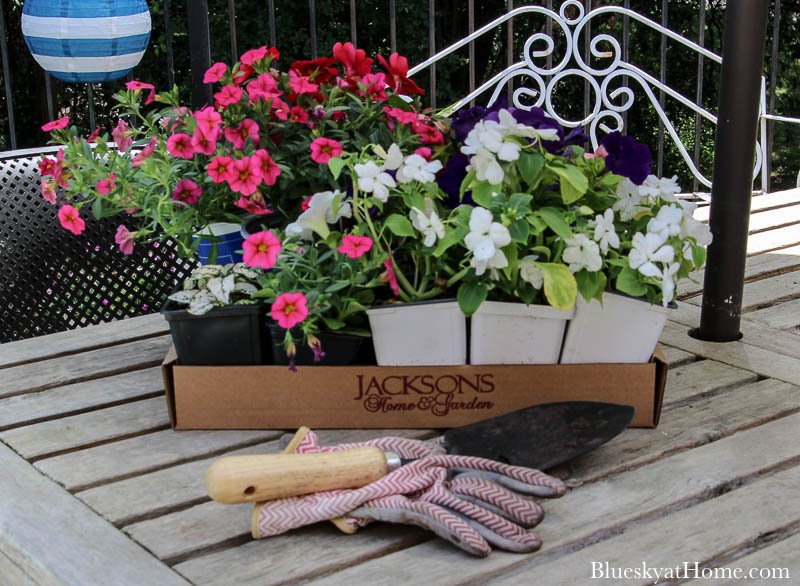
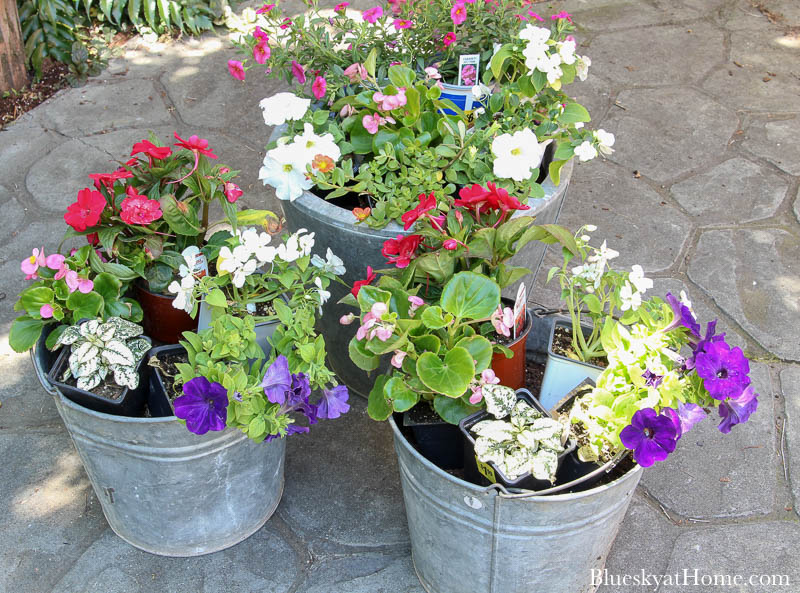
Of course, a trip to the nursery (which was packed with everyone wearing masks) was in order. Our backyard patio gets a combination of shady, partial shade/sun, and full sun areas. I buy plants with each area in mind. For this planting project, I purchased flowers that would work in the partly shady, partly sunny area, which means in the middle of our backyard.
Do you love the look of little containers of flowers just waiting to be planted? It makes my heart sing.
Beside my flowers and pails, I gathered:
- small trowel
- garden gloves
- clay shards
- newspaper
- potting soil
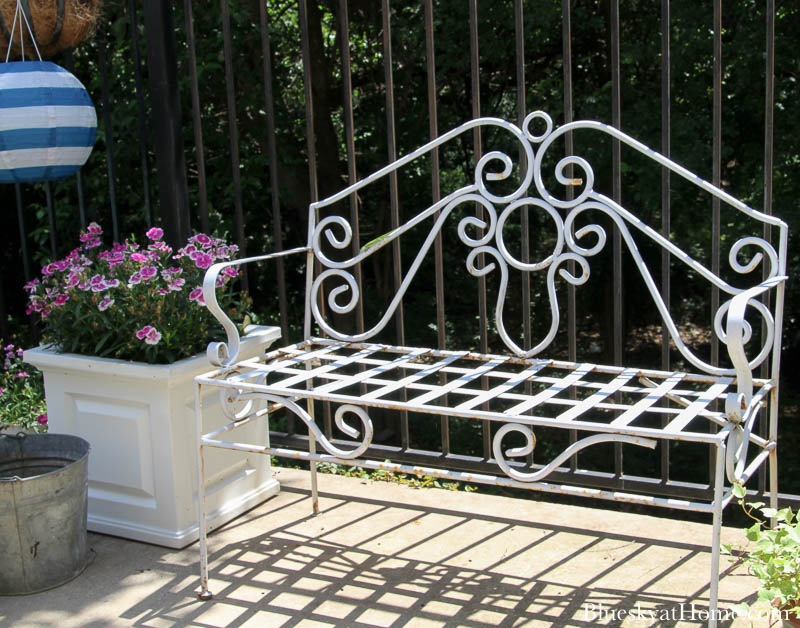
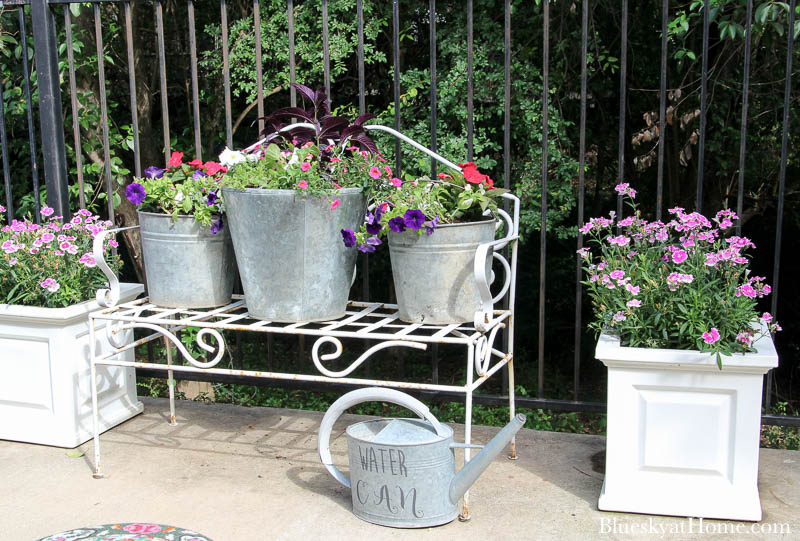
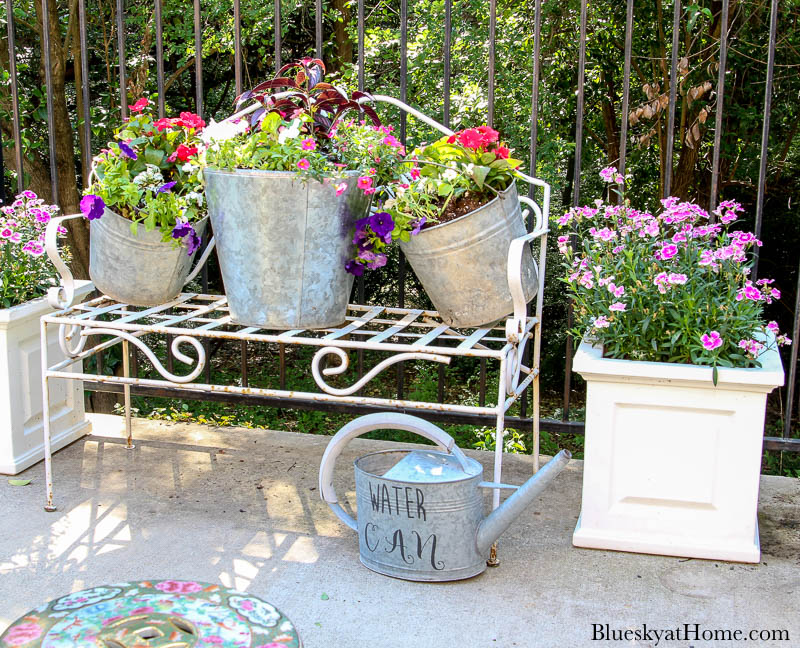
The place for my galvanized pails and flowers would be our white bench. I love the garden feel of this bench that I bought on a trip to the Hill Country. It was rusty, but I painted it white. I also had a cushion made for it a few years ago. Back in February, I noticed that the squirrels got hungry and chewed a few big holes in the cushion. I threw it away and for now, it doesn’t have a cushion.
A perfect place to display flowers in galvanized pails.
Preparing Your Metal Containers
The first thing I did was empty the 2 small galvanized pails of last year’s dead plants and dirt. The larger galvanized container still had a bit of Crepping Jenny in it.
When I bought the galvanized containers home, the first thing Sweet Shark asked was if they had holes in them, which they did not. We used my electric drill to drill several holes in the bottom of each pail.
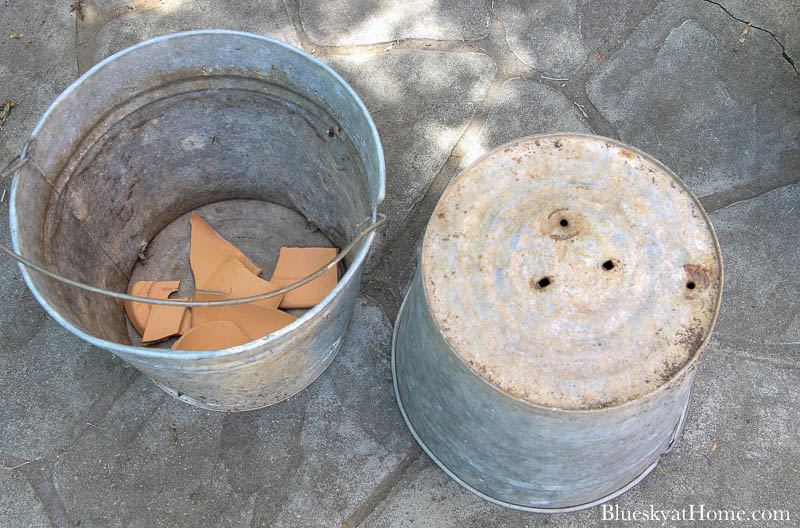
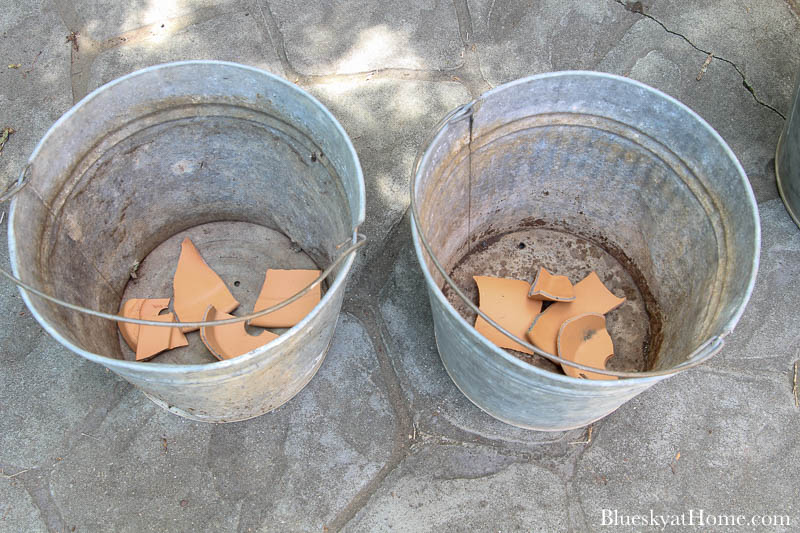
I always put some pieces of clay shards or small rocks in the bottom of containers for drainage.
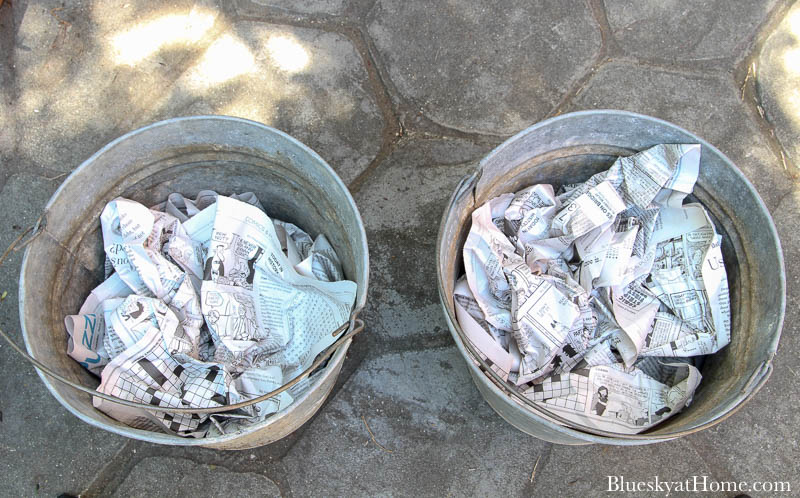
TIP: The next step is to fill the pail about halfway with wadded up newspaper and pack it down. This addition means less dirt, which means your pail isn’t as heavy. As the newspaper decomposes, you can add a little more soil. By that time, it’s usually time to replant. The roots of the plants never get that far down in the dirt to reach the newspaper.
Now add your potting soil almost to the top of the pail. As you can see, I removed the Creeping Jenny and added fresh soil to the top of the larger container.
Adding the Flowers to Your Container
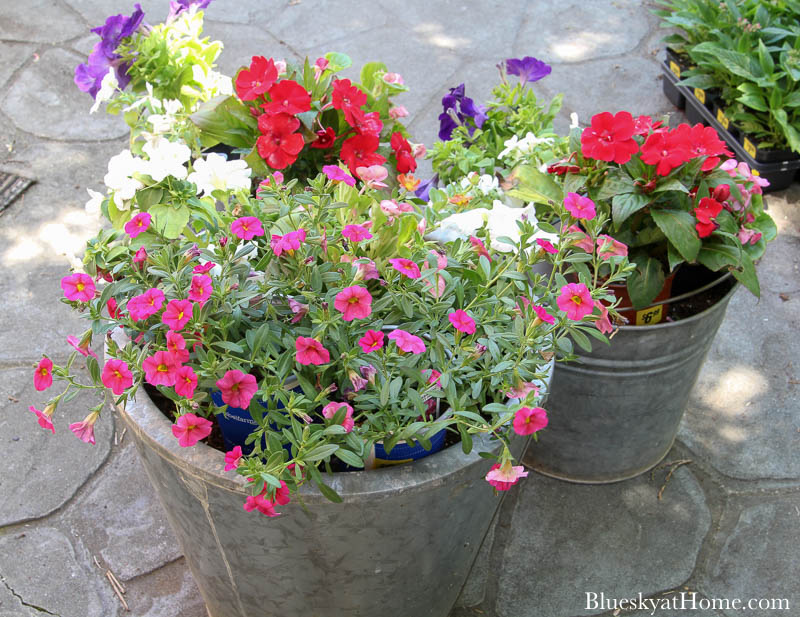
I set the different flowers in the containers, moving them around until I find the look I like. I like to use 4 ~ 5~inch pots in containers. They will grow and fill in quickly. Here’s the combination of flowers for my 3 galvanized pails:
Two Smaller Pails:
- New Guinea Impatiens ~ can take sun and shade
- Pink Begonias ~ shade to morning sun
- Purple Petunias ~morning sun to full sun; they will spill over the sides of the pail
- White Impatiens ~ shade to morning sun
- White/Green Splash ~ shade to morning sun
Larger Pail:
- Pink Million Belles ~ shade to sun
- Pink Begonias ~ shade to morning sun
- White Impatiens ~ shade to morning sun
- White Petunias ~ morning sun to full sun; they will spill over the sides of the pail
- Multi~colored Purslaine ~ shade to sun; they will spill over the sides of the pail
TIP: Just like accessories in your home, try to have an odd number of different plants.
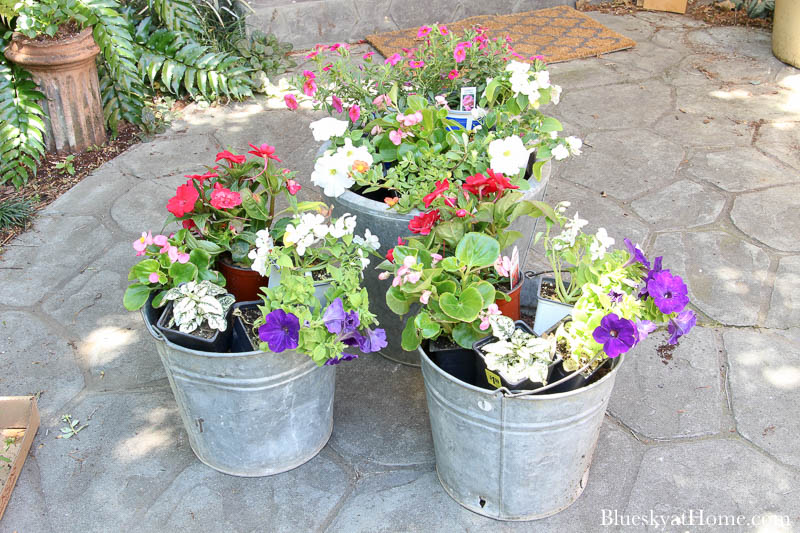
Once you have the flowers arranged the way you want:
- Remove them from the plastic containers.
- Loosen the soil around them if necessary.
- Settle the bottoms of the plant into the soil.
- Fill in around the plants with more soil, but not all the way to the top of the container.
Displaying My Galvanized Pails and Flowers
Once the pails were planted with the flowers, I set them on the bench and thoroughly watered them.
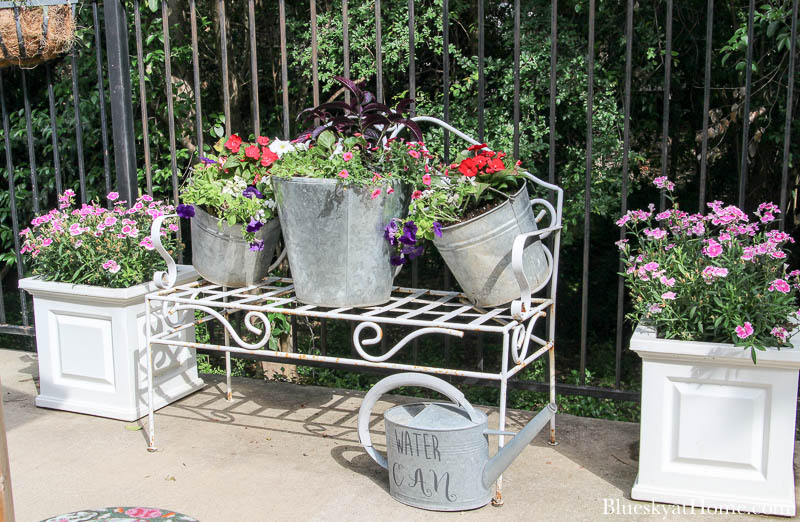
The arrangement does add a great focal point to our patio. The trees and the dry creekbed below our backyard provide the green background we love.
The dianthus in the white square containers are at their prettiest. They are cool weather flowers in our area. Before they start to wither as the weather gets warmer, we will pull them up this coming week and plant more warm~weather flowers.
These photos were taken in the afternoon when the sun is brightest in the center of our backyard. You can see how harsh the light is, but the temperature was very pleasant and it was a wonderful day to be out planting.
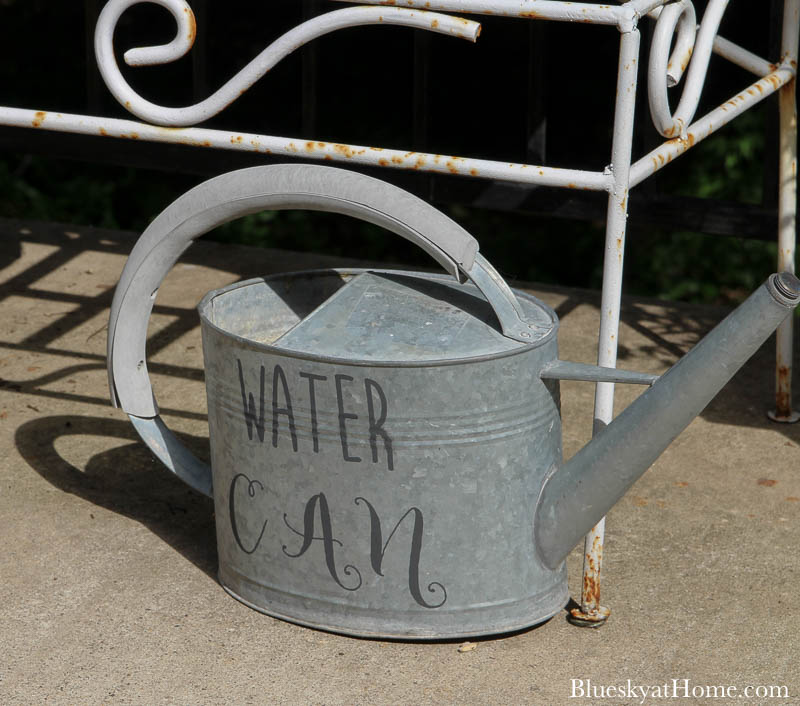
I added my stenciled water can to the scene.
Leo and Jane created a topsy~turvey arrangement. I tried tilting the 2 small pails and found that they could be wedged between the back and arms of the bench. So instead of topsy~turvey, I have tipsy~tilted galvanized pails.
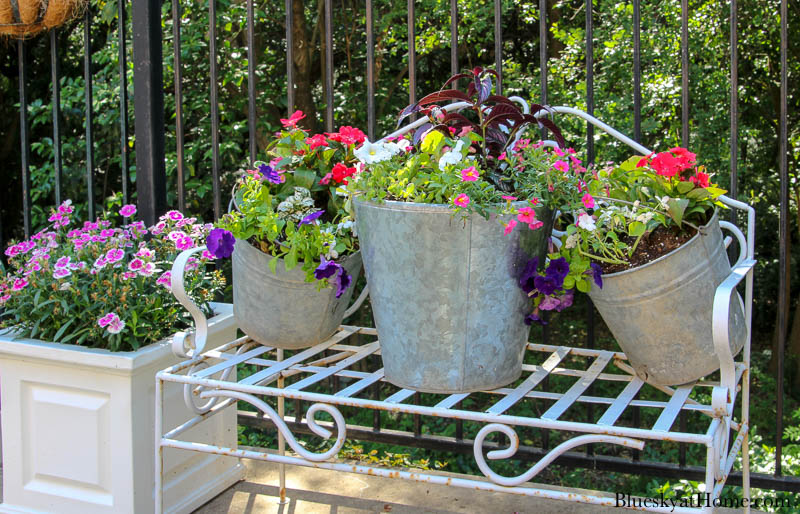
The next morning, I took more pictures. It was much cooler than in the afternoon and the light is softer.
Have you started planting for spring and summer? We are planting both in the flower beds and in containers. April has been a perfect spring month. Although we have had a few days of very warm temperatures, most days have been cool to warm with nice breezes. We’ve had rain every 4 or 5 days.
I hope you have enjoyed seeing how to use galvanized pails and flowers to add a pretty look to your outdoor space. I also hope that you will PIN this project to your Pinterest boards for flowering inspiration.
Now let’s see what my blogging friends have created for this Pinterest Challenge. Think about how much prettier everyone’s space is after this challenge. Alexandria of EyeLoveKnots completes our April Pinterest Challenge.


This looks SO pretty, Carol! I am so looking forward to planting the pots on my deck for the spring/summer which arrives quite late here in New England! And you’ve inspired me to add a galvanized watering can to my mix!
Love the beautiful mix of flowers you picked Carol. Good tip on the newspapers too. I think your patio is taking shape quickly and what a lovely place to relax. Bring on the cocktails!
What great tips you shared, Carol! I don’t have any galvanized buckets, but I really want to create some galvanized containers for planting flowers now. Your display looks really beautiful! Well done!
Tipsy-tilted… LOVE IT!!! Your flowers and galvanized containers are lovely… and perfect for small home gardening, too! 😉 Hugs, and pinned!
I love the nod to the pin by leaning them in towards each other. These look great and are going to keep looking fuller throughout the season.
You buckets are beautiful, Carol, and will look amazing once they get all full and lush. You and hubs definitely have a way with foliage; always enjoy getting glimpses of your yard!
So sweet. I love your flower choices. Gorgeous.
Carol you created a cute setting for your patio. I love the flowers you are using. Such a cute way you placed them. Love it!
HA! I bought 2 of the metal thing-a-bob rods years ago (I think at the fair) but never used them the way they were intended. I actually use them at Christmas time to hold my cone shaped trees in the urns out front. LOL. Love how your bench and posts turned out. Sorry about your cushion. Dang squirrels. And thanks for joining in. I always love your creativity. Pinned!
What an absolutely gorgeous grouping! I adore your lovely watering can.
Hi Carol, your flowers look beautiful! I love the lean in topsy turvy buckets on the bench! And, I love the newspaper idea for pot filler and drainage! Never thought to use paper!
Happy Day! PS loved your blogging post the other day. It’s on my list to revisit! laura