How to Update Estate Sale Baskets for a Fresh Look
Baskets are everywhere, in every shape and size, made of metal, wire, or wood. Although baskets can be found new in home decor and craft stores, I have found most of mine at estate sales, flea markets, garage sales, or antique malls. Some are great as is, but sometimes they may need a little spiffing up. Let me show you how to update estate sale baskets for a fresh look in your home.
I firmly believe that anything you buy for your home can be changed, either in look or purpose. Something simple can be given a more elegant look. Something ornate can be toned down if mixed with more rustic accessories.

Recently, I decided that a wire basket I bought a few months ago was not serving the purpose that I bought it for. If I was going to change how I used it, I needed to give it a boost in looks. And then I found a great woven basket at an estate sale, but the color wasn’t to my liking, so it needed an update too. Here’s how to update estate sale baskets for a fresh look.
How to Update Estate Sale Baskets for a Fresh Look
This post contains links to products used in these projects. I highly recommend them. If you should purchase any product from this site, I may receive compensation, but you will not pay one penny more.
When I found this wire basket at an estate sale in June, it looked exactly like this. It was perfect. It didn’t need to be painted. It had that farmhouse look that said “I was used in grandmother’s kitchen to hold vegetables, like tomatoes or onions or potatoes.” And that’s exactly what I bought it for.
Wire Basket Update with Jute
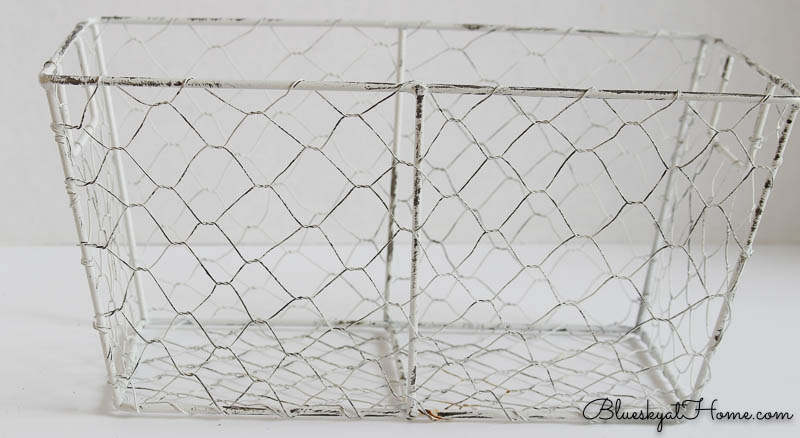
It worked for potatoes and onions, but I needed a place to store the grape tomatoes that I buy at the store for salads and sauces. The problem was my grape tomatoes fell through the wire. I decided to give it an update and repurpose it.
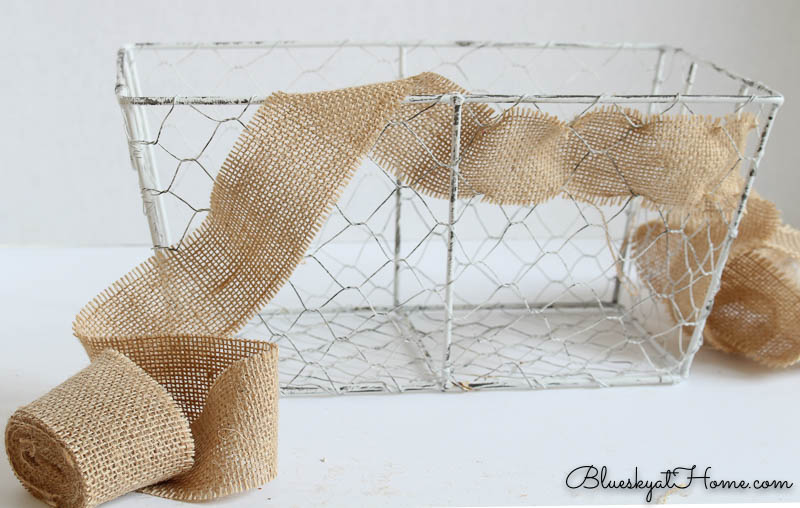
I thought about weaving burlap ribbon from my burlap box through the wires, which I have done previously for this galvanized tub ad wire container.
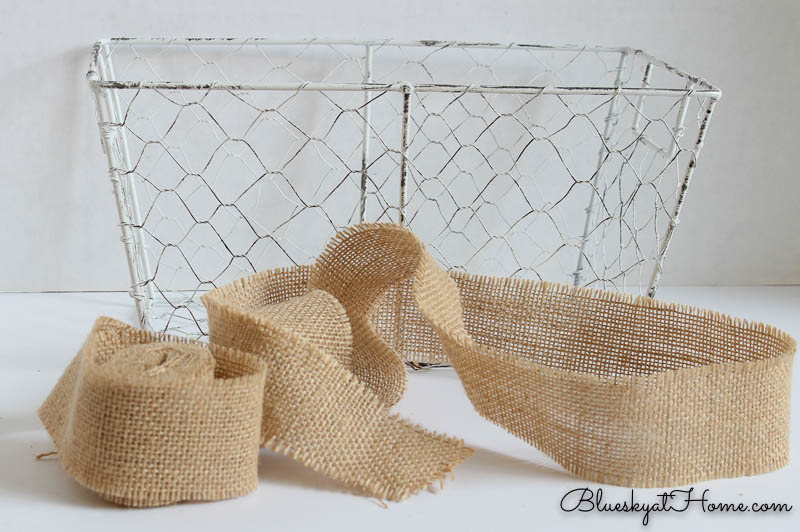
Unfortunately, the burlap kept “shredding” and strings were coming off.
I always have jute (or twine) of different thicknesses in my burlap box Would using that give my wire basket an updated look?
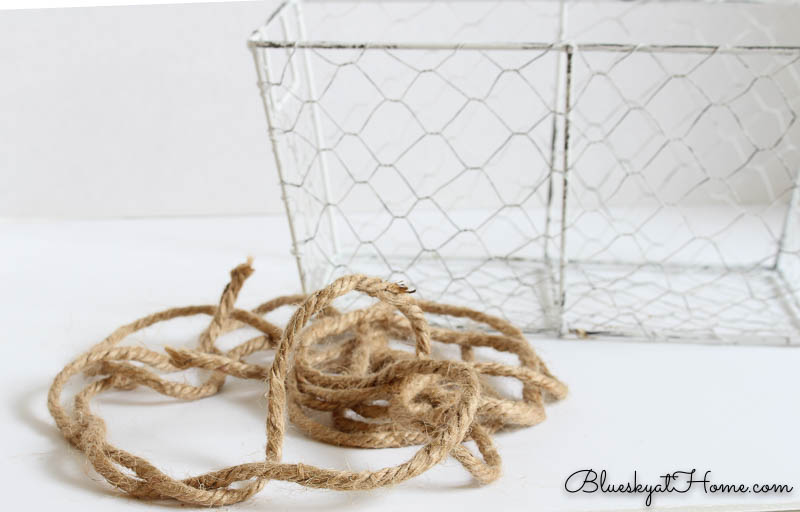
Remember the DIY woven basket challenge? That’s what made me think of using jute again.
What goes better with a wire basket than jute for an updated farmhouse look? What if I wrapped the top of the basket with the jute?
I discovered that wrapping the end of the jute with Scotch tape keeps the jute from unraveling and easier to “thread” through the wire openings.
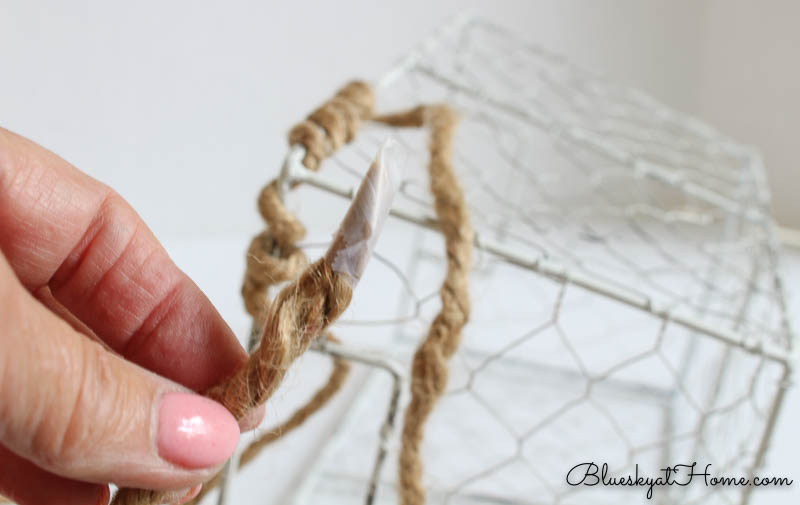
I found 2 pieces of jute that I hoped would cover the entire perimeter of the basket. In and out, in and out, looping the jute through the wire openings, turning and tightening the jute as I went along. When I reached the end of the first piece of jute, I “tucked” it through a loop of jute and pulled tight. Then I cut off the excess jute.
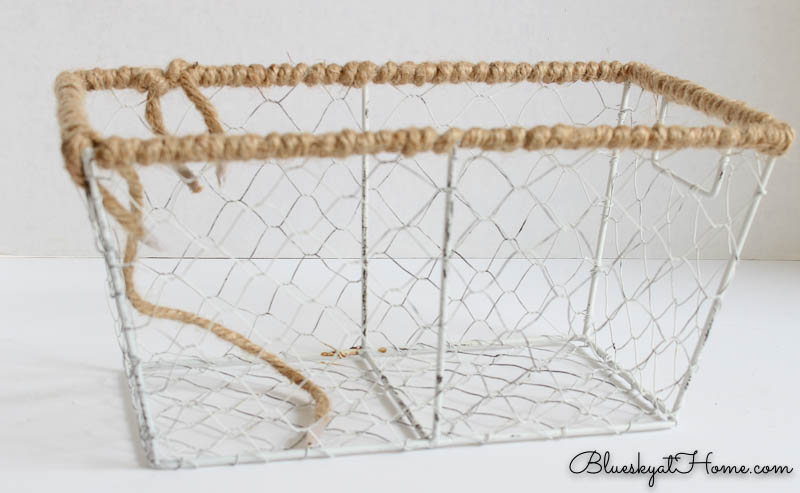
This was so simple. The jute added some depth and rustic texture to the wire basket. I also like the contrast in the color of the jute and the wire.
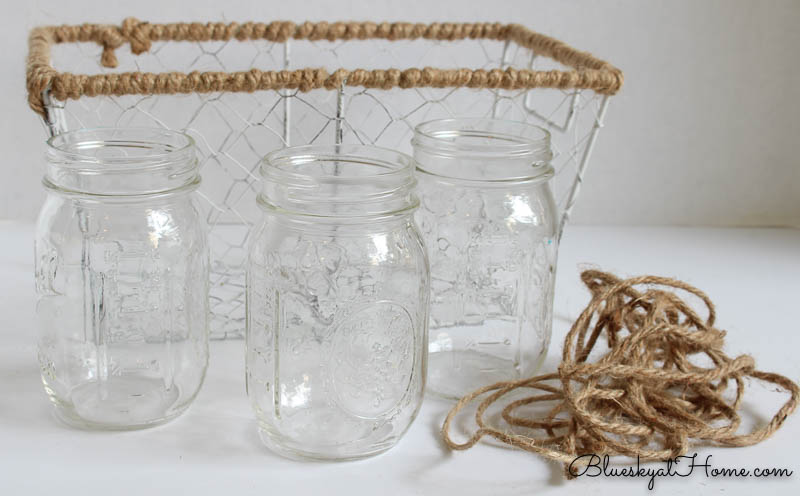
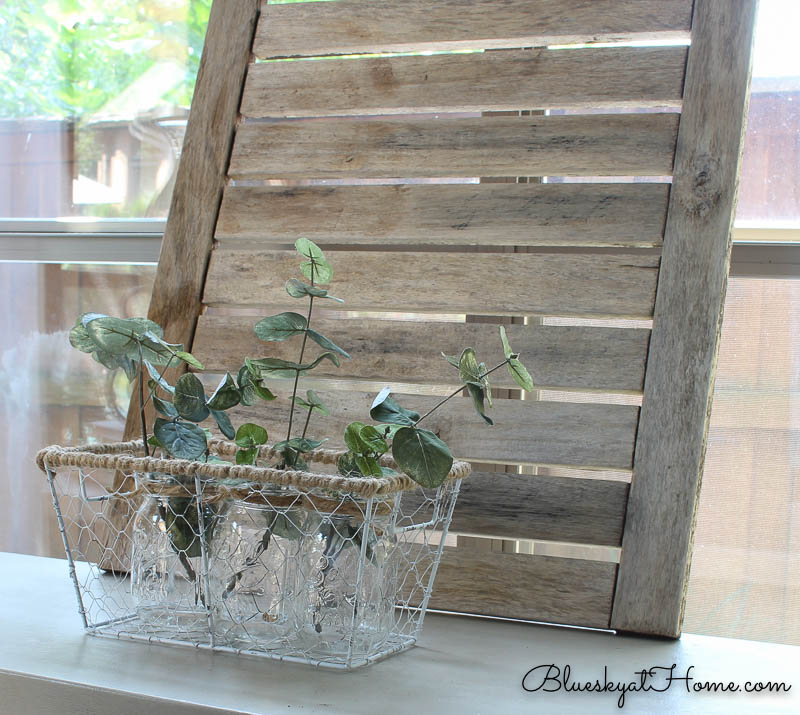
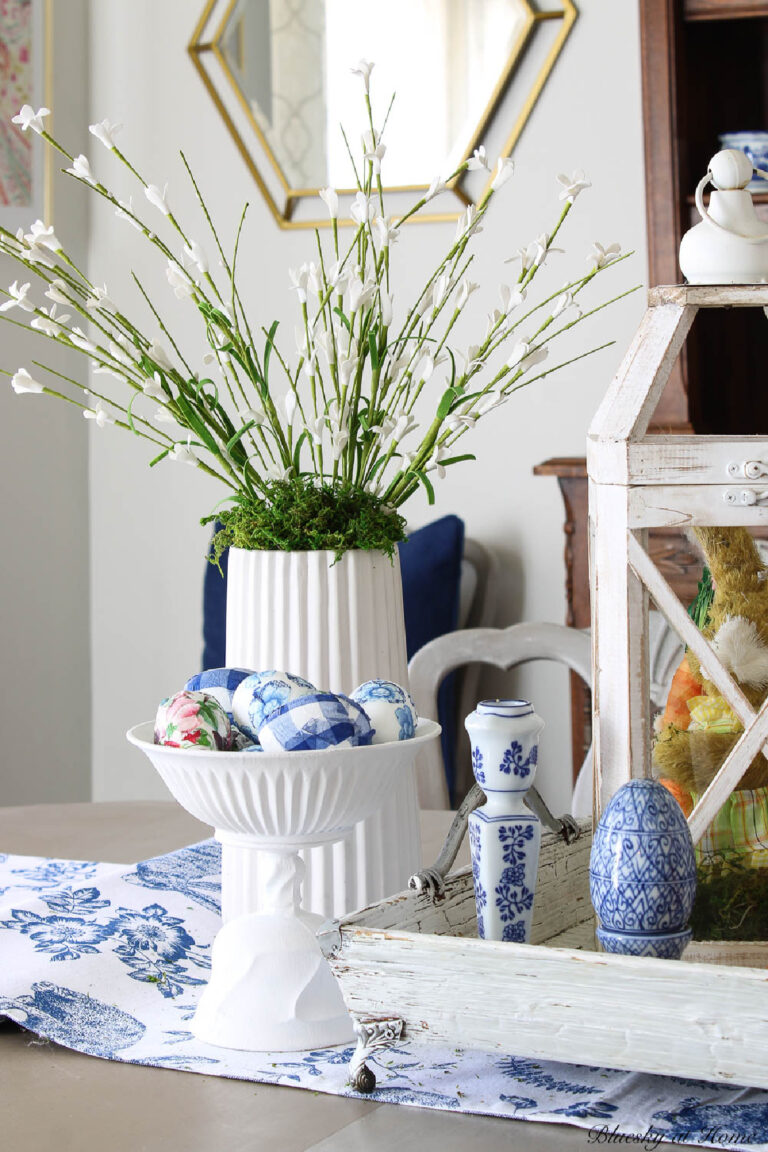
I decided to change the repurpose of the wire basket from tomato container to flower container. I would need other containers to go inside the wire basket to hold the flowers. Mason jars were the perfect answer. 3 would fit inside just right and mason jars always add to the farmhouse look. To continue the jute theme, I wrapped more jute around the lip of the jars and tied in a bow.
I found a stem of faux foliage in my faux flower box. A nice, soft texture against the rough texture of the jute. I cut pieces to fit inside the mason jars.
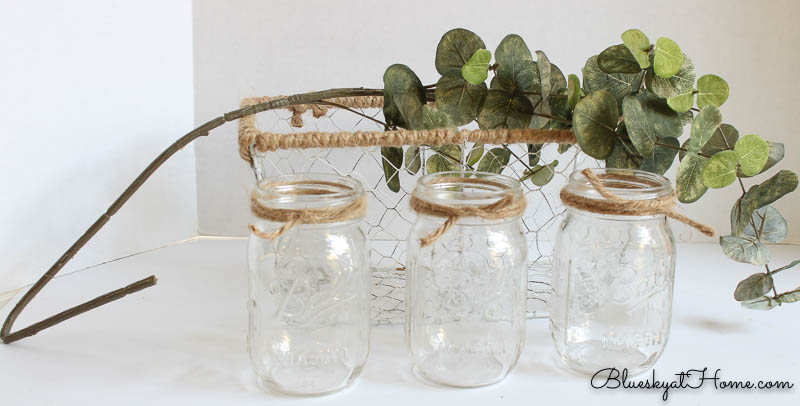
No water required!

Sitting in front of the weathered teak table leaf left from our patio table project, the jute~wrapped wire basket continues the rustic, farmhouse feel.
Fresh flowers give a different look. I love these hot pink Gerber daisies.

Or candles on little cupcake stands?
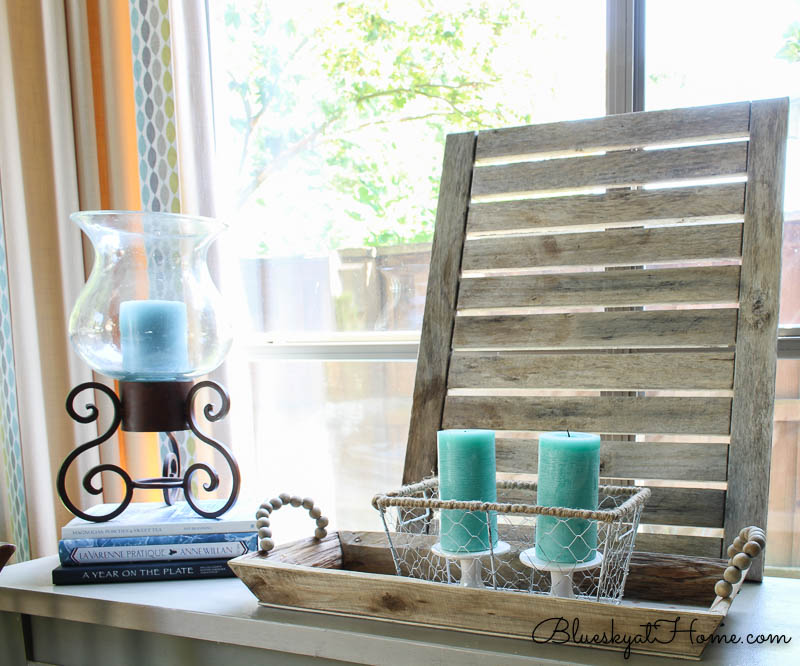
Which look do you like better? Faux floral, fresh flowers or candles?
Estate Sale $5 Woven Basket Update
Every Saturday morning on my way home from tennis drills, I first stop at Hobby Lobby because it’s close to the tennis facility. Then as I head home, I keep my eyes out for any estate or garage sale signs. On this particular Saturday, I saw a big Estate Sale sign. A couple of left turns and I was there.
I made the rounds of the rooms, but nothing caught my eye. Then I went out to the garage and hanging on a hook was a basket that had great style and detail. How much? $5, the man said. Sold, I answered.
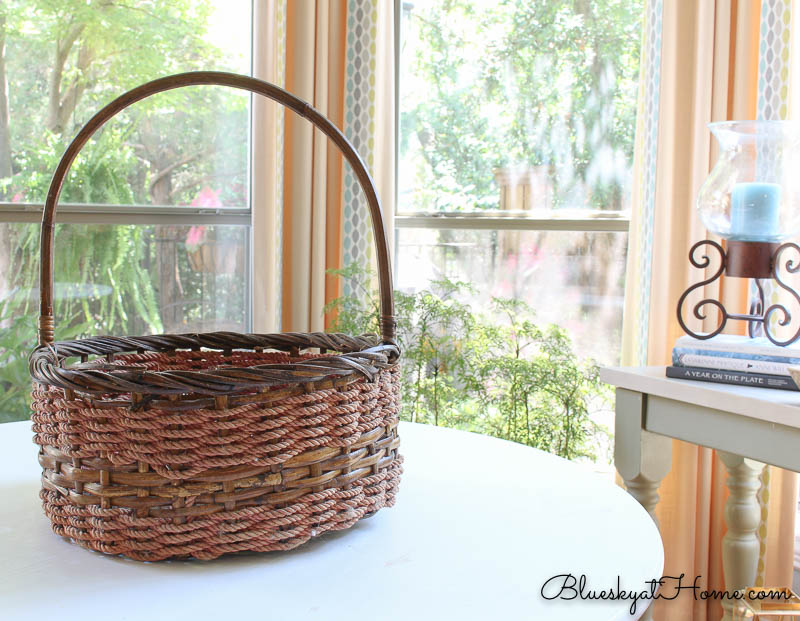
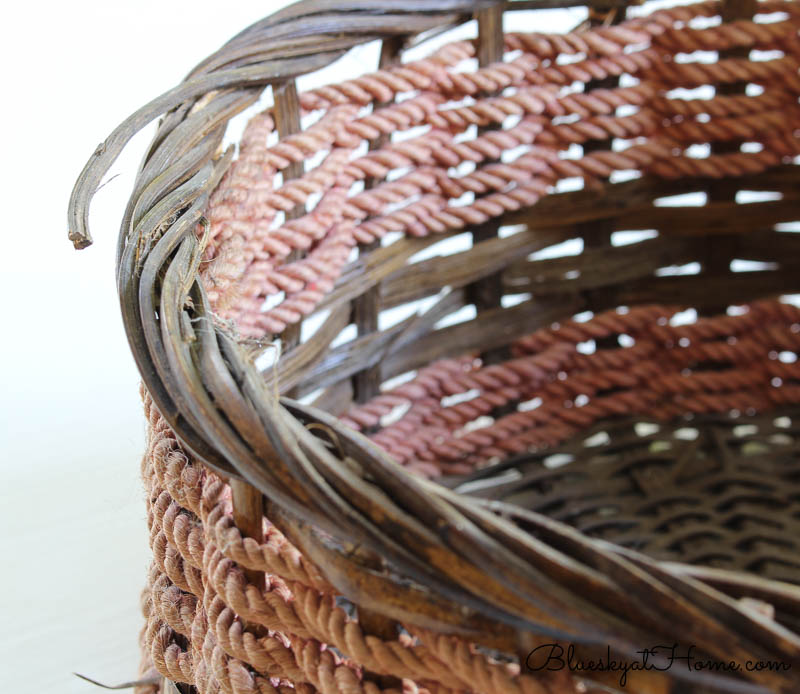
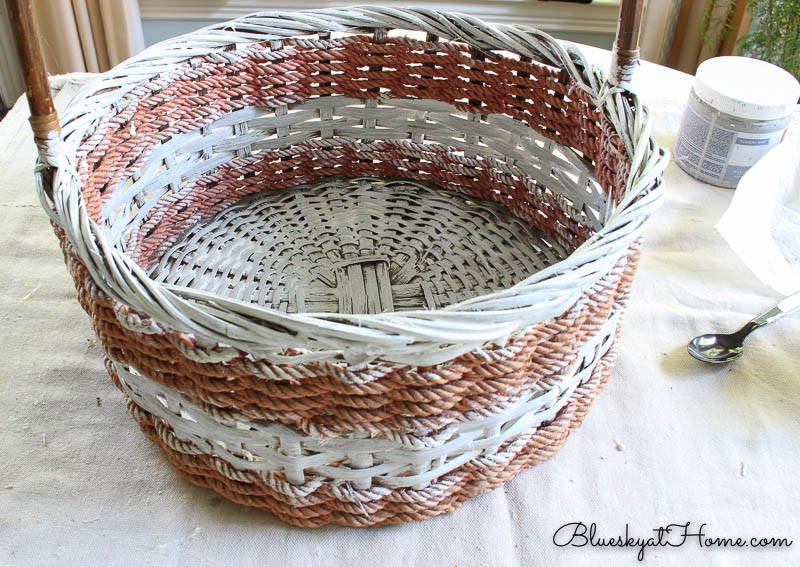
As you can see, the basket was a nice size, 15 inches round and 7 inches deep. The handle was in good shape. I loved the woven detail and design.
The only thing I didn’t like? The color of the basket. In all likelihood, this basket would sit on the floor in our living room. Since our entire first floor is hardwoods, the basket wouldn’t show up very well.
Secondly, the woven jute was a sort of pinky~orange color. I don’t know if it was originally that color or had faded. Regardless, the color was not to my liking.
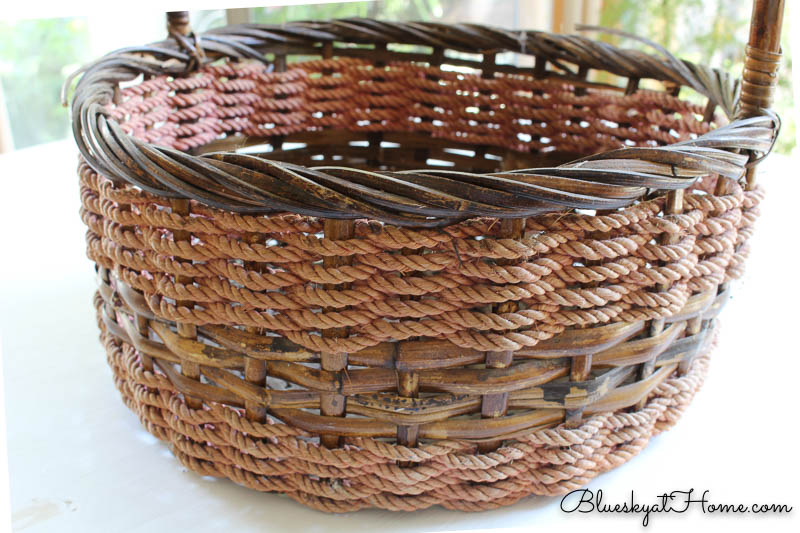
The answer? Paint! Paint will fix just about anything.
Prepping my Estate Sale Woven Basket
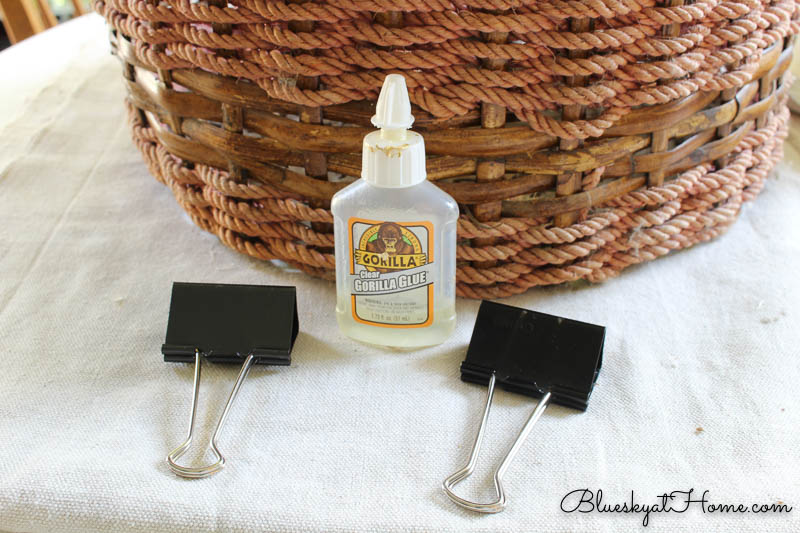
First, I set my drop cloth on the breakfast room table. Then I took the basket outside and gave it a good shake to remove some leaves and little twigs. Otherwise, it was clean and in good shape.
I did notice a couple of loose pieces. Some Clear Gorilla Glue and large metal clips solved that issue quickly.

Painting my Estate Sale Woven Basket
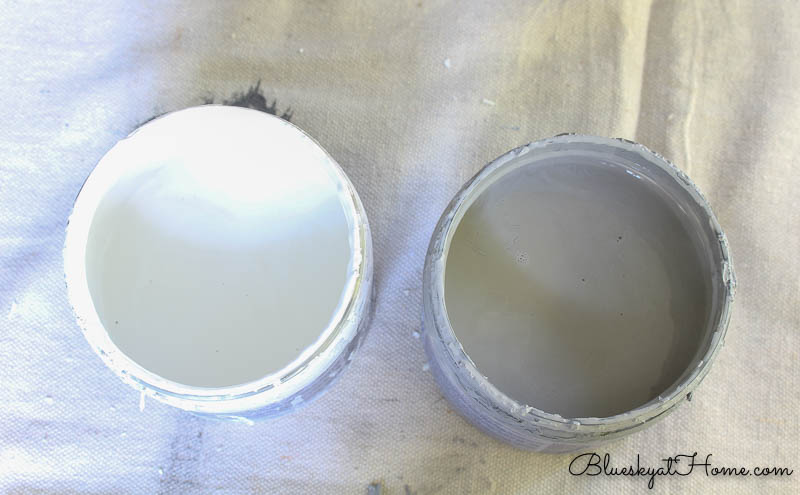
By the time I got home with my $5 basket, I knew what colors I would paint it: white and grey. White for the body of the basket and grey for the woven jute. White and grey are my favorite neutrals right now. And even, better, I already had the paint on hand.
I knew that Rescue Restore paint from A Makers’ Studio would be my paint of choice. It’s so easy to apply. I didn’t expect the paint to cover all the little nooks and crannies of the basket, but it would give the basket the coverage that I wanted.
My favorite white right now is Blessed, a clean pure white. For my grey, I love Sunday Nap, a medium grey that isn’t too blue or yellow.
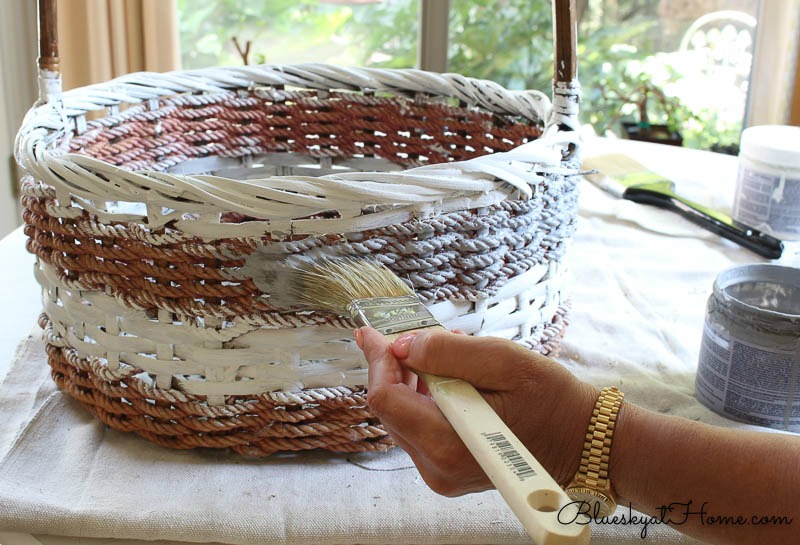
I began with a large brush and painted the inside bottom with Rescue Restore in Blessed. I didn’t think it necessary to do 2 coats as the inside wouldn’t show. Also, I did not paint underneath the basket.
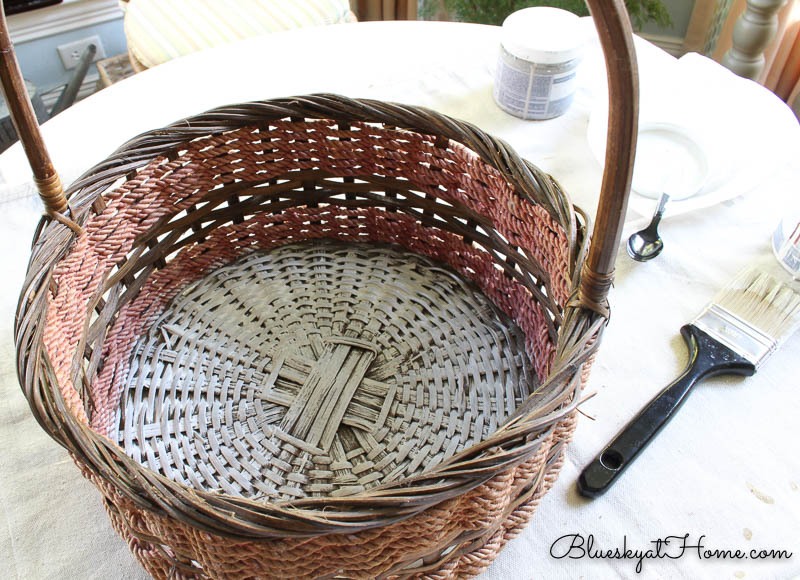
Next I painted the inside and the outside.
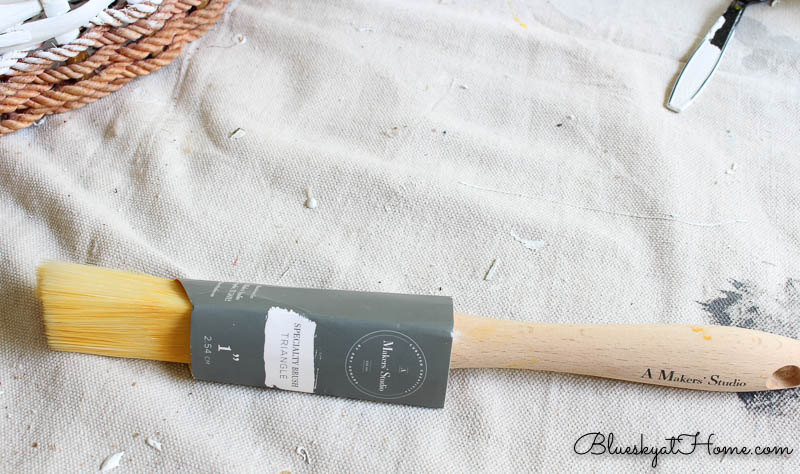
To reach some of the nooks and crannies of the basket I used this wedge brush from A Makers’ Studio. This brush is designed for getting into corners and angled areas.
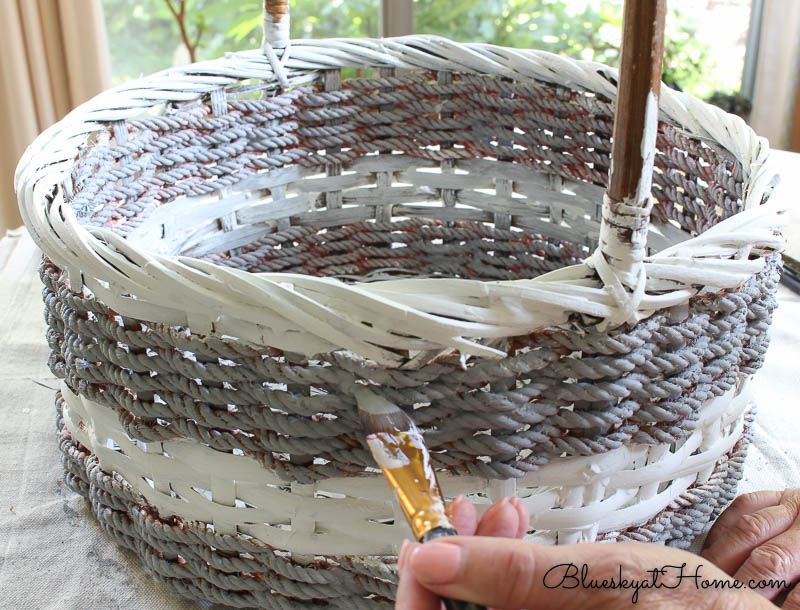
I wasn’t concerned about getting the white paint on the jute because the Sunday Nap will cover it.
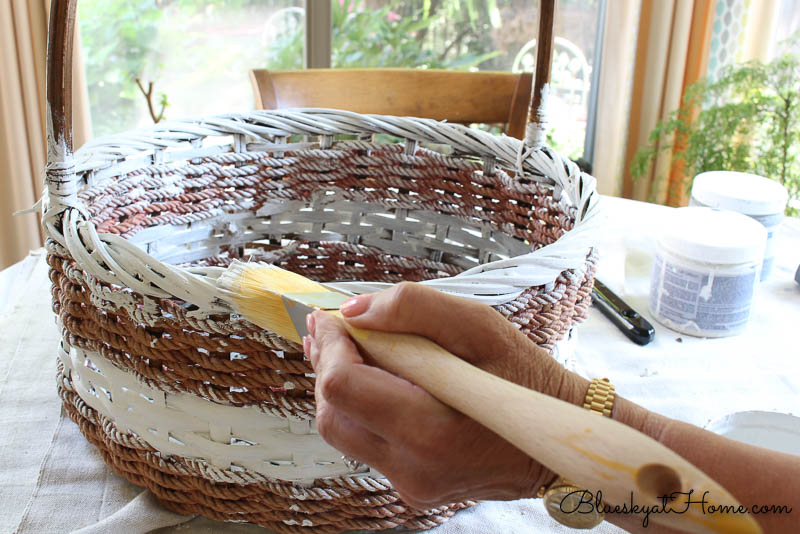
I went back over the woven basket with my larger brush one more time just on the outside.
NOTE: I’m using the handle for moving the basket around so I will paint it last.
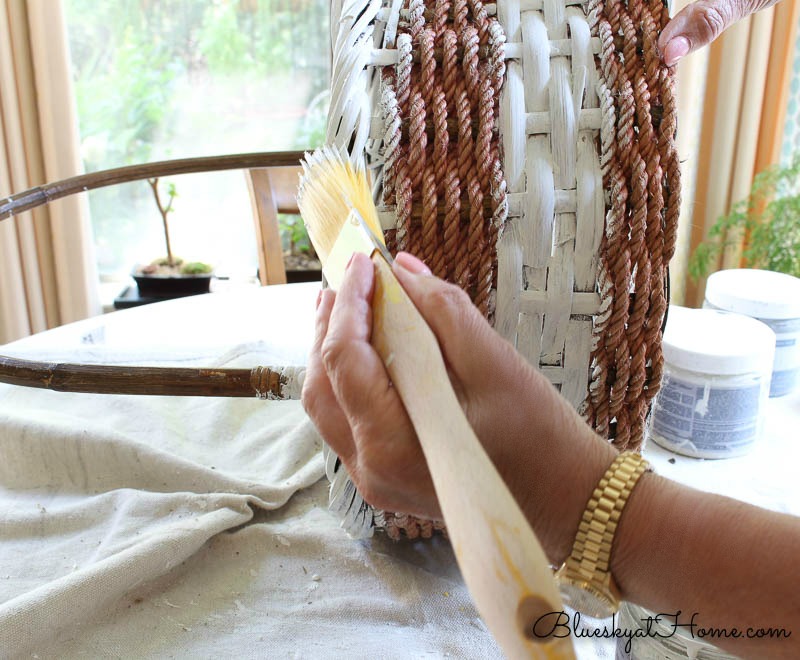
When the Blessed was completely dry ~ about 30 minutes, I started on the outside jute with a smaller brush.
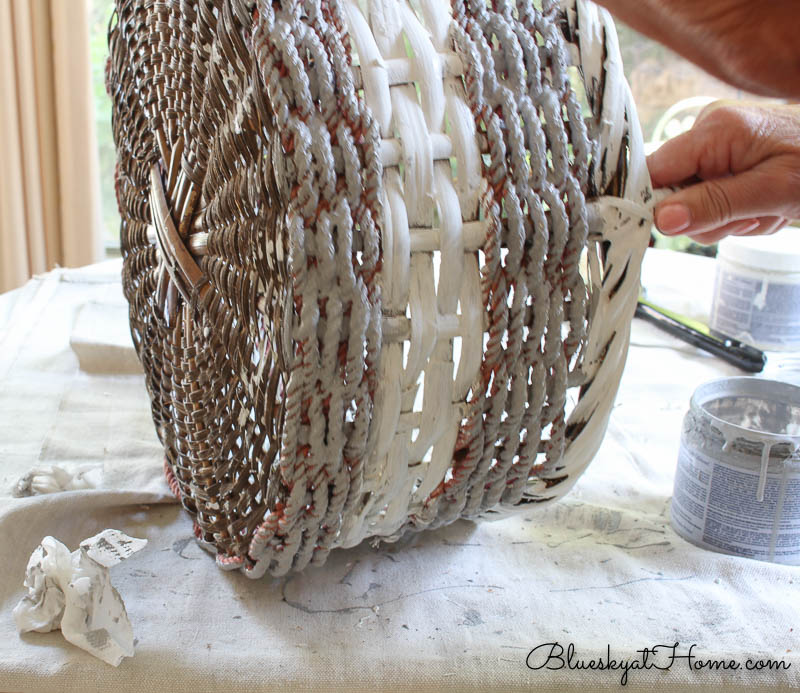
I knew that I wouldn’t be able to cover all the jute. “Jabbing” the brush into the spaces around the jute helped. I added a light coat to the jute on the inside of the basket.
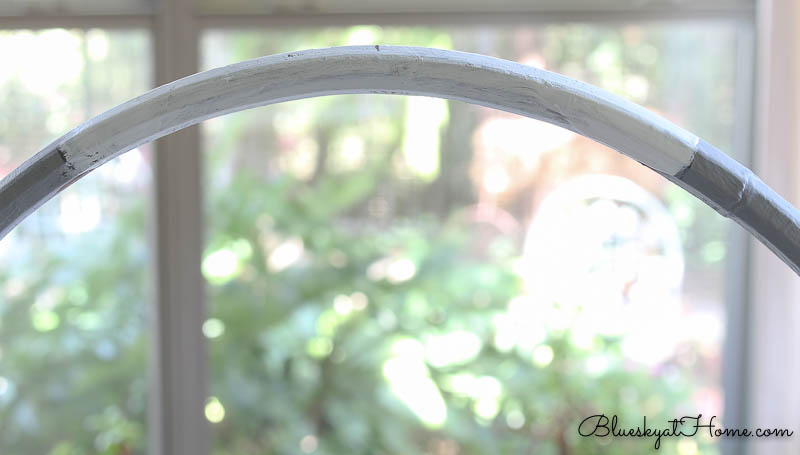
Once the basket was completely dry, I started on the handle. I decided to repeat the jute on the top center of the handle. I used a tape measure to find the center of the handle and then measured out 4 inches on each side and marked with a pencil.
Then I gave the sides of the handles 2 coats of the Sunday Nap.
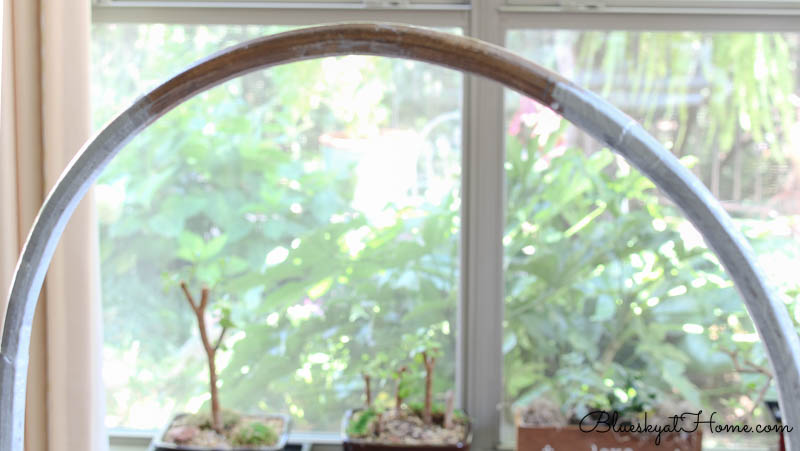
Then I painted the center portion of the handle with Blessed. Even though I was going to cover this part with jute, I didn’t want the original color of the handle to accidentally show through.
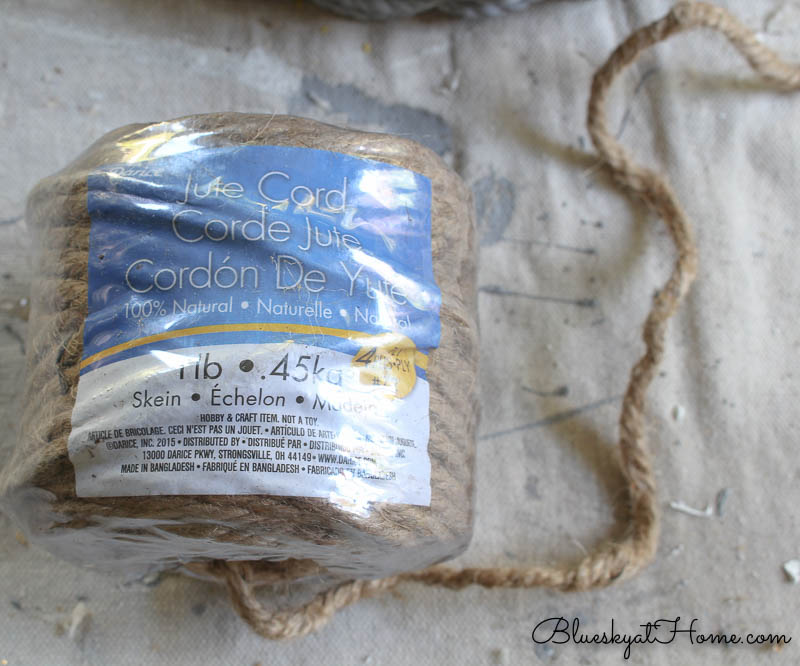
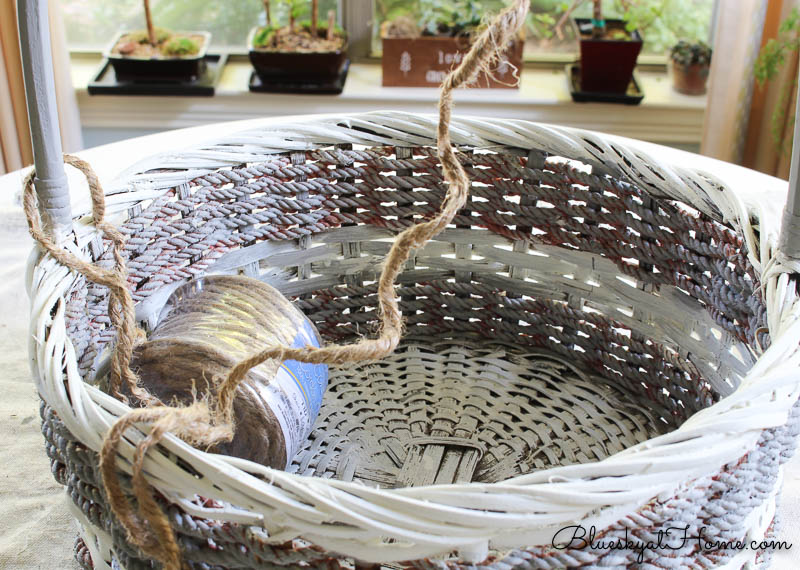
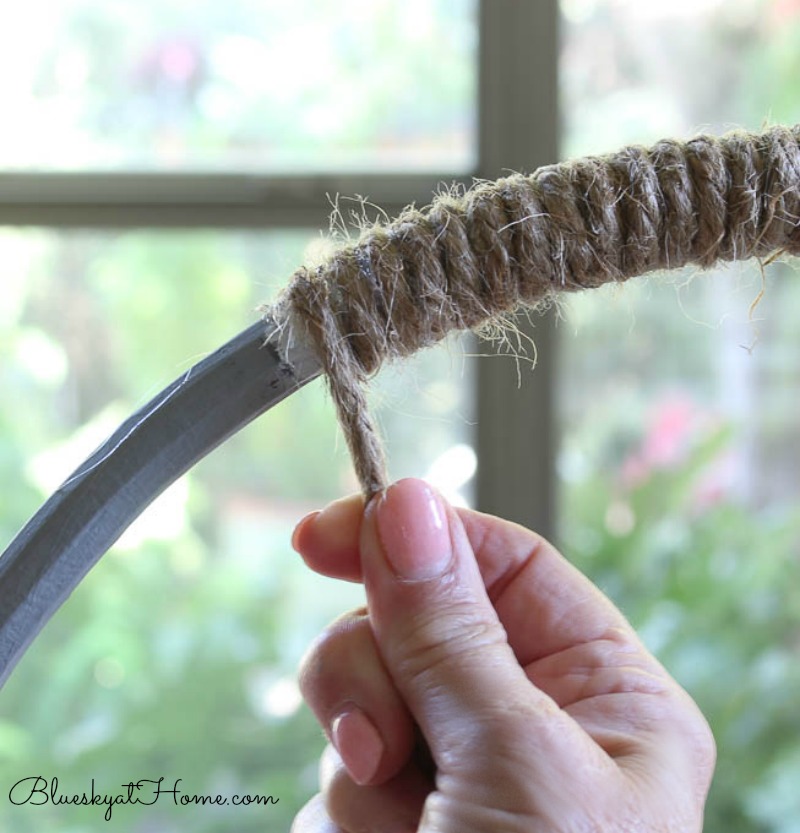
I had a roll of jute that I had never used and it was the perfect size for the handle.
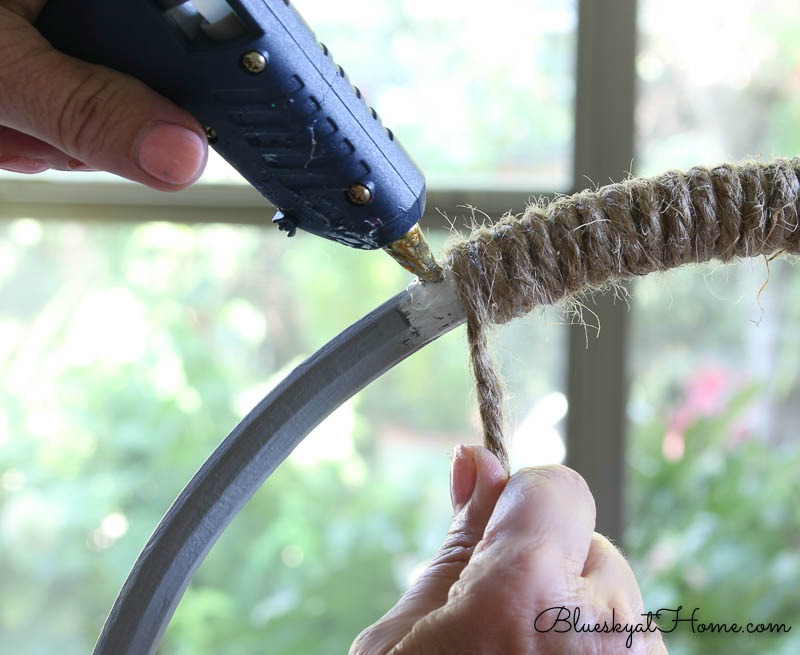
Using my small glue gun, I glued and wrapped the jute around the handle.

Not knowing how much jute it would take to cover the handle, I didn’t cut off a piece. I did have to unloop the jute a few times as it tended to loop around the handle.
As I applied the glue to the handle I pulled the jute tightly around it.
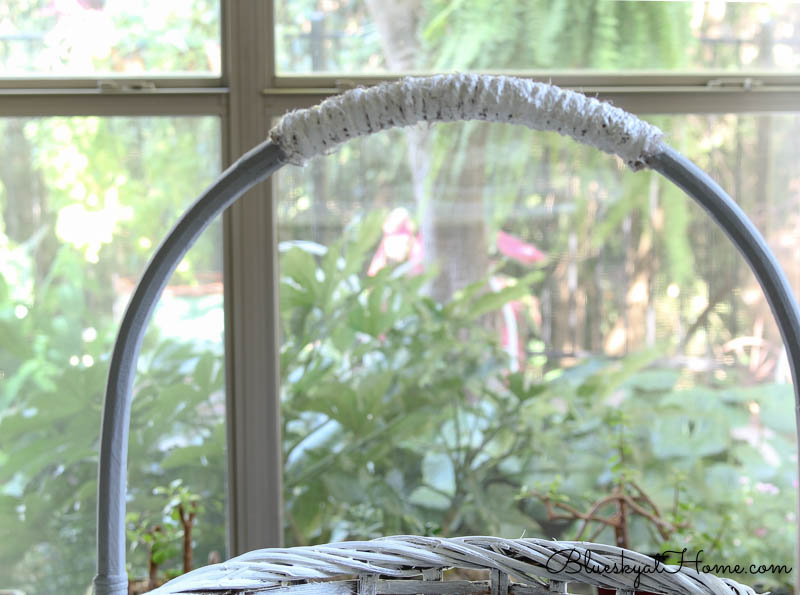
When I covered the top width of the handle I cut off the jute and glued the end to the handle. I let the glue completely set and then started painting the jute with the Blessed.
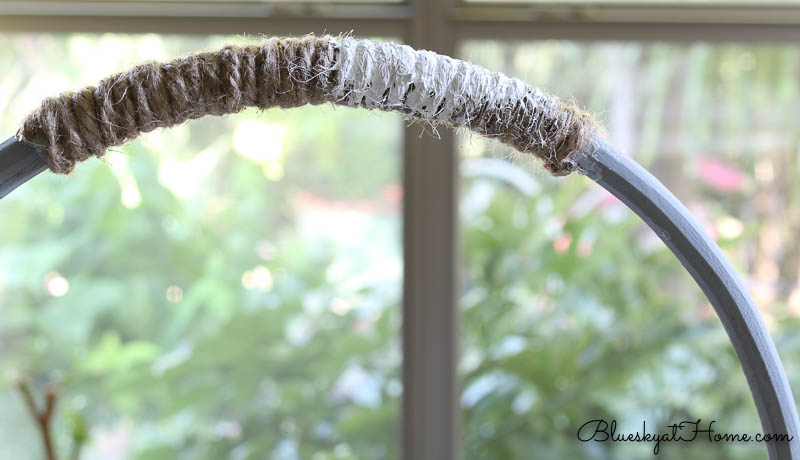
After the paint dried, I snipped off any pieces of jute sticking out. Then I was done with the update of this estate sale woven basket.
How was I going to use it? I needed a container to store my magazines that were just piling up on the kitchen counter. This updated woven basket seemed like a great place to have them handy for reading next to my reading chair. I have a few other ideas for using this basket, but that’s for another day.
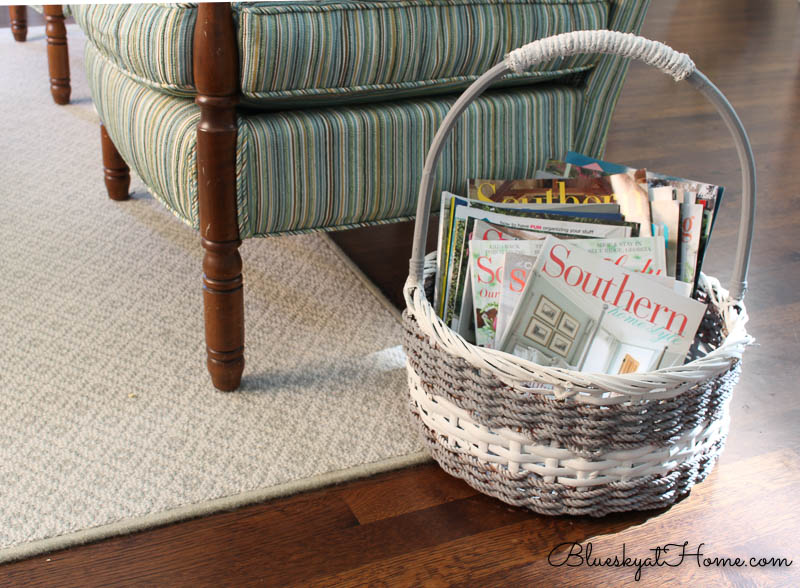
What do you think of my updated estate sale basket? Do you like the grey and white better than the stained basket with the pinkish jute? I hope so because I love it. The design is still very prominent, but the new paint gives the basket a fresh and crisp look.
I hope that both these projects have shown you how to update estate sale baskets for a new look in your home. I hope you won’t pass up a basket just because it isn’t perfect. Find that inexpensive basket in whatever style or material, make it your own, and celebrate your rescued and restored estate sale baskets. I’ll be PINNING this project to several of my boards and I hope that you will share it on yours.


Two great makeovers. I just love them. The wire one is a Farmhouse Style keeper! Darling.
Katie, you will be seeing both again and again!
Yep… the painted version of the basket looks MUCH better. I have a grapevine basket that may need an update… but it’s really light and sturdy, so I’m always vacillating about updating it (it still looks good!) 😉
Hey, Julie. Every basket is different. I have 2 whitewashes baskets that I’ve had for years. Lucky me they came tht way.
Great ideas for reinventing baskets! I especially love the wire one with the jute 🙂 . Thanks for sharing you ideas!
Thank you Cynthia. It was so easy and made a great impact. Thanks for stopping by.
Excellent! Love your upcycle!!! Thanks for sharing.
Thank you Clearissa. Sometimes we amaze ourselves!
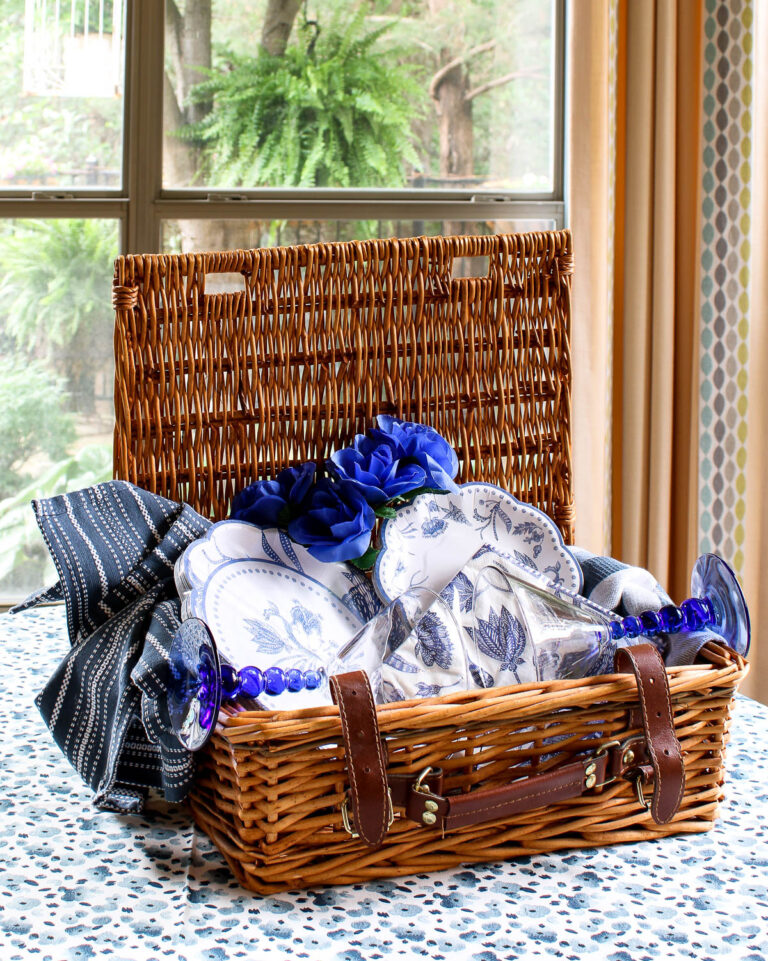
I loved your basket updates. I often buy yard sale/thrifted baskets, give them a scrub, dry them in the sun, touch up paint or give them a coat of clear to brighten nice faded colors. I recently got an old gold one; it got hit with gold glitter paint to become a Christmas gift basket! This summer I have been blessed to find FOUR old picnic baskets for $3 and $4 and am busy organizing small stuff in them! I have baskets hanging on beams in the cathedral celing beams in the bedroom–when I find a basket I like better, and old one gets an update and out the door!
Wow! You are a lucky lady. I’ve now bought 3 new baskets at estate sales this summer, all at great prices. They are multiplying. Picnic baskets sound wonderful for storage and just to look good.
Hi Carol, I love your garage sale finds! You do a great job integrating them into the decor. Happy Tuesday girl! laura
Thank you Laura. Sometimes you just get lucky and find a great item, even you’re not looking.