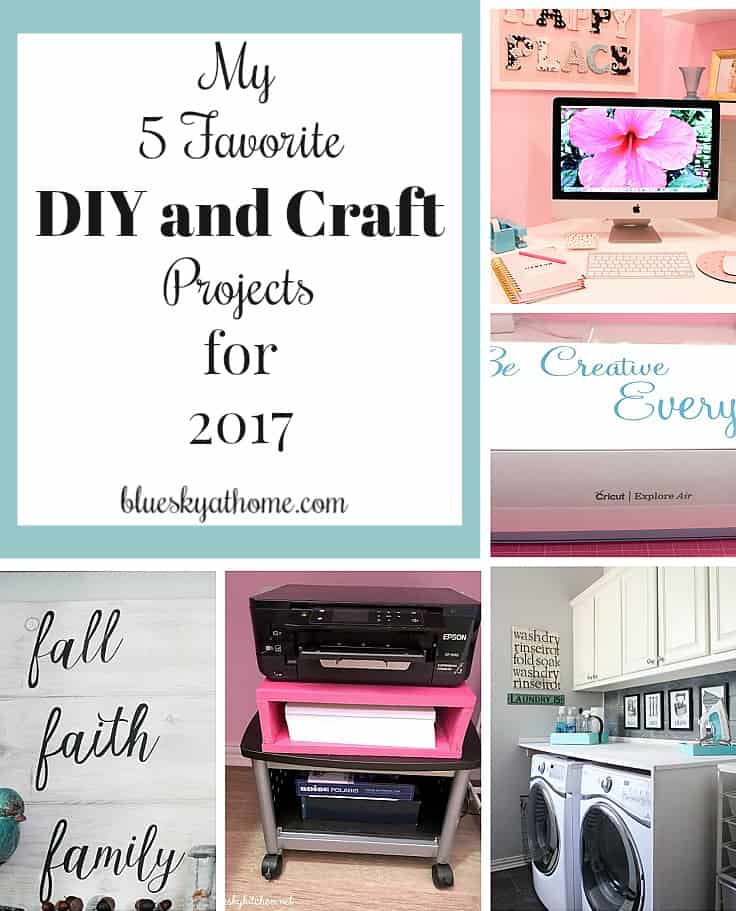
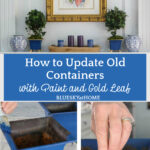
How to Update Old Containers with Paint
Do you have stuff (stuff could mean a lot of things) laying around your house or garage, hiding in a closet or under the bed? I recently found some old containers in our garage. Let me show you how to update old containers with paint.
Of course, you have old stuff. We all do. Things that are showing wear and tear, looking a little shabby? But too good to just throw it away? Oh, me too.
Do you have old containers that you are no longer using? Wood, metal, plastic, galvanized? Whatever the material, any container can be repurposed, recycled, and reused in our home decor.
Not only can you update old containers for a new look, but think of the money you’ll save.

I love to recycle and restyle ~ either items that I have already or items I find at a flea market.
It just so happens that I found the perfect items to recycle and restyle and they were right under my nose. And now that I’ve completed the recycling and restyling, let me show you how to update discarded containers with paint.
Old Containers: How to Update with Paint
This post contains links to products that I use, love, and recommend and were used in this project. If you should order any product through this site, I may receive compensation, but you don’t pay a penny more.
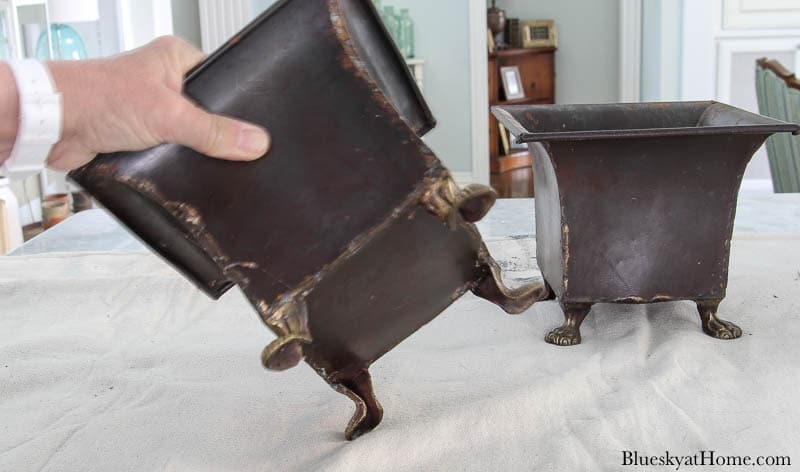
These two containers weren’t actually under my nose. They were practically right under Sweet Shark’s car. A couple of weeks ago, I needed something in his toolbox in the garage. I couldn’t reach it because he had pulled his car way up to the front of the garage. When he backed up his car, I looked down and there were two old containers that I haven’t thought about in years, sitting on the garage floor partially hidden on a bottom shelf.
As soon as I saw them, I knew exactly what they were, where they had been in our previous home, and what I would do with them now.
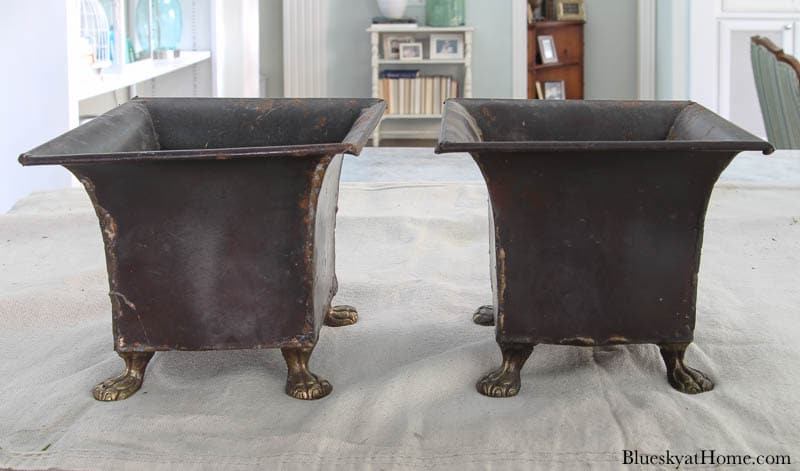
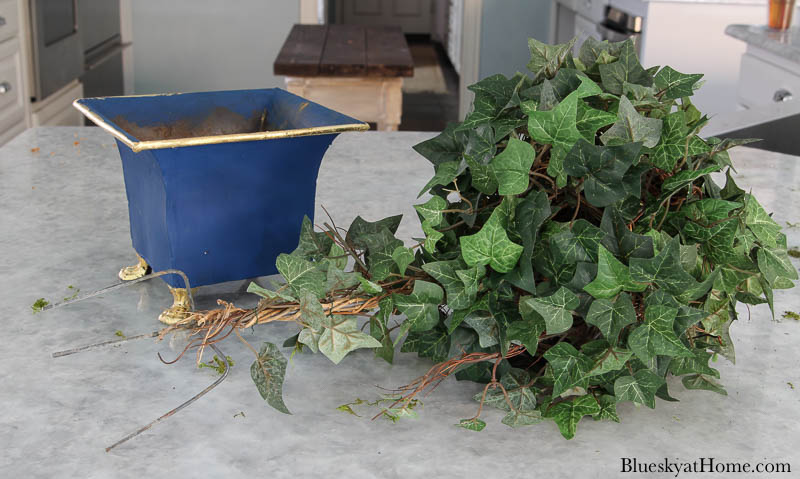
These two old metal containers were on the mantel in our den in our last house. They were very pretty against the Austin stone of our fireplace, sitting on the limestone mantel. The finish was dark metal with bright, shiny brass feet. Ivy topiaries filled the containers for a pop of green and added height.
I guess during our move, I separated the containers from the topiaries, and then stuck them on the bottom shelf in the garage. Ironically, I remembered where the topiaries were ~ in a tall metal container by Sweet Shark’s bar. I stuck them there to fill the gap between the bar and the wall ~ and then promptly forgot all about them.
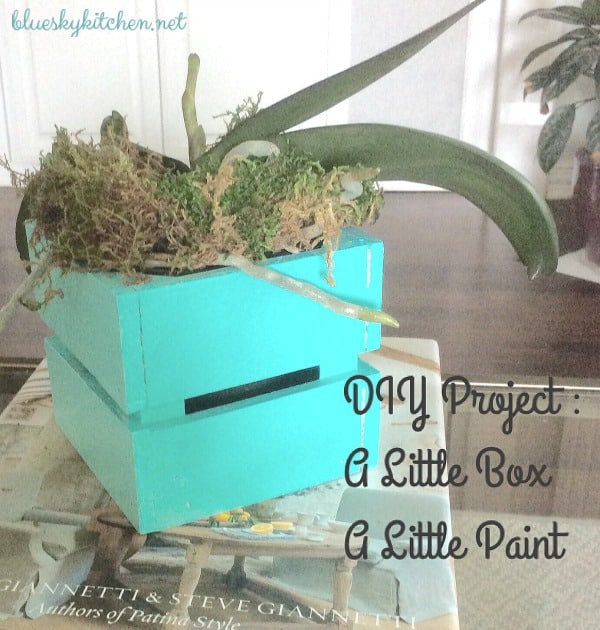
Now that I had the old parts for a new accessory, I was ready to start updating the discarded containers ~ from forgotten and unloved to a restyled and reloved addition to our home decor.
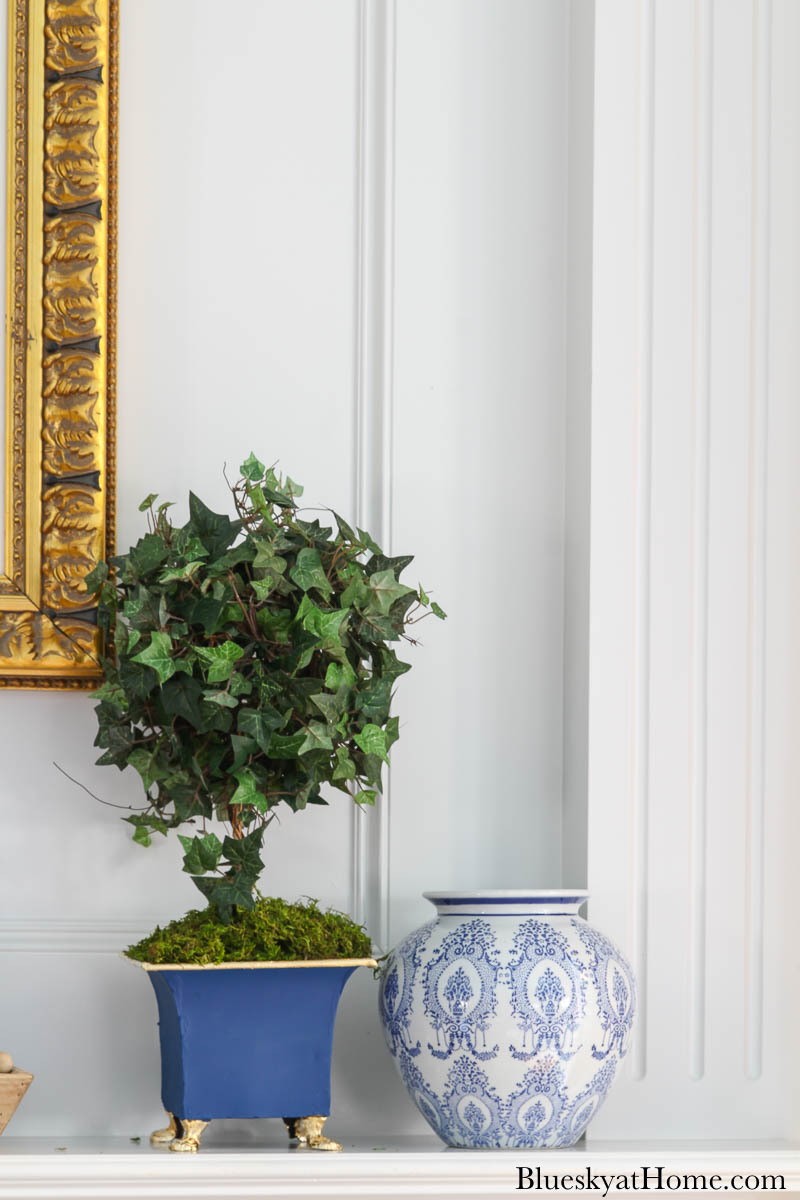
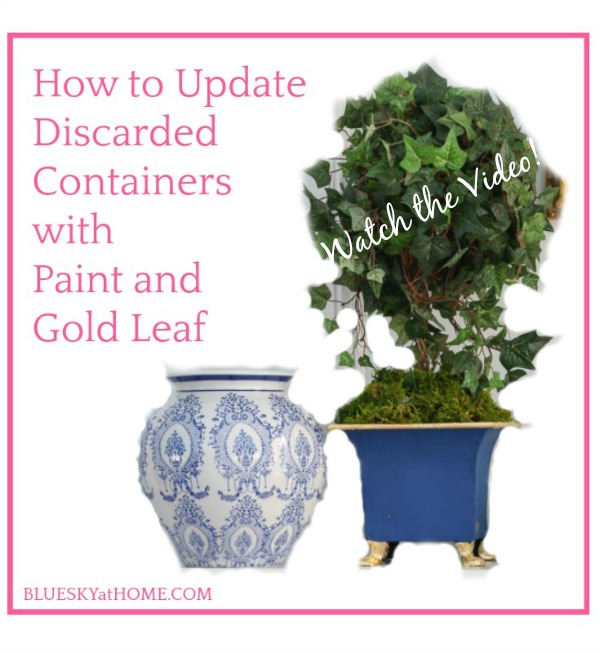
My vision was to update these discarded containers from dull brown metal to bright deep blue. I wanted the metal feet to be changed from dull brass to bright gold. My color inspiration was the blue and white vases that I bought at AtHome a few months ago.
Supplies for Updating the Old Containers
You need some containers that you want to update. Here are the additional supplies that I needed for this project. Fortunately, I had almost everything I needed.
- drop cloth or newspaper to protect your work surface
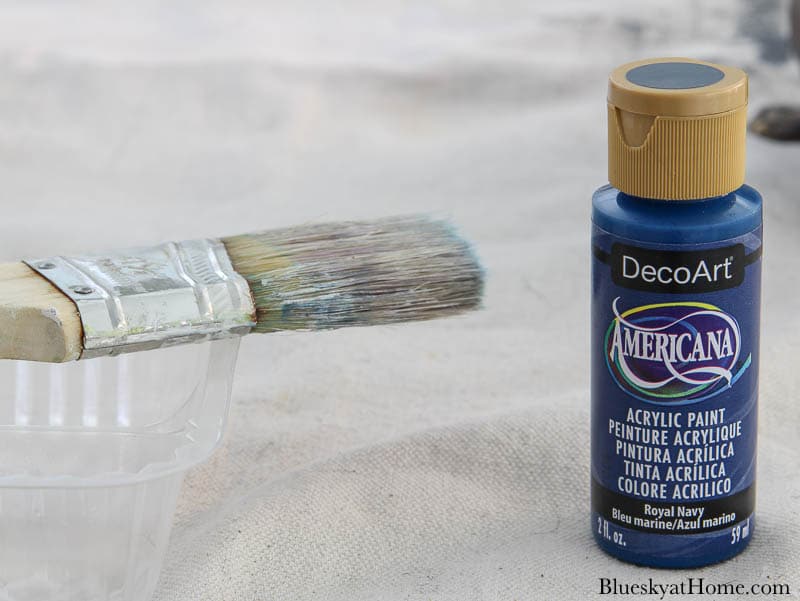
- paint type and color of choice ~ since I wanted a deep, but bright blue, this was one thing I didn’t have on hand. Since I didn’t have a blue color on hand, and time was of the essence, I made a trip to Joann. I found the color I liked in DecorArt Acrylic Paint. The color is Royal Navy. It’s a deep, rich blue.
- painter’s tape ~ for taping off the feet.
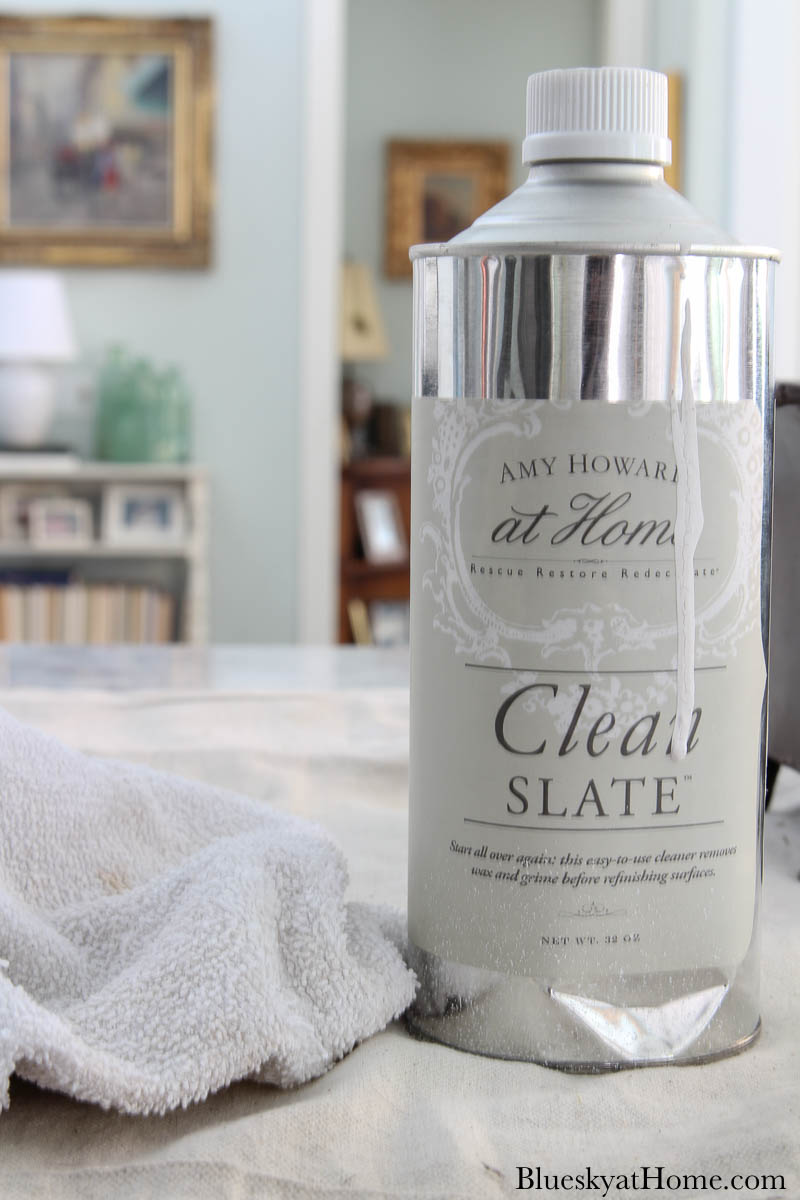
- cleaner and rag to remove any dirt, grime, and grease from the container. Fortunately, I had Clean Slate from Amy Howard at Home. I always use this product before painting old surfaces, such as wood or metal.
- paintbrush for painting
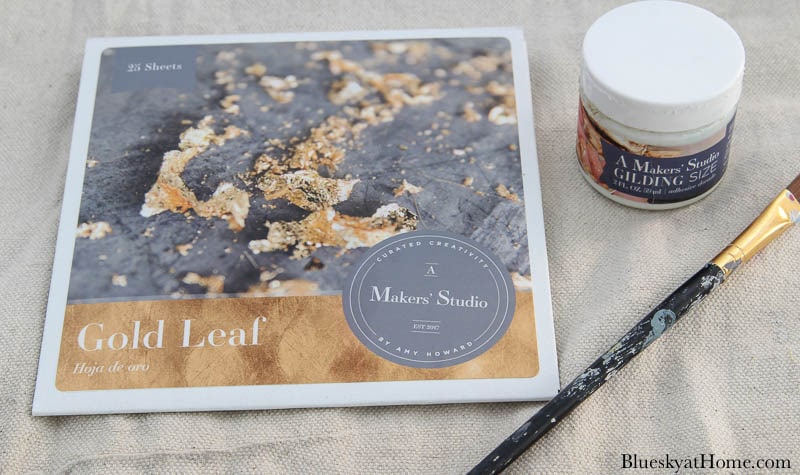
- Gold Leaf and Gilding Size for the feet ~ I love to gild and I use Gold Leaf and Gilding Size from A Makers’ Studio.
- piece of wax paper to set under the containers while applying the Gold Leaf.
- small brush for applying Gilding Size.
- florist foam for the container
- green ivy topiaries for other faux greenery
Let’s Start to Restyle These Containers
I’ve made a video of this entire process that I hope you will watch as it takes you step~by~visual~step through the transformation.
Step 1 ~ Using the Clean Slate and a rag, clean the surface of the container, following directions on the can.
Step 2 ~ Place painter’s tape around the feet of my containers.
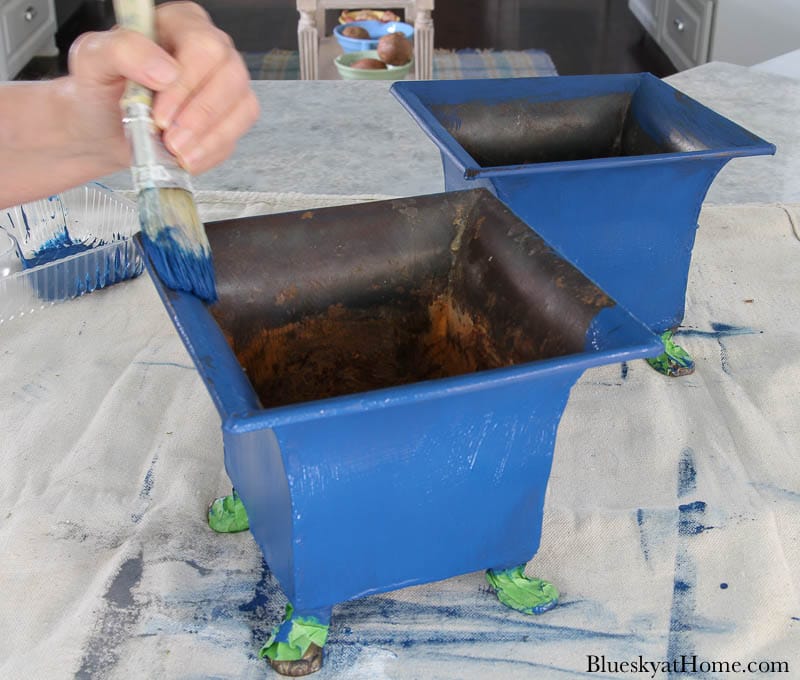
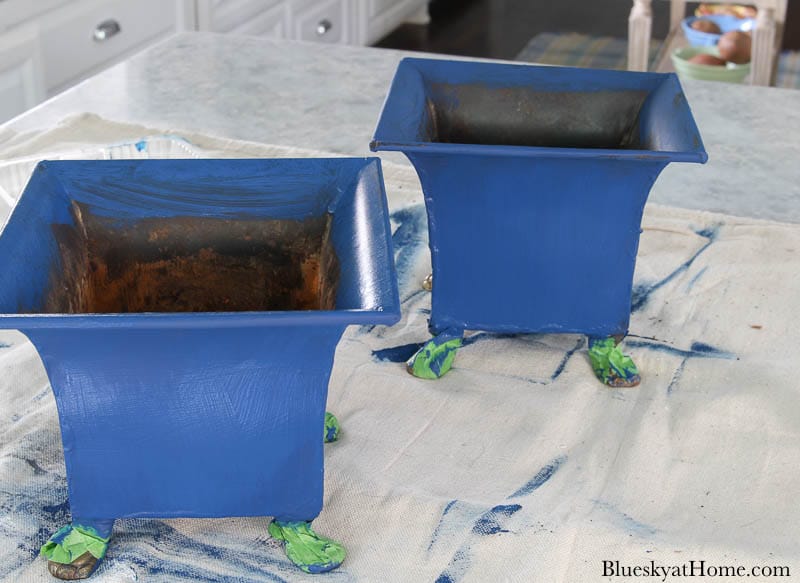
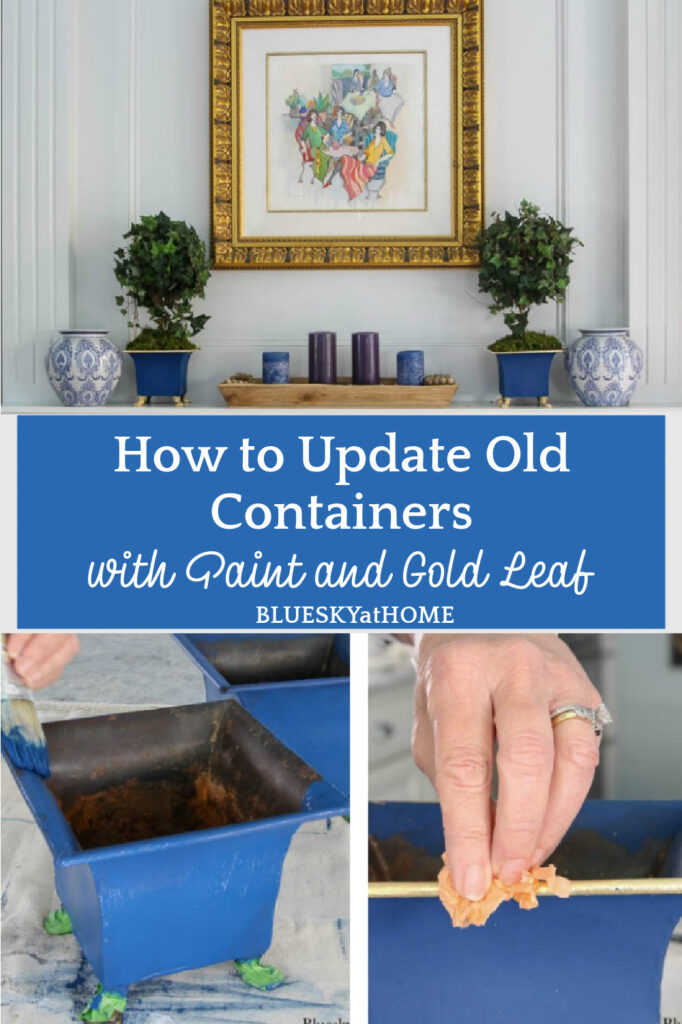
Step 3 ~ Apply your paint of choice.
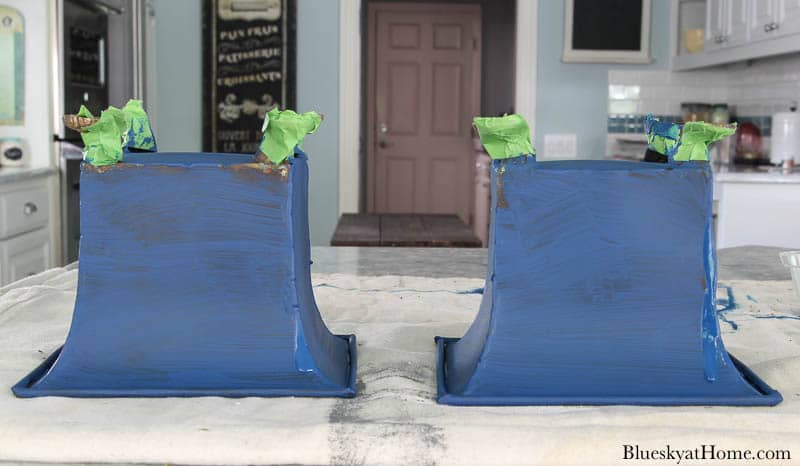
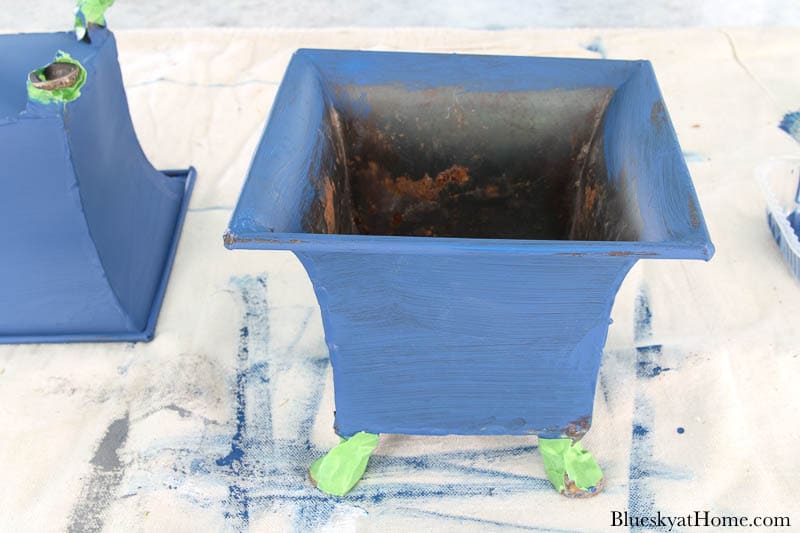
It took 3 coats to cover the dark metal finish of the containers. It didn’t take much. I decided to paint about 1~inch inside the container. I’m glad I did because this made a big difference in the finished look, as I’ll show you in a minute.
I haven’t used craft store acrylic paints in a very long time. The coverage and finish aren’t as nice as I’m used to from my A Makers’ Studio and Amy Howard at Home paints. It had to do in a pinch. But I am happy with the color.
Step 4 ~ Carefully remove the painter’s tape from the feet. Make sure that the paint is dry.
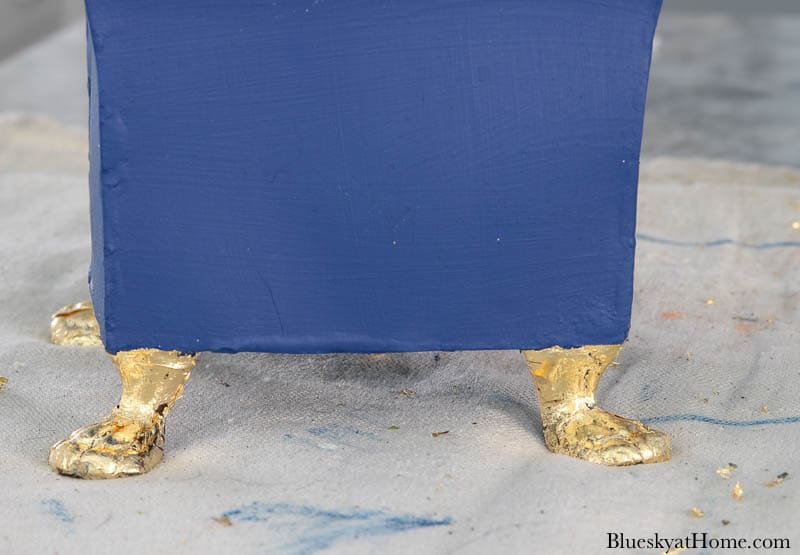
Step 5 ~ With the small brush, apply the Gilding Size. It will have a milky look. When it is tacky (It will take about 15 minutes.) and ready to apply the Gold Leaf, it will be clear. Use your little finger to test the “tackiness”. Here’s an earlier project that shows how to use Gold Leaf or you can watch the video. Anywhere that you apply the Gilding Size is where the Gold Leaf will stick.
Step 6 ~ Apply the Gold Leaf, pressing one sheet to the feet and brushing around the feet to remove any excess Gold Leaf. It took me 1 sheet to do all 4 feet.
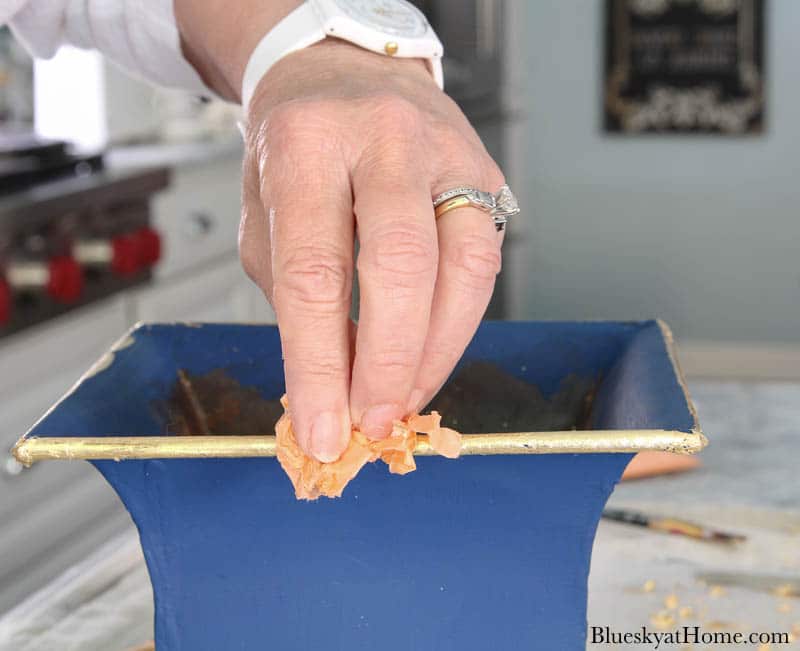
At this point, I thought I would add Gold Leaf as trim around the top of the container. I am so glad I did because that made a huge difference in updating my discarded container. I used my small brush to add the Gilding Size around the edge of the container.
When you first add the Gold Leaf, it will look a little ragged. Use your medium brush to remove the excess Gold Leaf. If there are spots where the Gold Leaf didn’t adhere (Those are called “Holidays.”), add more Gilding Size and reapply Gold Leaf.

Then use the orange tissue paper that separates each sheet of Gold Leaf to “burnish” and smooth the Gold Leaf.
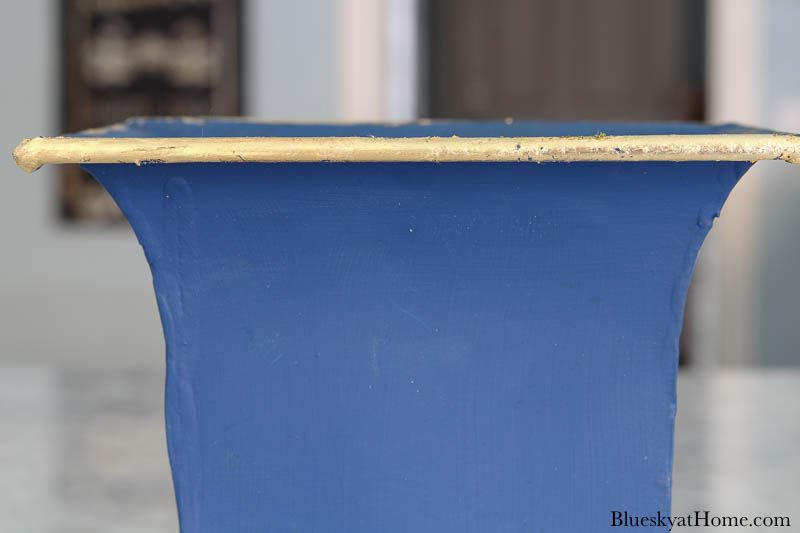
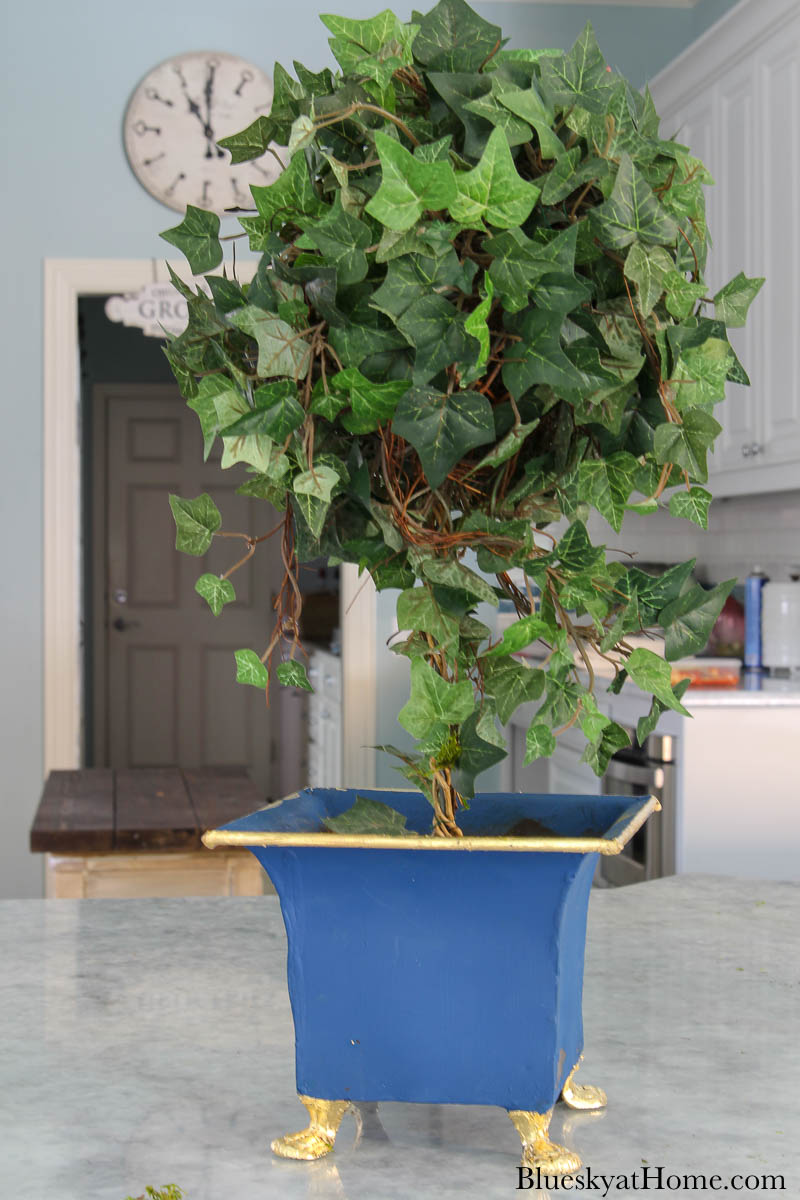
My dull, dingy, decarded containers have now been updated and restyled. What do you think?
Adding Your Faux Greenery to the Containers
Step 1 ~ My two topiaries were a little dusty, so I took them outside and sprayed them off with the hose and them dry. I also sprayed them with a leaf shine product. For being 20 years old, they look really good.
Step 2 ~ Cut a piece of florist foam to fit inside your containers.
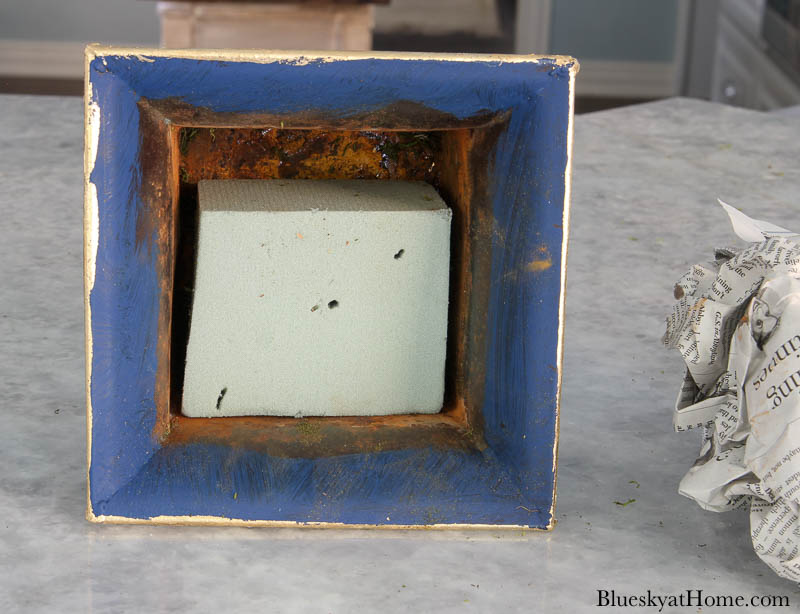
Step 3 ~ Insert the faux greenery into the florist foam.
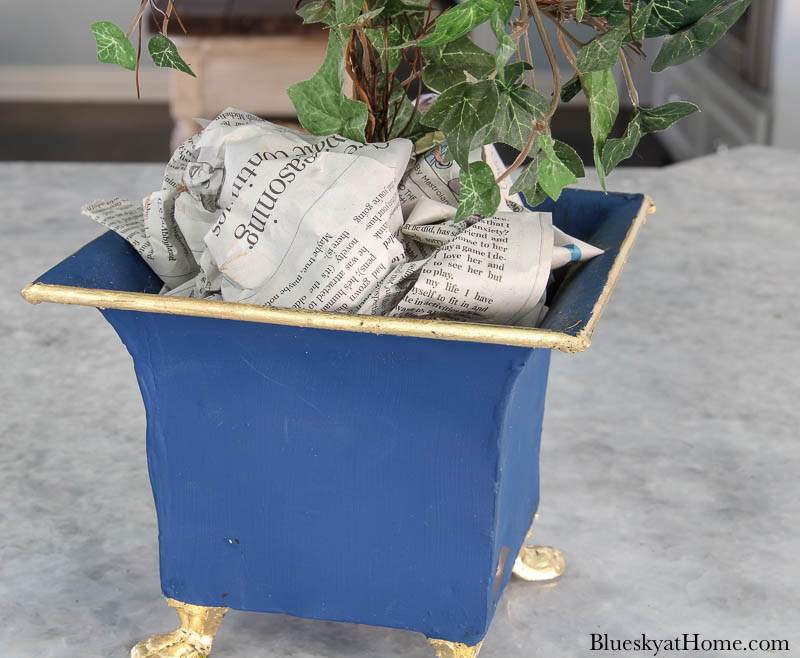
Step 4 ~ Crumble newspaper or tissue and place it around the topiary for stability.
Step 5 ~ This is the step that gives any arrangement a finished, professional look: add moss around the base of your greenery. I’ve talked about Super Moss many times. It’s one of my favorite things; it’s so reasonable and you will use it over and over again.
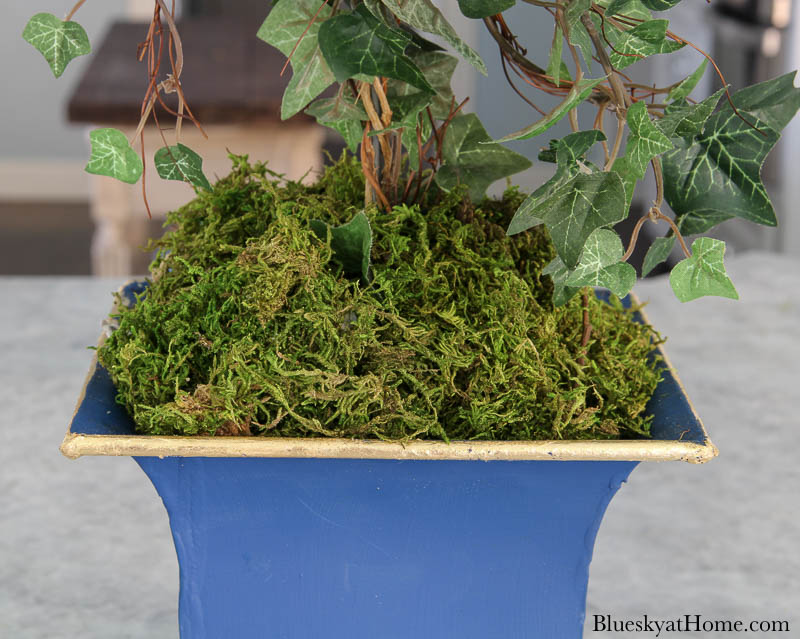
That part was really easy!
The Cost of my Updated Old Containers
The only supplies I bought were the paint and the florist foam. Since there is still paint left in the jar, I calculate that the actual cost was lower.
DecorArt Paint 2 ounces $1.59
Florist Foam Block $4.49
-20% off coupon on total purchase
Total cost $4.86
Display Your Updated Discarded Beautiful Recycled, Restyled Containers
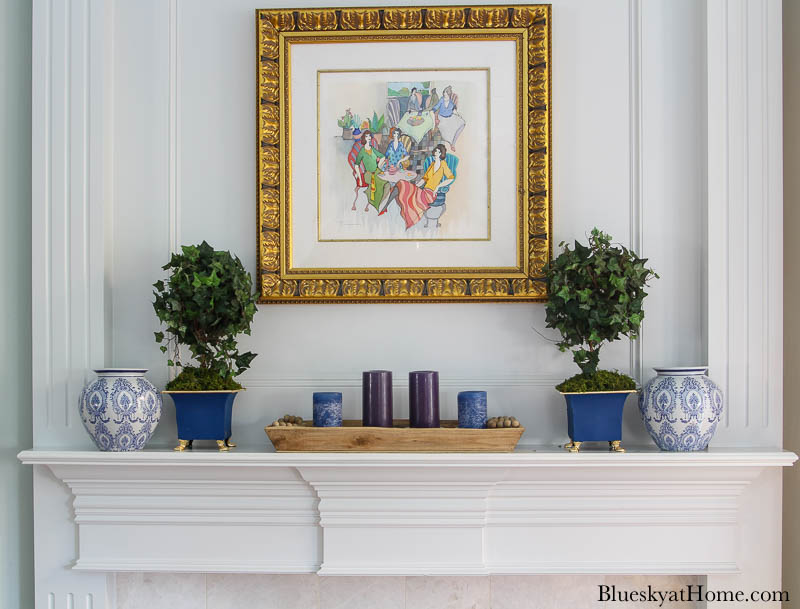
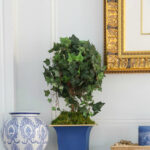
I knew that mine would work beautifully on our mantel with the two blue and white vases. The greenery acts as a nice contrast to our white fireplace. I love the combination of both blue and white and green and white on the mantel.
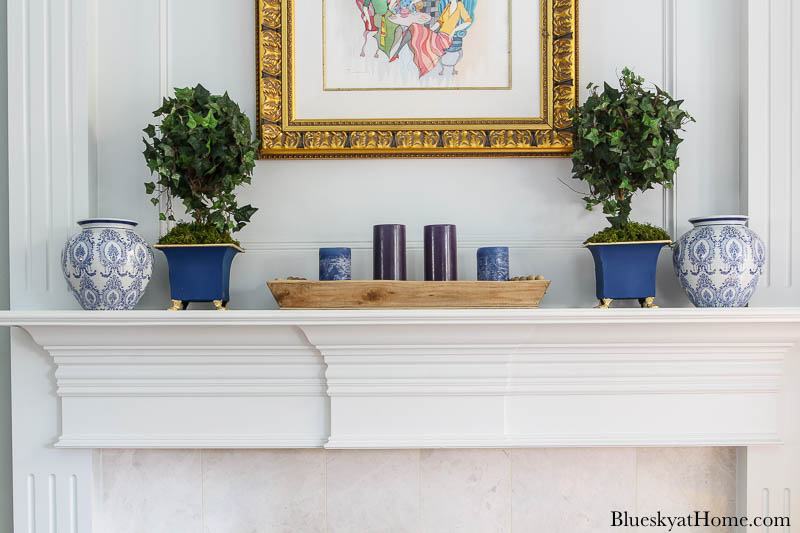
This mantel is both balanced and symmetrical. The rustic wood tray in the center of the mantel is filled with four blue candles.
The two updated discarded containers painted blue with the Gold Leaf trim provide a dressier style. The topiaries add a pop of green and provide height. The blue and white vases provide pattern and contrast in shape.
Other places I would use these two updated containers would be in our entry and our dining room.
Besides rescuing and restyling old containers and getting them off the garage floor, I now have two pretty new accessories for our home.
The point of this project (besides giving me a new decorative accessory to use) is to inspire you to make use of old, discarded containers or frames or pots or boxes you may find in your garage.
Think of ways to update and restyle them. You will not only keep stuff out of the landfill but make pretty things for your home for very little money.
Watch the VIDEO Now!! Click on the image.
Don’t forget to PIN away for future inspiration.


I’d like to think that that blue is close to the Pantone color of the year! It sure adds a bit more blue to your living room. The gold adds a touch of class, too!
You are so right, Kathy. I didn’t even think of it. Gold and blue are a classic combination.
I love a good upcycle. These are adorable. I love the added gold. Nicely done.
Thank you Clearissa. I’m really happy with them.
Looks great Carol! The gold-leaf edge made all the difference!
Thank you, Diane. Adding Gold Leaf to the edge was an afterthought but it made a huge difference. #randomactsofdiy
Thank you Carol for the great tutorial of reusing planters with paint and gold leaf.
I have the perfect pots to repurpose now. Love your creativity, especially for repurposing items we already have.
While I do not comment very often I do so enjoy your Blog.
Blessings,
Esther, thank you so much for your comment and I’m so happy that you enjoy the blog. I hope you do repurpose your pots. It’s so much fun!
These are so pretty. I love the color. The gold leaf takes these over the top.
Thank you, Katie. The Gold Leaf is a winning addition.
HAPPY MOTHER’S DAY, CAROL!
THESE TWO POTS LOOK SO PRETTY! I LOVE THE GOLD LEAF! IT JUST ADDS SO MUCH! YOUR MANTEL IS BEAUTIFUL! THANKS FOR THE VIDEO! AND, THANKS FOR SHARING THIS PROJECT WITH US!
HAVE A GREAT WEEK!
Thank you Mary~Ann. I always love your comments. I hope that you had a nice Mother’s Day too. Glad you liked the project and the video.
Carol,
Very, very lovely project and so meticulously updated too. Love this rich blue. Darling Vignette too!
Happy Mother’s Day,
jemma
I hope you had a nice Mother’s Day, Jemma. Thank you for the great feedback. I really appreciate it.
Happy Mother’s Day to you! I have always been hesitant to use gold leaf, but your video is so helpful that I may have to try it. The metal containers look awesome!
Cecilia from Georgia, thank you so much for your comment. Glad you like the video and the project. My daughters and grandkids live in Atlanta. One of my very favorite places.
Carol I have some almost exactly like these – somewhere. I still haven’t sorted everything out from our move in October. They are probably in the craft closet. These are simply beautiful now. You have inspired me to find mine and get busy! Thanks for the inspo!
If I inspire you, Tammy, then my day is made. Thank you so much for your comments. I hope you will update your containers and then post about it.
Oh WOW. These came out so amazing. I just love the golf leaf. Great job!
gold leaf (not golf)….lol!
HaHa, Jodi, I knew you meant gold, not golf! Thanks for the feedback.
This is such a clever project. I haven’t worked with gold leaf in years, but always enjoyed it…now you have my “wheels turning”! Your mantle looks lovely – very clever, girl!!
Patti, you should try Gold Leaf. It’s fun and not hard at all. The results are amazing. Thank you for the comment.
I love it when you can ‘shop’ in your own home – or garage! Great makeover, Carol. Happy Mother’s Day!
Carol thank you for sharing this. I didn’t even think about something like this. I pinned to do something like this in our home. Love this. Happy Mother’s Day Carol!