How to Recycle a Picture Frame as a New Accessory
Here’s an easy project that shows you how to recycle a picture frame as a new accessory in your home decor.
Do you like to recycle things you found or have around the house? I can’t ever resist recycling with things I already have around the house. Do you wonder how to reuse items in your home? I have a great idea for recycling a picture frame.
Right now, I have a pile of about 7 frames in our garage that are just waiting for the right time and the right project to be recycled and reused. But for now, I’m sharing just 1 way to recycle a picture frame as a new accessory in your home decor. I hope this project will give you ideas for your own recycling.

How to Recycle a Picture Frame as a New Accessory
This post contains links to products used in this project and that I use and highly recommend. If you should order any product from this site, I may receive compensation, but you will not pay a penny more
Picture frames are one of the best items to snatch up at garage sales and flea markets. Whether they have a picture in them or glass (yes, grab that one, for sure!) or nothing, frames can be changed, rescued, restored or recycled into so many other useful or decorative items. Or just made into a prettier frame that fits your own home’s style.
Recycle Picture Frame Inspiration
In the drawer of the secretary in our bedroom, I have several old frames that I’ve collected and used. These are in perfectly good condition; I like to change out pictures and use different frames.
Several weeks ago, after I made a DIY sunburst mirror for our powder bath, I found another frame that I thought I could add to the collage of mirrored frames I already had in the powder bath.
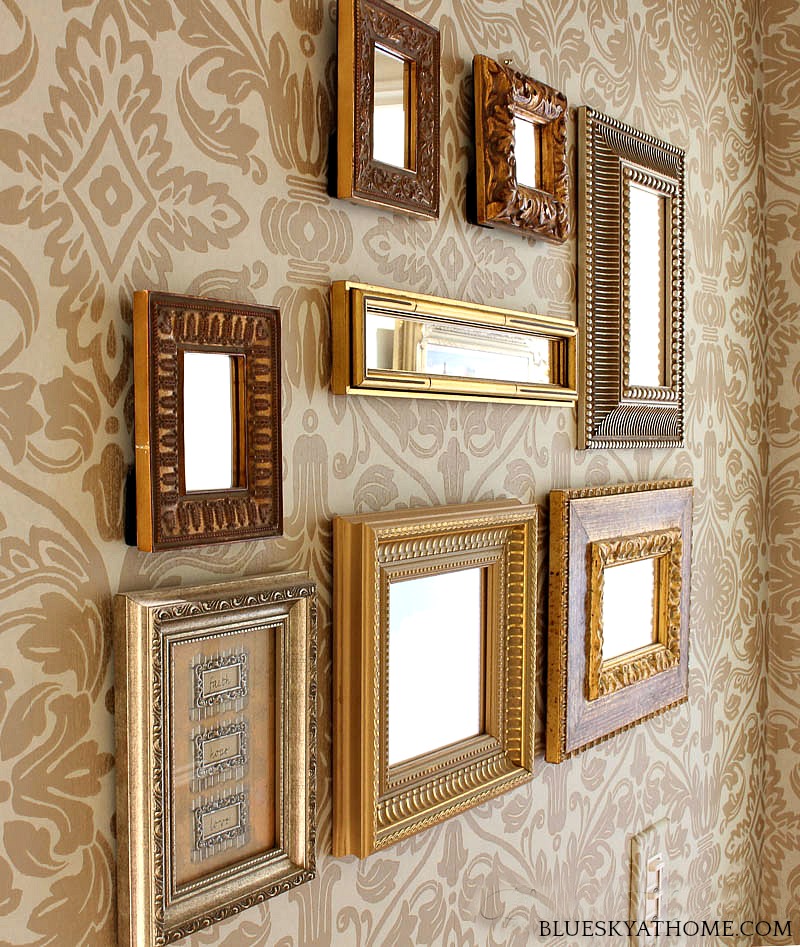
It had the gold frame that would fit and it was the right size, 5 X 7. It had a regular piece of glass, not a mirror. What if I added a saying to the glass? That would be fun and a little different.
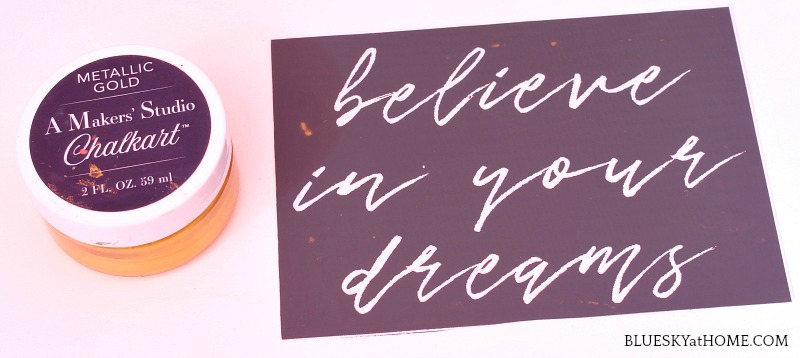
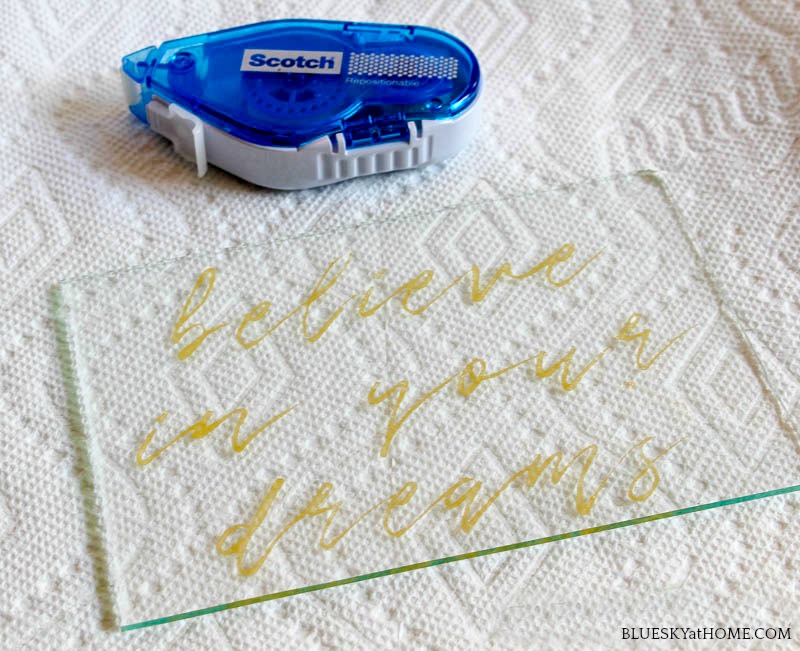
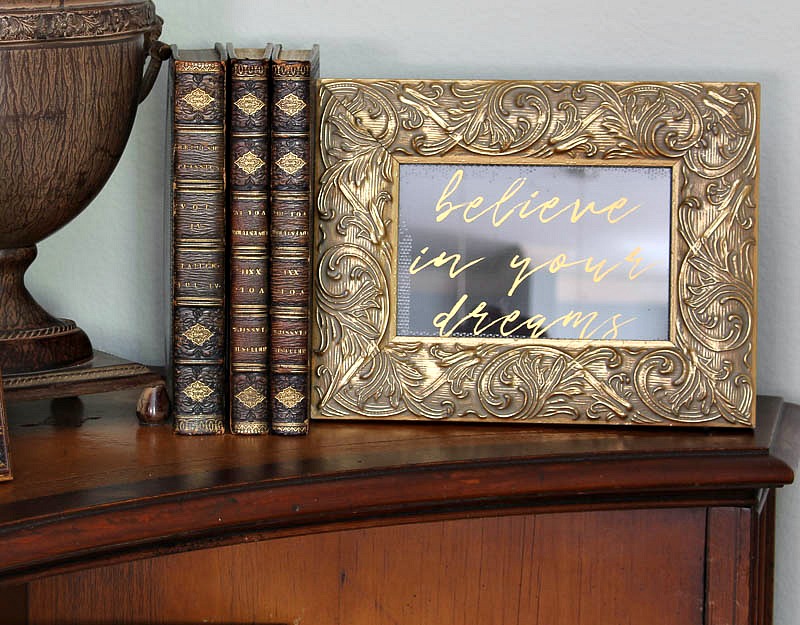
I found the perfect size stencil in my A Makers’ Studio collection. The “believe in your dreams” from the Believe Quotes stencil fit perfectly and I loved the thought. To match the gold frame I chose ChalkArt in Metallic Gold.
Recycle Picture Frame Project
Step 1 ~ I removed the glass from the frame and cleaned it with glass cleaner and made sure it was completely dry.
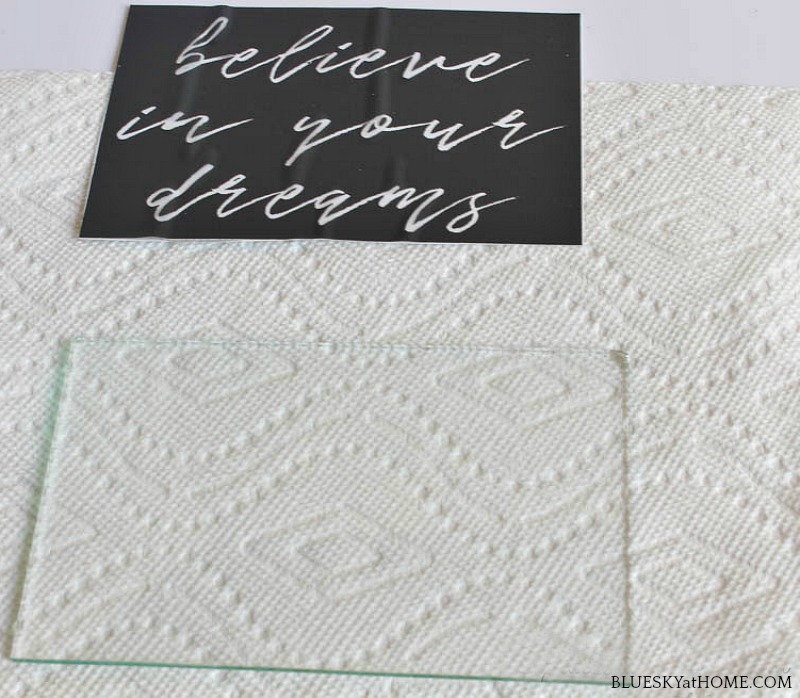
Step 2 ~ I placed the stencil in the center of the glass and rubbed it with my hand to adhere it to the glass. Our mesh stencils have an adhesive backing so this was so easy. You don’t have to waste your money on sticky, messy spray adhesive.
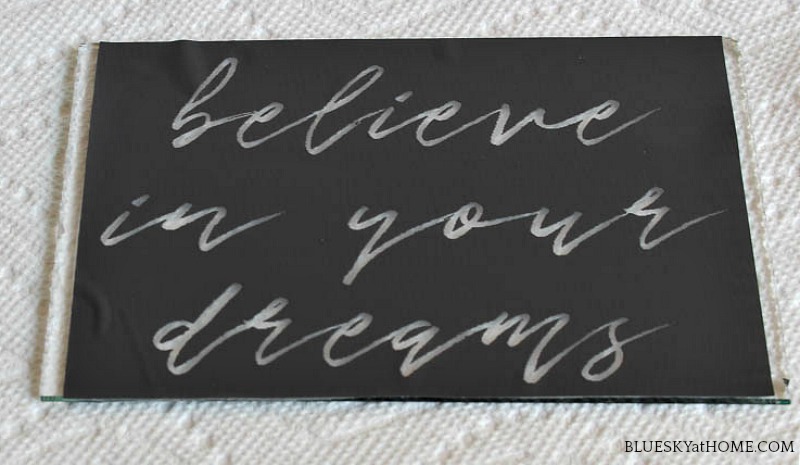
Step 3 ~ Using the plastic scraper, I applied the Metallic Gold ChalkArt to the stencil, dragging and pressing the ChalkArt into the stencil.
Step 4 ~ Carefully remove the stencil, using the corner of the plastic scraper to lift a corner of the stencil.
TIP: Have a container of water ready to clean your stencil or place it in the sink to wash with soap and water. Place the stencil right (design) side down on a cloth or paper towel to dry.
Step 5 ~ Let the ChalkArt dry for about 10 minutes. I’ll tell you why I had the sticky tape in a minute.
Step 6 ~ Cut backing for glass. At this point, I realized that the frame only had a small piece of hardboard which would not allow the glass to be secure or let the stencil show up. Maybe this was why I had not been using the picture frame.
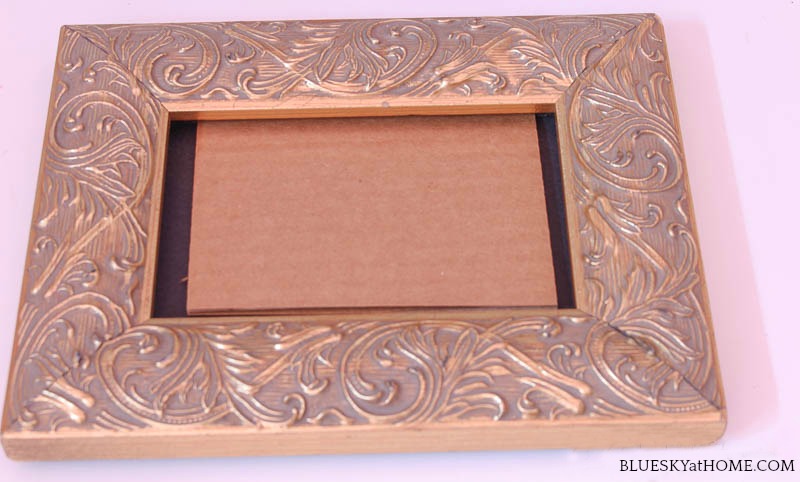
I thought I could use sticky tape to hold the glass against the frame, but that didn’t work. I knew I would need to use the cardboard to hold in the glass.
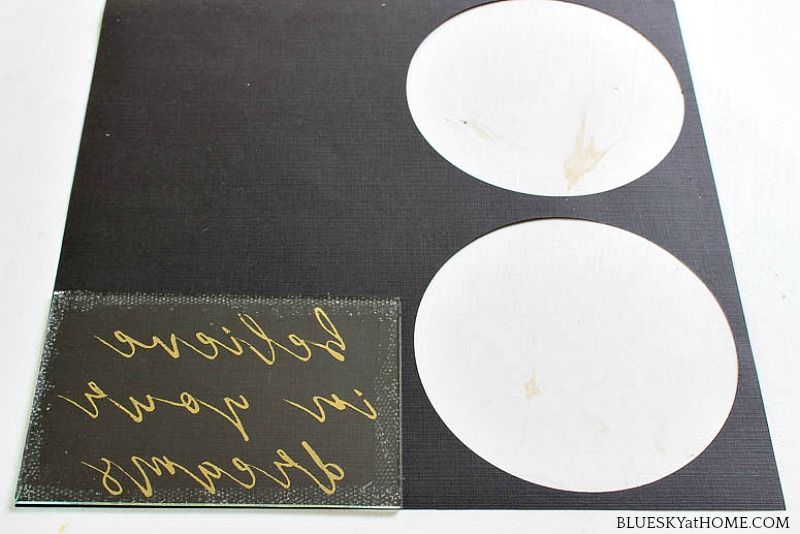
Fortunately, I had 1 piece of black card stock in my plastic storage containers leftover from an earlier project. Using the glass as my guide, I drew the right size for the paper backing.
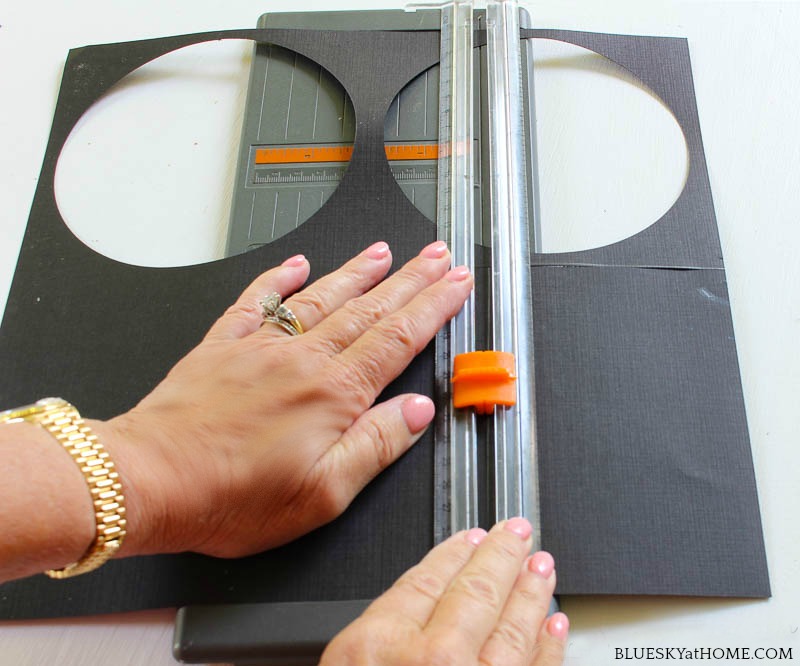
Then I used my paper cutter to cut the paper.
Step 7 ~ Finally, I reassembled the frame with the stenciled glass, the black card stock, the cardboard, and the back of the frame. You can use the adhesive tape to adhere the paper to the cardboard.

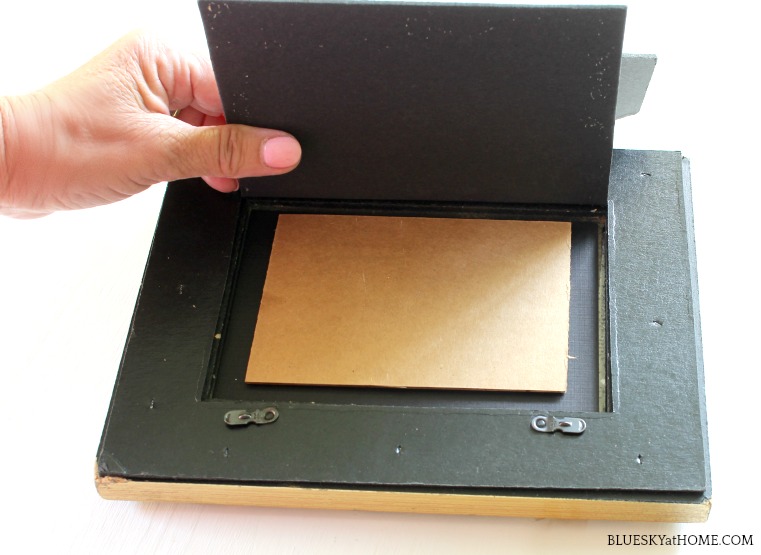
I loved how the stencil saying looked in the frame. When I turned the frame over, I realized it was the kind of frame that was only meant for display on a flat surface, not to be hung on a wall.
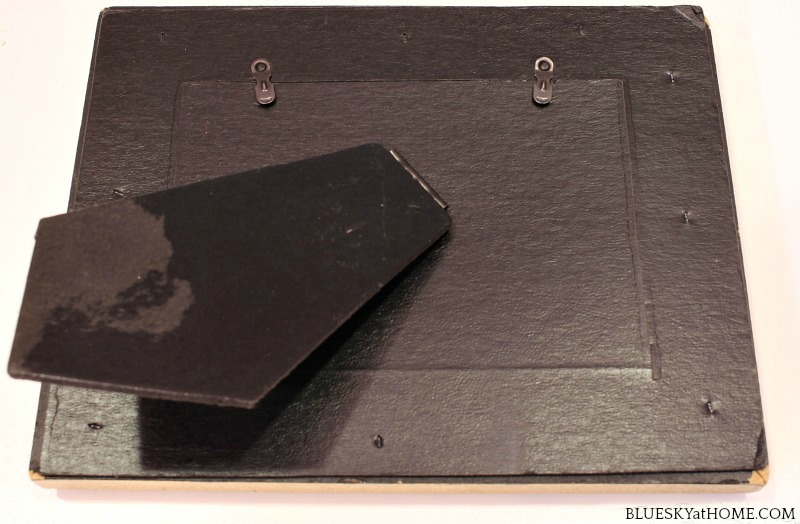
There went my idea for adding it to the powder bath.
The Finished Recycled Picture Frame
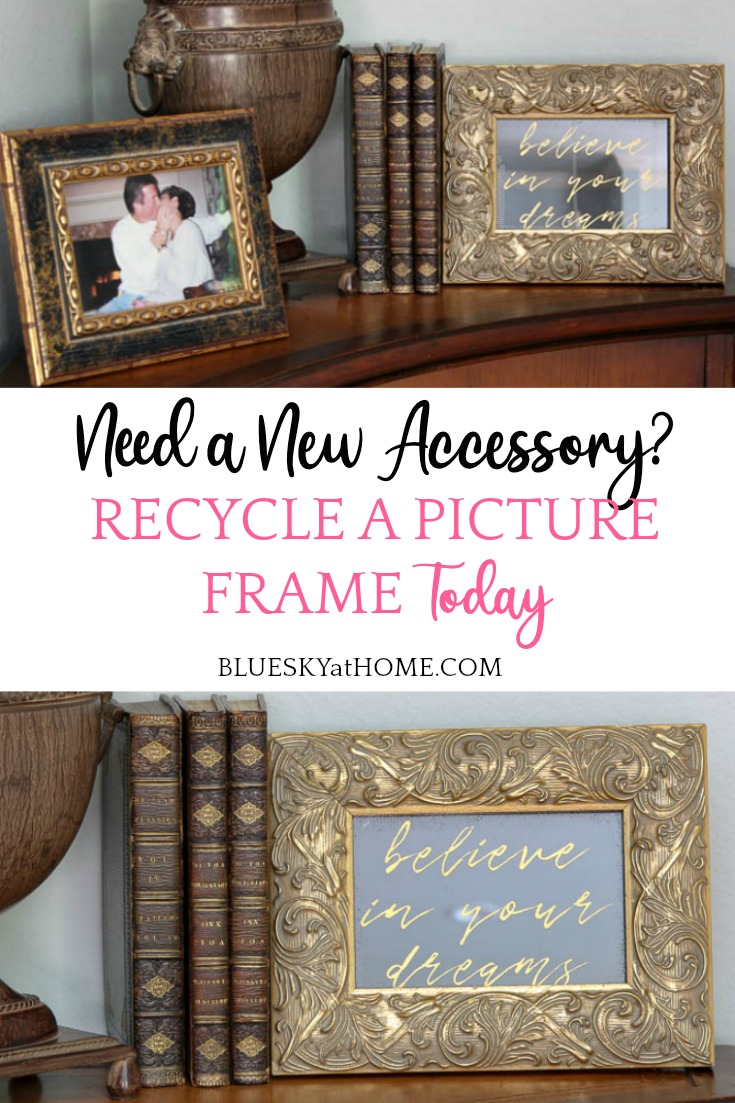
I did have a place that my recycled picture frame could be displayed ~ on the corner piece in the alcove leading to our master bedroom. Sweet Shark had this piece of furniture when we married and at both our homes it has been in an alcove. For this new arrangement, I added some vintage books with gold lettering on the binders and one of my very favorite pictures in a complementary frame. And, of course, I had a new little vignette.
I love that Sweet Shark’s hair was brown back then! I didn’t have highlights in mine.
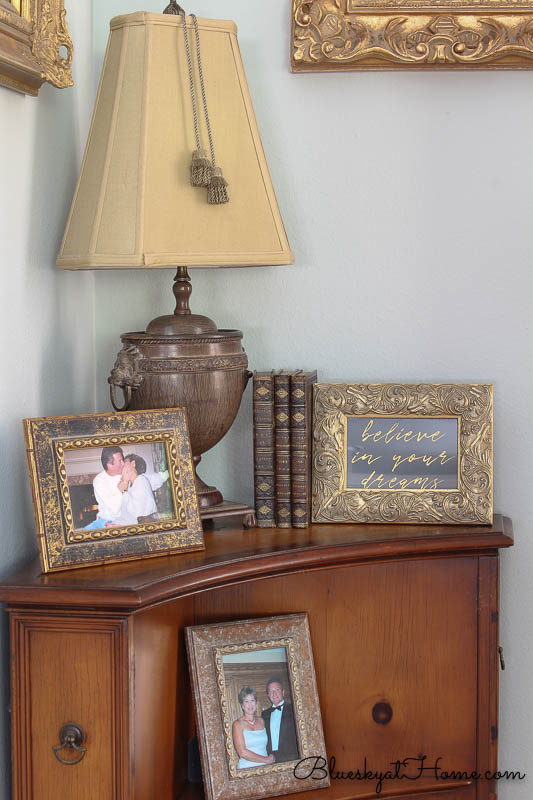
If you are interested, that picture was taken on the first day of our honeymoon in Monterrey, California. The bottom picture was taken before leaving the house for a benefit for my older daughter’s school fundraiser over 20 years ago.
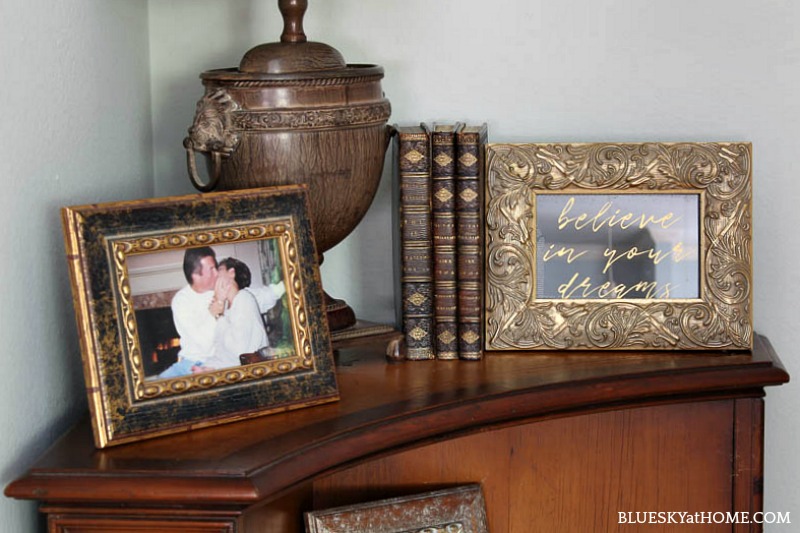
This new stenciled recycle picture frame turned out better than I anticipated and I love the new vignette. It fits beautifully with the honeymoon picture because don’t we all have dreams when we first marry? I see it every time I walk into our bedroom.
Cost of My Recycled Picture Frame Project
How much did this recycle picture frame project cost me? In my mind, nothing, nada, zero, zilch. Why?
I didn’t go out and buy the frame. I’ve had it for so long, I have no idea what I originally paid for it. It’s been used before so that diminishes the price, but not the value. The Metallic Gold ChalkArt was originally $9.99 for the jar, but I’ve used it so many times for different projects and I still have enough for several more projects. I already had the Believe Quote stencil and have used different pieces of it and it’s reusable so that lowers the cost to pennies.
And the time to complete this project? About 15 minutes. That’s a wining DIY recycle project in my mind.
So everything for this project was reused and recycled. Since I have a pretty new use for the recycled picture frame, a new vignette for our home, and a new project to share with you, I am a happy camper.
I hope you are too.
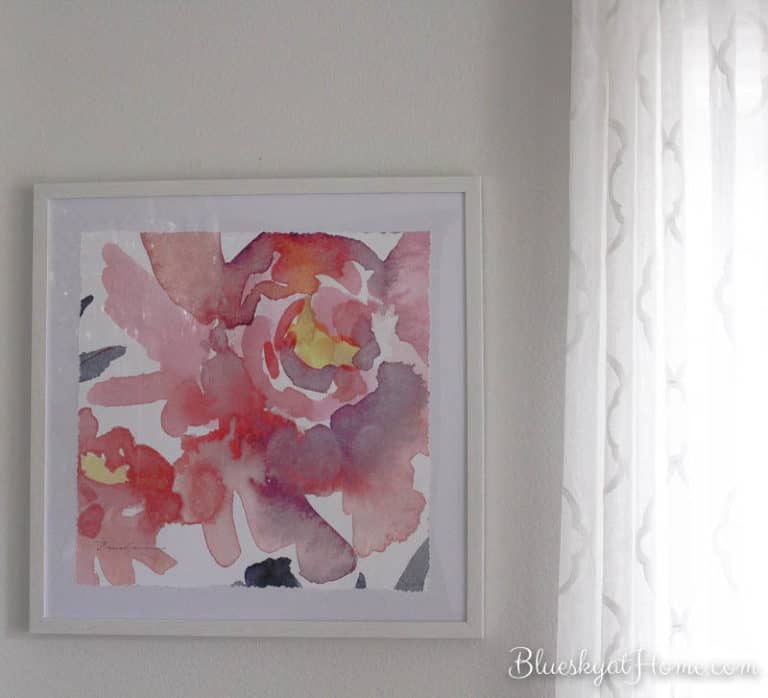
Want to see another decorative art project featuring stenciling on glass? I just completed this one using floating glass frames.
Please don’t forget to PIN!


That’s so pretty! I love it! I also love that it didn’t cost you anything to make. 😀
Very pretty, and so clever Carol!
This is absolutely beautiful. I am working on something similar. Iove the gold. TFS
I’m always seeing old picture frames at yard sales. This is the perfect way to recycle one of them. Great idea!
This is a great piece to have for all season and so inexpensive. I love how it looks on your table. Looks great!
Carol as usual you knocked it out of the park! So pretty!!! I have a stack of frames also that I feel like are too pretty to throw away. This is the perfect project. Thanks for sharing!