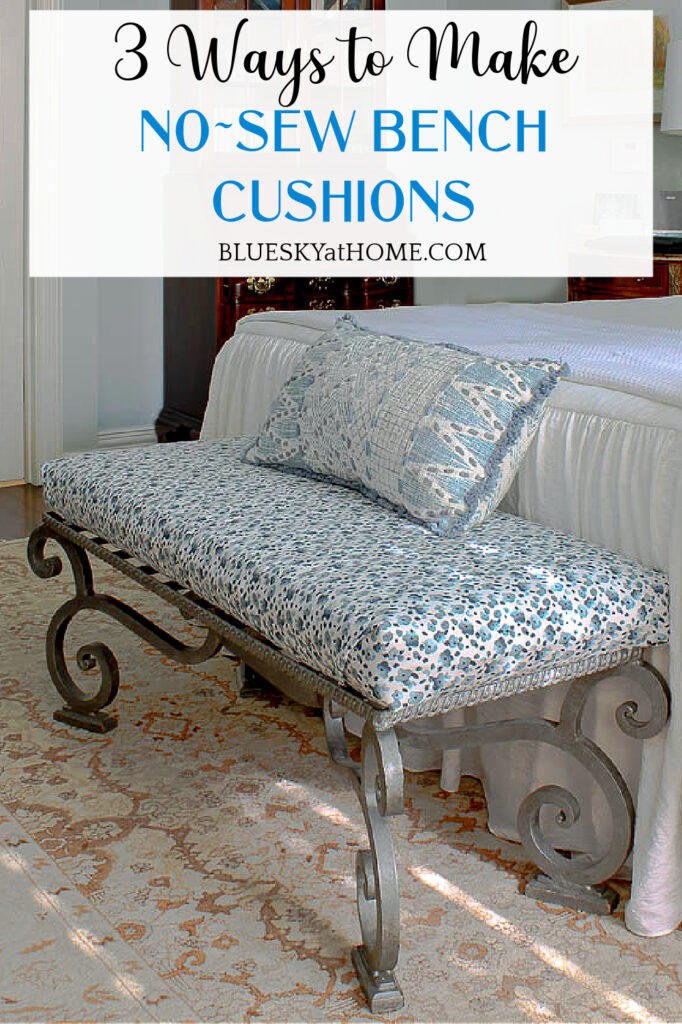
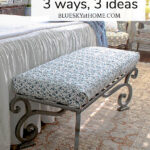
How to Make A No-Sew Bench Cushion
Have you ever had a DIY project that got a little out of control? One that gets bigger than your original plan? That’s what happened when I planned how to make a no-sew bench cushion.
Have you ever made a bench cushion? Or made a no-sew one? It didn’t take long to figure out how to make a no-sew bench cushion. My one no-sew bench cushion grew to three no-sew bench cushions.
I have three different no-sew cushions. One for indoors in our bedroom and two for outside. One for the front of the house and one for the patio in the back of the house.
I have paid to have custom bench cushions made ~ in fact, two of my bench cushions were originally custom made. One is totally a DIY made~from~stratch bench cushion, which I will show you how to make.
What do they all have in common?
They all require zero sewing ability. No sewing machine. No needle. No thread. You can make a no~sew bench cushion in less than an hour. You will love me for showing you how to make a no-sew bench cushion.

No-Sew Bench Cushion: Quick and Easy Project
This post contains affiliate links to products used in the completion of this project. If you should order any product from this site, I may be compensated, but you do not pay a penny more.
I’ve wanted to make these no~sew bench cushions for months. I just needed a good incentive. Cleaning out my fabric stash prompted me to use some remnants.
How did this no~sew bench project get started? As usual, with a need and an unexpected solution.
SUPPLIES FOR YOUR NEW~SEW BENCH CUSHIONS
Regardless of the size of your cushion, here are the supplies you need:
- foam (thickness of your choice)
- batting designed for outdoor use ~ I bought mine at Joann
- fabric spray adhesive
- scissors
- measuring tool, such as a yardstick
- pencil
- dressmaker pins ~ these are the long ones with a “ball at the end)
NO~SEW PATIO BENCH CUSHION NUMBER 1
I’m going to show you three different no~sew bench cushions that I made. They are each just a bit different, but the process is the same.
I have two outdoor benches that I bought years ago. They are very different in style and finish. The bench in the backyard is metal with a very rustic look. When we moved into our present home, I had a custom bench made for this bench by Frontgate with Sunbrella fabric. (It cost a few hundred dollars.)
This bench sits just outside the bay window in our master bedroom. Just a few feet from our swimming pool, it adds extra sitting when we have company over. It’s also a good place to sit to watch the grandkids swim.
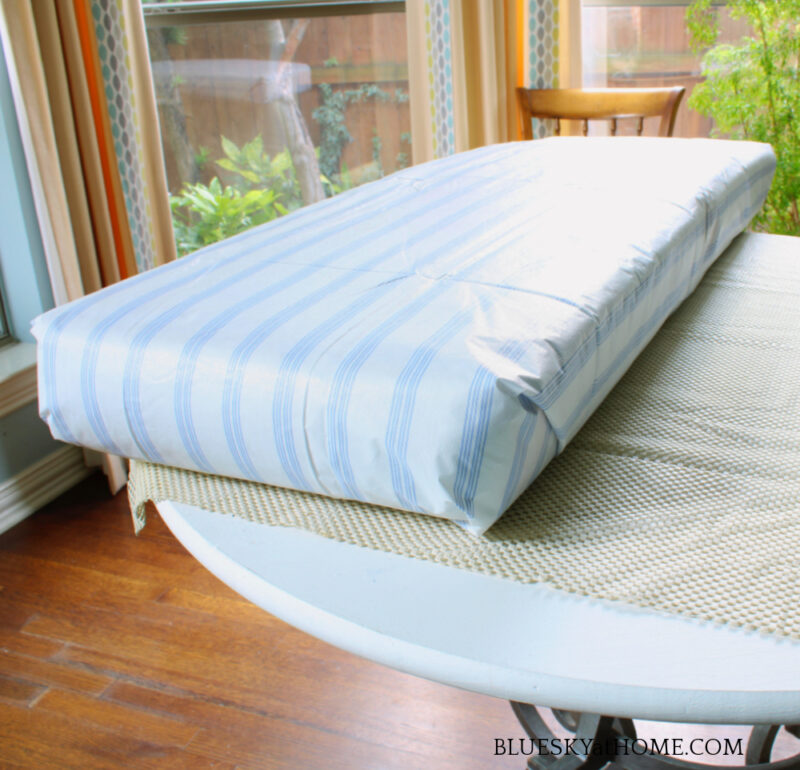
I did cut a piece from a rubber rug to place on the metal patio bench. To cut it out, I laid the newly covered cushion on top and cut around it.

After several years, the rusty finish on the bench discolored the cushion. One day, I just pulled off the cushion cover and threw it in the trash. Fortunately, the foam and batting, although a little dingy, were in good condition.
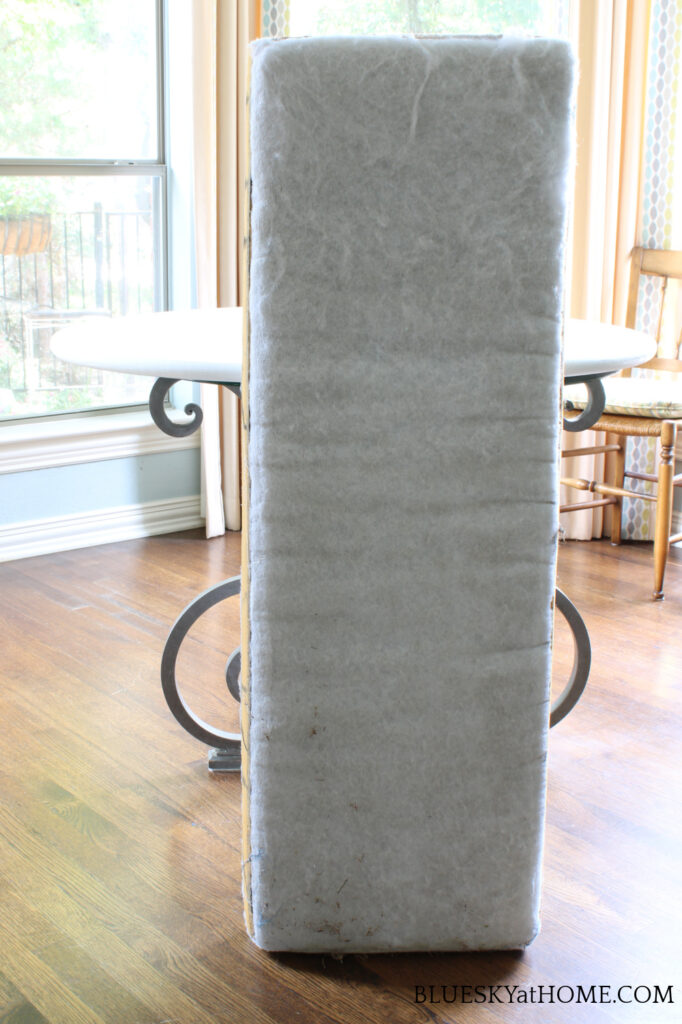
This bench was the inspiration for all three no~sew bench cushions. Obviously, I needed new fabric to cover the cushion. However, I did not want to go to the trouble of cutting out fabric and sewing it to make a semi~permanent cushion cover.
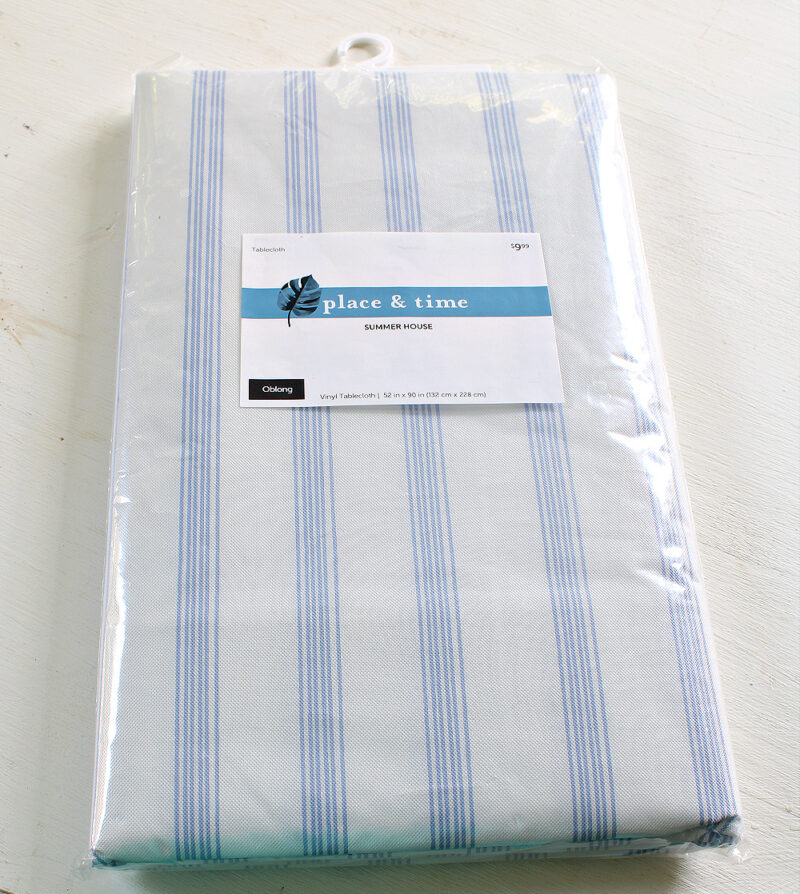
Several months ago, I found a picnic~style tablecloth on sale at Joann. It was a 52 X 90 inch oblong, with a nice blue stripe pattern. At $9.99, on sale 40% off, it was an easy decision to buy it. It has been in a drawer, waiting to be used.
The tablecloth has a flannel backing with a polyester fabric. It is water~resistent, so I thought, why not use it to cover the existing cushion?
MAKING THE NO~SEW PATIO BENCH CUSHION COVER
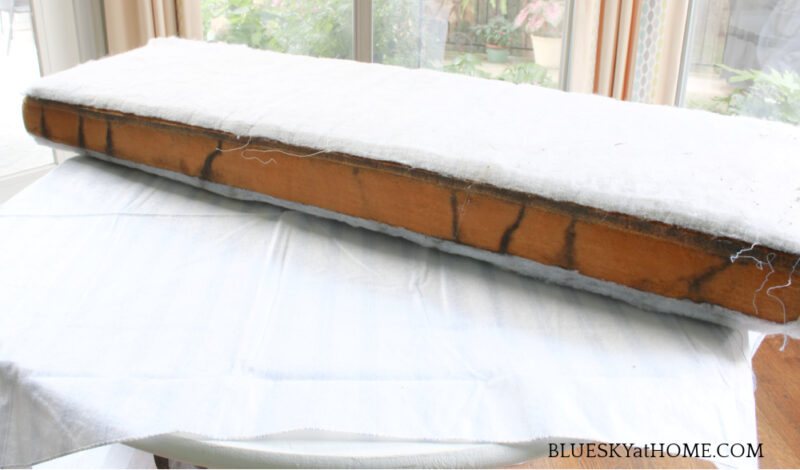
This bench cushion was super easy because I already had the foam and batting. I would use the construction of this cushion as the example for the second made~from~scratch cushion.
STEP 1
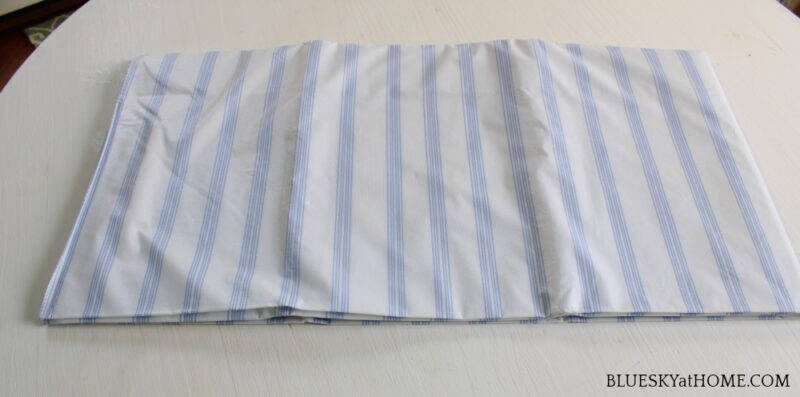
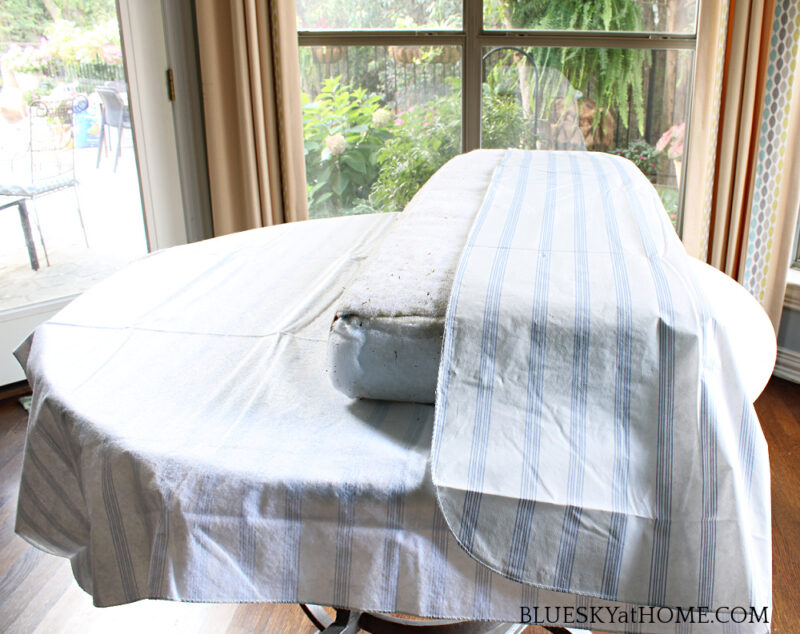
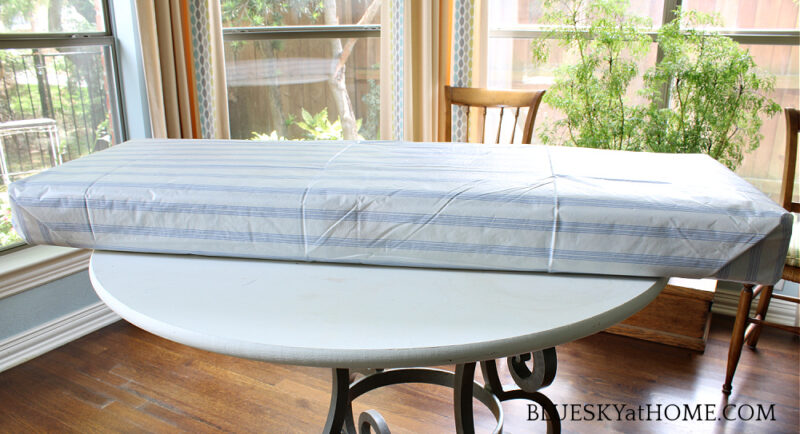
Lay the tablecloth (or whatever fabric you are using) on a flat surface. I had to use my breakfast room table. Set your foam/batting on top.
STEP 2
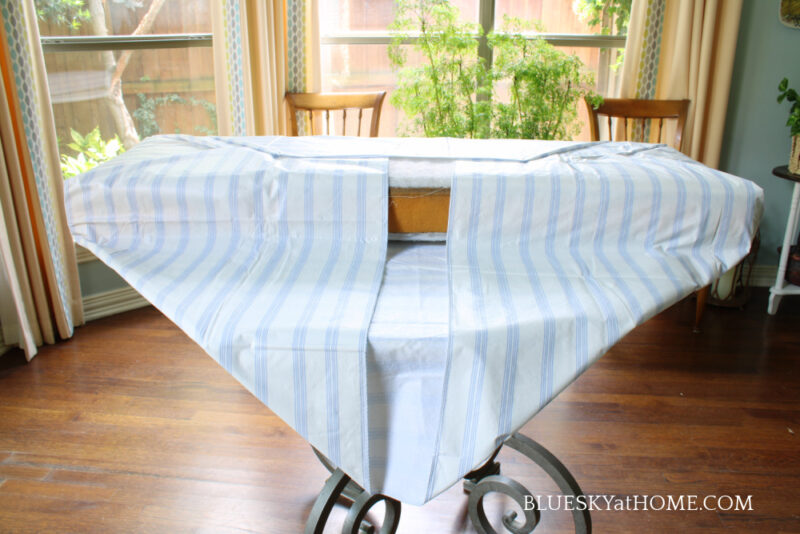
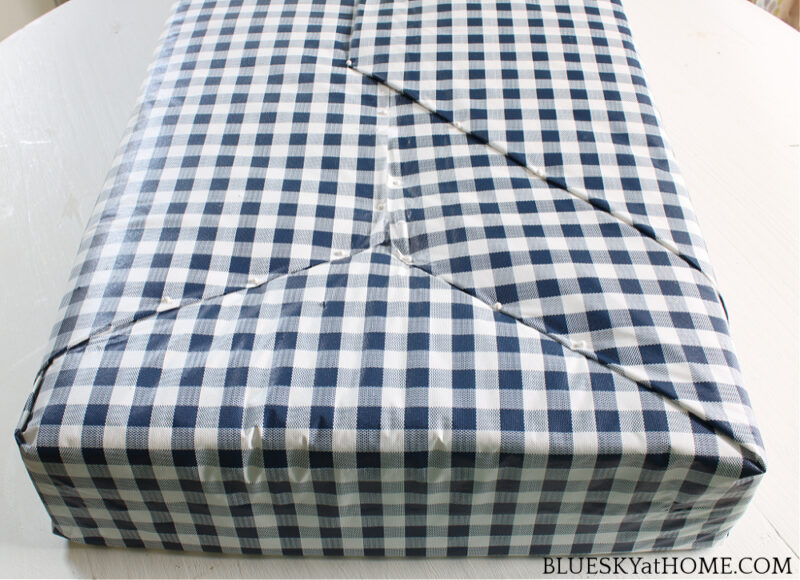
Center the foam/batting on the fabric with plenty of fabric on all sides. You will be “wrapping” the cushion as if you were wrapping a present.
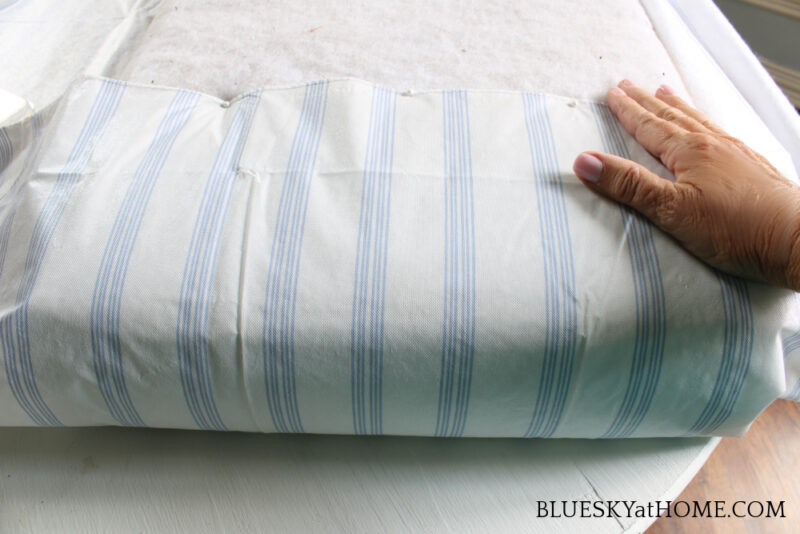
Begin at the short ends of the foam/batting by pulling the fabric tightly over the side facing up of the foam/batting. This side will end up being the bottom of the cushion when you are finished.
STEP 3
Continue by folding in the sides of the fabric at an angle over the ends of the foam/batting. Think of wrapping a present.
Insert the dressmaker pins into the fabric at an angle into the foam/batting. Use the pins to hold the fabric in place. I pinned every 5 ~ 6 inches, as needed.
You may need to readjust the fabric and folds as you go. Make sure to keep the fabric taut and smooth.
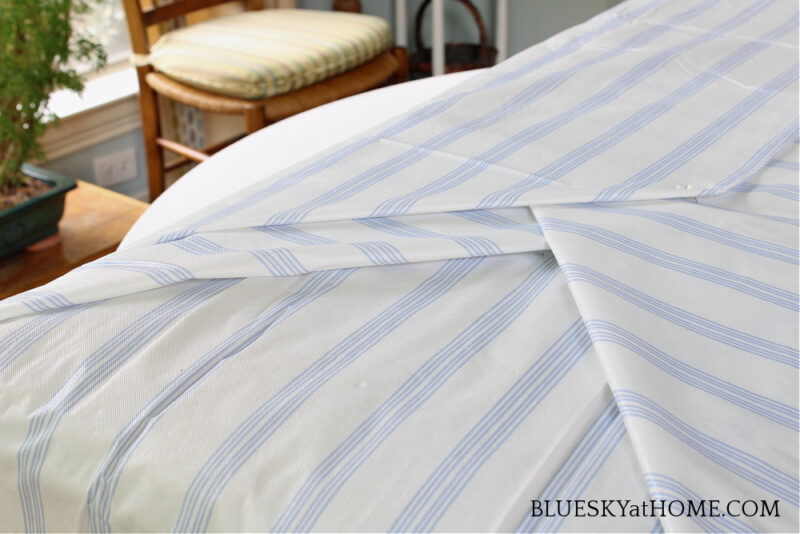
Fold the fabric, pull tight, adjust and pin as needed to get a smooth finish. If you think you have too much fabric, you can trim any excess. Because I thought I might want to use the tablecloth in the future, I didn’t cut any excess from it.
That’s about as easy as it gets. Here is when I cut out a piece from a rubber rug back to place on the metal patio bench. To cut it out, I laid the newly covered cushion on top and cut around it.
STEP 4
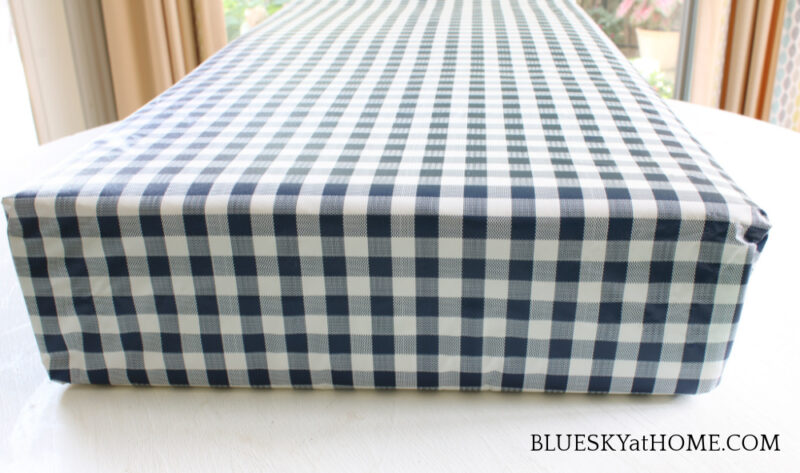
Place your cushion on the bench and you are done with your no~sew patio bench cushion.
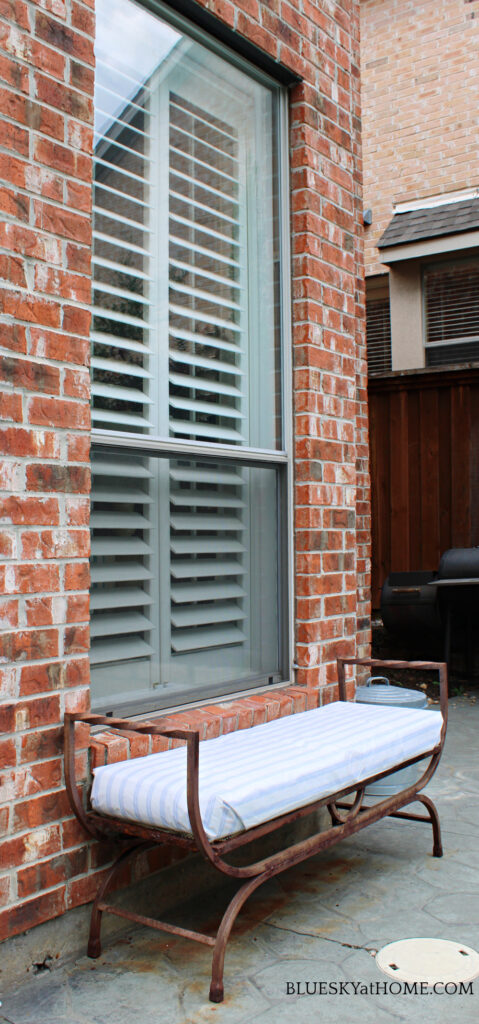
You would never know that the cushion cover was held together by straight pins!
FRONT PORCH NO~SEW BENCH CUSHION FROM SCRATCH NUMBER 2
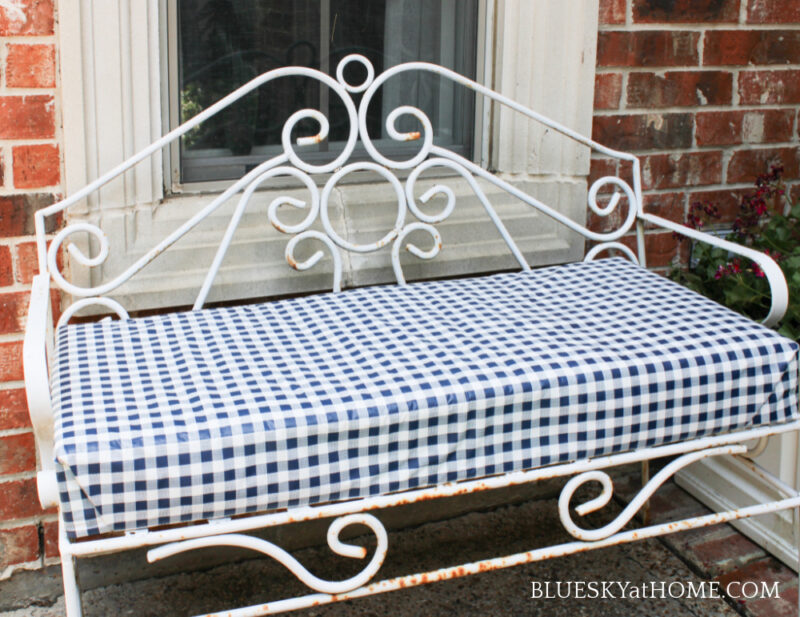
I had another bench that was totally different from the first one. It was pained white and had a more romantic style. It had been in our backyard for a few years, but I wanted to try it by the front door.
I love the large navy and white check front door mat that I bought in June.

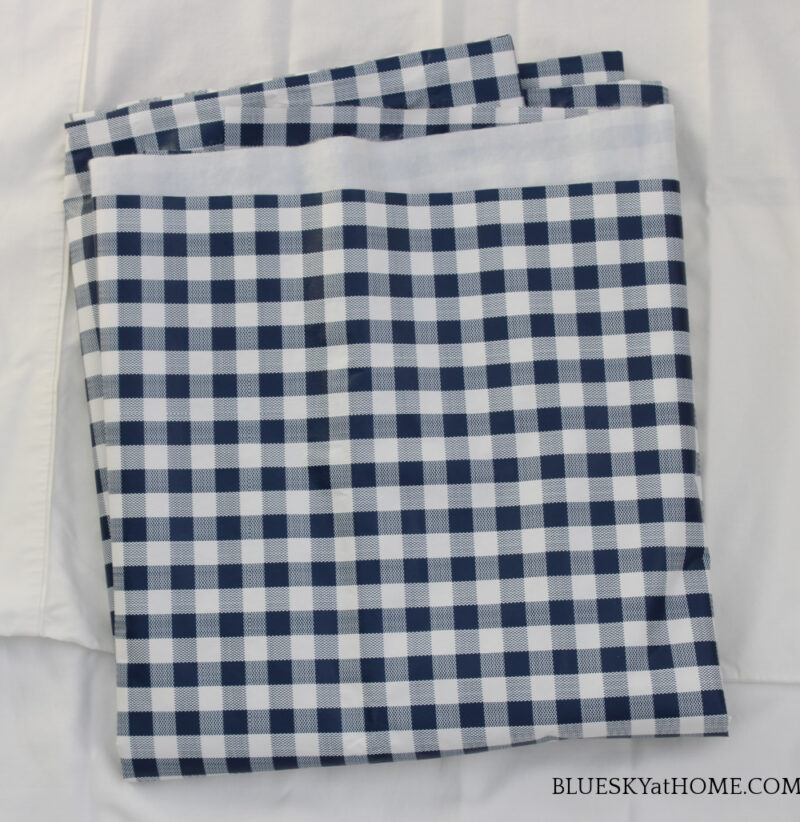
The inspiration to make a new no~sew cushion for the front door came from fabric I found at Joann in June. It was in a container behind the cutting area and I just happened to see it. Two things caught my eye ~ the navy color and the check pattern.
This bench cushion took the longest time because I made the cushion from scratch. Here’s how:
MEASURING AND CUTTING YOUR FOAM TO SIZE
Determine the size of the cushion you need. You will also need to decide how thick you want your cushion. Refer to the list of supplies above.
I measured the width and length of the bench, which was 38 x 16 1/2 inches. I wanted the thickness of the cushion to be 3 inches.
STEP 1
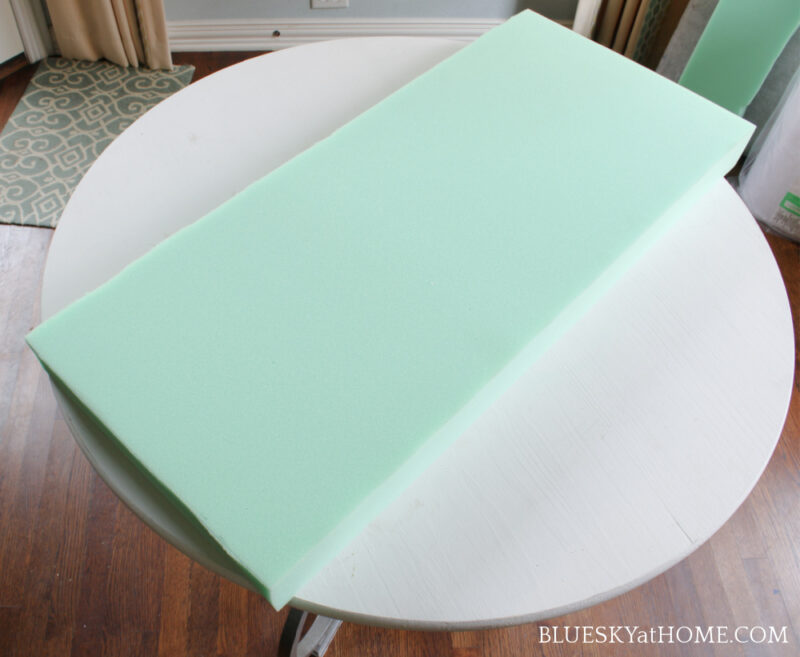
I purchased my foam at Joann. You can have them cut the length of your cushion. The foam is sold by the yard and is 2 feet wide. Here is the piece of foam I brought home.
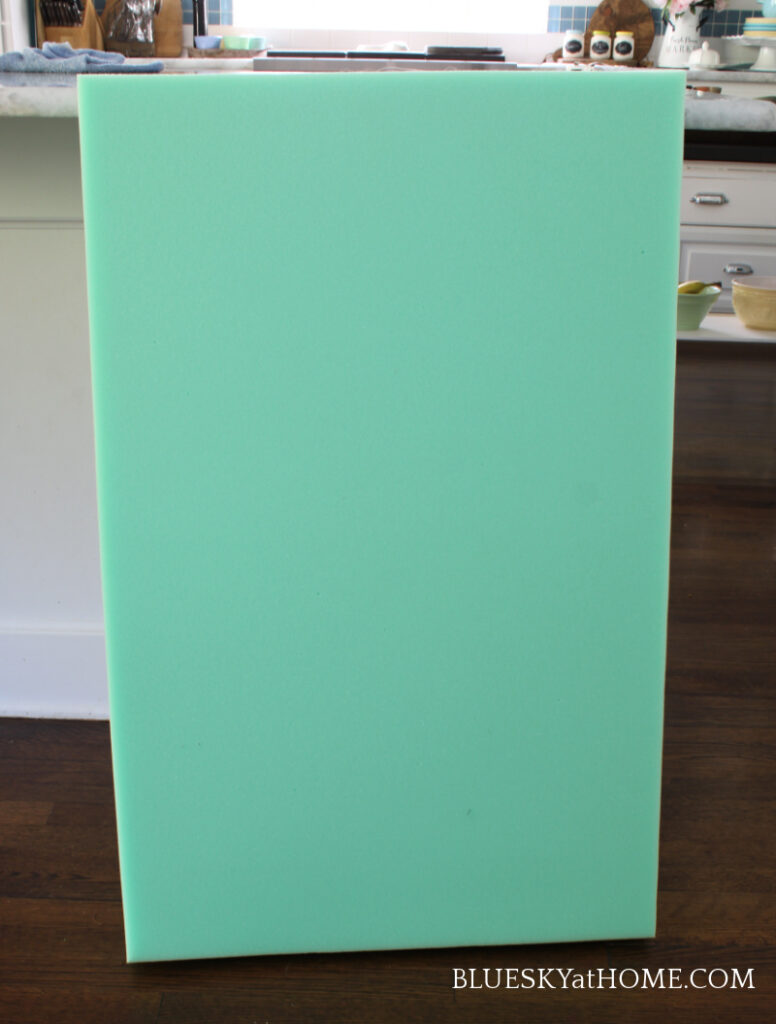
Once again, you will need straight pins, and your yardstick to measure.
NOTE: The price of foam has increased dramatically. I found this out when I bought foam to make our fabric headboard back in March. If it is not on sale, then I highly recommend using a coupon.
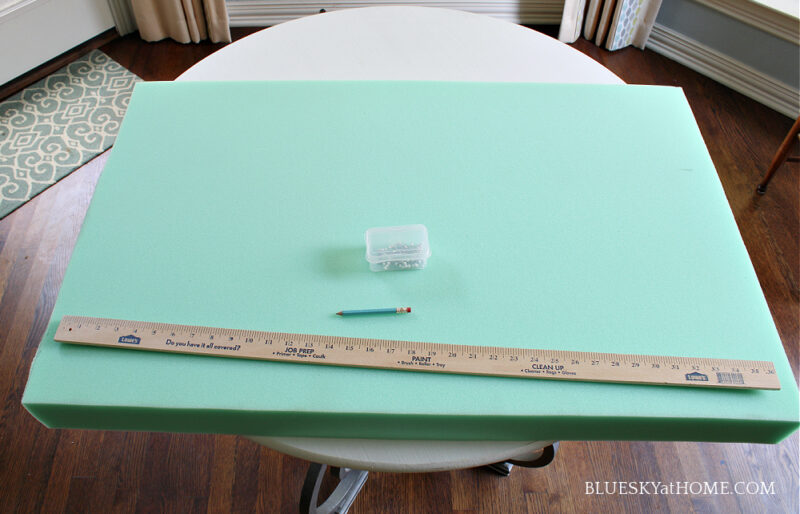
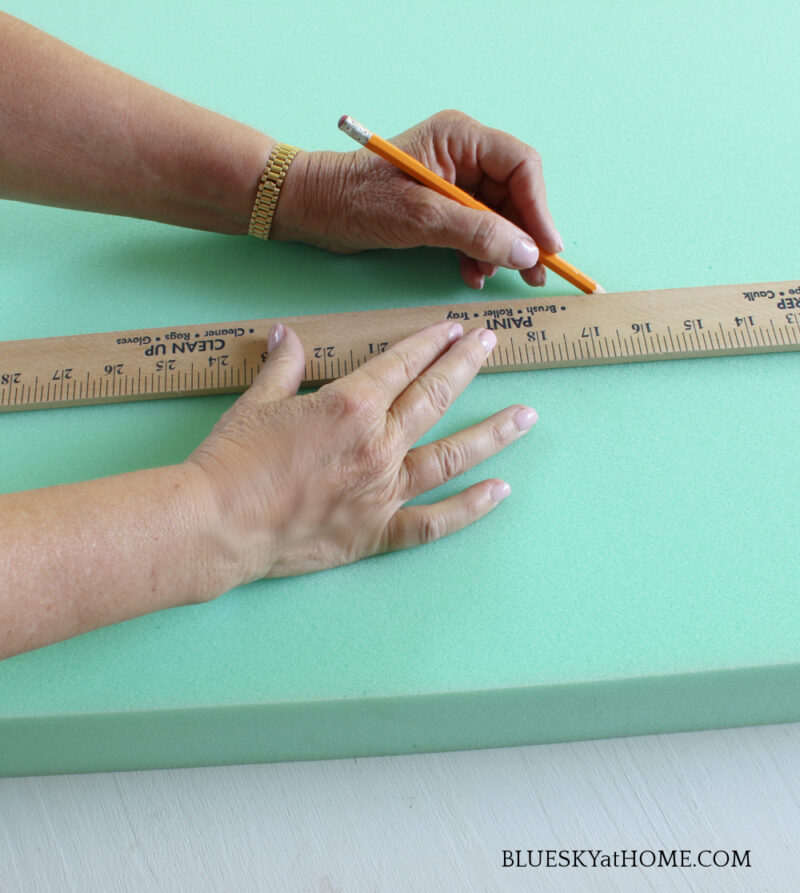
Measure the width of your cushion with a yardstick or other straight edge. Mark with a pencil or marker.
STEP 2
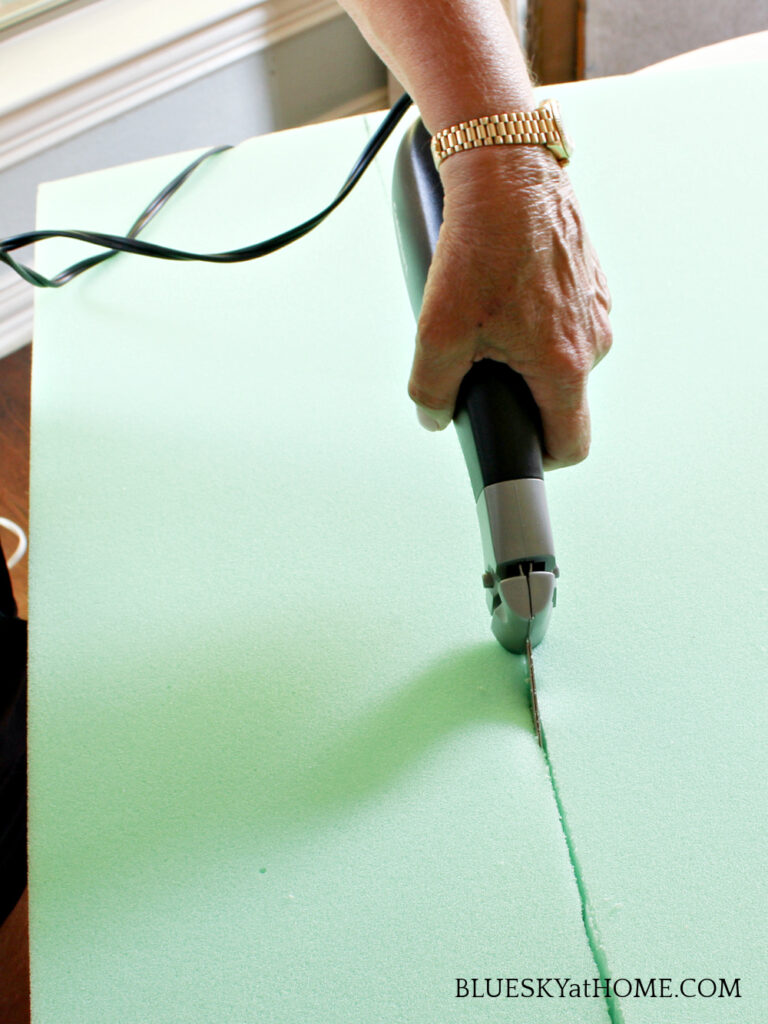
I have found that the easiest way to cut foam is with an electric knife.
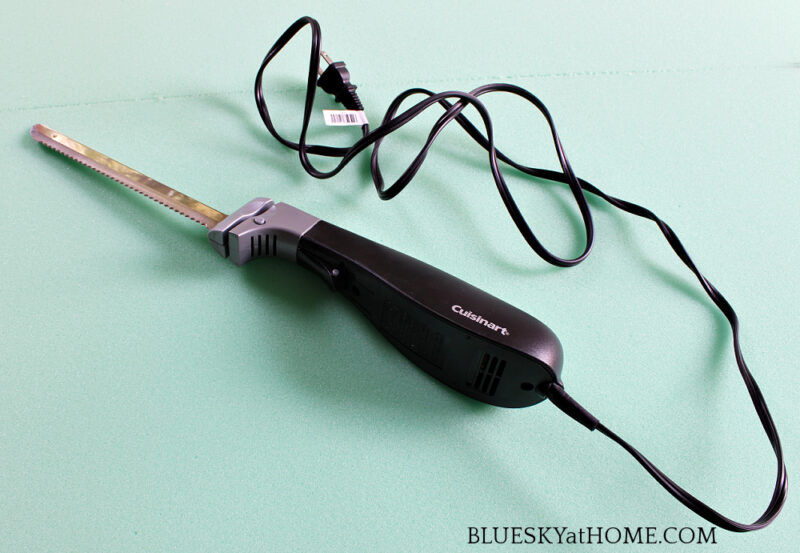
Hold the foam firmly and use the electric knife to cut through the foam along the measurement line.
NOTE: Depending on the size of the foam, it helps to have someone hold the foam for you.
ADDING THE BATTING TO THE CUSHION
Use batting designed for outdoor use. You will need two pieces of the same size. You will also need your fabric spray adhesive.
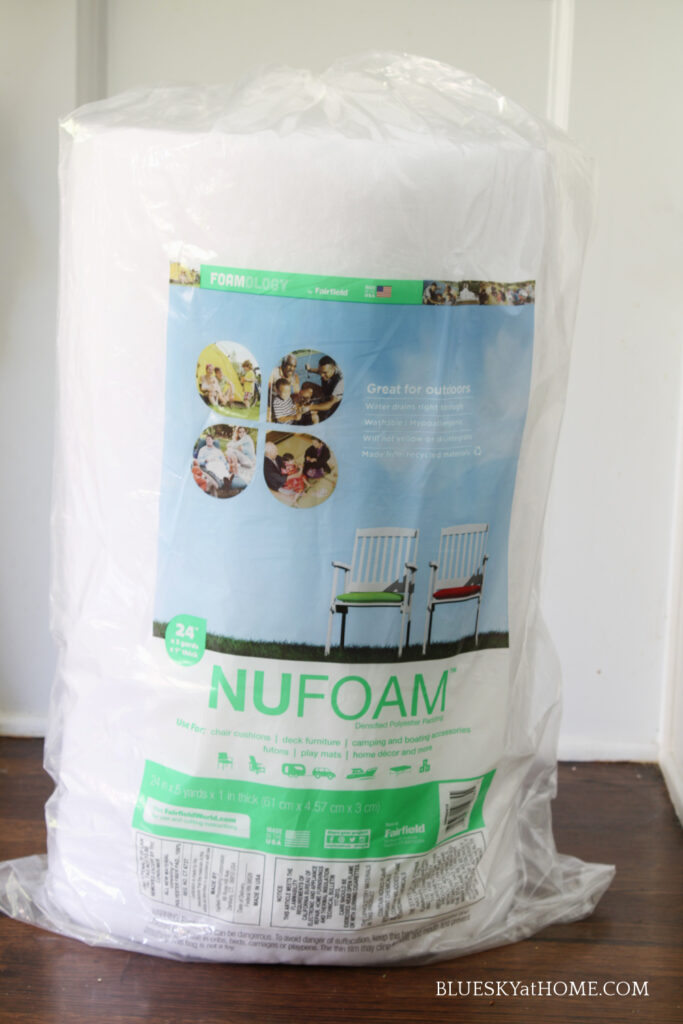
STEP 1
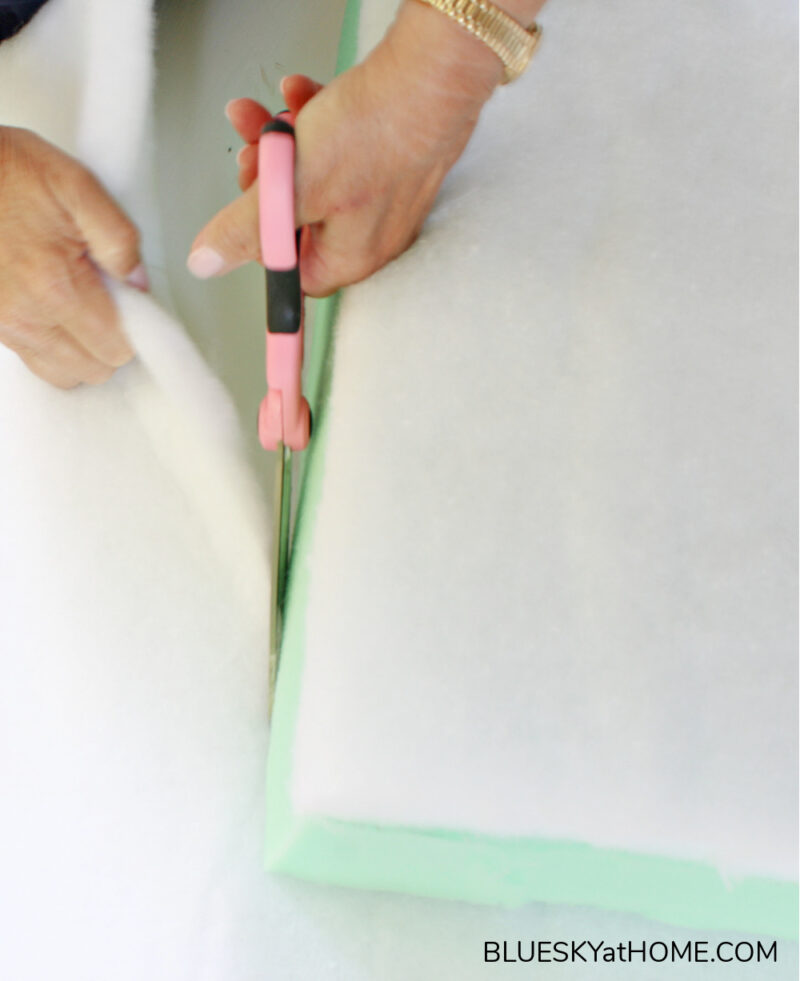
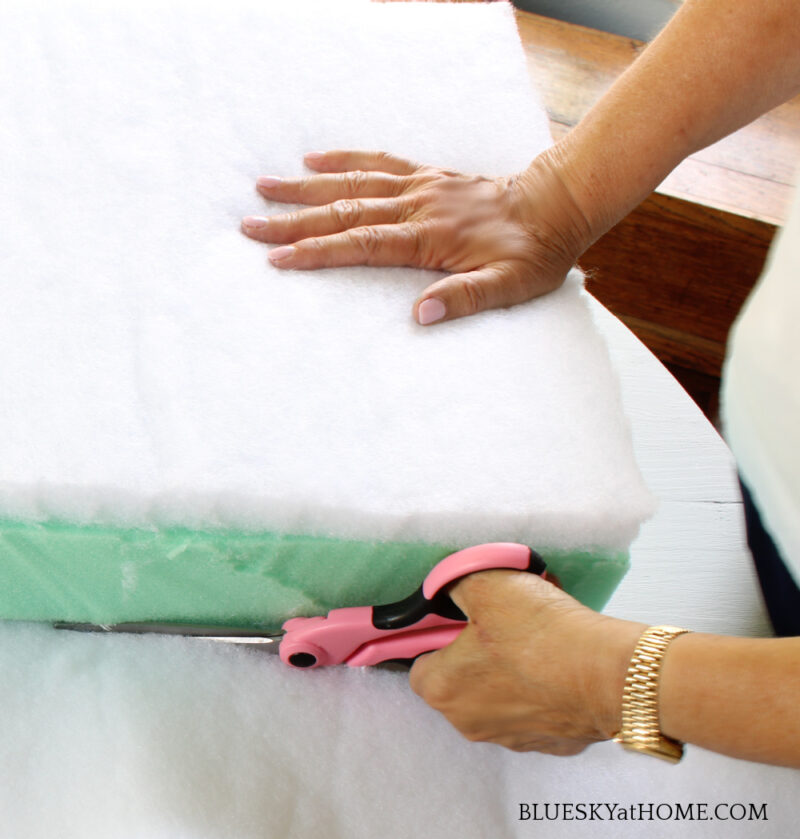
Make sure you buy batting intended for outdoors. It comes in a 5~yard bag. It’s about a 1/2~inch thick. You can cut it with good sewing scissors.
Unroll and layout the batting on your work surface. Set your cushion on top, lining the cushion up to the edges of two sides of the batting. This way you only have to make two cuts.
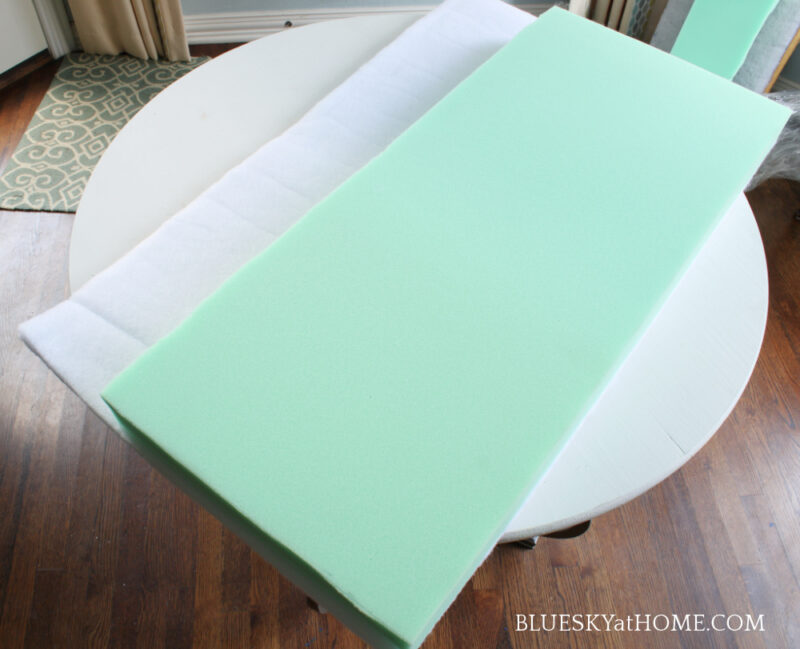
I used my sewing scissors to cut the batting, using the cushion as my guide. Repeat so that you have two pieces.
STEP 2
Turn back one side of the batting. Apply the spray adhesive to the foam, lay down the batting, and press down to the foam.
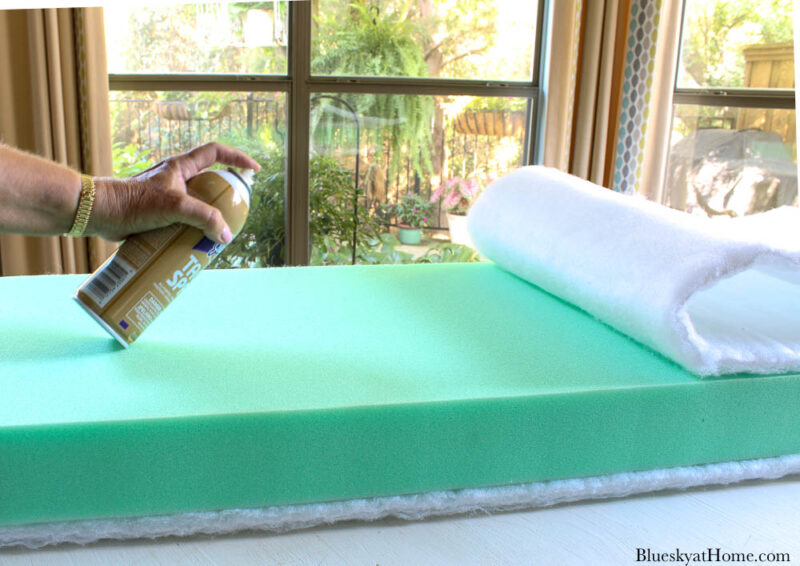
Turn the cushion over and repeat with the other piece of batting. I let the cushion sit for about 15 minutes.
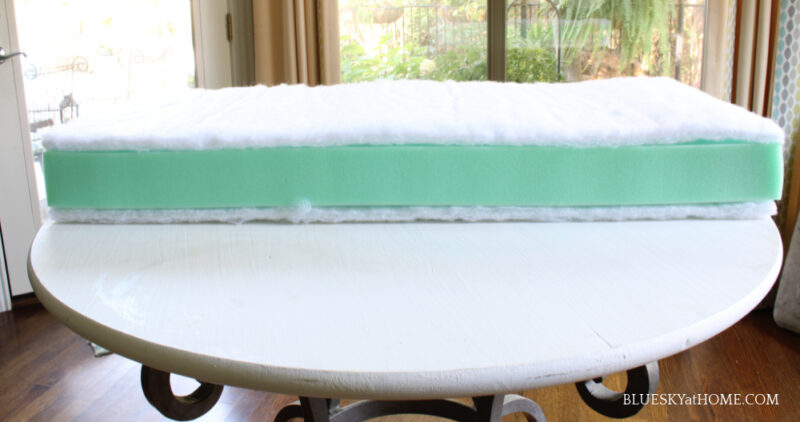
STEP 3
To wrap your new cushion form with fabric, follow the steps above for the patio cushion.

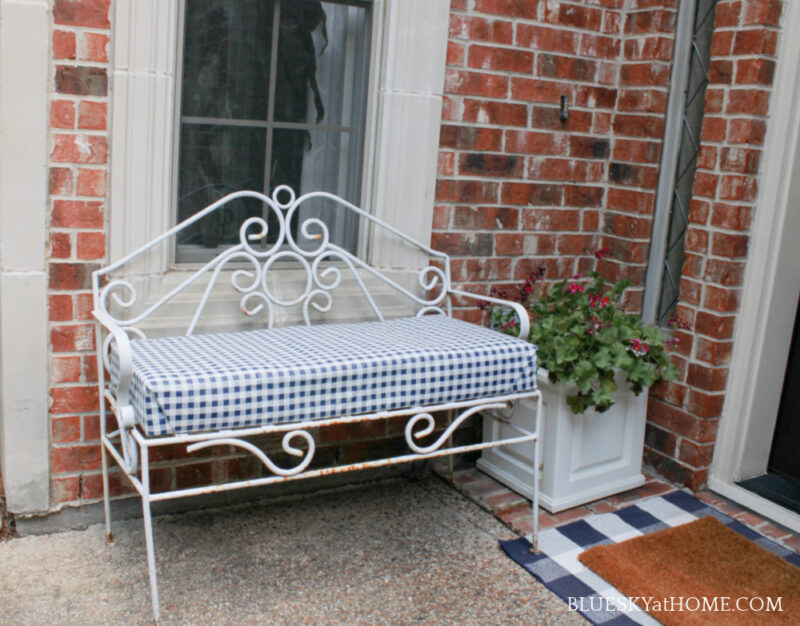
Here is how my cushion looks by our front door. We don’t have a front porch, but I wanted to create the sense of a front porch with a bench and a container of flowers.
My geraniums looked absolutely gorgeous a week ago before the 100˚ temps hit. They will come back when the weather cools off in September.
Now we have a more welcoming space at the front of our home. The cushion is really comfortable to sit on, too.
When the weather gets cooler, I will give the bench a fresh coat of white spray paint.
USING NEW FABRIC TO COVER AN EXISTING CUSHION NUMBER 3
Do you have an existing cushion in good condition, but you want to give it a new look? Maybe a new color or pattern? Having the existing cushion reupholstered can be expensive.
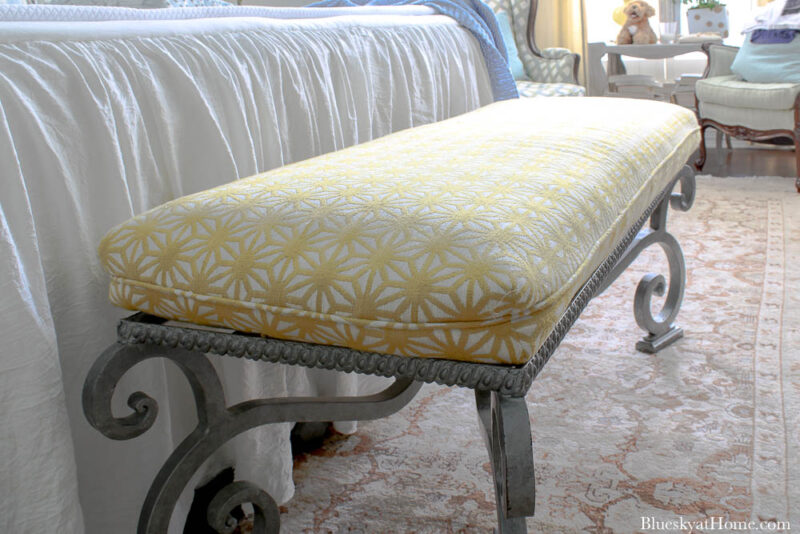
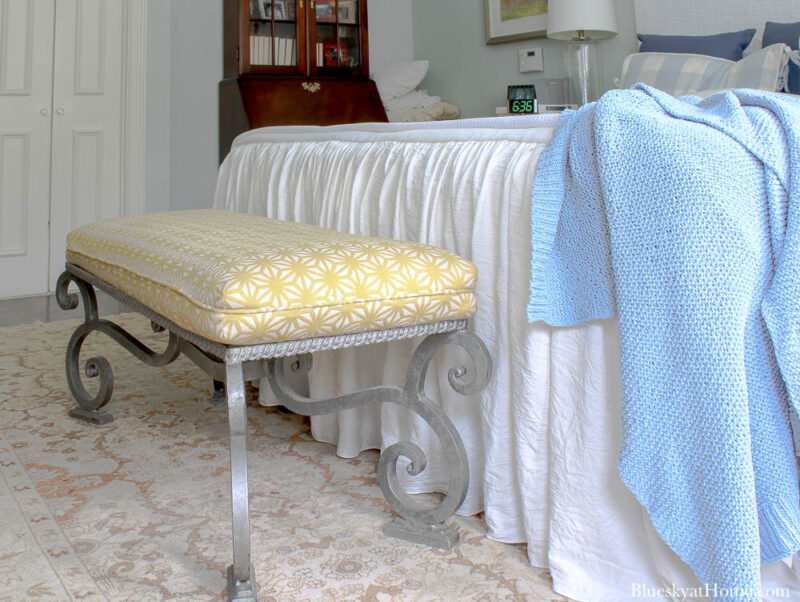
We have had the custom~made bench and cushion in our master bedroom for over 20 years. We had it reupholstered when we moved into our present home eight years ago.
I am moving away from the yellow accents in our bedroom. We recently replaced the muted yellow headboard with a new white one. The pale yellow drapes have to stay, but I’m ready to change the yellow bench cushion.
Until I know exactly what fabric I want to use, the no~sew bench cushion is a great way to test out a new fabric.
Also, since I love to change out the look of our home with the seasons, I didn’t want to commit or pay to have the cushion reupholstered. I often buy a couple of yards of fabric that I like to save for future projects.
At the beginning of the summer, along with making a new fabric~covered headboard, I wanted to change the color of the cushion to blue. I had a great piece of fabric that I bought at IKEA a couple of years ago. I loved the shades of blue and the abstract pattern.
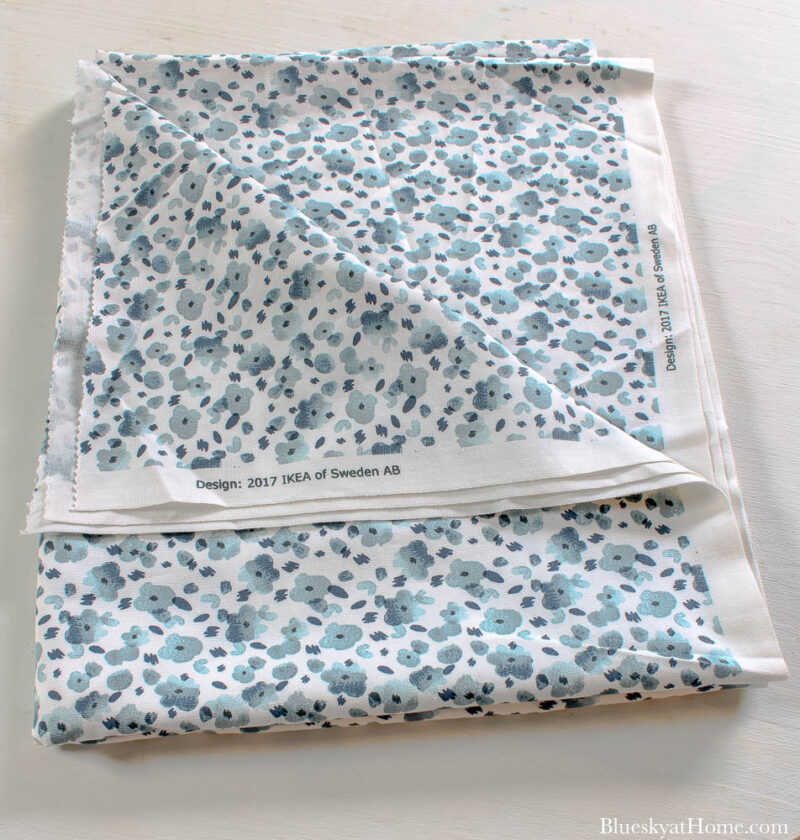
This fabric was very inexpensive, but good quality cotton. I always buy two yards. You can do a lot with two yards of fabric.
The procedure for making a no~sew bench cushion for an exisiting cushion is exactly the same as the two previous cushions ~ wrap the fabric like a present, pull tight, smooth, and pin.
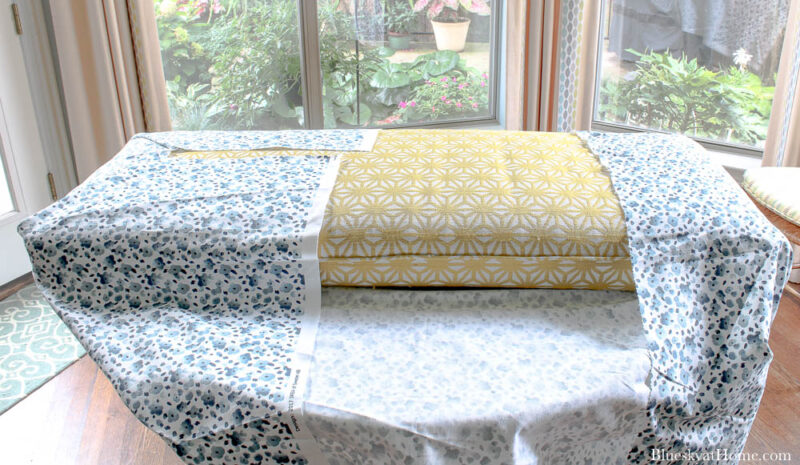
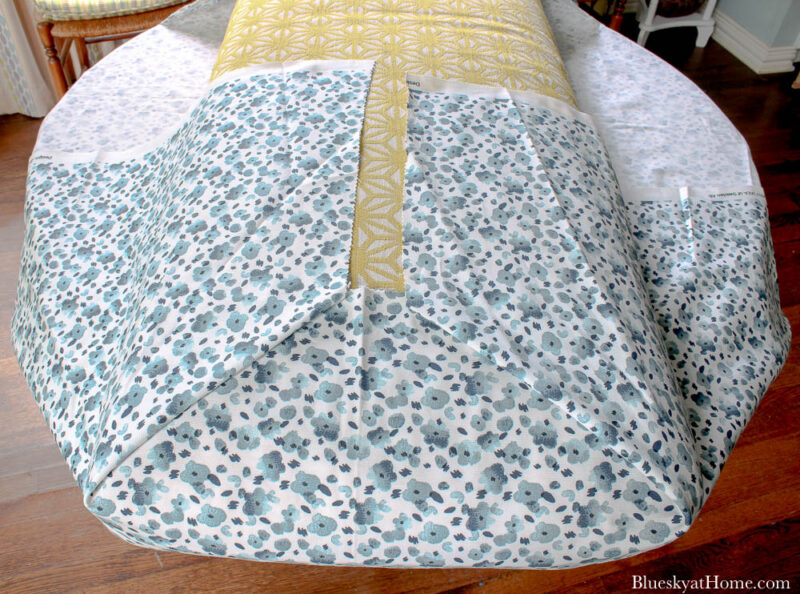
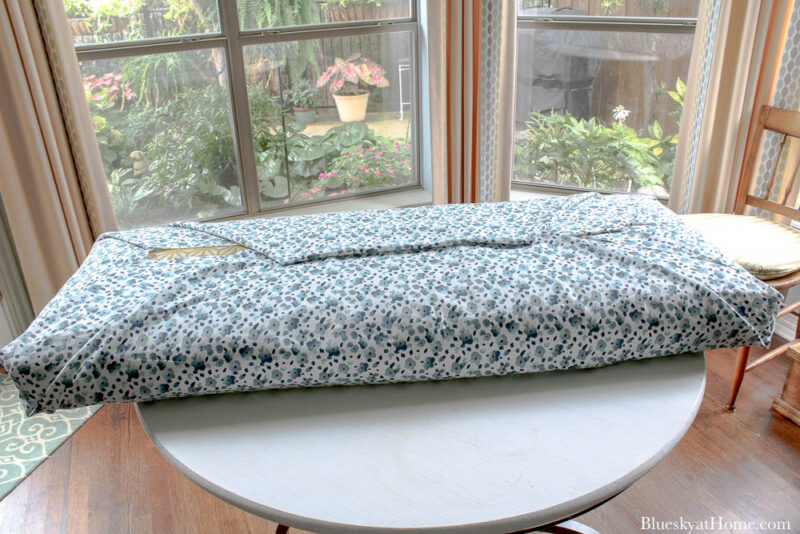
Using the same process as the two previous no~sew bench cushions, I covered this existing cushion. There was one small area that didn’t get covered by fabric, but it won’t show.
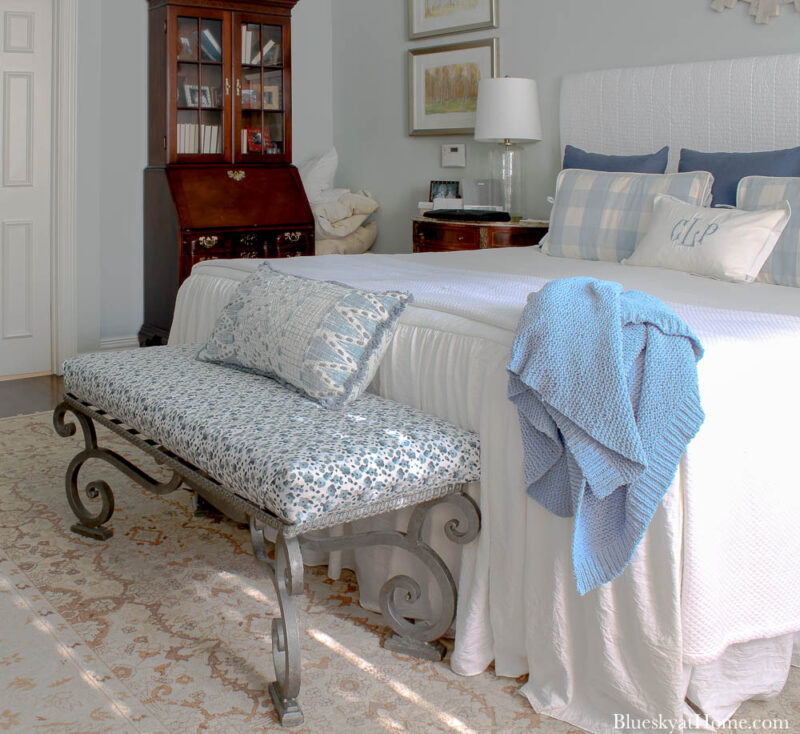
Here’s the finished bedroom cushion.
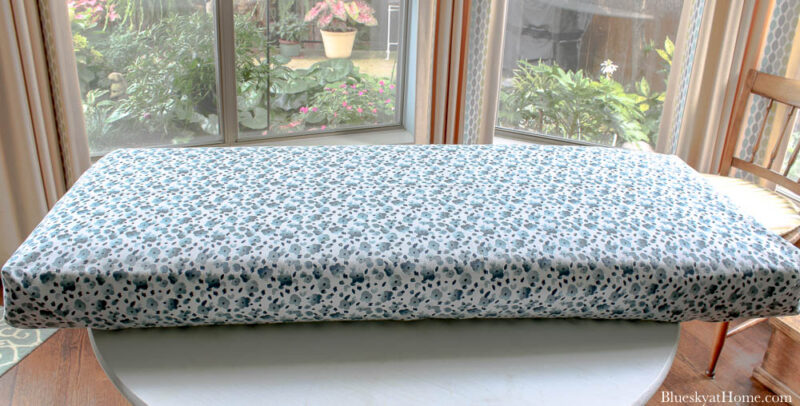
I love how this fabric adds to the blue color theme. The pattern gives a slightly modern vibe to our bedroom.
I also love the mix of solids, buffalo checks and the abstract print.

The bench pillow came from an antique mall in Atlanta that I bought in May. I stuffed it in my suitcase.
I hope that you will be inspired to make your own no~sew bench cushion. What are the advantages?
- It is much less costly than having a new cushion professionally made.
- You can change the color and pattern of the cushion out seasonally or just for fun.
- It is fast to make.
- It is simple to make.
- You can test out a piece of fabric before you commit to a more permanent look.
- Minimal supplies
- No sewing skills or equipment needed.
If you want to keep this project for the inspiration for the tutorial, please PIN this post.


Great job! This is an easy to do project and one that many people will want to try for their own homes. Thanks for sharing this post Carol. I’m featuring it at the next FWF link party 🙂
Hope some cool weather comes your way soon!
RR
Well done, Carol! Your benches look great! I love your idea of using a picnic tablecloth for that outdoor bench–very smart! And thanks for the tip of using a coupon when purchasing foam. The price right now is crazy, so getting a big percentage off would be really helpful.
Thanks so much for joining the Grace at Home party at Imparting Grace. I’m featuring you this week!
Richella, thank you for featuring the bench cushion post. Always exciting and an honor.
Pinned! I really needed to see this post. I have a small mid century loveseat that has been waiting years for me to remake the cushions. Thanks for the inspiration. #HomeMattersParty
Donna, it’s so good to know one of my projects was helpful. Thank you for letting me know.
No-sew are my favorite two words LOL. Brilliant use of an outdoor tablecloth for your patio cushion!
I love how easy these are to make. I cannot sew so this would be perfect for me!
Glad to know you can use the project. Although I have sewed for years, sometimes I want easy and fast.
I love each step-by-step instruction. Love all three transformations and think your yellow curtains look lovely against the blue.
I’ve been wanting to do something with our bench cushions in the RV but was too intimidated to try and sew new seat covers–not to mention figure out how to replace the cushions. Your tutorial inspires me and instills some confidence that I can do this. Thanks so much!
Thanks so much, Kelli. I hope you can use the tutorial to make new cushions for the RV.
This is brilliant Carol. I love how it looks and the color too.
This is brilliant!! I love how these cushions covers have turned out! I am not good at sewing whatsoever, so no sew tutorials always grab my attention! thank you so much for sharing!!
I rarely comment but had to say thank you for these instructions! I’m in an apt and have a space that would be perfect for a cushion but I don’t want to pay for a professionally made one. This idea is perfect!
Yeah, Pat. Go for it.
That is a great way to cover cushions. Thanks for sharing. A very good tutorial, Carol.
Oh boy, Carol! Your post is so great! Sharing the no-sew way of covering cushions comes at the perfect time for me. I have four outdoor chair cushions that desperately need re-covering! The fabric has dry rotted from being outside for nearly ten years. I’ve looked at having them professionally done but just can’t decide on the fabric color or anything else, for that matter. You’ve given me a quick and easy way to cover them until I decide what to do. I think I have enough outdoor fabric from a previous project to get me started. Thanks so much for the simple instructions!
Gail, if anyone can follow DIY instructions, it’s you. Would love to see what you do. I bought dowels yesterday to make your twine Christmas trees!
Wow! Your cushions looks so good and not to hard to make. Thanks for sharing. Great job!
Carol,
how cute are these? Great way to Upcycled existing furniture. I love the patterns you chose, blue is my favorite right now… Thanks for sharing!
I love how easy this is! You could change out the fabric so easily for seasons, or even if you just want a new look! Thanks for sharing. Pinned!
Niky @ The House on Silverado