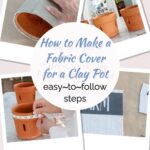
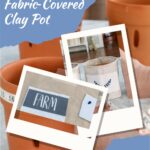
How to Make a Decorative Fabric-Covered Clay Pot
Have you ever thought about how to make a decorative fabric-covered clay pot? Let’s make a clay pot pretty with fabric.
I bet you have a clay pot or two in your garden or garage. We use them for planting all sorts of plants, herbs, and flowers.
But, let’s face it: clay pots are the plain Jane of gardening containers. Let’s give a clay pot a makeover. We should make a decorative fabric~covered clay pot.
Clay pots come in all sizes and even different shapes. I have some very small clay pots and some bigger clay pots. Most of them are ordinary orange. We can do better. We can paint or decoupage them, which I have.
I recently found a project that inspired me to try something a little different ~ a fabric~covered clay pot. I had everything on hand to make them. Oh, and not one, or two, but three.

How to Make a Decorative Fabric-Covered Clay Pot
As I mentioned, I have decorated terra cotta pots in the past.
I have not yet made a decorative fabric~covered clay pot. Now is the time.
INSPIRATION FOR THE FABRIC~COVERED CLAY POTS
A week ago, I bought a few new herbs at Lowe’s. Except foe our rosemary and thyme, all our herbs had been killed in the freezing temperatures we have had in February.
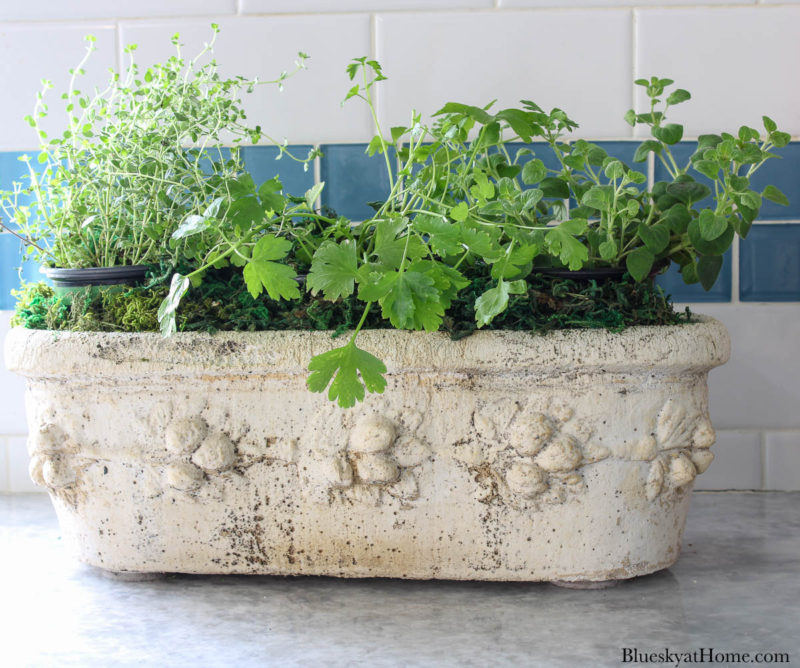
The herbs were small then, but are growing fast. Originally, I put them in this old stone container in the kitchen.
Now, the herbs need some more room to grow before we plant them outside. I needed either a bigger container or to separate them into three clay pots.
To give credit where credit is due, I have to share where I got the idea for a clay pot makeover.
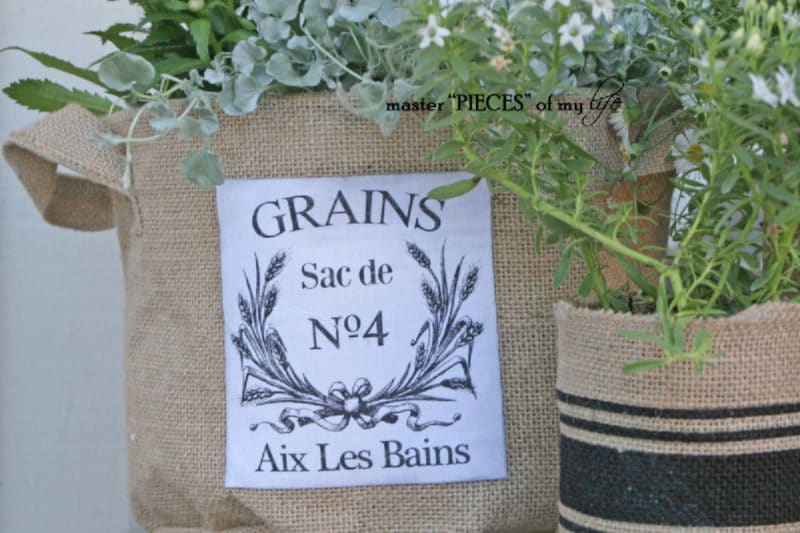
As a former hostess of the Tuesday Turn About Link Party, I saw over a hundred new blog posts every week. One of my features was covering clay pots by MaryJo of Masterpieces of My Life.
Now I had my inspiration. Did I tell you that although fabric is involved, this is a no~sew project?
SUPPLIES YOU WILL NEED FOR THE FABRIC~COVERED CLAY POTS
Every project has a supply list. Here is what you will need for this one:
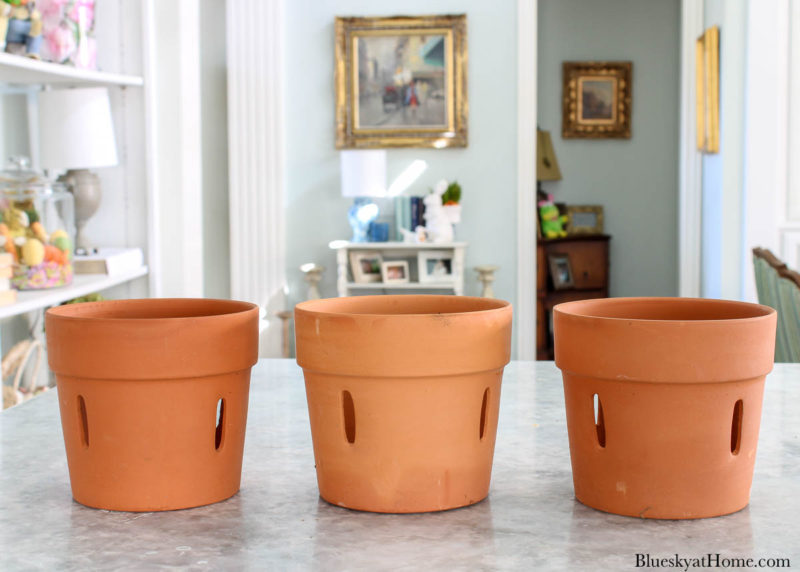
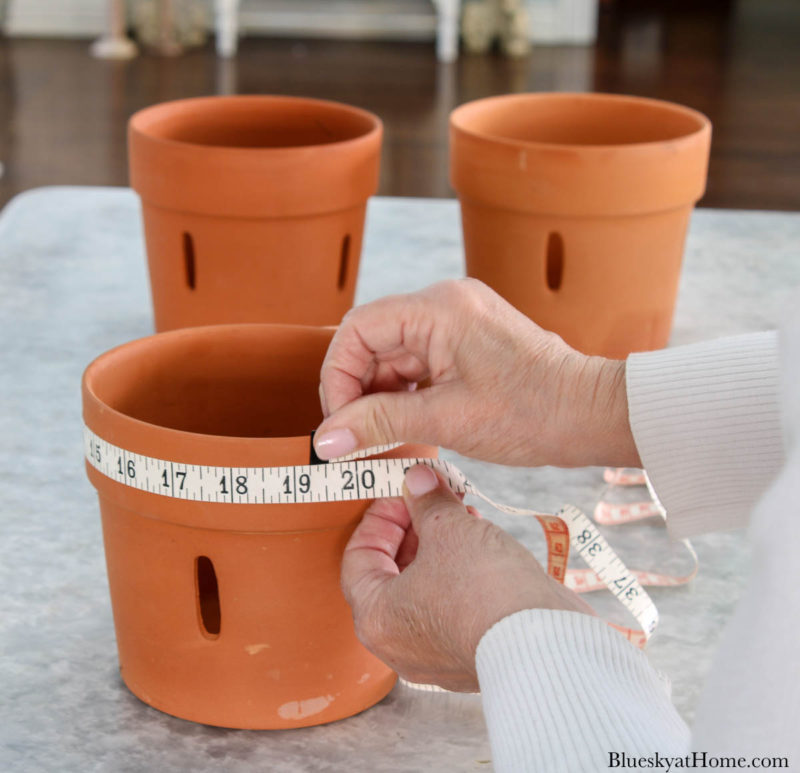
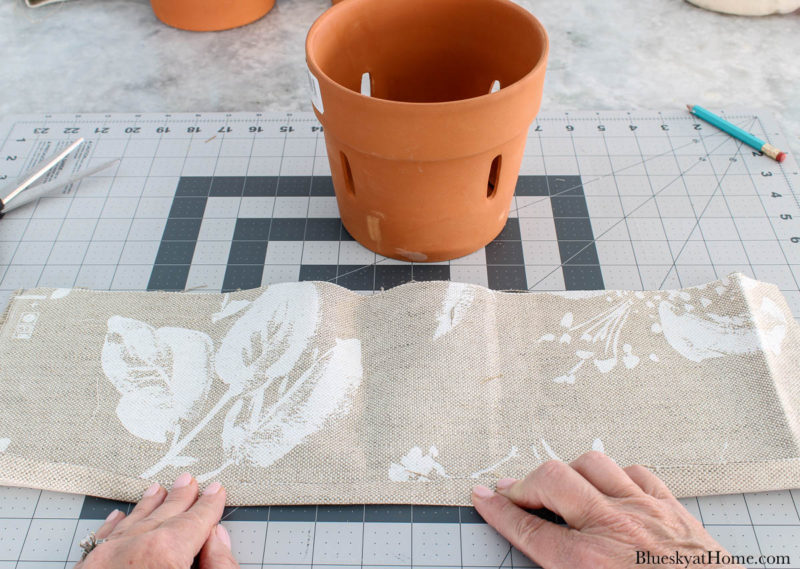
- clay pots: for my clay pots, I found these interesting ones out in the garage. I had four, but only needed three. I have no idea where we got them, but I’m guessing some plant came in them at Lowe’s. Very interesting design, but usual orange color.
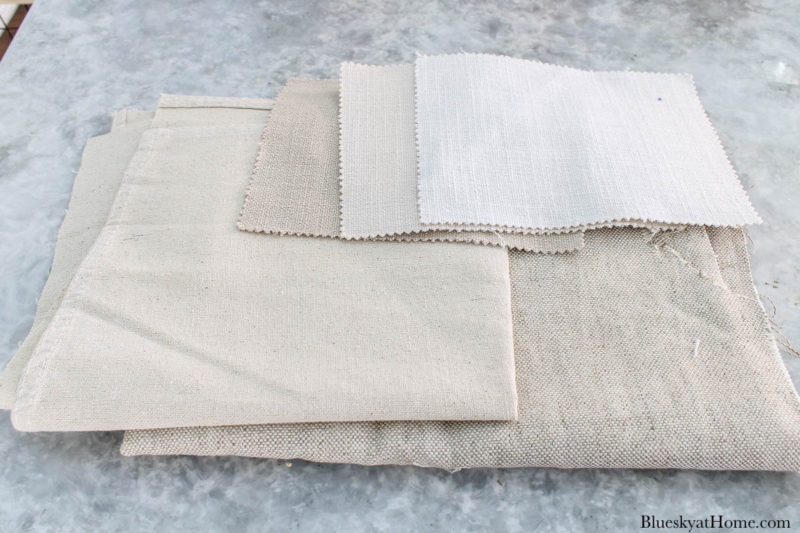
- heavy fabric: such as burlap, close~weave cotton, or dropcloth, in your color of choice. In my neutral fabric stash ( I have 6 boxes of fabric categorized by color), I found two pieces in natural shades.
On the left is a piece of dropcloth, which would be a great option. Unfortunately, I didn’t have enough.
On the right is a piece of heavy linen. There is plenty for my fabric~covered clay pots.
I also had three swatches of fabric in white, oatmeal, and beige. I know how I would use them, too.
TIP: If you shop at a fabric store that has fabric swatches already cut and available, grab any that you think you can use for projects ~ but not too many.
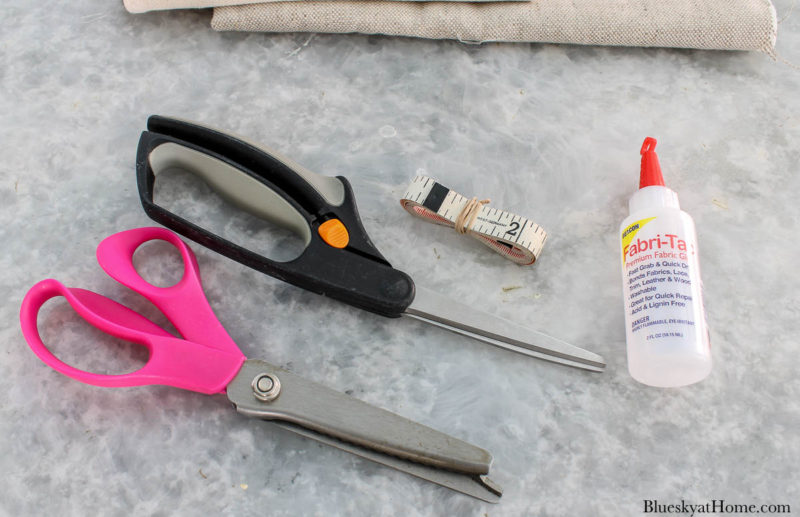
- scissors, tape measure and fabric glue
- straight edge and pencil
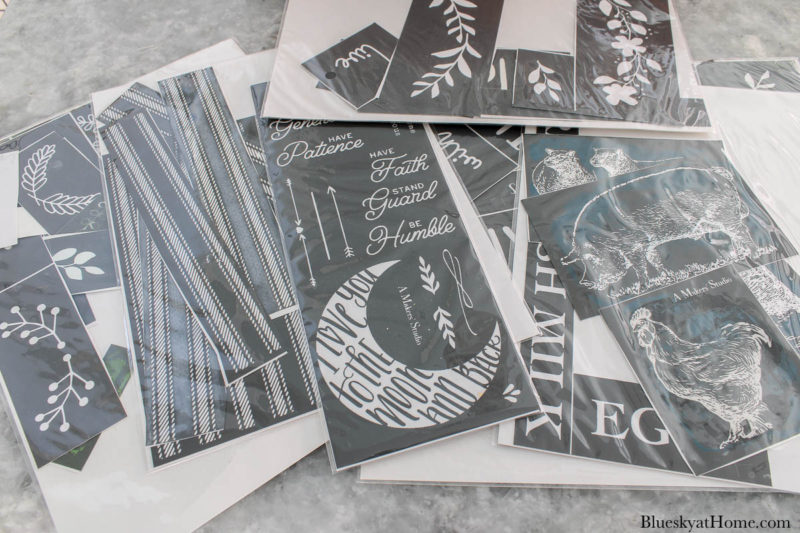
- stencils: to decorate my fabric~covered clay pots, I decided to use a design from my collection of stencils from A Makers’ Studio. With so many gorgeous designs, picking which ones to use will be the hard part.
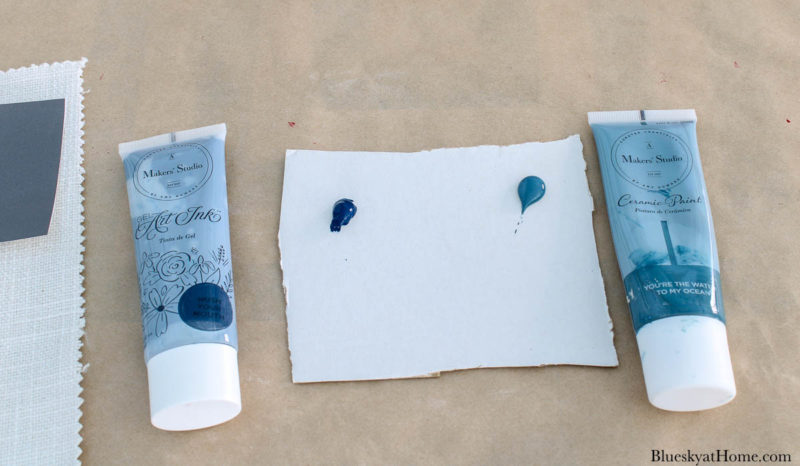
- fabric paint in your color of choice: to apply the stencil design to the fabric, I’ll use GelArt Ink from A Makers’ Studio. I love using this paint for fabric, glass or paper. It goes on so easily and comes in beautiful colors
I wanted a blue color and had two to choose from: a dark blue/navy, Hush Your Mouth, and a lighter blue, You’re the Water to My Ocean.
Which would you choose?
- plastic scraper to apply paint
MAKING THE FABRIC COVERS
In my head, I could see the process of making the fabric~covered clay pots. Here is what I did.
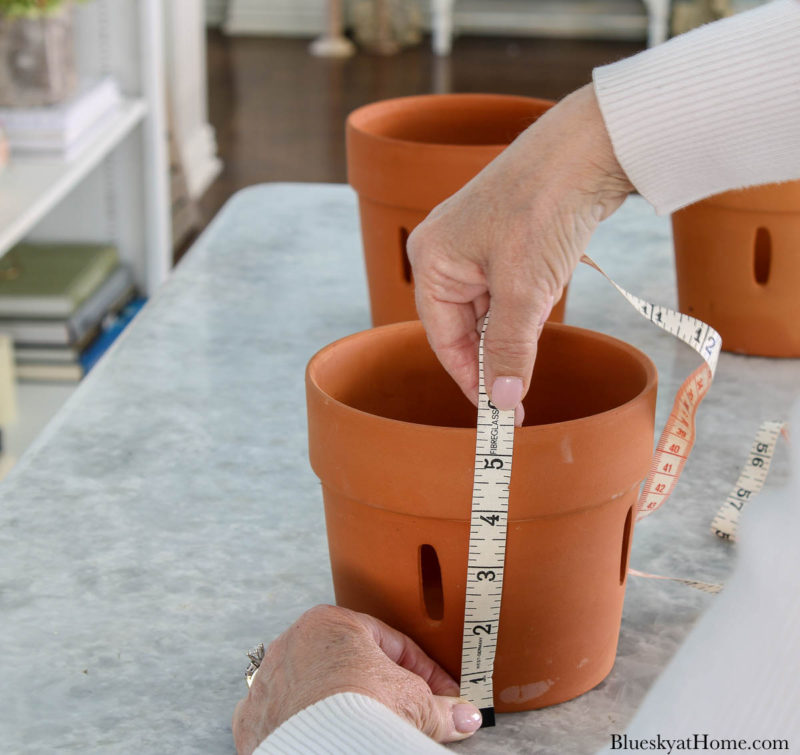
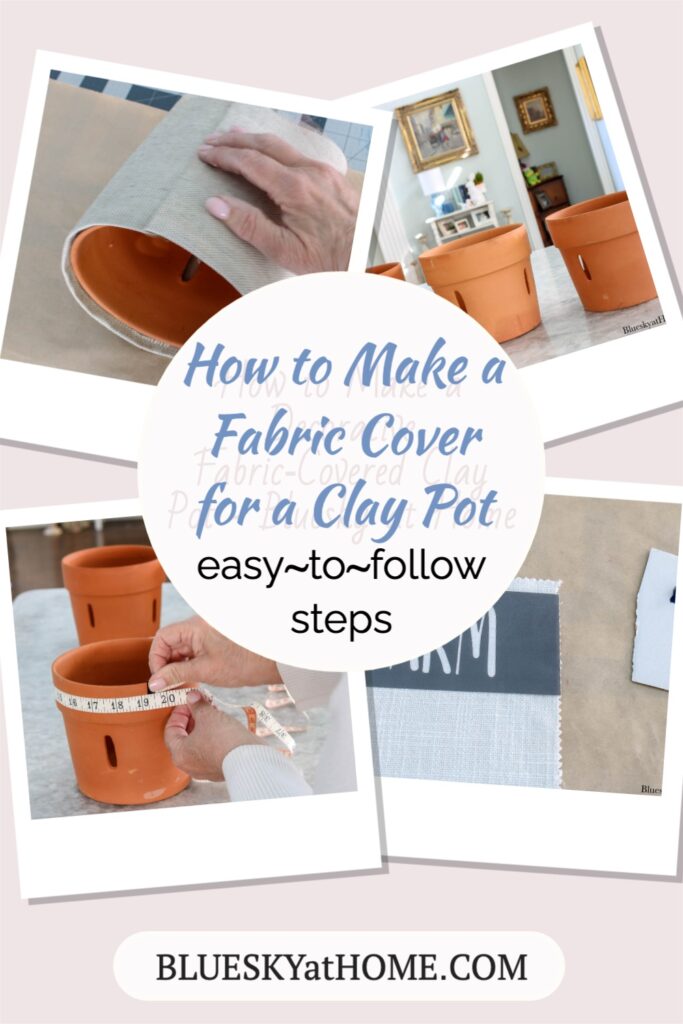
Step 1 ~ Measure the circumference and height of the clay pots. Add one inch to both measurements.
Step 2 ~ Using a straight edge and a pencil, draw the length and height you need on the fabric.
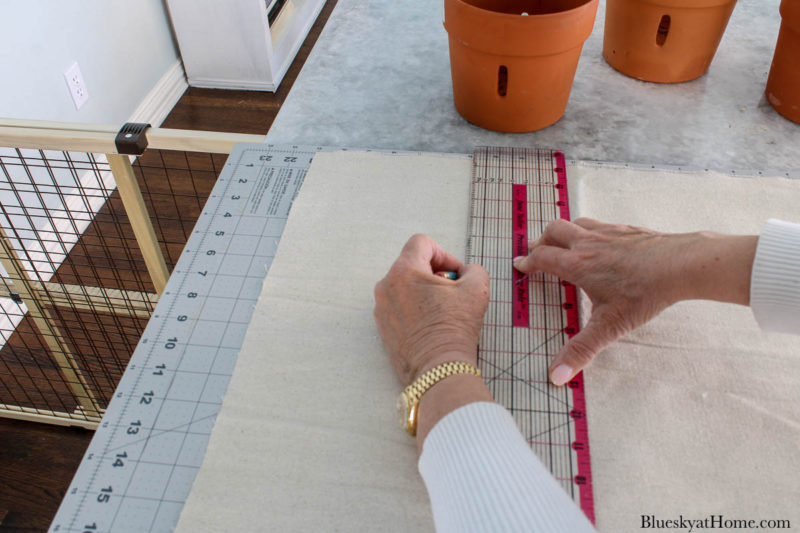
By the way, I’m using the solid (wrong) side of the fabric. This fabric was a remnant that I bought to make pillows a few years ago.
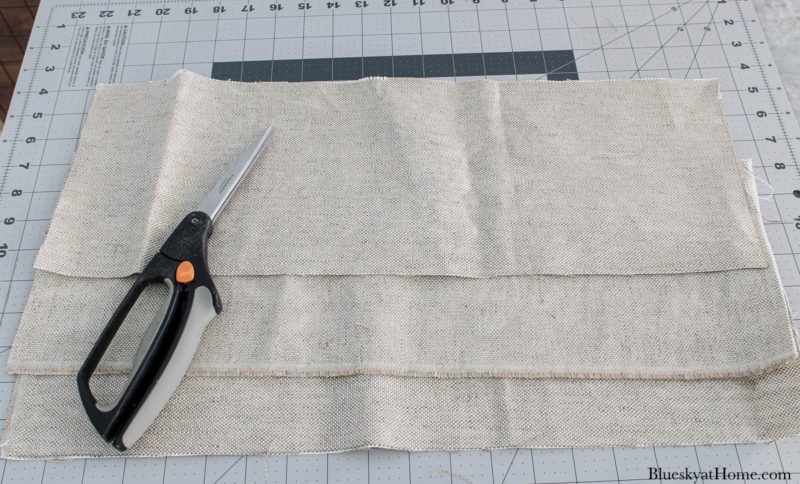
Step 3 ~ Cut your fabric strips.
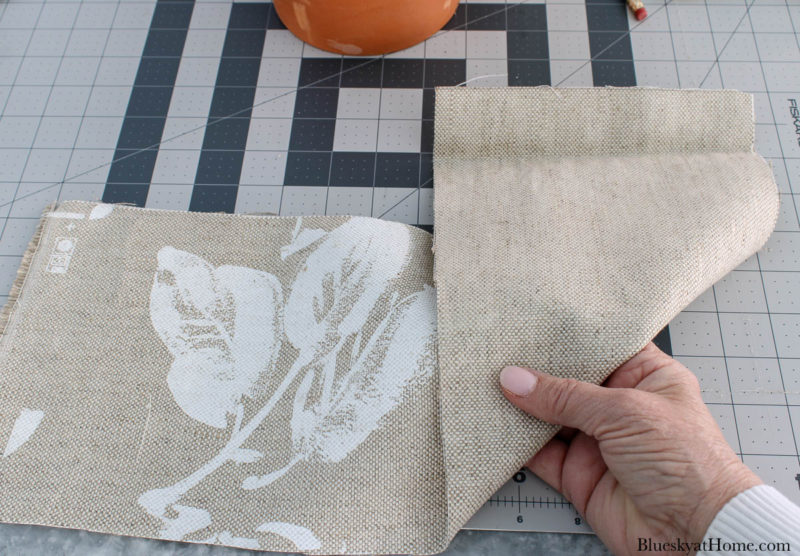
Step 4 ~ On one long edge, fold over 1/2 inch to the wrong side and “finger~press” to make a hem. This will be the top of the fabric cover. You can also iron it if you wish.
Step 5 ~ Use fabric glue to glue down the hem.
Now that your fabric strips are made, you are ready for the decorative part of the project.
PAINT THE STENCIL DESIGNS
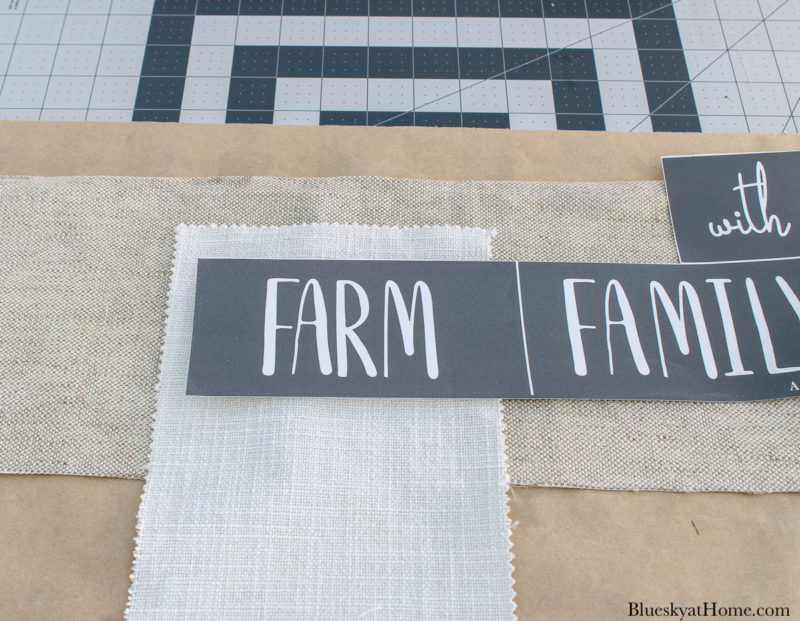
You could stencil right on the long strip of fabric, but I liked the idea of a stencil on a smaller piece of fabric as MaryJo did. The fabric swatches would be perfect.
Step 6 ~ Select your stencil designs.
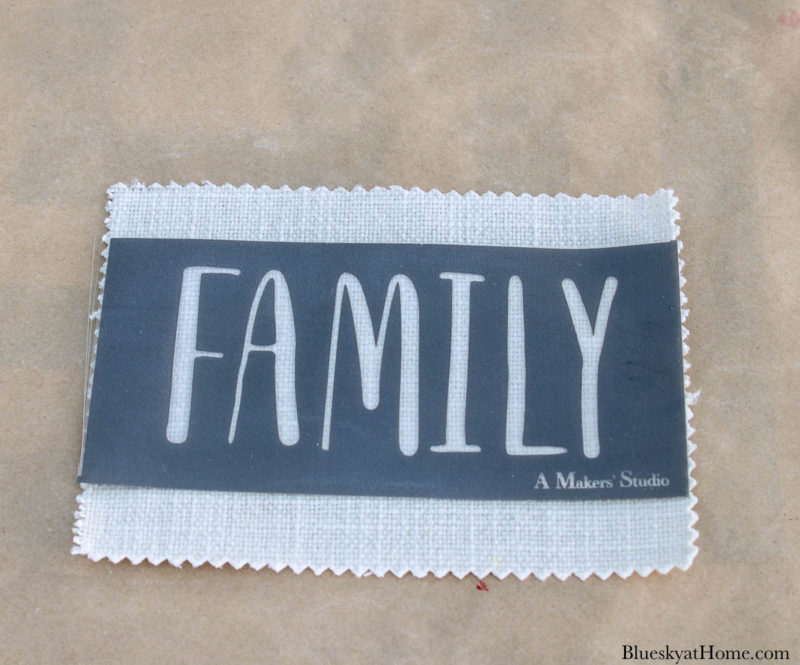
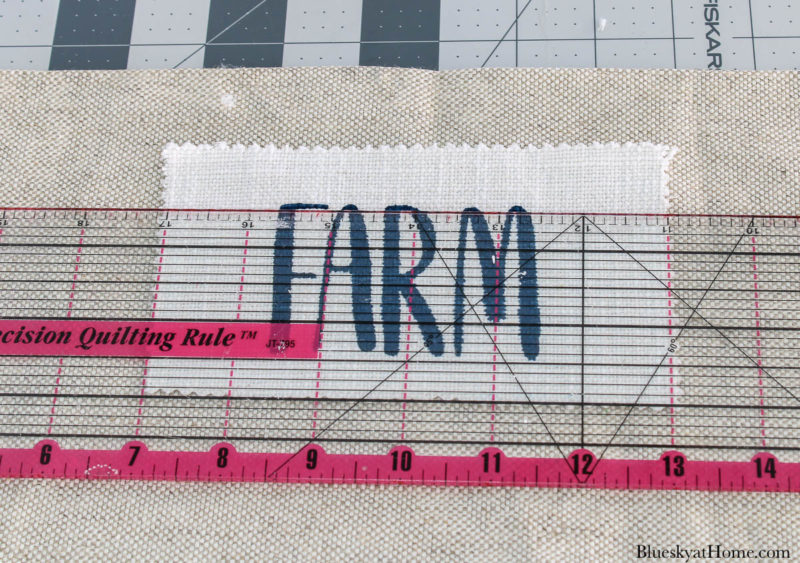
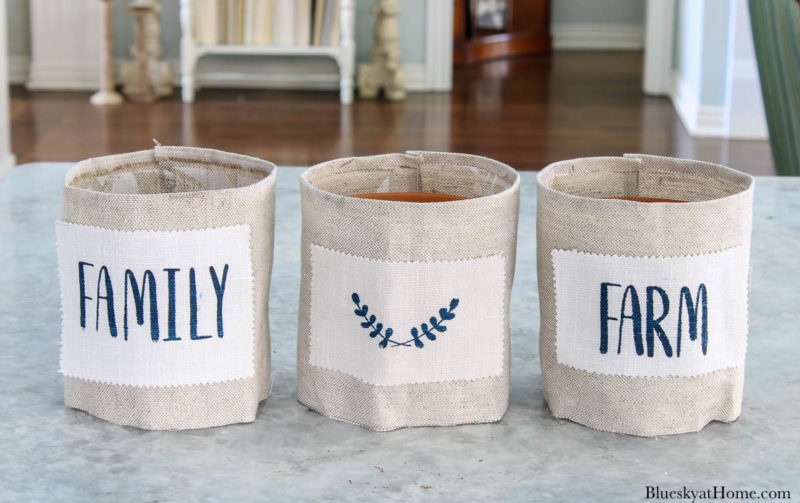
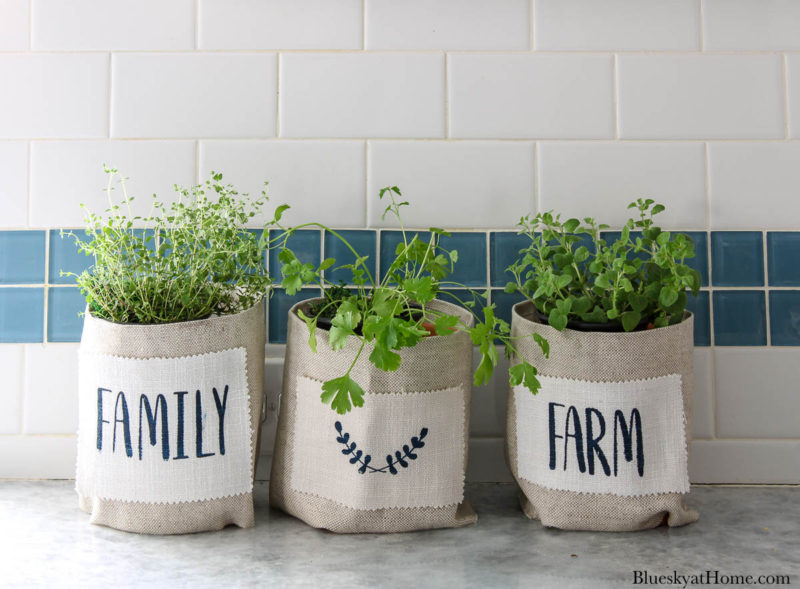
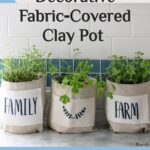
I decided to go really simple and choose words I like: FARM and FAMILY.
Place the stencil on the fabric to make sure it fits. Cut the fabric swatches, if necessary.
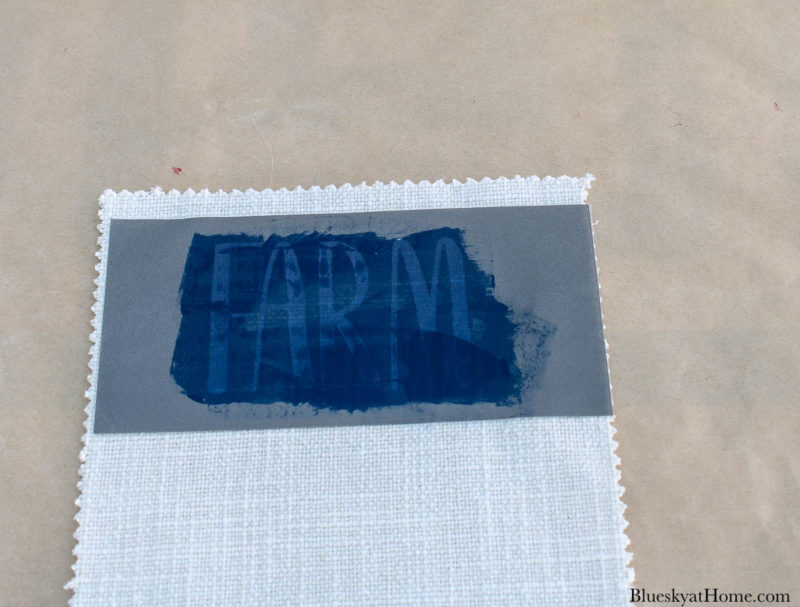
Step 7 ~ Remove the tri~mesh stencil from the backing and place it on the fabric.

Step 8 ~ Use the plastic scraper to apply the GelArt Ink across the top of the stencil. (I decided to use the dark blue/navy). Then carefully remove the stencil, set the fabric aside and allow it to dry.
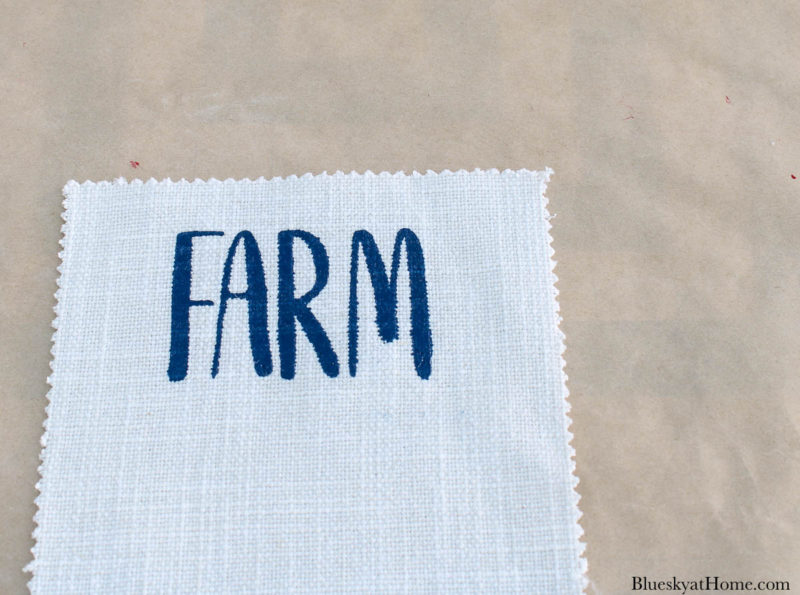
Repeat with the other stencils.
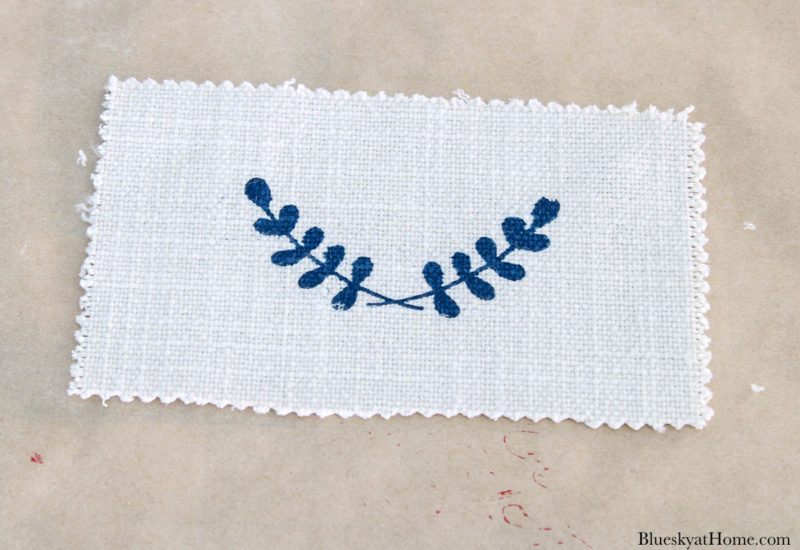
For the third design, I decided to use a leaf motif. This one reminded me of the oregano, one of my three herbs.
FINISHING THE FABRIC COVERS
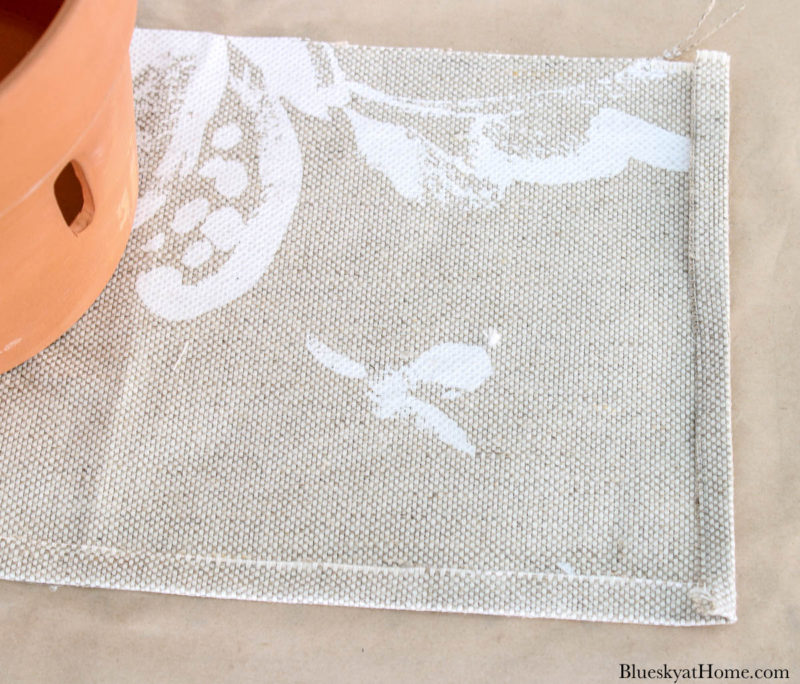
Step 9 ~ While all your stencils designs are drying, on one short end of the fabric strips, fold over 1/2 inch and glue it down. Allow to dry.
Step 10 ~ Mark the center of the fabric strip and center your stencil fabric on it.
Step 11 ~ Use the fabric glue to attach the stenciled fabric to the fabric covers for the clay pots. I left the edges of the swatch fabric unglued for a more casual look.
Step 12 ~ As the almost last step, glue the short edges together, overlapping the folded edge over the raw edge. Your decorative fabric cover is complete.
NOTE: I didn’t make a bottom for the decorative fabric covers. You don’t want any moisture to seep through the clay pot to the fabric.
Step 13 ~ Final touches
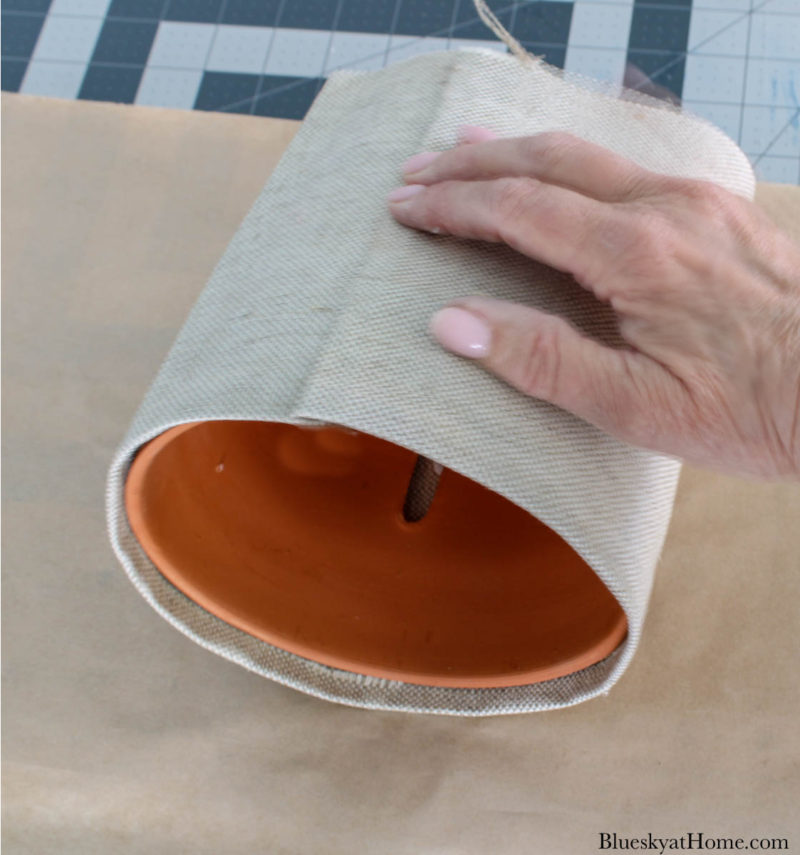
First, slip the covers over the tops of the clay pots. Adjust the covers as you like.
Finally, add your herbs or flowers to the clay pots. For now, I left the herbs in the plastic pots and set them inside the clay pots. I placed the pots on the kitchen counter where they get plenty of sun.
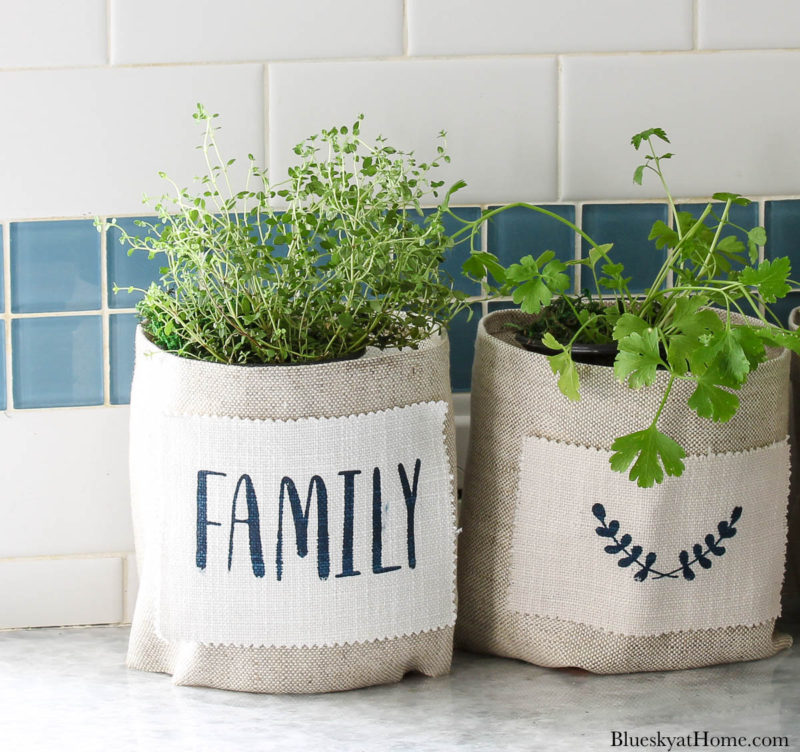
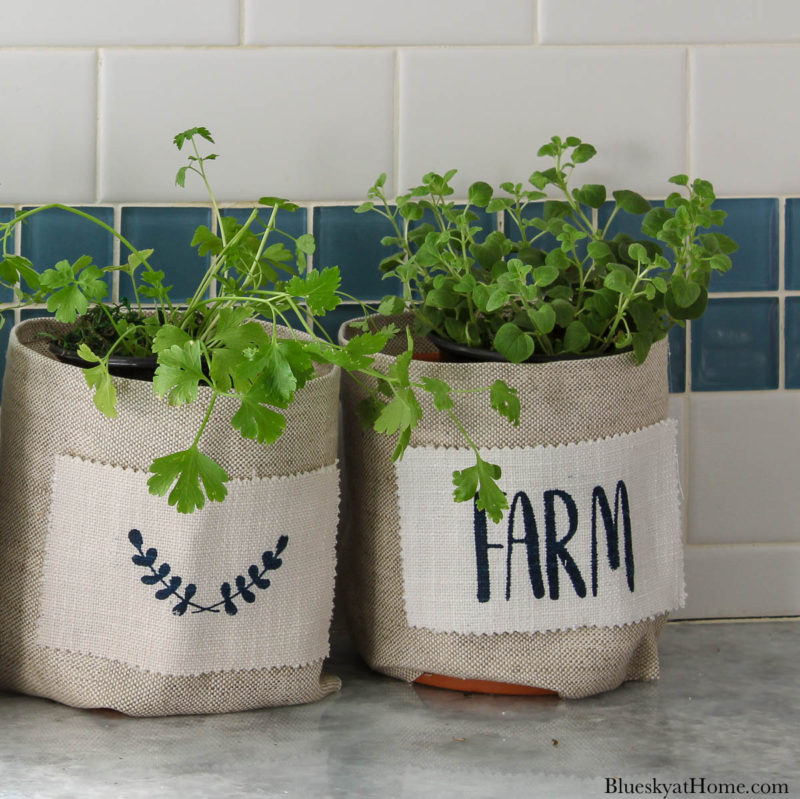
With my decorative fabric~covered clay pots complete, I have a vintage, farmhouse look. Our herbs have more room to breathe and grow.
Just FYI, I made the decorative fabric~covered clay pots in one morning. I’d like to tell you it didn’t take long. With a new puppy in the house at the time, I had to take time off for lots of backyard visits, ball~throwing sessions, and snuggle time.
WHAT I LOVE ABOUT THIS PROJECT
- I didn’t buy a single thing; the fabric, the stencils, the paint, the clay pots, the fabric glue, and even the herbs were already on hand.
- This project is really inexpensive when you use supplies you already have on hand. Even if you have to buy stencils or GelArt Ink, you will have tons left over for other projects.
- No sewing skills necessary.
- Actually, it’s a really easy project. No special skills required.
- It’s a project that is adaptable and can be used over and over.
I hoped you enjoyed this decorative fabric~covered clay pot project. I would love for you to give it a try. And, of course, I hope that you will PIN it.


So cute! I can see stenciling herb names or kids’ names on them, too. I love the no sewing aspect although I’d probably use my Stitch Witchery on the hems! Using upholstery material would coordinate well with mtching items in your house, too!
Your covers will get wet from the holes in the side of the pots. And you have no saucer to catch the draining water.
So they will get wet. ?.
Hi Helen. Thanks for the concern about getting the fabric covers wet. The herbs aren’t planted in the pots. They just sit inside the terra cotta. To water them, I either take them out of the terra cotta pots or slip off the fabric cover. So far no problems at all. I’m another couple of weeks, we should be able to plant the herbs in large pots outside.
These look adorable, Carol! I love the idea of adding the stenciled designs!
These are just darling! What a good idea. Thank you for the instructions!
Thanks so much for joining the Grace at Home party at Imparting Grace. I’m featuring you this week!
These are so cute for spring, Carol! Pinned! Have a lovely Easter! Blessings, Cecilia @My Thrift Store Addiction
Now I have pinned your project for inspiration as well. I really need to try this too. And you took your inspiration and really made it your own way. They look great. Thanks for coming over to visit the party each week and sharing. #HomeMattersParty
Carol,
These are so cute. I’m all about the clay pots and wanted to share this DIY on my Sunday, Dirt Road Adventures. I’ll share a link back to your post if that’s ok.
Thanks for your inspiration.
Rachel
These are adorable. Love the inspiration and how you interpreted it. Pinned and now following you over there too! 🙂
I LOVE your fabric flower pot covers, Carol! I also featured MaryJo’s burlap covers at my link party. You did a wonderful job with your version. The neutral fabric and stencils are so Farmhouse chic! This would be a great way to present a pot of flowers as a gift. It would cover the plastic pots provided by the garden center and make it personalized and special. I love how they look with the herbs in your kitchen. It was fun crafting with you, my friend 🙂
Your pot covers are very cute! I’ve pinned them. It’s great crafting with you.
Carol, some of the best projects are achieved by looking through are stash and fabric remnants. It reminds me that nearly everything can be upcycled into another project. You made good use out of all your items, and the fabric covers with stencils turned out really cute!
Happy Spring.
Your fabric covered clay pots are so cool, Carol! They have that chic, rustic vibe! I love the stencil designs and that it’s a no-sew project, too!
These are so cute Carol and I love that they could be kept out all spring and summer! Thanks for sharing and wonderful crafting with you friend.
Aw, the joys of puppy hood :). These are fantastic Carol; such a wonderful way to dress up a standard pot that so many people already own1
So cute Carol, I need to get some fabric glue, it’s very handy stuff! You are the Queen of stenciling, love the ones you used and the pots look lovely!
Carol I love how your pots turned out. They are adorable.
Your fabric covered pots turned out so cute. The tapered shape makes it a challenge, but I like the way you achieved it. Really cute with the stencil too. Thanks for being in the hop and happy Easter!
Carol, These are so creative and so cute! I love that this is something anyone could customize tho their own style and decorating style. This is easy enough for me to pull off. I hope you are enjoying that new puppy, I am anxious to see a picture! I have been checking out Instagram thinking you would share one! I think my new puppy might need her own IG page!
Thank you so much, Chloe. Anyone can do this project! I have a picture of Nola on my Stories right now. Take a look. Happy hopping.
Adorable Carol I love your choice of fabric and blue paint for your stencils. Your pots of herbs look very happy in their new fabric covers! Happy to be hopping with you again. ♥