DIY Fall Farmhouse Sign with DIY Cricut Stencil
The end of summer is the time to think about the beginning of fall. I’m sharing one of my favorite fall projects. A DIY fall farmhouse sign that made me smile and feel whimsical and all warm inside.
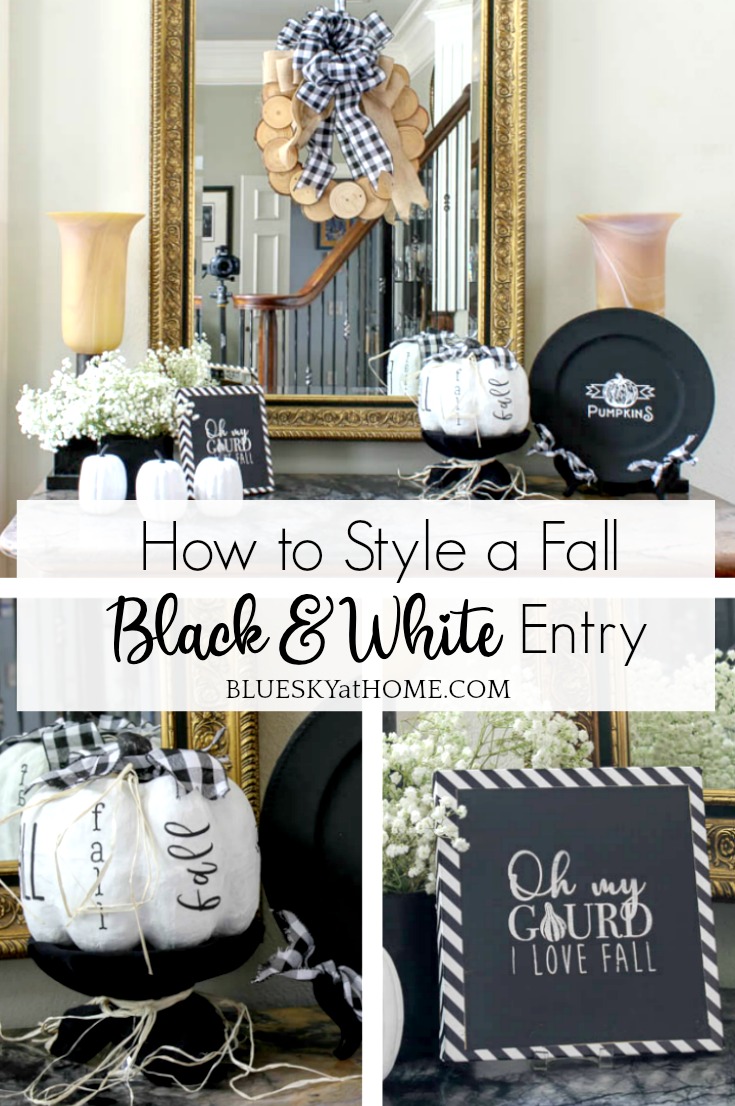
I love farmhouse signs with white~washed paint and black script letters. I know you do too because signs are everywhere, in all shapes and sizes and colors and fonts. In our kitchens and living rooms, our entries and bathrooms. Oh, and laundry rooms. too. I wanted some of that farmhouse sign mo~jo.
So with our next seasonal change, I decided to share a farmhouse sign that I made using my Cricut machine. This project is for all you Cricut lovers.
My sign needed to say fall, and look a bit like fall and farmhouse. And because, being the former English teacher that I am, use a bit of alliteration. And just the right words came to my mind. Next to “fall” came 2 words that are precious to me, 2 words that say it all. Once I knew what my sign would say, it was time to get busy and make my first DIY fall farmhouse sign.
Do you think of August as the end of summer or the beginning of fall? Are you starting to think that you need some ideas for fall decorating? Whichever way you lean, I thought this was a good time to share some of my favorite fall projects for your fall idea toolbox.
This is the first one.

My first step was to make a list of the supplies I would need for my DIY fall farmhouse sign. Then go shopping for wood and stencils and inspiration.
You also know that I absolutely love our stencils from A Makers’ Studio. But sometimes vinyl stencils made with a Cricut are an option. I made this fall farmhouse before I became acquainted with A Makers’ Studio.
USE A CRICUT STENCIL TO MAKE A DIY FALL FARMHOUSE SIGN
This post contains affiliate links to products that I use, love, and recommend. If you should purchase any product through this blog, I may receive compensation, but you do not pay one penny more.
Supplies for a Fall Farmhouse Sign
- wood
- stencils
- paint
This seemed easy. And it started out easy. I dropped in Hobby Lobby.
DISCLAIMER: (I am not bragging or throwing this in anyone’s face; it’s just a fact.) I live in Dallas. I have every craft store (HL, M, and JA) and decorator shops and antique malls and dollar stores, and the occasional flea market at my disposal. I can hit multiple stops in a day if I have to. I know I’m in DIY, craft, home decor nirvana. It just depends on where I am and what else I’m doing which place I drop in. If one place doesn’t have what I need, I can try another. Don’t hate me for this.
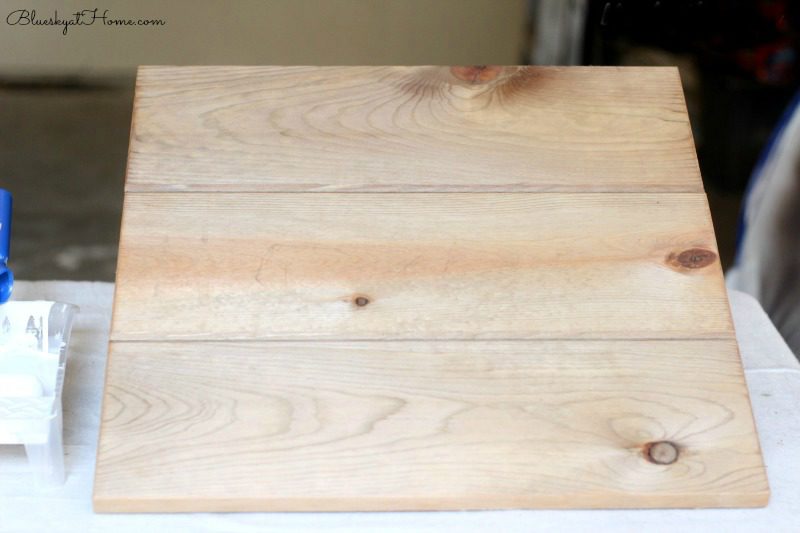
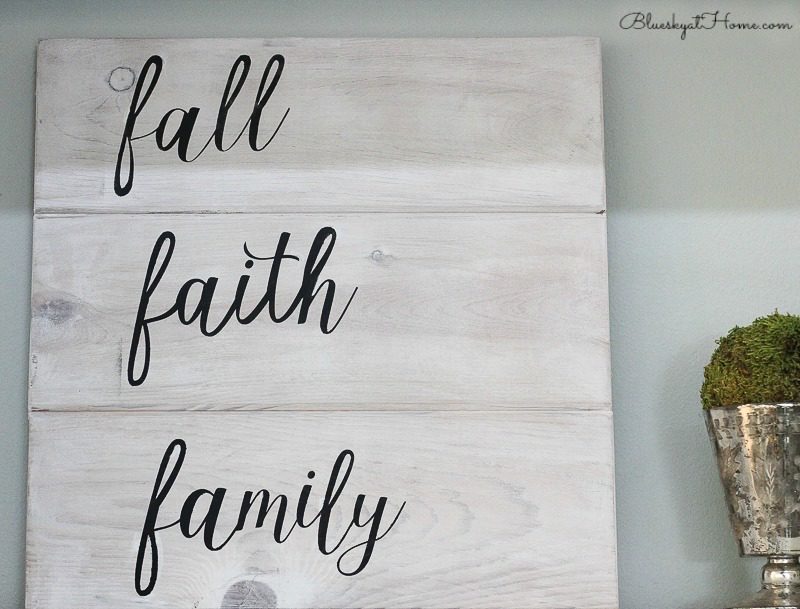
My intention was to buy boards and be really DIY and screw them together for my signboard. But then I spied this sweet thing and decided it was the right size, the right shape and it was on sale (triple ✔️ ). This raw wood pine board was 19. 5 X 19.5~inches. It was divided into 3 sections, each 6.75~inches. The perfect farmhouse look. It already has a hanger on the back if you need it. So it looks a bit like shiplap. Do you think Joanna knows about this?
Next on the supply list were the stencils. I searched for the right words in the right script writing that I had my heart set on. But I came up empty. Not the right words, period. O.K. I’ll figure that out. (Has that happened to you?)
Painting the Farmhouse Sign
For the background of my fall farmhouse sign, I wanted a whitewashed look. Fortunately, I had just finished painting and styling my bookcase, so I still had my Amy Howard One Step Paint in Bauhaus Buff out.
To get the whitewashed look, I just wet my brush and barely dipped the edge into the paint and started brushing it across the wood. I did that a couple of times, then took a lint~free rag and rubbed it across the wood.
The look was just as I wanted. And oops. I was so excited that I forgot to take a picture of the sign after I white~washed it.
Making a Vinyl Stencil
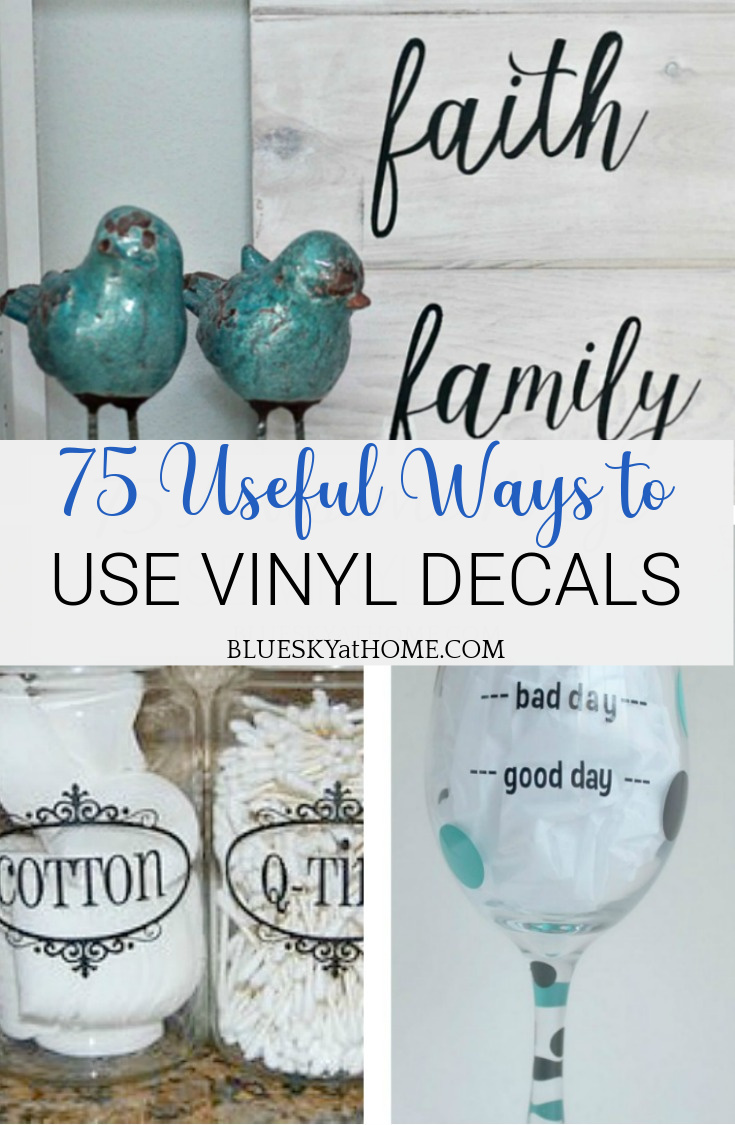
Now how to figure out how to make my stencils. I’ve never cut out a stencil before. But looking around my office, I notice all my rolls of Cricut vinyl. I thought that if I can make a vinyl decal, could I make a vinyl stencil? A stencil would be like the vinyl that you peel off and throw away after you’ve made your decal. So I thought I would try that approach.
Step 1 ~ Design the Stencils
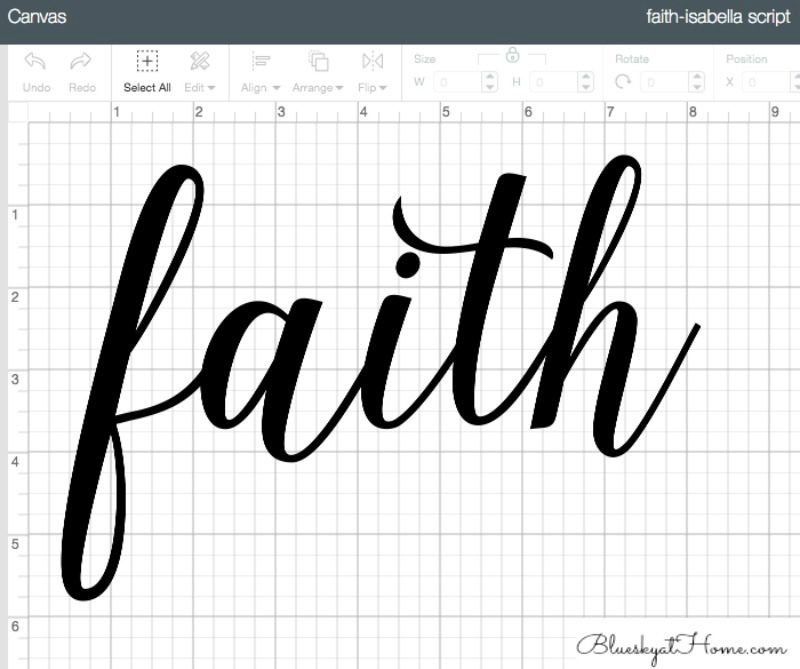
In Cricut Design Space, I chose my first word and my font, “ungrouped” the letters, spaced, sized my letters, and welded it back together. You can see a more detailed lesson here and access to printable instructions.
NOTE: I chose Isabella Script as the font. Fortunately, it’s a free font.
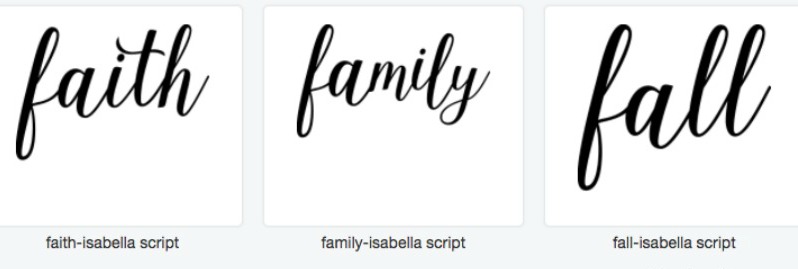
Then I saved the word under My Projects. I repeated the process until I had all 3 words. These are good words to have saved, don’t you think?
Step 2 ~ Cut the Stencils
If you are new to Cricut, I recommend following my post How to Cut a Vinyl Decal.
NOTE: When you cut the vinyl decal from your roll of vinyl, leave plenty of vinyl around your words. You will want that extra vinyl around your word when you start painting the stencil.
NOTE: This is a great way to use leftover pieces of vinyl.
Step 3 ~ Place the Stencils
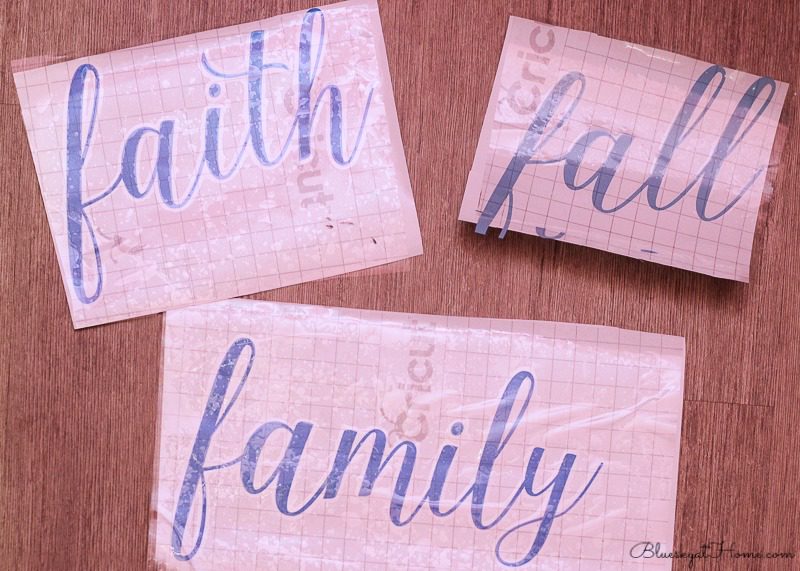
After I cut the stencils, I followed the same procedure as with any vinyl decal, except you do not weed out any pieces of vinyl between letters. Attach the transfer tape to the entire vinyl decal, and then carefully remove the vinyl backing, keeping the entire vinyl decal attached to the transfer tape.
I held the vinyl just above my painted wood sign, making sure I centered it vertically and horizontally where I wanted it on the wood board. My boards had 3 sections, each about 6 3/4 inches tall. I made my words about 5 3/4 inches tall. That allowed for 1/2 inch on the top and bottom of the word.
NOTE: Get the placement right the first time because it’s really hard to correct if you don’t. This is one of the BIG things I love about stencils from A Makers’ Studio ~ the adhesive backing allows you to reposition them until your have placed them exactly where you want them.
Apply the Stencils
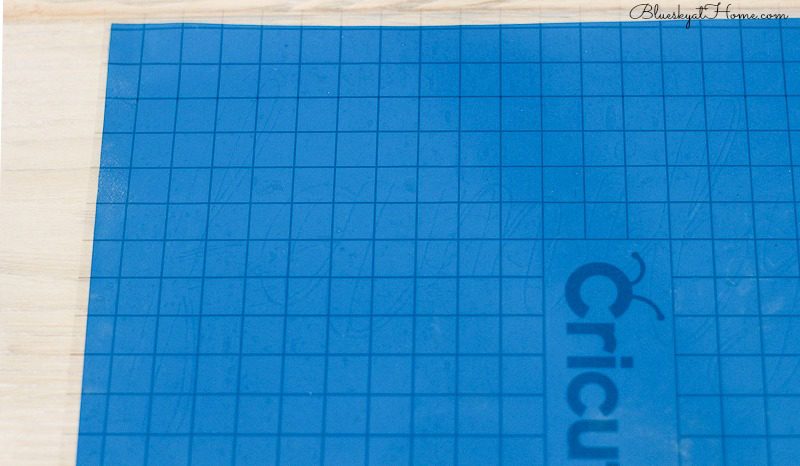
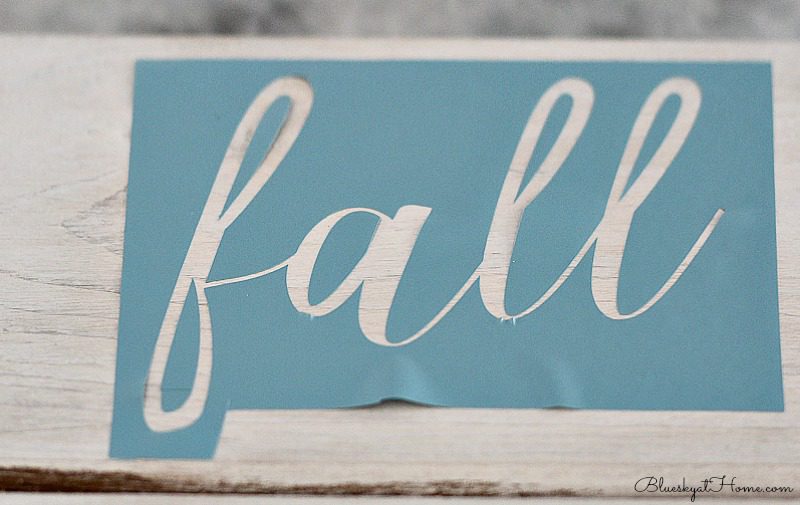
Starting at one side of the vinyl decal, carefully lay down the vinyl decal, using the Cricut scraper or a credit card to smooth it out as you attach it to the board. Rub the transfer tape on the board to make sure it’s smoothly attached to the wood sign. You can’t see it, but there is a word on the blue vinyl.
Next, separate the transfer tape from the vinyl at one corner and start carefully pulling it back, separating the transfer tape from the vinyl. You want the letters to stay attached to the transfer tape and the negative of the vinyl to stay on the wood.
Use your Cricut weeder to remove the pieces of the letters from the transfer tape ~ you would normally throw these “weeded” pieces away, but you need them to create the completed letter on the stencil. Place the weeded pieces in the correct place to complete each letter on the wood sign. For example, I needed the inside of the f, a, l, h. ( Of course, this depends on the font you’ve chosen.) Rub them down on the wood.
I had to use 2 colors of vinyl to make my stencils, which didn’t matter since they would be thrown away after I finished the DIY fall sign.

Step 4 ~ Paint the Stencil
Now you’re ready to paint.
- black (or color of choice) acrylic craft paint
- container for paint
- sponge pouncer or other short bristle brush
- paper towel
- small brushes for touch up
I squeezed a small amount of paint into a plastic container.
TIP: You can use paper plates or paper food containers. I bought a package of plastic “nacho” containers several years ago at Sam’s ~ there must be a thousand of them ~ and they work great.
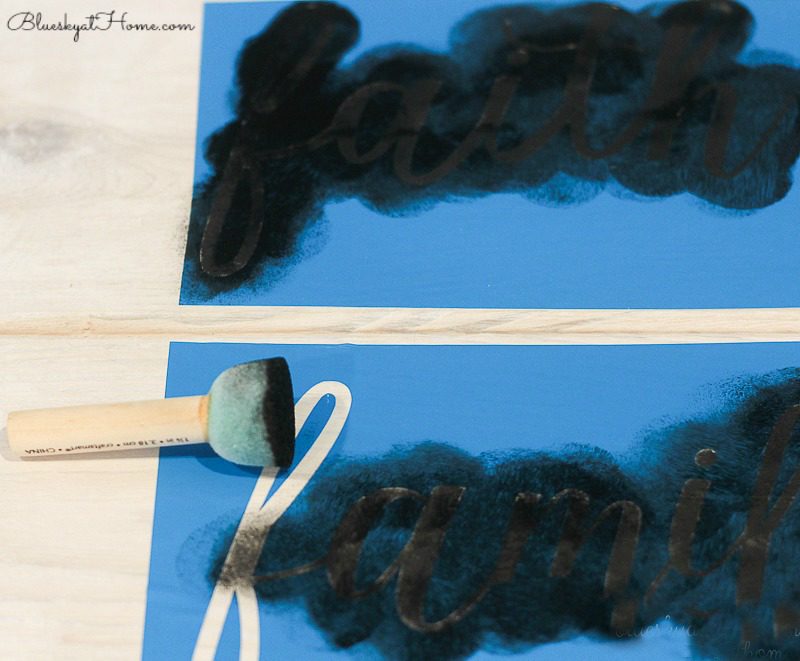
Place your pouncer in the paint, making sure you cover the entire bottom of the sponge. I folded over a piece of paper towel and blotted the pouncer on it, removing most of the paint.
SUPER IMPORTANT STENCIL PAINTING TIP: the less paint the better. You can always go back and add more. Too much paint and it will bleed under the stencil, making a mess and ruining your pretty stencil project. Check out this stencil painting lesson.
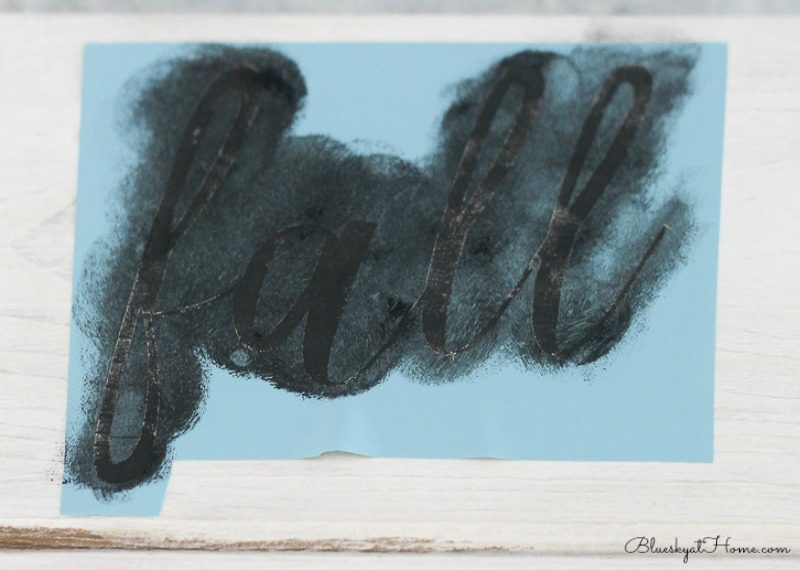
Now, just pounce the paint on your stencil. Be careful not to get over the edge of your stencil ~ that’s why you want lots of vinyl around your word. Keep going over the letters, adding more paint (blotted) if you want a darker letter, which I did.
Once you are finished painting a word, pick up a corner of the vinyl and carefully pull it away from the wood sign, revealing your beautiful stenciled word. Discard the vinyl stencil. Use a Cricut weeder to pick up any vinyl pieces that fill in the letters (f, a, l, h; o, q g, e would be some other examples).
Repeat until you’ve finished creating your fall farmhouse sign. I bet it’s awesome.
If you have a bit of paint bleeding through or you’ve gotten any paint on the board, take a very small stiff brush and smooth out the edges of the letters, using both your letter color and your background color until you are pleased with the result. Because the craft acrylic paint I used was labeled as permanent, I didn’t seal my sign, but left it as is.
I got some of the black acrylic paint on my white wood board.
I dry brushed a little One step Paint over the black acrylic paint. I should have used some painter’s tape around the stencil.
I think the vinyl, which is very sticky, keeps the paint from bleeding. You obviously, don’t have to tape the vinyl down or use spray adhesive, which I hate to use because it’s messy.
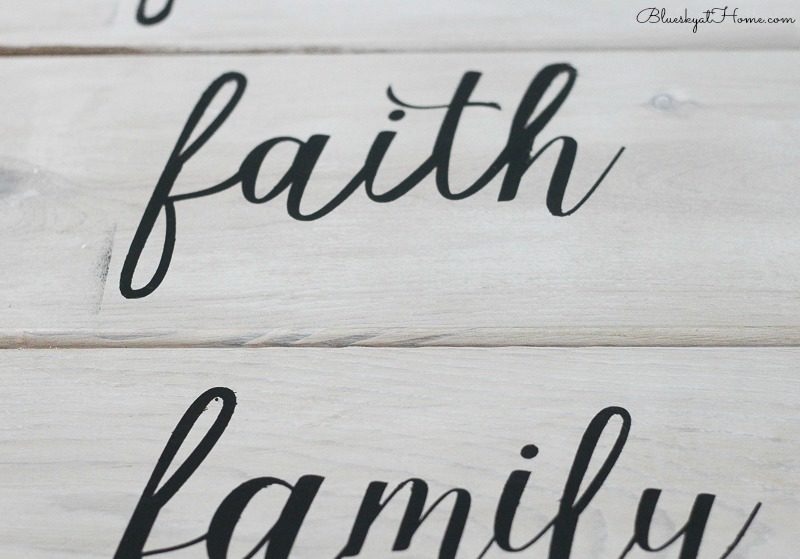
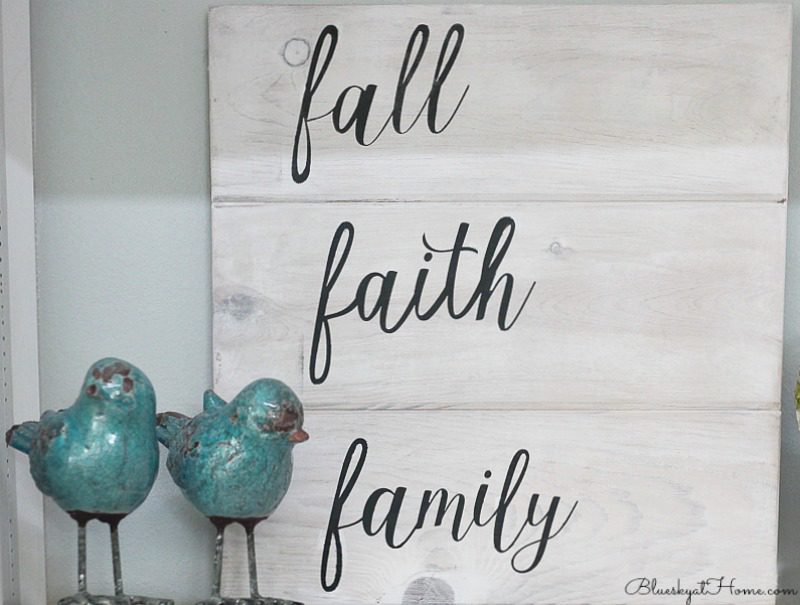
I absolutely love my fall farmhouse sign. I could have added more graphics, but I decided it was just fine as is and simple is best. I didn’t want to mess up something that looked just fine. As I get more confident, I might try more intricate designs.
Here’s what’s really cool: this is like 2 for the price of 1. After you attach the vinyl stencil to the wood, the decal letters are left on the transfer tape backing. Just cover the top of the decal (the non~sticky part) with the transfer tape and you have a vinyl decal to use later. I accidentally cut off the bottom of my “fall” f, but I salvaged it.
This fall farmhouse sign was the first sign I made. Now I know how to customize my chosen words and fonts using my Cricut Explore Air to make my own DIY stencils. And now, with the awesome tri~mesh stencils from A Maker’s Studio, the sky’s the limit.
If you would like more instructional articles on using a Cricut, check these out:
How to Make Vinyl Decals
Learn How to Use a Cricut
If you made stencils using a Cricut, I’d love for you to PIN, comment and share.
I love the words on your sign Carol. I have a silhouette machine and haven’t used it in ages. I don’t find it that easy to use but because of the price, I can’t justify getting something easier. Then the vinyl I kept getting was crappy and would tear easily. So I gave up. Your sign makes me want to try it again.
I understand Cindy. There is definitely a learning curve to using a Cricut. I always buy the Cricut vinyl on sale. I’ve never had a problem. Try, try again.
Love this tutorial. I have a cricut and I have also only cut out decals. I am saving/pinning this post so I can try making my own stencil. TFS.
Thanks so much for Pinning.
Love it, Carol!!! I still need to finish my sign from a year+ ago… But I still have a leftover board and a stencil, so… I need to GET ON IT! Lol. 😉 Happily pinning! <3
p.s. Shared to Facebook, too. <3
I know how DIY projects get put on the back burner. I have dozens!