3 Easy Fall DIY Decorating Projects to Make in 1 Day
Have you started decorating your home for fall? I have 3 easy fall DIY decorating projects for your home decor that you can make in one day. You can make them now or save the tutorials to make later.
Yes, I said one day. I have used all of these projects in my fall decor and I’m planning to reuse these easy fall DIY decorating projects this year – in different ways and different places.
Can you decorate your house for fall inexpensively? Yes.
Can you make autumn decorations that are easy and pretty? Yes.
These fall DIY decorating projects are inexpensive, easy, and very attractive.
What fall decorations are we going to make?
Fall DIY Decorations: 3 Easy Projects

I can’t create a decorating scheme, tablescape or party decorations without some DIY projects. All these easy fall DIY decorating projects require very little prep, minimal supplies, and are fast to complete. In fact, you make all 3 in one day.
For these three fall DIY decorating projects, I wanted items that I could use in my fall decor and would fit in with two of my design themes: neutrals and metallics.
When I create DIY projects, I want a project that
- I can reuse in different areas of my home
- Is evergreen and will last for a few seasons
- Can possibly be used for everyday decor and seasonal decor
This post contains affiliate links to products used in making these projects. If you should order any product from this site, I may receive compensation, but you do not pay a penny more.
Wood Bead Cord
Would a DIY fall decorating project be complete without wood beads?
I liked the look and idea of natural wood beads the first time I saw them. At first, I thought they wouldn’t fit in my coastal color scheme. And originally, I didn’t even think about including them in fall decor.
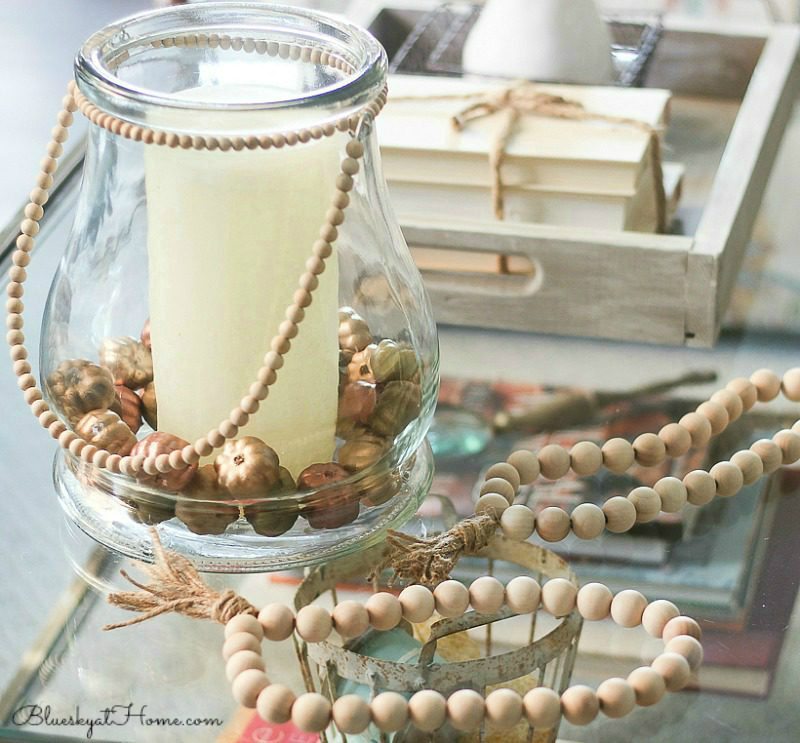
I bought a glass vase with wood bead handles at Kirkland’s a few years ago. (Here is another option for a glass jar ) I had bought 2 packages of wood beads. I thought I could carry over the beaded handles of the glass vase to a wood bead project – assuming I could find where to put the beads.

In addition to the wood beads, I needed jute twine, which I already had on hand. I keep the jute in a jar with a hole in the top. (This was a freebie from Haven a few years ago and originally had a straw in it.)

TIP: The first thing I did was wrap a small piece of Scotch tape around the end of the jute to keep it from unraveling and make it easier to thread through the beads.
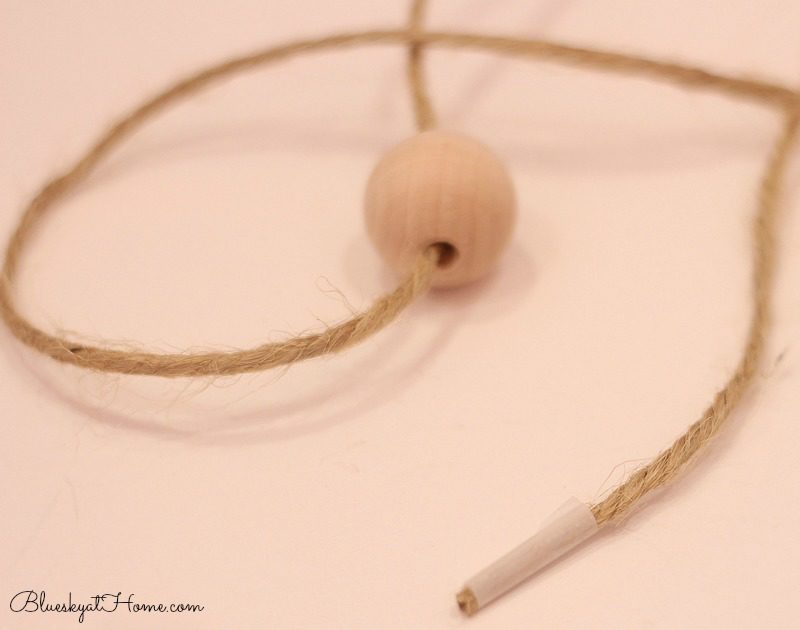
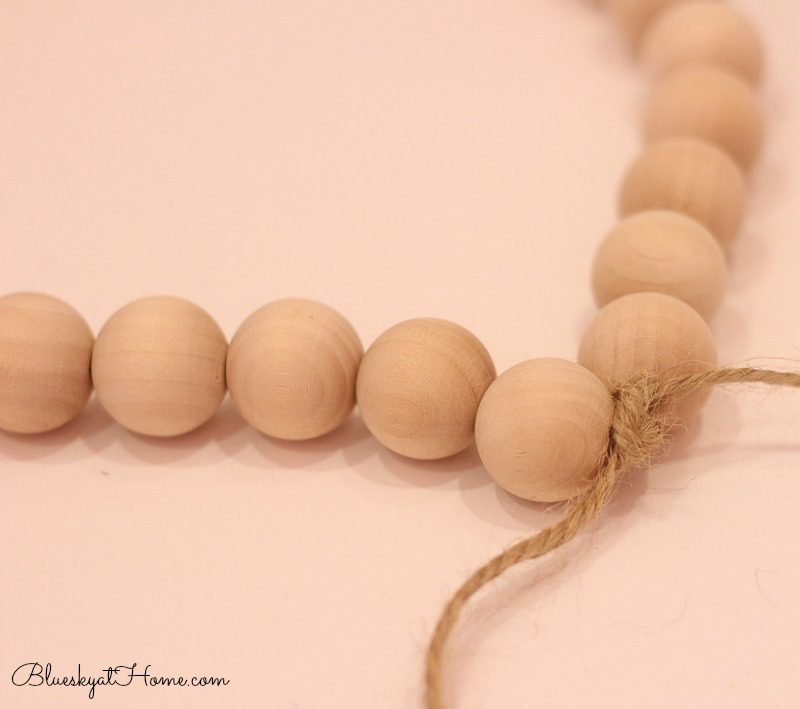
Then I just started threading the beads through the jute. Each package contained 30 beads, so I could make 2 cords. I literally made them both while watching a webinar one morning – also a great project to do while watching your favorite TV program. Both cords took me about 20 minutes.
Supplies
- wood beads
- jute twine or other string
- Scotch tape
- scissors

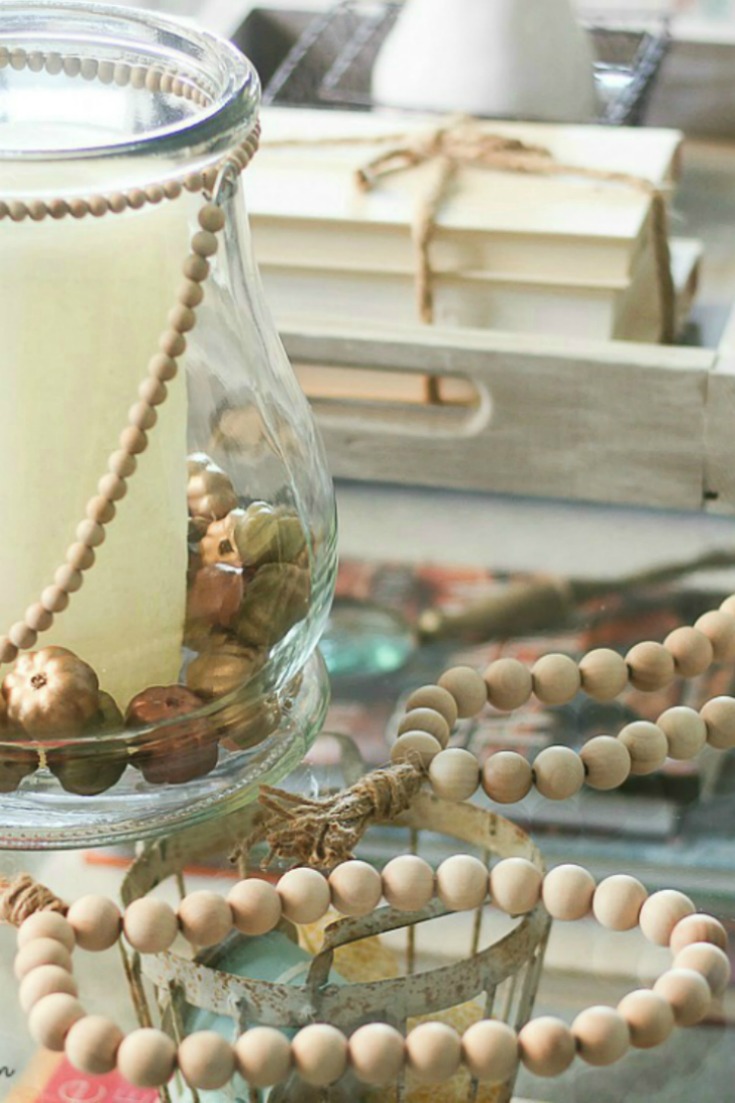
When I had all 30 beads threaded, I allowed about 8 inches of extra jute at each end. I tied the ends in a double knot to hold the beads tightly and make a circle.
Then I cut 6 pieces of jute about 7 inches long.
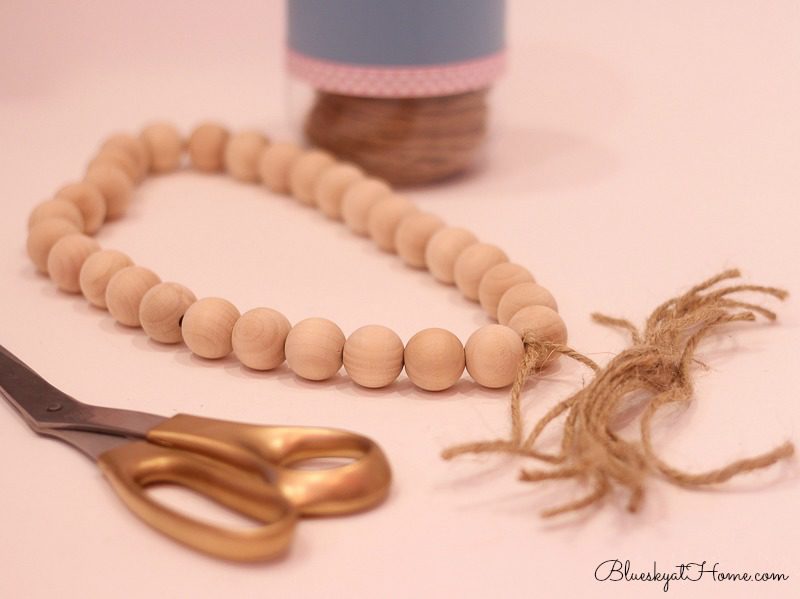
Holding the pieces of jute together, I tied the knotted ends around them with another double knot.
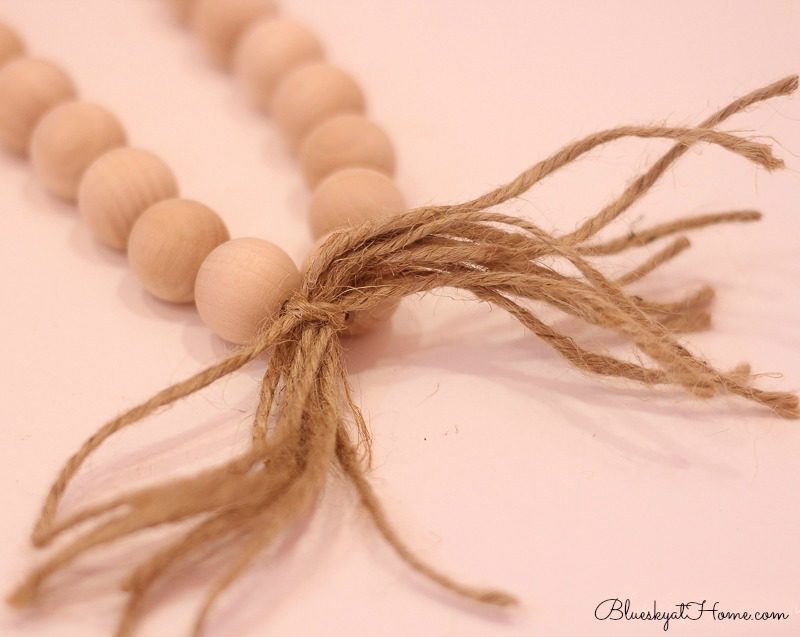
Now I folded the pieces in half and used another piece of jute to wrap around the top to make a tassel. I looped the end of the piece through the wrapped part to secure the tassel.
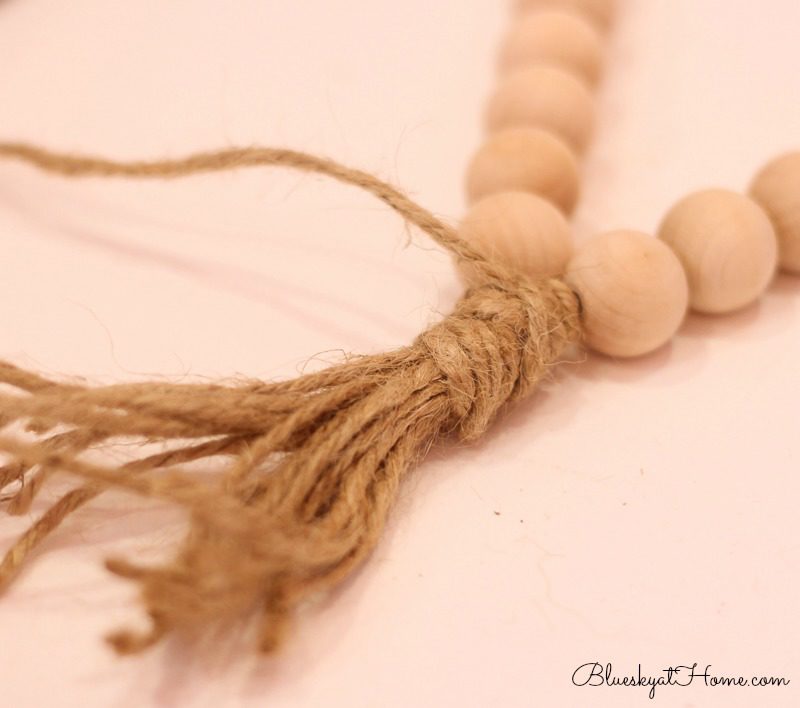
Finally, I cut the ends of my tassel to make the jute even and the cord was done. Then I just repeated with the second package of beads and more jute.
Really, this was one of the easiest projects I’ve ever done. Although my beaded cord is larger than the beads on the glass vase, they tie the neutral wood look together.
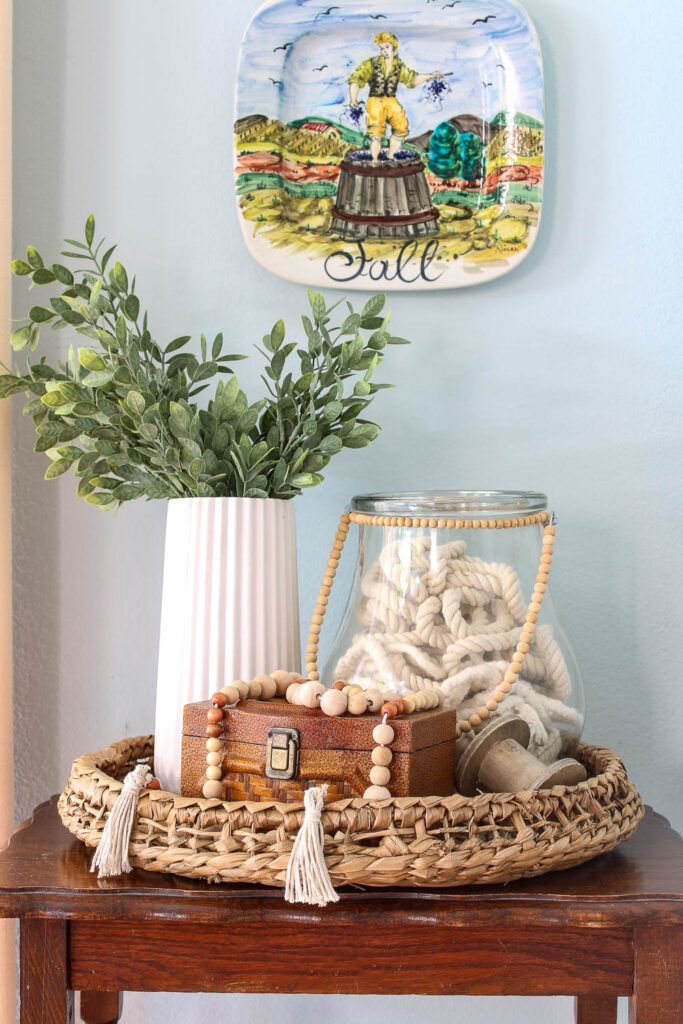
I made another garland of wood beads for this new vignette in our sitting room next to our kitchen. I used the same glass vase.
A couple of weeks ago for my early fall coffee table, I used wood beads again. This time I painted them.
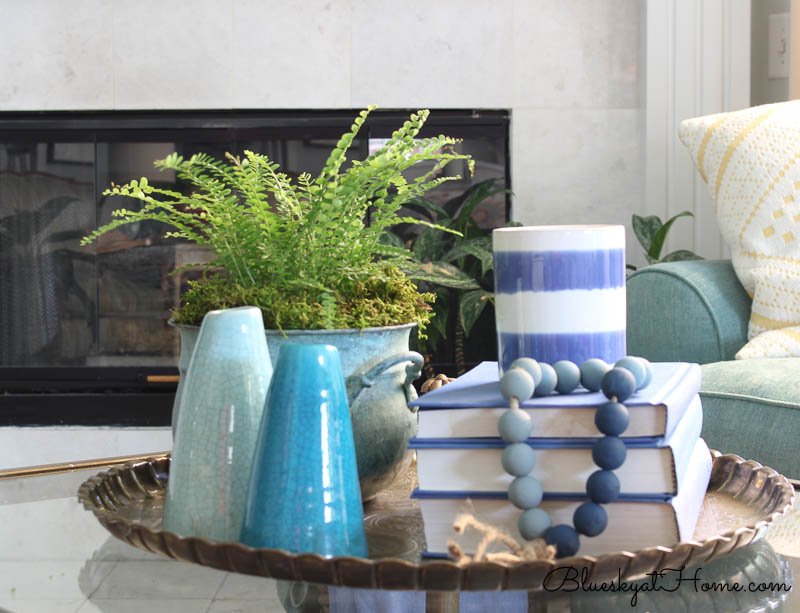
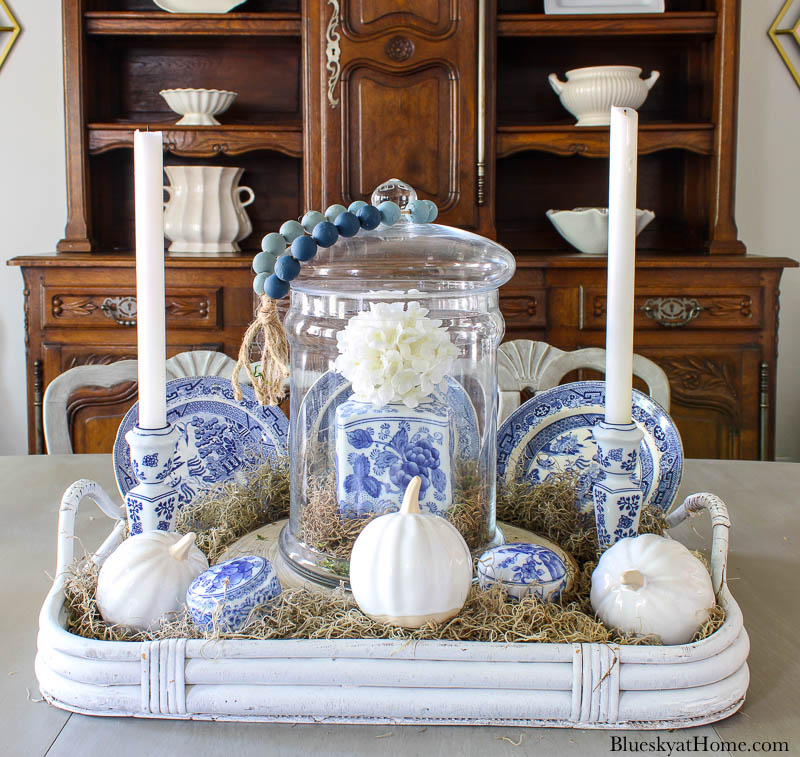
I used the painted blue beads again for a fall table centerpiece focusing on a cloche.
Wood bead cords met all 3 of my DIY criteria.
Metallic Painted Pumpkins
My fall DIY decorating projects include pumpkins.
From my first thoughts about fall decor, I knew I wanted metallics, especially copper. I used copper in my first fall tablescape a couple of years ago and loved the look and wanted to continue it.
We have a few copper pieces – a 3-tiered stand that we’ve had for years and 4 copper saucepans that belonged to Sweet Shark’s mom.
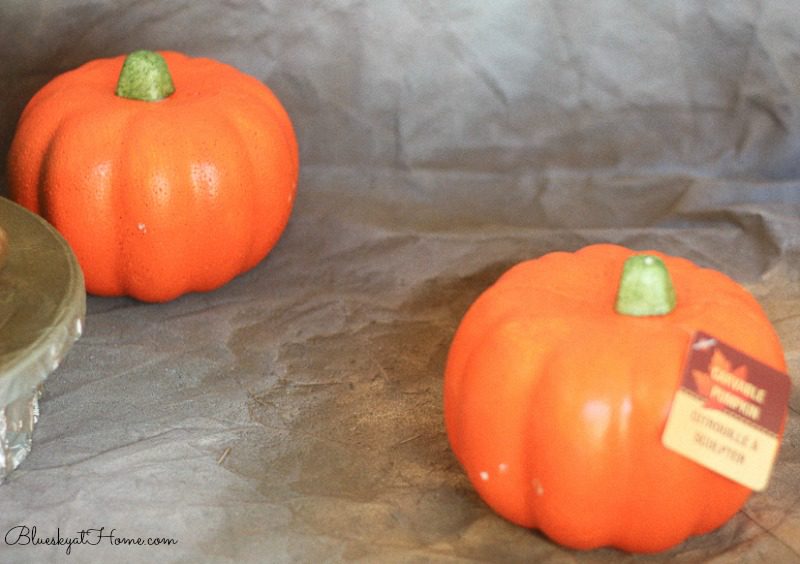
During my fall home decor shopping trips, I kept picking up pumpkins of all shapes and sizes. If course, they were all shades of orange, which I did not want to use in my fall decor.
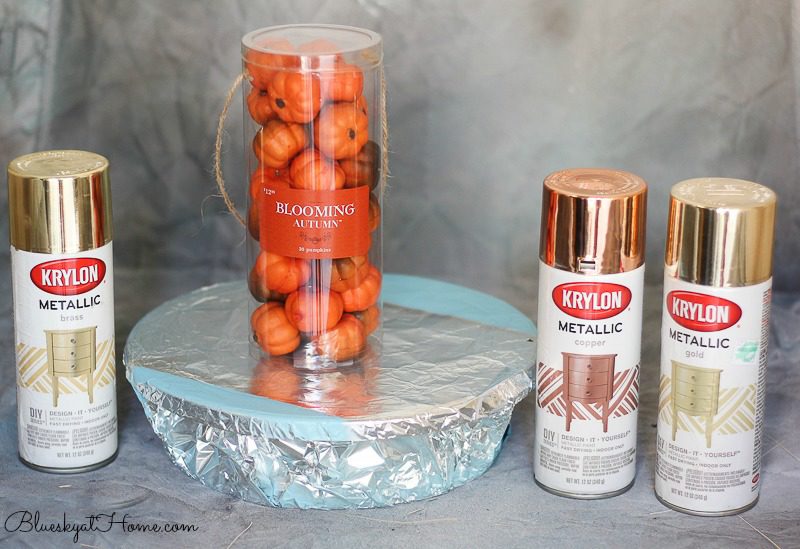
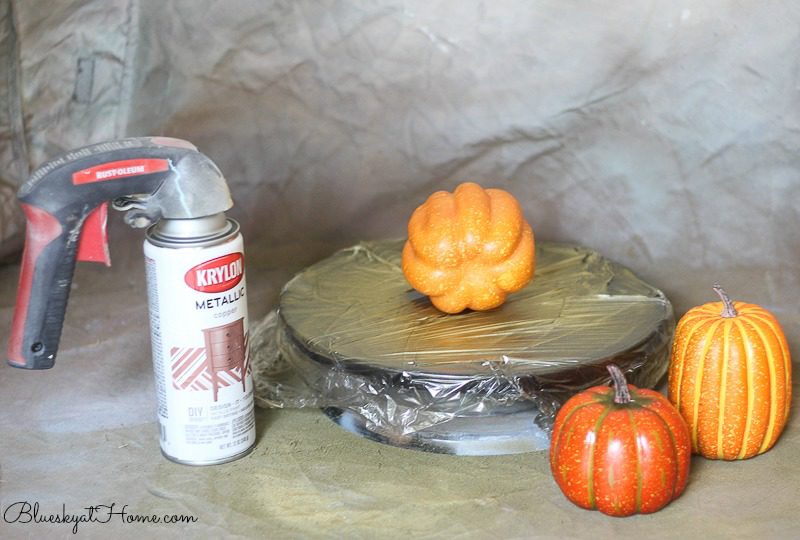
As we all know, spray paint can change anything. This is where my metallic theme would come into play. So out came my HomeRight Small Spray Shelter and 3 cans of Krylon spray paint in gold, brass and copper. I already had the gold and brass so I only had to buy 1 can of copper.
Supplies
- pumpkins in chosen sizes
- spray paint in chosen colors
- spray shelter or plastic to protect surroundings from overspray
- comfort-grip spray handle (from Rust-Oleum) – must-have for working with spray paint cans
I started with small pumpkins with 30 to a package. I divided them into 3 groups of 10 and each group became a different metallic color.
I pulled out the paint stand from HomeRight. This little tool (It’s actually black and swivels, but I covered it in foil so it wouldn’t get paint all over it.) allows you to easily turn your project without getting paint on your fingers.
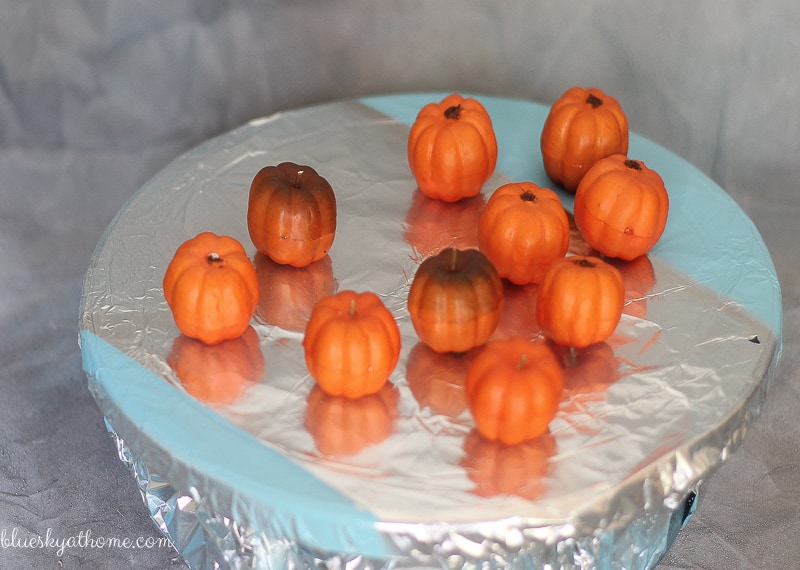
What surprised me was how fast the paint dried on the pumpkins. Literally a few minutes. I only had to turn the pumpkins over once and 1 coat was covered completely.
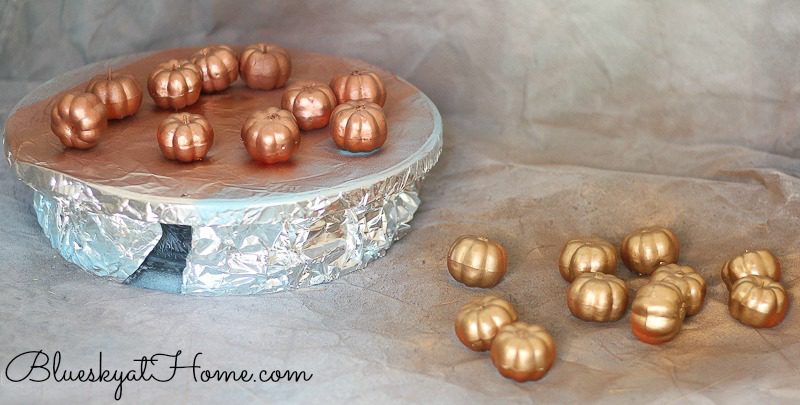
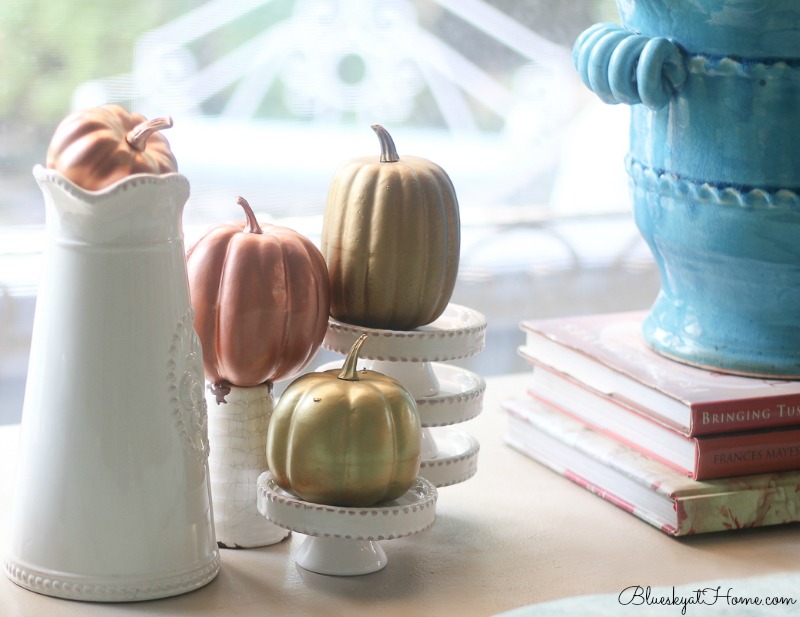
I used the little pumpkins to fill in around the candle in the glass vase on the coffee table.
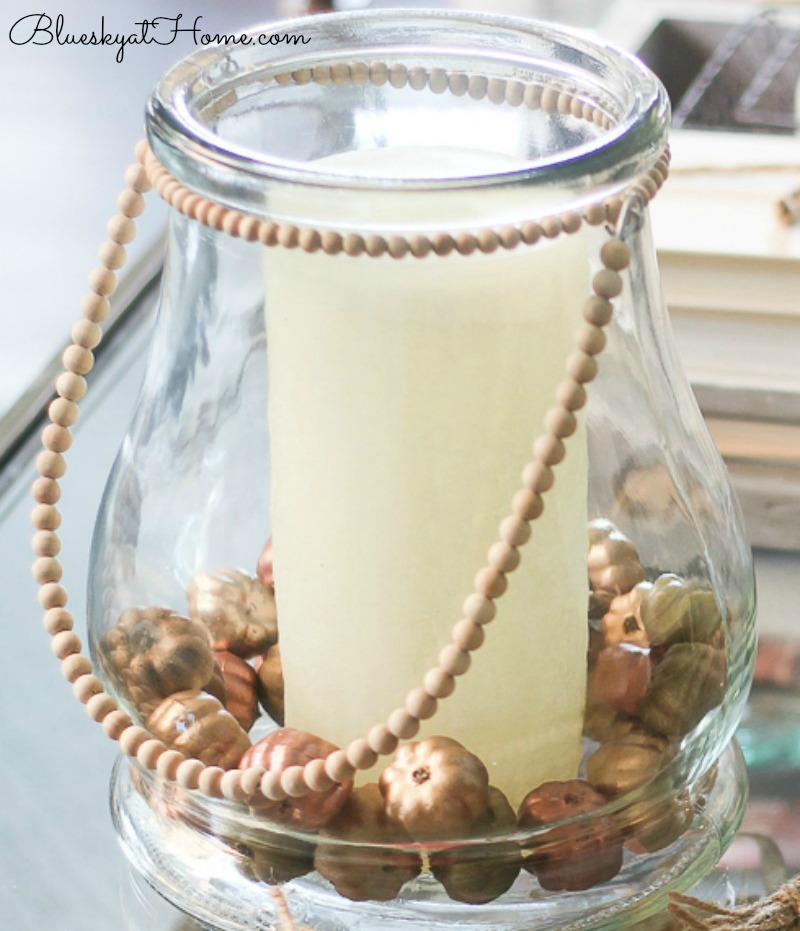
I loved the combination of the glass vase filled with little metallic pumpkins and the rustic look of the wood beads and jute.
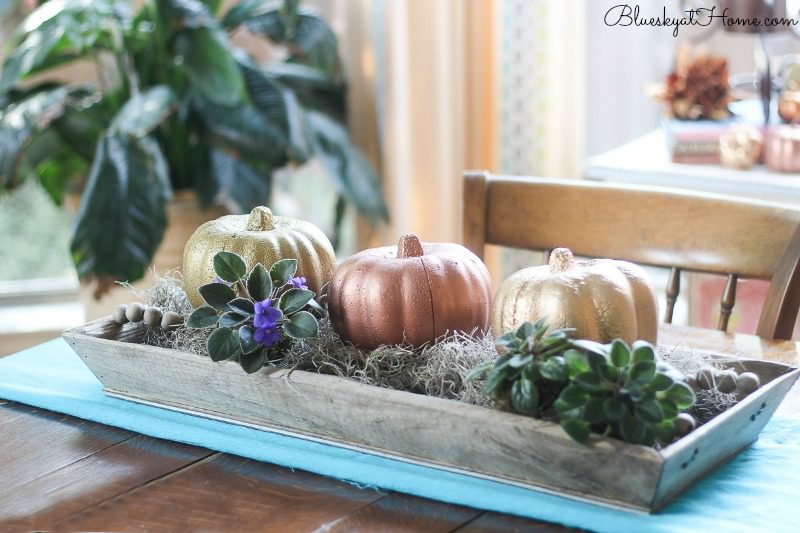
I had more “less than desirable” pumpkins to paint and I switched them out, alternating between the 3 colors of metallic paint. These Dollar Tree pumpkins are about to go from gaudy to gorgeous. I had 3 and each would be gold, brass or copper.
I used them in the wood tray with the beaded wood handles from Kirkland’s for our breakfast room table. The styrofoam actually gave the painted pumpkins a realistic texture since some pumpkins are not smooth.
Some more pumpkins ~ this time from Walmart ~ got the metallic spray paint treatment too.
TIP: it’s easier to start on the bottom of the pumpkin and then you can use the stem to set it up straight to paint the top and sides.
Here you can see my Rustoleum spray paint can grip. I can’t spray paint without it.
I spread them out on the console table in our breakfast room. You may notice that I sprayed the entire pumpkin, including the stem for this project.
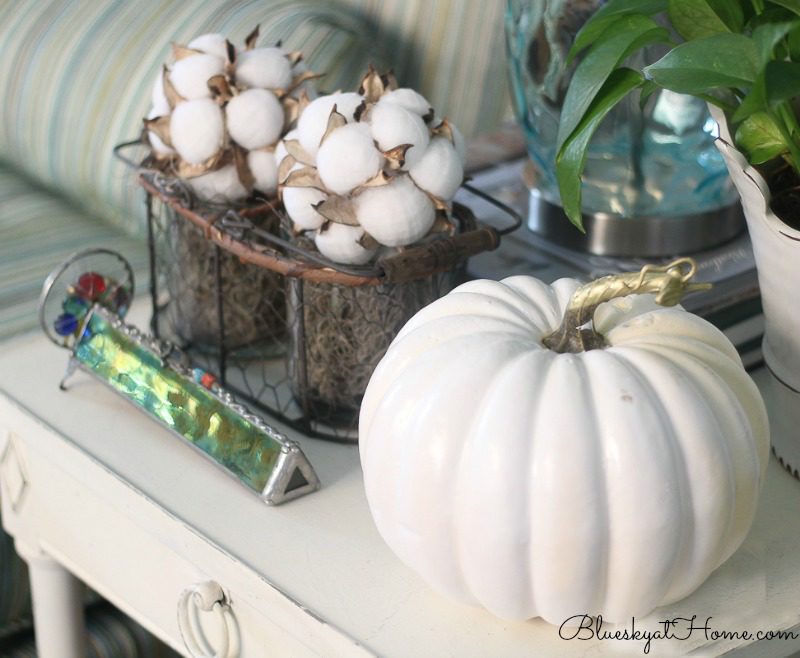
I had a couple of extra pumpkins from last year that I didn’t paint. Using Amy Howard at Home Furniture Lacquer Spray Paint in White Perfection, I added them to a group of white with gold stem pumpkins. This spray paint gives you a slightly shiny surface that dries in just a few minutes. Remember to start bottoms up.

Just like last year, I made a hole in a piece of heavy cardboard to stick the stem through to spray paint it in gold.
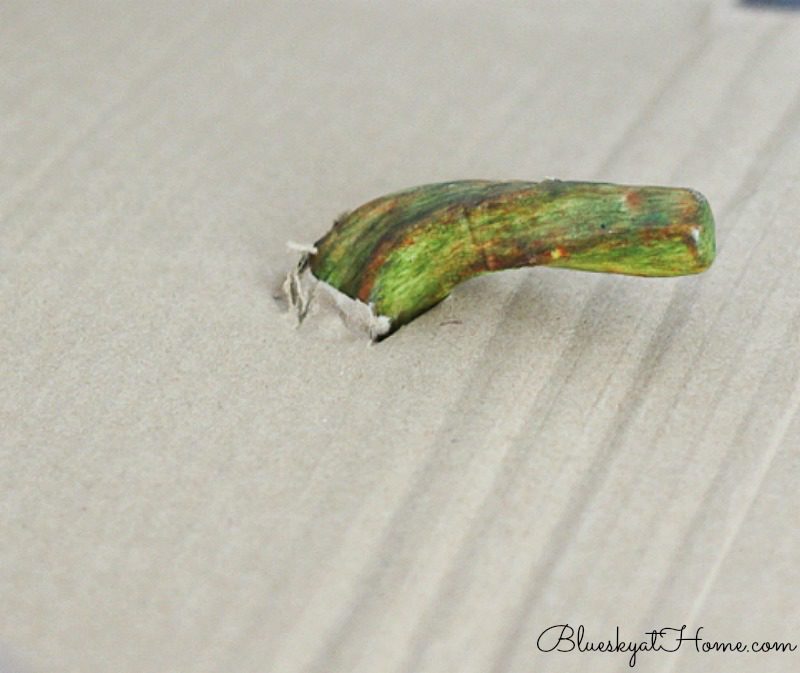
TIP: If your spray paint doesn’t completely cover the stem, just spray a bit of spray paint on your cardboard and use a small paintbrush to fill in the stem.
I added one of the newly painted white pumpkins to the mantel and one on a side table.
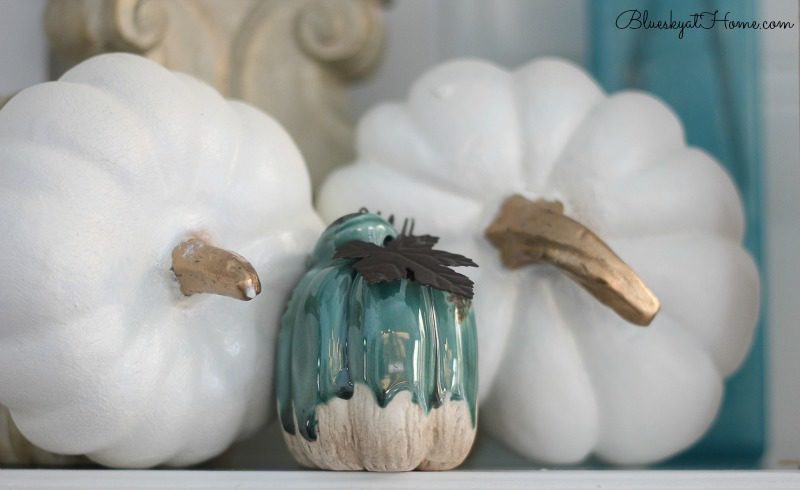
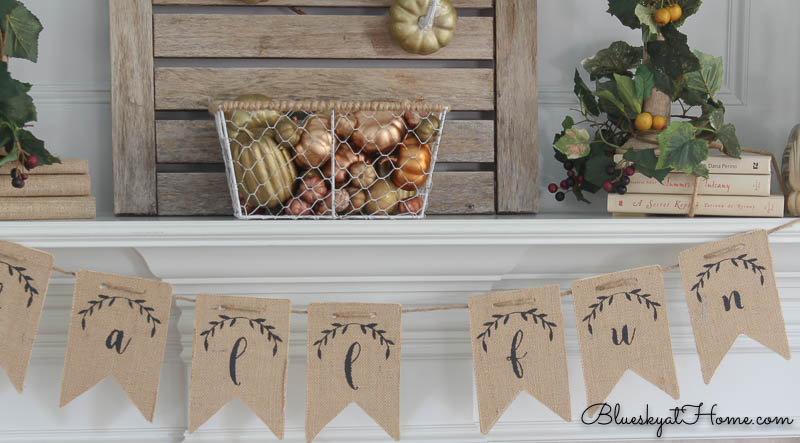
As you might imagine, these painted metallic pumpkins have been used multiple times. I never get tired of them. For our early fall mantle two weeks ago, I filled an updated wire basket with some of the metallic painted pumpkins.
Painting pumpkins meet criteria #1 and #2.
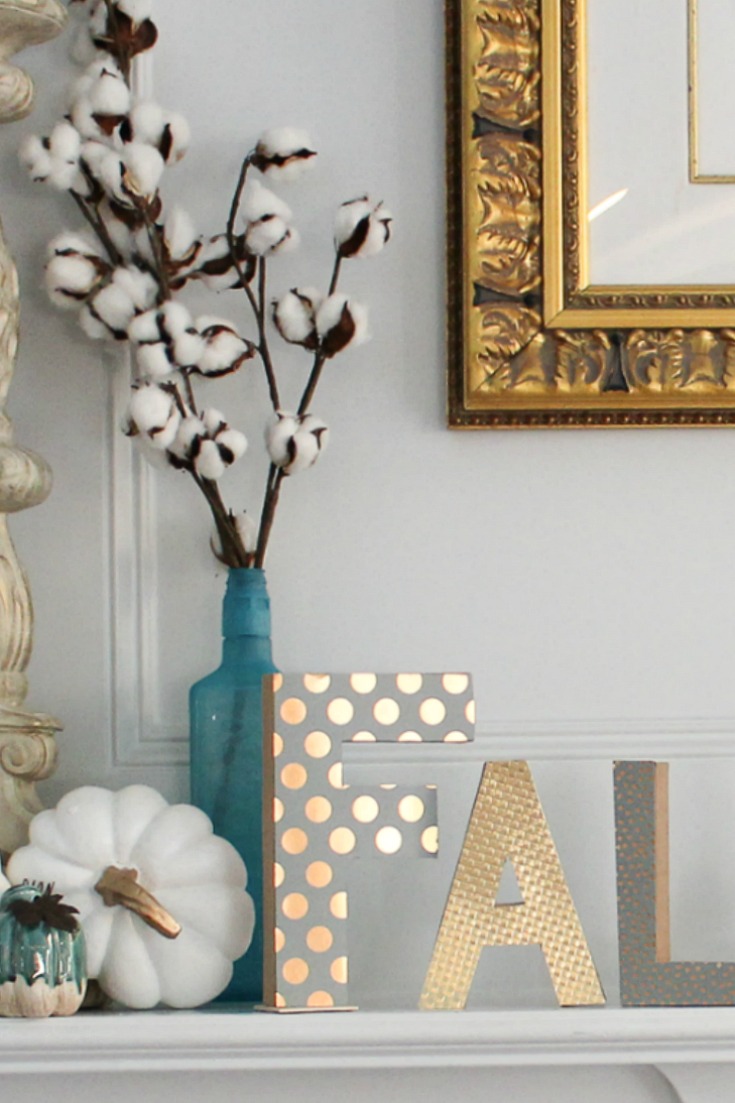
Metallic “Fall Me” Sign
Using letters and signs in our decor is such a common practice these days for good reason. We all love words and sayings because they evoke feelings and they are just so darn cute.
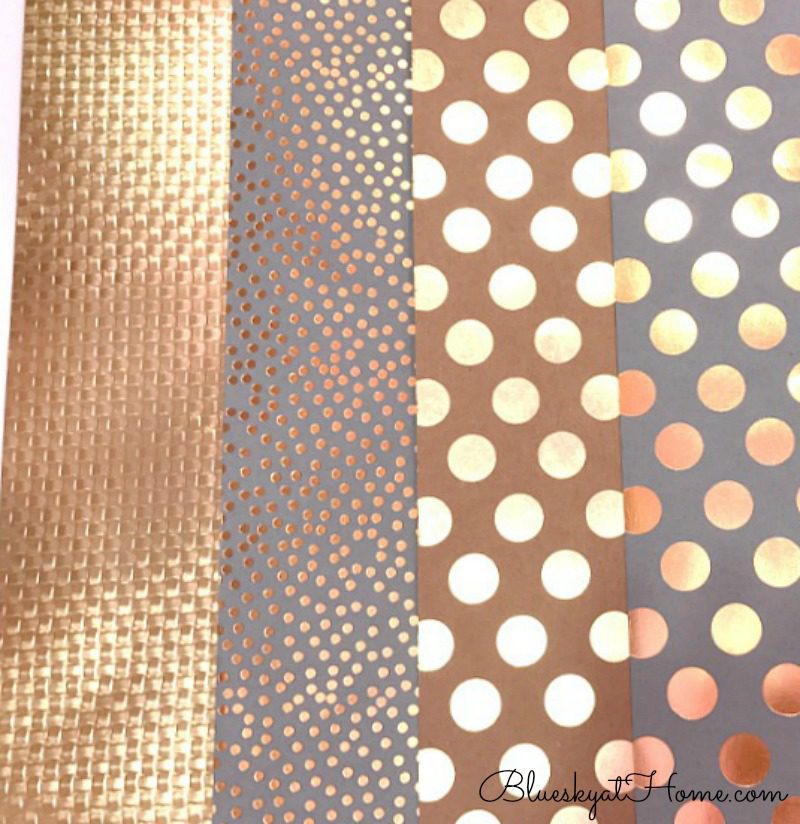
For my third fall DIY decorating project, I made a fall sign. I wanted to make some sort of sign for our mantel. My first stop was the open card stock aisle.
There I found 4 different patterns of gorgeous metallic paper. I am a sucker for pretty paper. These were large 12 by 18~inch sheets of heavy card stock. Into my cart, they went.
Supplies
- card stock of choice
- wooden or cardboard letters of choice
- pencil
- scissors
- permanent tape roller or glue
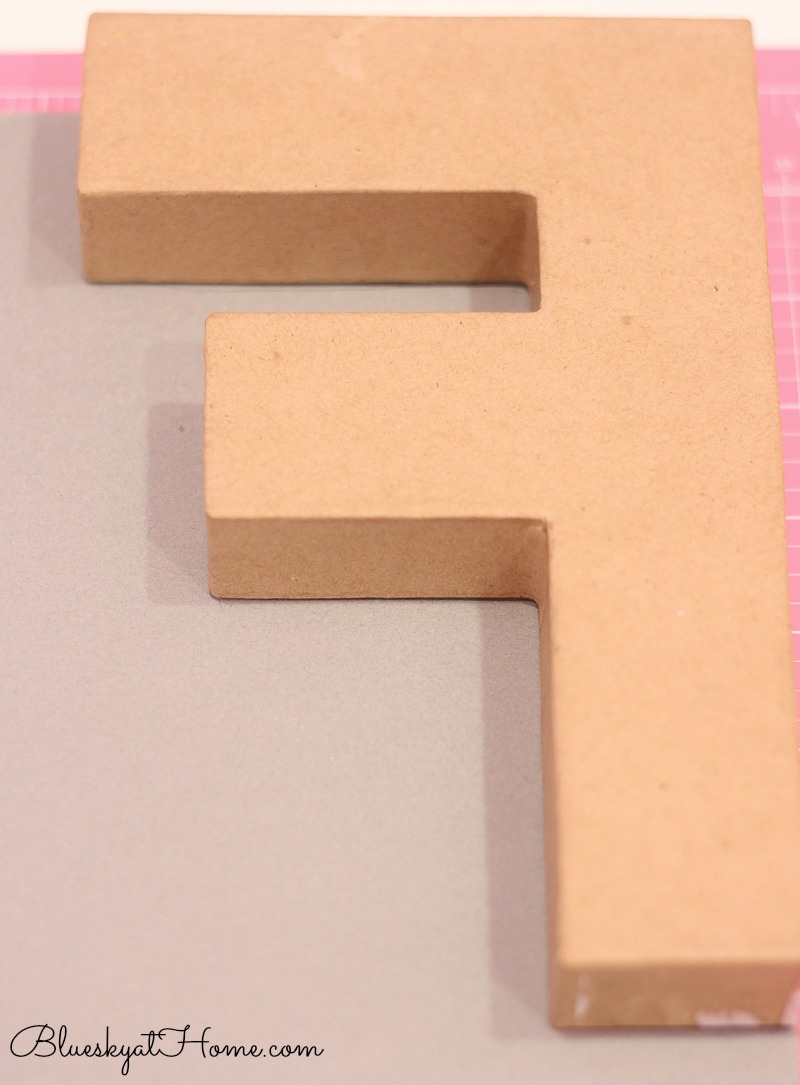
Next, I went to the aisle at Joann’s with wood and cardboard letters. I had a couple of ideas in mind for a saying for a sign. I pulled out both the wood letters and cardboard letters in different sizes and styles.
Just when I thought I had the right combination, I would be 1 letter short. Finally, I found a combination of letters in 2 sizes that worked for my sign.
In between spray painting pumpkins, I started my fall DIY sign project.
First I laid out my letters (I had 9) and numbered each card stock pattern. I assigned each letter a number which meant that I would have 2 letters of each pattern, but 1 pattern would have 3 letters.
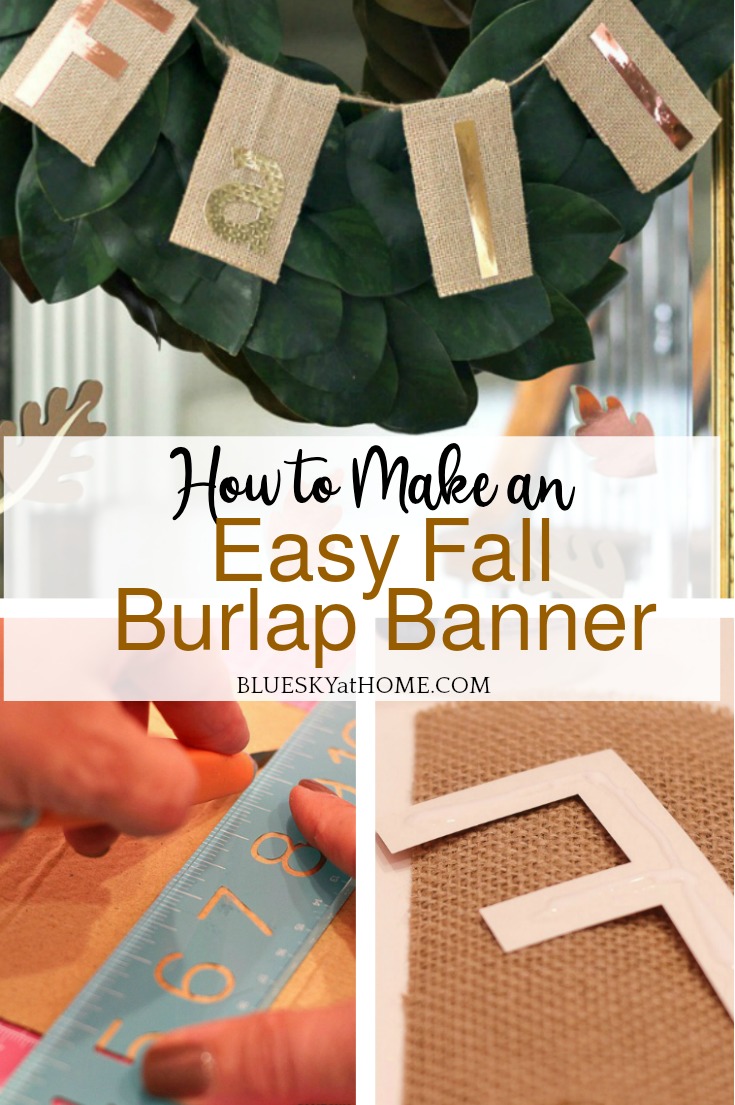
I set the letter on the first card stock and drew an outline in pencil around it.
TIP: The thing to remember when cutting out the paper that you are going to place on letters is to lay the letters backward.
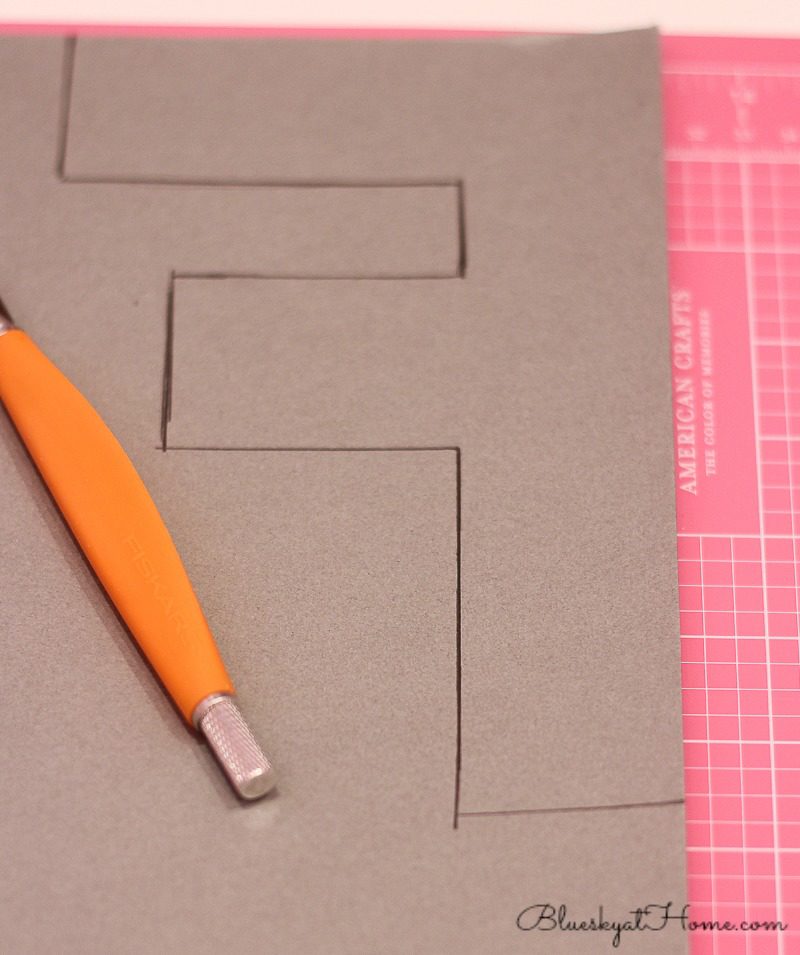
My first thought was to use my straight-blade cutter and a ruler to cut out the letters, but I soon discovered that it was easier to use a pair of sharp scissors.
The only time I used my straight blade was to make a straight cut in the center of letters, such as A, O and R.
This took so little time and I would stop long enough to go outside to spray more pumpkins.
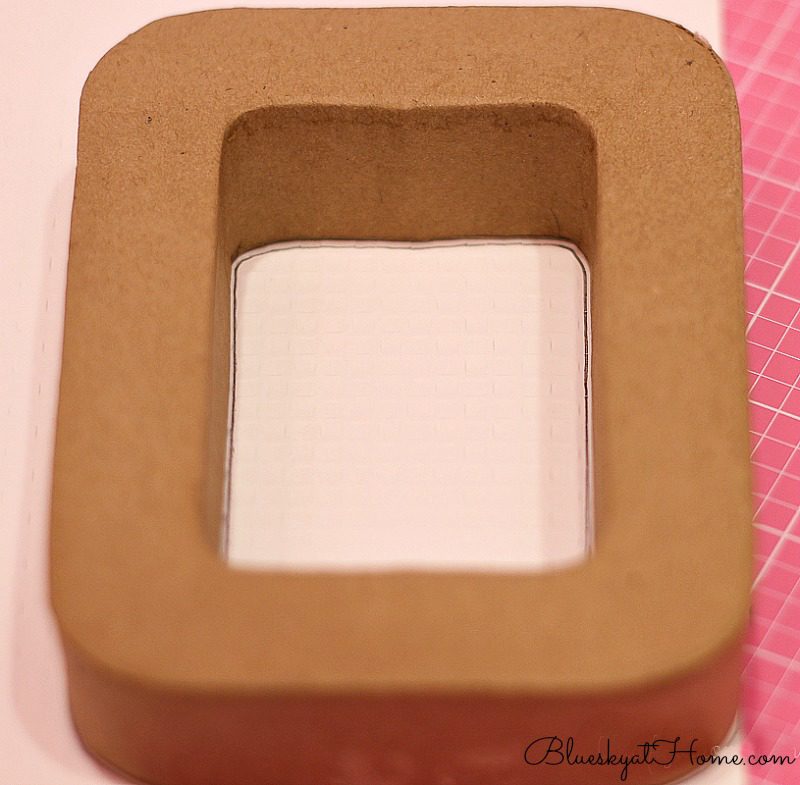
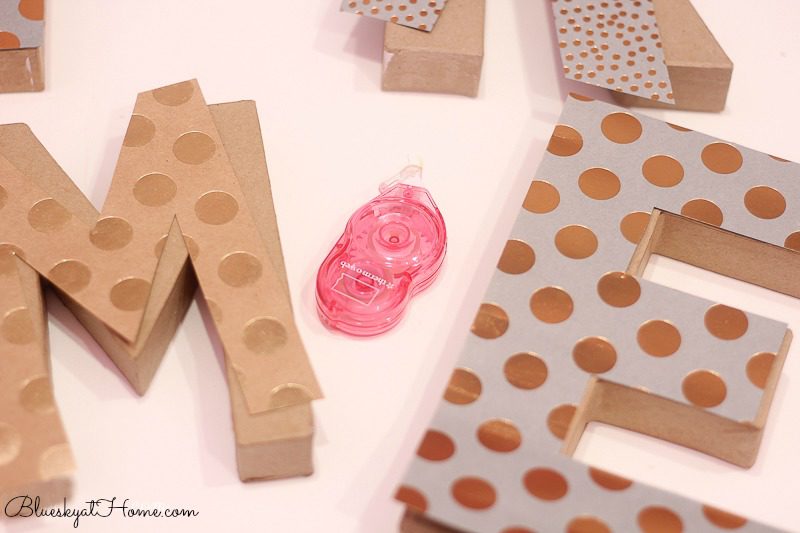
After I cut out all my letters, I used my permanent tape applicator. It was easier than glue.
I just applied the tape to the back of the paper letters, positioned them over the cardboard letter, and pressed and rubbed down until the paper was firmly stuck to the cardboard.
Here’s the finished project on the mantel. Pretty cute, uh?
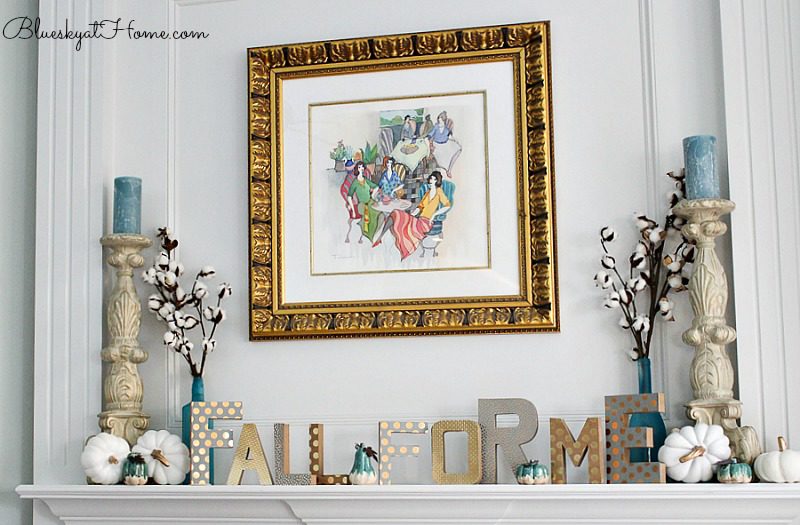
The F’s were a little top~heavy, so I attached pieces of thin wood with Scotch 2~sided sticky tabs to their bottoms.
This fall sign met DIY criteria #1 and #2. Even though this mantel sign was from last year, I still love it and plan to use it this year in a different place.
I hope these fall DIY decorating projects give you some inspiration for easy fall DIY projects for your holiday decorating.
I’m not through yet with my projects. More to come. Please PIN this post so you don’t forget how to make these 3 easy fall DIY projects.


Three great features. Love the mantle letter Idea, I am going to have to try that one myself. I have featured you this week in Happiness is Homemade
These are great fall projects! I absolutely love decorating for fall. Thanks for sharing on Happiness is Homemade at LifeasaLEOWife.com! Traffic Jam Weekend is now open, and we’d love to have you share there as well!
Never mind, just found it in your directions.
Sorry about that, it just looked strange on the mantle, and I thought it was a French saying….
I may have missed this. What does the phrase on the lettering mean?
Thanks,
Thank you for participating in our linky party!
Thank you so much for sharing to our linky party!
Spray paint is the best! The pumpkins and beads turned out really cute and your fall letters with the paper glued on is a a really great diy. I just love finding easy craft projects:)
I just bought some of those same Dollar Tree pumpkins but haven’t transformed them yet in to something new. Thanks for giving me some great ideas. These look fabulous in your home. #HomeMattersParty
NOW I know what color the .50 missing-a-stem pumpkin from DT is going to be! I got a can of rose gold Krylon paint from HL because it was on sale and the color moved me! I have been making cloth pumpkins and 4 copper scouring pad (Navage Patch) pumpkins and have used 1/2 of a cinnamon stick for the stems! Have got my daughter with the garden saving me squash stems but I’ll use a few wine corks, too! Love your mantel letters and mixed letter sizes.
Great ideas. So pretty.
Love, love, love those beads! I decorate with them and have a DIY project in the works as well. Also love the spray-painted pumpkins. Thanks for sharing at Vintage Charm. xo Kathleen
I really like the spray painted pumpkins! They all look great.
I totally adore all these fall projects however, my favorite is the one with the cardstock covered letters!!! I love the calm colors you used! They are beautiful! Very creative projects! Also your blog is very pretty. Blue is my color in my home for 2020. Thank you for sharing!
Spray paint really can transform anything, can’t it?! I love how all your projects are things anyone can do…. no special talents required. And I love pretty paper, too.
These are great fall DIY projects. Wood beads are so versatile and can go with any Decor. I also love the metallic colors.
Everything about this post is stunning. I love the simple crafts, with the elegant accessories. Everything looks so cozy and inviting, beautiful. Pinned.
Carol I love using wooden beads in our home decorations too. I love the Kirkland’s vase it’s so cute. Your Fall colors this year looks amazing. Love all the metallic colors. You have shared some great ideas for us. Thank you. By the way…..LOVE your Fall mantel. Beautiful!
You did great projects Carol, I love your fall sign!
Cindy
So many great ideas I don’t know where to start. I always love wooden bead anything. I love using the smaller ones. You always see the larger used, but I love how these look! Genius idea with the cardboard for the stems… And yes, I did “fall” for the metallic Fall For Me letters! Awesome ideas Carol.
Wow, Carol I love, all three projects. I did the bead project with my grandson. It was fun. The painted ones are really pretty. I may try that one. TFS
Yes, great project for kids!!
It is always amazing what a can of spray paint can do!! Love these projects!!
Thank you so much, sweet friend. I never liked to spray paint until I got the spray can gripper and the spray shelter. Makes any project so much easier.
These are all so pretty! I really love how you painted the pumpkins and added them to the vase. They look great spread all around, too.
I love your projects. The metallic pumpkins are gorgeous!! And I love the fact that your projects are all doable. TFS.
Clearissa, doable is a must!