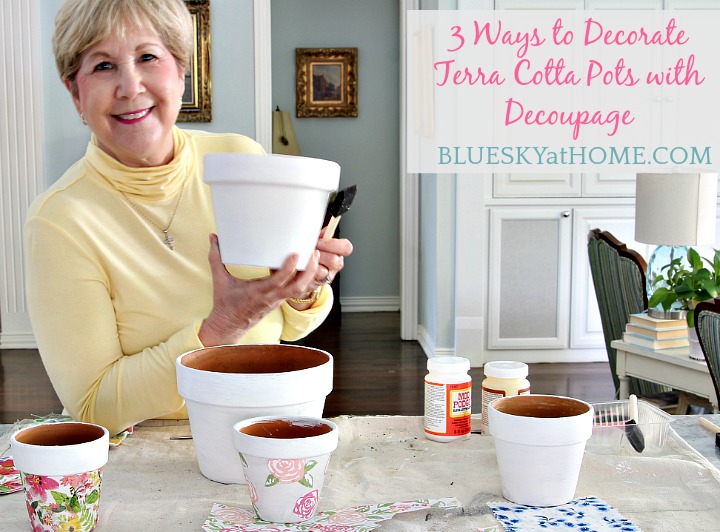
3 Ways to Decorate Terra Cotta Pots with Decoupage for Spring
Do you ever discover a new DIY skill that you really enjoy and want to do more of? Since I learned the beauty and fun of decoupage, I’ve been hooked. Just in time for spring, I’m going to show you 3 ways to decorate terra cotta pots with decoupage.
I have to admit that I love to decoupage. Now I’ve discovered a new item to decoupage – terra cotta pots. After checking my other supplies, I chose three ways to decorate terra cotta pots with decoupage
I remember my mom decoupaging wood boxes with beautiful paper and making them into purses. People would stop her in the grocery store and offer to buy her purse. She would dump the contents of her purse into a grocery bag and sell them her purse. She was so talented; today she would have been a blogger and had an Etsy shop.
It seems that recently more people (or maybe just me) are rediscovering the art of decoupage. There are tons of projects on Pinterest. After I tried my hand at decoupaging Easter eggs and styrofoam balls a few weeks ago, I fell in love with this almost no-fail craft.
This new terra cotta decoupage project is one of my favorites. I hope it will be yours, too.
The other nice thing about decorating these terra cotta pots? Besides decorating your home, they make great gifts for Mother’s Day, a birthday gift or a hostess gift.

Finding the Terra Cotta Pots to Decoupage
Old and new pots are everywhere, from your local gardening store to the grocery store and even Trader Joe’s.
Garage sales are another great place to find used pots. You can always find terra cotta pots at Dollar Tree.
Finding free ones is even better.
On one of our daily walks, I picked up two nice terra cotta pots on the curb in front of my neighbor’s house. (It was bulk trash pick-up week.)
Just FYI, I also picked up a cute cabinet, a wooden chandelier, another decorative pot, and four cool wine crates, which I recycled into drawers for my office.
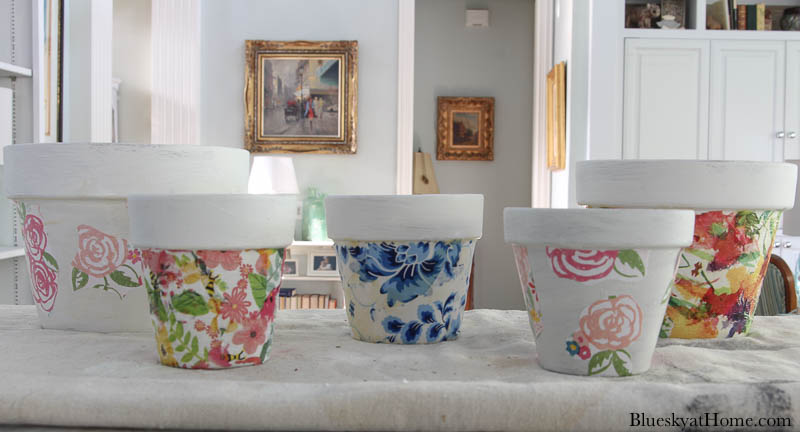
Looking on the side of our house where we keep a variety of pots and containers, I found 3 more pots. I was set: five containers to be used in 3 ways to decorate terra cotta pots.
Supplies to Decoupage TerraCotta Pots
This post contains affiliate links to products used in the creation of this project. If you should order any item from this site, I may receive compensation, but you do not pay a penny more. Your purchase is greatly appreciated as it helps support the continued publication of this site.
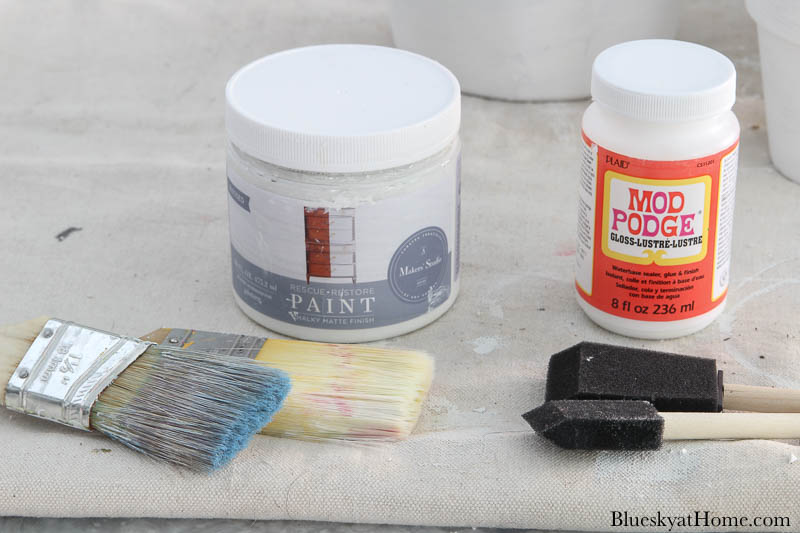
Most decoupage projects use a decoupage medium called ModPodge. It’s basically a glue, a sealer, and a finisher all in one. You need just a few craft supplies for this project. I used the same basic supplies for all 5 pots:
- Paint to seal the terra cotta pots. You can use acrylic paint. Because I have plenty of Chalk Paint in white on hand, I used One Step Paint from A Makers’ Studio to paint my pots.
- ModPodge in Gloss Finish – that is one of the basic types in the line and what I had on hand. The matte finish would also work just as well.
- foam (sponge) brush for paint or for Mod Podge. I also like these brushes from Mod Podge.
- paintbrush for paint
- paper napkins with your design of choice – there are so many pretty napkins available that you will easily find a color and pattern in a style you love.
How am I going to decorate the same type of container using the same craft process in 3 different ways? Three different materials.
First Way to Decorating the Pots with Napkins and Mod Podge
You will find that decoupage needs a few simple steps from beginning to end.
What you will notice is that the process for decoupage is basically the same no matter the surface you are working on or the material that you add to it. Once you know the process, the world of decoupage is open to your interpretation.
I used decorative paper cocktail napkins for my Easter egg and decorative ball project.
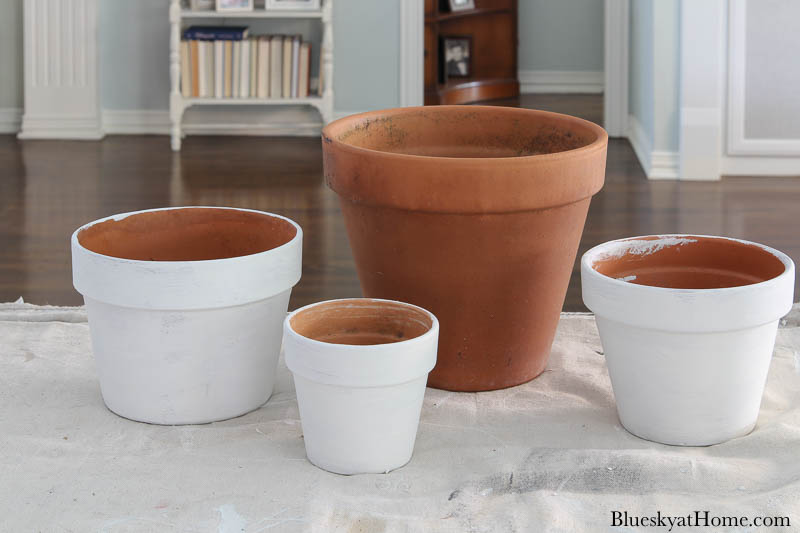
The first step is to paint your pots with white paint. You don’t want the orange color of the terra cotta pots coming through the napkins. Allow to thoroughly dry before proceeding with the decoupage step.
I painted all five terra cotta pots with 2 coats of the One Step paint. Since I don’t plan to use these pots outside, I didn’t seal them first. There is a ModPodge Terra Cotta formula if you want to use the pots outside.
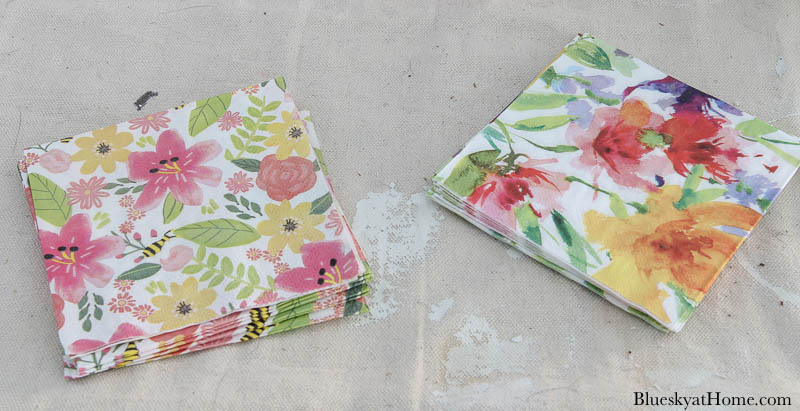
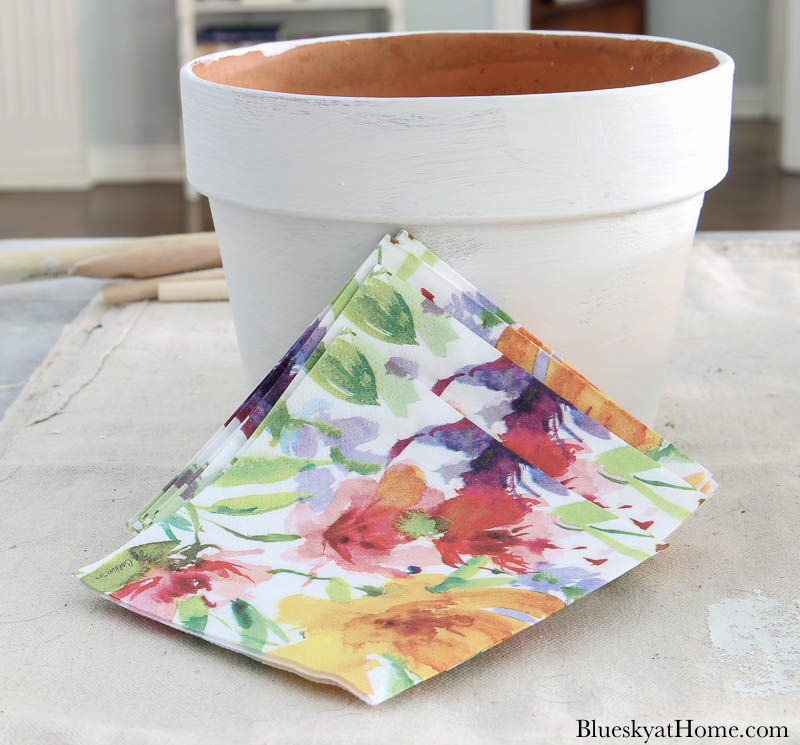
For the terra cotta pots, I wanted a spring floral theme. Fortunately, I had decorative napkins in two different floral patterns in shades of pink, green, yellow, blue, and purple.
Decorating the Small Terra Cotta Pot
I started this project with one of the smaller terra cotta pots.
Next, I separated the printed layer from the two back napkin layers (Your napkins may have 2 or 3 layers.), discarding the back white layers.

Then I tore the napkin into pieces about 2 – 3-inch pieces.
Applying a coat of Mod Podge with the foam brush in small sections, I added the napkin pieces until the entire body of the pot was covered. I left the white rim as is.
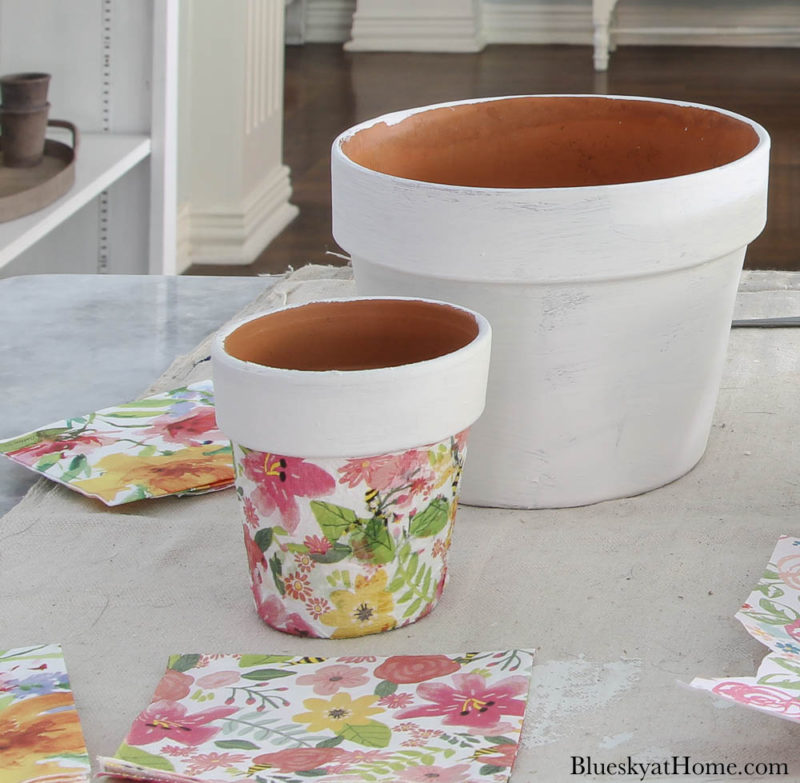
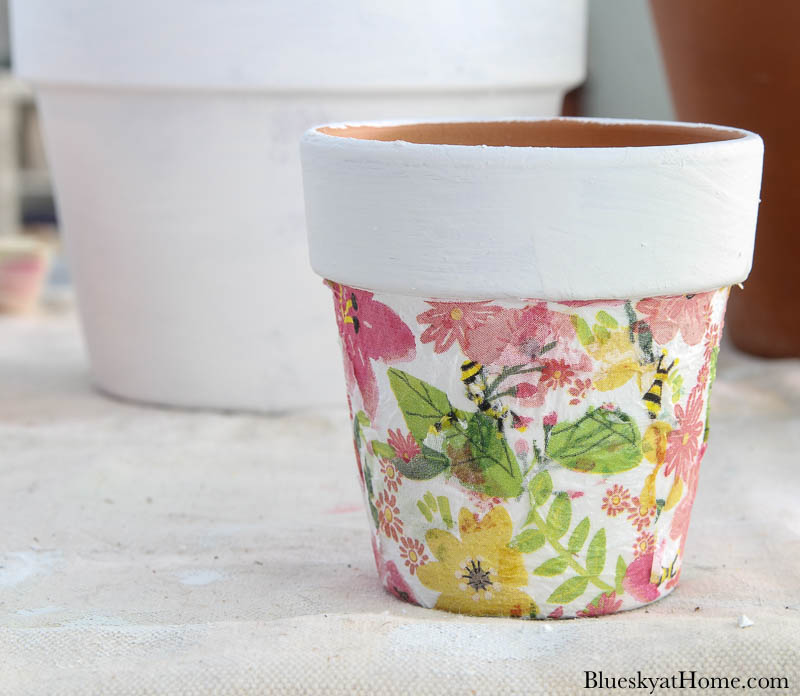
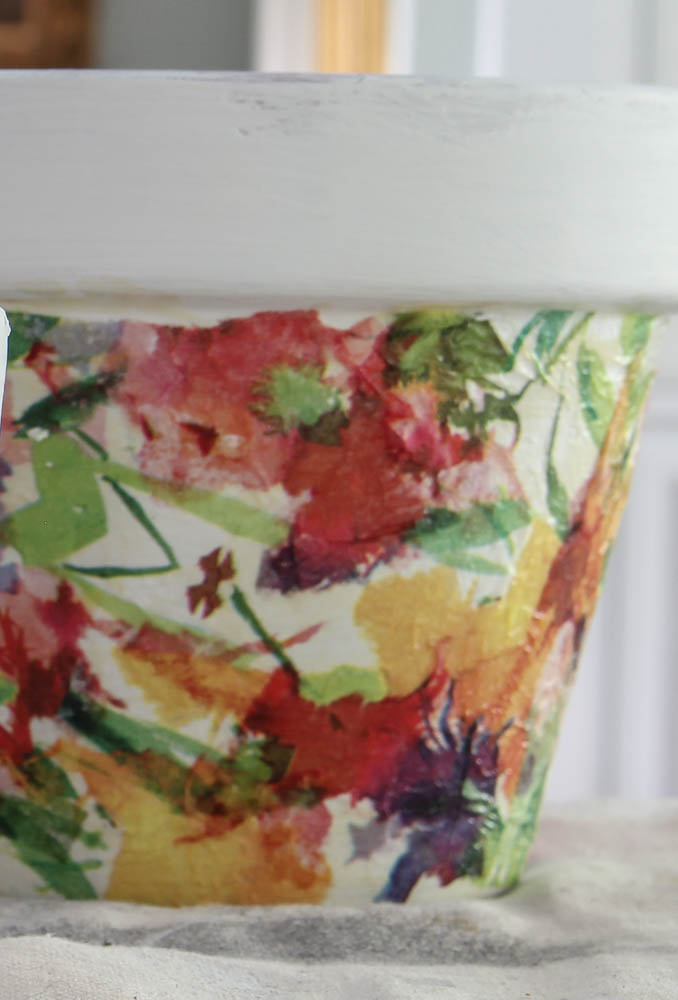
You’ll notice that the paper looks a little wrinkled. That is normal for using the paper napkin. It smooths out when you apply the sealer coat.
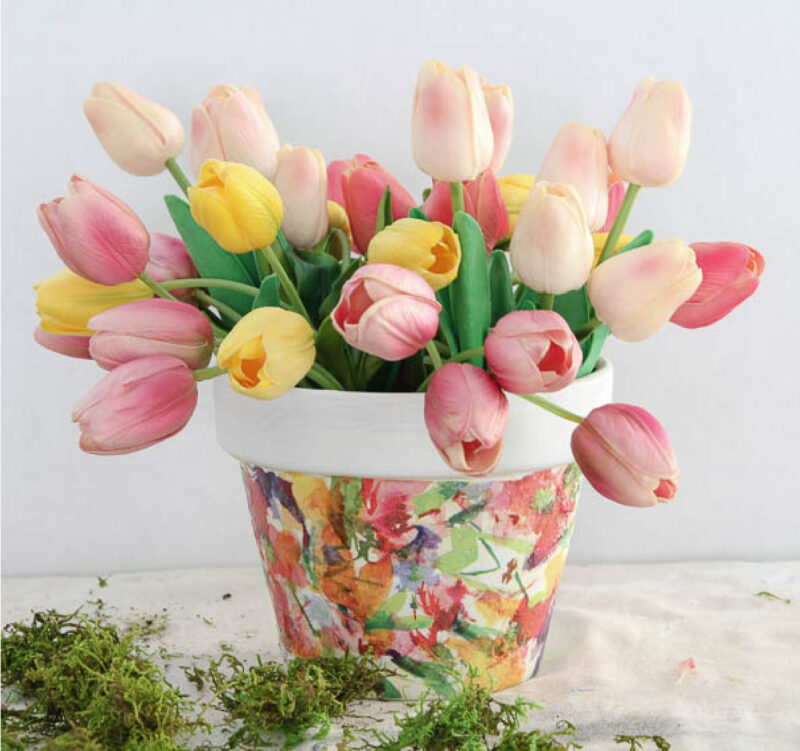
Decorating the Large Pot with Napkins
For the larger pot, I repeated the process but used a slightly different pattern. Although the patterns are slightly different, the color scheme is very similar.
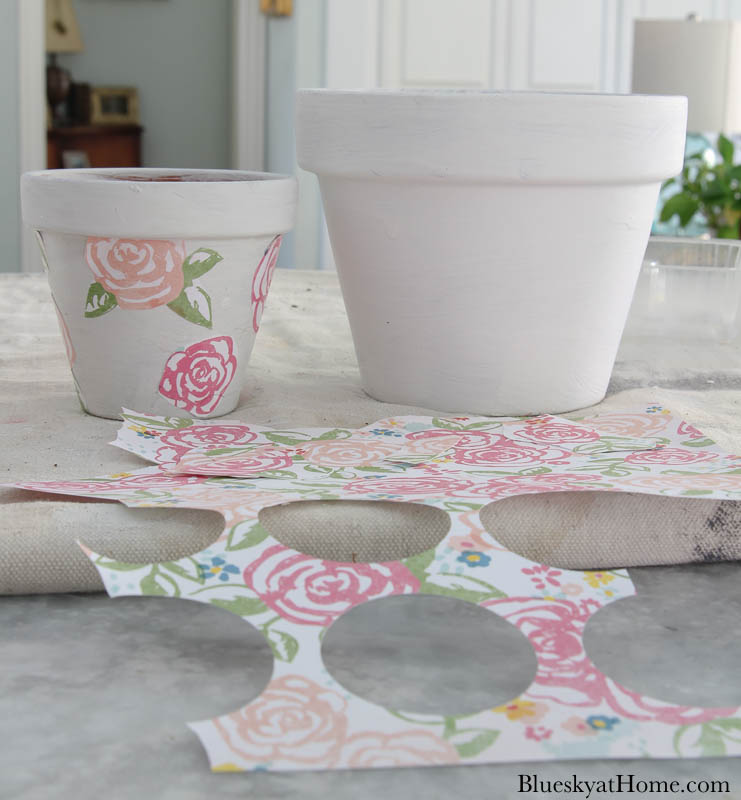
Decorating a Pot with Scrapbook Paper
For a different look, I searched my scrapbook paper for another floral pattern.
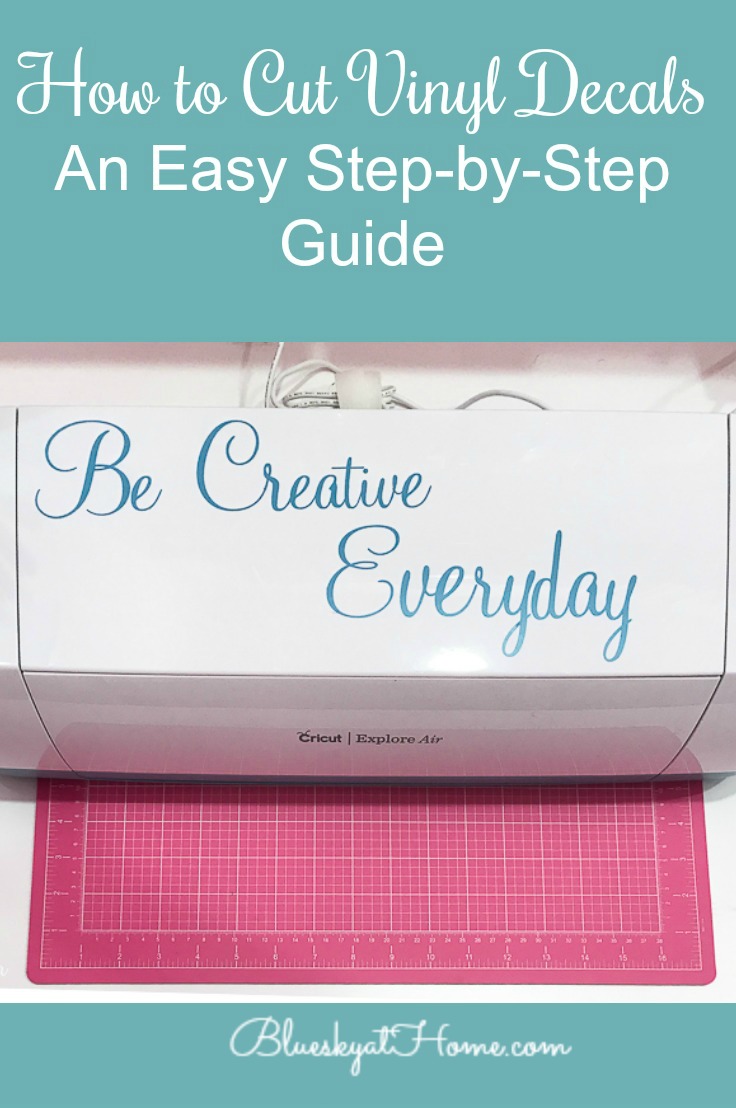
Just so you know, I don’t scrapbook, but I love paper and use it for Cricut and other paper projects (place cards, name tags, gift tags, cupcake toppers).
I found a pattern of flowers in light and dark shades of pink with some green leaves and pops of blue. Since it was partly used, I thought I could cut out the flowers and have enough to partially cover two pots.
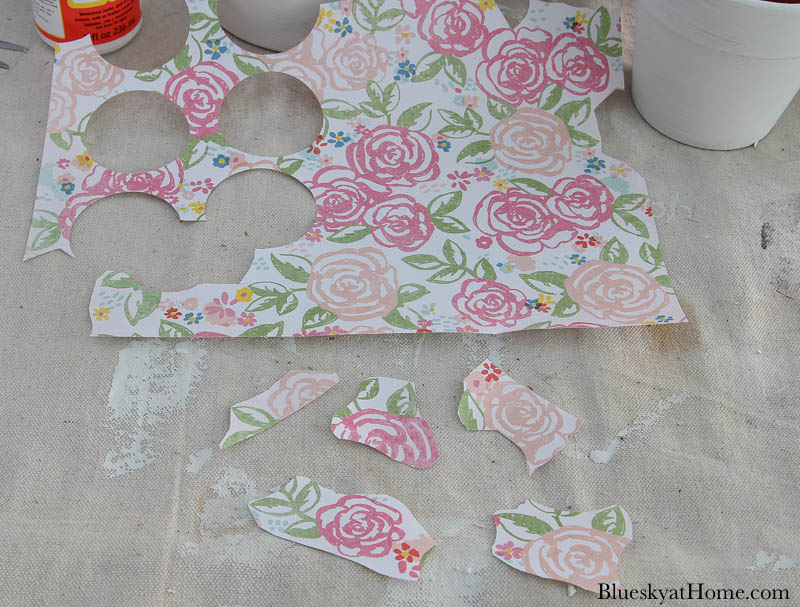
I cut out the flowers in random shapes, sometimes including green leaves in different sizes. and bits of blue.
Next, I applied the Mod Podge in about 3-inch areas and placed a piece of scrapbook paper on the pot, randomly spacing them. Again, I left the rim as is. I decorated a small terra cotta pot and then a medium-sized one.
This approach worked great. The vibe is still floral, but with a completely different style. Since the scrapbook paper is thicker than the paper napkin, you need to be sure that the edges of the scrapbook paper completely glued down.
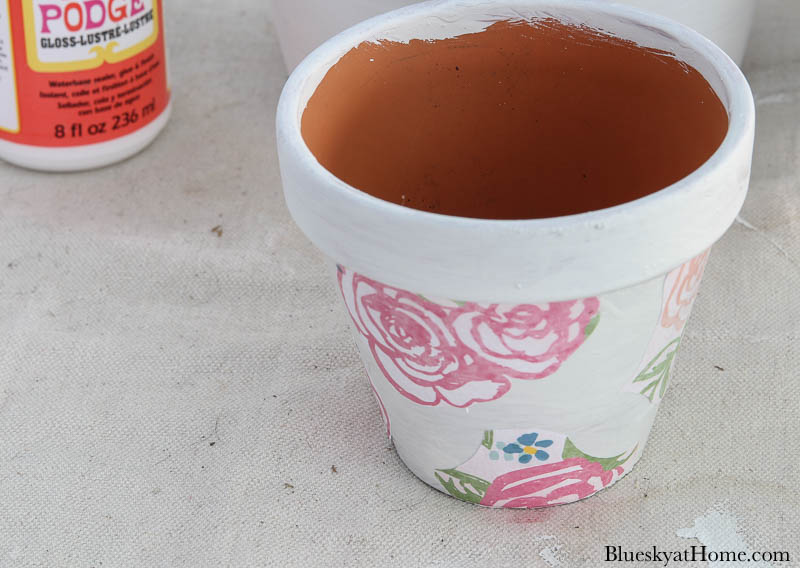
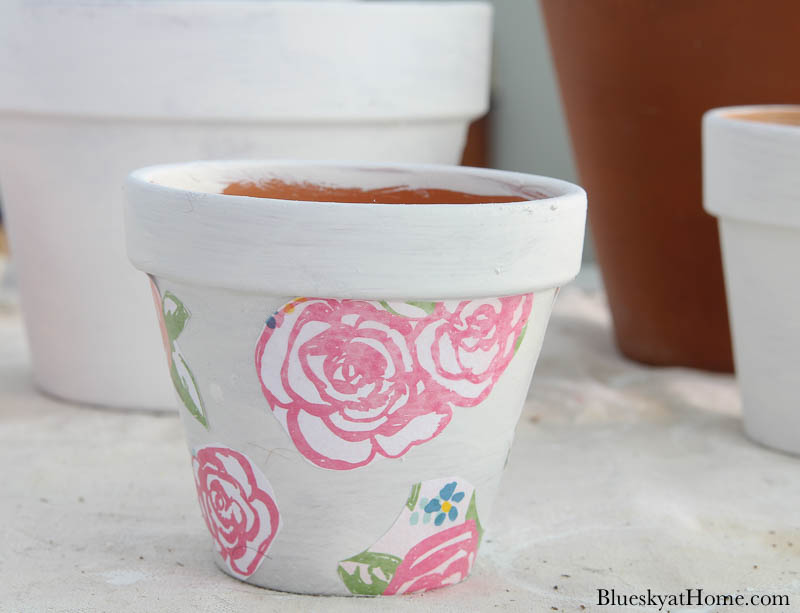
You can see that the Mod Podge has a slightly filmy look. When the Mod Podge dries, it dries clear.
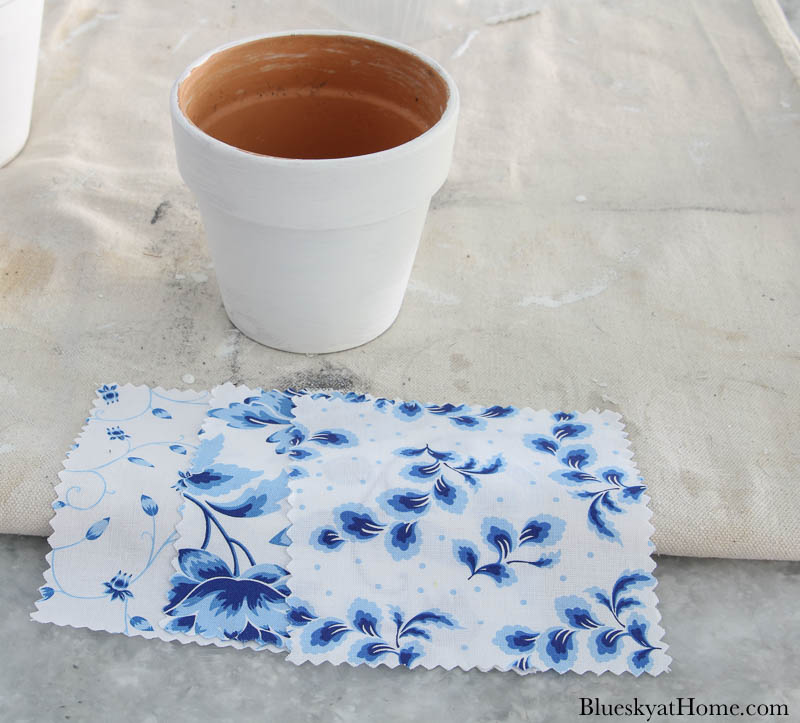
Decorating a Terra Cotta Pot with Fabric
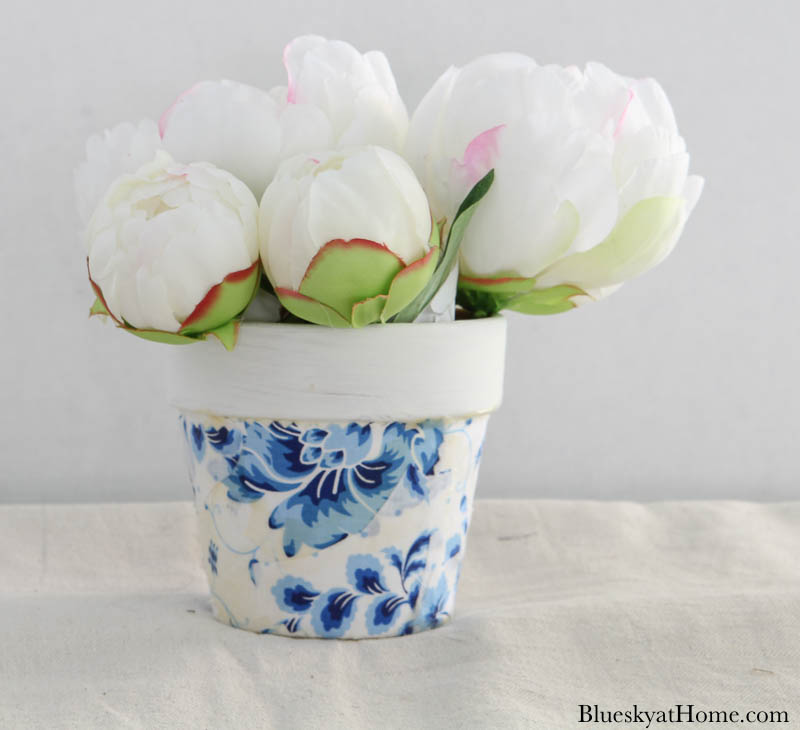
For a totally different material, I thought I would try fabric. I went through my fabric boxes and found some “fat quarters” in pretty shades of blue in three different patterns. Since I had never used fabric for decoupage, this was a bit of an experiment so I chose to use the last small terra cotta pot.
I cut the three different patterns into small pieces in random shapes. This is a light cotton fabric and it didn’t unravel at all. I learned later that you can apply Mod Podge directly to the fabric and let it dry slightly before decoupaging it to another surface.
Fortunately, I didn’t have a problem with this fabric. Using fabric to decorate terra pots gives you more design possibilities in terms of color and pattern; plus, you can use up all those fabric scraps you have.
Applying the fabric was as easy as applying scrapbook paper. As you can see, decorating the terra cotta pots with decoupage – meaning Mod Podge – was super easy.
After I finished applying the three different materials to the pots, I let them dry for several hours.
Then I applied a clay pot sealer coat to all the pots and let them dry overnight.
Embellishing My Terra Cotta Pots
Was I done with my decoupage terra cotta pots? Not at all. I embellished them.
Faux peonies were the icing on the cake for my larger terra cotta pot with scrapbook paper. Do you notice that there is a little yellow tint? I was running out of my Gloss Mod Podge so I mixed in some Light Antique Mod Podge that I had in my GLUE box. I would prefer that it all looked glossy white.
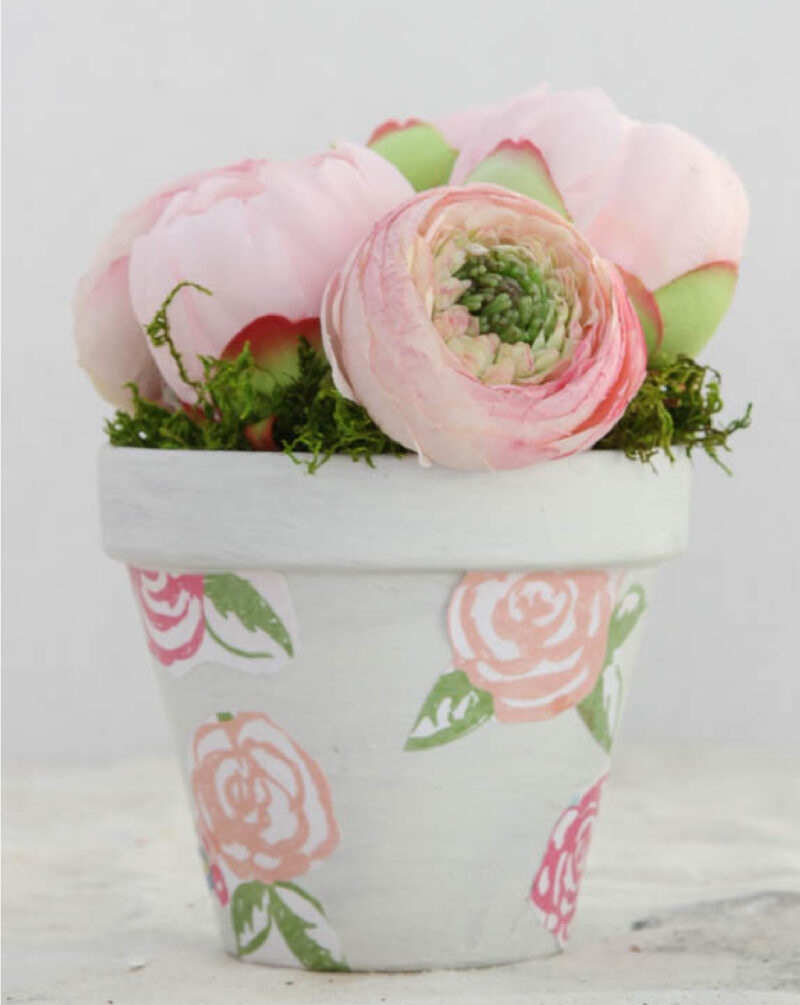
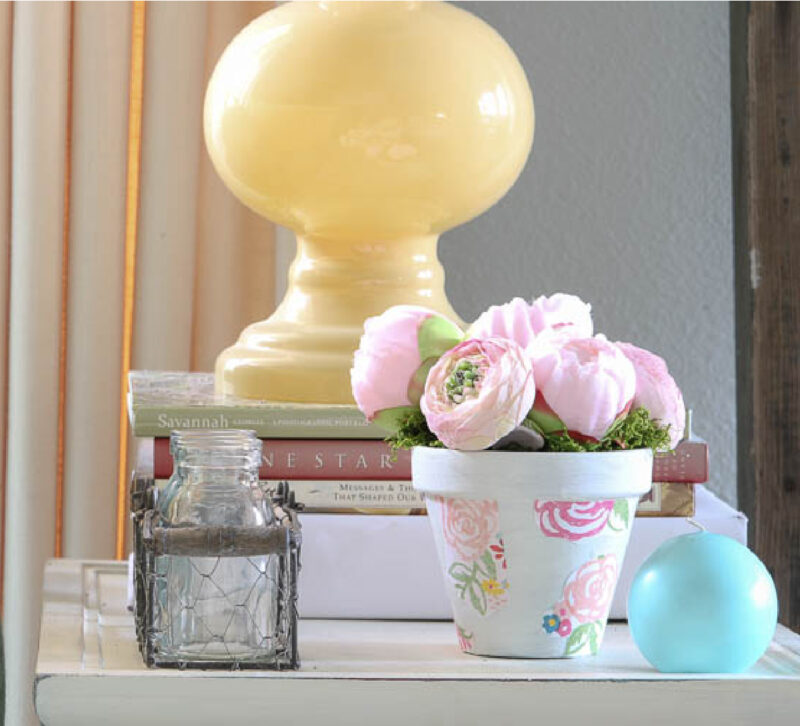
I filled the smaller pot with peony buds and faux ranunculus.. To complete the flowers, I stuffed in some Super Moss for a finished look.
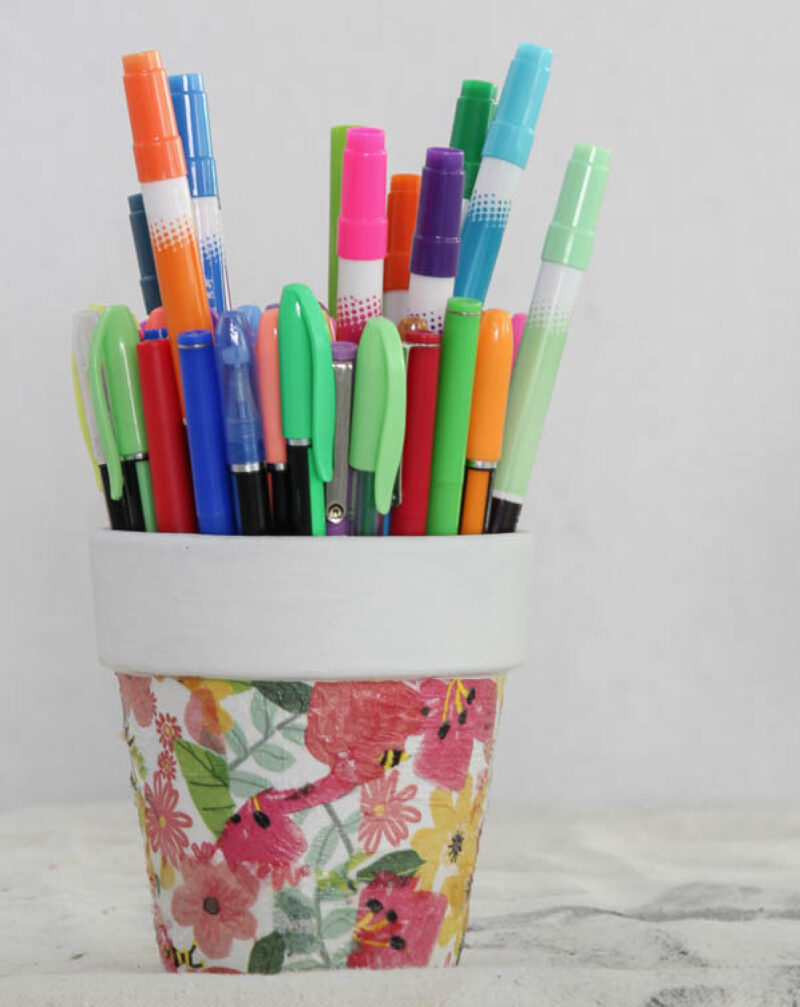
These terra pots decorated with decoupage can be used for practical purposes, such as holding colored markers and pens – a pen bouquet!
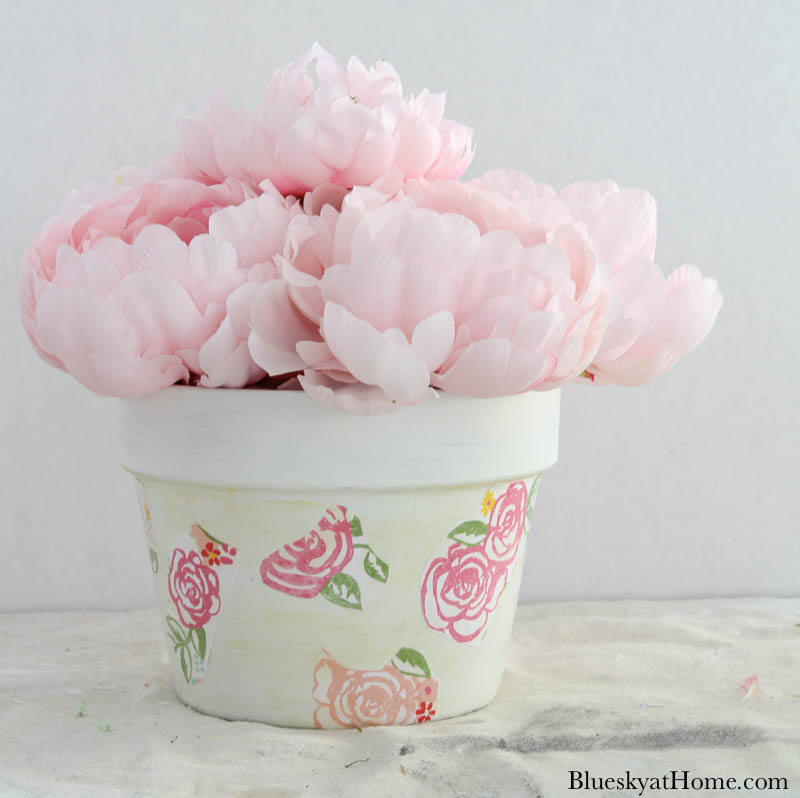
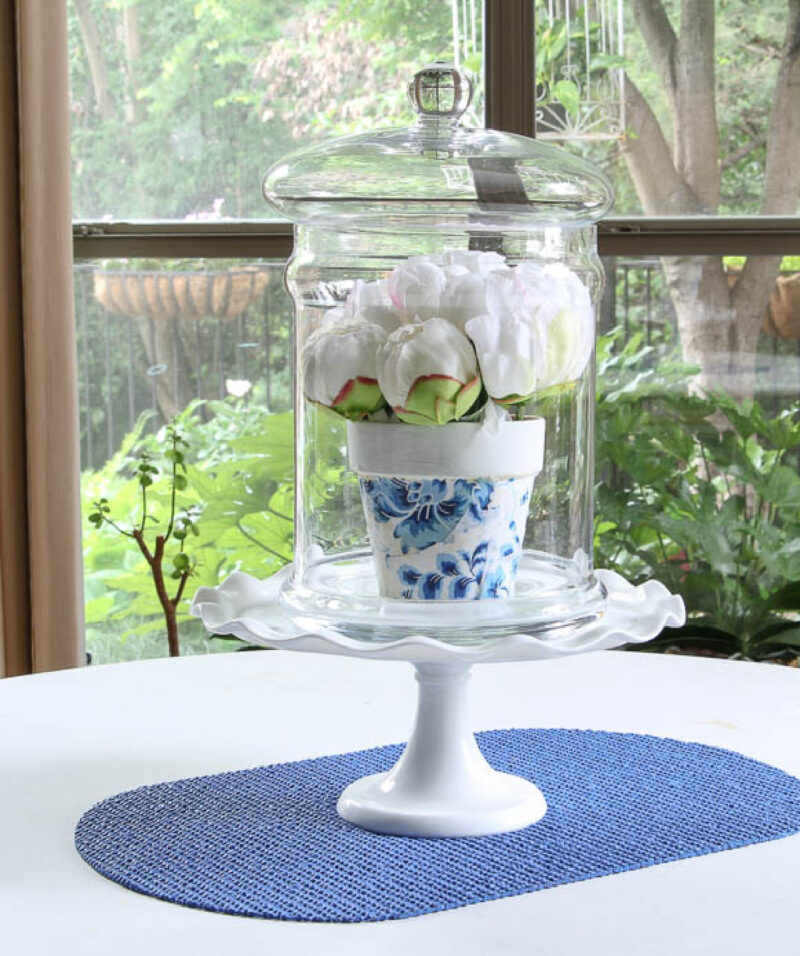
To go with my blue fabric terra cotta pot, white peonies seemed the perfect pairing.
I’ve been using blue and white so much lately since I’ve been collecting more blue and white accessories in the last year. You can’t beat the classic look.
For the larger pot with paper napkin decoupage, a mix of tulips seemed perfect. I love the combination of floral napkin colors and the pastel tulips.
Don’t forget to look at these other decoupage projects:
- How to Decoupage a Glass Platter
- How to Make a Chinoiserie Lamp with Decoupage
- How to Make a Fabric Bowl with Mod Podge
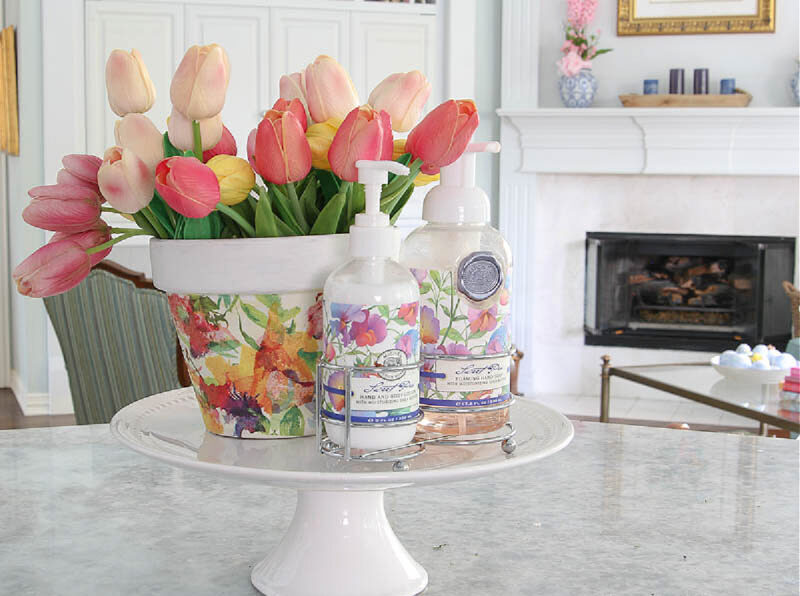
Using The TerraCotta Flower Pot in Our Home Decor
These pretty floral pots and their contents are too pretty not to use as accessories in our home. They make beautiful additions to your spring decor.
Here on the kitchen island. I love how the decoupage pot and the faux tulips look with my Michel Design Works hand soap and lotion.
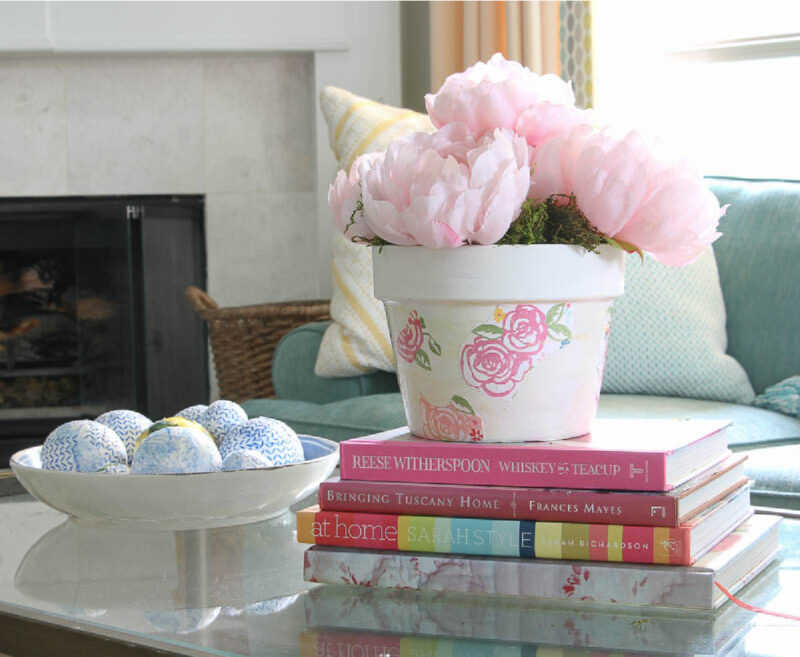
In the living room. Pink peonies worked perfectly in my pink floral pot on a stack of pink coffee table books. It pairs nicely with the blue bowl filled with my first decoupage project – styrofoam balls.
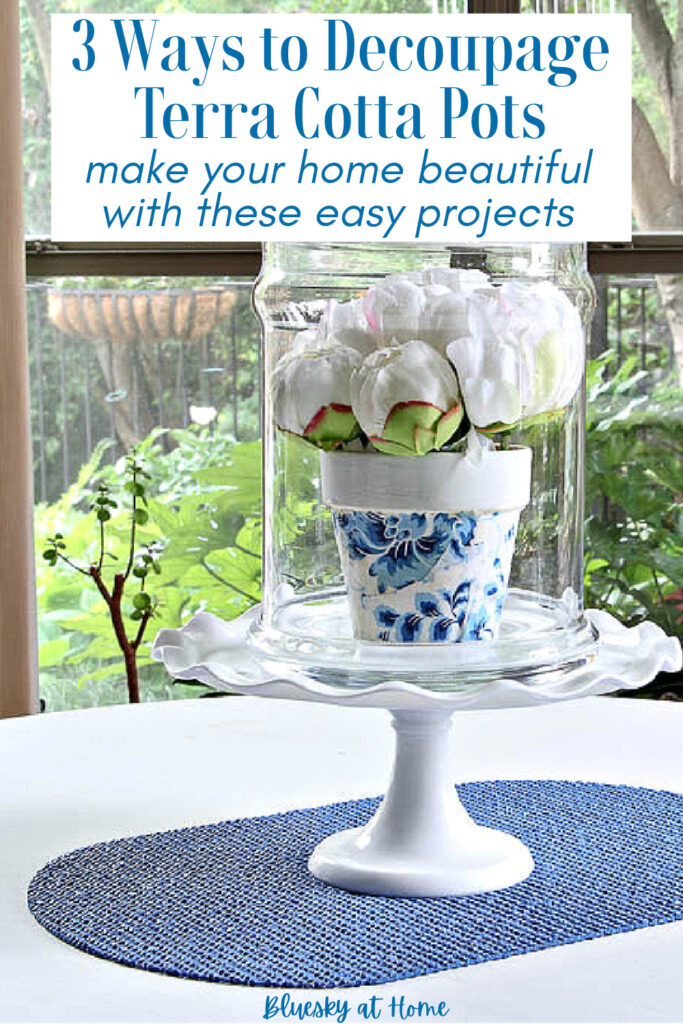
On our breakfast room table, the blue and white pot fit snugly inside my large apothecary jar sitting on my new white cake stand.
The small pink floral-decorated pot with peony buds fits on the side table by our sofa.
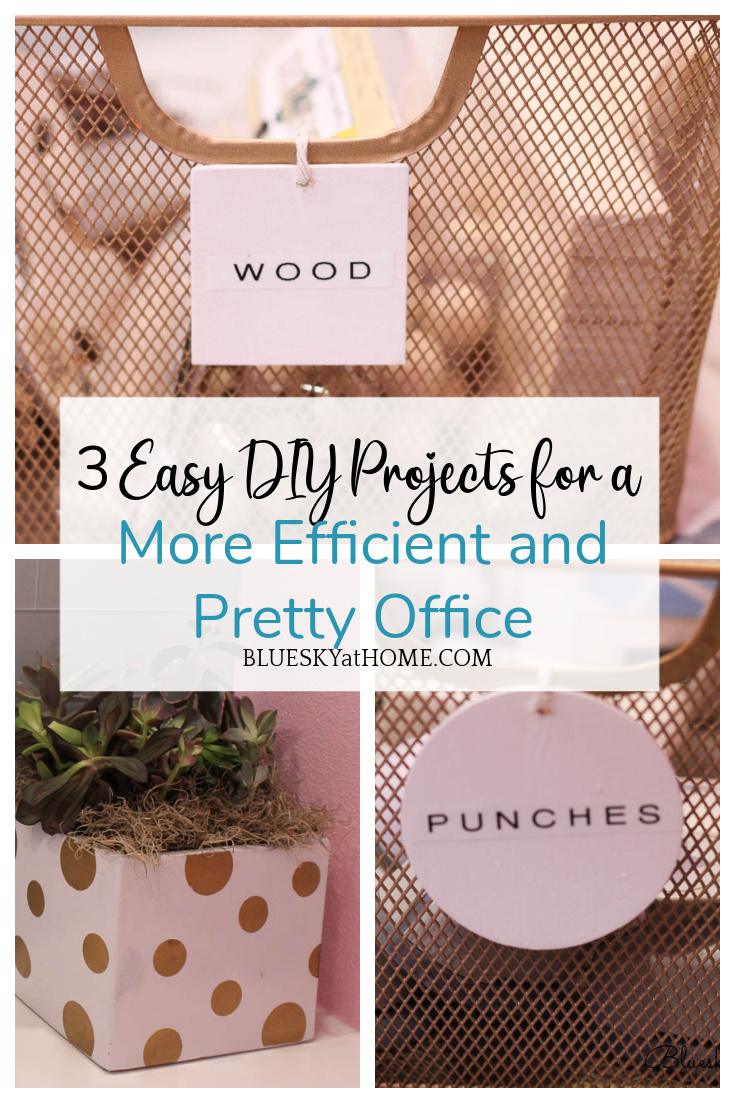
And finally, the small floral napkin terra cotta pot is a great practical and pretty addition to my office.
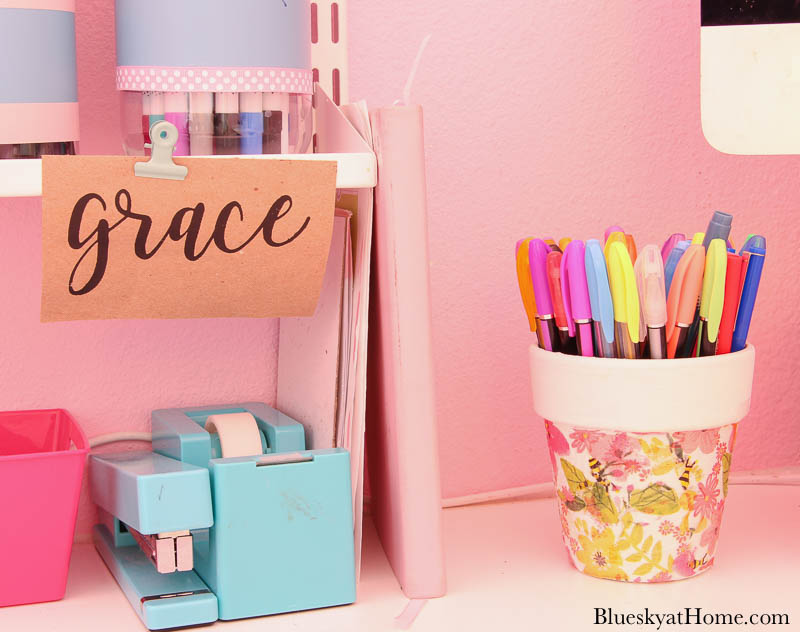
As soon as I can get my hands on a couple more pots of this size, I going to decorate more terra cotta pots with decoupage for my other markers. Such a cute way to dress up your office.
I hope you love this project as much as I do. I will be ordering more Mod Podge for more projects.
I can think of so many surfaces that would lend themselves to this DIY craft. the results are so pretty and can be a wonderful addition to your home decor.

I’ll be making more decoupaged flower pots as gifts for my daughters for Mother’s Day.
CLICK ON THE PHOTO BELOW to see the complete process of decorating terra cotta pots with decoupage on YouTube and Facebook.
Like this project? Please let me know what you think. Please PIN it for yourself and to share it with others.


Carol, I love what you have done with the flower pots — just beautiful! I have never covered a flower pot with fabric but I am going to do one this week. Thanks for all your easy to follow instructions!
Hope you have a great week!
Your pots turned out so pretty, Carol! Love the watercolor looking pattern!
Hi Carol, thank you for this lovely craft project, they are pretty. I am about to start doing some decoupage on terracotta pots so this will help with my project perfectly. Is the process the same for outside pots too. Thanks again for your lovely projects, can’t wait to get started.
Simply lovely!
These are so bright and cheery! I love them. I’m going to feature this at our Party in Your PJs link party tomorrow night on my Grandma Ideas site. Thanks so much for sharing this wonderful idea!
Thank you, Nina. I’ll be on the lookout. I used the pots again this year in my spring kitchen decorating.
Carol, I’m jumping back in again to say how much I like this project. Both the paper and fabric pots are so darn cute!
Your pots look wonderful! I’ve tried mod podge and fabric, but have yet to master it with napkins. I need to practice more. I love how you’ve displayed the blue and white pot!
Such a cute project. Pinned
I absolutely love the patterns and colors of the napkins you chose. They are so colorful and pretty. I have been pinning a couple decoupage projects and I’m adding this one. I’ve never done it before and between you and Julie B., I’ve been convinced to try!
You did a beautiful job on these flower pots, Carol! I have done decoupage in the past with my students, but have not done too much at home. You have inspired me to give it a try while we have time at home. Pinned! It is always fun to hop with you! Stay well!
Carol, I’ve been on a recent decoupage kick, too! I even like the smell of Mod Podge. There are just so many fun things to make. Your flower pots look amazing! Did you get the napkins from Dollar Tree? They look familiar. My favorite is the one with blue and white fabric, and I love how you styled it inside the apothecary jar. Now I need to try Mod Podge with fabric! Thanks for the inspiration. It was fun to hop with you again 🙂
Carol! What a great post! I used to decoupage back in the day – I think my mom still has the cartoon-elephant cutting board I made her 50 years ago! You’ve brought it all back! I might have to try something a little more grown up this time! 😉 And I love your mom’s entrepreneurial nature! Thanks for the beautiful inspiration!
The flower pots came out so pretty. Great choice on napkins and fabric too. I like how they can be used for so many things. #HomeMattersParty
Don’t you just love Spring and all the beautiful florals and colors? Your decoupaged pots are so pretty, the perfect fresh touch for this time of year.
Thank you, Pamela. Florals and spring colors are my favorites, too. Thank you for visiting.
Oh my goodness Carol, what a blast from my past — your story about your mom shook the dust out of my brain and I remembered making wooden purses decoupaged when I was an adolescent. I loved doing it! Your posts turned out great. Of course, I especially love the little one with bee-cause of the tiny bee in the design. Pinned!
Carol, these are all so pretty and you have done such a perfect job of decoupaging them. I love to decoupage, but I don’t feel like my projects ever turn out this pretty! I need to follow your steps and practice some more! Thanks for joining us again!
Your flower pots are lovely, Carol! My mom was into decoupage big time in the 70’s. She made a purse for me exactly like the wooden purse that you described that you mom made. She also had one. I’ll have to ask her if she still has it. She also would burn the edges of pictures and then decoupage them to a wood piece that my dad would cut for her with routed edges. I have one of those of a bunch of raccoons. She made a hanger with a piece of leather and a round metal ring. Sorry to go on about decoupage but your post brought back some great memories for me. A few years ago I had a shop and she made decoupage fabric pots similar to yours that we sold at a market.
Paula, how funny that we both have those mom memories. When Sweet Shark saw the pots that I decoupage, he asked me if I could sell them. If I had a shop, I would.
Love this and I’ve got a garage full of terra cotta pots to try. Thanks!. Hope to meet you one day in person.
Andrea, that’s awesome that you have pots on hand. I joust bought 2 more small ones at Lowe’s to make more marker holders for my office.
HI Carol, I saw this on your Insta and loved all the ways you used Mod Podge. I never thought to use napkins! How fun! And, your photography skills are on point! xo laura in CO
Are yall able to play tennis?
Thank you Laura for your feedback about the photography. I’m trying really hard. Rachel Paxton’s photography course was a real help too. No tennis. League shut down for the season and public courts are shut. Since the season was only open for a few weeks, they are not going to count the season at all. Good thing because our team had an awful start.
Love all the pots and those peony buds! Super pretty spring project. Thanks for sharing at Vintage Charm. Pinned! xo Kathleen
Thank you Kathleen, I think it’s one of my favorite projects this year. Happy to share.
I think decoupage is the prettiest way to update just about anything! Your decoupage terra cotta pots look lovely in both the napkins and fabric. Your floral designs are gorgeous! You certainly have mastered the technique!
Gail, isn’t it a great way to decorate so many things. And it’s been around for so long!
Carol, these look incredible!! I love the napkins that you used and how you styled each one…so perfect for spring decorating! I just recently started using Mod Podge as well. I had it in my craft box and thought – why not? Of course, I was calling it “Modge” Podge until it finally hit me that it was “Mod” and not “Modge”! Obviously, this quarantine is messing with my brain – lol! Anyway, you pots are gorgeous and now I want to make some! Great hopping with you and stay well!
Shelley
Thank you, sweet Shelley. Like stenciling and Cricut, I think I’m really into this. When you say it, it sounds like “Modge”.
What a pretty assortment of pots you’ve created, Carol! So pretty! Happy to be joining you for this creative hop! Blessings, Cecilia @My Thrift Store Addiction
Thank you, Cecilia. It’s been a great hop.
Good Morning Carol,
Wasn’t this a great crafty blog hop! I love modpodge too and I have been doing the same thing as you. Sprucing up my pots for Spring.
I sure do like the styles and colors you chose for your clay pots, so sweet, colorful and happy!
Happy crafting,
Jemma
Jemma, thank you. It’s amazing how many of us used ModPodge for projects on this hop. Must be a reemergence of an older DIY style.
Carol, I love decoupage and have so many pretty napkins and tons of fabric swatches that I could use for this project. I also have plenty of clay pots because I’m a huge fan of plants. However, most of the time I leave my plants in nursery pots and then stick them in a pretty container so this would work great.
Patti, we do the same thing sometimes. Lots of possibilities.
So many decoupage projects lately— and I’ve not succeeded at it yet. But maybe I could do it with fabric. I tried it on large Christmas ornaments using patterned tissue paper and it turned out awful!! Everyone says it is so easy! I need to keep trying….
Liberty
Liberty, it’s really not hard at all. And like so many DIY projects, a little practice goes a long way. It is easier on flat surfaces than rounded ones. Try that and see if you have better luck.
These are all so nice. I scrounged through the garage today looking for pots. Sadly none to be had. Pinned for later, yours are beautiful.
Thank you Leanna for Pinning. I had to buy a couple of new pots today!
These are darling and seem easy to do! I am pinning this for a fun craft!!
Elena, definitely try it. It’s easy. Thanks for Pinning.
Decoupage is probably my favorite medium to craft with. The pots turned out darling, each one different and unique.
Rachelle, decoupage is definitely a new favorite craft medium for me too. Thanks for the feedback.
This is such a pretty idea! Can’t wait to try it myself!
Kristin, you must try it. Easy, fun, and great results. Thanks for the comment.
Lovely projects Carol and they do those gorgeous flowers justice! I do decoupage but not enough so this is welcome inspiration to do more!
Hi Sara, and thanks so much for the feedback. I haven’t done much either, but that’s going to change.
Carol what a fun way to dress up our plant holders. Love the blue one you made. Looks so pretty under the cloche. Happy Crafting!
Such a pretty variety of pots Carol! I’ve been bitten by the Mod Podge bug too lately. Happy to be crafting with you today
So pretty Carol! Painting the pots first is such a great idea! I love the way the white makes the florals pop! I love love to decoupage, I’ve got to get the Mod Podge out 🙂
Decoupage is a fun way to update just about anything and your decorative pots look especially pretty in both the napkins and fabric!
Thank you Gail. They turned even better than I anticipated. Ready to make some more.
I love to decoupage too and your flower post are absolutely lovely! Hard to pick a favorite, and they’re perfect for spring and summer. Thanks for sharing